Make a fun quilt to score points with any sports fan! Blocks of footballs, baseballs, or basketballs look great surrounded by team colors. Misty uses the Touchdown, Batter Up, and Slam Dunk patterns designed by Allison Harris of Cluck Cluck Sew with Colorworks Premium Solids. Backed with Cuddle ® minky fabric, these quilts are great to use when you're snuggled up at home or watching a game from the bleachers!
Misty Doan grew up surrounded by sewing and quilting. She loves spending time sharing tutorials each week each week, and when she’s not stitching up one of her fun sewing projects for home decor, most likely you’ll find her hanging out with her husband and three awesome kids or working on a house project.
Make a fun quilt to score points with any sports fan! Blocks of footballs, baseballs, or basketballs look great surrounded by team colors. Misty uses the Touchdown, Batter Up, and Slam Dunk patterns designed by Allison Harris of Cluck Cluck Sew with Colorworks Premium Solids....
How long is the tutorial video?
The tutorial video is 00:13:28.
Are supplies listed for this tutorial?
Yes. The tutorial page includes the supplies and materials connected to this project.
Video Transcript
Hey everyone, the big game is just a few days away, so I thought it would be the perfect time to share this adorable touchdown quilt with you. Designed by Allison at Cluck Cluxo. So, let me show you how to make it. So, like I said, we're going to be making the Touchdown pattern by Allison from Cluck Cluck. Sew. It's so cute. I just made the kids size. There are two sizes included in this pattern, a kids size and a throw. Um, but to make the size that you see behind me, you are going to need six assorted fabrics. And so I did these that you see here to support our chiefs, of course. And then you'll also need a yard of your brown fabric and a half yard of your white. Sorry, I forgot to mention you need about a half yard of each of these. 38 is enough, but I just grabbed a half. For your backing, you're going to need three yards. I use this super soft cuddle because why not? And so, let me show you how to make these blocks. So, if you have never used one of the patterns from Cluck Cluxo before, I think you will absolutely love it. They're very well written and easy to follow. They're some of my absolute favorites. And so, this is the little touchdown block that we will be making today. Isn't it so cute? I think she did such a good job. And so to begin, the first thing we're going to do is we're going to make a strip set using 1 in strips of both our white and our brown fabric. And I went ahead and sewed all of those together. You just want to be really careful while you're sewing not to stretch because you want those seams to stay nice and straight. And then be careful when you're pressing. I went ahead and pressed them towards the dark side. I had this little one roll on me, but let me just take care of that. There we go. Just make everything lay down just so it will be easier later. And so now I am going to take my ruler and my rotary cutter and we are going to cut 1 and 1/4 in segments off of our strip set. And for each block, you're going to need two of these. Whoops. One and a quarter. Did I get this one right? Yes. There we go. All right. And so then in the middle of these, we are going to sew I believe this is a one inch. Yep. Just wanted to double check. A 1 inch white strip right between these two. And so we'll just put this right sides together and go take this to the machine and sew it to each side of that little strip. All right. Just make sure we're all lined up here. There we go. And then I'm just going to finger press this out of the way for now. Just get under that little edge. And then now we can sew this to the other side. There we go. Take a few stitches. Make sure everything is lining up the way we want it. And then we can just zoom down. Sometimes those little seams want to flip up on me. There we go. Okay, beautiful. I'm sorry I'm sniffling. I have a little bit of a cold I'm dealing with right now. There we go. Let's make sure that's going to lay nice and flat. Looks good. Okay. So then the next sizes that we need to add are these little rectangles and they measure 1 and 1/4 by 2 and 1/2. And so we're going to place one of these top and bottom. So it's straight across. I went ahead and did that. So let me find that little finished unit here. It's going to look like that when we're all done. And so now we can just keep building out the rest of our shape. So, we are going to add our 3inch rectangles to either side. So, I believe they're six and a half. Let me tell you correctly. Yep, 6 and 1/2. And so, we'll sew this to to both sides here. And then I'll meet you back here when this part's done. All right. There we go. We have added those rectangles to either side. Let me give these a press now. Okay. So, now that we have those added to both sides of our little laces, we are now going to take a 1 and 1/2 by 7 and 1/2 in background strip. And we're going to place this top and bottom. And then also a 2 and 1/2 by 7 and 1/2 inch brown strip top and bottom. So, I'm going to go ahead and add both of those sets now. So, let's take those to the machine. And I'm just going to keep adding one after the other. And then I will meet you back here when it's all done. Okay. All right. There we go. We It's starting to look like a football now. So, let's go ahead and give this a nice press. Make sure everything lays nice and flat for us. Beautiful. Okay. And so now we get to border this little section to create our football. So to begin, I'm going to add a 3in yellow square to each one of these corners. And you can either draw the line or press the line or Allison over at CLSO also is the one that designed that diagonal seam tape that we love so much. So, if you have that on your machine, you can just sew from point to point. I don't have it put on this machine yet, so I'm going to just real quick draw my lines. So, I make sure these are nice and straight. So, I'm just going to lay my ruler point to point here. And we're going to sew just like this. Make sure everything's straight. There we go. And one more. All right. And so then let's go ahead and attach each of these little squares one after the other. And I'll probably just stack them so they don't fall down on me. And so now we're going to sew right on that line point to point. And one more here. There we go. Make sure it's all lined up in the corner. Okay, so now we have all four corners sewn down and we can just go ahead and trim off our excess, leaving our quarter inch seam allowance on each of those. Let's go ahead and do that. And one more here. Okay. And so now we can take this over to the pressing mat and just roll each of those corners out. So cute. I just love how quick and easy this comes together. All right, so a couple more steps here. We are going to add our strips that match up with the long side of our block. These are 2 in wide. So, we'll add one to each side. So, let's go ahead and place those right sides together and take it to the machine. And then we're when we're finished with that, we have our shorter pieces that also measure 2 in that are going to go top and bottom. So, let's just make our way and our cute little block will be done. Okay, we have both of those side strips sewn down. I'm going to go ahead and give this a press. Rolling those back. Flip that around. Beautiful. All right. And so now you can see our little top and bottom pieces are going to fit nicely. So, we'll just fold those over right sides together and do the same thing and our blocks will be done. Okay. All right. Flip this around and do the other side. Okay, beautiful. All right, let's give this a final press. So cute. Okay, look at how cute that is. I absolutely love it. Let's take a look at how it fits in the quilt. For this kids size that you see here, you're going to make 12 of these. And they just set in three across by four down. But you'll notice we have these cute little sashings that run between those. So, let me show you how to do that really quick. Those are made up of 3 and 1/2 by 4 and 1/2 in rectangles. And that all gets done in your cutting. And you'll have them in all the various colors. And then you just sew five of them together along the long side, the 4 and 1/2 in side. And you'll see each row will start with one. We'll have one in between each of our little touchdown blocks, and it will end with one as well. So, super quick and easy. I absolutely love this pattern. So, be sure to pick it up. Whoops. This kid size that I made finishes at 46x 60. If you make the throw, it's 60 by 75. So, both great sizes. I also want to point out she has other great sports patterns. So, this cute little basketball and baseball option as well. So, I hope you guys enjoyed this tutorial on the touchdown quilt by Cluck Cluck. So, I will see you guys next time on at home. Hey everyone, thank you so much for watching at home. We're so excited to be almost a million quilters strong here at Missouri Star. And so if you haven't already joined our family, be sure to subscribe and hit that notification bell so you can be notified of all of our future tutorials. And we'll see you soon.

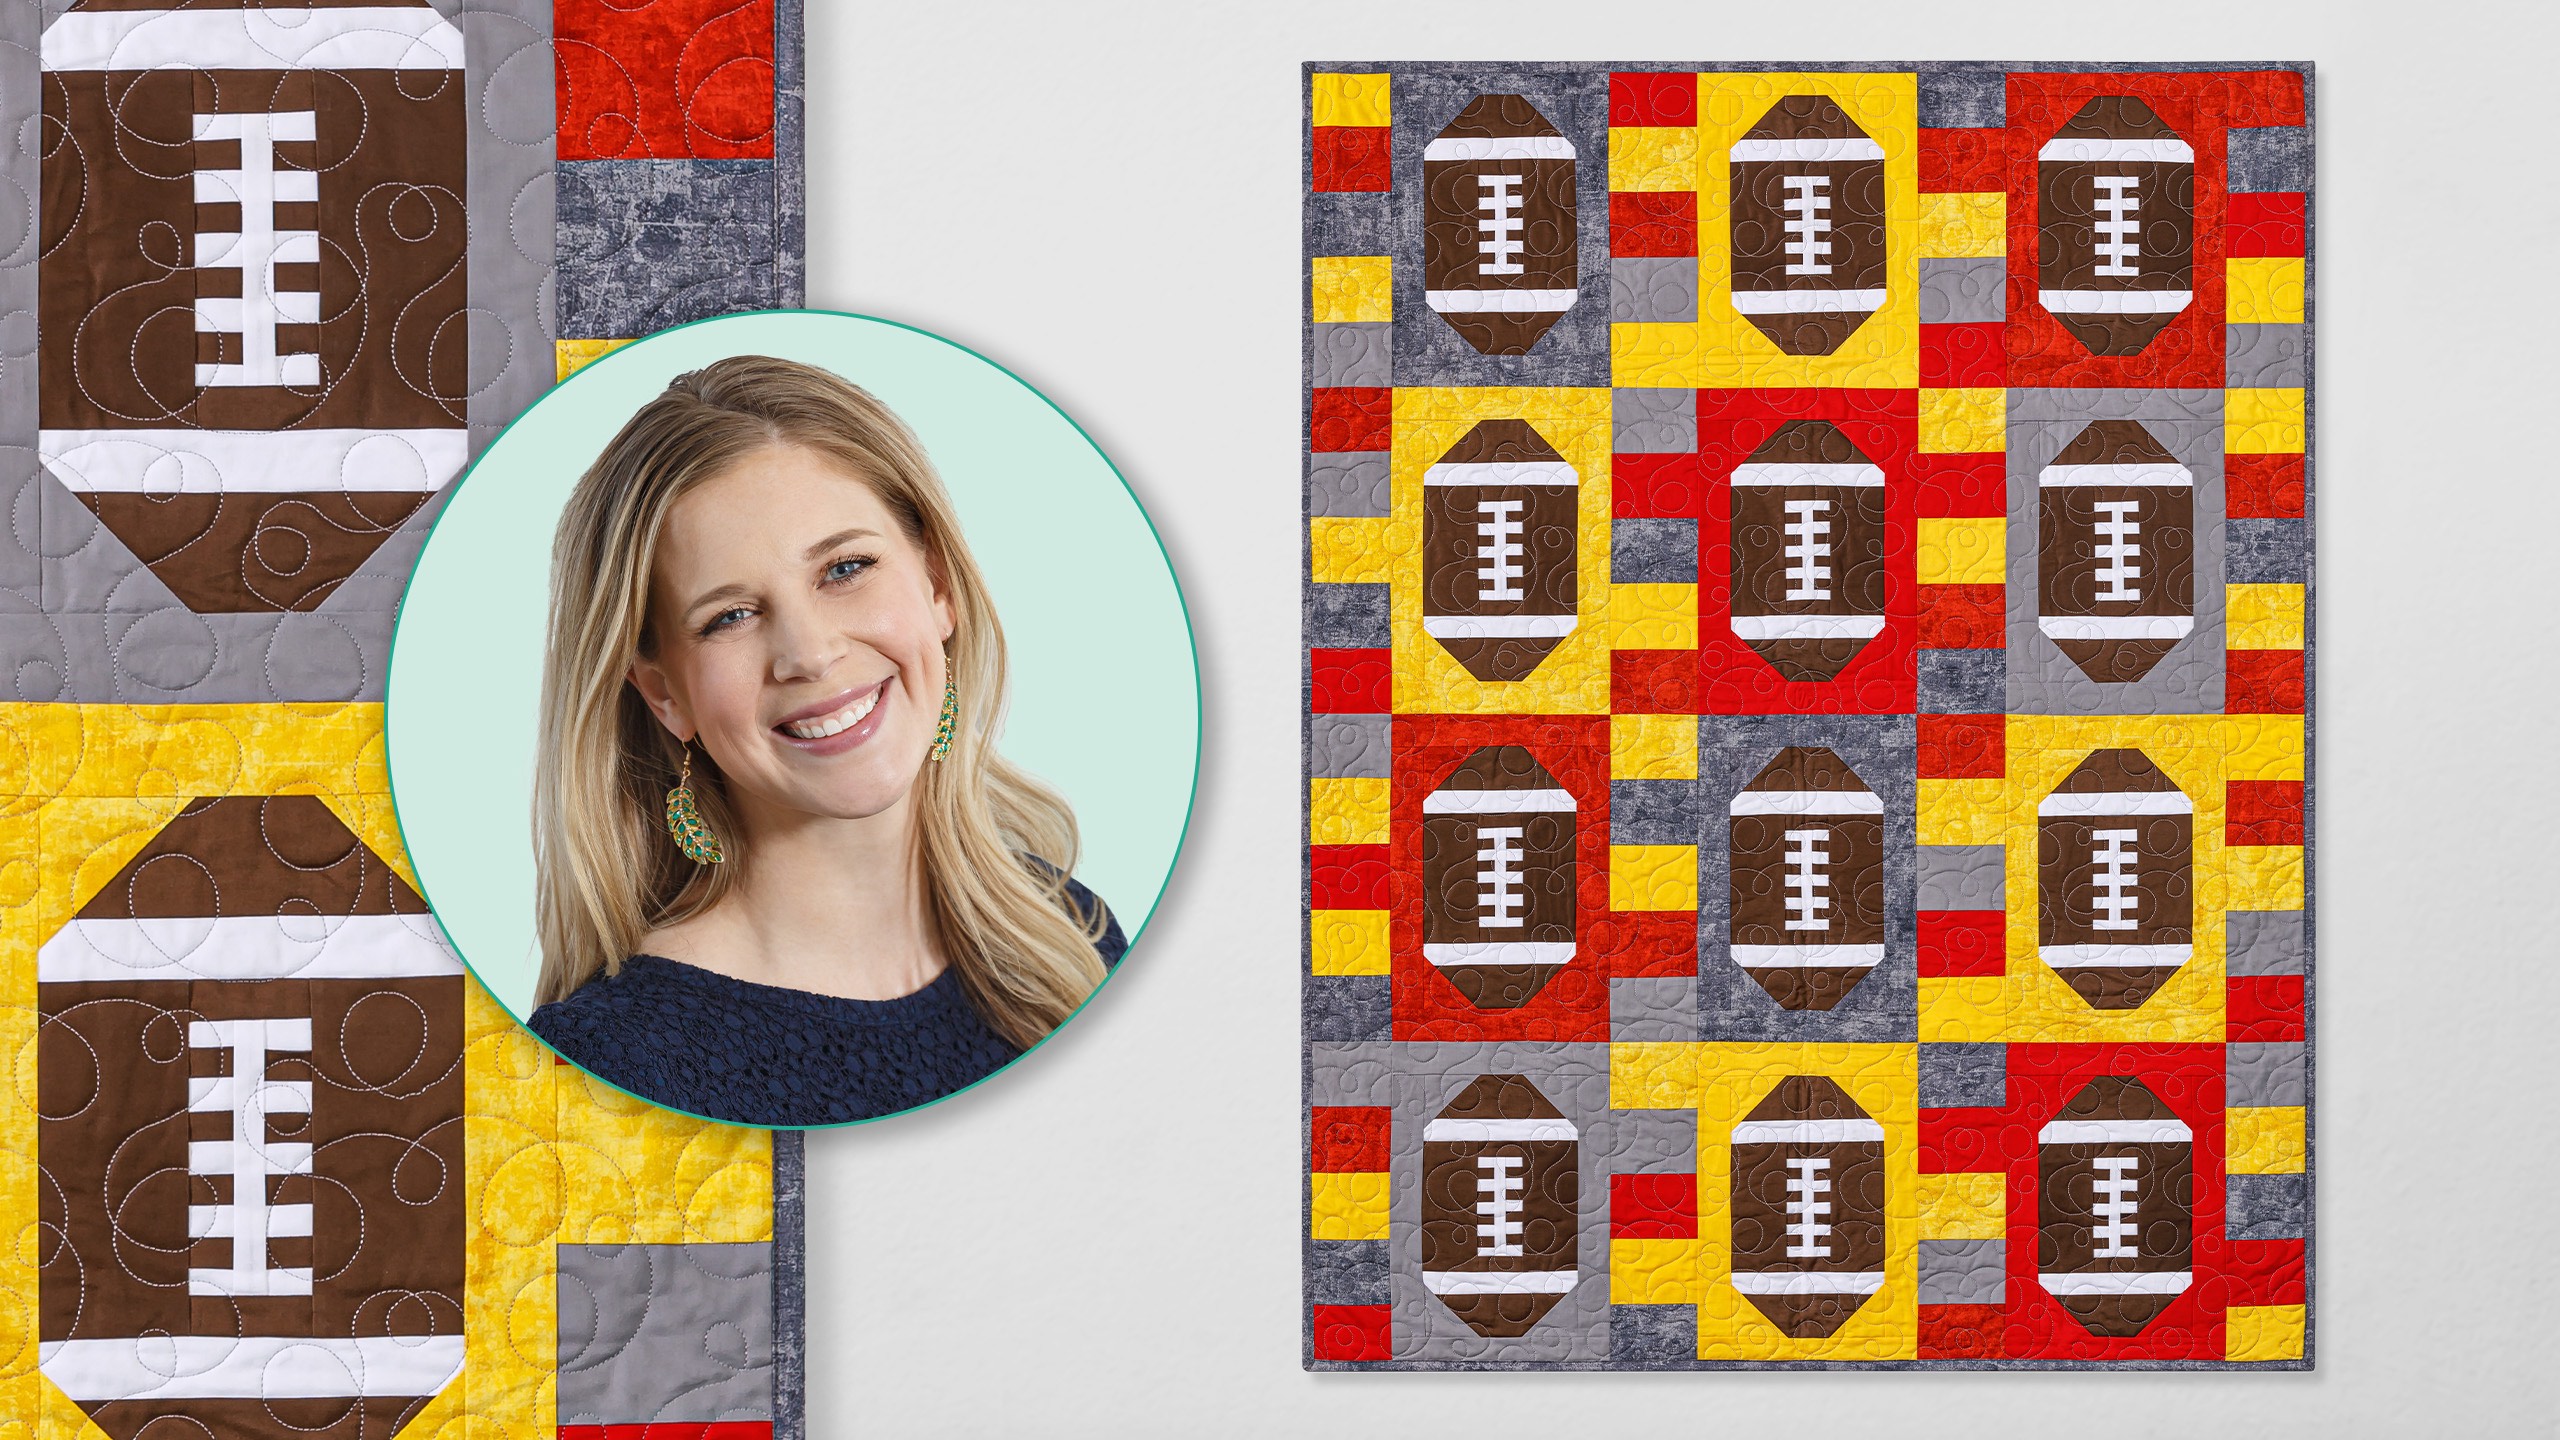
 Misty Doan
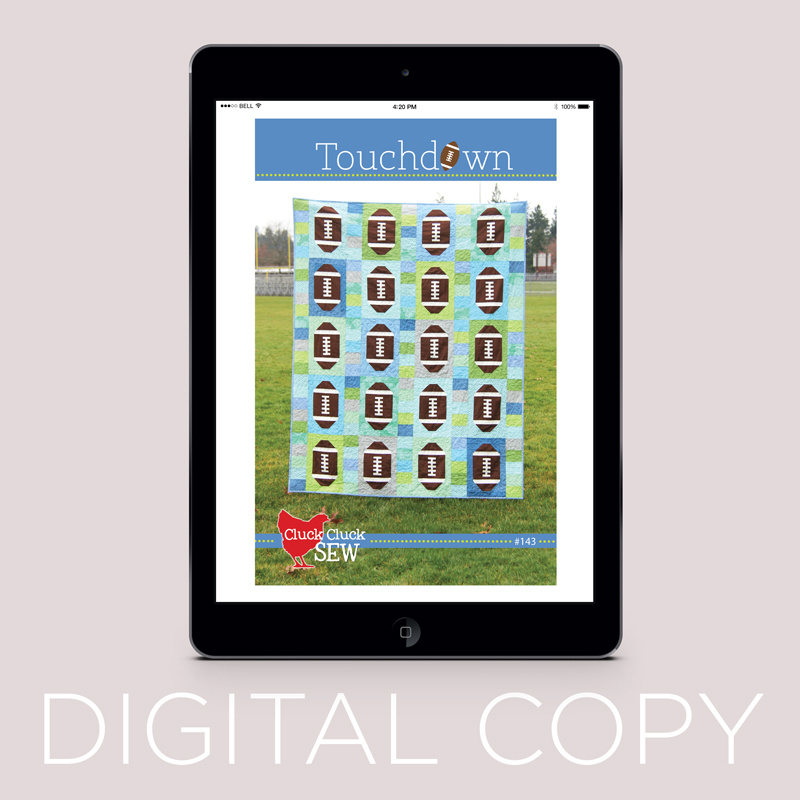 Digital Download - Touchdown Quilt Pattern$8.75Shop →
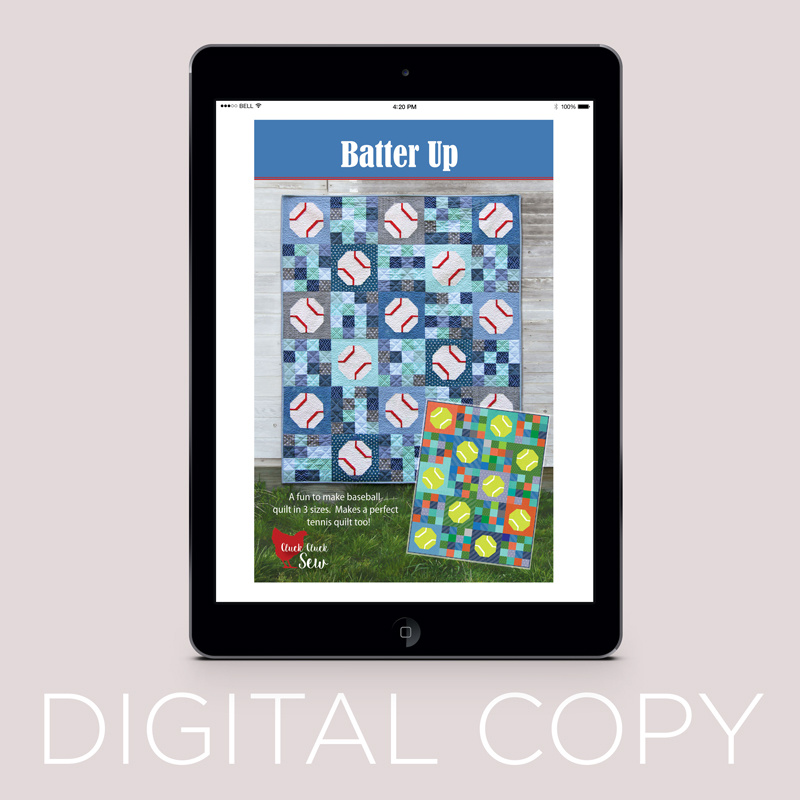 Digital Download - Batter Up Quilt Pattern$9.25Shop →
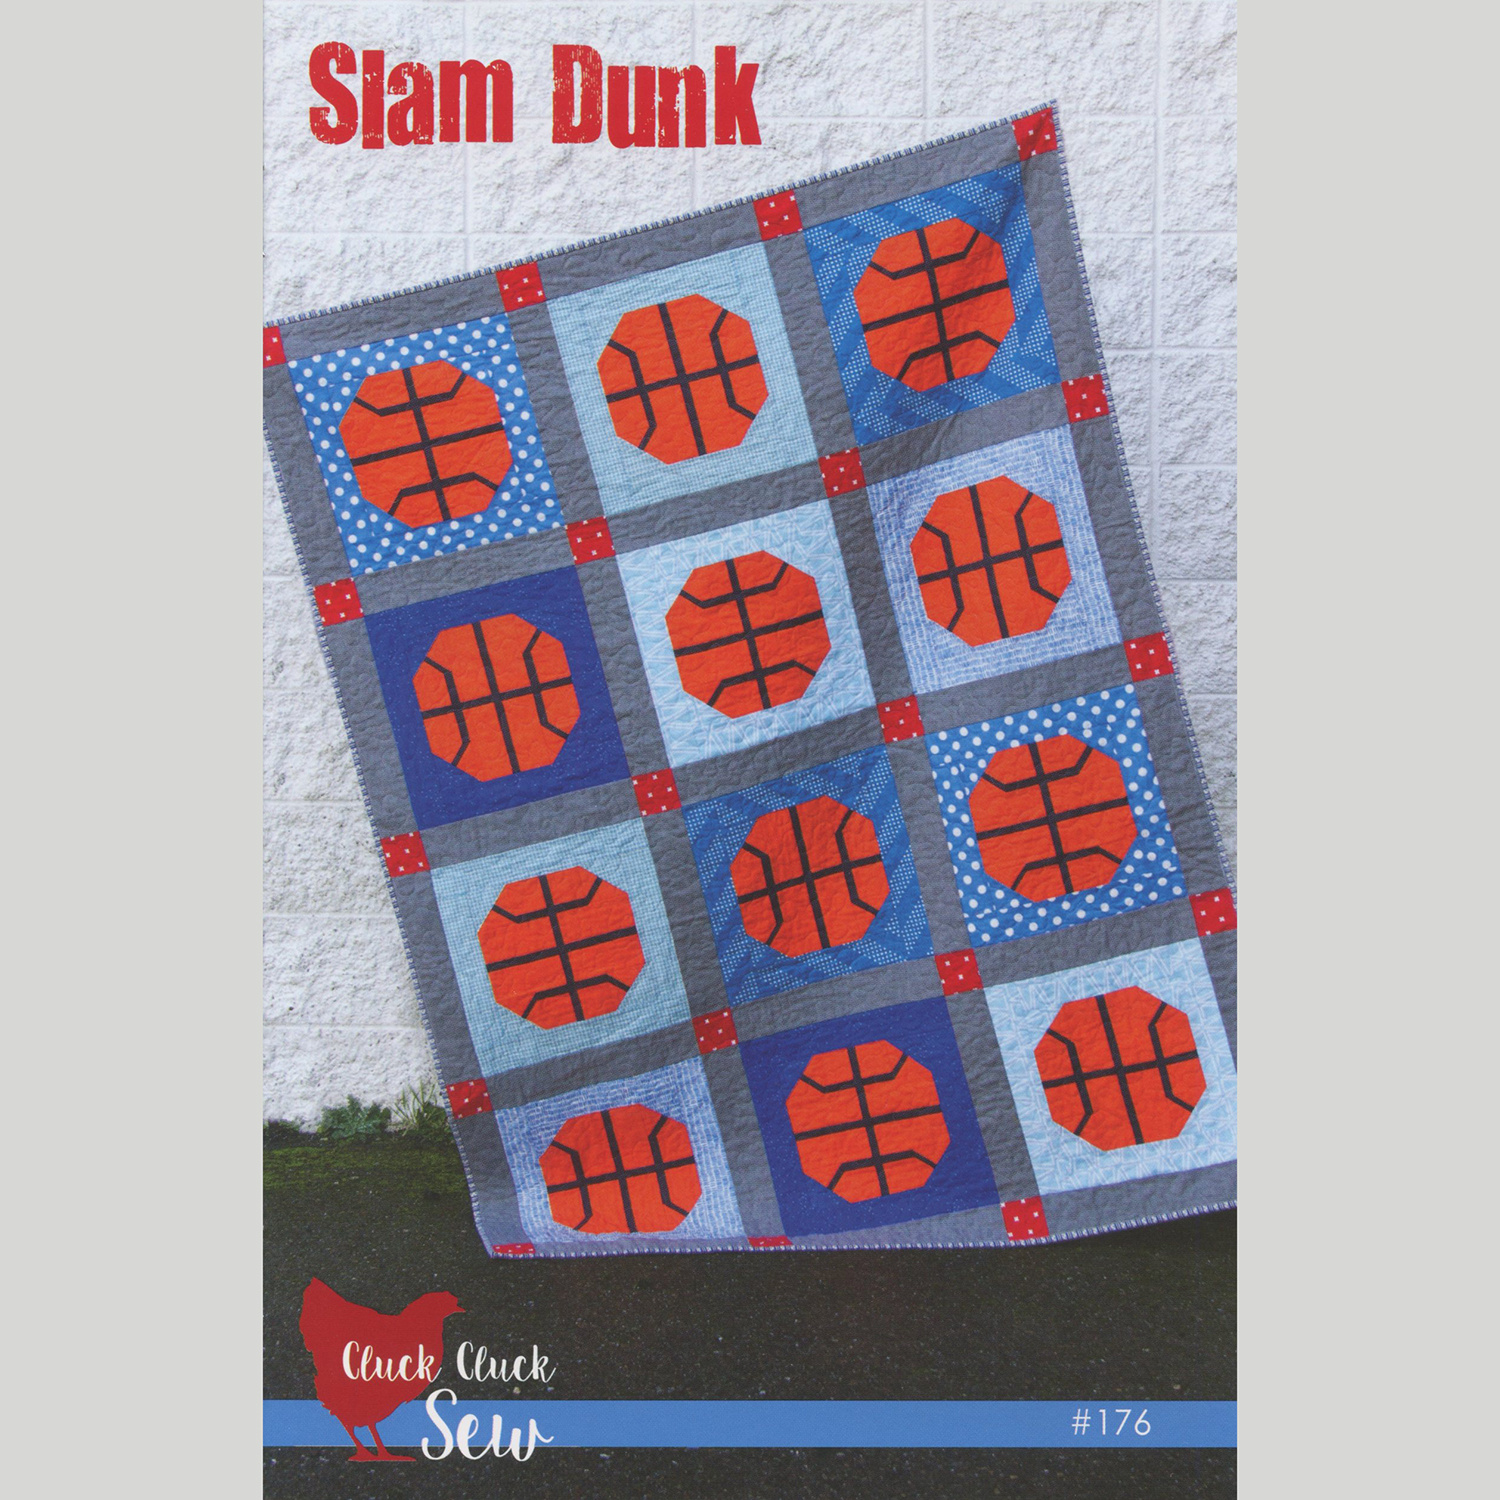 Slam Dunk Quilt Pattern$9.75Shop →
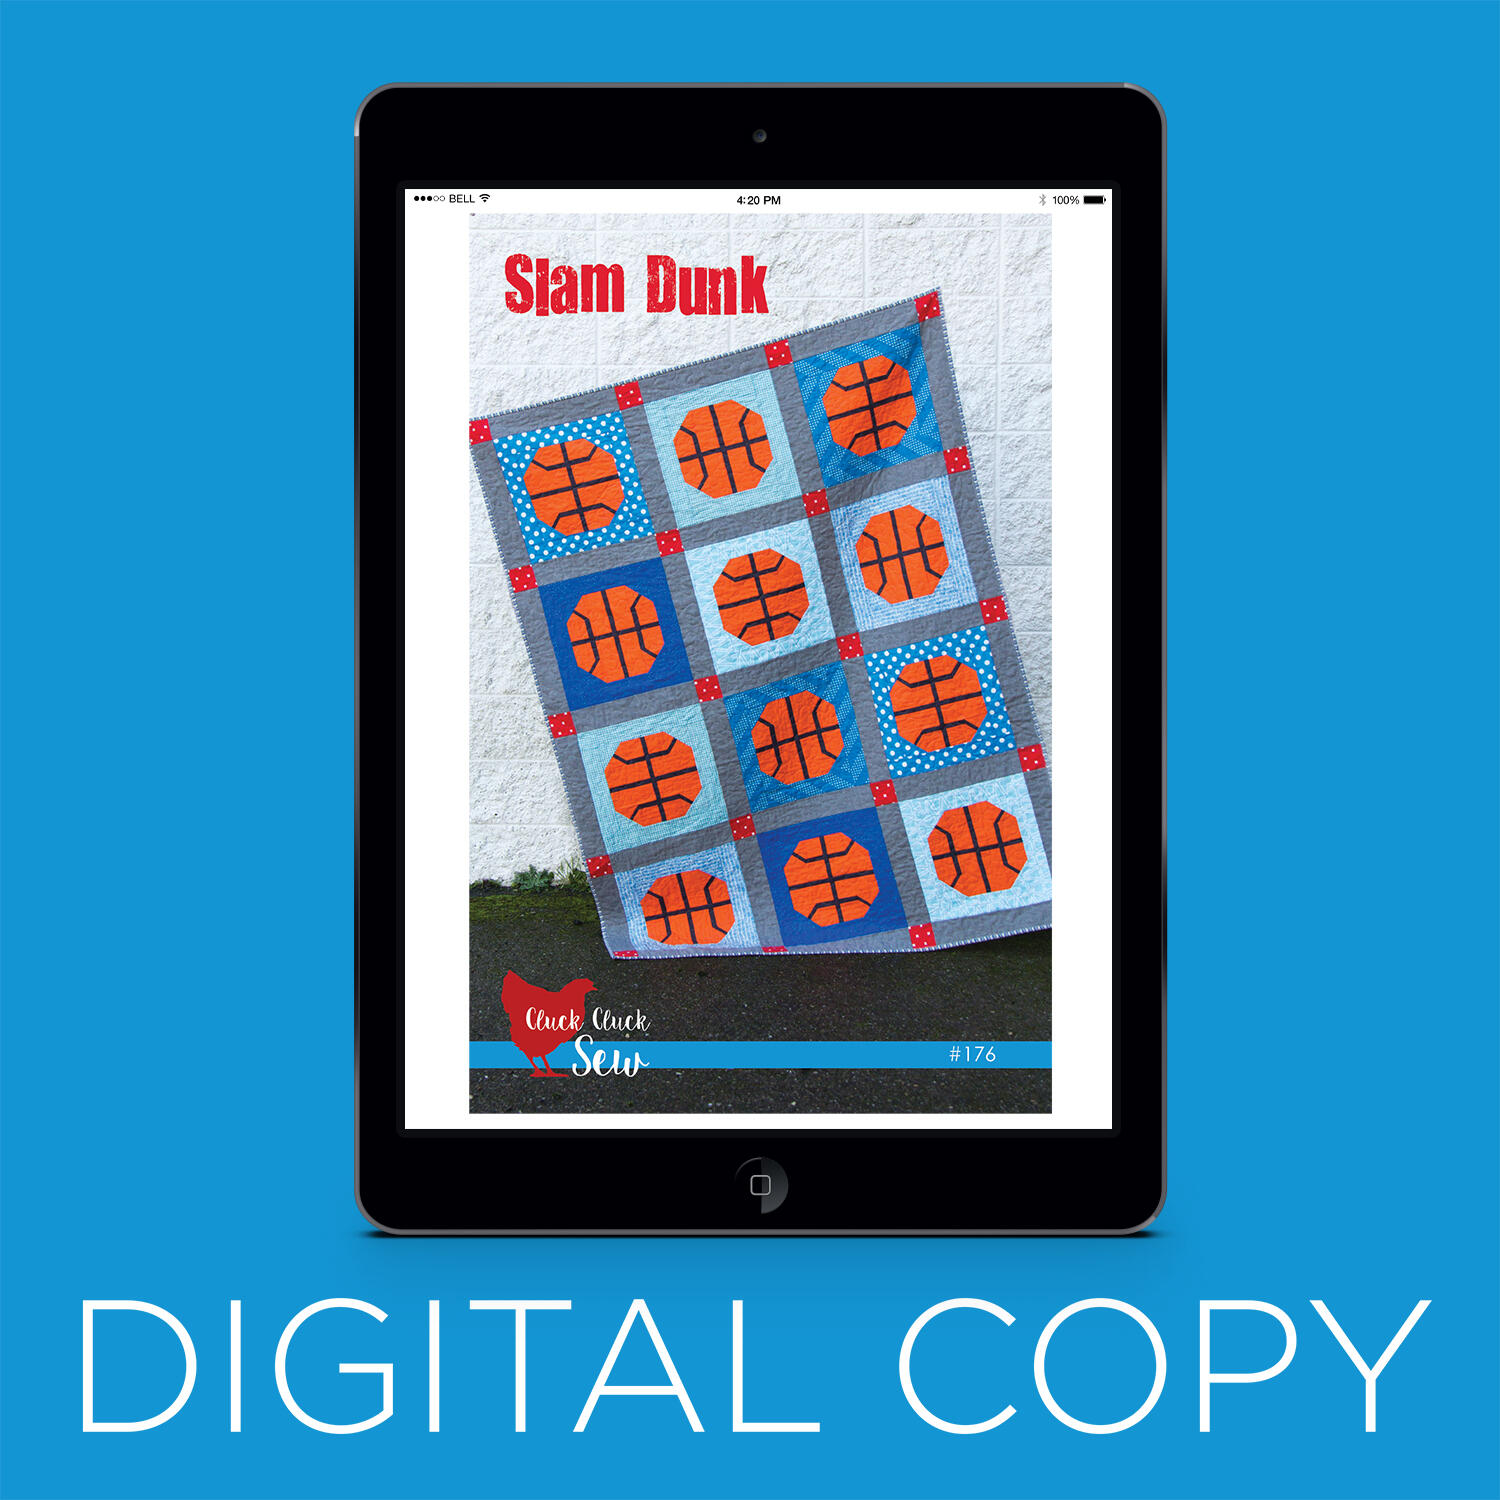 Digital Download - Slam Dunk Quilt Pattern$9.25Shop →
 Colorworks Premium Solids - Chocolate Yardage$8.12Shop →
 Colorworks Premium Solids - Superwhite Yardage$8.12Shop →
 Colorworks Premium Solids - Cardinal Yardage$8.12Shop →
 Colorworks Premium Solids - Sunflower Yardage$8.12Shop →
 Colorworks Premium Solids - Smoke Yardage$8.12Shop →
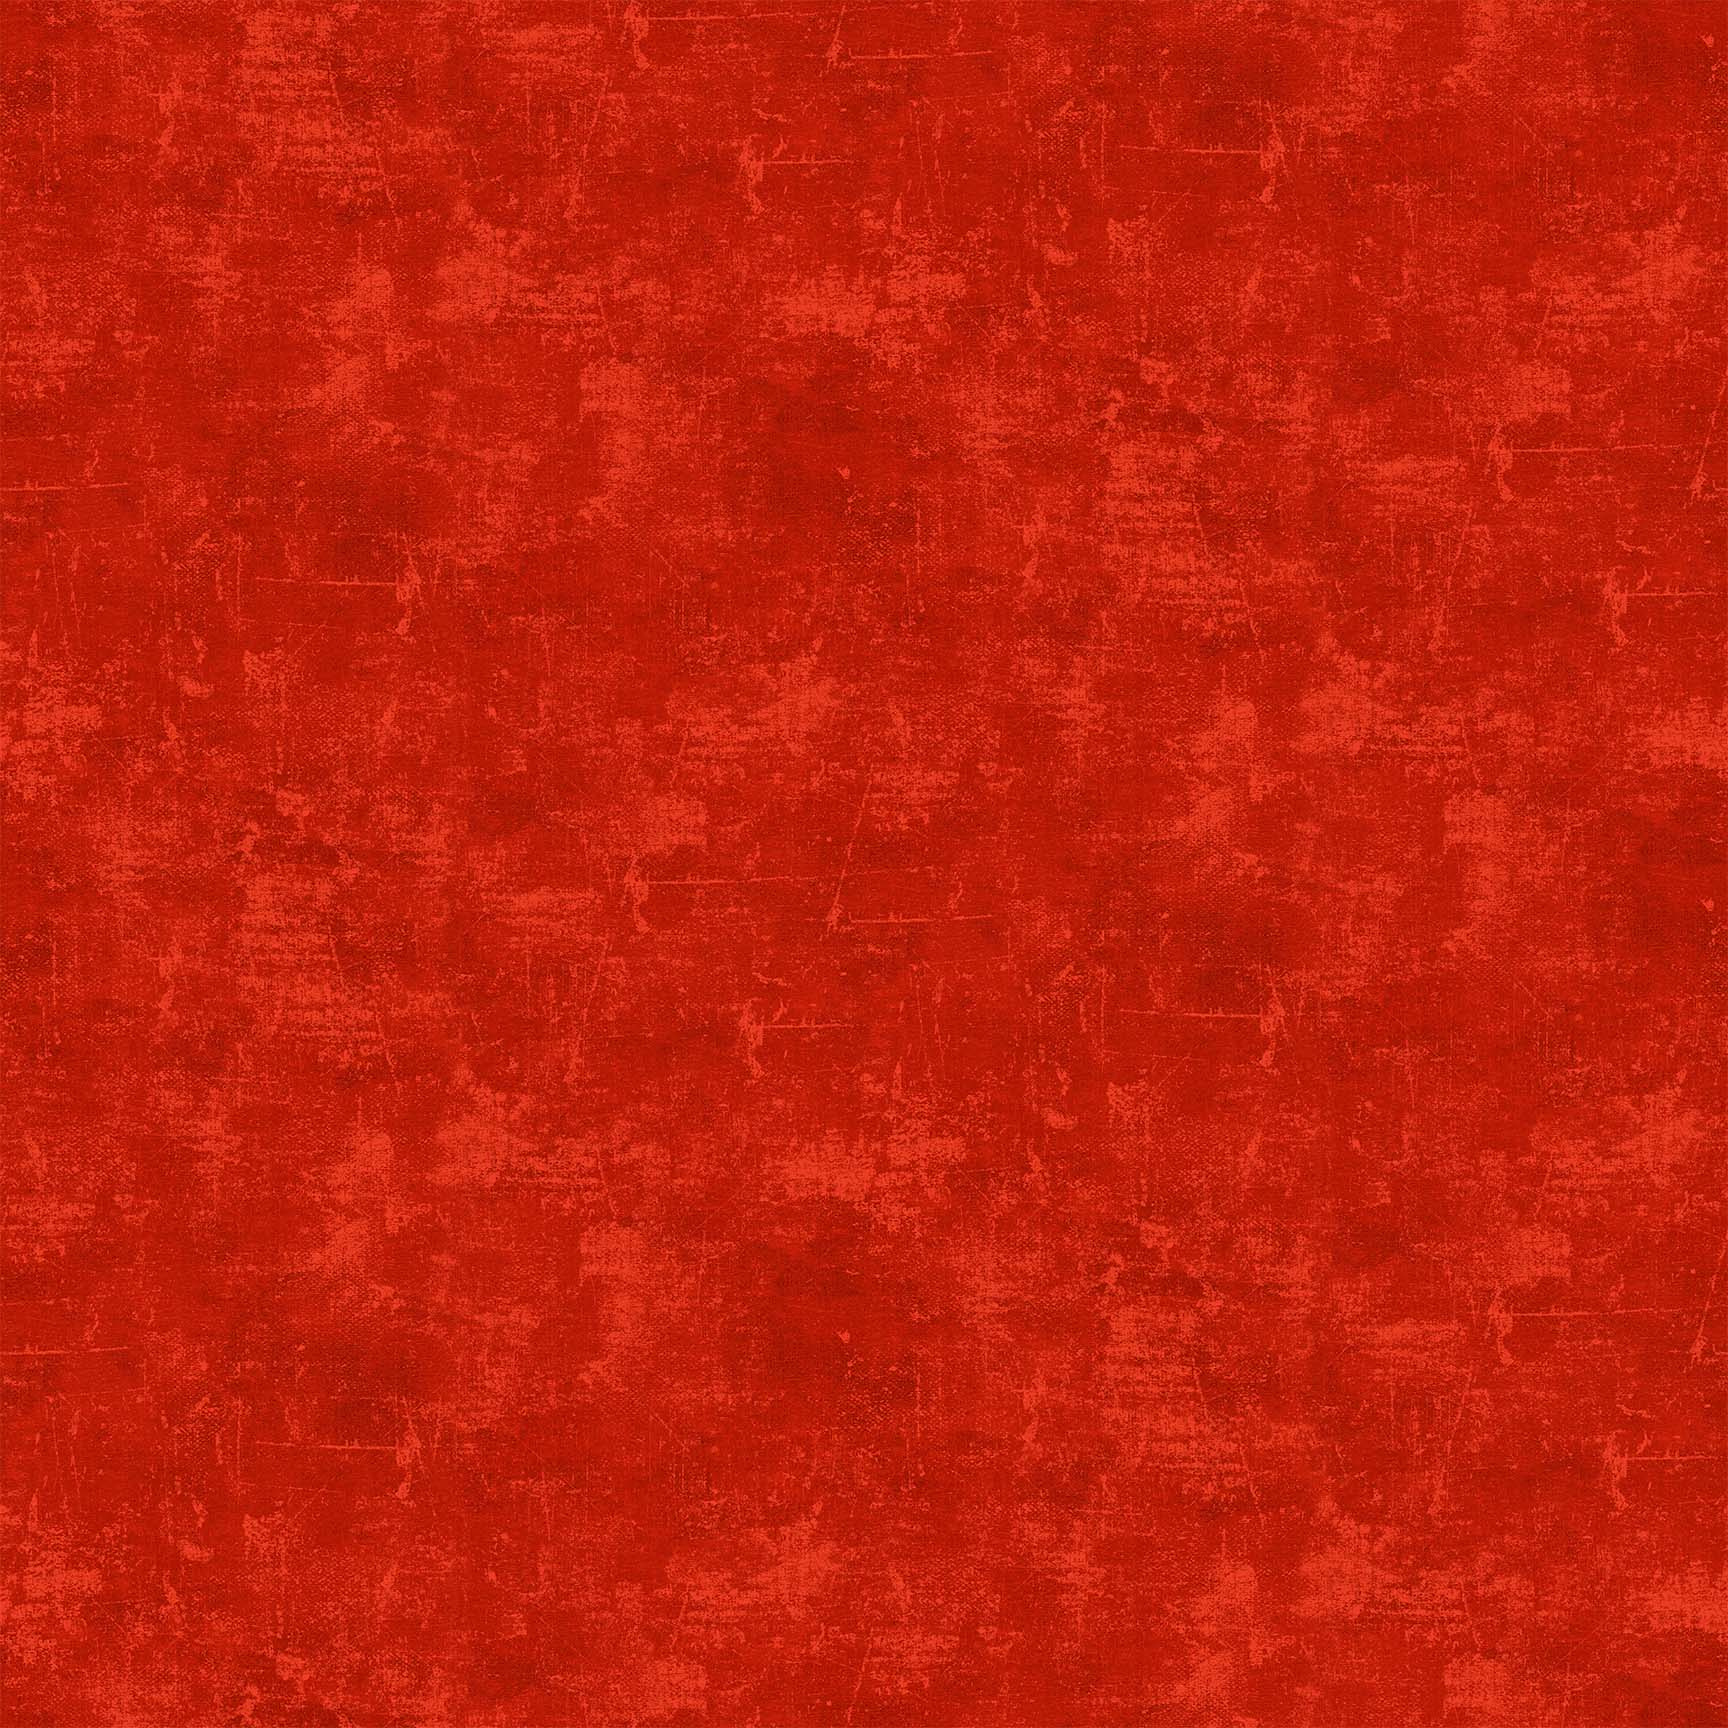 Canvas Basic - Hot Sauce Yardage$10.12Shop →
 Canvas Basic - Sunglow Yardage$10.12Shop →
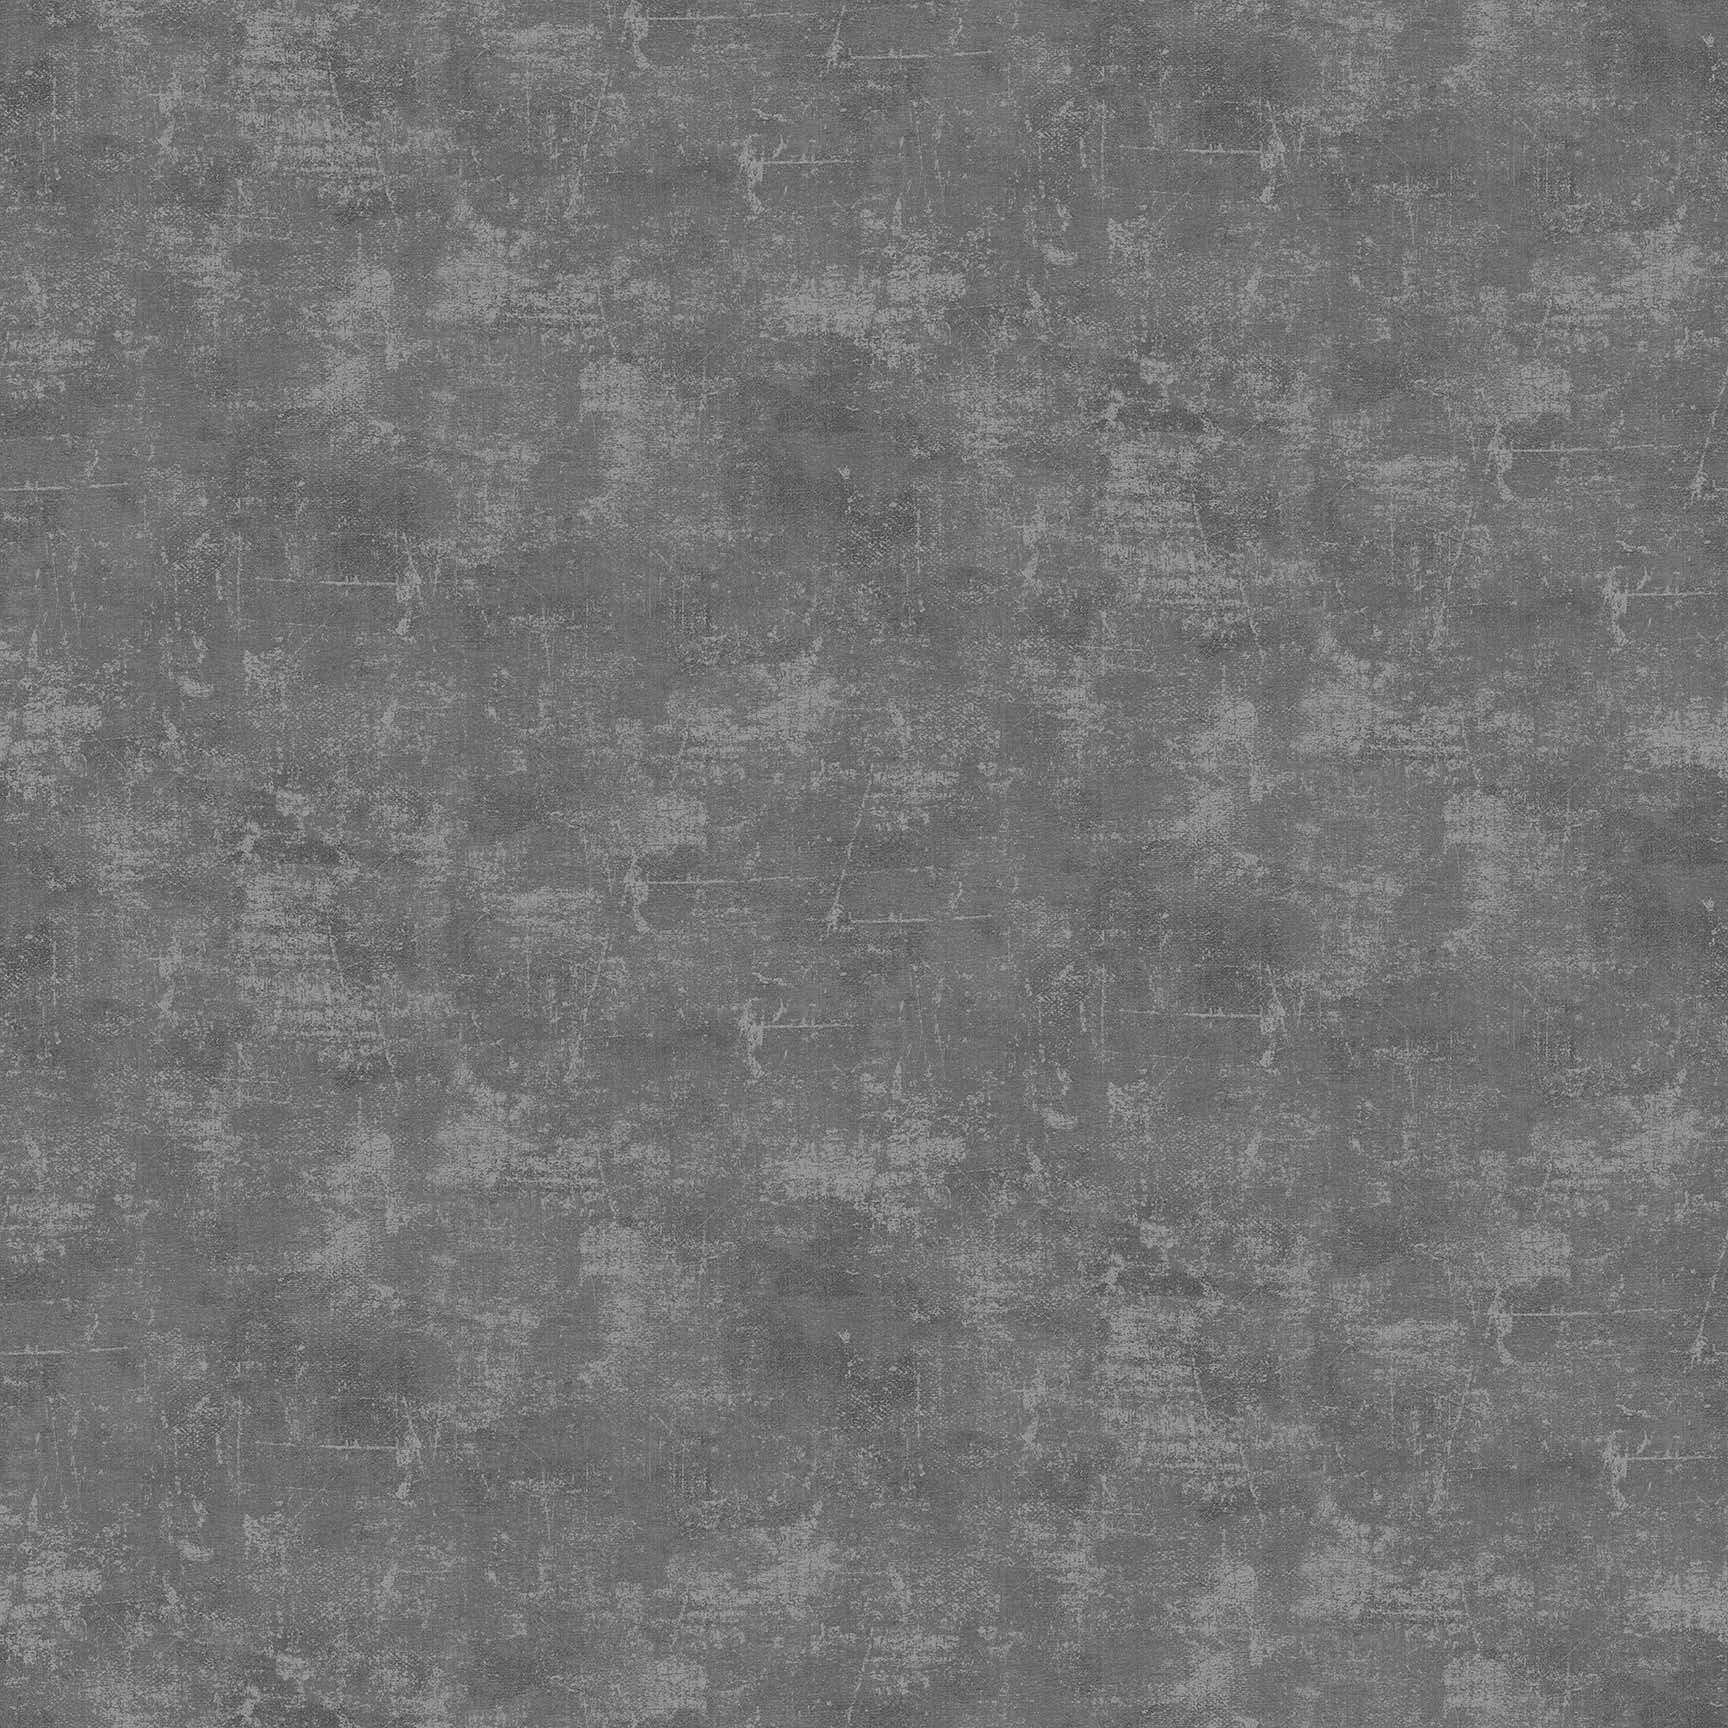 Canvas Basic - Charcoal Yardage$10.12Shop →
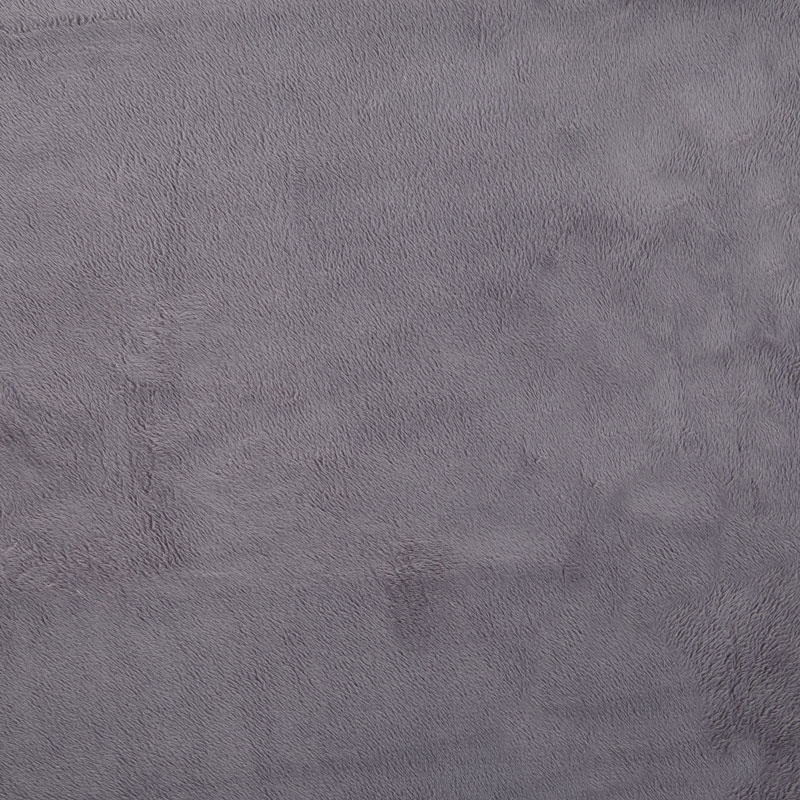 Cuddle® Solids - Charcoal 60" Minky Yardage$15.35Shop →
 Missouri Star 45mm Rotary Cutter - Olga$19.95Shop →
 Missouri Star 8" Everyday Scissors - Amelia$19.95Shop →
 Missouri Star 50 WT Cotton Thread White$7.95Shop →
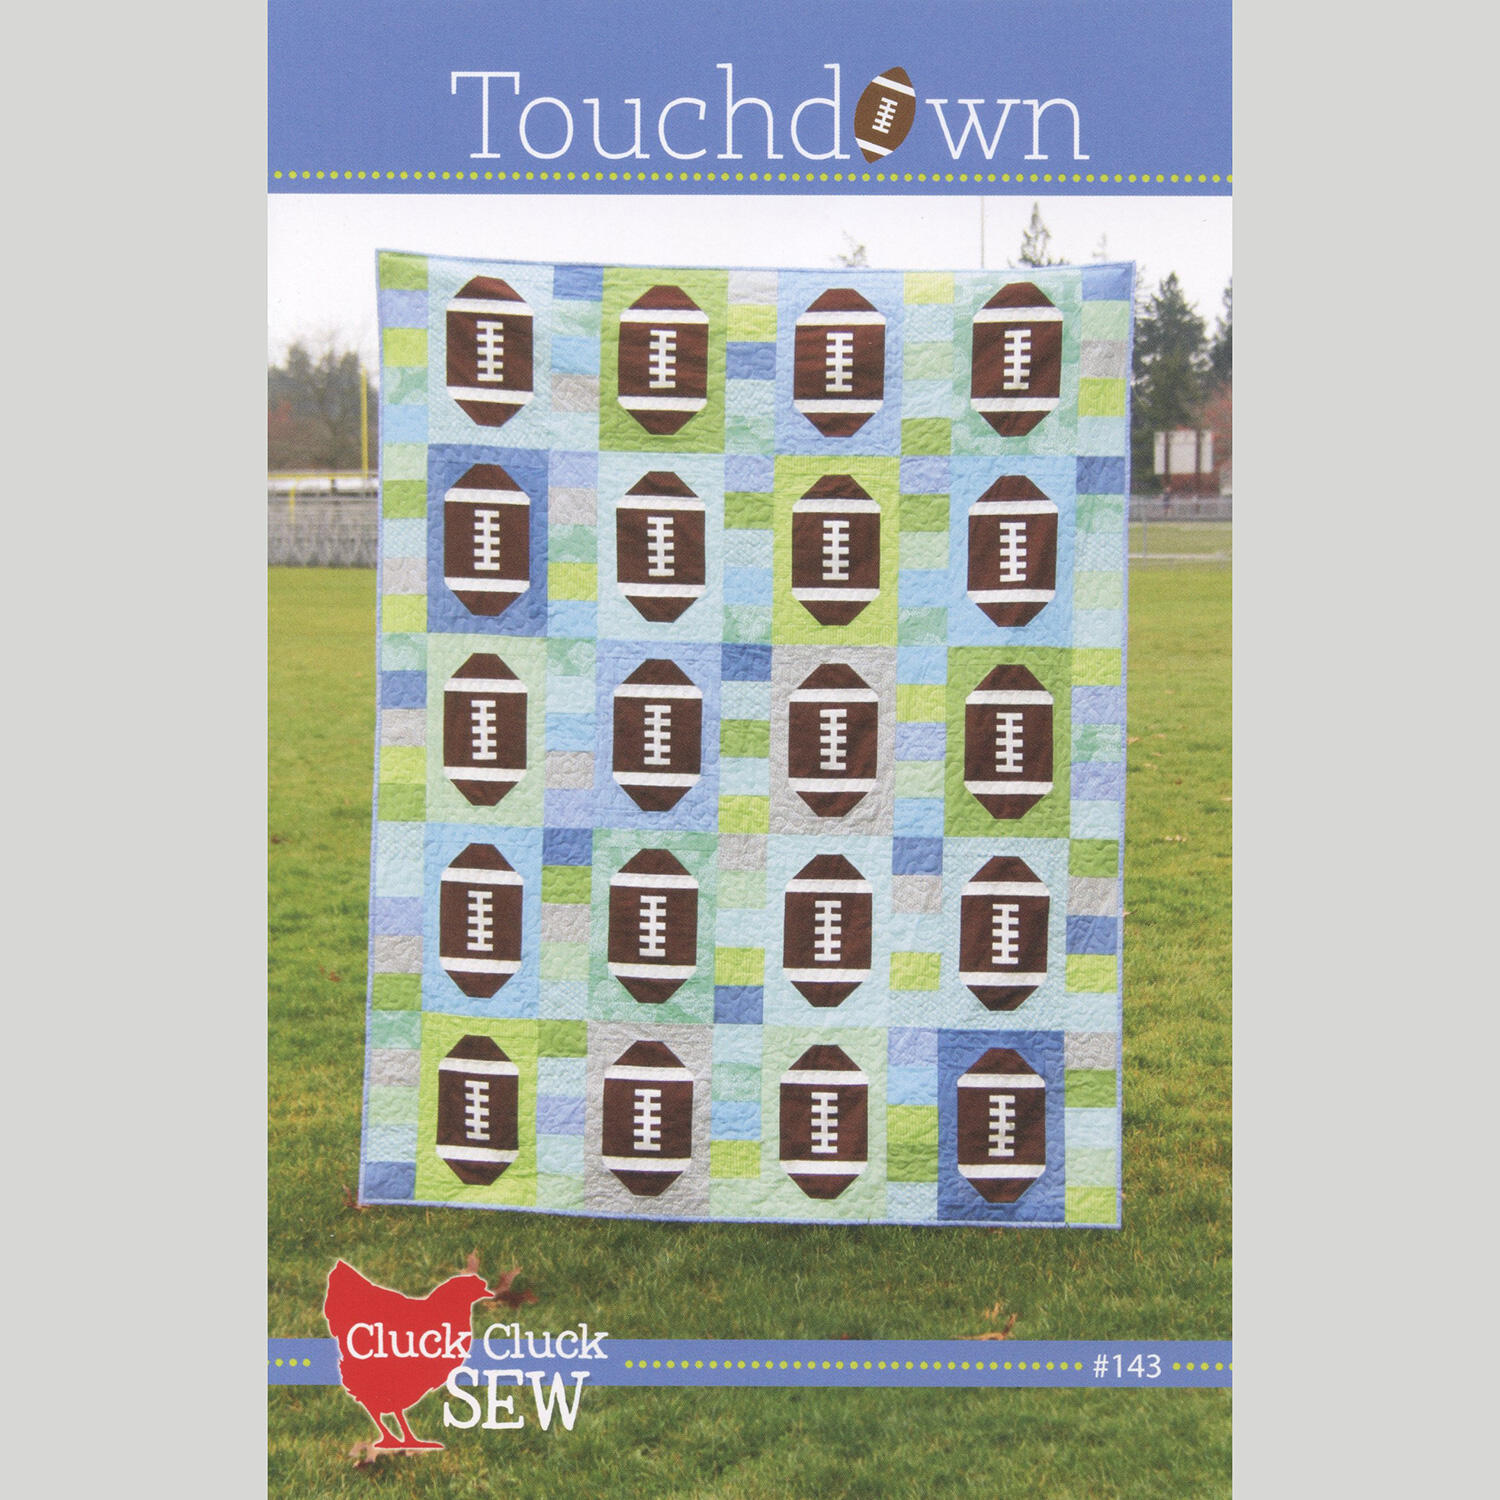 Touchdown Quilt Pattern$9.75Shop →
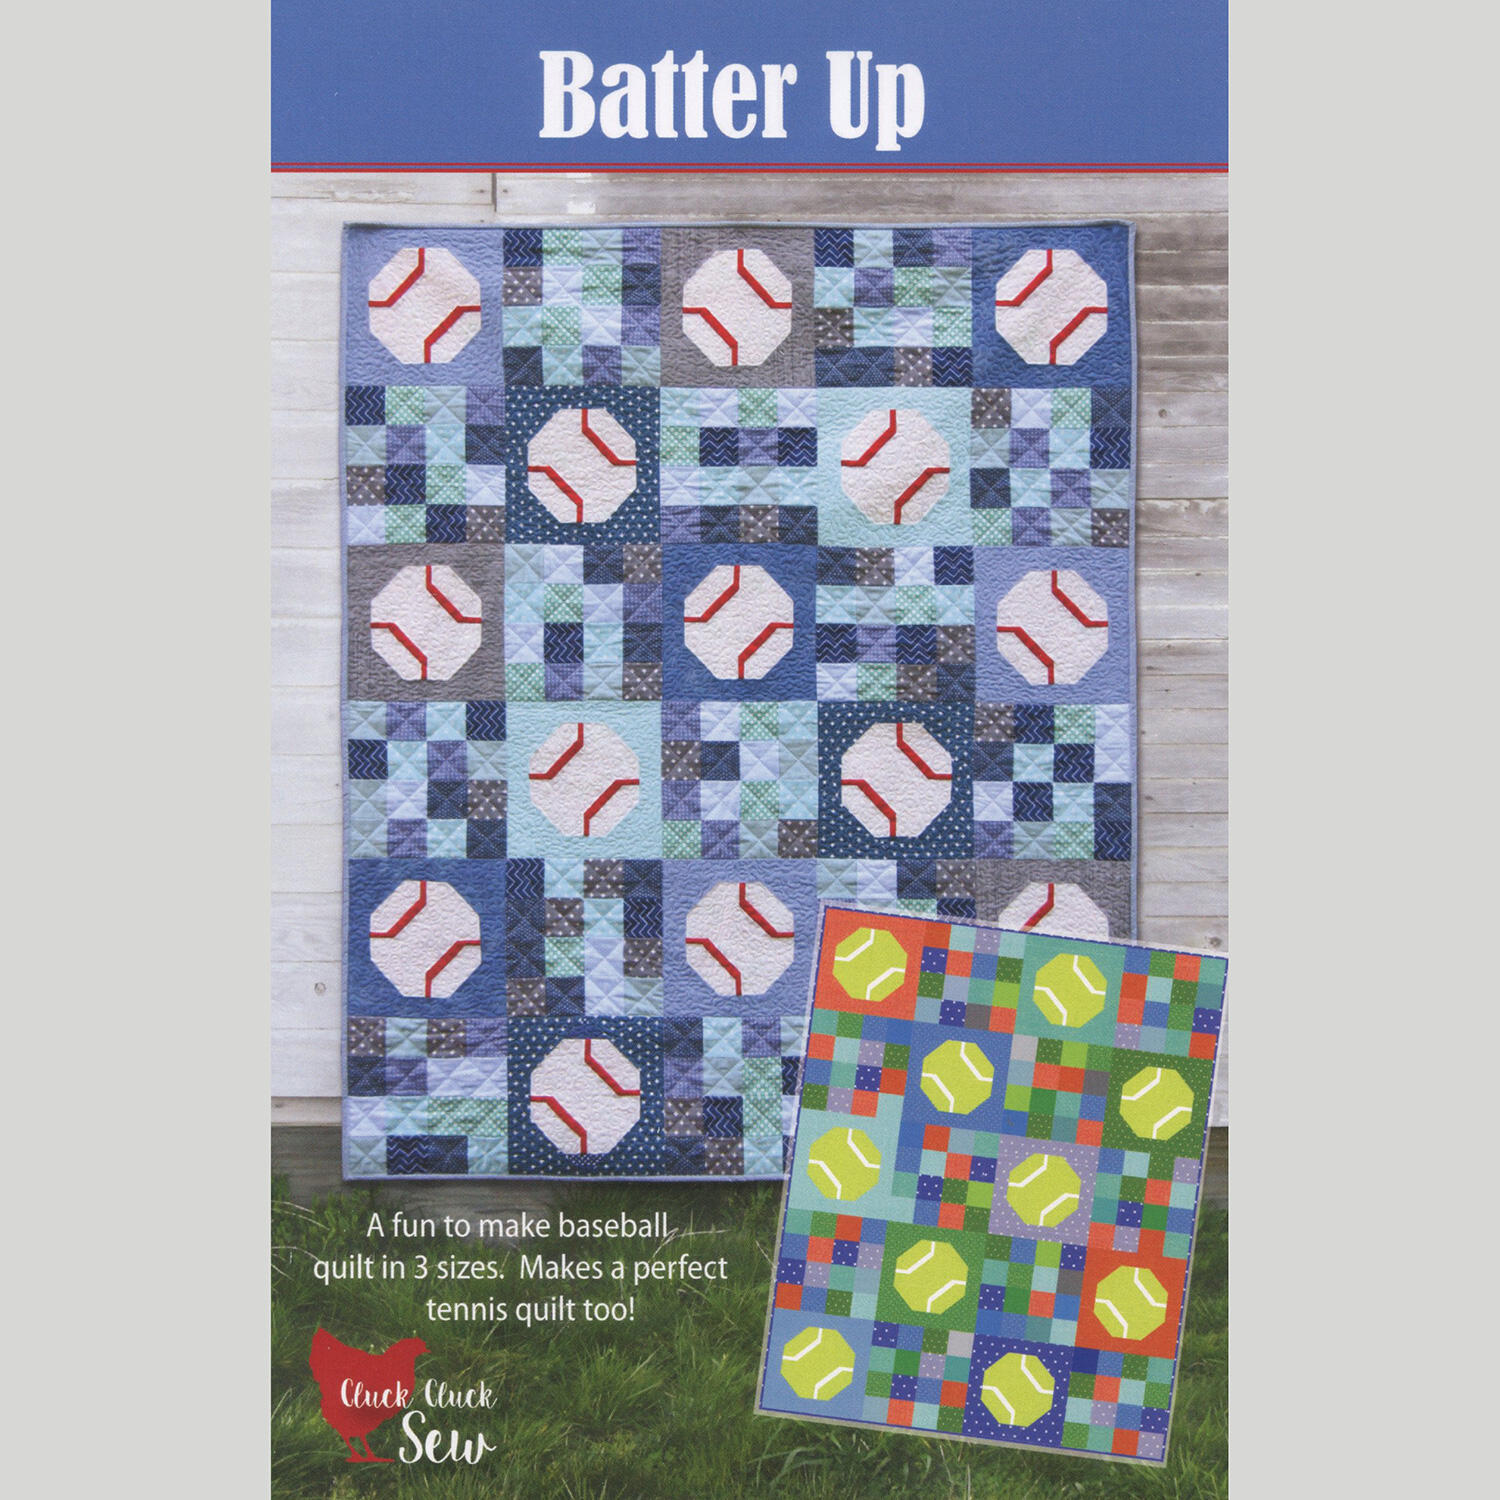 Batter Up Quilt Pattern$9.75Shop →


