Two new patterns for one classic block. Let’s make the Tree of Life! The Tree of Life quilt has been a favorite since the 1800s. It's been made and remade, with countless variations. And this week, we're adding two new patterns to the mix.
Natalie is the host of Quilting 101, Embroidery 101 and the Creative Strategist and Editor of Block Magazine at Missouri Star Quilt Company. She was taught how to sew by her mom, of course, and began quilting when she grew up.
Two new patterns for one classic block. Let’s make the Tree of Life! The Tree of Life quilt has been a favorite since the 1800s. It's been made and remade, with countless variations. And this week, we're adding two new patterns to the mix.
How long is the tutorial video?
The tutorial video is 00:29:06.
Are supplies listed for this tutorial?
Yes. The tutorial page includes the supplies and materials connected to this project.
Video Transcript
Hey everyone, it is double take day. I am Misty from Missouri Star Quilt Company and I'm here with Natalie. Yep. Hi. And today we are tackling the tree of life block. And so we have some really fun ideas for you. Yes. It's going to be fun. And I think you are going to get us started, right? I'm going to go first. We'll see how it goes. [Music] All right. So, I guess I get to go first today. This is my quilt. I've had so much fun with these solids and picking these colors. It was really fun. I love it. And it's a lot easier to make than you think. I promise. Okay. Awesome. It's not often that we get to use yardage for quilts, so I'm I'm pretty excited about it. I loved that, too. It was really fun. Kind of freeing. Yeah, totally. Okay. So, to make my quilt, you're going to need a light, a dark, and a medium. So, of your dark, you need 2/3 of a yard. Your light is a yard and two/3. Medium fabric is three yards. And that's because I used my same medium for my border. And then background is four yards. And my backing is 7 and 1/2 yards. This is a large quilt if you have um just 45 inch wide fabric or 2 and 1/2 if you have a 108. And this is a 108. This is sold in our backing shop. And I just think it turned out beautiful. It's got all the right colors. I was going to say, could the colors have been any better? I think it's perfect. It worked out. All right. Now, you will need to square a bunch of half square triangles. And the way that I made mine, the clearly perfect works great because you cut them out of the two. Oh. So, I'll show you how to do that. Perfect. All right, let's get started. All right. So, this quilt is made using these two blocks. So, I have my little tree of life block here. Awesome. And then this is my secondary block, and it's kind of Jacob's ladderesque. Yes. But I think it's really fun with the the design. I love it. So, we will learn how to make both of them. They're fairly simple. We'll start with our harder one because then we can get that out of the way. I love that. And it's not too bad, I promise. So, the first thing we're going to do is make all of our little half square triangles. And to do that, we're going to take two and a half inch strips of our light and our dark. So, you're going to put them together with your background and stitch on both sides to create a tube. So, it looks just like this. Okay? And then with each of these colors, and I've got these done already, cuz that's just a long time of sewing, those long tubes. So, with these colors, then we're going to take our Clearly Perfect, and we're going to cut out all of our um half square triangles. And they are then press squared as you cut. So they're all 2 and 1/2 in square. And on this you kind of just do your tops and bottoms and switch back and forth. And then there's like a little bit of waste in between just because they end up being it gives you just a little bit of extra room. Okay. So typically you can use one side right on the right on the seam or I mean you you do line it up on the seam. Sorry. your 2 and 1/2 inch line. And then you'll notice here when you flip it back that there's that little space. So you just scoot it over and keep it lined up on your stitch line. And then you'll cut across there and cut off this little extra bit. And typically you only have to do one um one of your little corners. So and if you miss it, it's not a big deal to just back cut it. Yeah. So I love that. That's a fun little hack because you're going to get a lot of half square triangles out of that strip. Yes. Yes. And we need quite a few for this. So, we'll cut them out of our light and our dark. I'll do a couple of these just to keep showing you. And it's it seems a little fidgety, but you're cutting and squaring at the same time, so it's really not bad. And then we'll press them open. Do you need me to press? Sure, that would be great. I do have a bunch done. Okay. Up here. Lots of them. Perfect. And we'll just lay them out. Show them how to go. So, you can press those if you like. I'll roll a few back just so I have something to do. Cool. Cool. Set these. Get all these strips out of the way here. Okay. because the next thing we're going to do is our tree trunk. Okay. Okay. So, now I'm going to show you how to make this tree trunk part. So, we're going to start with two squares. Our background square is 8 and 1/2 and then our dark green is or well, it's technically my medium. Yes, it is um 9 in. Okay. So, we'll leave that hole. And then this one I'm going to cut in half diagonally just like this. And then I'm going to add to the middle this 1 and 1/2 by 13 and 1/2 inch um strip. Okay. So, what I'm going to do, I always like to just finger press and find the middle and then do the same on these guys and match up those middles because it'll get it's just easier if you know where you got to have everything lined up. Match them up. Yeah. Okay. So, you'll just do one side. And if you put the um put them together so that they nest, right? Stitch that one. We'll flip it and turn it out. And probably find that middle again because I'm going to press it in between. Uh-huh. Okay. It just makes life easier. Make sure I'm staying lined up. There we go. And these pieces, um, the measurements that I've given are kind of tight, okay? So, you'll want to use scant seams and be careful. And if you need more space, just cut bigger squares and and trim it down after you're done. Okay? So, I'm going to find that middle again. And then you can add this middle. match that up and stitch this side on. Beautiful. And the stance seam really is is more on this section here than So I'll show you I'll show you what I'm talking about before we get ahead of ourselves. Okay, there we go. All right. So, now we have our stem and we're going to add the rest of it kind of half square triangle style. Just like so. We're going to do a little diagonal line here. You have a pen? A pencil would be great. Okay, there you go. And you can draw this on the other side if you want to, but I think you can see it on here. We're going to stitch on both sides of that line. So, keep this this seam is where you need to be kind of scant. Okay. But, um I will just do a little bit. Yeah, it shouldn't be too bad. Okay, there we go. All righty. So, we'll cut this apart now. And then this gets squared to 8 and 12 in. Okay. And you get two tree trunks. Two for one. That's awesome. Yep. Just like that. So, let me go ahead and press it and then we'll square it up. It should be pretty close. I tried to keep my measurements close so that it wasn't like a lot of waste, you know. Makes sense. All righty. So, we've got eight and a half. It's Yeah, it's right on. So, I've just got a tiny little bit here. You did good. You gave me extra. Yay. Not too tight. Yep. And you just want to make sure you're uh when you're squaring without like a block lock block or whatever that your points go into your corners. And then I'm trying to make sure that this stays sort of centered here. If it gets a little off, it's not a big deal, but I uh I like to try and line things up. So, we'll cut that and trim that off. And we're good to go. A nice square block. Beautiful. Yep. Okay. So, now we're going to take our um our little half square triangles and we're going to line all of these up so they all hit the color. Whoops. Just like this. And then these ones go on top. There's more of the dark ones over on the ironing board, too. Awesome. So, we do four and that adds up to again 8 and 12 inches across. And then there's this little block in the corner that's kind of like a bow tie. It has its two. Um, so we can make this little four patch up here if you want. Okay. So, I'll have you do this piece right here. That's perfect. And then these get Whoops. It's hard when you're you've got all these half square triangles every which way. It seem like they're going every which way. They're really not. They're all going the same way. There's just a lot of them. Yes. And these do go opposite directions, okay? So, you want to watch the directions of your half square triangles as you're putting them together. I'm almost done with this little guy. Perfect. See here? Nest that little middle. [Applause] There we go. All righty. Let me move some of this stuff out of the way. All right. So, this goes up here in this corner just like so. And so what I would do now is I'm going to go we should sew these together in rows. Okay? And then we'll join these two rows to this four patch. Yep. And then these two rows will be joined to this. And then we'll join those together like a off offkilter for patch. An offkilter for patch. That's right. And I just found that it was easier for me to stitch together all the same colors and then create that row and then add it to these two rows. Makes sense, you know, part of it. So that's how you do that. Okay. Perfect. All right, so next block is even easier. Okay, we'll go ahead and put these away. This would, you know, takes a minute. They're nice and um nice and big though, comparatively as as half square triangles go. They're they're not the smallest. Okay, so this one we're going to need to make some half square triangles. So our medium and our background are 5 in squares. We're going to draw a line um from corner to corner. One line and stitch on both sides of this line. And I have one of these already made. Oh, awesome. So you don't have to sew it. Easy for me. Yep. So we'll go ahead and cut this apart. And then um everything in this block is 4 and 1/2 in. So I'll use my Clearly Perfect again and cut these down. Very little waste here because we, you know, we did our our smaller measurement with the five inches. Oops. That's the nice thing about having that seam line up because you can just put it right back. Want me to press those for you? That would be awesome. Okay. And then we'll just line it up because all the other squares in this block are already cut to 4 and 1/2 in. There's just these four half square triangles and the rest are just fulls size squares. Nice. So that comes together super quick and easy, especially compared with all the tiny triangles on your other blocks. I thought for me it's nice to have these kind of broken up with, you know, a little bit of of tough stuff and then a bunch of easy stuff. I love that. I like the combination anyways. Well, and they're beautiful together. I really like how they look with these two blocks paired together. And I always I always go with like colors that are easy. So I'll put together my blue in this diagonal setup. And then I add my half square triangles facing in just like that. And I think I have Yep. I've got a couple more here. This one. And then this one. And then we just have our two little backgrounds in the corners that fill it out. And that's it. Sew that together like a giant nine patch and you're good to go. Awesome. It's so pretty. So the diagram here is just it's just that. It's a diagram. So I started by putting mine in the middle and then I went around with my little um Jacob's ladder diagonal blocks and I just kind of wanted it to starburst out from there. So you'll just, you know, watch that diagram. These ones face out and then these two face to the middle. But it's um one, two, three, four, five, six squares across and six down. It's square because that's I like the design. Of course. Yeah. You're just keeping with that kind of Yes. Yes. burst from the middle. I went ahead and quilted it with this is one of our new ones. It's called Dollop. Um this machine quilting pattern. It's really fun. And the uh outer border is 5 and 1/2 in. Okay. So, this is my backing. And you can see the machine quilting really nicely on it. It's that uh lovely dollop pattern. But I love this north cut um Stonehenge. It's just it worked out so great with this quilt. Absolutely beautiful. So I love it, Natalie. Awesome. Well, I hope you guys have fun making it. It's It's a lot easier than it looks. I promise. Absolutely. And I can't wait to see what you've got for us. All right, let's do it. All right, so this is my quilt. It's so beautiful. Thank you. I really love how it turned out. I called it Grandmother Willow. One, because I love that character, and two, because my grandma, who taught me how to sew, had a beautiful willow tree at her house that I would play under as a kid. So, this is a nod to that. So, and the colors are just so beautiful. Thank you. Um, I used the Color Works Northcot solids and they were beautiful to work with. Absolutely gorgeous. Um, that's great. I love having more variety to work with. I know. Me, too. And so to make this quilt, you are going to need 2 and 1/4 yards of your accent fabric, which in this case is actually your white. Um, and then you need four yards of your background fabric, which is this beautiful sage color. And then for your backing, you need either four yards with a horizontal seam or I actually did use a 108. And you just need two yards of that. This is such a pretty 108. I I really like it. Just a sweet little floral and it matches your colors perfectly. Perfect color. I love when that happens. And then I'm going to use the uh trimmer B from the Clearly Perfect slotted trimmers. So, let me show you how to make it. So, this is the little block that we will be making and it is all on point today. Oh, I love it. So, let me show you how to do it. So, up first, we are going to cut 8 in squares of both our white and our green. And then we are going to start by making the large half square triangles that we use in the trunk here. Okay. And so to do that, I have just drawn an X on my white piece. And we're going to sew on both sides. Stitch it. Yes, please. Both sides of both lines. Both sides of both lines. That's right. You know the drill. I do. There we go. All right. I'm just going to you do that. Perfect. And so since these are 8 in squares that we are working with, 4 in is what we're looking for. So you're doing the make eight but with a smaller square. See, mom always says you just change the square size and it's all based on that and it still works. Yes. And since we had solids, you know, I got to play with that a little bit. And we can just cut right on those drawn lines now. Just like so. Excellent. And then we have a bunch of our half square triangles that we're going to use for our little tree trunks. And I'm going to go ahead and square this to three and a half. So, we're using trimmer A for this part. Just like so. And then now you have the perfect little half square triangle for that. So many. Yeah. And I have a bunch of these already done and pressed. But let's go ahead and finish this part of the block unit. And so up next, I've cut some 2 by 3 and 1/2 inch rectangles and some little bitty 1 and a/4 inch squares. Tiniest tiny tiny little squares. And so I'm going to have you snowball. We're going to place two of these. So we'll do one, do one, trim it. Okay. Trim and flip. And then do the other side. Exactly. And so for each block we're going to make two like this. So it's kind of like a star sashing. Exactly. Sort of. Okay. Yeah. Very similar to that. Excellent. Little pieces. Itty bitty. Go nice and slow. Yeah. And you might shorten your stitch length a little bit when you're working with these small pieces. Okay. Sometimes that is helpful. All right. So, do you trim that with scissors? Typically, I usually do. I just have scissors there. But I, you know, it's and then finger press it or do you Well, so I press because when you're working with small pieces like this, it really stretch. You don't want to stretch it. You don't want it to get wonky. Okay. And and starch probably. Absolutely. All of that makes a big difference when you're working with small pieces. And so then now we've got that one. Press back. We're going to add our second here. Yeah. And go point to point. Okay. This is one too where if you got them all lined up, you could do all of one side. Exactly. When you're making the whole quilt instead of just one block, we do it slightly different, you know. Yeah. And it makes it go very quick when you can sit and chain piece um kind of assembly line style. These these steps. Definitely. Okay. There you go. Beautiful. So then we'll trim that and press this one. Okay. And then I have another one done because like I said, you're going to need two of these for all of your such a cute little um little tree trunk stem. Yeah, a little tree trunk. And so I have a 2-in um white square as well. And so then when we put this together, they're just going to go like this. All right. So we'll sew these two and these two. Cool. And then sew that together. Okay. I love these little hacks. Just learning how to do it all. Yep. Beautiful. All right, let me press that. Oh, that looks great. I hope so. It does. It looks beautiful. It's always a little bit more stressful when you've got these tiny pieces. I know. It's true. We do our best, right? Giving you a challenge, huh? And so there is 1/4 of our block already done. And so now we get to start on all these little half square triangles. So let me show you that is still going to use our two 8 in squares. Okay. And so I have a, you know, a green and a white. And on this one, I took my ruler and I measured in 4 in in both directions and drew a line. And then we're going to go ahead and sew a quarter inch on both sides of both of these lines and then all the way around the outside edge. All right, I can do that. You would do that. I will. It's another tricky way of making half square triangles. And so this method gives you the exact number that you need for one block. So you can kind of keep that in mind. Excellent. [Applause] [Applause] [Applause] All right, there you go. It's a little bit stringy, but I think it'll do. And so, by doing this, we now have four 4in squares that we've sewn all the way around. And so I'm just going to cut this apart now on the lines that we drew. There we go. And I'm going to use the trimmer B to get your hole sizes. A is half exactly and B is holes. And so we are looking for little bitty 2in half square triangles. They're so little. They are so little. I feel like I need to make this quilt though. It's just so beautiful. It looks so um vintage. Yeah, I I really love how it turned out. I wanted to kind of honor this traditional block. It really is traditional and so I kind of leaned into that and I I do really like it. Yeah, it turned out so great. All right. And so then we have our adorable little 2-in half square triangles. And all you're going to do now is just rotate your square. Oh, and you have plenty of room. so much room to just trim each of these out. And so that will give you 16 half square triangles, which is exactly how many you need for one block. And so it's it's good mental math to keep track of. And I have a bunch of these ready to go. And so now we're just going to start laying out our other little quadrants pieces. Yes. And so some of the other pieces you're going to need are these 2 by 3 and 1/2 in rectangles and some 2 in green squares as well. So I have those ready to go. And so we're going to begin by these these corner blocks here are exactly the same. And so I'm going to start by laying out my half square triangles. And I like to start with my triangles pointing in. Oops. the white going down. It's always tricky for me to do at least the first block. Yes. Because once I've got that one done, I can reference it, but getting it laid out right the first time, especially when you've got a bunch of triangles going one way or the other is challenging. And so then this little green one is going to go in there and this one's going to go in there. And then when we sew it together, it looks just like this. Looks like I actually swapped it, but either way in the quilt, it looks exactly the same. And so we make two of those per block and they're exactly the same. So we can set those aside. And so then now let's talk about the layout for the last little quadrant. Okay. And so those we're just going to use the twoin squares. And I like to kind of put them down the middle. That's my my guide. Yep. And then the whites point in towards the center just like so. Tiny. They're so tiny. They are so tiny. But man, it turns out so cute. And so then here is our last little block. I love it when it's sewn together. And so then let's go ahead and lay out our four quadrants. So this is our top corner. And then this one comes in here and here and like so. And then when we sew it together like a big four patch, we have our cute little tree. That's awesome. I love it. And so this is set on point. So let me tell you a little bit about how I did that. Okay. Um and so it's just four across. One, two, three, four by four down. And of course you have those kind of in between rows. So I think it's 25 blocks total. um that you have to make and then we need to make some setting triangles. So, let me set this aside here. Up first, we have a 14-in square and we are going to cut this corner to corner in both directions. And that makes these setting triangles here. Yes, that's the the perfect size for that. And so, those are going to be top and bottom and the two sides. M. And then now we just need these four corners. The corners are always smaller, aren't they? They are. And so then we're going to use a 7 and 1/4 in for those four corners. And let me just cut this for you because we're just going to cut this one once. So we'll just lay this corner to corner just like so. And then let's go ahead and take these back to the quilt so I can just show you guys one more time. And so when you're making a quilt on point, you do your rows diagonally. And so that first row is actually this little corner, right? And then we have our other setting triangle, our first tree, and another setting triangle. And we're just going to build our rows diagonally this direction until we've completed our whole quilt. And so then once you have that all done, you can square it up really nice. And then I went ahead and added a 1 and 1/2 inch inner border and then this 5 inch outer border. And the backing is this sweet little floral. It is so sweet. Just the right colors. It was just perfect for it. I quilted it with Athena, which I think turned out beautifully. And it measures 62 in square, so it's a great throw size. I hope you guys hang. It's so pretty on a wall. I want one at home. I agree. I agree. I really love it. So, I hope you guys enjoyed it, too. I can't wait to see what version you make. Well, this has been so fun. I think we did really well with our Tree of Life quilts. I love it. It's a fun block. I agree. It's very fun. Super versatile. I I love both of these quilt projects so much. And I think there's still like a million different ways we could have gone with it and different ways to make the tree of life block. They get bigger and smaller and different shapes and differentiz trunks and there's just Exactly. Well, and that's what's so fun about Double Take is we get to see new ideas every single time. So, I really enjoyed it. It was super fun. So, I hope you guys enjoyed this double take on the tree of life block, and we'll see you next time. All right.


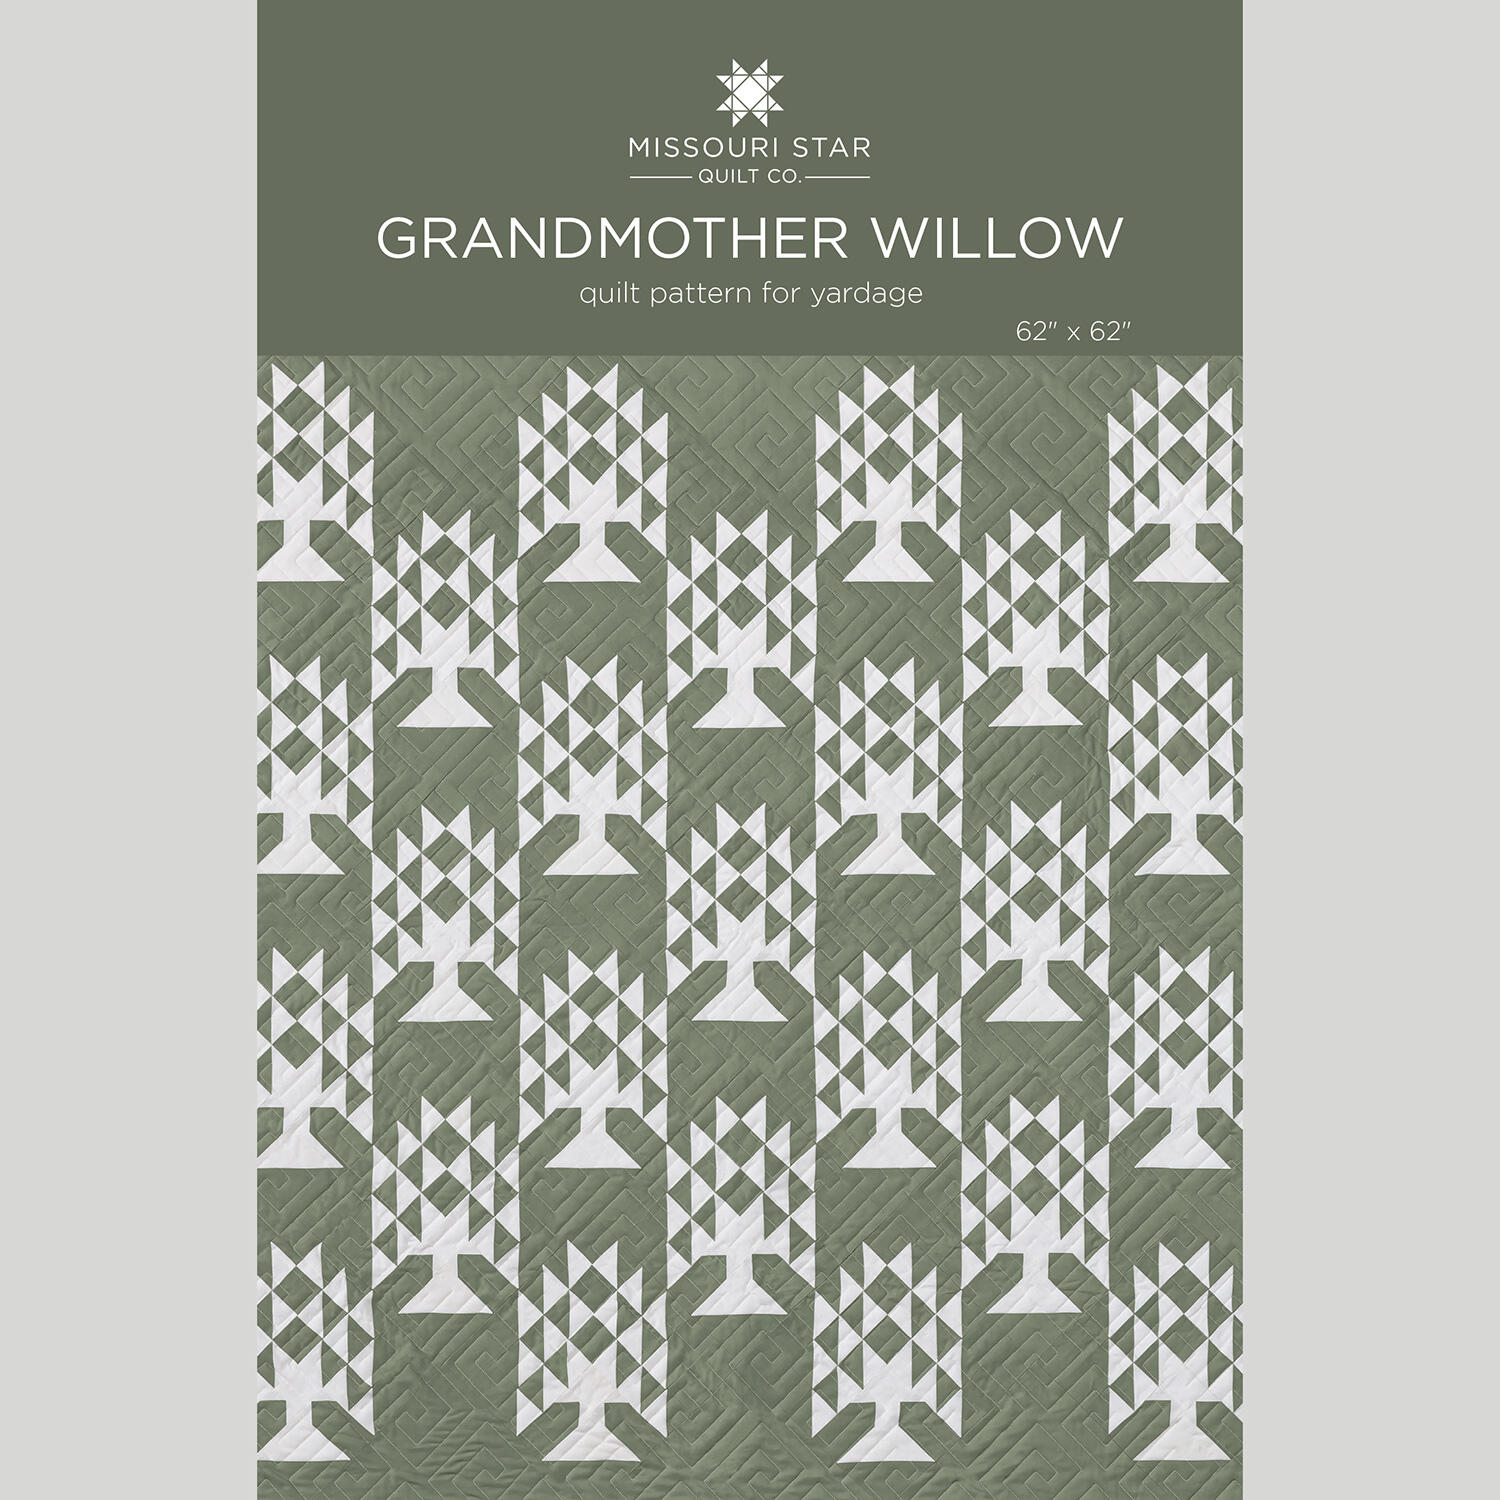 Grandmother Willow Quilt Pattern by Missouri Star$8.50Shop →
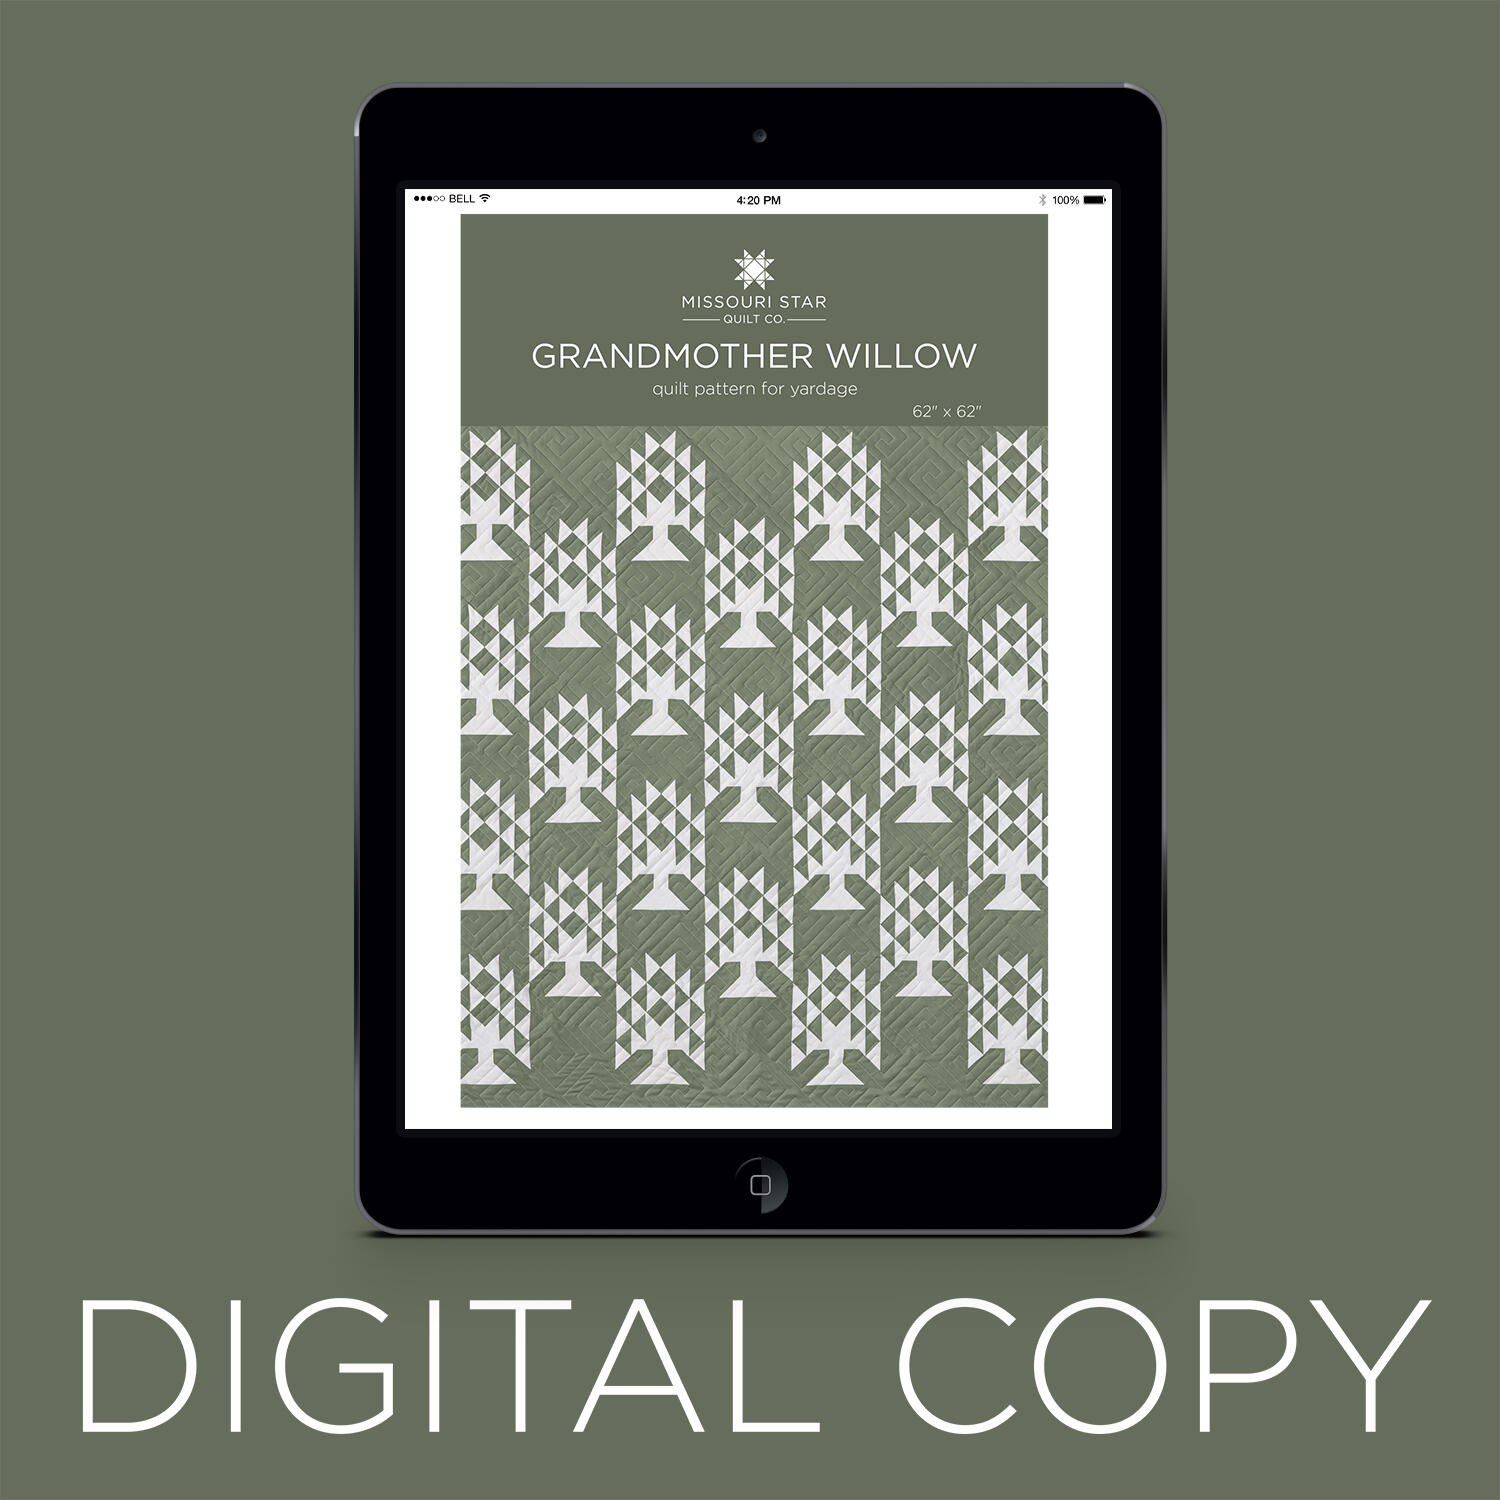 Digital Download - Grandmother Willow Quilt Pattern by Missouri Star$6.95Shop →
 Colorworks Premium Solids - Snow Yardage$7.92Shop →
 Colorworks Premium Solids - Dusty Sage Yardage$7.92Shop →
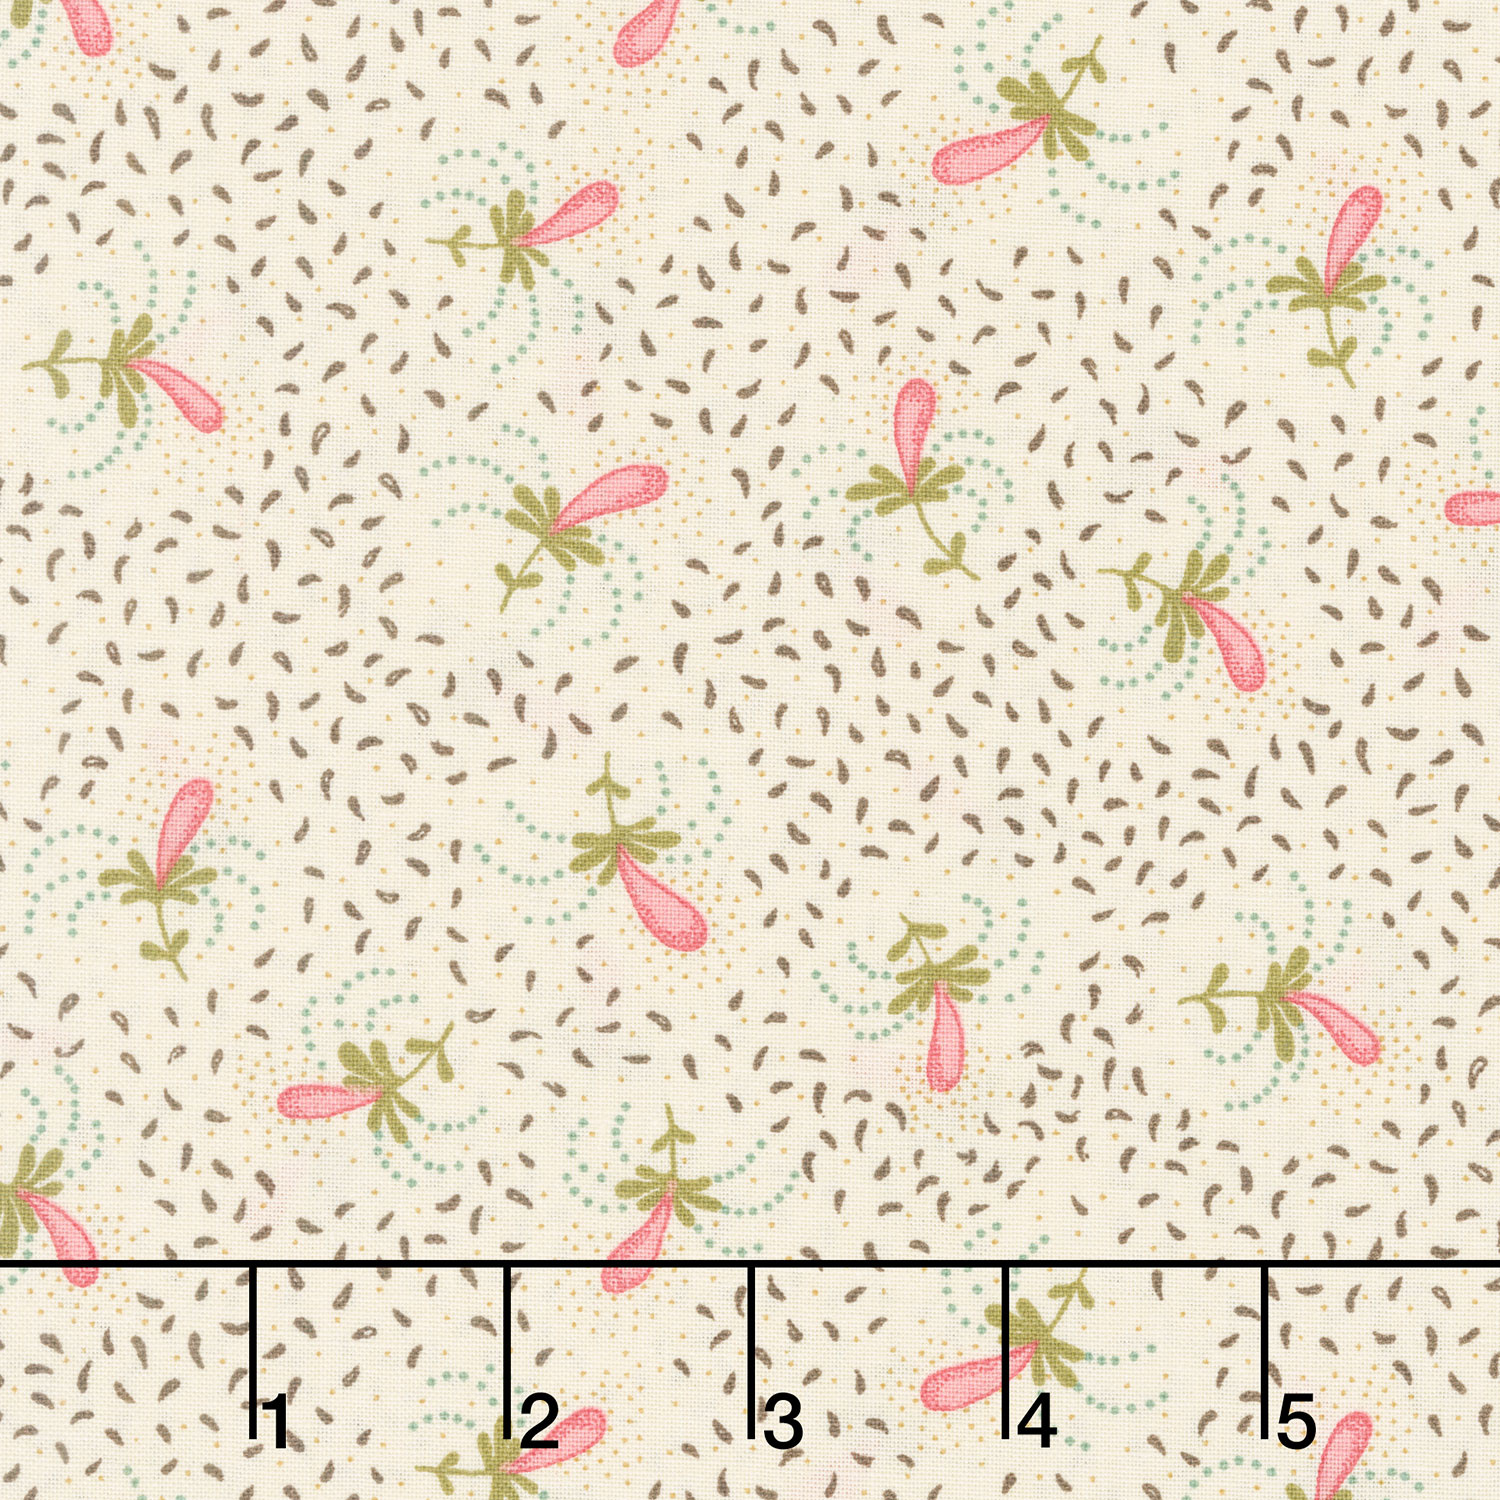 Spiced Favorites - Delicate Pears and Leaves Wheat 108" Wide Backing$17.96Shop →
 Missouri Star Quilter’s Best Blend Twin Batting$26.95Shop →
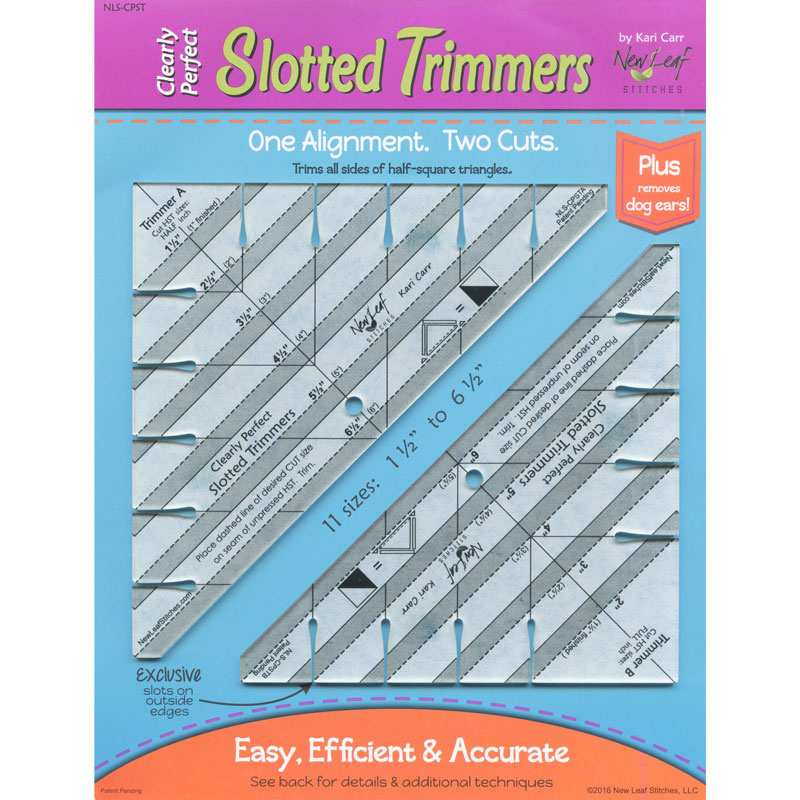 Clearly Perfect Slotted Trimmers$33.95Shop →
 Missouri Star 45mm Rotary Cutter - Olga$19.95Shop →
 Missouri Star 5" x 15" Ruler$19.95Shop →
 Missouri Star + Oliso TG1600 ProPlus Iron$209.95Shop →
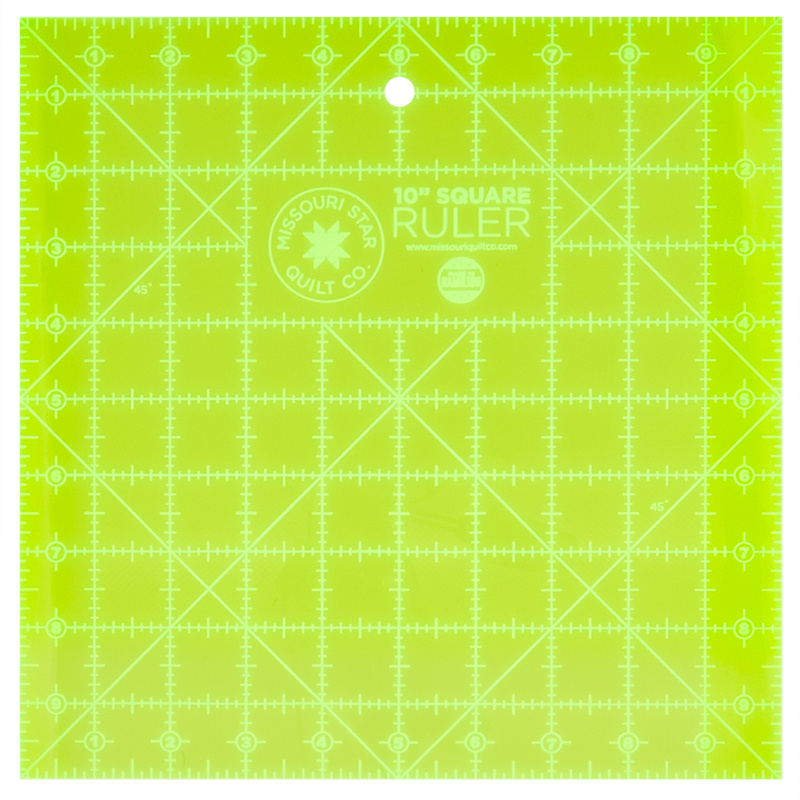 Missouri Star 10" x 10" Square Ruler$19.95Shop →
 Missouri Star 50 WT Cotton Thread White$7.95Shop →
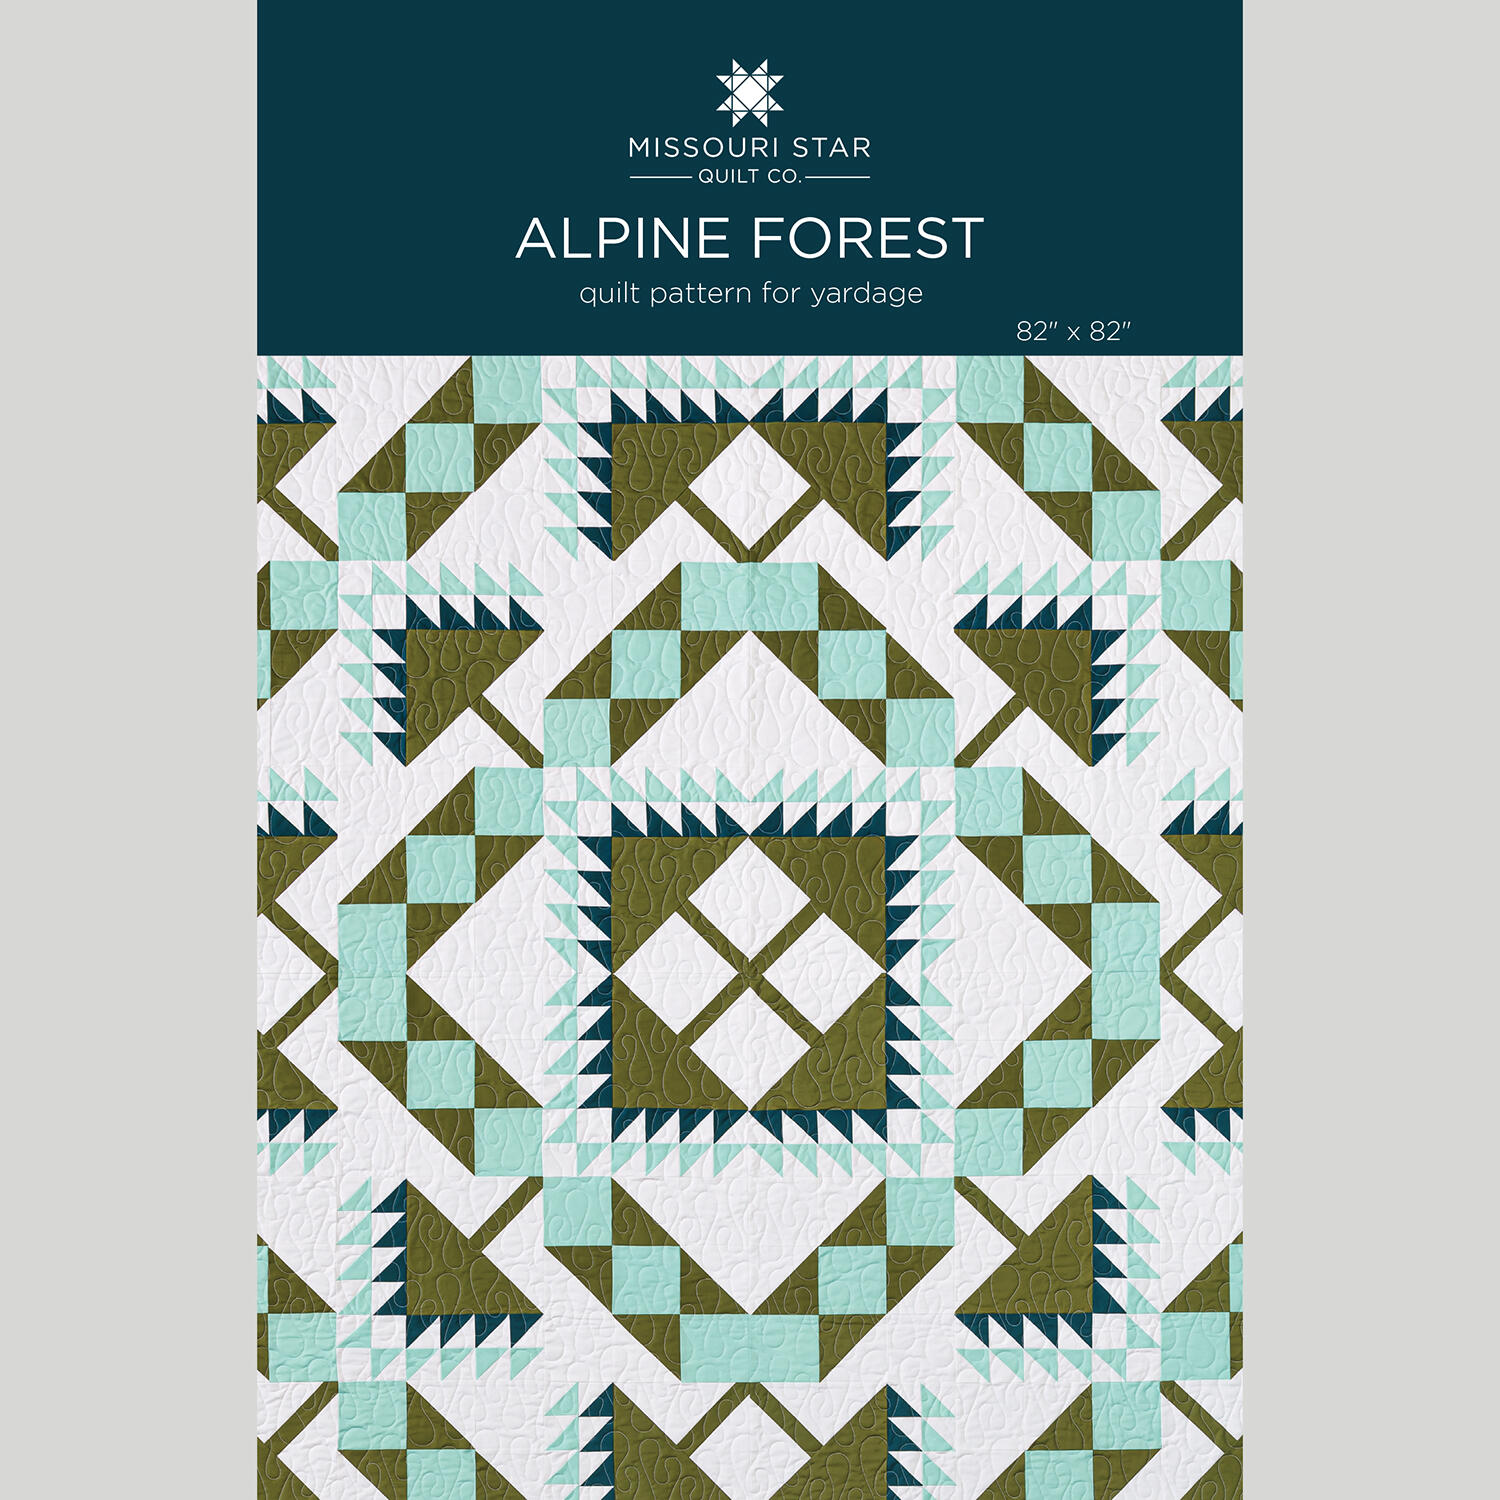 Alpine Forest Quilt Pattern by Missouri Star$8.50Shop →
 Digital Download - Alpine Forest Quilt Pattern by Missouri Star$6.95Shop →
 Kona Cotton - Ivy Yardage$7.48Shop →
 Kona Cotton - Aruba Yardage$7.48Shop →
 Kona Cotton - Glacier Yardage$7.48Shop →
 Kona Cotton - White Yardage$7.48Shop →
 Missouri Star Quilter’s Best Blend Full Batting$32.95Shop →
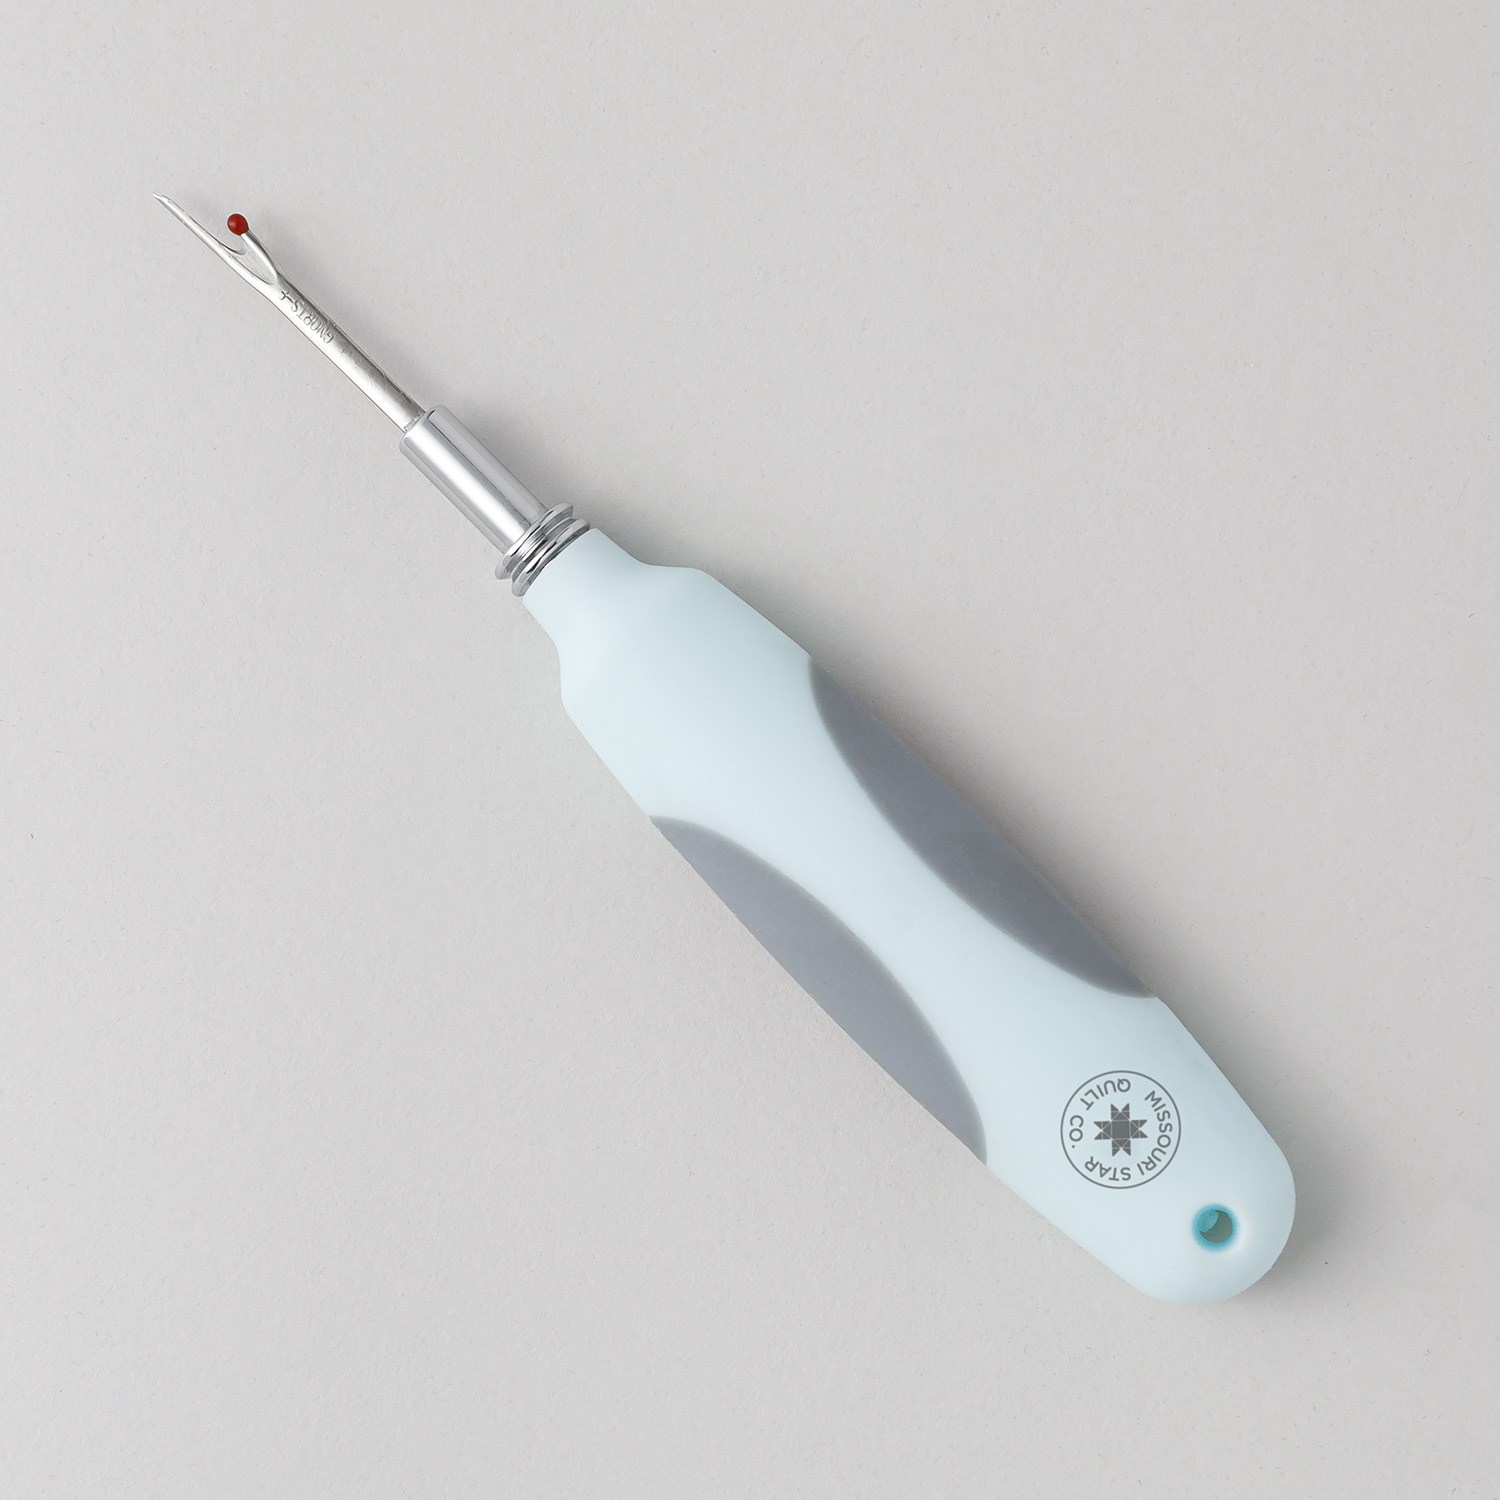 Missouri Star Seam Ripper - Frida$9.95Shop →
 Missouri Star 8" Everyday Scissors - Amelia$19.95Shop →


