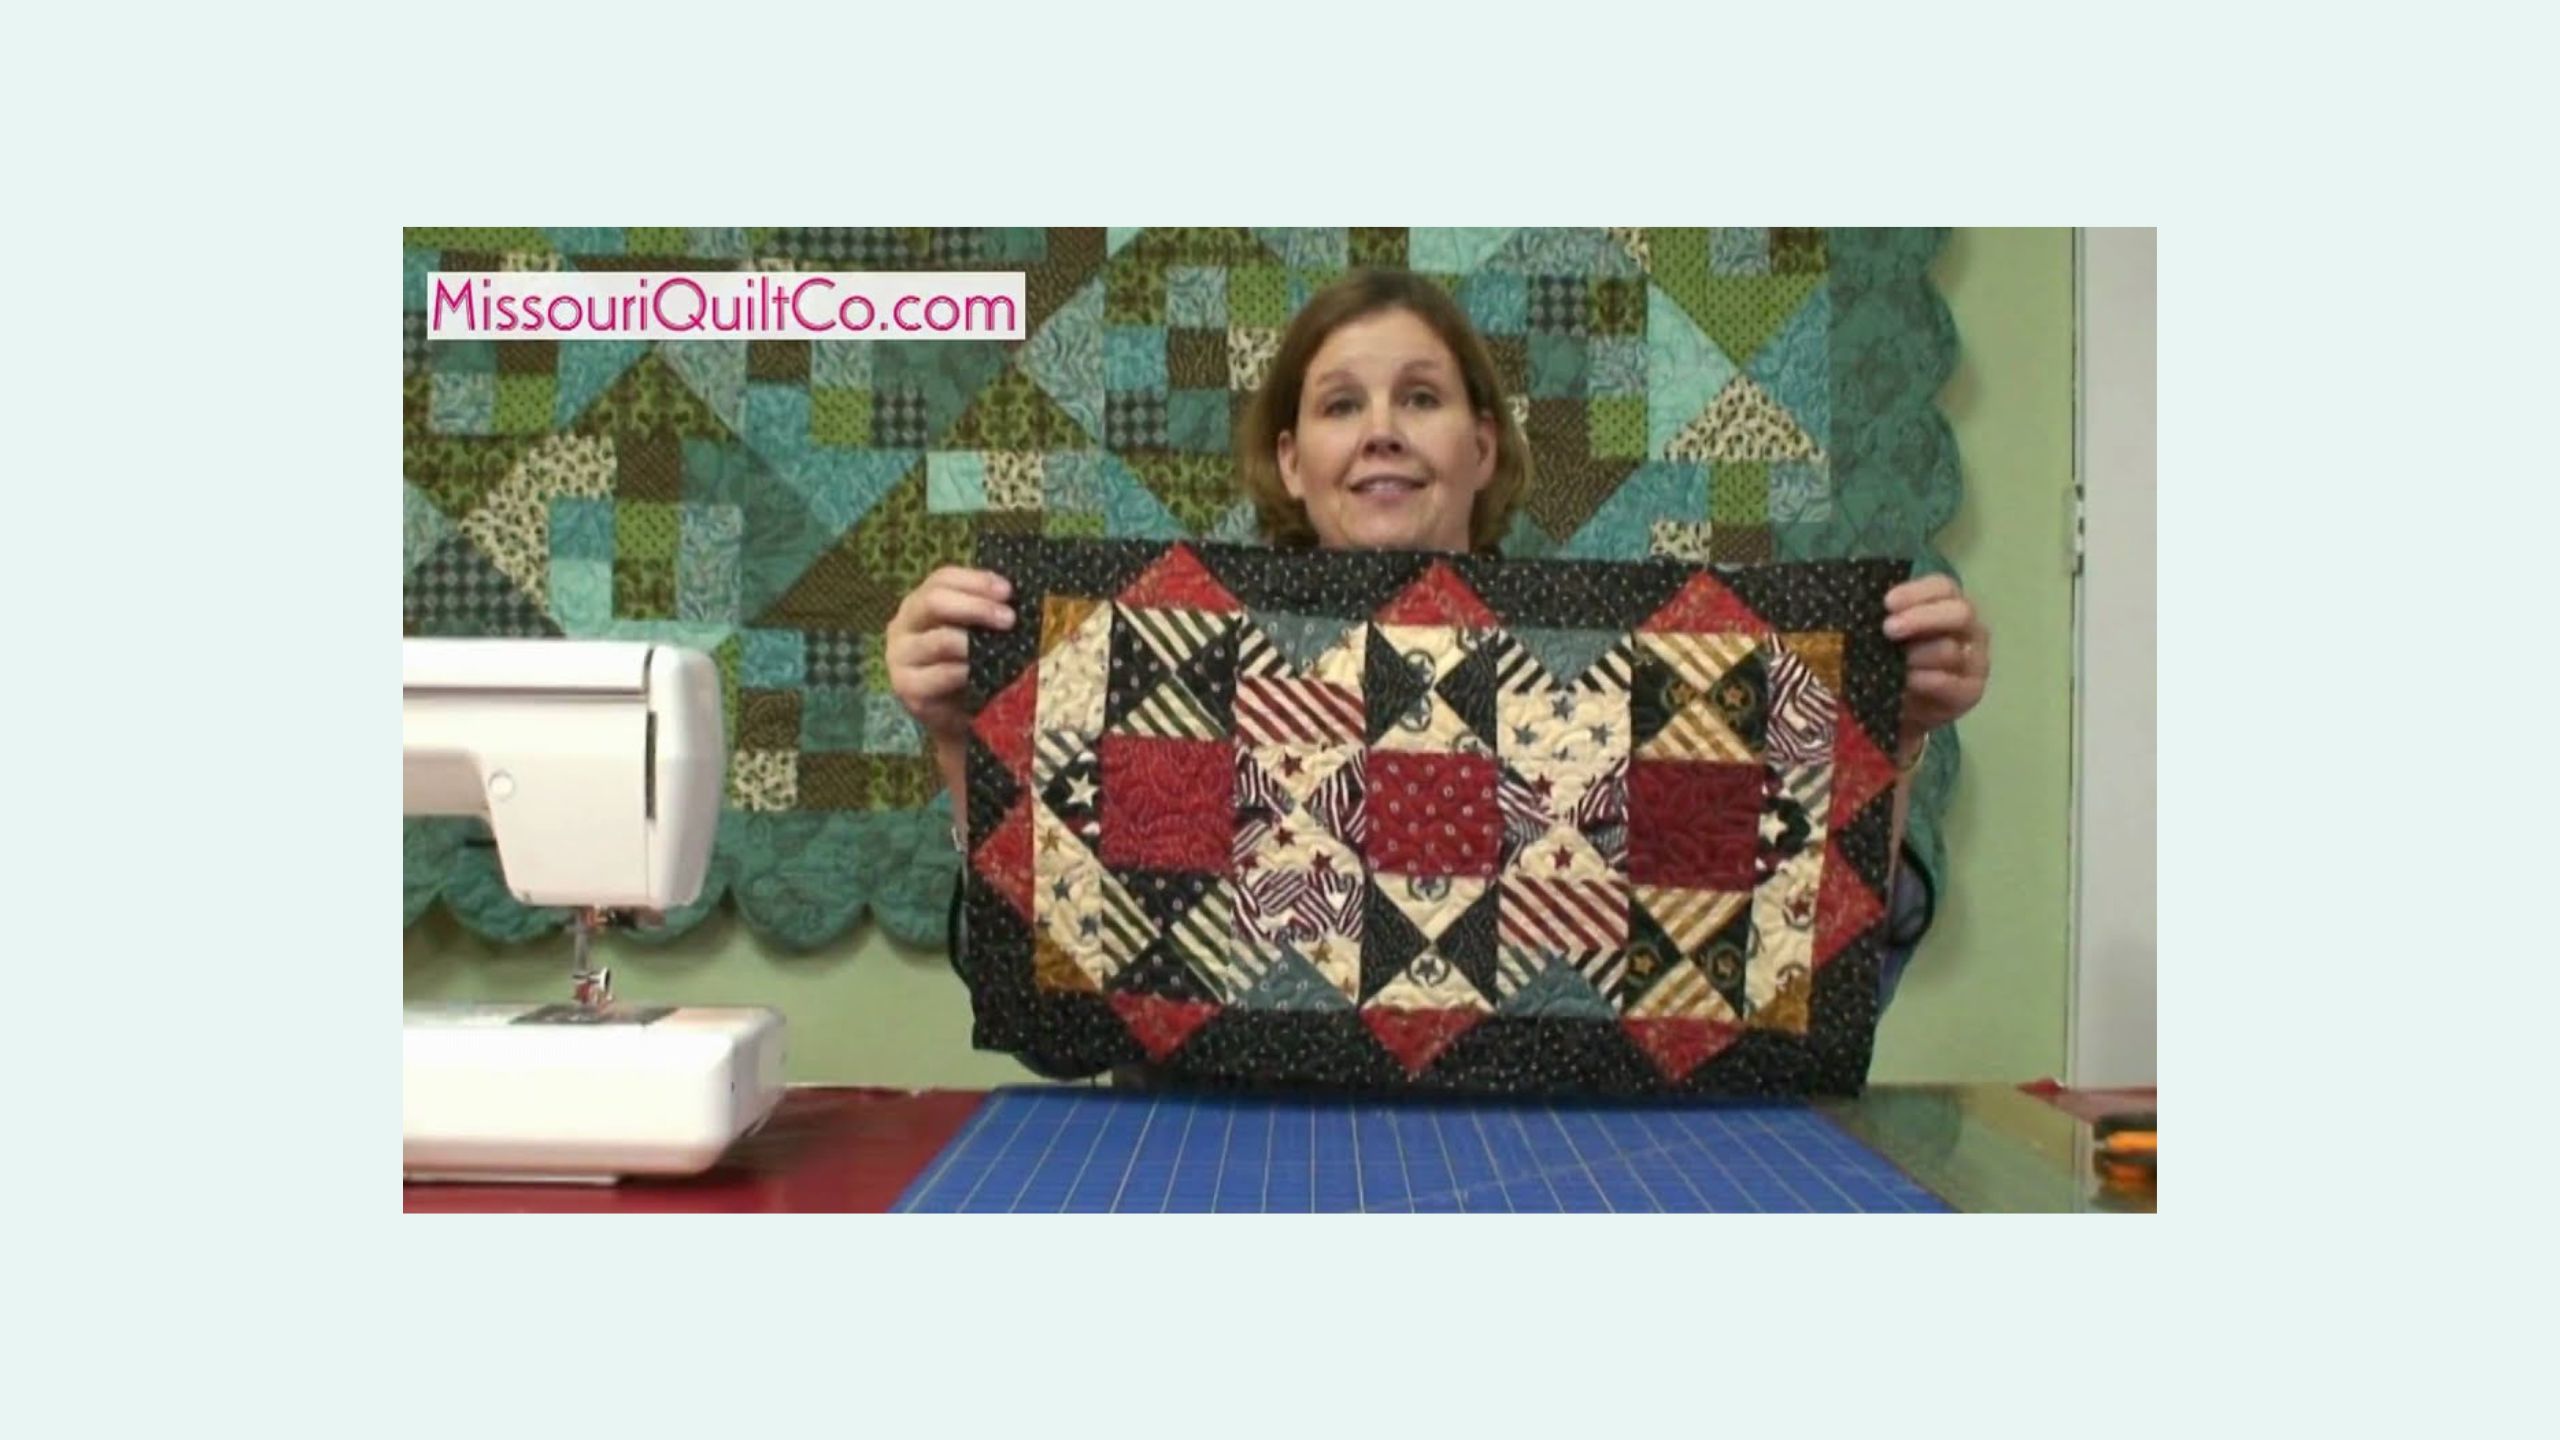
Trimming Your Quilt Tutorial
Trimming Your Quilt tutorial with Jenny from Missouri Star Quilt Co.

Instructor
Jenny Doan
Jenny Doan is an American quilter, author, and YouTube personality. Jenny started Missouri Star Quilt Company in 2008 and today it is the largest quilting supply vendor in the United States.
Shop this tutorial




Common Questions
What is covered in Trimming Your Quilt Tutorial?
Trimming Your Quilt tutorial with Jenny from Missouri Star Quilt Co.
How long is the tutorial video?
The tutorial video is 00:02:37.
Is a transcript available?
Yes. A written transcript is available on the tutorial page.
Video Transcript
Welcome to Missouri Star Quilt Companies tips and tricks. We’ve got some advice for you, we’re getting ready to finish our little quilt, and we thought we would show you a way to trim it up.
When we machine quilt your quilt at the shop, we cut it off the machine when it’s all done and we trim it for you. A lot of times this is something you want to do on your own so we thought we’d show you some tips about it.
Today we are using an omni-grade ruler which is neon and marked to a quarter of an inch. Which you’ll need as you line this up with your border to make sure that you get a straight edge.
We’re also using a rotary cutter, and for those of you who haven’t noticed, I’m left handed, that means with the rotary cutters, that on this particular type you can swap it for either side so you can cut it.
My blade happens to be on this side, so for most of you that may look a little foreign. It works for all of us left handers out there.
We’re also using our handy dandy cutting mat, and we do have all these things available at this shop. Alright, why don’t you come over here with me and I’ll show you how to cut this.
Now because when you a have quilt on a quilting machine it gets a little stretched. As you’re trying to ease it into things, so you just want to leave a little extra room to cut off that edge before you’re going to have to bind it, so I’m lining this up here.
And then we’re going to make our cut. I heard that catch a little bit, there we go and you can see how much straighter that looks.
One more end seam here, and we’re good. So now we’ve finished trimming the edges and you can see that it’s done nice and straight and ready to bind, which we will do in a later tips and tricks.
Happy quilting from Missouri Star Quilt Co.
When we machine quilt your quilt at the shop, we cut it off the machine when it’s all done and we trim it for you. A lot of times this is something you want to do on your own so we thought we’d show you some tips about it.
Today we are using an omni-grade ruler which is neon and marked to a quarter of an inch. Which you’ll need as you line this up with your border to make sure that you get a straight edge.
We’re also using a rotary cutter, and for those of you who haven’t noticed, I’m left handed, that means with the rotary cutters, that on this particular type you can swap it for either side so you can cut it.
My blade happens to be on this side, so for most of you that may look a little foreign. It works for all of us left handers out there.
We’re also using our handy dandy cutting mat, and we do have all these things available at this shop. Alright, why don’t you come over here with me and I’ll show you how to cut this.
Now because when you a have quilt on a quilting machine it gets a little stretched. As you’re trying to ease it into things, so you just want to leave a little extra room to cut off that edge before you’re going to have to bind it, so I’m lining this up here.
And then we’re going to make our cut. I heard that catch a little bit, there we go and you can see how much straighter that looks.
One more end seam here, and we’re good. So now we’ve finished trimming the edges and you can see that it’s done nice and straight and ready to bind, which we will do in a later tips and tricks.
Happy quilting from Missouri Star Quilt Co.