
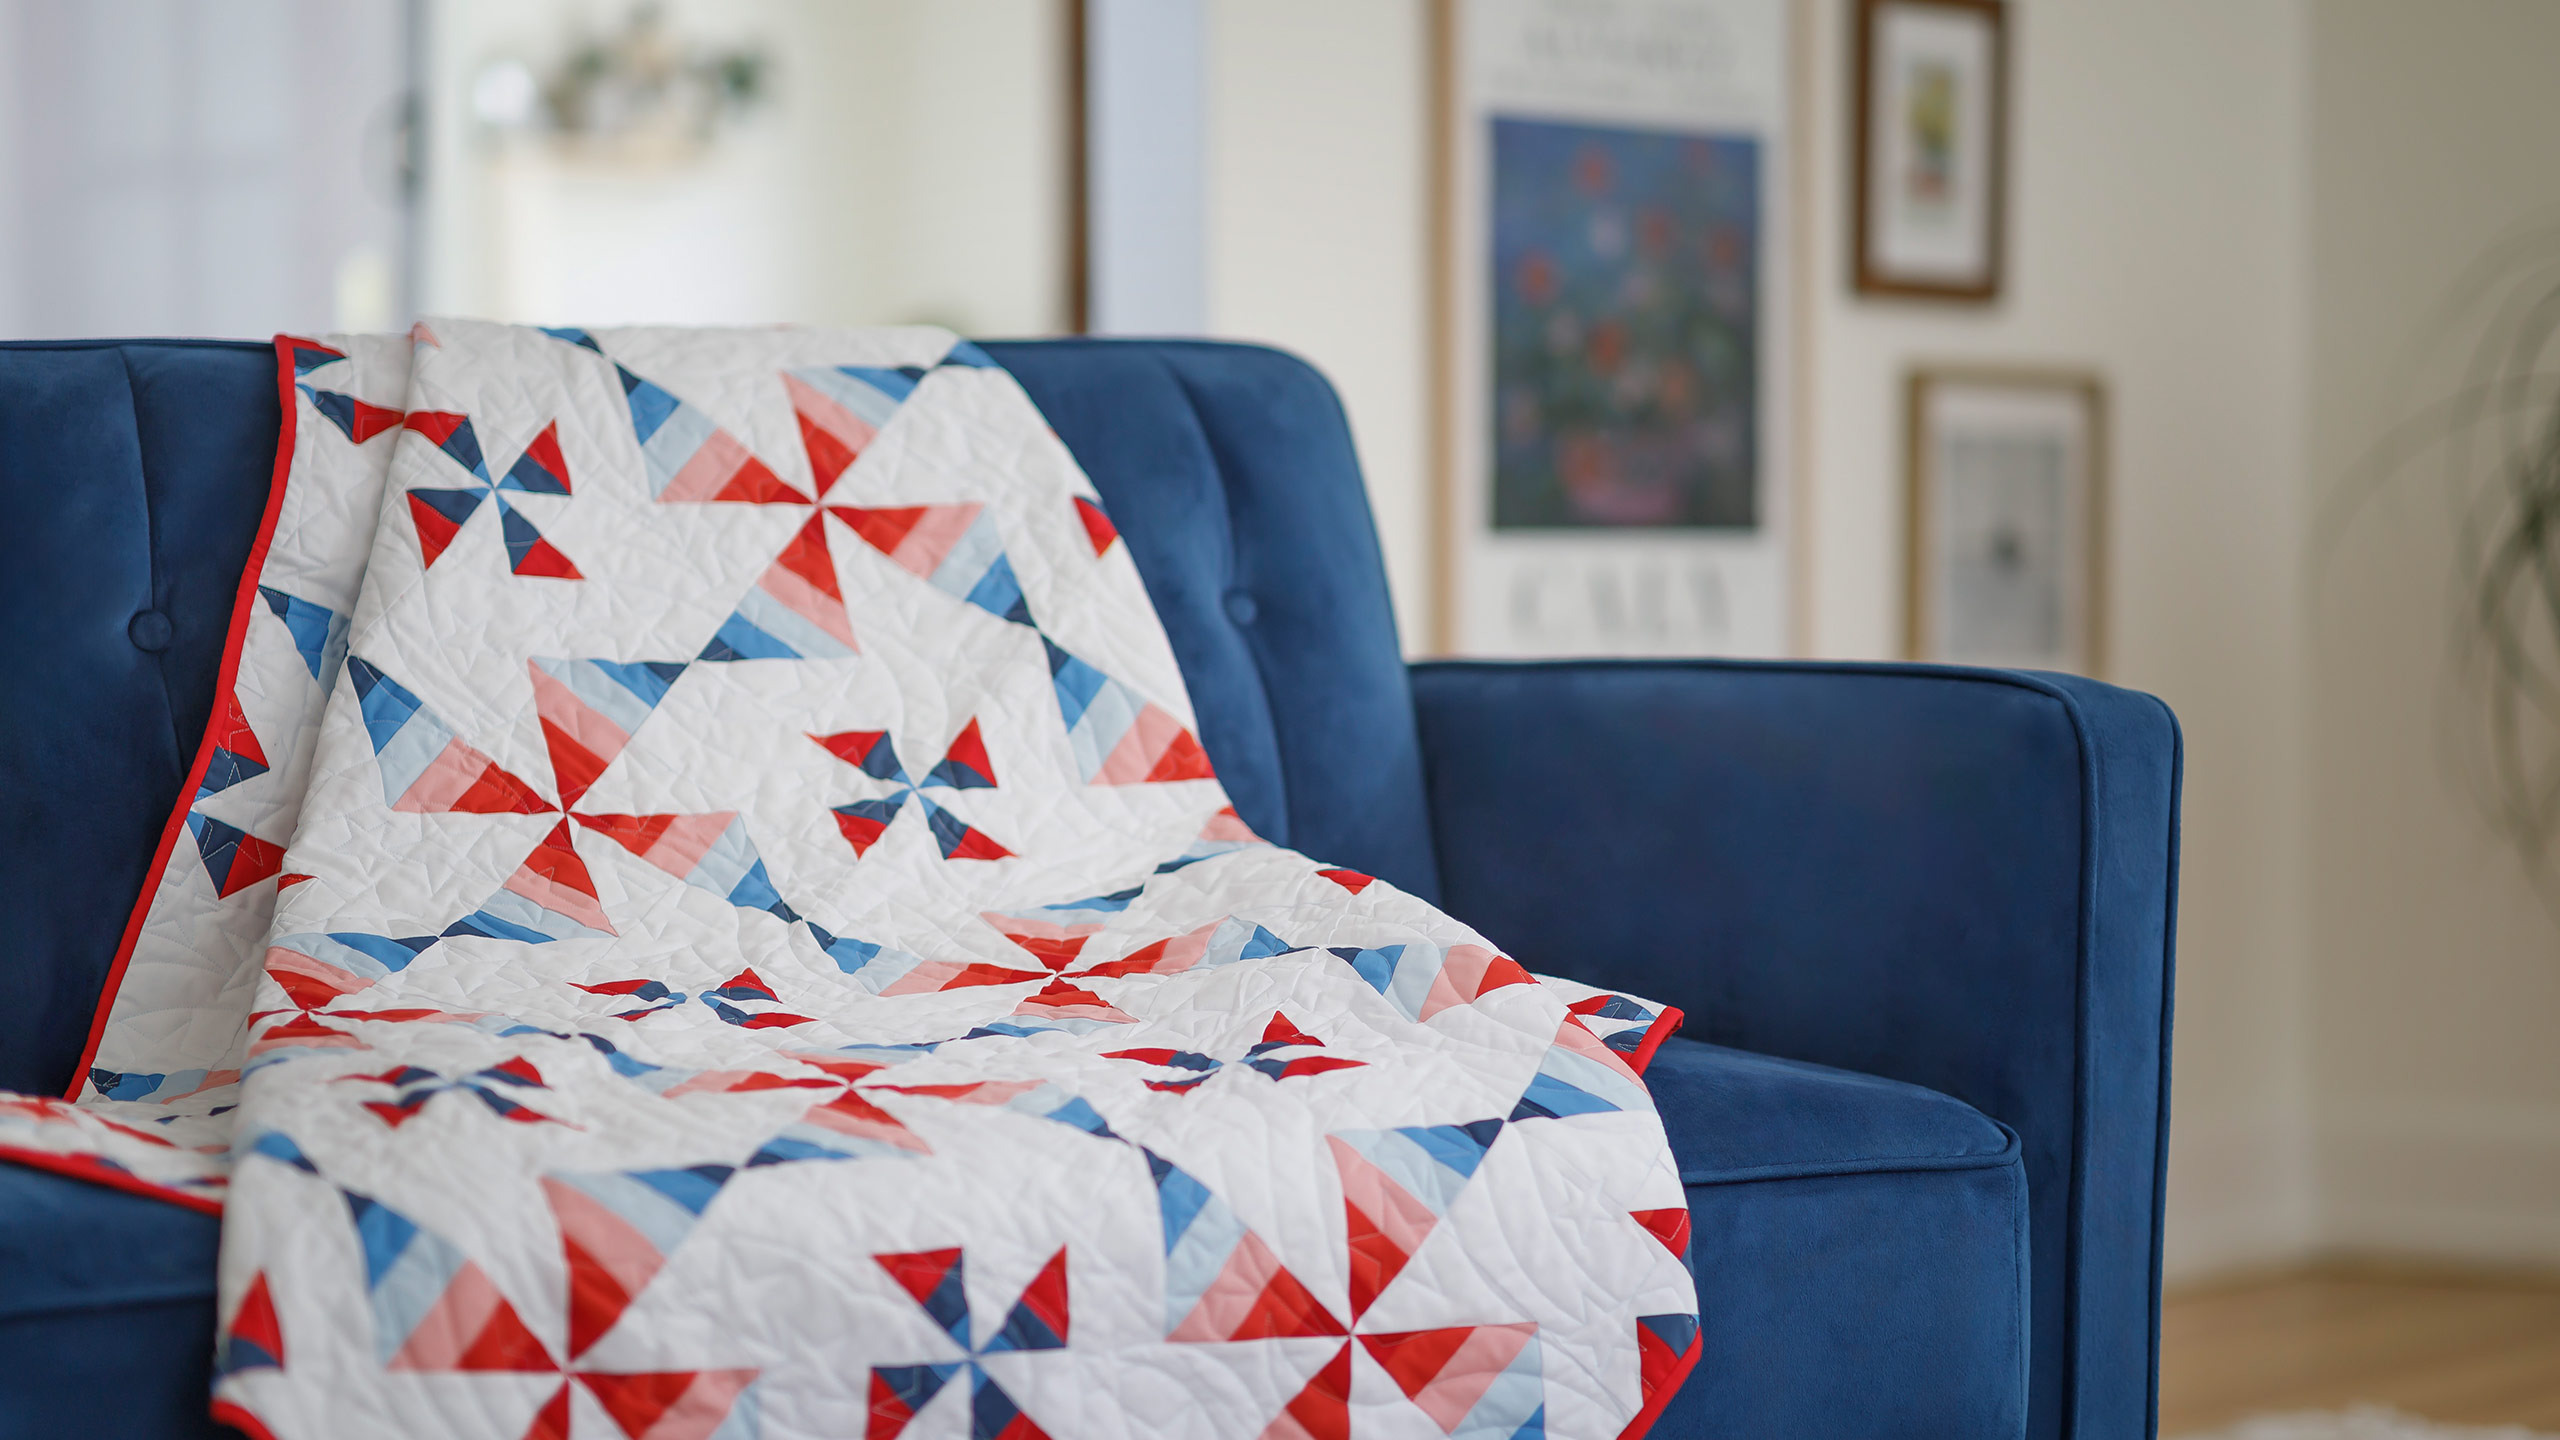
Triple Pinwheel Quilt
 Misty Doan
- Fabric by Yard
- Modern
- Lap / Throw
- Beginner
- Quilt size 48" × 60"
Pinwheels, pinwheels, everywhere! Misty uses Kona Cotton solids to create a Triple Pinwheel quilt that is bursting with color and movement! You can almost feel the breeze making these pinwheels spin on the quilt! This project is versatile, too. By varying the colors, you could make this cheerful quilt to fit any décor.
Instructor
Misty Doan
Misty Doan grew up surrounded by sewing and quilting. She loves spending time sharing tutorials each week each week, and when she’s not stitching up one of her fun sewing projects for home decor, most likely you’ll find her hanging out with her husband and three awesome kids or working on a house project.
Shop this tutorial
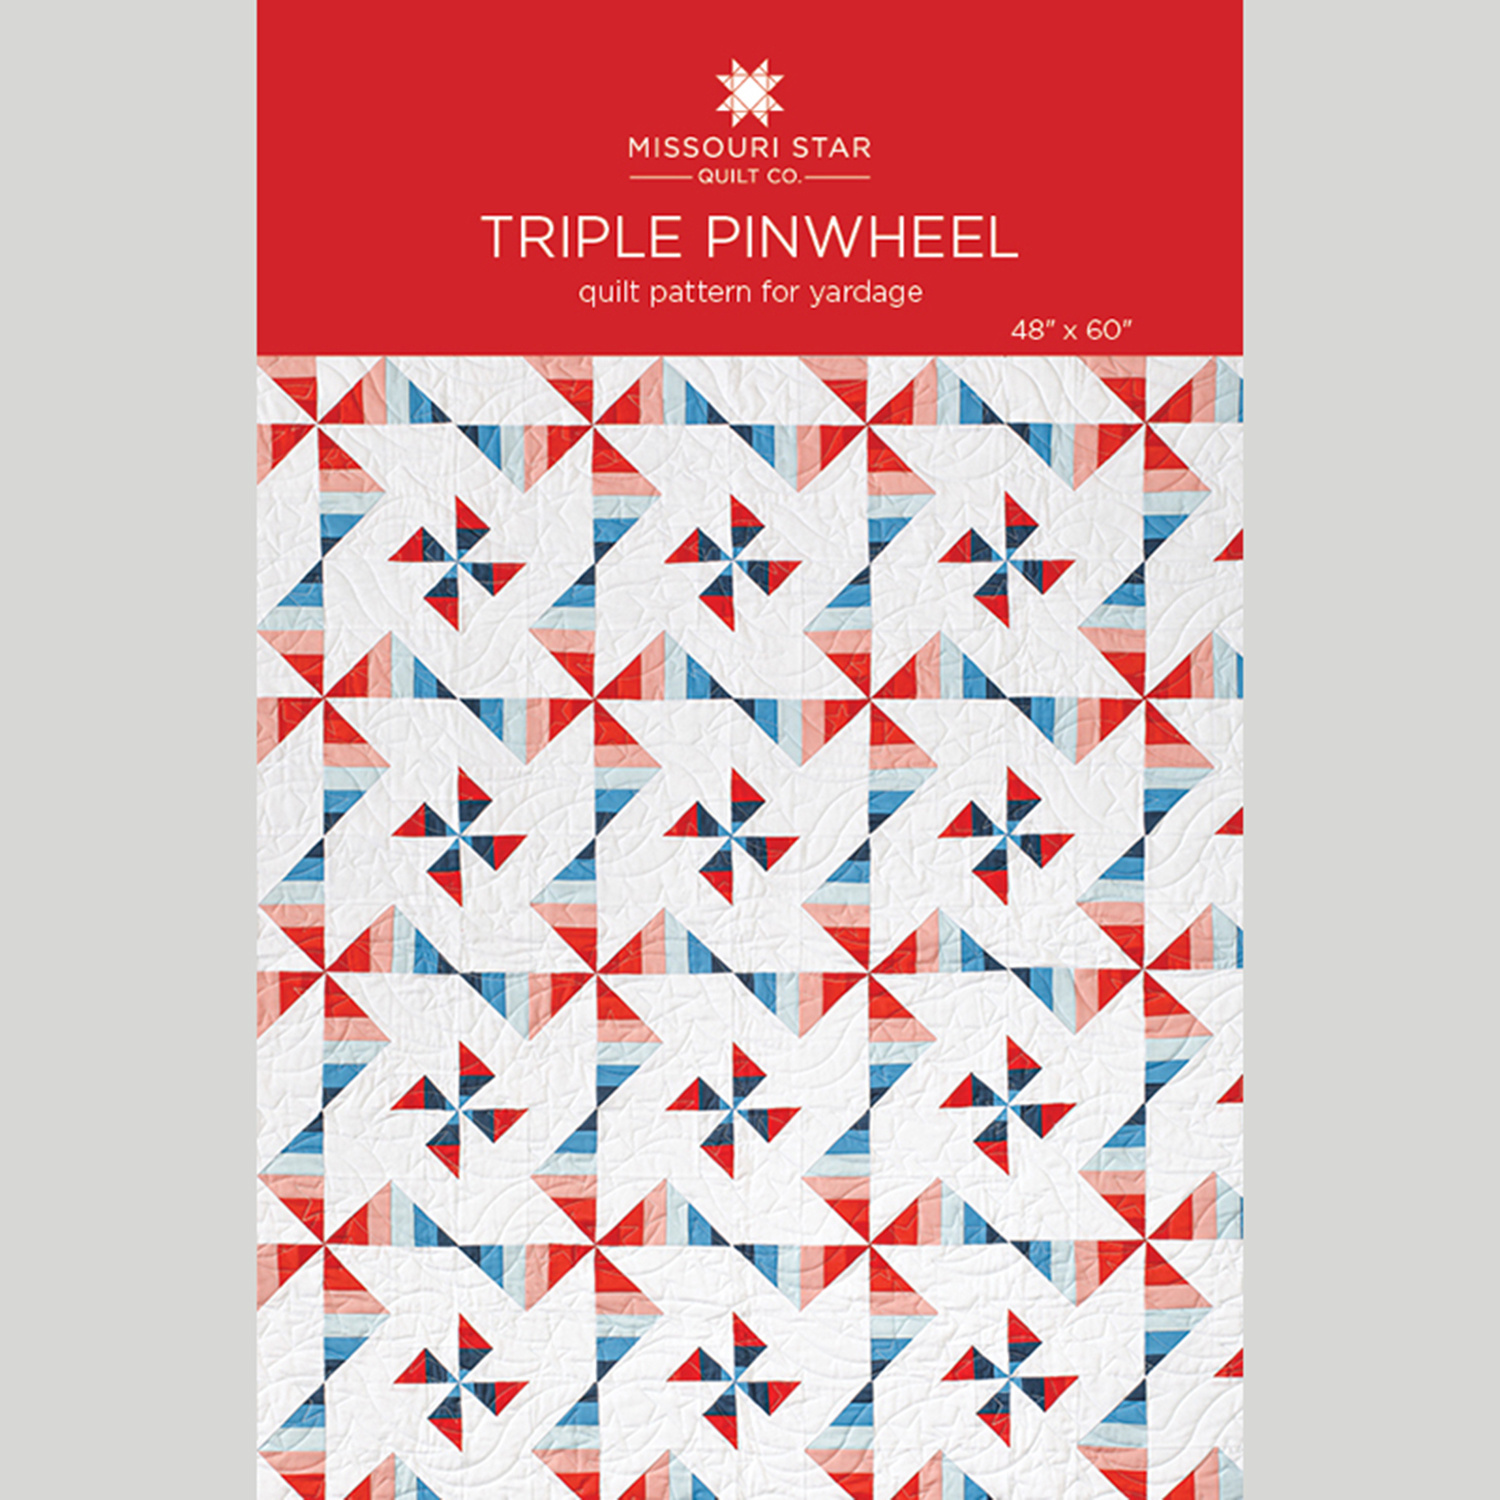 Triple Pinwheel Quilt Pattern by Missouri Star$8.50Shop →
 Digital Download - Triple Pinwheel Quilt Pattern by Missouri Star$6.95Shop →
 Kona Cotton - Windsor Yardage$7.48Shop →
 Kona Cotton - Astral Yardage$7.48Shop →
 Kona Cotton - Breeze Yardage$7.48Shop →
 Kona Cotton - Primrose Yardage$7.48Shop →
 Kona Cotton - Coral Yardage$7.48Shop →
 Kona Cotton - Red Yardage$7.48Shop →
 Kona Cotton - White Yardage$7.48Shop →
 Designer Wideback - Sweet Freedom Denim 108" Wide Backing$18.76Shop →
 Missouri Star Quilter's Best Blend Throw Batting$21.95Shop →
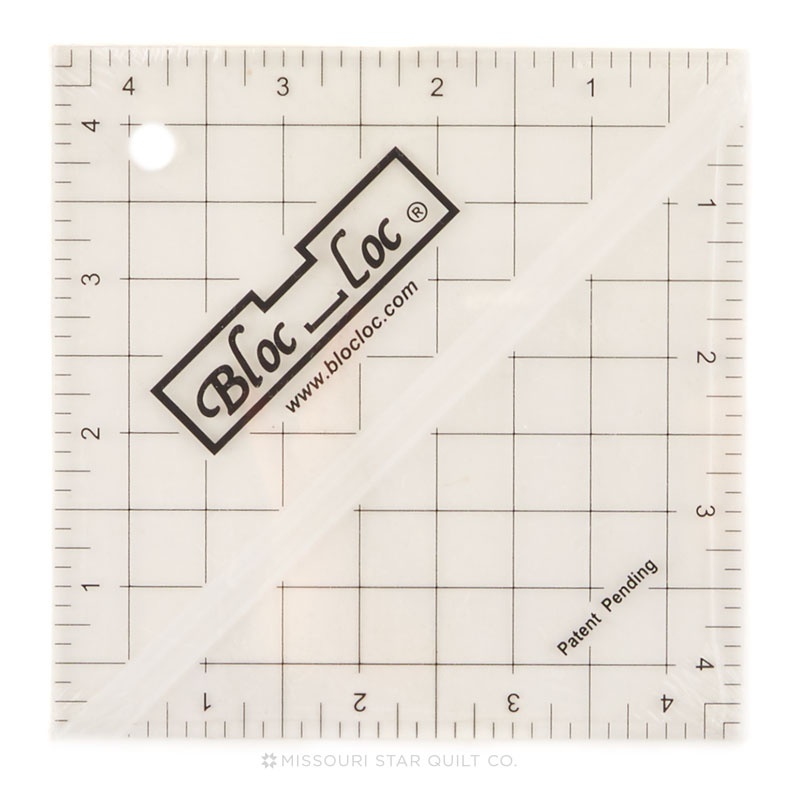 Bloc Loc 4 1/2" Square Up Ruler$25.95Shop →
 Missouri Star 5" x 15" Ruler$19.95Shop →
 Missouri Star 45mm Rotary Cutter$19.95Shop →
 Missouri Star 8" Everyday Scissors$19.95Shop →
 Missouri Star 50 WT Cotton Thread White$7.95Shop →
 Missouri Star Wooly Betty Board - 17.25" x 25.5" Orange Border$99.95Shop →
 Bernette 77 Sewing and Quilting Machine$1499.00Shop →
Common Questions
What is covered in Triple Pinwheel Quilt?
Pinwheels, pinwheels, everywhere! Misty uses Kona Cotton solids to create a Triple Pinwheel quilt that is bursting with color and movement! You can almost feel the breeze making these pinwheels spin on the quilt! This project is versatile, too. By varying the colors, you could...
How long is the tutorial video?
The tutorial video is 00:12:33.
Are supplies listed for this tutorial?
Yes. The tutorial page includes the supplies and materials connected to this project.
Is a transcript available?
Yes. A written transcript is available on the tutorial page.
Video Transcript
Every once in a while I design a quilt that really surprises me and this is one of those! I'm calling it Triple Pinwheel. It is so easy and there's no waste, which is just the absolute best!
So to make this you're going to need six different colors. I have used Windsor, Astral and Breeze to give me this blue gradient, and then Primrose, Coral and Red on the red side. You're going to need ⅜ of a yard of each of those. And then of your background, you need 2 ⅝ yards and that's going to give you everything for the front. You're also going to need a squaring tool and of course your ruler and rotary cutter. So let's dive right in.
So this quilt is super simple. The first thing you're going to do is you are going to open up each of your colors and you're going to cut them into 1 ½ inch strips by the width of fabric. So I have one of each of those here laid out. We're just going to make a bunch of strip sets. So you're going to sew those long strips. I've already cut a little bit off of this one. Just one after the other in the same order every single time. So I wanted it to kind of go dark to light where the lightest is in the middle and so that's what you're looking for.
Once you have that strip set ready to go, I'm just going to press this so it's nice and clean, make sure it's going to lay nice and flat for us. Then we can subcut this into our rectangles and that's going to be step number one. So this should measure 6 ½ inches, and it does. I want to cut, actually I need to flip this around because I'm right-handed. So 6 ½, and then I need to come over 3 ½ inches and that's going to be the size of our rectangles. Just make sure I have this all straight on here and then you can just cut your whole strip set. So there's one, two. You'll just make your way all the way down. For each one of our blocks we're going to need four of these, there we go.
All right. So now up next you're going to take some 3 ½ inch background
squares and let me grab a pencil here, because we are going to mark a couple of lines. First we're going to mark a line diagonal corner to corner on both of them, these. And then we're going to measure over a half inch from that line that we drew and draw another line, there we go. So now I have those prepped and ready. So we are going to grab our little rectangle unit that we made and we're going to start by laying this so that our corner to corner is going to intersect the middle of our set.
So we're going to sew right on that side and then come back and sew on the opposite line directly on the lines that we marked. So I'm going to move my needle over to the middle, because that just makes it a little bit easier to sew on those drawn lines. Okay so once we sew on that first line, we can go ahead and sew on that second line. Again right on that line. Okay so once we have stitched on both of those, we can take our ruler and we're going to cut right in the middle of those two stitch lines. There's my rotary cutter, so that we have a ¼ inch seam allowance left on both sides. There we go and we can just set this one aside for now. We're going to press this back before adding our other side. So I'm just going to go ahead and finger press this, so I can show you what you want to watch for. So when you're placing your other square on, you want to make sure that the first line that goes point to point is matching up with the corner and the extra line is always towards that outside edge. So that's what we're looking for here.
Now we can go ahead and stitch on both of these lines again. So let's go ahead and do that. Just make sure it stays lined up before we get going on our first line and then come back and do the second. All right, perfect. So let's go ahead and trim this apart as well. Now I can press this open and
I'm also going to press open these two little half square triangles that I have left. So let's take this to the pressing mat. Begin just by rolling this back, there's our little flying geese unit. Now we can press these. Actually I need my seam to go the other way, so press to the dark side. There's that
one. And because we are trimming these off of the opposite sides, you're going to have one blue and one red and that is correct, that's what you're looking for.
All right, so now that I have all of these pressed, this is actually the block
that we're going to be turning it into. So this part I can just set aside for now, and I need to use these to make this little secondary flying geese unit. So we are going to square each of these to 2 inches. So I have my Bloc Loc and what I did is I kind of used where the medium blue and the light blue match up to be the top of where I can cut. If I did that every time then I could still get my 2 inches and it made all of these match up really nicely. So I'm just going to line this up here with that intersection, and trim this
off. Then we can rotate this around, again looking for that 2 inch mark, keeping it in line in both directions, and trim, and trim. So there's that one ready to go. So we need to do the same thing with our red. So I'm going to line that up, and we're just going to eliminate that lightest shade and trim. And we can spin and slide this down to 2 inches square. All right and so now we're going to put these together just like so and make this secondary little flying geese unit. So we'll just put those right sides together and sew down this side.
So let's bring this over to the machine. I need to readjust my needle because I had it in the middle - I want to make sure I'm back to my ¼ inch
mark. So be sure to keep that in mind. Okay, now I can go ahead and press these open as well. Just want it to lay nice and flat. There we go - there is our little flying geese unit. So this should measure 2 by 3 ½. And so we are going to pair this with a 3 ½ by 5 inch rectangle. So I like to have one of my blocks that I am watching all the time. So I'm just going to sew this to this side with my flanges pointed in towards that background rectangle, and we can stitch this down with our quarter inch seam. Okay, now we'll give this a press all right? So then once that is pressed, we can just match this up with our large flying geese unit. Again, we want to make sure the point is going in towards the middle of the block. So we can just put those right sides together and sew down this long side. We're going to make four units in this exact same way, four quadrants to assemble into our block. Going take a few stitches, make sure this is all lining up, beautiful! All right, give it one last press here, just make sure that is all laying nicely and we don't have any tucks hiding in there.
All right, so here are our units. They come together so fast. And, like I said, we are just going to pair four of these up. So I have two that I've sewn together here. So we are looking for this to pinwheel. So let me, red to the center, I had to look at it a couple times sometimes. The angles can be challenging! But we want the red to go to the middle. So we're just going to sew the four of these together, like a four patch. And that is your block - it's as simple as that!
Let's talk a little bit about that surprise that I mentioned. So when I made this, I anticipated this secondary pinwheel. What I didn't know is that it would be the perfect size that came from that cut that we made off of our you know flying geese unit, so that was no waste. I thought I would have
to make extras, so I loved that. And then I also loved that once you put the blocks together, you get this kind of background pinwheel that takes shape as well, which is why I called it Triple Pinwheel! So for this size I put 1, 2, 3, four by five down and I quilted it with stars and stripes. It ends up 48” x 60” which is just perfect for a lap or a picnic quilt, but you could obviously make this bigger if you wanted.
I just love this quilt. I think it came together so fun. I can't wait to see you make it and I'll see you next time on At Home!


