

Triple Play: 3 NEW Log Cabin Quilts with Jenny Doan of Missouri Star
 Jenny Doan
- Layer Cake
- Modern
- Twin
- Beginner
- Quilt size 60" × 70"
Triple Play is a favorite tradition here at Missouri Star. Once a month, Jenny, Misty, and Natalie each demonstrate their own, unique spin on a favorite block, technique, or template. In this episode, the talented Doan ladies show off three fabulous new Log Cabin quilt patterns.
Instructor
Jenny Doan
Jenny Doan is an American quilter, author, and YouTube personality. Jenny started Missouri Star Quilt Company in 2008 and today it is the largest quilting supply vendor in the United States.
Shop this tutorial
 Cozy Cabin Quilt Pattern by Missouri Star$6.95Shop →
 Digital Download - Cozy Cabin Quilt Pattern by Missouri Star$4.95Shop →
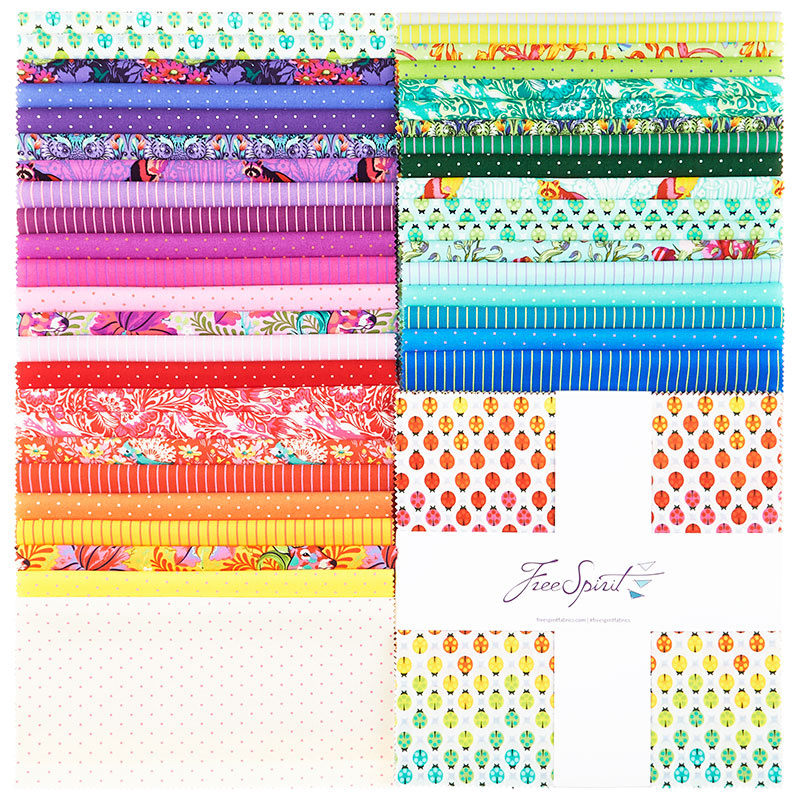 Tiny Beasts 10" Squares$44.95Shop →
 Kona Cotton - White Yardage$7.28Shop →
 Tula Pink's True Colors - Tiny Dots Cosmic Yardage$11.96Shop →
 Tiny Beasts - Out Foxed Glow Yardage$12.64Shop →
 Tula Pink's True Colors - Tiny Stripes Clarity Yardage$11.96Shop →
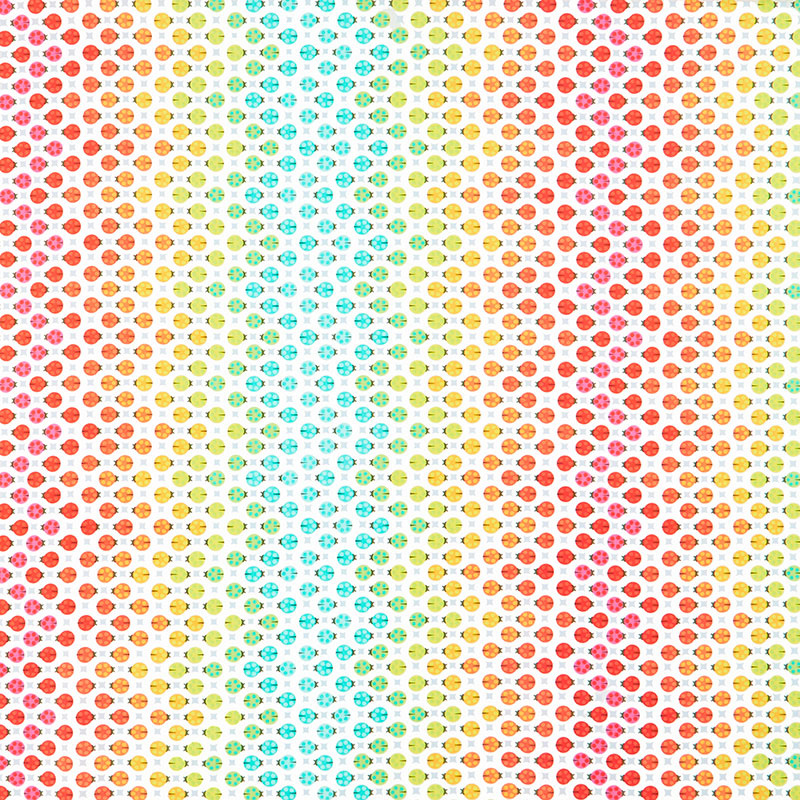 Tiny Beasts - Painted Ladies Glow Yardage$12.64Shop →
 Moonrise Log Cabin Quilt Pattern by Missouri Star$6.95Shop →
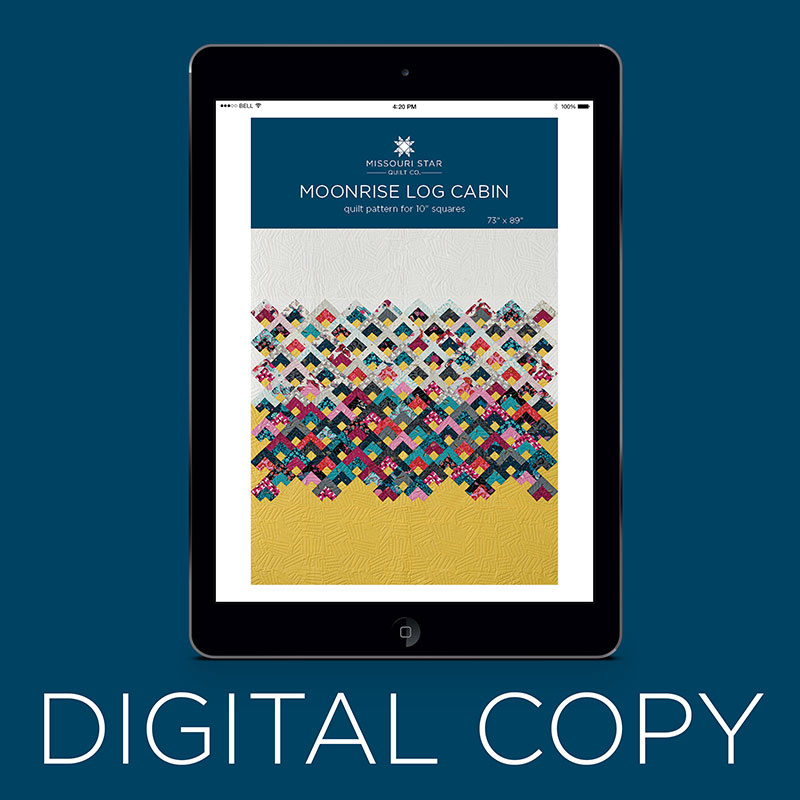 Digital Download - Moonrise Log Cabin Quilt Pattern by Missouri Star$4.95Shop →
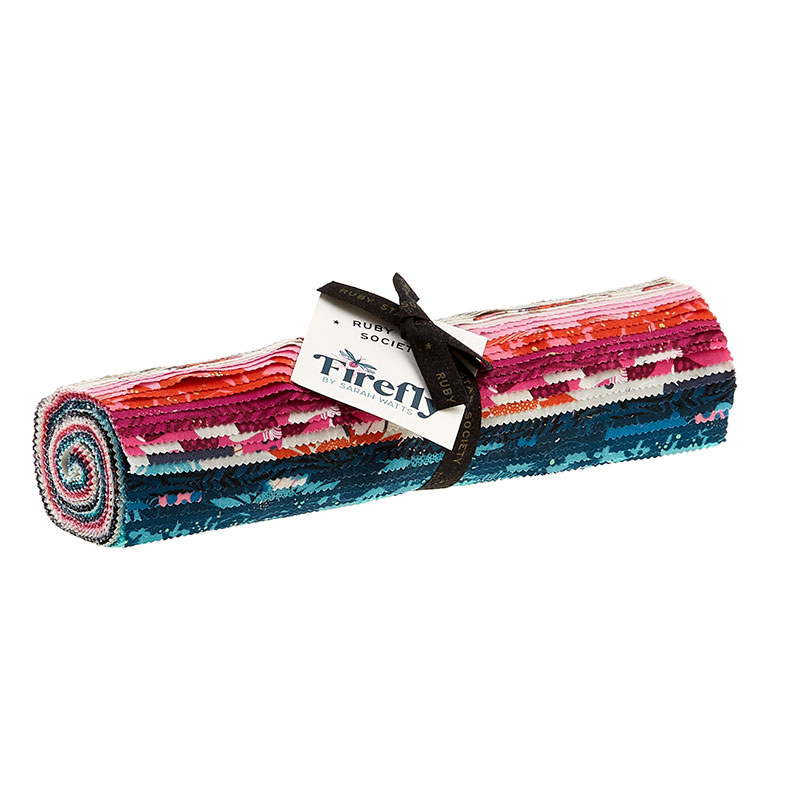 Firefly Metallic Layer Cake$45.95Shop →
 Bella Solids - Yellow Yardage$8.24Shop →
 Bella Solids - White Bleached Yardage$8.24Shop →
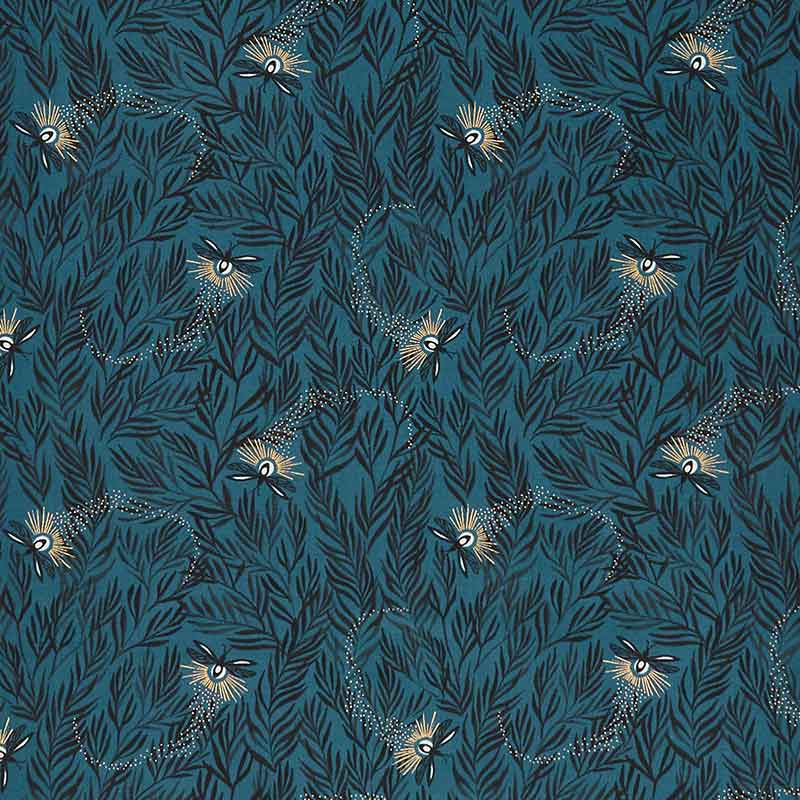 Firefly - Willow Galaxy Metallic Yardage$11.96Shop →
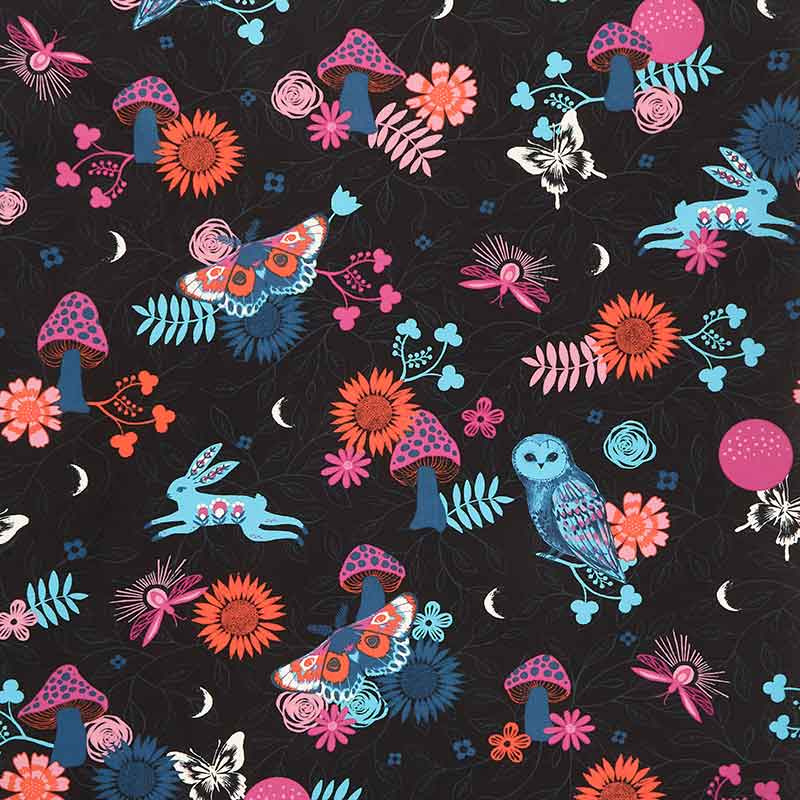 Firefly - Twilight Black Metallic Yardage$11.96Shop →
 Echo Star Log Cabin Quilt Pattern by Missouri Star$6.95Shop →
 Digital Download - Echo Star Log Cabin Quilt Pattern by Missouri Star$4.95Shop →
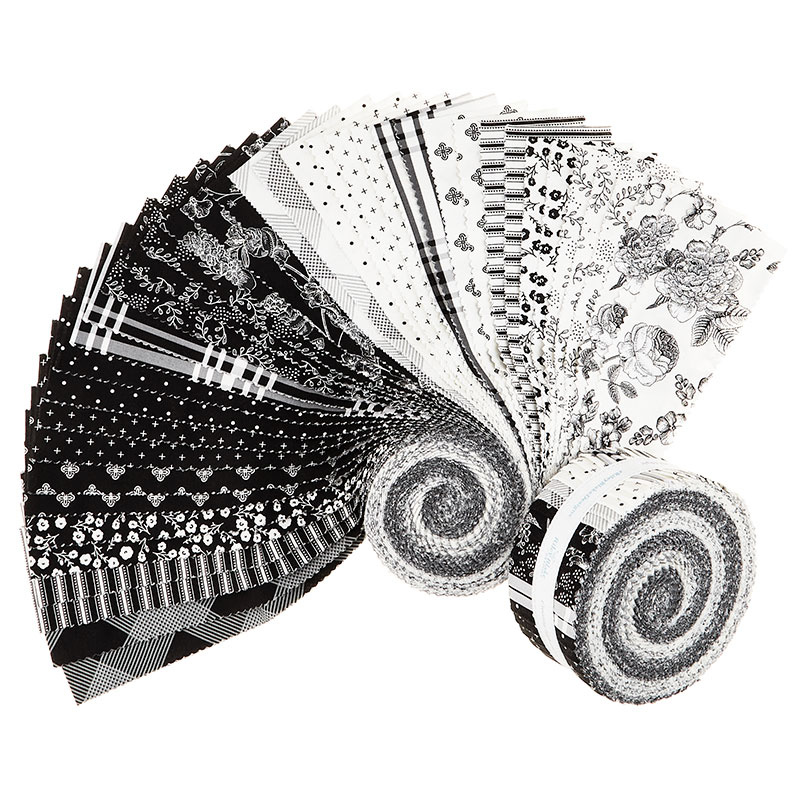 Fleur Noire Rolie Polie$38.95Shop →
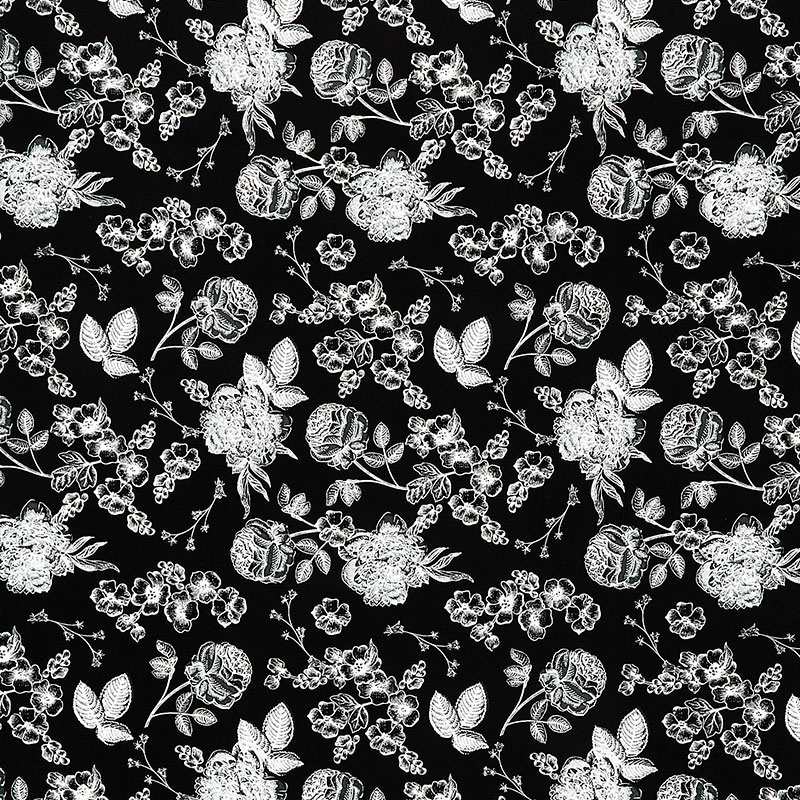 Fleur Noire - Main Black Yardage$11.24Shop →
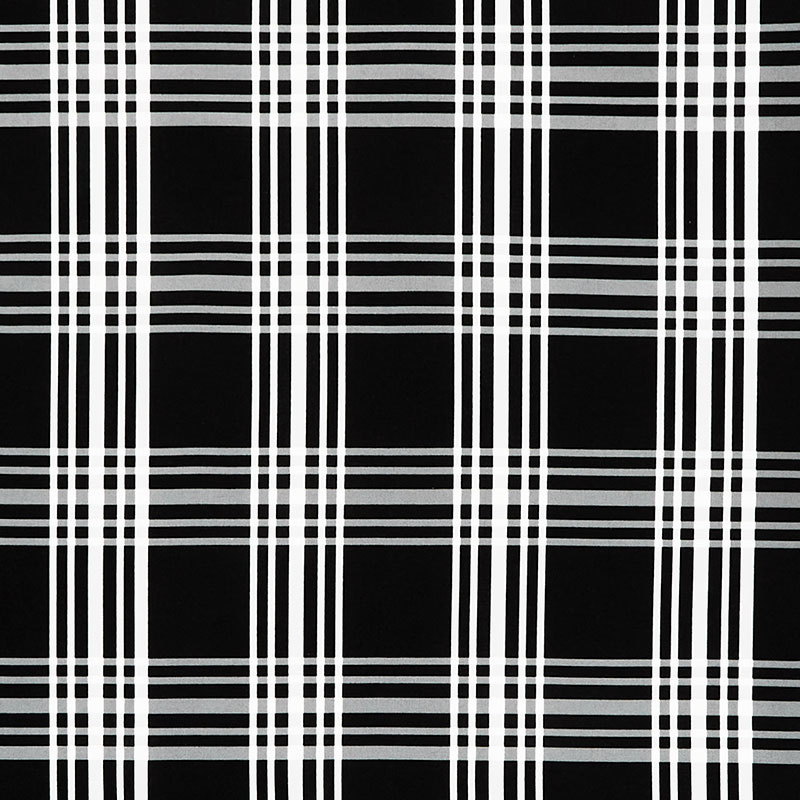 Fleur Noire - Plaid Black Yardage$11.96Shop →
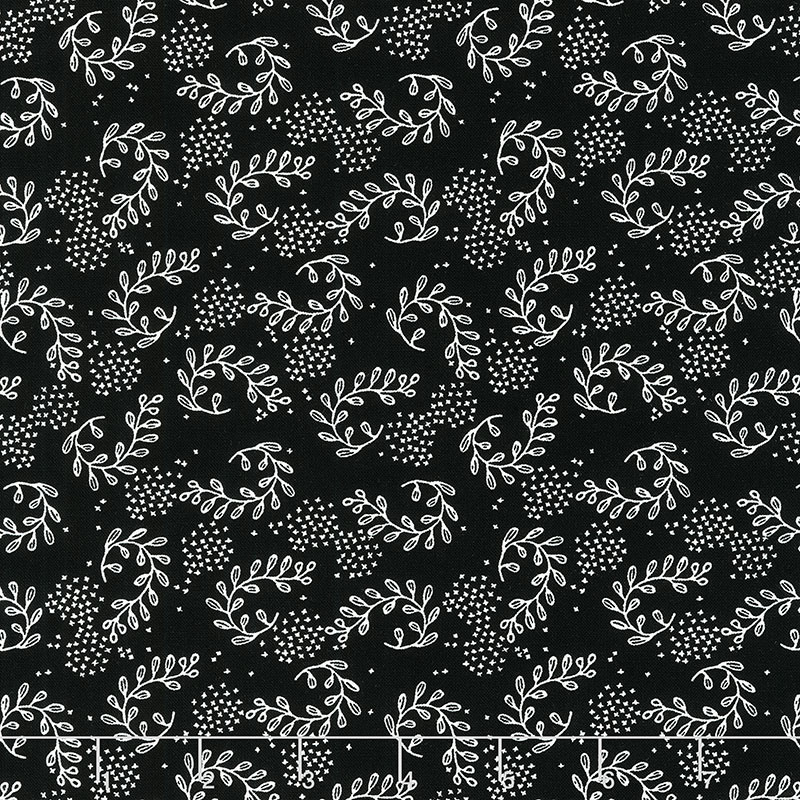 Fleur Noire - Sprig Black Yardage$11.96Shop →
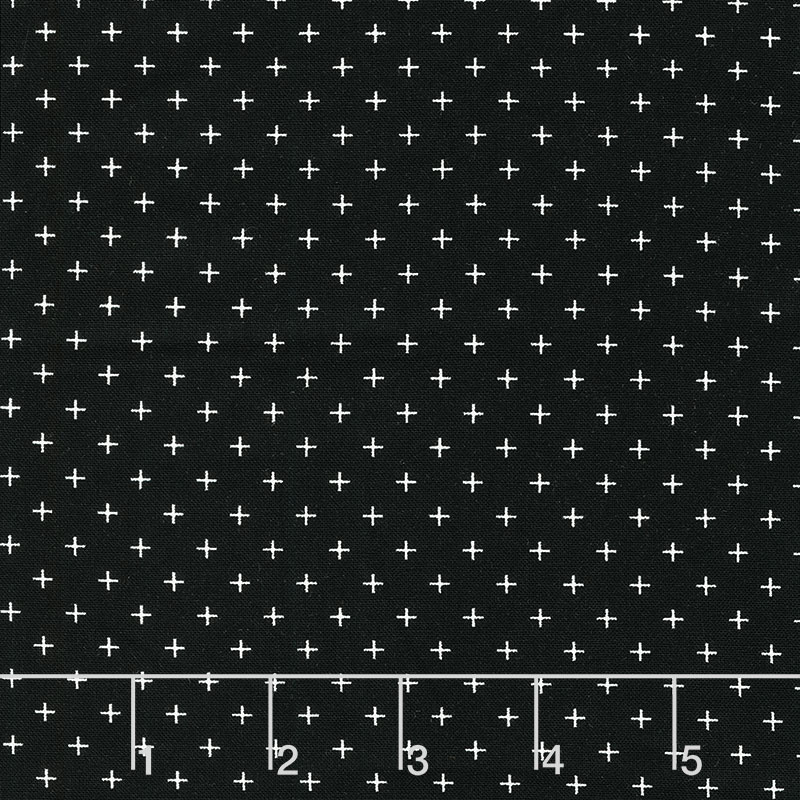 Fleur Noire - Criss Cross Black Yardage$11.96Shop →
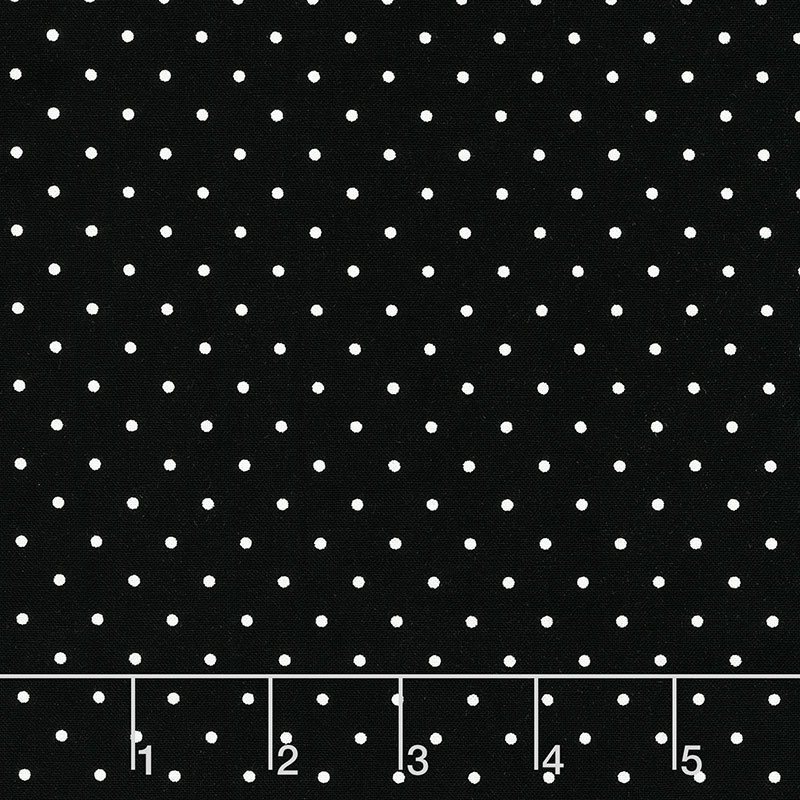 Fleur Noire - Polka Dot Black Yardage$11.96Shop →
 Bella Solids - Black Yardage$8.24Shop →
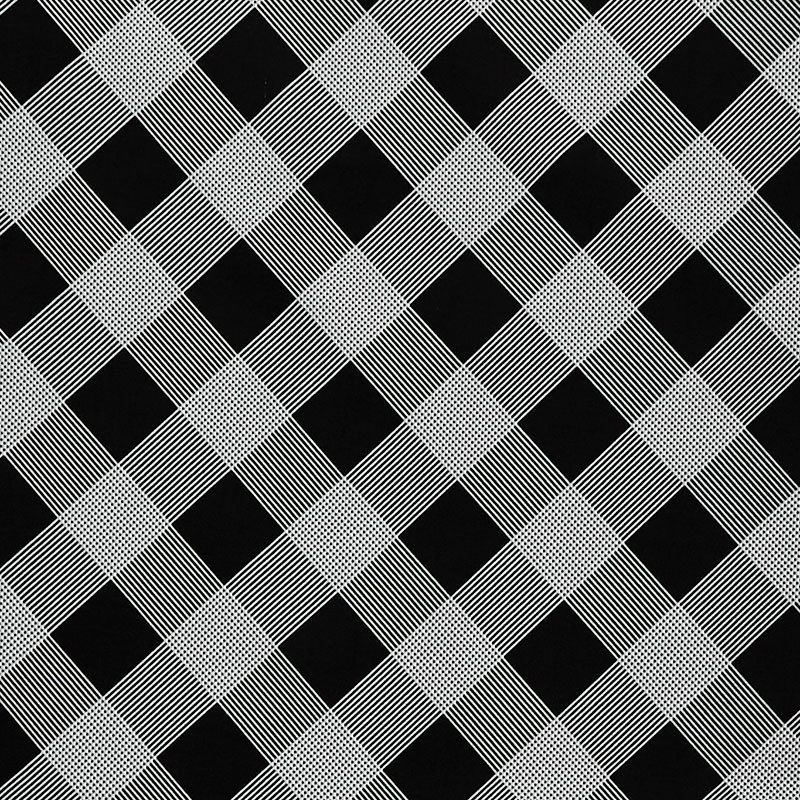 Fleur Noire - Line Plaid Black Yardage$11.24Shop →
Common Questions
What is covered in Triple Play: 3 NEW Log Cabin Quilts with Jenny Doan of Missouri Star (Video Tutorial)?
Triple Play is a favorite tradition here at Missouri Star. Once a month, Jenny, Misty, and Natalie each demonstrate their own, unique spin on a favorite block, technique, or template. In this episode, the talented Doan ladies show off three fabulous new Log Cabin quilt patterns.
How long is the tutorial video?
The tutorial video is 00:35:13.
Are supplies listed for this tutorial?
Yes. The tutorial page includes the supplies and materials connected to this project.
Is a transcript available?
Yes. A written transcript is available on the tutorial page.
Video Transcript
Hi everybody. It's Triple Play Time and I'm here with Natalie and Misty and we are talking about the log cabin block today, which is really fun. You guys are going to love what these girls came up with, and mine too probably. So we're going to start with Natalie's quilt today. So Natalie, you want to tell us about your quilt back here?
Natalie:
Yep, I'm excited. It's really cute. I called it Moonrise Log Cabin because I put the yellow in the center. The yellow in the center of a log cabin is for the light or the hearth of the home.
Misty:
Yes, the fire burning.
Jenny Doan:
The yellow is the light in the home and the red is the heart of the home.
Natalie:
Right.
Jenny Doan:
So let's show them that yellow down here.
Natalie:
I have yellow at the bottom. And then, I did my colors in a gradient so they'd go dark to light up here.
Misty:
Beautiful.
Jenny Doan:
I love it.
Natalie:
The design idea is the moonlight is rising.
Jenny Doan:
There you go.
Natalie:
It's a thing.
Jenny Doan:
It's really cute. It's really cute. So why don't you take the center here and show everybody how you did this.
Natalie:
All right. So to make my quilt, you're going to need one package of 10 inch squares. I've used Firefly by Sarah Watts for Ruby Star Society.
Jenny Doan:
It's a gorgeous line of fabric.
Natalie:
I love it.
Misty:
It's beautiful.
Natalie:
It has beautiful little gold flecks in it and pretty fireflies-
Jenny Doan:
It has unexpected things. [crosstalk 00:01:22]
Natalie:
... and butterflies and mushrooms. It's so cute. It's like a cute little nighttime in the forest.
Jenny Doan:
Yeah, with creatures.
Natalie:
I love it.
Anyways, you're also going to need background and accent. Of your background, you need a yard and a half, and of your accent, you need a yard and three fourths, and then your outer border is another yard and a quarter. And then backing, I use this great large print, It's so cute, but you need about five and a half yards.
Jenny Doan:
I love that one.
Natalie:
The quilt ended up measuring 73" by 89".
Jenny Doan:
Nice.
Misty:
Beautiful.
Natalie:
And I put... This machine quilting pattern is called Aztec.
Jenny Doan:
Nice.
Natalie:
I love it. I just think it looks really great.
Jenny Doan:
Let's look at the back. Let's see, that big print.
Natalie:
Print backing, isn't that fun?
Jenny Doan:
Oh, it's got animals...
Natalie:
It has owls and bunny rabbits...
Jenny Doan:
Mushrooms.
Natalie:
And these fireflies are just beautiful.
Jenny Doan:
Sarah, we love it.
Natalie:
Yes.
Jenny Doan:
We do.
Natalie:
Gorgeous line. I'm so glad I got to use it.
Jenny Doan:
I am too.
Natalie:
All right, so let me tell you how to make this quilt.
The first thing you're going to do is cut your entire package of 10 inch squares into two inch strips.
Jenny Doan:
The whole thing?
Natalie:
Well, yes. I used the whole thing, the whole thing. As many as I could make, and I did divide mine up. I kind of tried to keep my-
Jenny Doan:
Lights?
Natalie:
... colorways together. So I had darks and lights, and that's because I sewed them together in sets. I actually started with the lights so I could see how many light strips I could get on the outsides of each of these. And then I went ahead and made all the rest of them into dark sets because that was what I had left over.
Jenny Doan:
And to be clear, this is not a full log cabin, this is a quarter log cabin.
Natalie:
No, this is quarter log cabin.
Jenny Doan:
Which I think is really fun that you did that.
Misty:
It is fun.
Natalie:
Yeah, absolutely. I love it.
Jenny Doan:
All right, so you separated your pack into lights and darks.
Natalie:
So I'm just going to select three, because I don't need to cut my whole pack right now on camera.
Jenny Doan:
You don't. You already did one to make the quilt.
Natalie:
I did already do one.
Misty:
Cute.
Jenny Doan:
Look at these-
Misty:
I know. Every time you pull a fabric out, I just love it.
Jenny Doan:
Each one is cuter than the last one.
Natalie:
Even this one is just like grass.
Misty:
But it's beautiful.
Natalie:
Yeah, they're so pretty.
Misty:
Yeah
Jenny Doan:
Very pretty.
Natalie:
All right, so we're just going to cut these into two inch strips and you should get an even number of five. Well, it's actually an odd number, but you should get five out of every...
Jenny Doan:
Yeah. What's nice about the two inch measurement is that you really do... I mean, it's a little bit left over, so if you're not exact every moment, you still have some... It gives you some grace.
Natalie:
Right. I'm going to just cut two cuts because we shouldn't need more than that to go all the way around this sweet little thing.
Jenny Doan:
Right. This little quarter log cabin.
Natalie:
Of our background, we're going to need a two inch strip cut into two inch squares. And that makes the center of all of our little quarter log cabins. So we'll just cut one of these.
Jenny Doan:
I love knowing the yellow is the light and the red is the heart of the home, or hearth. Some people say hearth, but I love thinking about that with the log cabin block because you'll see them and you'll see old ones and you'll see that that tradition has been going on for a long, long time.
Misty:
A long time. Yeah.
Jenny Doan:
Now, I completely broke that rule with my quilt.
Misty:
So did I.
Natalie:
Did you?
Jenny Doan:
Yes, I did.
Misty:
So did I.
Jenny Doan:
But that's okay too, right?
Natalie:
Yeah.
Jenny Doan:
We can do different things.
Natalie:
Yeah, I think I like a little bit of traditionalism mixed with modern flair.
Jenny Doan:
Well, and that's what I feel you've done with yours.
Misty:
Yeah you've done-
Jenny Doan:
I mean, it's totally the traditional spark with that modern flair.
Natalie:
Yeah.
Misty:
Really fun.
Jenny Doan:
All right, I'm going to sit down.
Natalie:
First thing we're going to do, we're going to start with a dark, and let's use this blue one. We're just going to stitch that to the end there. And basically what I did for my log cabin, well, quarter log cabin, I stitched to the strip and then cut it off as I went around.
Misty:
That's what I did too.
Jenny Doan:
I did the same thing.
Natalie:
They ended up, they do have sizes, so if you want to precut your stuff, you totally can. But I found that it was easier for me to just cut as I go. And so then I just tried to keep everything square and in line.
You want to press that open real quick? Oops.
Misty:
That's all right.
Natalie:
Move this.
Misty:
Here we go.
Natalie:
And so then the next one is just going to form the side. And to be honest, I didn't keep super good track of which side was which, but when you put them all on point, this, it doesn't matter which side your seams are on, they just have to keep going around and your next set has to go around in the same order.
Jenny Doan:
So the way I remember it is whichever part is the longest, that's the part I start on. But mine, I don't start mine all on the same side either, so...
Natalie:
Well-
Misty:
It's hard to remember, yeah.
Jenny Doan:
And it doesn't matter in the end if it's same there.
Natalie:
So by the end though, I did have the yellow at the top always. So my center was always at the top, unless I was going down this side. And then it was on the bottom, which I had a few little things for the different sections that helped me keep in line.
All right, so this is the first round, and then for the next round we're going to put our short strip on the side where the seam crosses and then the next one will go this way. So-
Jenny Doan:
So for me, I remember it that this is the largest piece, so my fabric goes down that side.
Natalie:
Oh yeah?
Jenny Doan:
Yeah. That's how I did it. But yours is...
Natalie:
Mine is a quarter so I'm holding out on one side.
Jenny Doan:
Okay. Okay. Hope I didn't mess you all just up right there.
Natalie:
That's okay. So we are going to go where this short side crosses because this is our first piece.
Jenny Doan:
Okay, you're right.
Natalie:
We're going to continue the first and then the second continues the second on that side.
Jenny Doan:
Perfect. All right.
Natalie:
Okay?
Jenny Doan:
Here we go.
Natalie:
And you'll need to know that you need a whole strip to go around that outside edge. The inside pieces, you can get several strips and mix and match with other strips that you have. But to do the outside, you need the full strip. Okay. So once you get through however many at the beginning, because I hate to count and I like to just kind of sew and go-
Misty:
And play.
Natalie:
And play with it and not get too hung up on did I cut this exact number. But then once I get around the middle to the close to end, then I really lay everything out and I want to make sure that I know that I have this many dark middles to go with this many light edge outside edges.
Misty:
So you get the look you're going for.
Natalie:
Yeah. So that I know that I'm not going to end up with too many, that I can't put the other corner around the other side.
Jenny Doan:
Can I sew this?
Natalie:
Yes, you can.
Jenny Doan:
Is that the right way?
Natalie:
That is the right way.
Jenny Doan:
All right, here we go.
Natalie:
So sorry to go
Jenny Doan:
No, it's okay.
Natalie:
A little bit of a tangent, but I just-
Misty:
No's it's fun.
Natalie:
It's just kind of my process and...
Jenny Doan:
I actually think that's how we all do it because we all start sewing and when you design a pattern, you don't actually know where it's going to end up until you get everything done and going.
Natalie:
Yeah.For me, the coolest thing about this little quarter square log cabin is that it comes out to be exactly five inches.
Misty:
Oh, that's magical.
Natalie:
That is my favorite thing. And so I had so many different ideas of-
Jenny Doan:
Oh my gosh, yes.
Natalie:
What I might do with this block.
Misty:
Yeah, no kidding.
Natalie:
I will kind of recommend in a little bit of a way that you might want to go ahead and square your blocks. This one is magically perfection. It looks perfect, but Jenny, yes, thank you. But every once in a while I had one that was a little big or-
Jenny Doan:
Or wonky.
Natalie:
Warped on one side. So I went through and squared all my blocks just to make my life easier. All right. So now what we're going to do, this quilt has this midsection set on point. Okay. So you're going to cut eight and a half inch squares for all these little triangles and cut them diagonally both directions. And you'll need some for your tops and sides in both your colors. I separated mine, I guess it's right in this midsection. So if you count straight down, it's 1, 2, 3, 4, 5, 6, 7, 1, 2, 3, 4, 5, 6, 7. And so right here at this line is where I put the yellow and
Jenny Doan:
It looks really awesome.
Misty:
It looks beautiful.
Natalie:
So they're really simple. I have some of these triangles cut. It's, again, an eight and a half inch square and they just attach to your blocks and you saw your blocks in diagonal rows to get your set on point.
Jenny Doan:
So I was just going to ask you how you see your rows because I see them all going this way.
Natalie:
Which is totally fine. It just depends on-
Jenny Doan:
It's the same.
Natalie:
Your perspective, right?
Jenny Doan:
Maybe that's a left hand, right hand thing.
Misty:
That's what I was just going to say.
Natalie:
Well, and so then after I've gotten these two triangles sewn on, then I put my corner block on once I have this midsection, then I'll add that corner.
Misty:
And is that corner a different size?
Natalie:
And that corner is a five inch square cut once on the diagonal.
Misty:
Okay.
Jenny Doan:
Oh, okay. That makes sense.
Natalie:
Perfect.
Jenny Doan:
So then how wide are your top and bottom pieces?
Natalie:
So that's it. Once you get all of your stuff set on point. And I also, just to reiterate, I have light on the top and dark on the bottom, but these top pieces are the width of the quilt by 18 inches.
Misty:
Okay.
Jenny Doan:
Oh, okay.
Natalie:
So I just cut my piece in half and you can do a continuous length of fabric cut if you want to, or you can put a seam in it. I have a little seam up here because I got short and no seam in the bottom. But it really doesn't matter because you're going to quilt it and it's not going to show.
Misty:
Yeah, it'll blend.
Natalie:
So that's really up to you. I think you have enough fabric in the instructions to do a length of fabric cut so there's no seam.
Misty:
Oh, that's awesome.
Jenny Doan:
Nice. Natalie. I love it.
Misty:
It's beautiful.
Natalie:
So that's basically it though. You just make that's, [crosstalk 00:11:37].
Misty:
Is this a five inch border?
Natalie:
This cute little section is a five inch border.
Misty:
Okay. I love it.
Natalie:
And I love this firefly fabric.
Misty:
I do too.
Natalie:
It's got this little gold. Oh my gosh. It's just so pretty.
Misty:
Well, especially for us here in Missouri, because we have fireflies.
Natalie:
We do. It's special.
Jenny Doan:
We do. I love fireflies.
Natalie:
And they're magic, it's magical.
Misty:
Yeah.
Jenny Doan:
It's really, really cool.
Natalie:
All right.
Misty:
Am I up next?
Natalie:
That's it. I hope you guys enjoy it.
Misty:
I love it.
Jenny Doan:
All right, Misty.
Misty:
Okay.
All right.
Jenny Doan:
Misty. I love it.
Misty:
Thank you.
Natalie:
It is so great.
Misty:
This is my quilt. And so I kind of decided if you do a traditional log cabin where it's half and half, it's basically a half square triangle.
Jenny Doan:
It basically is.
Misty:
And so you can do so many things. So I really just started playing with the layout and I kind of got this great echo star. It's bursting out of the center.
So it's called Echo Star Log Cabin. And it's a great size. It's 80" by 80" and I used a new pantograph to us. It's called Bloom and Plume. Is that right?
Jenny Doan:
Yes. Bloom and Plume.
Misty:
It's Bloom and Plume. I got it right.
Natalie:
Yes it is. It's brand new.
Misty:
But I really like it because it's got that swirl and a few little flowers in there.
Jenny Doan:
It's great.
Misty:
It really pretty.
Natalie:
It's so pretty.
Misty:
And you guys this backing.
Jenny Doan:
The back, wait till you see the back.
Misty:
Look at this. Oh my goodness. I love it. So it looks like you worked really hard on the front and the back, but you didn't.
Jenny Doan:
Hashtag perfect points.
Natalie:
It's so great.
Jenny Doan:
Perfect points.
Misty:
Isn't that amazing?
Jenny Doan:
I love it.
Misty:
It's just such a fun line. It's called Fleur Noir.
Jenny Doan:
Well, and it's fun when you get a black and white line. You never know what's going to inspire you and sometimes it takes a bit of hunting.
Natalie:
Do you add a color.
Misty:
Exactly.
Natalie:
I would've been like, I don't know.
Misty:
I actually went back and forth with that myself because I was like, should I put a color in there? But I just really love how it came together.
Natalie:
It looks so great.
Jenny Doan:
So what do you need to make this?
Misty:
So you need two rolls of your two and a half inch strips. You are also going to need five additional half yard cuts of the black, because we do have more dark than light. And the rolls come exactly half and half. Oh, okay. And so if you had a different roll, that might change a little bit depending on what you do. And if you wanted to pull from your stash, you could just pull a bunch of two and a half inch strips too because-
Natalie:
That's a good idea.
Misty:
That's really what you need. And then of course for your backing, you need seven and a half yards or two and a half of a 108. [crosstalk 00:13:47] This is just a standard 45.
Jenny Doan:
Oh, okay. All right.
Natalie:
But it's beautiful.
Misty:
Yeah and no border.
Jenny Doan:
They should make it as a 108.
Misty:
They should.
Jenny Doan:
They should.
Natalie:
I agree.
Misty:
It's such a great print.
Jenny Doan:
It is a great print.
Misty:
Let me show you how to do this. This is super easy. It actually just follows Jenny's regular simple log cabin. We just have three different blocks that we're making to get this. So let's-
Jenny Doan:
Not three different, three color arrays.
Misty:
Three colors arrays.
Natalie:
That's actually brilliant. I love that. It's really smart.
Misty:
Thank you. It's just how we place our color.
So I have all my pieces cut here, but I do want to say, when I made mine, I just cut my first little two and a half inch square and then put a strip next to it. And I just had my stack of strips.
Natalie:
Similar to what I did.
Misty:
Exactly. I did not actually cut it this neatly. It's written this neatly in the pattern.
Jenny Doan:
Isn't that nice?
Misty:
It's so nice.
Natalie:
So the other thing that I did as I would cut my strips down, I would kind of be like, okay, this is about this long. And I'd keep that stuff in that pile, but I also kept my prints together so that I could do... But yours are scrappy.
Misty:
Mine are all scrappy.
Natalie:
So you could just have, these are the fours and these are the sixes.
Misty:
Exactly. You can just mix it up.
Jenny Doan:
That's awesome.
Misty:
So we're going to start by making our half and half blocks that give us the star effect. And so we're going to start by sewing together a dark and a light, two and a half inch square. So Natalie, if you want to do that.
Natalie:
I do.
Misty:
Awesome.
Natalie:
I do, I'm excited.
Misty:
I knew it.
Jenny Doan:
You knew it.
Misty:
I just knew it.
Jenny Doan:
I'm just going to press this nice black and white one here.
Misty:
That would be great.
Jenny Doan:
'Cause it's so perfect.
Natalie:
All right.
Misty:
There we go. Then we'll press this back. We can just finger press it, but you're ready.
Jenny Doan:
I'm ready. There we go.
Misty:
And so then now we are going to add our four and a half by two and a half.
Jenny Doan:
Light to light.
Misty:
Yep, light to light. So you can sew that. And we're just going to build out.
Jenny Doan:
And you guys, when you make these kind of things where there's a lot of little piecing and ironing and things like that, make yourself a little nest, because you've got sewing. You should have your ironing right here.
Misty:
It will make it go much quicker if you have that all close instead of having to get up. Unless you need to get your steps in.
Natalie:
Well, what I was going to say, when I do it, I like to do a little pile and then I like to take a break from my chair-
Misty:
And press it.
Natalie:
Stand up and press for a few minutes.
Misty:
That makes sense.
Natalie:
So I kind of mix it up that way.
Misty:
And so I always have to look and make sure I've got it right. So then now this one goes here because this is our dark.
Jenny Doan:
That's right.
Natalie:
That's right.
Misty:
That's right. Yes. I know it's tricky.
Jenny Doan:
We all did ours just a little different. So we're like, wait a minute.
Misty:
Wait a second. Double check.
Natalie:
Is it really? It really is.
Misty:
It really is. Yep. And we're just going to keep building around our block. It's so funny.
Jenny Doan:
And it's generally going to work out to be dark-dark, light-light
Misty:
Exactly.
Jenny Doan:
And then you'll add two darks and two lights and so on.
Misty:
So we can just press that and then this one will go there.
Jenny Doan:
It's like they don't even need me anymore.
Misty:
Just trying to make it go a little quicker. I feel that, you've mentioned before, you feel like you have to hurry and it's true. It's like, wait, I'll show you how great it is. There's all this excitement.
Jenny Doan:
And I think so many things that we do are quick and easy. So in our brains we have to show you quick.
Misty:
Yes.
Jenny Doan:
And we really don't.
Misty:
We don't.
Natalie:
We really don't.
Misty:
It's true.
Jenny Doan:
They don't mind waiting for Natalie to slowly sew this.
Misty:
No, because I mean truly everyone understands it takes a minute to do all these things. Yeah. There we go.
Jenny Doan:
All right. Here, we give a good press on this.
Misty:
I'll let you press now.
Jenny Doan:
Two pieces. There we go.
Misty:
And so now we're adding to the other side here. So it goes on this side. Yep, our light.
Natalie:
All right.
Jenny Doan:
It is fun how that plaid plays out, isn't it?
Misty:
Isn't it? Yeah.
Jenny Doan:
Because sometimes you get a plaid and you're like, I don't know. But they make it work.
Natalie:
I know I really loved it when it all came together. All the different prints and scales that are in there.
Jenny Doan:
I love it too. I think it's really pretty. It's such an interesting, whenever we get a black and white line, it always, I'm always surprised at what we do.
Misty:
Well, and the interesting thing is, when I first started designing this, I thought I had way more darks in the roll. And then once I actually counted it, I was like, oh no, it's half and half. It was just like my brain saw all the darks.
Jenny Doan:
Oh, funny.
Misty:
Which is why then I needed extra.
Jenny Doan:
Right.
Misty:
Dark, 'cause I didn't want to give up on my design once I got to that point.
Jenny Doan:
No. And sometimes just those extra little half yards, it's just totally fine.
Misty:
Yeah, it is. And it's a great size. So it makes it worthwhile.
Jenny Doan:
This would actually be a really awesome and easy two color quilt.
Misty:
Oh, absolutely.
Jenny Doan:
Because it would be very, very easy to see the design in that. And there would be no stress in your brain about what goes here. You'd be like blue, blue, white, white.
Misty:
You really would just have two piles of your strips,
Jenny Doan:
Right?
Misty:
Yeah. That would be so simple.
Natalie:
Very smart.
Misty:
All right, you want to press that?
Jenny Doan:
Sure.
Misty:
We're almost done, we have two more strips to add.
Natalie:
There we go.
Misty:
So then we have this one that goes here and then our last strip on the bottom.
Jenny Doan:
So fast.
Misty:
So fast.
Jenny Doan:
So Misty, how many of these half and half blocks do you need?
Misty:
You need 24.
Jenny Doan:
Oh, okay.
Misty:
Of the ones that are split light and dark.
Jenny Doan:
Perfect.
Misty:
And then I should count, because you need...
Jenny Doan:
There's that. You want to finger press that or I'll iron it real quick.
Misty:
Either way.
Jenny Doan:
And then we can add the black.
Natalie:
All right.
Misty:
There we go. There's the last one.
Natalie:
Excellent, Thank you.
Misty:
Got it.
Jenny Doan:
And they always look so funny to me. And then you put that last strip on and you're like, Oh, there it is. There it is.
Natalie:
Perfect.
Misty:
It's ready.
Jenny Doan:
I love that.
Misty:
No, I know. It was funny. I don't know if it's just because they are all prints, but working on this, it was hard to keep straight a little bit.
Jenny Doan:
I'm sure.
Natalie:
There we go.
Misty:
There it is. All right. So there is that.
Jenny Doan:
This one.
Natalie:
Very cool.
Misty:
And so you can see how our half and half blocks come together. This is more the traditional log cabin style, But because it was so fun and scrappy, I decided to use the rolls for all of the sections. I could have just put solid blocks in here and it just didn't feel right.
Jenny Doan:
No. Yeah, I love it.
Natalie:
It looks so great piece like that.
Misty:
Thank you. And so then you are going to need some all light log cabins. The assembly is exactly the same, but then you just don't have to worry about which side is light and which side is dark. You just keep making your way around. And then you also need some all dark log cabins. And it's the same idea and just-
Jenny Doan:
There's a diagram.
Misty:
There's a diagram, and it's just all in the layout. So you can see it's two darks and a half and half and two darks and a half and half. And then your solid light comes in and it's, it just lays out into this great star.
Jenny Doan:
I just wondering, do you put this together in rows or do you do quadrants?
Misty:
I do rows on this one.
Jenny Doan:
Okay.
Misty:
But I think you totally could split it in quadrants because it's exactly four and you would just rotate.
Natalie:
Technically, there's four identical blocks.
Misty:
Yeah, exactly. So that is really it. It's super quick and easy.
Natalie:
It's great, I love it.
Jenny Doan:
Oh, that's so fun.
Misty:
And just where you put your fabric, gives you a different
Jenny Doan:
Look. It sure does. I love it. So it's the Echo Star-
Natalie:
Beautiful.
Misty:
The Echo Star Log Cabin.
Jenny Doan:
I love that.
Natalie:
Awesome.
Misty:
So Jenny, you're up.
Jenny Doan:
Let me get mine.
All right, you guys. So my quilt is called Cozy Cabin.
Misty:
It's so cute Jenny.
Jenny Doan:
And I called it Cozy Cabin because I decided that in the middle of a log cabin could go a cabin.
Natalie:
Like a house within a house.
Jenny Doan:
A house within a house.
Misty:
Like a dollhouse.
Jenny Doan:
A little cottage in the woods.
Misty:
It's so cute.
Natalie:
It's so cute.
Jenny Doan:
So every other block, these blocks are standard log cabin blocks. And then this one has the little house.
Natalie:
Oh, that's so cute.
Jenny Doan:
I like how when you line them up like this, all the background color makes a pathway, like a pathway to the house. Anyway, to make my quilt, you're going to need one packet of 10 inch squares. And I was lucky enough to get to use Tula Pink's Tiny Beasts from Free Spirit. And it's just-
Misty:
So fun.
Jenny Doan:
Oh, I mean, it is the cutest, happy, cute.
Natalie:
It really is.
Jenny Doan:
I also used, my accent fabric is from that line as well. And it's this with this tiny pink. Can you say I'm matching? Matching.
Natalie:
Yes you are, so cute.
Jenny Doan:
So we need a yard of that. And then we're going to need a little bit of a background fabric and a half a yard of that. Our outer border is one and a quarter yards. And all of Tula's fabric has something special and hidden and fun in it. And this one does as well. [crosstalk 00:22:17] It's little foxes. And so this is my border. And then this little print right here, she has a whole line of dots and stripes and things like that. And of course I went for the stripe for the border.
Natalie:
Of course.
Jenny Doan:
You'll need three quarters of a yard. I love a stripe on the border. But this backing for the backing, you're going to need two and a quarter yards of a 108. And she has made a 108 for this line. So you'll notice these are tiny little ladybugs, but of course the backing...
Natalie:
Large.
Jenny Doan:
Not so tiny, they're jumbo.
Natalie:
They're so cute.
Misty:
I love them.
Jenny Doan:
They're so cute. So, it's two and a quarter yards of a 108. If you don't use this-
Misty:
Look at that.
Natalie:
I love it.
Jenny Doan:
Oh, I love this. And so my quilting pattern on this is called Little Nature and it has little ladybugs in it, and that's why I picked it. So if you use a regular fabric for your backing, say you can't get the bugs or whatever, it's four and a half yards. And that's what you need.
Natalie:
A 45 inch or 40 inch wide fabric.
Jenny Doan:
Yes.
So to make mine, I have two different blocks. I have a standard log cabin block, and I have a house block. And you need 15 of each for this size. That's what one layer cake will give you. I mean, many of us might want to make it much larger.
Misty:
It's true.
Natalie:
For sure.
Misty:
I agree.
Jenny Doan:
But this one was one layer cake, so 15 houses and 15 log cabin blocks. Now, one of the cool things that I did was that I figured out how to make this a 10 inch square, which for me opens up worlds of...
Natalie:
That's how I felt with mine being five
Jenny Doan:
Right?
Natalie:
Like, wow, I could do so many.
Misty:
So many possibilities.
Jenny Doan:
Right? Because all the layer cakes come into play and every other one and it's going to... Oh yeah, all the things. So I made one first and I used a two and a half inch square in the center and it just didn't work. I was putting all these tiny pieces in here and at the end I just quilted it and it looks fine, but I wanted to make the exact right measurements for you. So I have to say, I already have one of these personally.
Misty:
I know.
Natalie:
Oh no, I've got to see it.
Jenny Doan:
Cause I made them two. I made two. But anyway, so this is my cutting diagram for the log cabin block. You're going to cut all your blocks into one and a half inch strips. Perfect. So just take your 10 inch squares, cut them into one and a half inch strips. Just make a big pile of those because we're going to start them. Our center square is three inches. This is a three inch square. And that makes the block total out to 10 inches. And it's made just the same way as Misty's and Natalie's. You're going to put your dark on, your light on, your dark on, your light on.
Misty:
Same idea. Just skinnier strips.
Jenny Doan:
Just skinnier strips. Exactly the same. Now the house block is a little different. So this is.
Natalie:
But really quick, where do you get that three inch square?
Jenny Doan:
Right here from the house block.
Natalie:
Okay.
Jenny Doan:
Yep. I was just getting to that. So this is the house block. And to make my little house, this is the little house that I make and lots of things I love to use this little house, you need some different cuts. You need two by three inch squares, two of those for the sides of the house. And we have those, Let's build our little house while we're talking about it, and you can see where all the squares come from. All right. So here's two two by three pieces, and then your door is a one and a half by three and it goes right there. So Misty, if you want to sew those together.
Misty:
Yep. I'd be happy to.
Jenny Doan:
And then your top piece should match your wall pieces. And it's a one and a half by four and a half. And you're going to get that right here. And then your roof is a two and a half by four and a half. And out of our background fabric, we're going to put a couple of two inch squares. And this is going to make the peak of our roof or flying geese block. Either one works, but you can see on here, I have three one and a half inch strips cut. That's half. And then I have a two and a four and a half. This is the roof. This is the top part over the door. And then these are your walls and your door. And then this becomes our center for our log cabin block.
Misty:
Do you want me to sew some of these?
Jenny Doan:
Everything you need. Oh yeah. Go ahead and sew these on the diagonal.
Natalie:
These are two and a half, right?
Jenny Doan:
Those are two and a half. And then you can sew the roof on right there.
Misty:
There's that.
Jenny Doan:
And we'll trim this and...
Natalie:
Trim it and press it back.
Jenny Doan:
Trim it and press it. There we go.
Natalie:
I can do that.
Jenny Doan:
Yes you can.
Misty:
There's that one.
Jenny Doan:
There we go.
Misty:
And then one more.
Natalie:
It's nice being the one in the middle, huh?
Jenny Doan:
I love it. I love it.
Misty:
I do too.
Natalie:
It's rather efficient. We're so close, guys, the finish line is in sight.
Jenny Doan:
All right. Now we'll trim this roof right over here. And then Natalie, if you'll press that...
Natalie:
I would love to.
Jenny Doan:
Then we can add the roof to our top of our house. There we go and just put this on the top right there.
Misty:
Great.
Jenny Doan:
Now for a lot of these little houses, you'll notice that I fussy cut these because there are little animals here. So see this little raccoon right here?
Natalie:
They're so cute.
Jenny Doan:
And the ladybugs. And I mean, some of them are just plain little houses. But look at this little guy peeking out.
Misty:
Oh my goodness.
Jenny Doan:
They're just cute as can be.
Natalie:
There adorable.
Jenny Doan:
All right. So Misty, here's what I need you to do next. I'm going to take a one and a half inch strip, and I'm going to have you sew it to both sides.
Misty:
Okay.
Jenny Doan:
So if you'll just sew that on that side, and then just use this end and sew it to the other.
Misty:
You got it.
Jenny Doan:
And we'll cut it off all in one go. So when I finished up my little houses, which, the roof finishes it, then I took them and I took a one and a half inch strip, and I put house, house, house, house, house. And just sewed them down on the strip and then flipped it and sewed them on the other side. I added an inch and a half strip to either side of the house. And the reason I did that was because I wanted my house block squared to six inches because then everything else makes sense.
And you honestly don't need a whole inch and a half. You need an inch or something like that.
Misty:
It just gives you plenty of room.
Jenny Doan:
But it gave me room in case I messed up. And these houses, whenever you're dealing with little pieces, sometimes they can get a little wonky real quick. And so I just decided that an inch and a half strip gave me some room. This was really handy. I have this six inch ruler and I wanted my block to be six inches. And so I would just take my little house. This one actually looks pretty perfect, but most of mine did not. And so I just laid it on here like this. And you can see your little inch lines come in right there. And then just-
Natalie:
That is so nice.
Misty:
That is nice.
Jenny Doan:
I just trimmed it up and it just makes an instant squared up block that, And you don't have to do it ambidextrous and change hands like I did. But if it works, it works.
Misty:
It's one of your many skills.
Natalie:
I could not do that.
Jenny Doan:
All right.
Natalie:
I think because you're a lefty, you've got special talents.
Jenny Doan:
Maybe that's it. So on the house block, I was just so enamored with these little houses that-
Natalie:
You're so cute.
Jenny Doan:
I just wanted to cover it with color. And so again, I'm doing four or five houses at a time. And so some of these pieces, I would sew the strips together like three of the same color and start...
Natalie:
Oh, so that you could do many.
Jenny Doan:
Yeah. So, we're going to go around this one just like you do. And on some of them I have the same color, and some of them I have different colors all the way around. I don't think it matters one way or the other. Obviously it didn't matter to me. And so I was just... And the lights and darks didn't matter. So we're just going around and around and we're just going to keep putting these on. So I always started on the side and then added one to the bottom, came up the other side, and then came across the top. And I made two rounds on my houses.
Misty:
Okay, there's that one.
Jenny Doan:
I don't know why, but for me it was always easier to use the scissors. So I would just clip this and then I would just open this up and add the next one.
Misty:
All right.
Jenny Doan:
And so I'm going to let you keep sewing around and around and I'm just going to get... Oh, look at this, you guys.
Natalie:
Oh, so cute.
Jenny Doan:
You guys have to...
Natalie:
I love those little...
Jenny Doan:
Look at these little raccoons. I mean, that would be perfect in a doorway.
Natalie:
I love this one coming out of the flower.
Jenny Doan:
Right? She's so clever.
Natalie:
And this one holding onto a little apple core.
Jenny Doan:
Right?
Natalie:
So cute.
Misty:
Fun.
Jenny Doan:
Now, anytime I added an animal to it, I did make sure that he was going the right direction.
Natalie:
You did?
Jenny Doan:
I did. Because nobody wants to look at a house block like this and see an animal hanging upside down.
Natalie:
I might have not worried about that just because I want to not worry about it.
Misty:
Yeah, I was going to say, how did you do it? To make sure-
Jenny Doan:
I totally worry about that kind of stuff. That's so funny, because that.
Natalie:
I often purposefully put things upside down and sideways just so that I know that it's no big deal.
Jenny Doan:
All right, let's clip this. Natalie, if you want to give this first round a nice press.
Natalie:
I would love to.
Jenny Doan:
We will start off new and crisp for the second round.
Misty:
For the next one.
Natalie:
All right.
Jenny Doan:
It's already looking so cute.
Misty:
It's so fun.
Natalie:
It is beautiful.
Jenny Doan:
Look how cute this is, you guys. So cute.
Natalie:
Love it.
Jenny Doan:
All right. So here's this raccoon. He's going to end up the right way.
Misty:
Yes he is.
Jenny Doan:
He will not get a head rush on my watch. All right let me find a different piece here. This one, across the bottom.
Misty:
There's that.
Jenny Doan:
Okay, here we go. Oh, and I'm just going to kind of finger press this back for you.
Misty:
Perfect.
Jenny Doan:
And then this piece will go around here.
Misty:
All right.
Jenny Doan:
And when we get to the very last piece, it's a whole strip.
Natalie:
It's magic because it's 10 inches.
Jenny Doan:
It's 10 inches.
Natalie:
I was thinking that just now. The math makes me happy.
Misty:
I love that kind of math.
Jenny Doan:
Look at this. Look at the face on this. See the eyes with the nose.
Natalie:
That's so cool.
Jenny Doan:
Oh yeah, we need this one too.
Misty:
One more little trim.
Jenny Doan:
Okay. Oh yeah. One more little trim. Look at that.
Misty:
There we go.
Jenny Doan:
Put the side on.
Misty:
And is it this?
Jenny Doan:
Yep. This side and then the top.
Misty:
Okay.
Jenny Doan:
And we're going to put these going the right way too. Well, now this one, this fabric is so busy. I didn't worry about it with this, but when I've got the one lone raccoon there, oh, look how she, [inaudible 00:32:57].
Natalie:
That just came off your strip on the end of the missing block.
Jenny Doan:
Yeah. So this just came off the strip in the end of the blocks. And I will tell you what, this is going in my crumb box just like this.
Natalie:
I was going to say, these are such great little pieces.
Misty:
They're so cute.
Jenny Doan:
And then press this all back and then we're going to add the last piece. And it should be 10 inches exactly.
Natalie:
So fun.
Jenny Doan:
All right.
Misty:
All right.
Jenny Doan:
Now this last row is going to go on the top. And we want it to go with its eyes going the right direction. And if we've done it right, this should be 10 inches, we should use the whole strip on this.
Misty:
Okay.
Jenny Doan:
And so it's fun to see when they come together.
Natalie:
I love it.
Misty:
Yeah it does.
Jenny Doan:
And if it doesn't, we make it. We're going to make that fit.
Misty:
Make it so.
Jenny Doan:
That's right.
Natalie:
Exactly.
Jenny Doan:
Alrighty, I press that open.
Natalie:
Okay.
Jenny Doan:
All right. Now where's my other block that I already did? It must be down there in that pile. Oh no, it's under here. Here we go.
Misty:
It was hidden.
Jenny Doan:
So two cutting diagrams and two blocks. And these go together, just every other one. And so we've got our house and then we've got our block. And these literally face the same direction. So this accent fabric always points down.
Natalie:
Oh, nice.
Jenny Doan:
No matter where you put it, on every one.
Misty:
That makes it so simple.
Jenny Doan:
It's so easy to remember. And so this one, it's every other one. So three houses in this one, two houses, three houses, two houses. And it just comes together. So cute and so quick.
Misty:
I love it.
Jenny Doan:
And I do, I just love it too. I just think it's adorable and I hope you guys enjoyed it. Well you guys, I think we really hit it out of the park. A home run on this triple play.
Misty:
I agree.
Natalie:
I know. It's been so fun.
Misty:
I like these log cabins, it's so cute.
Anyway, we hope you enjoyed this triple play on the log cabin block from the Missouri Star Quilt Company.
Hi everybody, it's Jenny from the Missouri Stark Quilt Company. We hope you enjoyed watching this video. If you aren't already part of the Missouri Stark Quilt Company family, be sure to subscribe so you won't miss a thing. And if you click that bell, it'll notify you every time a new tutorial comes out. See you next Friday.



