

Triple Play: 3 New "Missouri Star" Projects with Jenny Doan of Missouri Star
 Jenny Doan
- Layer Cake
- Traditional
- Lap / Throw
- Beginner
- Quilt size 65" × 73"
We have a new tradition here at Missouri Star: Triple Play! Once a month, Jenny, Misty, and Natalie each demonstrate their own, unique take on a favorite block, technique, or template. This week these talented Doan ladies are showing off three adorable quilts made with our beloved name sake: the Missouri Star block!
Instructor
Jenny Doan
Jenny Doan is an American quilter, author, and YouTube personality. Jenny started Missouri Star Quilt Company in 2008 and today it is the largest quilting supply vendor in the United States.
Shop this tutorial
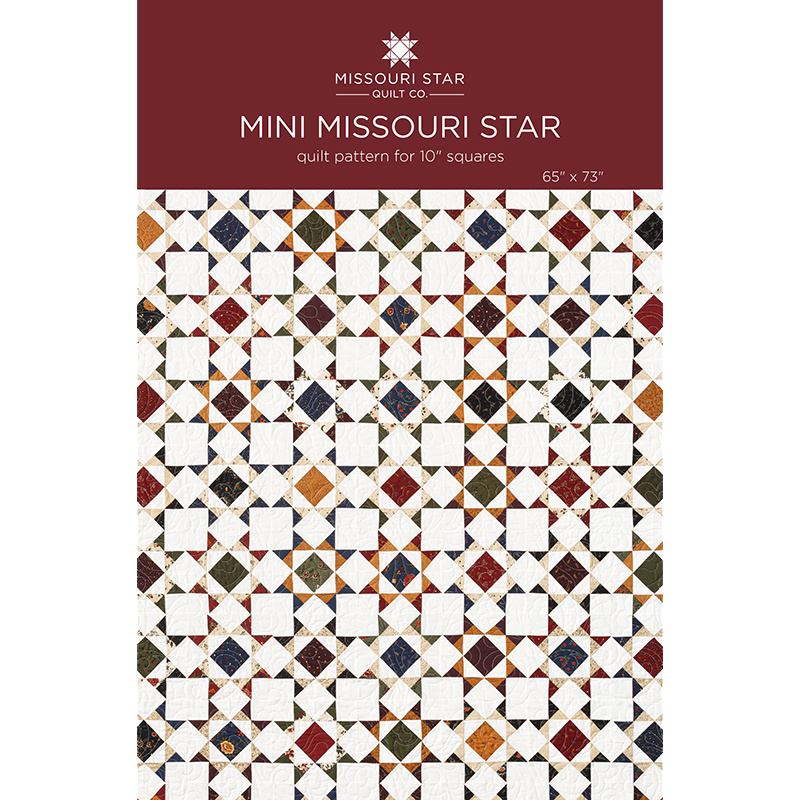 Mini Missouri Star Quilt Pattern by Missouri Star$4.95Shop →
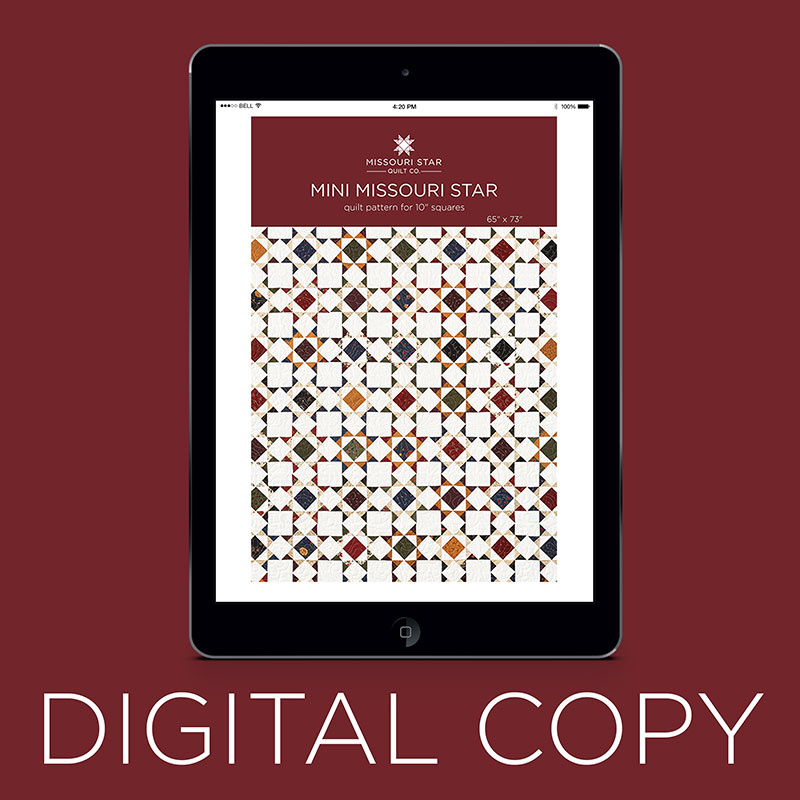 Digital Download - Mini Missouri Star Quilt Pattern by Missouri Star$3.95Shop →
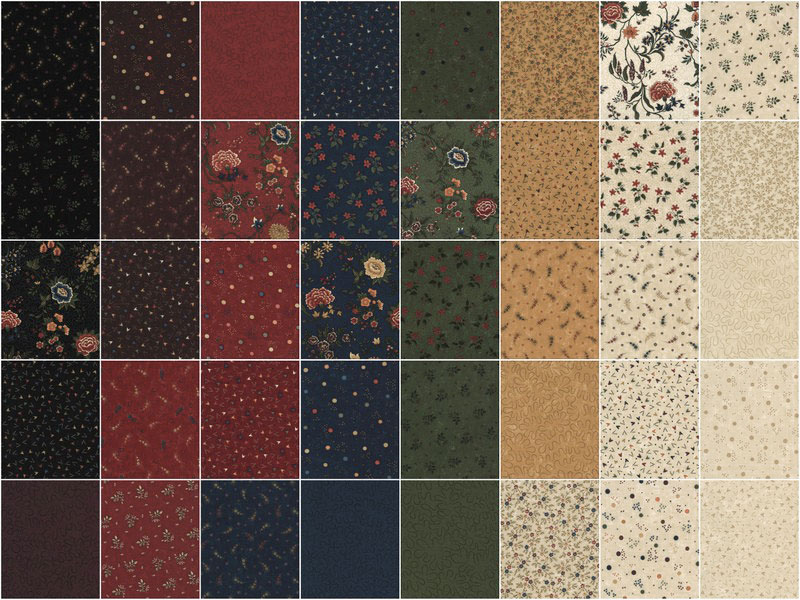 Prairie Dreams Layer Cake$36.95Shop →
 Bella Solids - White Bleached Yardage$6.95Shop →
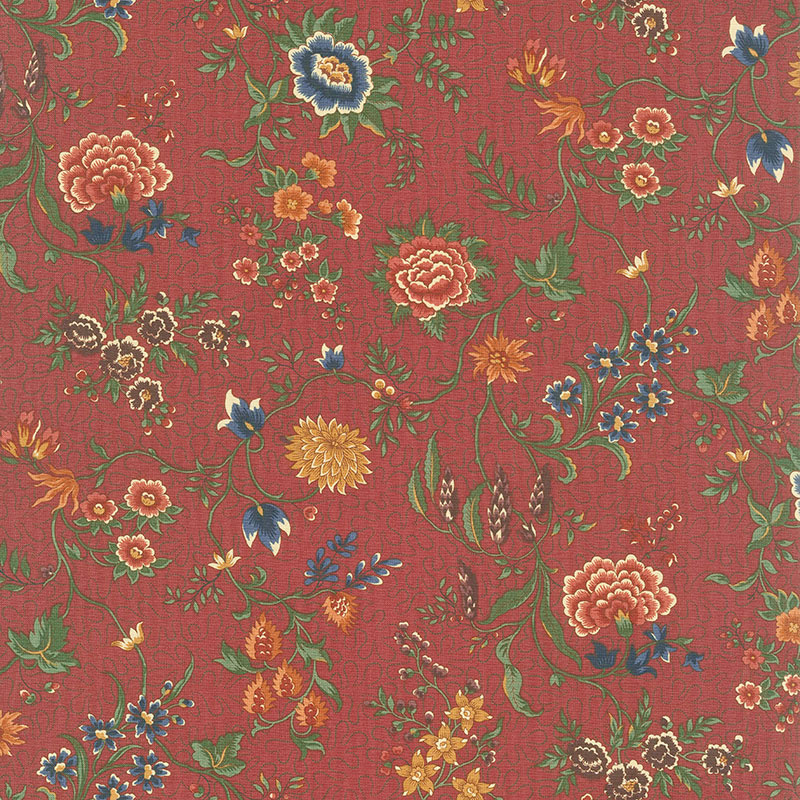 Prairie Dreams - Prairie Flowers Red Yardage$10.75Shop →
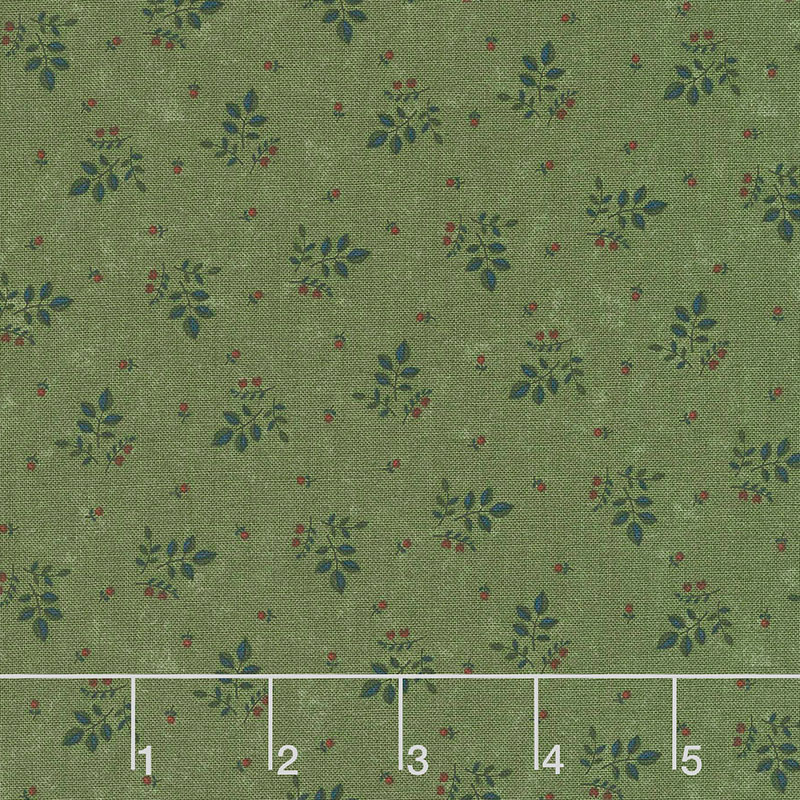 Prairie Dreams - Leaves & Berries Green Yardage$10.75Shop →
 Missouri Star Quilter’s Best Blend Twin Batting$25.45Shop →
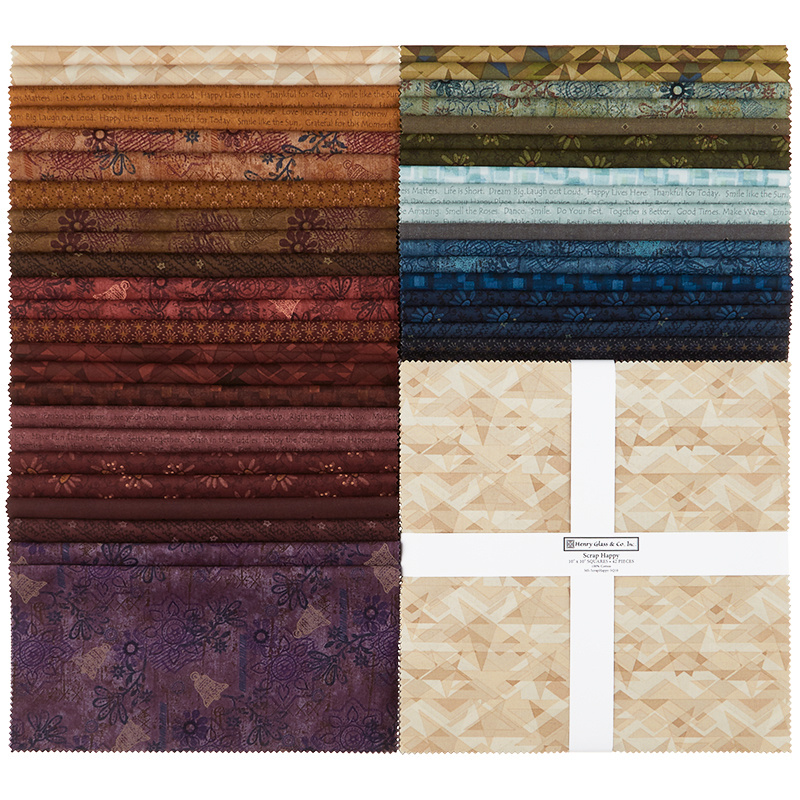 Scrap Happy 10" Squares$36.95Shop →
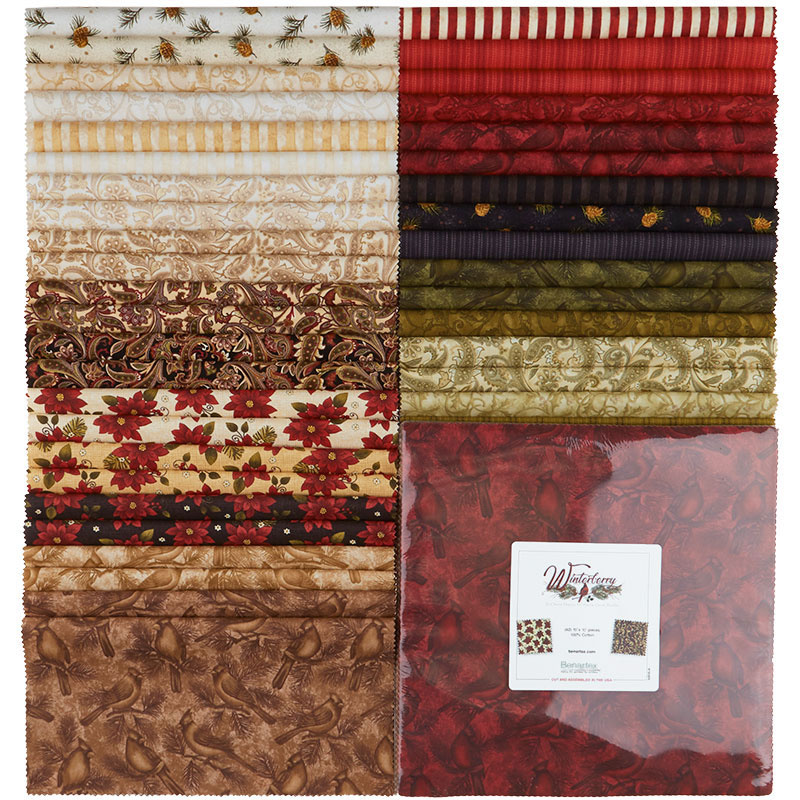 Winterberry 10" Squares$35.95Shop →
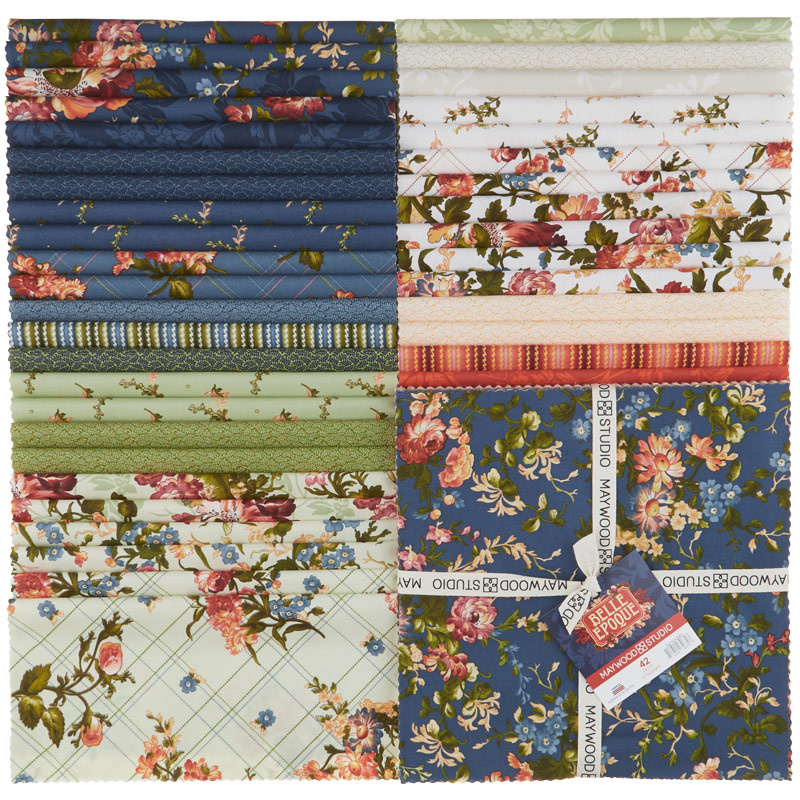 Belle Epoque 10" Squares$36.95Shop →
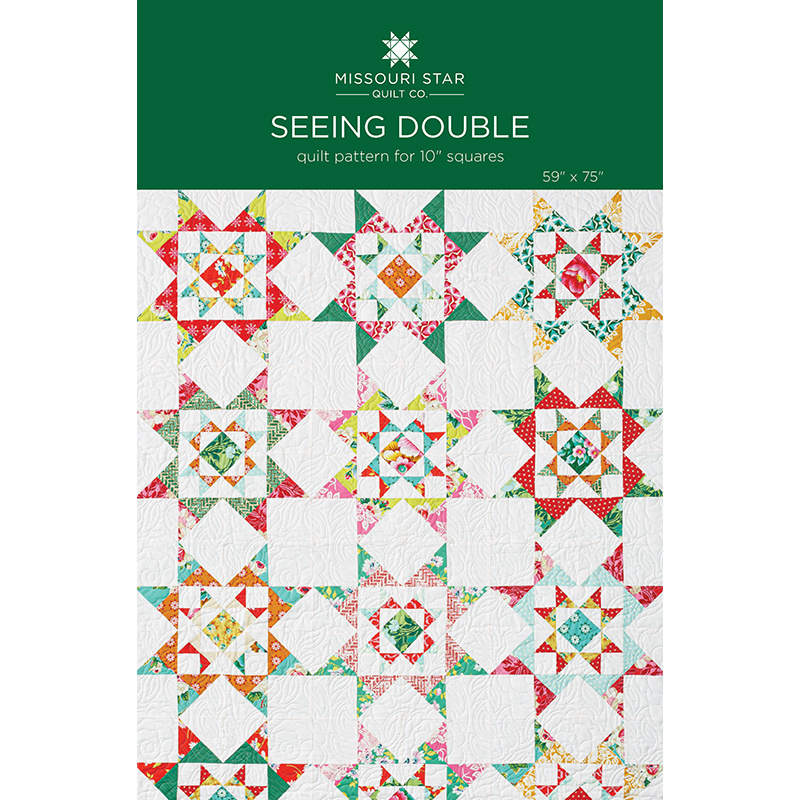 Seeing Double Quilt Pattern by Missouri Star$4.95Shop →
 Digital Download - Seeing Double Quilt Pattern by Missouri Star$3.95Shop →
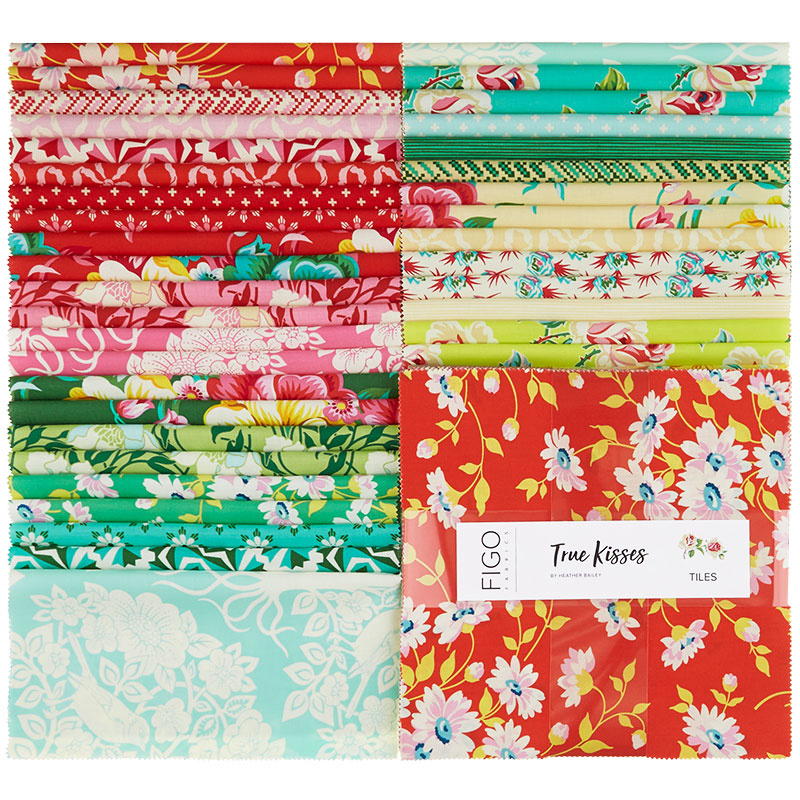 True Kisses Tiles$36.95Shop →
- Bella Solids - White Bleached Yardage$6.95Shop →
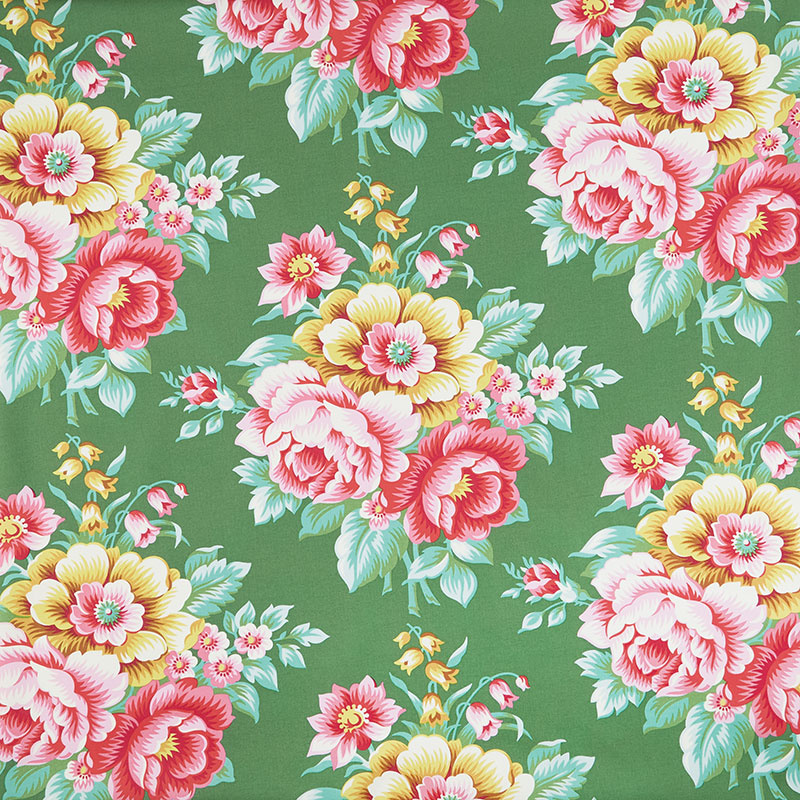 True Kisses - Swoon Emerald Yardage$10.75Shop →
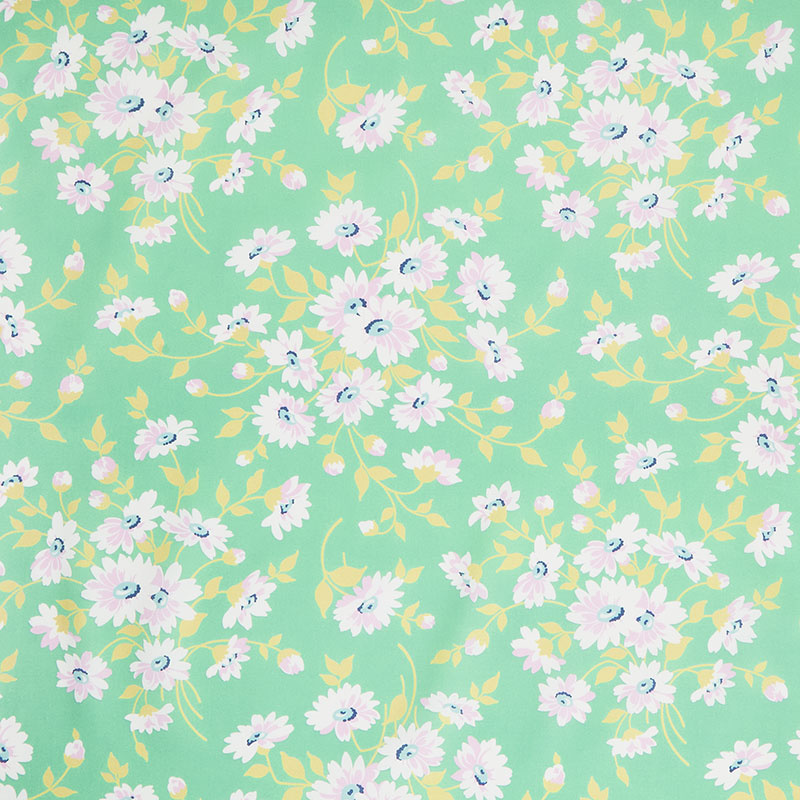 True Kisses - Daydream Teal Digitally Printed 108" Wide Backing$18.25Shop →
- Missouri Star Quilter’s Best Blend Twin Batting$25.45Shop →
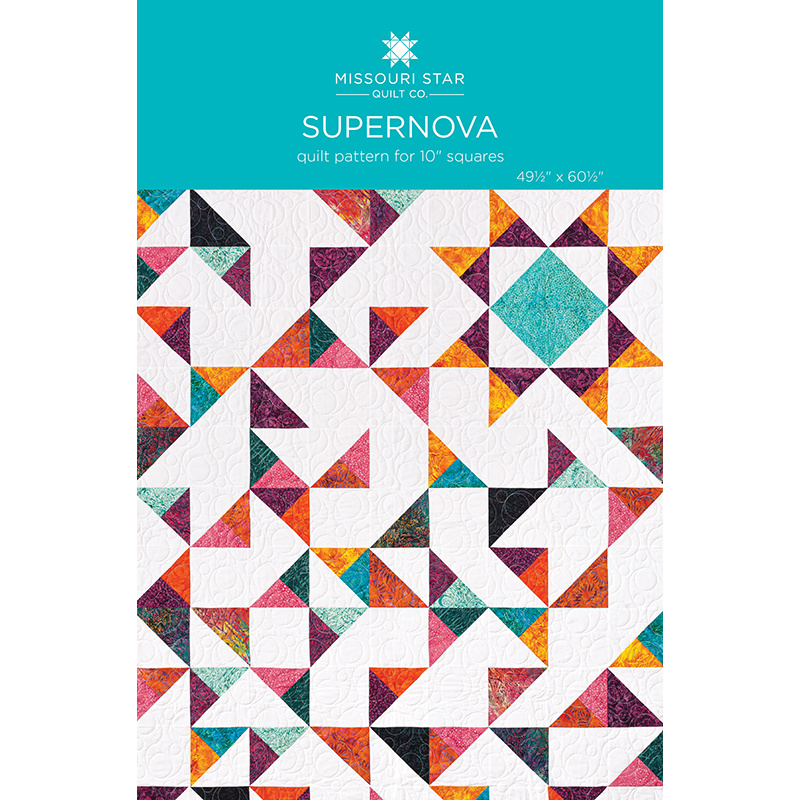 Supernova Quilt Pattern by Missouri Star$4.95Shop →
 Digital Download - Supernova Quilt Pattern by Missouri Star$3.95Shop →
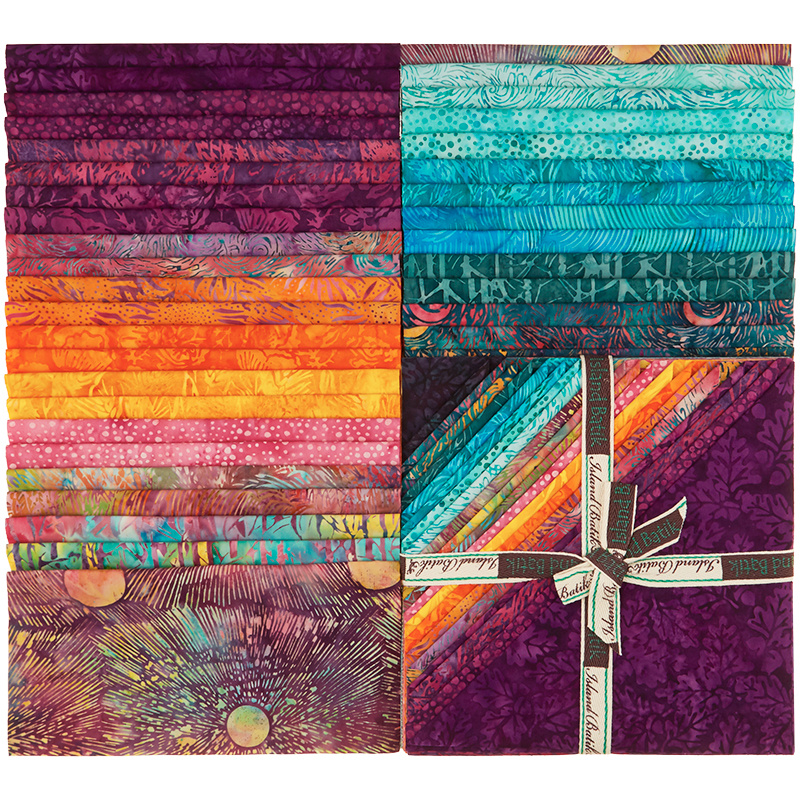 Curiosity Batiks Stacks$37.95Shop →
 Simply White Batiks - Solid White Yardage$10.50Shop →
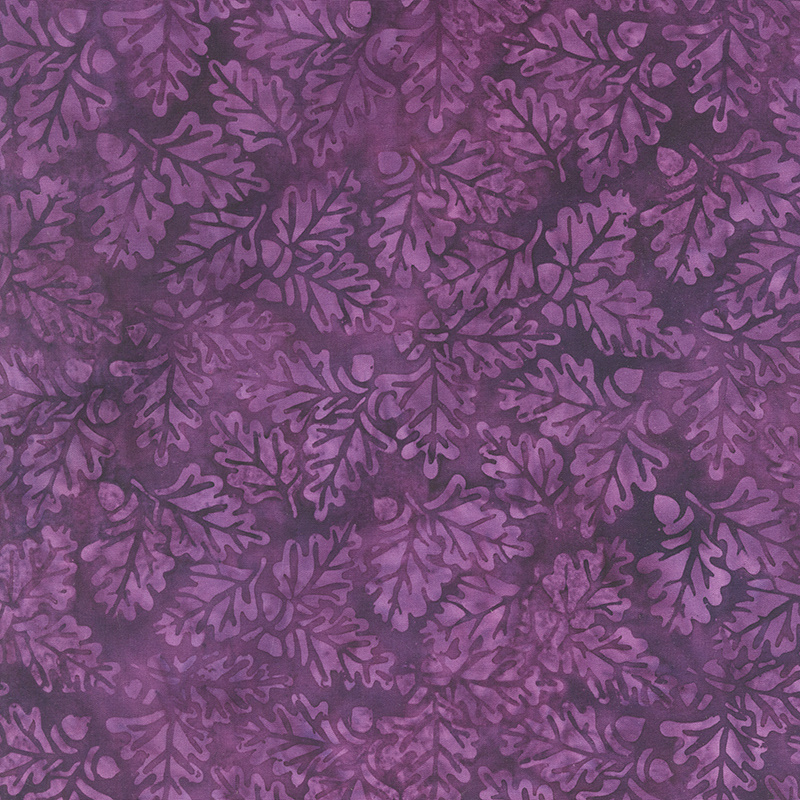 Curiosity Batiks - Acorn Purple Yardage$10.95Shop →
 Curiosity Batiks - Garden of the Asylum Tiedye Yardage$10.95Shop →
 Missouri Star Quilter's Best Blend Throw Batting$19.95Shop →
Chapters
Common Questions
What is covered in Triple Play: 3 New "Missouri Star" Projects with Jenny Doan of Missouri Star?
We have a new tradition here at Missouri Star: Triple Play! Once a month, Jenny, Misty, and Natalie each demonstrate their own, unique take on a favorite block, technique, or template. This week these talented Doan ladies are showing off three adorable quilts made with our bel...
How long is the tutorial video?
The tutorial video is 00:36:58.
Are supplies listed for this tutorial?
Yes. The tutorial page includes the supplies and materials connected to this project.
Is a transcript available?
Yes. A written transcript is available on the tutorial page.
Video Transcript
Misty: Misty
Jenny: And
Natalie: Natalie
Jenny: And we have three new fun ideas for you all based on the Missouri Star block. And so for all, you know, when we started and we became Missouri Star we made this big quilt and we’ve made it several times.
Misty: Where’s Jenny? There she is. There we go.
Natalie: You want me to step out of the way.
Misty: Ya
Jenny: Alright and so it’s a great quilt and we love it. And whenever we do a special project we put this quilt behind us because we are the Missouri Star. And so we decided to use that block as our starting point for all of our projects today. And we’ve got three really great projects for you. So this is my quilt right here. And I decided to take the big Missouri Star and make it tiny. And it’s just so fun. Here it is, how it fits into the quilt right here. And when you put them all together all these secondary patterns appear so it’s kind of fun. If you want your star to be the star remember you can always sash that and make it a star. So I’m going to show you how to make this tiny. Now for years we’ve been making this the same way. And in doing this, you know, because it’s been like what, ten years?
Misty: It’s been awhile. I don’t know if it’s been quite ten but it’s been awhile.
Jenny: It’s been awhile. In making this one we’ve come up with some easier ways to do it.
Natalie: We’ve learned a few things.
Jenny: Which I think is really fun, we have learned a few things.
Misty: Absolutely.
Jenny: So to make this quilt you’re going to need one package of ten inch squares. And we have used Prairie Dreams by Kansas Troubles for Moda fabrics. You’re going to need 3 ½ yards of background fabric. You’re going to need 1 ¼ yards for your border and that’s a nice five inch border. And for your backing you’re going to need 4 ½ yards of vertical seams or 2 ¼ yards of a 108 wide. The other tools that will be helpful for making this will be the clearly perfect slotted trimmer A. So I’m super excited to show you how to make the Missouri Star quilt block small and tiny. We love tiny and it’s really fun.
Misty: It’s so cute.
Jenny: So the first thing you’re going to do is you’re going to gather up two of your layer cake squares and you’re going to do contrasting ones. This is what you want for the legs right here, you can see I have a light and a dark in my legs. And you’re going to put those together. And we’re going to cut those into fourths. And you’re going to do this to your whole pack. So I’m going to go ahead and give these a cut right here and you’re going to cut them vertically and horizontally so that you’ll just have four five inch squares like this. Alright so now what we’re going to do is Misty, we’re going to have you sew all the way around the outside of these.
Misty: Alright. There you go.
Jenny: So once you get this sewn all the way around we’re going to cut it diagonally twice like this, corner to corner. And just like this. And then Natalie, I’m going to have you press these open.
Natalie: Excellent.
Jenny: So while Natalie is pressing, what we need to do with our background fabric is we need to cut some three inch squares and we need to cut some 2 ½ inch squares. So we’re going to need our three inch squares for our legs and our 2 ½ inch squares we’re going to need for our center and our corners. And so what we’re working on first is these legs because this was the part that to me was like, wow this is really cool. This is really fun. It’s amazing how fast it works. So while Natalie is ironing these let me tell you that they are just a bit bigger than three inches, just a bit. You’ll get all four of your legs from this one quarter of a square. So out of each layer cake you’re going to get four sets of legs. So what we’re going to do now that these are ironed like this, we’re going to take a background square like this. And we are going to draw a line corner to corner. And we’re going to lay this cross-wise to our triangles. So our half square triangle goes this way and so our line is going to go this way. We’re just going to center it on there. You know, just kind of make sure it’s in the middle and centered. And Misty, I want you to sew on either side of that.
Misty: Alright.
Natalie: Ya it doesn’t make sense to square them up now because you’re going to square them up again, right?
Jenny: Well Natalie didn’t tell me that until I was like on the 50th block. And now it is like, that was so much easier. We only square once. Because I was squaring these and then I was squaring those.
Natalie: It’s such a tiny amount though.
Jenny: It is. Oh let me see. I’ve got to cut this. You can’t iron it until I cut it. So you can see from this one half square triangle we’re going to get a quarter square triangle, two of them actually. And so we’re going to cut this in half right here. And Natalie, if you’ll press those, oh actually no.
Natalie: We’re going to use the clearly perfect slotted trimmer
Jenny: We are. We’re going to use that clearly perfect slotted trimmer and we are going to trim these up. Now the reason we like the clearly perfect slotted trimmer for this is because it has this center line and the stitch line.
Misty: It makes it so easy.
Jenny: So what we’re going to do, these are going to be 2 ½. All the little blocks on this quilt are 2 ½, the leg blocks. And so now we’re just going to square this up. So we line up our stitch line with their stitch line and we have the center line also matches up on our stitch line. So we’re going to cut this off. Now Natalie, you can iron that and then I’m going to cut this off. Now Misty, I have one over here that’s almost finished, the whole block.
Misty: Ok.
Jenny: And so while we’re doing this I’m going to have you go ahead and sew that one right here.
Misty: You got it.
Jenny: It’s pinned on there because then it will go with all these other pieces I’ve already got ready. This is such an easier way to make the Missouri Star, isn’t it?
Misty: Ya it is. It makes it so much faster.
Jenny: Alright. And then Natalie, what I’m going to have you do is I’m going to trim this and then I’m going to have you square, well we’ll square these because they’re for our next one. But then I’m going to have you press those and I’m going to teach the center square.
Natalie: Ok
Jenny: So I actually, when I was doing this, the first one I did I made my center square wrong.
Misty: Oh no.
Jenny: And I kept looking at it going, what is wrong with this? Why does it look so weird, you know?
Natalie: Funny
Jenny: But anyway this is our little center square right here. And it is a 4 ½ inch square. So for the center square what we’re going to do is we’re going to take our five inch square and we’re going to cut half an inch off of two sides. So it’s 4 ½. And I have one over here that’s already done. Then what we’re going to do is we’re going to snowball the corners. And so I’m just going to put two squares on here like this opposite corners. We’re going to do all four. But I’m going to have Misty do just two at a time side by side. We’re going to sew right here diagonally both sides. And Misty is going to use that diagonal seam tape. And so you line up that point with the red and you just sew straight across. And she’s going to do that on both sides. And then we’re going to trim and press.
Natalie: And have her finish up these legs too and put the whole thing together.
Jenny: Oh ya. That’s right. Alright I’m going to trim this off. Oh here. I’m like wait, where’s my rotary cutter. I was reaching for my pen and I’m like, that’s not right. That’s not right.
Misty: Not going to do it.
Jenny: Alright here we go. Alright so go ahead and iron that open. Alright so now we have two sides on. We’re going to add our other two corners right here. So this one and this one. And then Misty, you’re going to sew diagonally this way. And that’s going to give us a square in a square block. It’s a really easy way to make a square in a square. You keep them lined up in your corners and that keeps your square centered. That one scooched a little bit, didn’t it?
Misty: It did, yes. But that’s alright. There we go.
Jenny: Alrighty. Let me trim this. And then we’re going to press this. Natalie, if you’ll do that for us. And I, whenever I make a block like this I always start with the center block and build it out because that’s the way my brain works. That’s what makes sense to me. So we have our center square there. And this should square up at about 4 ½ if you feel like squaring it. And then what we’re going to do is we’re going to put our legs on. So we’re going to make a unit just like this. And this is our two pieces that Natalie ironed. And what I do when I sew them is I always make sure, my little mantra, you know, I have those mantras. My light is at the top. And so, you know, the two backgrounds go together with the light at the top. And you’ll find when you cut and trim your little squares that you have one going one direction and one going the other. Because, I mean that just happens naturally. But you can’t do it if they’re all going in the same direction, it won’t work. So this way you have one going each direction just from cutting it in half. Alright. Here are my other pieces right here. Alright so now from the center we’re going to take out leg units and we’re going to stick them on like this. All of these individual pieces should square at 2 ½ and because we squared them up when we cut them, they will. And then what we’re going to do is we’re going to add two squares to either side so that this middle row right here is just going to have two legs sewn to it. So Misty, if you’ll do that. The top and bottom row we need to fill in that bottom corner with our little cornerstones right here so two of them attach to the middle block. These other two we’re going to sew two 2 ½ inch squares to either side right here in the center. It’s always so handy to have a sewer, isn’t it?
Natalie: Yes, it makes things go so quick.
Misty: Team sewing is the best.
Natalie: I think it’s the way to go.
Jenny: It really is.
Misty: I think so too.
Jenny: Unfortunately we all made our quilts individually by ourselves. And we didn’t have this kind of team sewing.
Natalie: We do, yes. We do work independently and together.
Jenny: There we go. Alright. So Nat, if you’ll press that.
Natalie: Yep
Jenny: And Misty, can you sew these little 2 ½’s on the corner of that little star leg unit? Perfect. Alright, so now what we’re going to do is we are going to attach our star legs to the top and the bottom. And on this right here, we’re just going to match up, make sure that these little seams, these little intersections right here nest. And this one, this is where your little point comes together so if you want to keep your point wherever your threads cross, you’re going to stay on this point or to the seam side so you don’t lose your point. But it’s in there pretty good. So I don’t think you’ll have any trouble. We’re putting one of these legs sets on both sides and that will actually finish our whole block. It just makes it really quick and easy. I feel like on that first one we worked so hard to figure it out and to make it work and the Missouri Star traditionally isn’t easy.
Natalie: Ya compared to what we did in the past.
Misty: Ya I agree.
Jenny: Well and I love that because it’s very representative of our journey because all of us, you know, wherever you are and whatever you’re sewing you’re, I mean, be happy right where you are but know that if you sew an hour today, tomorrow you’re going to be an hour better. And so I love that about sewing. We look back on some of those beginning quilts and we’re like, you know, it’s not like you look back on them with joy and honor because those were your beginnings, that’s where you started.
Natalie: You have to take pride in your journey.
Jenny: Oh absolutely. I love that.
Misty: There we go.
Jenny: Alright. So Nat if you could press that open.
Natalie: Sure thing.
Jenny: And really if you’re uncomfortable at all not using pins just put a pin in at the junctions and it will hold them down and you can just sail across. This makes it super easy. You’ve squared the block one time. All you did was sew around the half square triangle. And I mean, it just makes it so easy. And so this is our little block right here. It’s super cute. And let me show you how it goes in here in the quilt. Like here’s one right here. You can see when you put a star block in you can see the star. But sometimes when they’re all together and all those secondary patterns converge you see other things. You see this square, you see this square in a square here. You see diamonds. You know it’s just fun to see all those secondary patterns. So we’ve got one, two, three, four, five, six, seven, by one, two, three, four, five, six, seven, eight. So out of your layer cake you’re going to get 56 of these blocks. That’s a lot of little Missouri Stars.
Natalie and Misty: They’re so cute.
Jenny: We have a nice five inch border out here. And then our backing back here. Isn’t this pretty? And the quilt pattern we’ve used is called Variety. It’s a very elegant pattern, very pretty. It’s one of my favorites. And it makes a quilt that is 65 by 73. So it makes a really nice size quilt. I hope you enjoyed it. And now, Natalie, you’re up next.
Natalie: Alright, so this is my quilt. It’s called Seeing Double. And this is the block. So I took Mom’s little mini and I put legs around it so it’s a block within a block. And I just think it’s so cool. But before we get into it I have a little surprise
Misty: Oh yay. I’m so excited.
Natalie: You want to pull this out.
Misty: Absolutely.
Jenny: What is this?
Natalie: So years and years ago we had a Friday night sew. And there were some blocks that were made for Jenny that she didn’t quite know what to do with. So I thought how cool would it be to put them together in this quilt.
Jenny: Oh my gosh, you guys.
Natalie: Where you have all your little blocks in blues and greens.
Misty: It’s so great.
Jenny: It’s so beautiful. I can’t believe you did this. When did you do this? Oh my gosh. That is, these blocks are literally from our very first shop. Oh my gosh.
Misty: So early.
Natalie: And some of the sweet ladies that have made this have passed on.
Jenny: They have, they have. Oh my gosh. Sweetest day ever. Quilting daughters.
Misty: You pulled it off.
Natalie: So this is for you.
Jenny: Thank you
Natalie: You’re welcome. I know it’s been a minute since you’ve had a chance to work on them.
Jenny: I haven’t seen them for like ten years
Misty: That’s a long time and they’ve been
Natalie: I snuck into your secret projects drawer
Jenny: I have all these drawers marked secret project
Misty: She’s been sewing like crazy to get it done. And we’ve been working on putting it together.
Jenny: It’s gorgeous
Natalie: I hope you like it.
Jenny: I have never been so surprised either. I mean usually
Natalie: It’s hard to surprise each other because we’re together so often.
Misty: We’re together a lot. So we’ve been trying so hard to keep it secret.
Jenny: I love it, I love it, I love it.
Misty: Yay, I’m so glad.
Natalie: Love you!
Jenny: Love you! Thank you.
Natalie: You’re welcome.
Jenny: You make me cry on camera. Is my mascara running?
Misty: Happy tears.
Natalie: You’re good.
Jenny: Alright us how to make this.
Natalie: Alright so to make this quilt we used one package of ten inch squares. And I’ve used True Kisses by Heather Bailey for Figo Fabrics. You’ll need three yards of background fabric and 1 ¼ yards of border fabric. And it makes a nice six inch border. And then to back it you’ll need 3 ¾ yards with a horizontal seam. Another helpful tool is the clearly perfect slotted trimmer A. So it’s very simple. The middle is made exactly the way that Mom made hers for the mini Missouri Star. So this one is already done. I’m not going to go over that again because it’s exactly the same.
Jenny: Just repeat that one.
Misty: Yep.
Natalie: And then, so I’m going to do these outer legs. Because this block is 8 ½, these are all 4 ½. And so what we’re going to do is grab two ten inch square prints. And they can just be contrasting, whatever colors you want. I wasn’t super worried about lights and darks because my layer cake had a lot of kind of medium tones, really beautiful fabric.
Jenny: It’s gorgeous
Natalie: By the way, I am so happy that Heather Bailey is back designing again.
Jenny: I know.
Natalie: I love her fabric. I have since the very beginning.
Misty: We might have fought over this line just a little bit. We love her.
Natalie: Alright so what we’re going to do for these larger ones is sew all the way around the outside edge.
Jenny: Ok, I can do that. I’m going to have to move my quilt. OH, that was such a surprise. You guys, I can’t believe you pulled that off.
Misty: I can’t either.
Natalie: I’m so glad it worked.
Jenny: And honestly, you know, last year I realized I don’t make you guys quilts much anymore because you’re not having babies or graduating or you know and I started doing the give back quilt thing and quilters rarely give quilts to quilters, you know, because we do it. So for me to get a quilt that my girls made. I’m telling you. I’m probably going to cry all day. I’m probably going to cry all day.
Natalie: None of that. Just sew.
Misty: Get happy or you’re going to make me cry.
Natalie: Just keep sewing.
Jenny: These are happy, happy tears.
Natalie: Ok so these are big half square triangles and they’re a little bit bigger than you need but I was ok with squaring them down because the process of making them this way is so much easier than any other way. I didn’t want to trim my layer cake squares down. I was ok with just squaring up once and losing about an inch of cutting.
Jenny: Alright, ready for you.
Natalie: Ok so then we’re going to go ahead and cut these corner to corner.
Misty: Sorry Nat
Natalie: No problem. Cut those and I’m just going to turn them, well ya I’m going to turn it a little bit. It will make it easier. Typically if you actually keep it square you can cut both directions but I have that turned just a little bit. Alright and then will you press those open?
Misty: Of course
Jenny: And this is exactly the same way I did my legs, just bigger.
Natalie: It is. They’re just a lot bigger. And so my background squares for this are cut at 6 ¼ I think. Let me just measure. Oop, hang on. I can do it here. They’re six inches. So we’re just cutting six inch strips and that is just to make sure that we had enough to get our 4 ½ inch quarter square triangles out of it. So you cut six inch squares. Put them across the seam. And I just center them. You can see they’re like, some of them are going to be tighter, some will be closer together. That’s all dependent on seam allowance. I literally just centered it up and then sew on either side of the line
Jenny: Ok
Misty: Because you’re going to square it up at the end anyway, right?
Natalie: Yes. Absolutely. Ya and it’s kind of just.
Jenny: We’ll assembly line this.
Natalie: Yep just keep on going. And we’ll set these up. And they do kind of need to be centered because you want to make sure you have enough background on each side.
Misty: Sorry I could have cut those for you while you were matching up.
Natalie: You are totally fine.
Jenny: Just keep that iron hot. Your time is coming.
Misty: It’s ready, it’s ready.
Natalie: Alright so then I’m going to use the clearly perfect slotted trimmer A tool and trim them down to 4 ½. Now if your center square is a different size you can make your star legs a little bit bigger.
Misty: And you have plenty of room.
Natalie: And that’s completely up to you.
Jenny: So there’s a little bit of waste on this but not a lot.
Natalie: There is but I was ok with it because I just wanted the quilt to look this way and I wanted it to be easy. I didn’t want to have to
Jenny: And you also wanted to use the small star in the center. And everything else is built out on the size of that center square.
Natalie: Yes.That’s right.
Jenny: And honestly well it’s got the star legs and everything on it. In my mind it was like it’s just a square, you know, but it’s not. It’s a whole star so
Natalie: So sorry Misty.
Misty: You’re fine. No problem.
Natalie: Toss it in the wrong direction. I just find it’s a super easy technique for making those quarter square triangles and I love it so much.
Misty: So fast.
Jenny: And also you line up your stitch line on the stitch line for the 4 ½ and you line up that, it has a line that goes right down the center of the tool and you’ll line that up on your seam as well.
Natalie: So just like this. I’m looking at the 4 ½, the dashed line is the seam line and the straight line right up the middle. And I just cut both directions. Oops I missed that point right there.
Jenny: Oh my gosh, I just, my mind is just blown. I can’t believe it. That is amazing.
Natalie: It will be fun for you to look back on
Jenny: And the thing that had me stuck on it honestly, you know, for all these years is that we did a sew along on the Friday nights. And we asked everybody, everybody got a turn to say, I want churn dashes and I want them in shades of red or you know, whatever. That was my block. We each picked a block and we made them. Well I wanted to make the Missouri Star block and they were all like, really?
Natalie: It was so hard and nobody knew how to do them.
Jenny: And I said, I don’t care what color they are, you know, and so I got all different colors and kinds and then I was kind of like stuck because I didn’t know how to put them together. But honestly
Natalie: The styles of the colors was so different too.
Jenny: But you made it all work.
Misty: Isn’t it so perfect?
Jenny: That’s really cool. I think you should actually talk about that sometime on Final Stitch because we all have these eclectic groups of blocks that we don’t know what to do with.
Natalie: Ya you just need a few colors that can kind of tie it all together. Alright so we’re ready to assemble this block. The middle is 8 ½ and all of your outside pieces are 4 ½. So we cut some 4 ½ inch squares from background yardage to go up in the corners. And those go like this.
Jenny: I just think this is so cute. I love a block in a block.
Natalie: You can decide whether you want the green in or the pink in. And it’s just a decision you make based on, I did it actually based on what colors were closer in the middle because I like contrast. So we’ll do the pinks in on this. And you can see that you’ve got all these opposite blocks.
Jenny: Ya you have to go opposite direction.
Natalie: And make sure to match those up and you can. Ya you can grab and stitch if you want. Sorry.
Jenny: Ya for people who are angley challenged like I am, I was like wait, no this goes here. So I just finally put them in two stacks and picked one from here and one from there and one from here.
Natalie: I love that with this technique you don’t have to think about having some that are one way and some that are the other. You automatically get them.
Jenny: Alright I’m going to sew two of these together.
Natalie: We’ll do the two on the sides. And I just chain pieced a whole bunch of these because once you’ve decided which direction they go in they all line up the same way.
Misty: Press those for you.
Natalie: You want to do these two.
Jenny: Now I’m curious to know, did you girls start from the bottom and sew up or did you start from the top and sew down?
Natalie: Do you mean with the angle?
Jenny: No when you’re sewing these legs together like this.
Natalie: I find it’s easier to start from the top that doesn’t have a bulky seam.
Misty: Me too
Jenny: I do too.
Natalie: Two pieces of fabric and then sew into the cross section.
Jenny: It doesn’t matter at all but I found I was doing the same thing.
Misty: Can we trim that real quick?
Natalie: Oh
Misty: Thanks, there we go.
Natalie: Ya no problem. It would be a little difficult to press with it connected.
Misty: A little tricky. Not impossible.
Natalie: There’s that one.
Jenny: Alright now we’ll sew the corner blocks on those two.
Misty: And this is just so pretty. I just love watching it come together.
Jenny: I love these fabrics
Natalie: I do too. I’m very tempted to make several more.
Misty: I think we all need one for sure.
Natalie: I agree. These fabrics are just so pretty. The bright flowers
Jenny: There’s that one. And now this one goes to that. What size is this finished star, Nat?
Natalie: I have that written down somewhere but let me just measure. I’m thinking it’s 16 inches. Yes, 16 ½.
Jenny: And so did you use your whole layer cake?
Natalie: I had, I think, about six to eight square leftover. I can’t be sure. I don’t remember. But ya you use most of the layer cake.
Jenny: So what size does you quilt end up at the end?
Natalie: It is 59 by 75.
Jenny: I know I have all the questions.
Natalie: That’s ok. So it’s beautiful though and I did put a six inch border on it and I used this quilting pattern that I absolutely love. I think it’s called Just Roses.
Misty: Yep, that’s right.
Natalie: I love it because it’s tight and you get like a lot of really pretty quilting lines and texture.
Misty: It’s so beautiful. I don’t think I’ve used that one before.
Natalie: I love it. Like a big fat cottage rose.
Jenny: Ya it was one of our original patterns
Natalie: Yep so that is my quilt.
Jenny: I love it. It’s beautiful. Alright well Misty you’re up.
Misty: Ok.
Natalie: I can’t wait.
Misty: Alright. So this is my quilt. I wanted to do something a little bit more modern. And I was thinking about as well when we do Triple Play we’re kind of deconstructing all of these old blocks and putting them back together. So I took that very literally with this. I called it Super Nova. which is, you know, when a star explodes in space and so I thought that was fitting for this. And so you’ve got the one Missouri Star in the corner and then all of the pieces I actually made six components for stars so six, you know, all the pieces and put them in the quilt and just mixed up all the different parts. But let me show you how I did it. So we are using ten inch squares again and so what you’re going to do is you’re going to match two contrasting prints and sew all the way around which I’ve done here. And then you’re also going to match a print and a background and sew all the way around. So let’s start with our background because that’s going to give us our center here. And we’re just going to cut, where did our rotary cutter go?
Jenny: Oh it’s right here. Sorry.
Misty: It’s alright. All of a sudden I was just like where did that go? And we’re just going to cut corner to corner just like we did before and then
Jenny: I love that ruler for just going corner to corner
Misty: I know it’s the best. And then we’re going to trim these down to six inches. And so you are going to have a little bit of waste on this size but again I wanted everything to be easy and when I was making the quarter square side I needed that extra space. So I’m going to trim this one down with our trimmer B. Oops, there we go.
Jenny: And I don’t know if you guys noticed but she slid it, because there’s not seam she’s matching up she can slide it all the way to one side. So I’m just making one cut. And so we can press that back. But then I do want to show you guys because I know not everybody has these clearly perfect slotted trimmers you can use just a square ruler. And so, you know, if I’m looking for that six inch line. There he is. Thank you.
Natalie: So you would line it up point to point.
Jenny: Actually if you look at this with this on here
Misty: Ya it might help.Let’s lay that on top.
Jenny: See this right on here and how it
Misty: How it fits just on there.
Natalie: You could use a piece of painter’s tape or even your seam tape because
Misty: To be that seam line. But you can see here here’s that six inch mark and so it’s right on my seam there and the six inch there and we can still just make that cut.
Natalie: And this one has that straight line so if you’re doing those quarter square triangles you can do the same thing with a handy other squaring tool you have at home.
Misty: It’s nice to know that all these
Jenny: And just to prove it works, same size.
Misty: They come out exactly the same. Exactly.
Natalie: So perfect.
Misty: So I think I have the rest of these already squared so we’ll move on to the star legs. So remember you’re going to do that at the exact way. We’ve cut them corner to corner. And your pieces come out just like so. The only difference is I didn’t square these. I just cut them and pressed them open. So this measures 6 ¾. So I cut my background squares 6 ¾ and I drew my line corner to corner and we’re going to sit that so that it runs, you know, down the middle of our seam there. And we’re going to sew on either side.
Natalie: Alright.
Misty: So we’ll just sew on either side of that line. Work out ok.
Natalie: Ya I just pushed the seam the opposite direction.
Misty: Oh it’s alright
Natalie: So I’m going to do this other side that same way. Make sure it’s not split.
Jenny: I shall fix that with the pressing.
Misty: There we go. Perfect. Then we’ll just cut that in half on that line that we drew. Whoops. Make sure you don’t slip. And then do you want to press those open?
Jenny: Absolutely.
Misty: Oh actually wait. We’re going to trim them.
Jenny: So let me press this seam over so it will lay
Natalie: Sorry
Misty: No you’re fine
Natalie: Sometimes the machine just wants it to go the other way.
Misty: It happens. And so, you know, before we could slide it to one side but because we do have that center seam we need to make sure we’re lining that up with the trimmer and our stitch line on the bottom. So I’m going to cut both sides here.
Natalie: I love how these tools make everything so precise
Misty: They really do. Oops, I missed that.
Natalie: Your points look good. Your seams look good.
Misty: I missed it again. It’s tricking me. There we go. And then we’ll trim this one. They do. It really helps. And when you’re taking the time to trim you really want everything to match.
Jenny: And again just by doing this method you’re going to get one pointing one direction and one pointing the other.
Misty: Exactly.
Jenny: And you have to have both of those blocks to make it work.
Misty: To make it all work. And so that is really it. We have, I’ve already made the rest of these star legs. So let me just show you. I assembled mine, I used my design wall and started laying it out and I want to encourage you guys to do the same. You could follow the diagram and lay it out exactly like I did. But it was really fun to just play and put the different pieces wherever you want. So I started by building that star which happens by putting our colors to the middle.
Jenny: These colors are beautiful.
Misty: Aren’t they beautiful. I loved working with them.
Natalie: They are really pretty.
Misty: Then
Jenny: No white goes to the middle.
Misty: There we go. Thank you.
Jenny: White to the middle.
Misty: I couldn’t see it either. And then, where’s
Jenny: And then the light. So here. Put the light at the top next to the star and white to the middle.
Natalie: I found that a little bit even with my fabric if you cut, especially the larger florals, you’d have some background that looked really red and then the other point would like green or yellow because it was a different part of the fabric.
Jenny: Now that would especially happen with this fabric
Natalie: Ya this one was pink and this one was green.
Misty: I forgot my six inch corner squares but we can just cut those really quick.
Jenny: We had those
Misty: I thought so too but I don’t see them now.
Jenny: Alright, well.
Misty: But either way these should just measure six in the corner
Jenny: Here, do you want to do the whole stack?
Misty: Ya let’s do.
Natalie: You could use the square if you wanted to.
Jenny: Here’s the square.
Misty: It’s alright. I’ve got it here. So I’ll just trim.
Natalie: So many different ways.
Jenny: We just figure it out.
Misty: We just make it work. Let me make sure these are lined up and turn them. We got it. There we go. Usually those would be cut from all your background yardage. I just forgot to cut them before.
Jenny: And what size are they?
Misty: They’re six. So all of your blocks square to six and it makes it super easy. And so like I said, I just started with my star. I think it would be really fun to put the star the middle and have it burst from the middle too.
Natalie: That would be cool.
Misty: And so I just encourage you to play with it and then you can see in the quilt, you know, here’s a quarter square triangle, here’s a full half square triangle. And so they’re just kind of mixed up.
Jenny: I love something
Misty: I do too. I actually enjoyed it. It was really freeing and fun to play with. And so
Natalie: Well and you even have some solids that would have been in the corners
Misty: Exactly
Natalie: The cool thing about it is you have the directions and the information, you could actually make all six stars, put them together however you want.
Misty: Exactly. However your heart desires. I know. That’s what I love about it. It just frees up your brain to play with how you like it and try new things. And so it was really fun to make. I opted, because it was a little more modern, I didn’t go with a border. I just bound it. But it’s got this really pretty backing. And I used this quilting pattern which is called Champaign Bubbles which I really like with, you know, the angular design, the circles kind of soften it. It measures 49 by 60 so it’s a great lap size or baby quilt.
Jenny: Porch size. I always think any quilt that isn’t exactly the right size for something you can hang it on your porch.
Misty: Exactly.
Natalie: Or your wall.
Jenny: Oh look at, this almost disappears when you see it, it’s so dark. We have a little monitor here we can see.
Natalie: It’s so pretty. Beautiful.
Jenny: So we hope you’ve enjoyed our takes on the Missouri Star today. We’ve all had fun coming up with different ideas. We hope we’ve inspired you. I certainly got a big surprise today. And we hope you enjoyed this video from the Missouri Star Quilt Company.
We hope you enjoyed watching this video. If you’re not already part of the Missouri Star quilt family you can hit the subscribe button below so you won’t miss a thing. And if you click that bell it will notify you every time a new tutorial comes out. See you next Friday.



