

Triple Play: 3 NEW Nine-Patch Quilts with Jenny Doan of Missouri Star
 Jenny Doan
- Layer Cake
- Modern
- Double
- Beginner
- Quilt size 60" × 72"
Triple Play is a favorite tradition here at Missouri Star. Once a month, Jenny, Misty, and Natalie each demonstrate their own, unique spin on a favorite block, technique, or template. In this episode, the talented Doan ladies show off three fabulous new 9 patch quilts.
Instructor
Jenny Doan
Jenny Doan is an American quilter, author, and YouTube personality. Jenny started Missouri Star Quilt Company in 2008 and today it is the largest quilting supply vendor in the United States.
Shop this tutorial
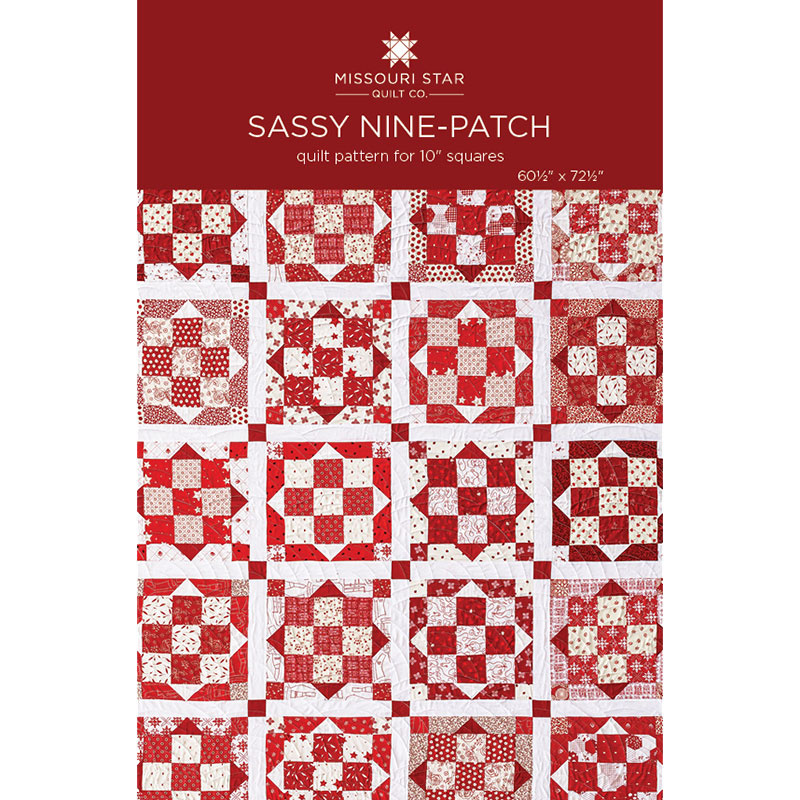 Sassy Nine-Patch Quilt Pattern by Missouri Star$5.95Shop →
 Digital Download - Sassy Nine-Patch Quilt Pattern by Missouri Star$4.95Shop →
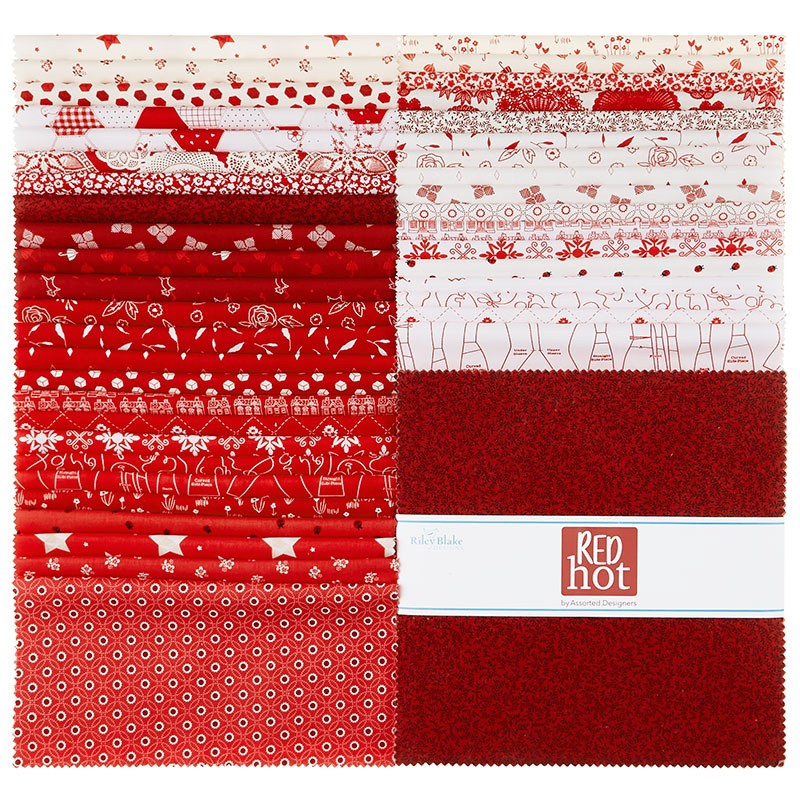 Red Hot 10" Stackers$45.95Shop →
 Kona Cotton - Chinese Red Yardage$7.28Shop →
 Confetti Cottons - Crayola Solid Color Riley White Yardage$6.76Shop →
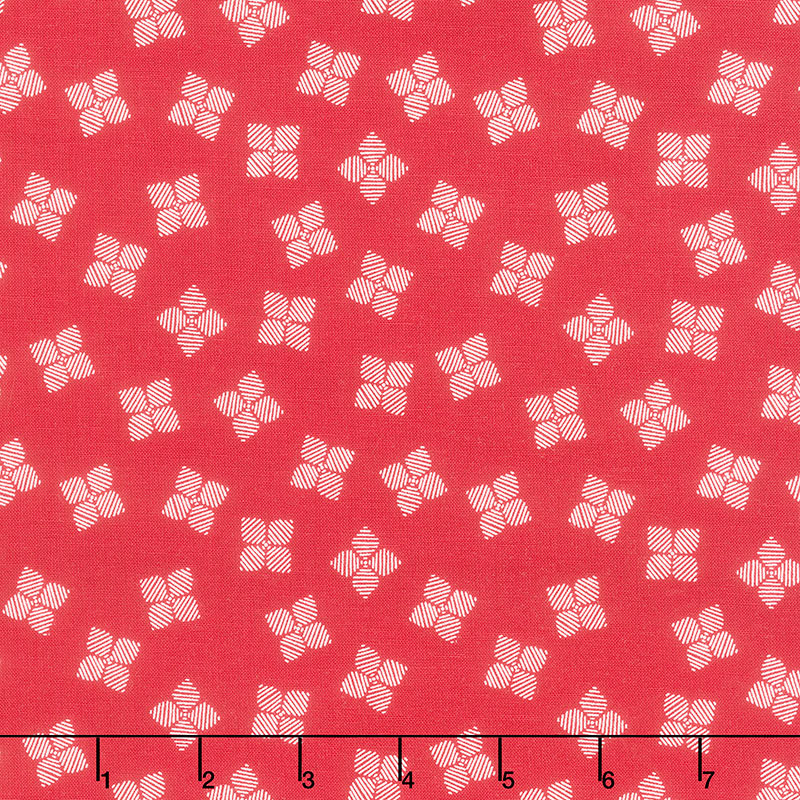 Red Hot - Petals Red Yardage$11.96Shop →
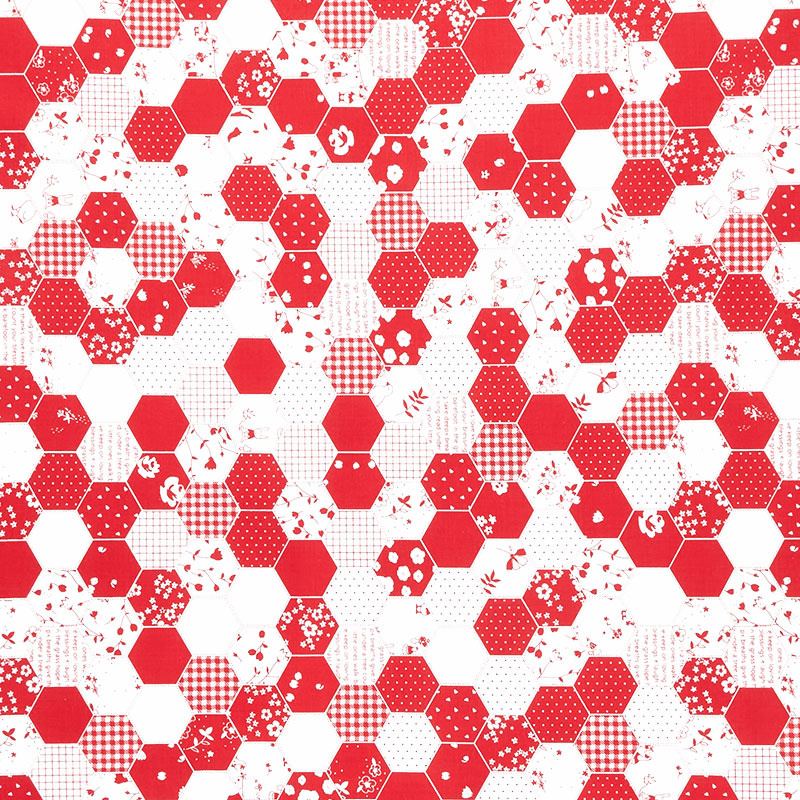 Red Hot - Patchwork Red Yardage$11.96Shop →
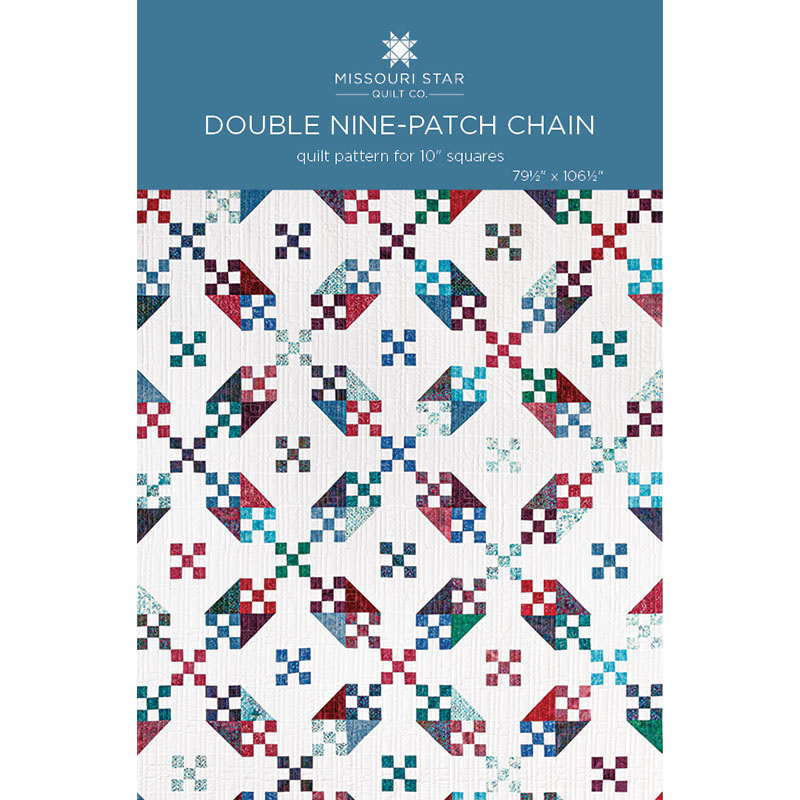 Double Nine-Patch Chain$5.95Shop →
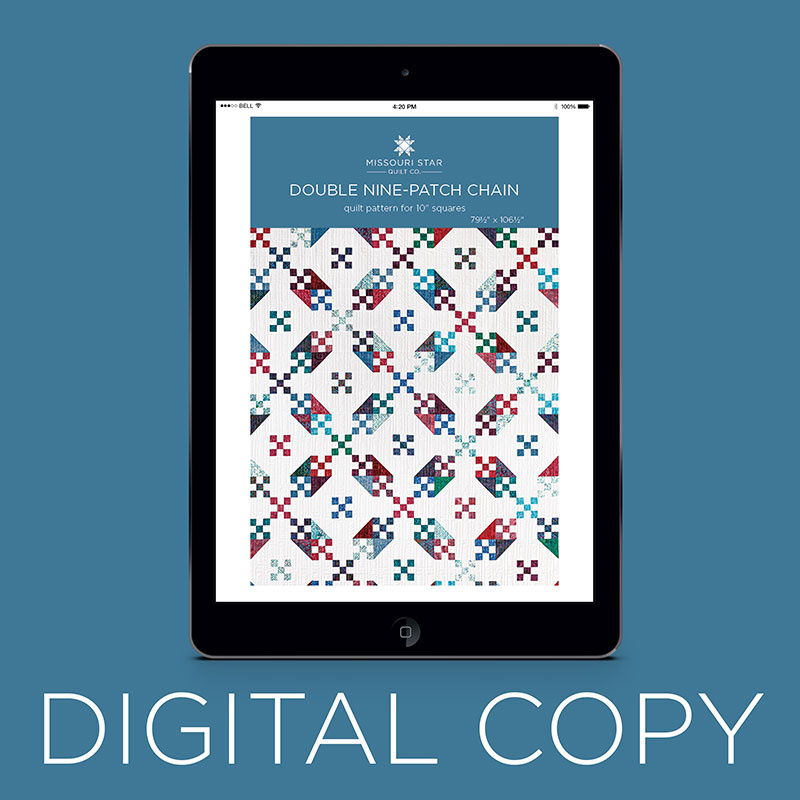 Digital Download - Double Nine-Patch Chain$4.95Shop →
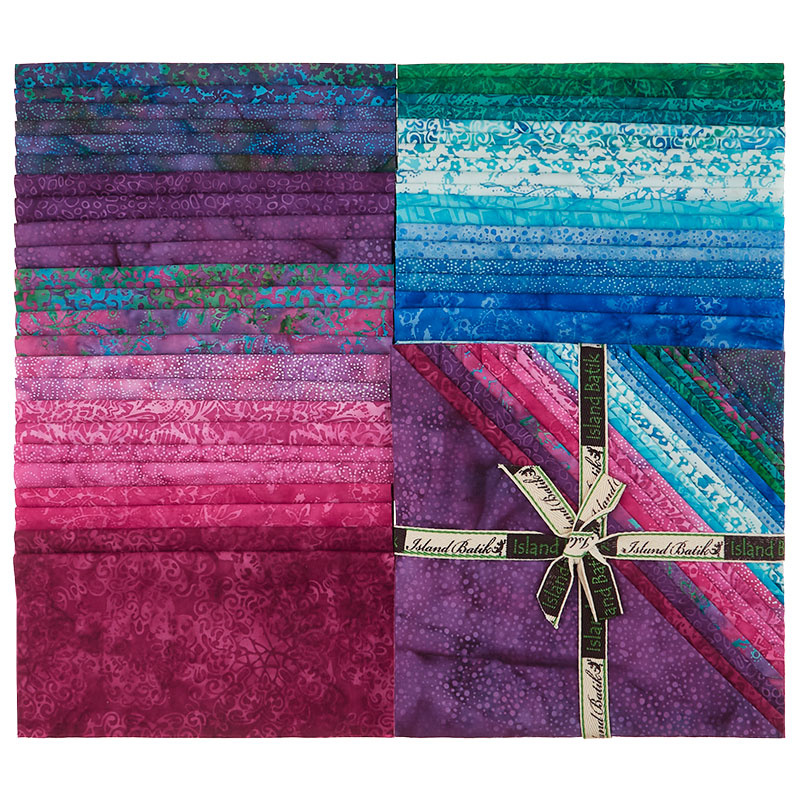 Chantilly Batiks Stacks$38.95Shop →
 Kona Cotton - White Yardage$7.28Shop →
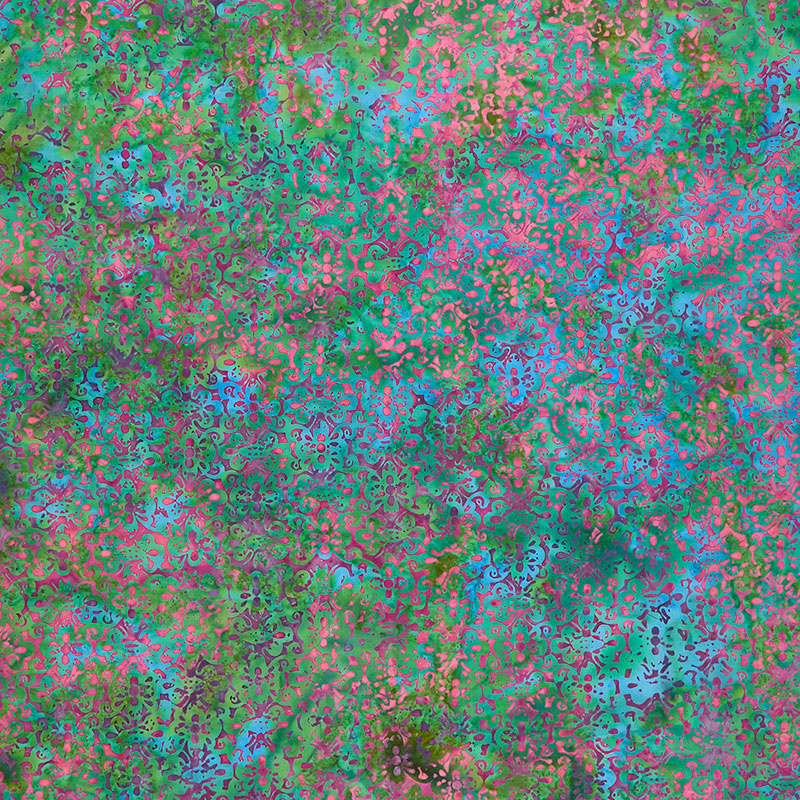 Chantilly Batiks - Floral Swirl Lace Mixed Berry Yardage$11.44Shop →
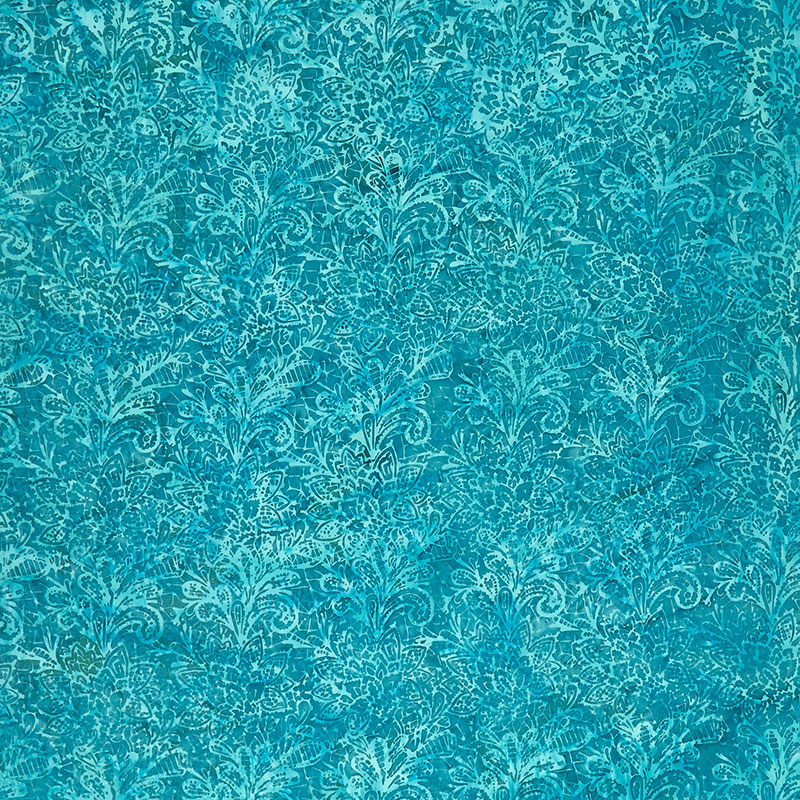 Chantilly Batiks - Paisley Lace Teal Yardage$11.44Shop →
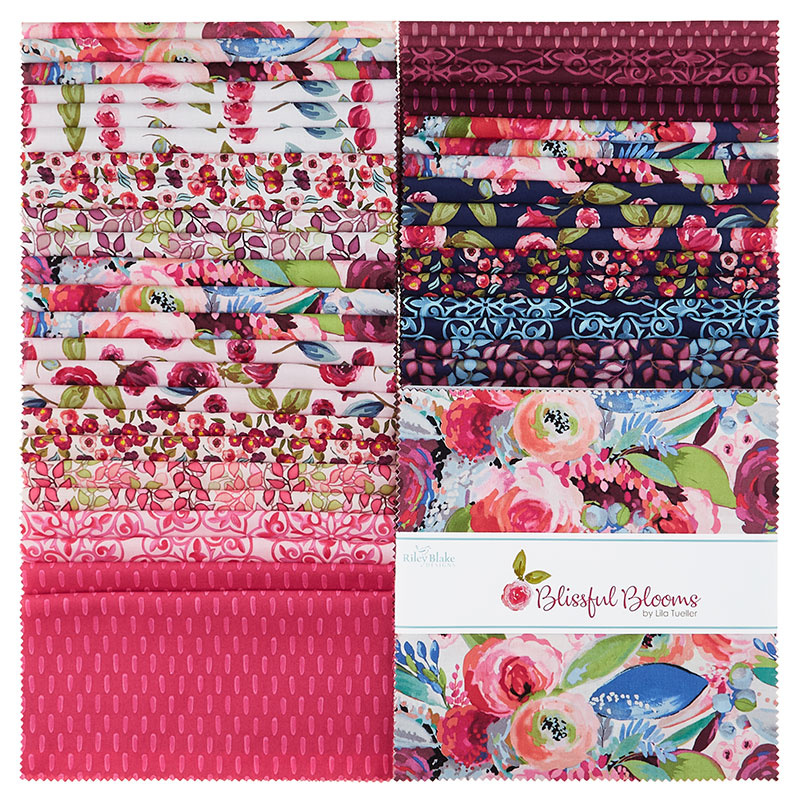 Blissful Blooms 10" Stackers$45.95Shop →
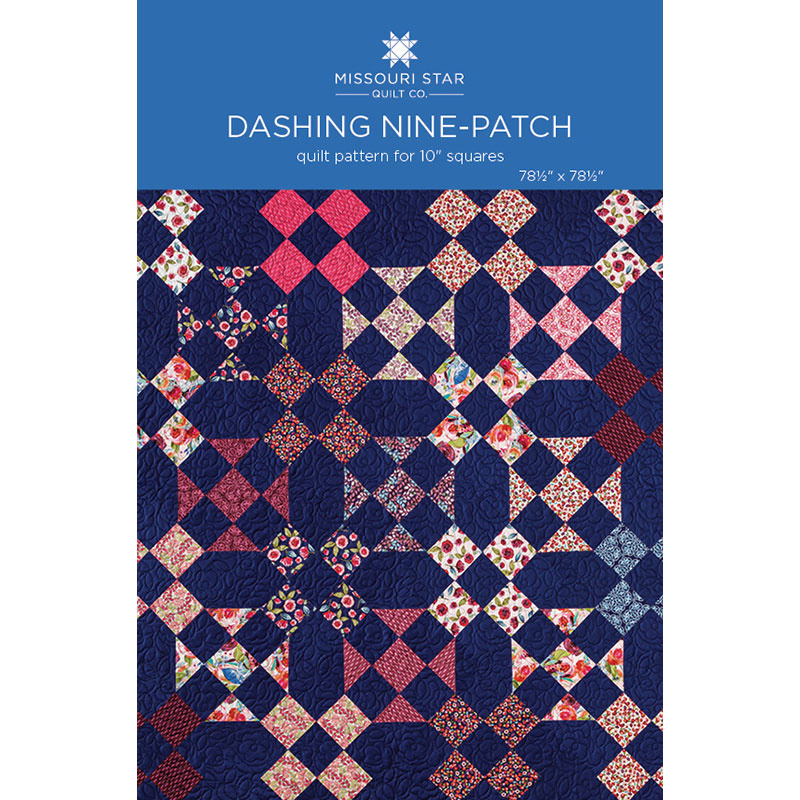 Dashing Nine-Patch Quilt Pattern by Missouri Star$5.95Shop →
 Digital Download - Dashing Nine-Patch Quilt Pattern by Missouri Star$4.95Shop →
 Confetti Cottons - Crayola Solid Color Navy Niblet Yardage$6.76Shop →
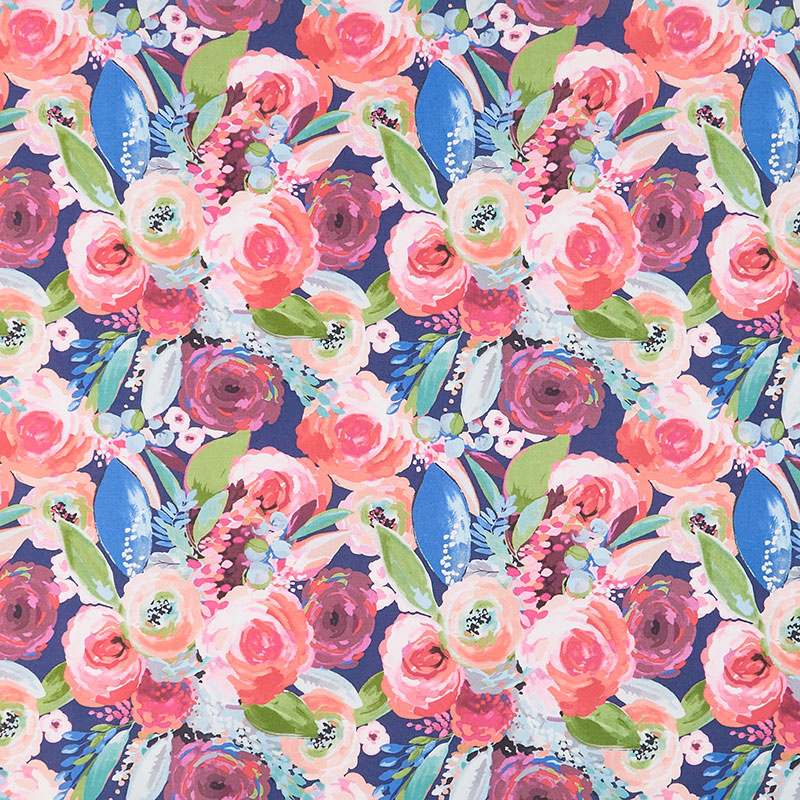 Blissful Blooms - Large Painted Floral Navy Yardage$11.96Shop →
Chapters
Common Questions
What is covered in Triple Play: 3 NEW Nine-Patch Quilts with Jenny Doan of Missouri Star?
Triple Play is a favorite tradition here at Missouri Star. Once a month, Jenny, Misty, and Natalie each demonstrate their own, unique spin on a favorite block, technique, or template. In this episode, the talented Doan ladies show off three fabulous new 9 patch quilts.
How long is the tutorial video?
The tutorial video is 01:00:07.
Are supplies listed for this tutorial?
Yes. The tutorial page includes the supplies and materials connected to this project.
Is a transcript available?
Yes. A written transcript is available on the tutorial page.
Video Transcript
It's so cute.
So fun.
It's just a fun little take on it. I love what happens when you border things out. I love to see what's going to happen. I decided that I would make a nine patch out of a layer cake square, and then I would border it with this little secondary border to see what happened. I tried the layout all different kinds of ways, and I actually really ended up really liking it with a sash in between. It just kind of all mushed together.
I love how you have this secondary nine patch.
Yeah, that comes right here.
Yeah.
Right here. It's stinking cute.
Yes. Don't you love that?
It's so Cute.
Yeah.
I love it too. All right, let me show you how to make this. To make this quilt, you're going to need one packet of 10 inch squares, and we used Red Hot by all sorts of designers that work for Riley Blake.
Mm-hmm (affirmative).
They all came together to put together this great pack of fabric and it's very fun. You're also going to need a half a yard of an accent fabric right here. You're going to need a yard and a quarter of a background fabric, and that includes your little squares here, your sashings, it includes these little squares up here. We use that in a lot of different places. For our border, we used one and a quarter yards and it's a nice big six inch border. On the backing, we used four and a half yards of the 45, or you can use two and a quarter yards of a 108. But this backing that I used on here. Is a cheater cloth.
It's so cute.
It's so cute.
It's really, really cute when you see it.
It's little hexagons.
Little [inaudible 00:01:57] flowers.
Yeah. All right, let me show you how I made my block. To make my nine patch block, you're actually going to take two layer cake squares. The first thing I did was I went through my pack and I just kind of split them up, lights and darks. I have a dark one here and I'm going to pick a light one, and this is going to make this inside part of our nine patch. You're also going to need to gather two of your lights and darks, and that's going to make the outer border on ours. I'm just going to grab a couple of these and get them out of the pack and get them ready.
These prints are so fun.
Their kit is so fun.
Because they come from so many different lines, all blending together.
Yes. I love on here. Red Hot by assorted designers.
Yeah.
The whole company got together and had... Everybody has like-
It's cute though, because there's florals and there's-
Yeah.
Oh my gosh. Pattern pieces...
It's so whimsical.
Little umbrellas.
Little stars, everything.
Lady bugs and all kinds of cute things.
Little umbrellas. They're so cute.
Yep. All kinds of cute things. All right, to start with, I'm going to put these right sides together like this and Natalie, I'm going to have you sew the sides, quarter inch on each side.
Oh, okay.
Yep. That's what we're going to do.
All right then.
Then we're going to cut those and we're going to cut ours three inches, our strips three inches. But by doing this, by putting these together and just sewing it right now, we'll have two of our seams already done
Already done.
The other set.
Scissor cut.
This is going to give us two nine patch blocks. One is going to be a dark with a light and one's going to be a light with a dark.
Here you go.
All right, so what I'm going to do now is I'm just going to lay my little ruler on the edge here and I'm going to... Oh, I'm going to cut it three inches. Whew.
That was close.
I almost made a terrible error right there. All right, so we're going to lay this on here and we're going to cut this at three inches and then Misty, I'll have you press this.
Absolutely, and you're cutting from the outside edge. Not the seam, right?
I am cutting from the outside edge. Yes.
Okay.
You could just cut your strips before sewing if you wanted to?
You could just cut it, yes. A hundred percent.
Then put things together that way?
A hundred percent. You could cut, three, three and three all the way across.
Uh-huh (affirmative).
Just sew them together.
Okay.
All right, so this last middle part I cut and you see, I had this little bit of scrap left over and so on this one, I'm going to have Natalie add the white to this side. It's going to make the light, dark, light.
Okay.
Then we'll sew the red to this side and it will make the dark, light, dark. These are going to give us all the components for two blocks.
For two blocks.
All right, just hand me that one.
Ready.
We'll get started on this.
Okay.
Misty, go ahead and press that open.
Absolutely.
Move this over, so you have a little more press room.
Just got to make sure that didn't come unthreaded real quick.
Now on this-
Oh, I should nest that, huh?
Yeah. On one of them, you want your seams to go in and on the other one, you want your seams to go out. This one is going to go out and this one is going to go in and then they'll nest right together. What we're going to do, is we're going to come along the edge of this, because I know that three times three is nine.
Mm-hmm (affirmative).
I'm working with a 10 inch square, I have a little bit of extra room, I'm going to cut off these little edges right here to give me a little bit more accurate cut. We're going to take off those pinks and then we're going to come in and we're going to cut this whole thing at three inches, and I'm going to cut one and two and three.
Don't cut your layer cake up there.
Nope, can't do that. All right, now we're not going to do anything with these just yet. We're going to cut the other one and I, again, am going to cut off my little pinked edges here.
It is nice to have that wiggle room.
Yeah.
It is nice, because every company does their pinked edges a little different and they measure a little different. Sometimes they're measured from the outside of the peak, and sometimes they're measured from the inside of the peak and you just don't really know. It's nice to be able to make sure that it's accurate. We're going to cut one and then we're going to cut two... One of the things you can do to make sure you're staying straight, is watch your little markings along the seam as well, to make sure that you're still, that you haven't gone on the lean, you're just still in the right place.
Right.
See, I was very careful about that layer cake. All right.
A little close.
Now what we're going to do, we have our pieces right here and we're going to take two reds and put a white in the middle like this, and we're going to take two whites or two light outsides and put our red in the middle. Then we get two blocks that are just opposite.
Cute.
Natalie, if you want to stitch those together.
Sure.
That would be awesome. I actually have two done over here, but I'll let you sew them together.
Alrighty.
Because the whole world loves to watch you sew.
Of course, of course.
No pressure.
Never.
There we go.
Okay. Do you want me to finish that one or keep going?
Oh. Oh my yeah, no, you can do this.
Okay.
Look at her chain piecing my block together.
Anything to save time, right?
Yeah.
Yep.
Make sure those little seams are going the right direction.
I'm working on it.
When your seams go in and the other ones go out, you can just snuggle them up close together and they nest.
All right.
That'll give you a nice square block. Now, at this point you could add either one of these strips to either one of these blocks and it would work.
Mm-hmm (affirmative).
You'd either get the red, white, red, or you'd get the white, red, white.
Just make sure you do one of each.
Just do one of each, yeah.
Actually, it's impossible not to because you only have these components.
Yeah, because you have the pieces for each one.
Yeah. The only problem you could do is I did this as I was sewing along. No, you go ahead and sew.
You put two together.
I put two like this.
Oh no.
Uh-oh.
I was like, I've just made a new tutorial. This is the T block.
Yeah. There you go.
No, but no, it has to go over.
That's funny.
It's the block that doesn't need a seam there.
Right?
Mm-mm (negative).
All right, we're going to do this and we are going to press that.
I'll press that. Okay.
All right, and then I'm going to get ready for part two.
There's something about this machine wanting to, wants to pull that corner. It could be user error, but I don't think so.
I doubt it.
All right. Let's iron this one.
Okay.
Then we'll show you that we have two opposites.
There we go.
This is really a traditional nine patch. Great little job, sewing, pressing girls. We have two, from our two squares, we got two blocks, but we're going to add a border on it. To do that, we're going to make something that looks like this. This has our little pieces here that make the border and we put a peak by snowballing that corner and then we have four cornerstones. The one where the light squares are, we're going to use the darker red and the one where the red squares are, we're going to use the white.
I have two of these right here that are done, but let me show you, well, one's done and one, I'm going to show you, but let me show you how we cut this. All right, the first thing we're going to do is we're going to cut off a two inch strip and I have my two pieces of fabric facing each other. That is going to give us our two inch squares and it's going to give us our cornerstones right here. It'll give us four of light and four of dark, because we're going to swap those out on each block. Here's my two inch strip and then we're going to sub cut this into four, two inch squares of each color.
All right. We have four of those like that and then we're going to need eight little blocks like this. This is a two by four and a quarter measurement. Because we have three inch block, we have to use a little bit different measurement. All right. Once you get your four squares cut, then we're going to take our piece and we're going to turn it and we're going to go ahead and trim off these little peaks so that it's accurate like this. Then I'm going to cut two pieces that are four and a quarter. I'm throwing this thing all over the place.
That's okay.
It wants to be a part of the video. All right, here we go, four and a quarter like this and then four and a quarter, like this. All right. This is a little tiny bit of extra crumb piecing and then what I'm going to do is I'm going to take my straight edge like this, and I'm going to line those two on top of each other.
Good stack.
I'm going to cut two inch pieces. Two by four and a quarter goes right here and we're going to cut four of those out of this. That's just perfect.
There you go.
All right, now we have our pieces for our light... I'd go ahead and separate them at this point. Put your darks and your lights in two piles, and then we're going to cut our little bitty two inch squares that we're going to snowballs these with. I'm going to have Natalie show you how to do a snowball. Then I'm going to show you from the other blocks that I've already made. Because once you snowball one, you can snowball lots.
All right, these are all separated. Mostly, almost. Here we go. One more. There we are. All right, then what we're going to do is we're going to from our accent fabric and our background fabric, we're going to cut some two and a half inch squares, two of white-
Of each.
I'm sorry. Thank you. Two inch squares of white and two inch squares of red. You can just cut a strip and just sub cut those. That's what I'm going to do. I'm just going to put this on here, like this cut my little edge off, and then I'm going to cut two inch squares. I have a kind of a little piece here, but you'll have a long strip and you won't want to fold it this small. All right, now we have some red squares. We have some white squares and we'll be able to snowball both of them. What we're going to do, is we're going to take our pieces and you have to make sure that they are going opposite directions. You'll have four that go this way.
All of one color goes one direction, or no is it two?
No.
You still split it in half.
You still split it in half.
Four of each?
Yes.
Okay.
I'm just going to show them this, how I lay this out.
Mm-hmm (affirmative).
There's four all going that way. Then these four have to go the opposite way. We've got opposite, opposite, opposite, opposite, like this, because they're going to come together like this and make this little peak right here.
Okay.
All right, what I want you to do is I want you to take one of these and we are going to sew, this is our light, so we're going to sew our red on here.
Right.
This one we'll sew this way
They're all actually the same. You just spin it. Oh no. It's opposite. My brain didn't work. Okay.
I actually tried that when I was making it.
I'm looking at it and I really thought it was the same, but.
I actually tried that.
Yeah.
I actually thought the same thing when I was making it. I'm like, no, no, no. I have to pay attention.
Yeah.
We have to be careful.
That's tricky.
One is going to go this way.
Yep. One's top, right.
Yep.
And one's top left.
Okay.
Yes. Whatever little mantra works for your brain, as you're doing that for me, I was like, I put them in stacks and I did all this before.
Maker sure they look, yeah.
Then I did all the other ones the same. I had two stacks like this.
That's what I'd have to do too.
Yeah, I'm going to start trimming these off and letting you press them.
Okay.
Because I'm actually going to add this border to the block I have finished over here.
Perfect.
Because you don't actually really need to see me sew 80,000 of these things on, I figure if you can see one set, you're good.
When you're sewing though, if you've got one going this way, you can tell the difference by how they look going into the machine.
Yeah. Under the [crosstalk 00:14:41].
Then you know that they're opposite.
Absolutely. Absolutely. What happened?
Oh, it's just, I'm just curving today. Just keep curving that little edge.
She's feeling curvy.
Yeah.
Feeling curvy. Oh, no that's groovy.
Groovy.
Just is what it is.
Groovy. Sorry, I was close.
It works still.
Sorry about that.
That's all right. All right, before you cut off your edges, line them up to make sure they're going to go opposite way.
You're going to use that point.
You know, that you're going to get that point. Then you can go ahead and trim it off and press it open, like Misty's doing over here. Then you have two pieces like this, and then once they're pressed open right here, we can sew these together. Natalie, what I want you to do, I'm going to lay them for you like this, and we're going to lay these just together like this.Now, because my points aren't always perfect, you know my sewing isn't always perfect, what I kind of do is I kind of line up this back end because my strip is going to be pretty right on. Then I sew a quarter inch down the down here.
Straight down the side. Okay.
I'm going to line these up for you and we're going to do this to all four of them. All right. We're making a tiny little border for our cute little nine patch. All right. Here's one. Okay. Here is the last. All right, I am going to clip these. Misty if you can start pressing those.
Sure.
Remember out here where we cut our little two and a half inch squares, these are the cornerstones and the cornerstones come into play on two of these strips. Two of them we're going to sew right to the side. Then two of them we're going to sew cornerstones too. I have these right here. When you use a red middle, you're going to also use a red cornerstone. Your dark cornerstones are going to come to that. I have four dark ones over here. We're going to sew one on each side like this, it doesn't matter. They just go side to side on two of them.
Okay. I can do that.
All right, the next thing we're going to do, while she's sewing those together, while Natalie is sewing, these, we are going to put two of these together like this. Now, you know if you have the white piece in the middle here, the light piece, it's going to go to the red and the red here is going to go to the light. It's always lights and darks on this. Natalie, I'm going to have you, sew one of these to each side.
These are ready.
I'll press these.
It doesn't matter which side.
Point in or point out?
Point out.
Point out, okay.
They're going to make like little roofs to houses.
Okay.
Again, this is our little block that we're going for.
All right.
See how this one has the red square, so then you have the white square right points on the outside and it's just opposite.
Mm-hmm (affirmative).
We've cut them out. That's why we cut out our two pieces.
All right.
All works, all goes. There's nothing to line up on here. There's no middle seam that lines up to anything. Just go ahead and sew it down the side.
Pretty nice.
Then she'll grab the other one. You're doing all the work today.
I know.
It's all right.
I got the easy job.
You'll both get a turn.
We will. That is true.
That's true. That's the joy of the triple play.
It is the joy of the triple play. It was fun to do something with a nine patch.
It was. Yeah.
It's such a traditional old block and it's just, it can be as easy or as difficult as you want to make it,
I have fun playing with it.
Yeah. But when you do one little thing to it, like you guys will see in their's it's a whole different something, something.
Yeah.
Well, there's so many ways to make them.
Press that down.
Of course.
So many things to... They're parts of so many different blocks.
Natalie has now sewn our two side pieces on and here's our pieces with our corner blocks. These are going to go on the top and bottom of the block to cap off our little nine patch right here.
There we go.
Make sure you can see this. Then this one will go here and this one will go here.
So cute.
All right, go ahead and sew those on.
Alrighty.
Then out of these four squares, you'll get two completed blocks, because it took two, a light in a dark for the middle and a light and a dark for your borders.
That's nice.
Yeah. It's great use of the fabric.
It's good use of the fabric and it's good use of that math in the layer cake.
Yeah.
Four it's four, two to four.
Yeah.
That's why, a lot of times when we make a quilt, it is six by seven because there's 42 squares in there. With ours, I use the pieces in the layer cake. I didn't bring in an extra color.
Mm-hmm (affirmative).
I used the pieces in the layer cake to make both blocks. Instead of it making a 42 block quilt, it makes 21 blocks.
Yeah.
Of course you, 21 doesn't make a quilt, so we're sitting at 20 back here.
Four by five.
It's a perfect picnic size though.
It is. Again, if you wanted to make this bigger.
Yeah.
Like say you love it and you want it on your king size bed, you're just going to have to add a couple more layer cakes to that.
Yeah.
So each layer cake will make, you know, you buy one layer cake, you're going to get a quilt this size. People are always, "How do you make it bigger?"
Yeah. By more layer cakes.
That's right. Just by more layer cakes and the yardage, like if you double your layer cake, you're going to double your yardage.
Yeah.
So it's just easy as that. If you start with yardage and you don't want to use a layer cake, just remember that a layer cake is about three yards of fabric.
Yeah.
Then you're going to have... Like say you wanted to make this one, I don't know, two colors, for each one of these, you'd have three yards of one of one color and three yards of the other.
There you go.
All right, go ahead and iron this.
Of course.
Then you can see that these two blocks that we've put together are opposites.
There we go.
Two blocks from the same two fabrics and they're just opposite. How we did them in the quilt, let me show you what I did was I put them opposite up here. I put the white peak, the red peak, the white peak, the red peak four across five down. I sashed in between. This is a two inch sashing. I stayed with the same size, because then I used the two inch red cornerstones as well. I cut a few more of my little red squares, the ones that we put on the corners of our little pieces and I have a few more red squares of those for my cornerstones. I did a little also brought my sashing clear out to the border. This has, when I put them together, I did sash, block, sash, block, sash, block. I got a little off there with my blocks, but you get the just.
That's okay.
Then this piece, I put a cornerstone and a tiny sashing, sewed it to a cornerstone. This was one row for me.
Yeah.
While the other one was a row. Then the outside is already sashed and it's cornerstone. Then we added this great border over here. We quilted it with the Baptist fan pattern, which is a great motif, but I want you to see this back.
It's so cute.
It's so cute.
Isn't that fun? This is a great piece of fabric. They call it cheater quilting, but it looks like it's sewed together.
But it's so cute.
All the tiny little hexagons and it makes just a absolutely beautiful back.
I love that.
It makes a quilt. Let's see what size this one is. I never remember. Oh, it's 60 by 72, and because I took a nine patch, just a plain old nine patch, and I added a little pizazz to it, if you will, by putting a border around it, I'm calling it the sassy nine patch.
I like it.
We are done with my sassy nine patch and we are onto Natalie. You get to show us what you get to make next.
All right.
Once again, we are here with the humble nine patch and Natalie, it is your turn.
That's right.
I love it.
This is my quilt. I'm calling it double nine patch chain, because this-
It's so cute.
The nine patches within a nine patch is a double nine patch.
Yes.
Then I love how they chain together with the addition of these half square triangles around the edges.
It's so pretty.
That is very fun. Great idea.
It's actually two blocks. One block is this, like I said before, is this double nine patch and then the second block is this one with a nine patch in the middle. Then I just snowballed these corners with large five inch squares.
Very good.
It's very easy to make and put together.
Awesome.
That is wonderful. All right.
All right, to make my quilt, you're going to need one package of 10 inch print squares, and I've used Chantilly by Kathy Angle for Island Batiks.
Don't you love how they put them?
I love how they have them.
I do too.
They have them all folded. Then they're in sets of two. There are-
It just looks so pretty.
Yeah. It's really beautiful.
It's beautiful.
The other thing you're going to need is about five and a half yards of a background color, and I've used white, but you could really put any color you want in the background. I think it would be beautiful.
Sure.
This is a great place to show off like a lovely linen or yeah.
Mm-hmm (affirmative).
A tonal print that you love. I mean, you could do a lot of different things because it, there is so much background.
Yeah. You have a lot of negative space.
Yes. Yeah. But it's, I mean, it's beautiful.
It is so pretty.
For your border, you'll need a yard and a half and for your backing, you're going to need six and a half yards. That's because this is a really large quilt.
It is bigger.
It's 79 by 106. I think it's a great size for one of those extra long twins.
Yeah.
Maybe you have someone in college.
Oh, yeah, that's perfect.
A tall friend. It's great.
Perfect for that.
Yeah.
It's really fun. I did it that way because I wanted my tops and bottoms to end on the same row.
Mm-hmm (affirmative).
If you wanted to make it a little smaller, you could go square.
There you go.
Either way is fine.
Perfect.
I love it.
The squares are large.
They are.
Yeah, nice big blocks.
They're quiet large. Yeah. To make my nine patch, it's a little bit different than mom's. Just a little smaller. We're going to take our layer cake squares and cut them into two inch strips. We'll take that off and you can just pick whatever colors you want. We're going to make a bunch of nine patches. Some of them will go in the double nine patch and some will go in the single nine patch block.
Mm-hmm (affirmative).
Do you want me to iron that?
They're like a block A and a block B. Yeah, that'd be great. Let's do this one.
Okay. Oh, that's a beautiful color.
They're so pretty. Pretty colors.
I love that green.
Yeah.
Yeah.
I'm a big fan of green fabric.
Do this purple.
I stack them up. Batiks are thin enough that I think you can almost stack up four at a time easily.
Oh, sure.
Maybe six and get a bunch of cuts at the same time. You have to be a little bit exact, because we are going to need every single cut along this layer.
Good to know.
One of the nice things about Island Batik-
They don't have pinked edges.
They don't have the pinked edges, which I love.
The other thing that I do when I'm doing this quilt, you'll see me do it several times. I line it up with the mat, so that I know I've got this whole 10 inch here and like I'm visually looking at it in a 10 inch square. Then I will also use my ruler.
Yeah.
To make sure that I get the right amount of cuts, because-
Just to keep it as straight as possible.
Yeah. Every so often you'll have something that's like due to sea, allowance, maybe it's not quite big enough, but it'll work.
Yeah.
Okay, we're just going to cut these into two inch strips and I'm only doing multiple fabrics, because it's more efficient.
Yeah.
You get a lot more cuts done that way. Okay.
Now, did you cut yours all into squares and do it, or did you do it with strips?
No, I did it with strips.
Okay.
The next thing you're going to need is two inch strips of your background fabric. I've got a little pile made here.
I think you have some over here.
Yep. I just want to make sure this stays nice and square and I'm going to trim that just a tiny little bit off the edge.
When you're dealing with these smaller pieces, every little bit matters.
It makes a difference.
Yes.
Yeah.
Okay, then what we're going to do is we're going to sew our long strips to the white.
Okay.
Actually, before I do this in order to make our nine patches, they're all the same. You're going to need...
You mean, you've used the same fabric in each nine patch.
I have used the same fabric in each nine patch, but also they're all five prints to four white.
Oh, okay.
Oh.
They're all put together exactly the same, you want to make sure that you have your sets, so you have like opposite sets. You'll need two that have the prints on the outside and the white in the middle. These are going to be sewn in that way. Then you'll only need one set that gets white on both sides. I would pull that out first. It just makes life so much easier.
Mm-hmm (affirmative).
These two, you're going to sew white on both sides. Then these two, you're going to sew to the white strip and sew the print strip on the opposite side.
Okay.
Does that make sense?
I think so.
I'm probably over complicating it, but it's a lot easier if you pay attention as you're going, otherwise you'll have a bunch of print strips sewn to a white strip that you need them opposite. Ask me how I know, I had to pick out a lot of strips.
Would you just go ahead and sew like four greens on one strip?
Yeah. Should I still chain piece?
Yes.
Okay.
Yes. Just make sure that you keep these, you keep two of them out for other sides.
For the other sides. Yeah.
Yeah.
Okay. That makes sense.
You just have to know your counts.
Mm-hmm (affirmative).
Here we go. Then-
You can continue if you want, you can get four on one strip.
Okay.
Just keeping a little bit of space in between.
Trim them off.
Mm-hmm (affirmative).
One more.
I'm mesmerized. Almost, I'm just like, Oh, just watching the sewing.
There we go.
All right. You should probably go ahead and trim these. Go ahead and put these two also on a white strip. Those will be our middles.
Okay.
Then the rest of these we'll put the print on the other side.
All right.
Just one more of those. The white one is easy because you don't have to line it up. The prints you're going to have to line up a little more closely.
Did you just keep them in long strips or did you cut?
I kept them in long strips.
Even when you did the two colors?
No.
Or did you cut them down to 10?
Those ones I cut.
Okay.
It's just easy to add them when they're trimmed.
Yeah. Especially because you're working with other pieces that are already trimmed.
Well, that's what I thought too. I just wasn't sure.
Then these are going to get a print on the other side. There we go.
Want me to do that one?
Yes, please.
All right.
Do you want me to clip these off and iron them?
Sure. That would be great.
Did you just see me heading with my right hand?
Scary.
Holy moly.
All right. Let's go ahead and put these ones on the white strip also, so we have all the pieces that we need.
I'm trimming these off before I iron.
Mm-hmm (affirmative).
We want to, whenever you do a white with a color, you want to press to the dark side so that color doesn't show up in your white. We're just going to do this on both sides.
We'll want these pressed opposite, which is perfect.
Mm-hmm (affirmative). There's that one. All right, there we go. There's that one. Then this one will just come to the other one.
There we go.
We can to trim those.
Check it on the backs. Perfect.
These need their prints on the other side.
Okay.
Then we'll line them all up. All right, I'm putting these little guys inside this 10 inch square to try and keep them as close as possible and I'm going to go ahead and cut these at two inch increments. If they get a little off it's okay. Just straighten them. Just keep on going.
Okay. You can watch your seam lines and all those things.
Yep. All of the things.
Here, Jenny, you want to press these?
I would love to. Keep me awake over here.
Got to keep her busy.
Oh man. I'm good till I slow down. Then it's like, is it nap time?
I have that same problem.
All right.
I'm just going to trim this off even using my old school scissors.
Perfect. You can see that from each of these sets, I've got to cut this one still and then we'll put them all together. One there, this one's almost ready for its other guys, it's other friends.
I agree with you about the batiks. I just think they're so easy to work with.
Yeah.
They iron beautifully. They slice beautifully.
They really do.
So beautifully.
Yes they do. Oh, sorry. Okay from one layer cake, you'll get 1, 2, 3, 4, 5.
Wow.
Nine patch blocks,
Which is what you need to make one block.
It's what you need to make one block. But I like them all mixed up.
Yeah.
I just made all my nine patches and then I pulled the ones I wanted for my double nine patch squares.
Right.
Then I put single blocks in the other block.
I love it.
All right let's put together, let's go with two of these.
Okay.
We'll just make two. You can chain piece these two guys and then put them in.
Now one of the cool little tips, for those of you who are math oriented and who love things to match up is that when you do two inch strips, your block is going to come out to five inches.
Five inches.
Which matches the charm pack.
Mm-mm (negative).
Which I was like, I discovered the same thing and-
This would actually be really fun to do in opposite colors where your print is the background and then all of your charm pack squares could be the actual background.
Oh, yeah.
It's so cute.
It would look completely different and be really fun.
That would be really fun.
I love that idea. Trying to nest these seams up.
Okay the next thing you need are white or background five inch squares. You're just going to cut a five inch strip off your fabric and cut it into five inch segments.
Or buy them as a precut.
Well, you could do that too. It'll change the yardage amounts here.
Do you want me to add the other pieces?
Yes.
Okay.
There's one each of those, we'll just put... I'm going to set these aside and we'll stitch together this one. We've got some of these nine patch blocks made already.
Look at that? I love a double nine patch.
Put this up a little higher.
I actually think I made, maybe Hannah got a double nine patch for her baby quilt? Maybe it was Katie.
Maybe.
There were a lot of babies happening all at once.
Yeah. Hannah's was a fence rail.
I did them tiny. Yeah, I did the nine patch is tiny. I love that these match too.
They do, and they're perfect. All right, let's go ahead and sew that up.
Iron it you mean?
Iron it. Yes.
It's already sewn.
Good job guys. Good job.
There we go.
Teamwork.
All right now we can chain piece this nine patch block.
Sure. Perfect.
Wait, I like this one better.
Okay.
He's going to lay flatter. I didn't take enough time with this guy. I'm just going to spend a few more minutes coaxing him into flat submission,
Getting it to behave.
Yeah. You can, I mean, it's supposed to be five inches, so if you have parts that aren't quite right. Go ahead and square it up. That's okay. There's plenty of... I'm going to just trim off this little corner. It's going to look a little better. Be a little easier to chain stitch.
Clean it up a little bit. Yep.
Yeah. It's no big deal because these nine patches, they don't touch each other. No, they touch a solid block and then these points have to match. But the little pieces, it's okay if you need to square it one way or the other, as long as it stays pretty much in shape. Sure. The white. Yay. We're almost there with this first block.
We are almost there.
Block A.
We have block A. Let's see, you have a done one.
I do have a finished block. Well, not all the way finished.
Okay.
But it'll be easy to just show how to make that too.
There we go. Now we'll open these up.
Yeah. Take those chain pieces.
What she's done by chain piecing, those is that the threads actually work like your needles a little bit. Like your pins.
Like your pins.
Like your pins. Yeah. Keeps everything together.
Keeps everything together.
Okay. I'm going to cut a five inch strip because I don't have one of those ready. This is just a prep for the next block.
There we go.
We'll do that while Misty's sewing.
Well, and people like seeing how we cut these big pieces of fabric anyway.
Yeah.
She's actually folding it in half with the matching the fold to the salvage.
Yep.
Then she'll clean up that first edge.
I'm just going to go ahead and cut this side and then I'm going to flip this over because I am not lefthanded.
It always, it always looks weird to me when I see you guys cut.
There we go. We'll use that for our next block.
Almost there. There we go.
All right. If you'll press it.
I will be happy to.
Block A is done.
I love that nice big block.
I do too. Yeah.
I love that the nine patches are little.
Yep. They're cute.
Yeah. Really there's, I mean there's, I still have ideas. I could have snowballed these little blocks and made little chains.
Yes, could have done so much.
Oh gosh, how cute would that have been?
All right this is block A. Let's make perfect. Block B.
Awesome.
For the B block, we just need this one none patch for the center and we're going to put two, five inch squares on either side of that.
Okay.
Having all your, I mean, once you've got all your nine patches made this block or this quilt comes together so fast, because it's just big stuff.
Yeah.
Big stuff.
Big stuff. There are counts in the pattern because you need to save a few full size squares to cut down into five inch for the corners you'll need to watch that count and only make... Pull, set aside the ones for the corners and cut those down. All right the next thing, go ahead and press that. Then we're just going to stitch this to the strip.
Okay.
Then we'll trim it off and stitch the other side onto it.
There we go.
Perfect. Sounds like a plan.
This is interesting that your brain is doing this because I would've cut little five inch squares.
I started that way and I just realized it was just a lot of extra seams.
It's a lot of extra seams.
When you're sewing white to white three times and it was unnecessary.
Yeah. No, this is great. This is so great hack.
These work, it works just as well.
Oops.
That's okay. Just keep on going.
All right. One little seam twisted on me.
No worries. It's not going to show.
All right. There's that one.
Okay I'm just going to trim this off real quick.
I will just clip the seam.
I'm not even going to measure. Oh.
Oh. Make it lay down.
That's the trick. Then you can stitch this one on there.
Okay.
Then we will square it up pretty easily. I'm going to pull four different ones because I want all of my snowballs to be different colors. If you will, press those.
Happy to.
One more.
We'll use cute purple.
So pretty.
Here we go.
This jade color maybe. Okay. We need to press this out as well, but I'm going to just trim that off.
Here's that.
Press that one.
Oh, let me get these going the right way.
Okay. As far as squaring this block up, it's actually fairly easy because you have this middle section to go by, but they're all going to be the same. Measure your first block just to make sure.
14, right?
Yeah. They should all be 14 inches square.
Awesome.
I'm going to go ahead and cut along this edge here. I'm going to cut on this edge here, the 14, just to make sure that's all squared up. If you're worried about the sides, you can take a look at that. This one's pretty good. This side flips out a little bit, but it's also going to be covered by our snowball no big deal. All right I'm going to stack these up, cut them into five inch squares.
Block B almost done.
Almost.
Almost. We're close. We're close. Then this quilt is all finished up.
Well, when you have big blocks like this, you get a big quilt really fast.
Really fast. Yes. All right.
Now, Misty, are you good with the diagonal seam tape?
I should be. Absolutely.
You can mark them, you can press them or you can eyeball them.
Yeah.
Either way is fine. I will say, because this is such a large piece of fabric, I did sew half inch on the other side and I kept my triangles, but I haven't had a chance to work with them yet. Save your triangles.
Yeah.
Make some kind of fun project. I think a table runner, you'll have plenty to work with. You can just keep going all the way around the edges with that. If you want.
Of course
I ironed one just in case.
Oh, you want it to, okay. Yeah. This works well with diagonal seam tape. I have a laser. You can draw a line or press a line.
She has a laser and she knows how to use it.
Yeah.
Do a blue, do a blue and then do the pink last.
Good idea.
This will actually, when you cut four, then it will do four blocks.
I like everything really scrappy, really mixed up. Mm-hmm (affirmative).
Yep.
Yeah. I just wanted variety of colors.
One last one. Yeah. Then it's, we're done with block B.
Show time.
Then it's just put the quilt together.
There we go.
All right I'm going to trim these off.
Yeah. I would sew a double line on here and yeah.
Yeah, because it's... And even if you don't remember to, that's a big enough triangle.
That's a big enough piece that you could.
You could still go back and stitch that on stitch.
Sure.
And then square it down.
Yeah. Stitch the edge. Yep. Whatever size of triangle you want for whatever project you're working on. These are great. It's a great bonus.
All right. We all have a part.
So fun.
All right, there you go.
Okay now we have block B and block A and they go into the quilt. I started with the A block up here in the corner it's an A and a B.
There's C.
See how that works.
Looks so good.
Then the next row, it alternates, it starts with B. It's B, A, B, A, B. That's it. I have, let's see, 1, 2, 3, 4, 5 by seven, is my layout. Five row or five blocks, seven rows.
And then a little [inaudible 00:46:25].
This inner border, I kept it at two inches because I had a bunch of strips cut.
Uh-huh.
I wanted to use them. Then my outer border is five inches.
What's this quilting pattern again?
The quilting pattern is called City Windows. It's one that I really like. I think it gives it that great lines look, it's very modern and I enjoy it.
I like the back.
Then the backing is this beautiful blue.
So pretty.
That's a gorgeous back.
Looks like water splashing.
Yes. Really any batik will work on the back. It's so beautiful.
I love it.
So fun.
This line just has such lovely prints.
Again, it makes a quilt that is 79 by 106.
79 by 106. It's a great big quilt.
Wow.
All right.
It's that easy.
Love it.
All right, Misty, we're on to you.
I guess we're on to Misty.
All right. Let's do it. All right this is my quilt. I called it dashing nine patch.
I love it.
Thank you. I really like it too. It's just a nine patch block and a shoe fly block set on point together. That's all we have here and it's really quick to make.
So cute.
I had [inaudible 00:47:25], I had to search for the nine patch.
I know it's a little tricky, isn't it?
Yeah.
Yes.
Could be tricky nine patch.
Yeah.
And they blend together. It looks so much more complicated and woven.
Yeah, it's super fun.
All right, lets-
To make this, I use one package of 10 inch squares and it's Blissful Blooms by Lila Tueller for Riley Blake. You're also going to need four and a half yards of background. I used this really pretty navy. Then for your backing, you need five yards or two and a half yards of 108. That is everything you need to do this, so let's just dive right in.
To begin, of course, you're just going to pick out your fabric for your nine patches. I do want to point out that when we make our shoe fly blocks, I decided to keep the fabric the same. So you have to pick matching 10 inch squares in order to get all the pieces so that it will fit. You kind of want to pull those out first. There's 16 of the shoe fly blocks. I think, no, hold on.
It's 12. Oh, nine.
Nine. There's nine of the shoe fly blocks and 16 of the nine patches, sorry. I flipped those just if you want them to match, just keep that in mind, as you're working with your pack, it would still be adorable scrappy. So either way, you're going to be totally fine, but I am going to pull out some matchers that I can use later I'll think I'll do this one for the shoe fly and let's use this pretty floral for our nine patch.
That's gorgeous, gorgeous line.
Isn't it's so pretty? So then you could just cut this in half, both directions and have individual pieces with every single nine patch. They're all set this way with your background on the outside and your prints. You just have four prints in it, but I found it faster to just pair this up with a 10 inch square of my background. We're just going to go ahead and sew.
Okay.
On both sides. This is a little hack.
Yeah. We all did it a little differently.
Yeah.
So it's just fun to see how everybody thinks.
Exactly.
There's so many different ways to get to the end result.
The end result. Exactly.
Yeah.
A hundred percent.
Make sure I'm grabbing my right pieces here. I found this just saves a little bit of time later on because you're going to be making these scenes anyway you might as well do it at the biggest beginning.
One bigger seam.
There's our rotary cutter, it disappeared. Now we can cut this in half, both directions. Make sure we're straight. Then, Nat, if you just want to press those.
Yep. I will do that.
Perfect then on one of these, we are going to add our background square, just like this and on the other ones, we're going to sew these two together and then add this one. Does that make sense? It's like a little jigsaw puzzle.
It is like a little puzzle.
We'll do this first.
All right. I'm ready. You can throw it at me. I can do it.
I know you can.
Let's see.
We'll do that one and then we'll sew these two together. If it's easier for you to just lay it all out, that totally works as well.
You can definitely do that.
Yeah. Sometimes depending upon your brain.
Yeah.
Sometimes a hack doesn't work for you.
Exactly. But for me, this just takes a little bit of time.Here we go. Now we can open that up and this needs to go, hold on. Let me make sure we've got it correct.
This goes-
This goes down here. Nope. That's not right.
There we go. Turn.
Turn it.
There we go.
There we go. Okay.
Sometimes it's better to just put it back in the puzzle.
Sure. Yeah.
Since we're here.
Yeah. Might as well. That's right. You always want to check if you want to avoid using the seam ripper, anyway. There we go. Now that goes there.
All right. We're going to nest these seams.
Yeah.
And then.
Now we open that up and add this to that side.
All right just like that.
Just like that, then you have a nine patch block.
Nice patch.
Ta da. It's very quick. It's a nice big block. It actually measures the same as yours.
14 inches inches.
Because we're working with those five inch squares.
Five inch squares.
Yeah, exactly.
Exactly.
You guys should have said jinx a couple of times.
We really should have. We totally should have.
Next time.
There we go.
All right. If you want to press that.
Okay.
Then for the shoe fly blocks, I did go ahead and just cut these down. I remember I have two stacked up because I wanted them to match. So I am just going to cut in half, both directions so that I have five inch squares.
There we go. I have already cut some of these to save us time. Let's go ahead and finish with this other print just to make it all match. Let's go ahead now. We're going to pair up our print that we cut in half, both directions down to five with a five inch background square and we are going to sew exactly corner to corner it stays five inches.
Right diagonally corner to corner.
Yeah.
Not on both sides of the line.
Exactly. Now just like Natalie mentioned, you will want to go back and sew a half inch away. I also didn't have time to come up with a bonus, but yeah, just like Jenny's doing here, it will save you.
Yeah. Save those and do something fun with them.
Yeah. Because you have plenty of fabric left over and we don't want it to go to waste.
One of the things I do with those, is I will actually keep them in baggies by size.
Yeah.
If I have some tiny ones, because when you get a baggie of something, you're just like, oh, maybe I could do something with really fun with this.
Exactly.
Sometimes.
Do you just only need one of these?
Well, I have the other ones done.
Oh, there you go, this is, do not get this mixed up in your pile.
Yeah. Don't get it mixed up, because that will not work. You want it to stay five inches. You would do all four of those the same way so that you have four matching pieces.
Okay.
But I have the other ones ready for us.
This little guy doesn't want to stay.
Oh, it's not behaving.
No.
Now we can just lay this out. So our half square triangles point to the middle.
Point to the middle.
And then remember we had to cut an extra one, so you're actually going to have three extra five inch squares left over, which is fine. That's why if you wanted to scrap it up-
Save those for another project.
Exactly.
Trim them down.
Trim them down.
And use them with your other triangles.
You could do so much with it. Then we just set it in here with our background.
This little shoe fly block is such a great little block.
Isn't' that fun? You actually don't have to sew it.
Oh, okay.
I have one done for you.
Nice.
Look at that? Three rows of three.
Three rows of three. Just the same as how we put together our nine patch. It ends up the exact same size.
Perfect.
14 inches. Then let me just show you a little bit of the layout because it is on point.
That is the trick.
This is the trick to this quilt, I'll move some of this stuff out of the way.
That's why I was going, "Where is that nine patch?"
Where is the nine patch? I know. It's kind of a mystery. Then they're just set together in rows and if you see here, let me take this back to the quilt, so you can see it. The nine patch sits like this on point, just like so, and then the shoe fly is down here.
It's also on point like this.
It's also on point. Exactly.
Yeah.
Your rows-
Your rows are going to go.
Yep, and every single row starts and ends with a nine patch.
Okay.
Okay.
That's a good thing to keep in mind.
That's a good little know it tool.
Very cool.
Yep. Then let's just lay two of these together.
You might want to use that other one so that the print is facing.
Oh, good idea. That'll help it pop a bit more. Then we can stick this one down here. I guess.
Yeah.
We probably should have made one more, but that's all right.
That's alright.
You guys get the idea. This is how it's set and you can see we've got these kind of open triangles that we're going to have to fill. Let me show you the size that we need for that. I have a big 15 and a half inch background square that I've cut here.
Mm-hmm (affirmative).
And we are just going to cut this on the diagonal. I found it easier to fold it like this.
Do you press it, or?
You can, but I just like really finger pressed it and lined it up with my mat just to make sure that it was really straight.
That it was nice and straight.
Then I just cut it straight down the middle.
Straight down the middle.
So all of these pieces here are going to be the ones that are on the side.
The side.
And the top. These are from your 15 and a half inch squares, and then you need an 11 and a half inch square cut the exact same way. Oh, almost reaches. I'm just going to-
Go along and slide it.
Going to slide it up. There we go. The 11 and a half inch square are your four corners that fit up here.
That's awesome.
That is how you do it.
I think it would be helpful if we showed them.
Yeah, let's lay it out.
Just show them how that corner fits in there.
Exactly.
You start with a nine patch on point.
It's on point and our little one is here for our corner.
Mm-hmm (affirmative).
Yep.
Then this one comes here.
Exactly.
Then-
Our bigger triangle goes here
Then your other nine patch would start.
Yep.
You're sewing rows like this.
Right.
Yeah.
This would be actually a row right here. This is your first one. You're just, you have a little bit of extra so that you can trim it up square.
Mm-hmm (affirmative).
But that would be a row. Then it would be the same thing as you go.
When you lay this out on your wall-
Every row is an opposite direction, I would stitch this, I would go this way in my mind.
Yeah.
Oh, that's interesting.
Yeah.
That's how I do it too.
I would, I mean, I would stitch this together.
Yeah.
Like this, and then flip that back and then add all of them.
Either way, you're going to get the same shapes.
Yes.
Because it's square it's all going to work out exactly the same.
Yeah.
Yeah.
But I just never, I wouldn't have thought of that,
Yeah.
That's funny.
But I guess you, maybe you get that in the upper corners on the opposite sides.
Yep. You do.
Yeah. Okay.
It's exactly the same, whichever way you turn it.
It really is.
Very cool.
When you lay it down, you'll see all the sudden you'll go, "Oh, there are the big holes, that need the triangles."
That's where that goes.
Yes. Exactly, it becomes really apparent and it's just actually super quick and easy.
Mm-hmm (affirmative).
What I loved about it is you can't even really tell there's a nine patch in there. It's just kind of a mystery
No, I love it. I just think it's really great.
Yeah, it's very cool.
It was really fun to make. I can't remember the size. I think the paper fell down.
Oh, 78 square.
78 inches square, so it's a nice big quilt. I used this pretty floral for the backing.
Beautiful.
What's your quilting pattern on this?
This is Posies.
Posies. Really cute.
Yep. It's really fun. That is it.
Yeah.
Well, so much for the humble nine patch. He's now the fancy, the sassy.
The dashing.
The dashing.
Double chain.
An amazing nine patch.
That's right.
I love doing this triple play on the nine patch. Did you guys?
Yeah.
It was really fun.
These were so fun.
It's fun and because when we take like a simple thing and really think about it, it's just fun to spend that brain time on something and make it really fun.
Mm-hmm (affirmative).
It really is.
Anyway, we hope you guys also enjoyed our triple play on the nine patch and that you will try some of these new methods and new things.
Yes, I can't wait to see your quilts.
I can't either.
Right. We hope you enjoyed this tutorial from the Missouri Star Quilt Company. Hi everybody, it's Jenny from the Missouri Star Quilt Company. We hope you enjoyed watching this video. If you aren't already part of the Missouri Star Quilt Company family, be sure to subscribe so you won't miss a thing. If you click that bell, it'll notify you every time a new tutorial comes out. See you next Friday.



