

Triple Play: 3 New Octagon Quilts with Jenny Doan of Missouri Star!
 Jenny Doan
- Layer Cake
- Traditional
- Double
- Beginner
- Quilt size 71" × 71"
Triple Play is a favorite tradition here at Missouri Star. Once a month, Jenny, Misty, and Natalie each demonstrate their own, unique take on a favorite block, technique, or template. In this episode, the talented Doan ladies show off three fabulous patterns for our brand new octagon templates!
Instructor
Jenny Doan
Jenny Doan is an American quilter, author, and YouTube personality. Jenny started Missouri Star Quilt Company in 2008 and today it is the largest quilting supply vendor in the United States.
Shop this tutorial
 Good Vibrations Quilt Pattern by Missouri Star$5.95Shop →
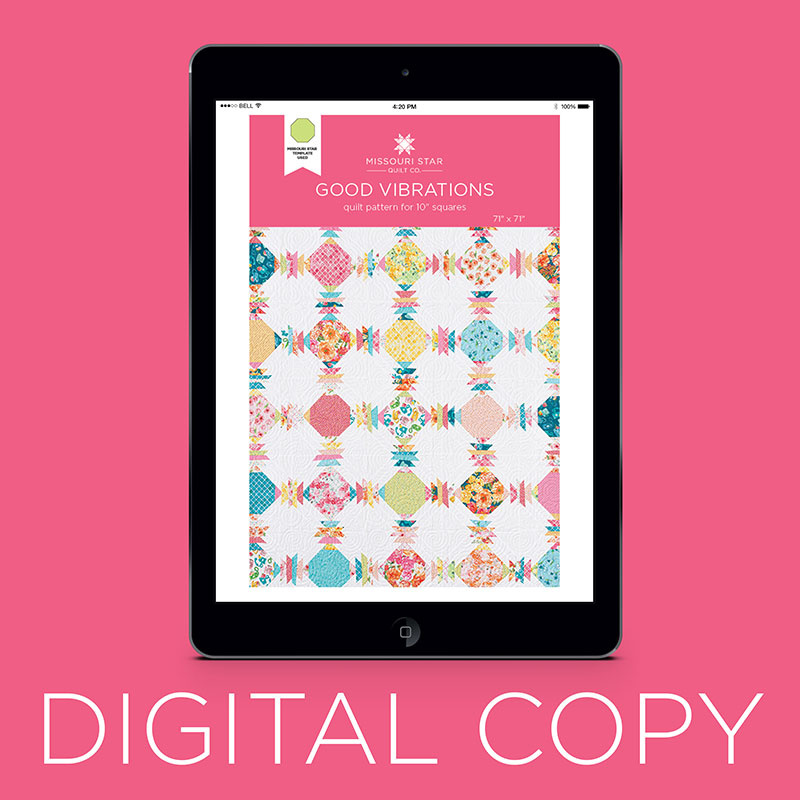 Digital Download - Good Vibrations Quilt Pattern by Missouri Star$4.95Shop →
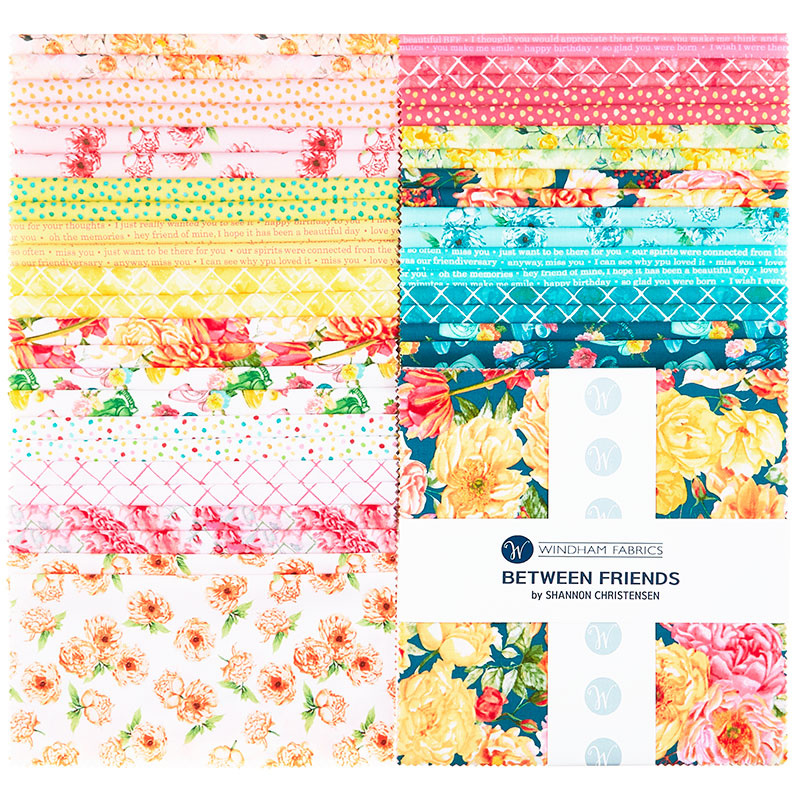 Between Friends 10" Squares$37.95Shop →
 Kona Cotton - White Skinny Strips$24.95Shop →
 Kona Cotton - White Yardage$6.76Shop →
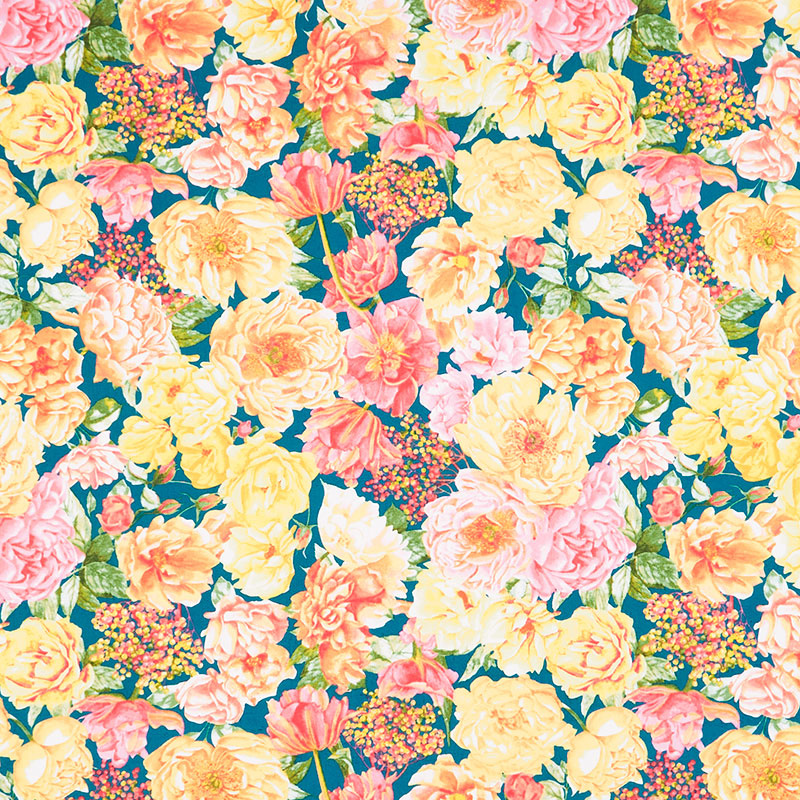 Between Friends - Best Friends Garden Teal Yardage$10.96Shop →
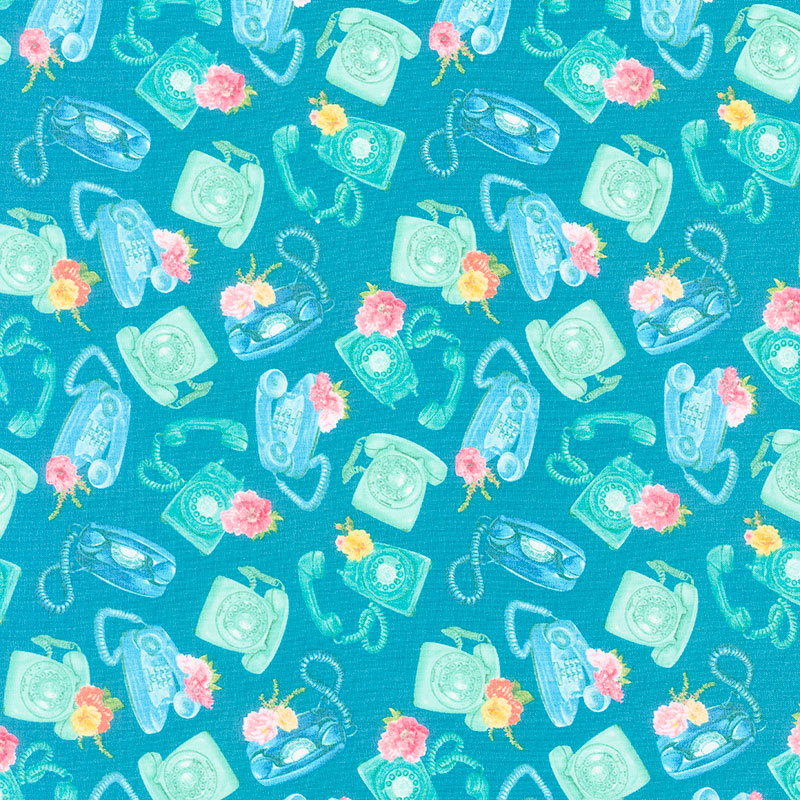 Between Friends - Phone A Friend Teal Yardage$10.96Shop →
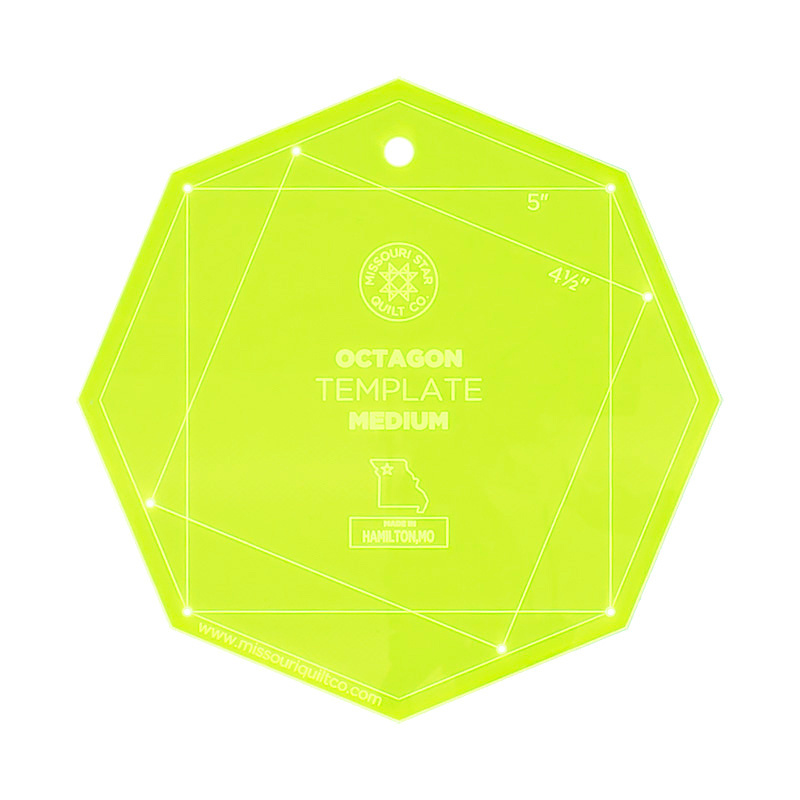 Missouri Star Medium 7" Octagon Template$9.95Shop →
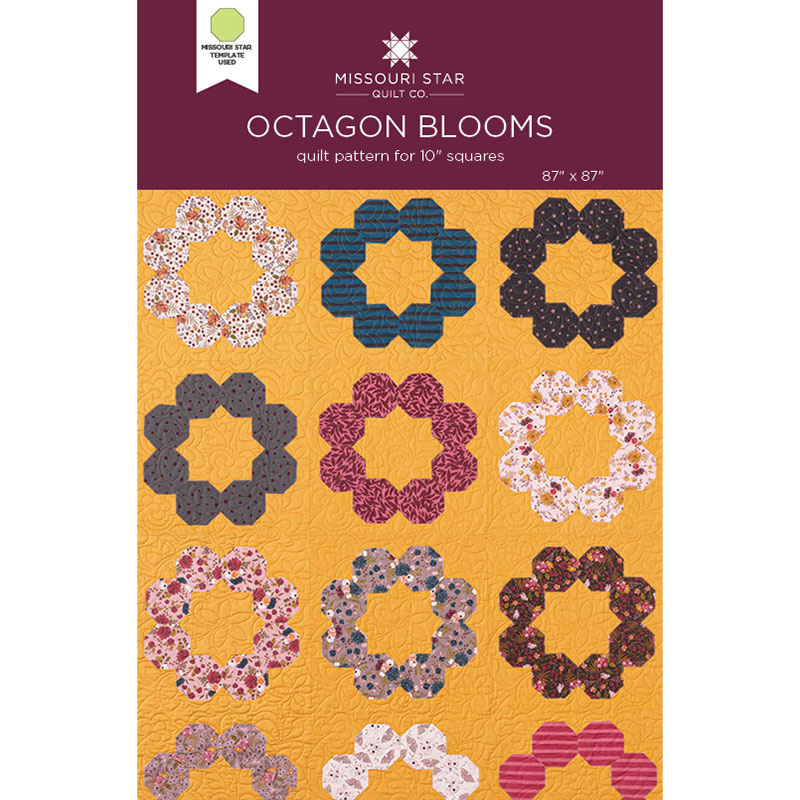 Octagon Blooms Quilt Pattern by Missouri Star$5.95Shop →
 Digital Download - Octagon Blooms Quilt Pattern by Missouri Star$4.95Shop →
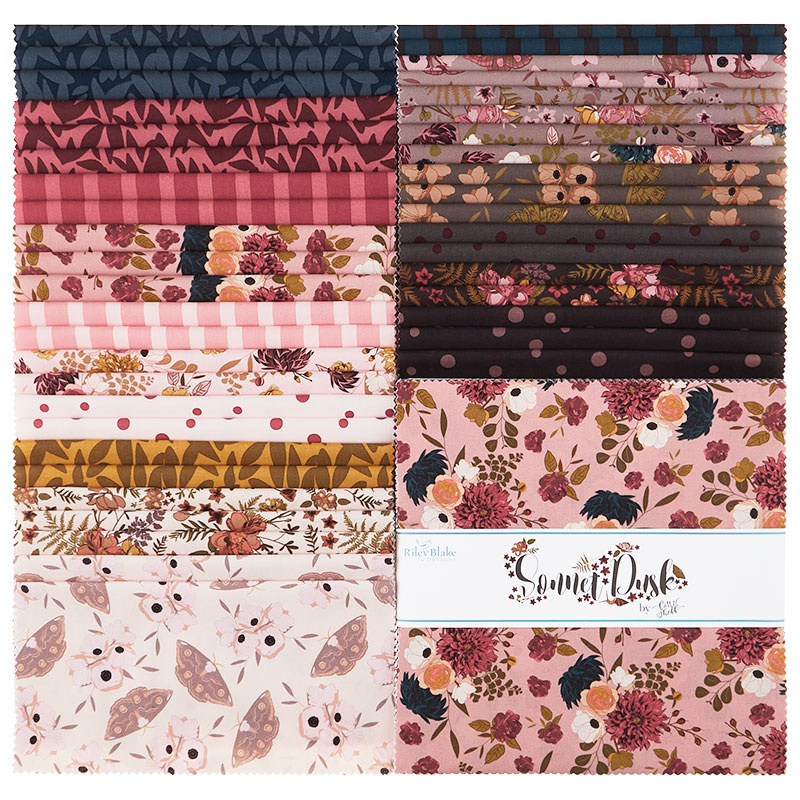 Sonnet Dusk 10" Stackers$38.95Shop →
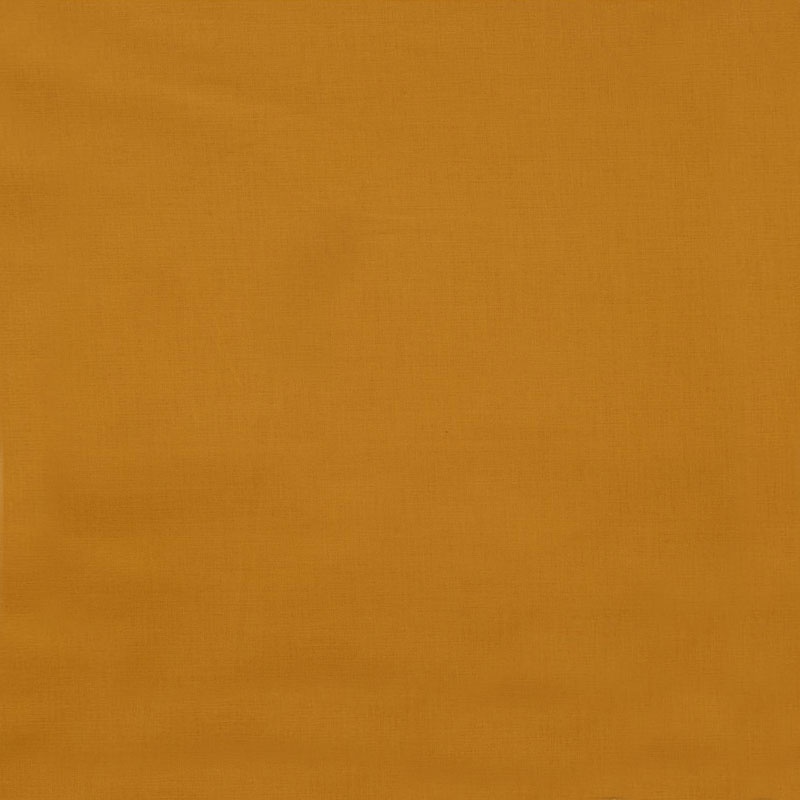 Kona Cotton - Yarrow Yardage$6.76Shop →
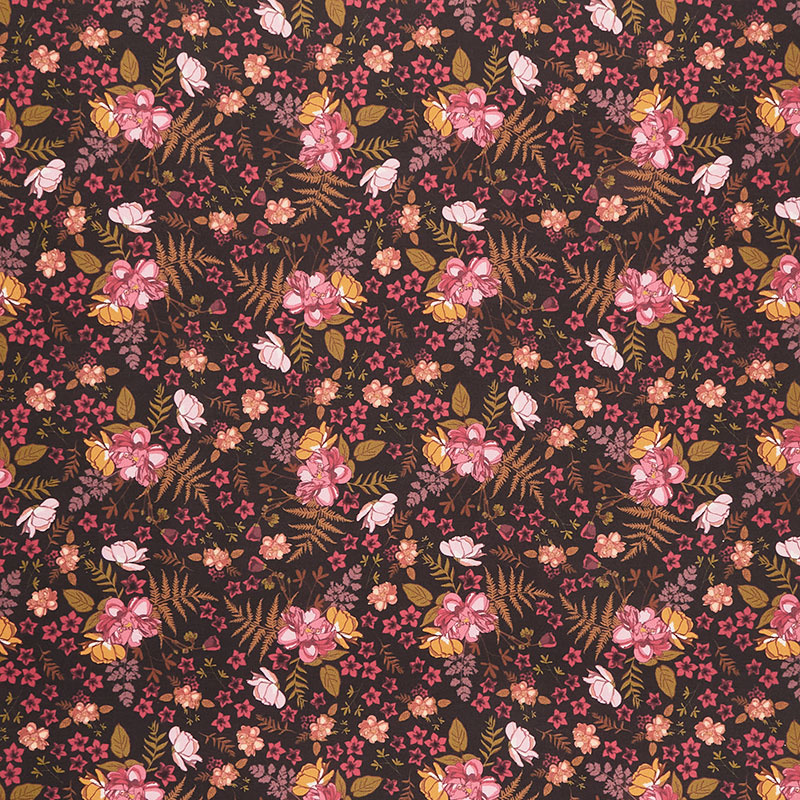 Sonnet Dusk - Roses Charcoal Yardage$10.96Shop →
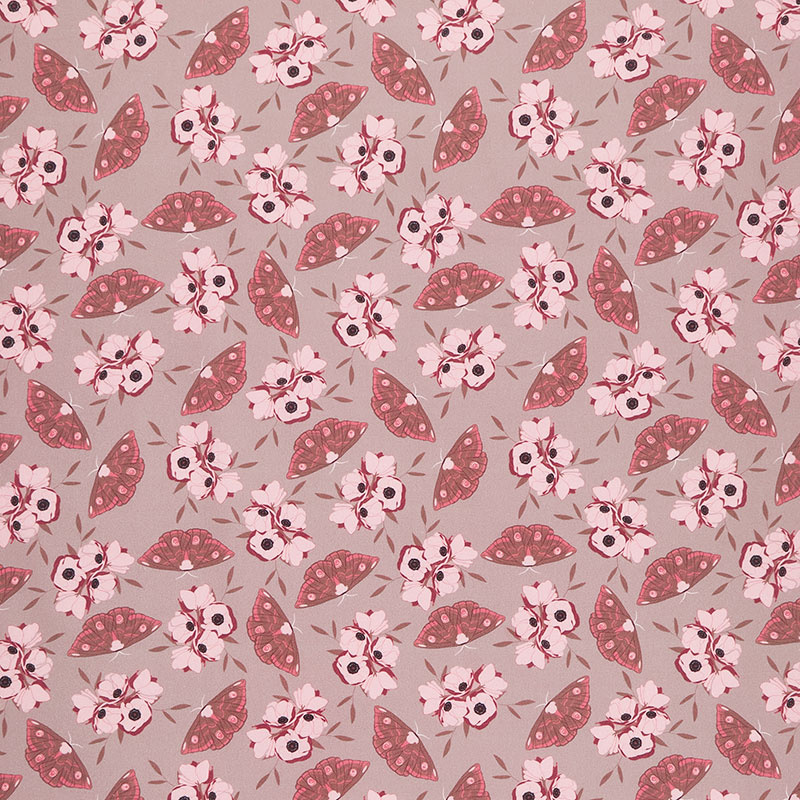 Sonnet Dusk - Moths Taupe Yardage$10.96Shop →
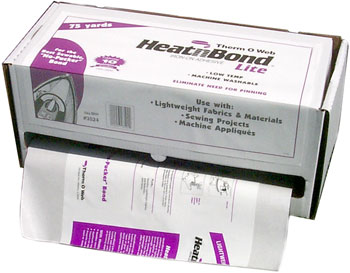 HeatnBond Lite Iron-On Adhesive$1.84Shop →
 Missouri Star Small 5" Octagon Template$7.95Shop →
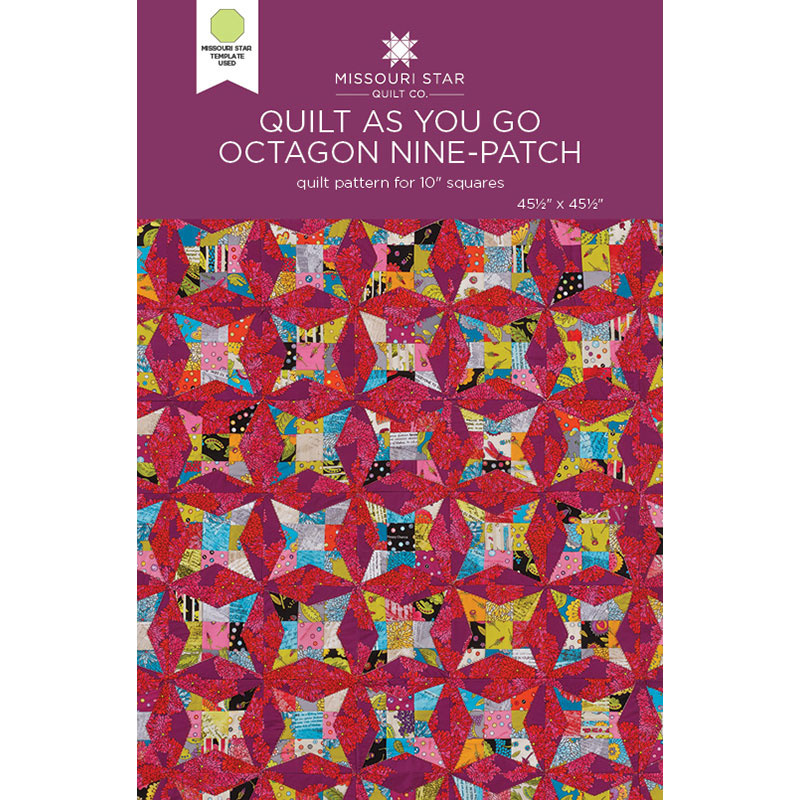 Quilt As You Go Octagon Nine-Patch Quilt Pattern by Missouri Star$5.95Shop →
 Digital Download - Quilt As You Go Octagon Nine-Patch Quilt Pattern by Missouri Star$4.95Shop →
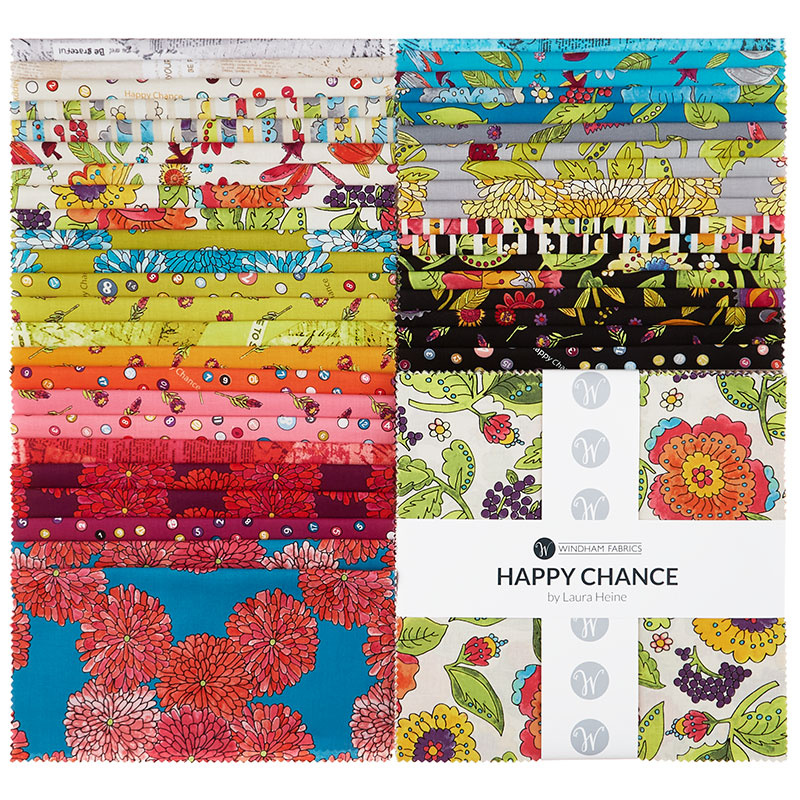 Happy Chance 10" Squares$37.95Shop →
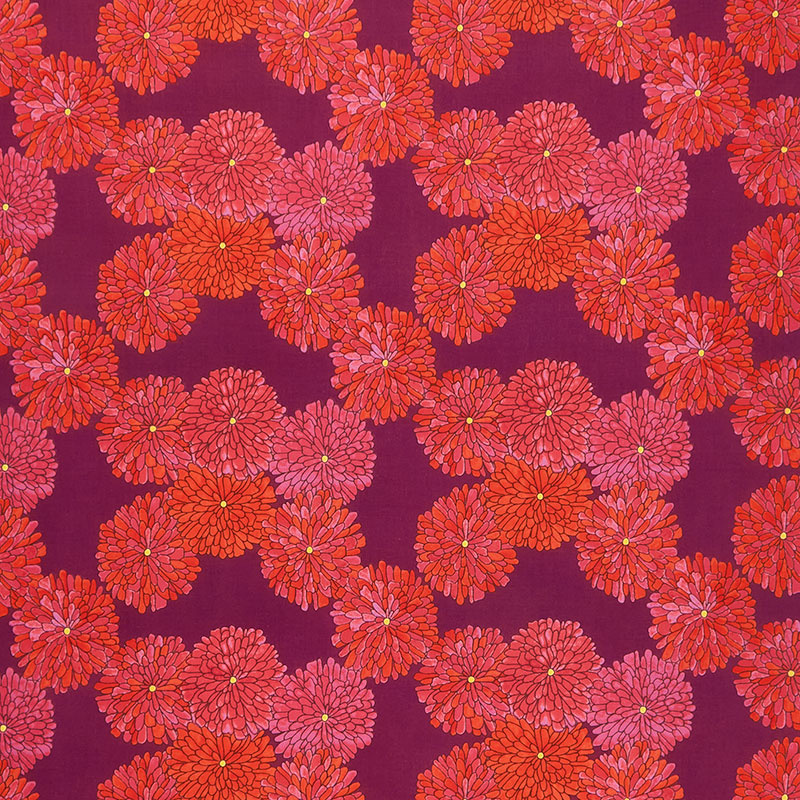 Happy Chance - Mums Plum Yardage$10.96Shop →
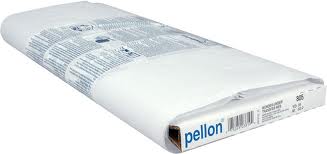 Fusible Featherweight to Midweight Interfacing Yardage$2.76Shop →
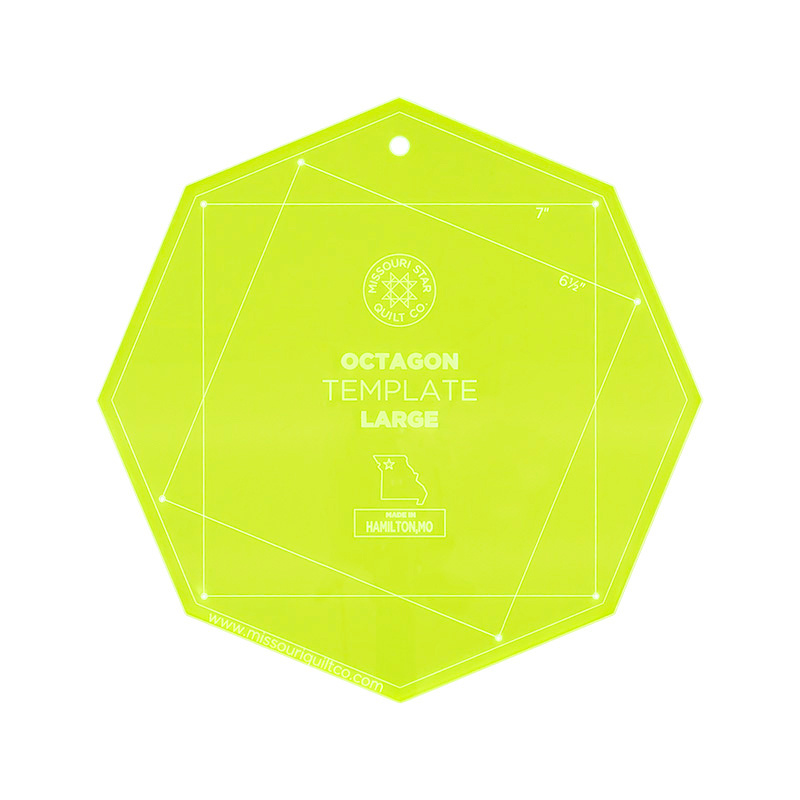 Missouri Star Large 10" Octagon Template$16.95Shop →
Common Questions
What is covered in Triple Play: 3 New Octagon Quilts with Jenny Doan of Missouri Star!?
Triple Play is a favorite tradition here at Missouri Star. Once a month, Jenny, Misty, and Natalie each demonstrate their own, unique take on a favorite block, technique, or template. In this episode, the talented Doan ladies show off three fabulous patterns for our brand new...
How long is the tutorial video?
The tutorial video is 00:49:53.
Are supplies listed for this tutorial?
Yes. The tutorial page includes the supplies and materials connected to this project.
Is a transcript available?
Yes. A written transcript is available on the tutorial page.
Video Transcript
Misty: I just was unsure of what I was going to do.
Jenny: We have three sizes, small, medium, and large. But once we started working with them I could hardly wait to show you what we did because we had some real fun. We love a challenge like that. You know, we like them going, here what can you girls do with this. And then we just figure it out. We’re super excited about it now. And we’re going to start with Misty with the small octagon.
Misty: Alright.
Jenny: You ready?
Misty: Let’s do it.
Misty: Alright so this is my quilt behind me. It’s called Octagon Blooms and it’s a nice big quilt. It measures 87 by 87 and it is so quick and easy. So I really love it.
Natalie: It’s so cute.
Jenny: I love it. I love how this little star appears in the middle.
Misty: Yes, it does look like that double square star.
Jenny: And I love how in the quilting, somehow, I don’t know how this happened
Misty: It’s a miracle.
Jenny: But the little blooms showed up right in the middle of the square.
Misty: Yes, I just love it. It was so much fun to make. It came together much faster than I even expected it to, which is a fun surprise. To make the Octagon Blooms quilt you’re going to need one package of ten inch squares. And I used this line called Sonnet Dusk by Cory Sheff for Riley Blake. You’re also going to need 4 ½ yards of background fabric, 1 ¼ yards of border fabric. Eight yards of backing. Some Heat N Bond light. And the small Missouri Star Octagon template. So to start you’re going to
Jenny: Wait, first, first. I think you all should notice Misty’s earrings. She has little hexagon earrings, almost octagons.
Misty: Almost octagons. I know I was so close but that’s ok. So to start off we’re going to open up our Heat N Bond and in this pattern, since we need to get eight matching octagons, you need two matching ten inch squares.
Jenny: Here, do you want me to cut this part?
Misty: Yes, please. And we’re just going to. You got the dull scissors I think. Too many papers or tape or something with that. We’re going to fuse two matching ten inch squares to our Heat N Bond. So I’m just going to open this up and cut us a ten inch square. This needs to go this way.
Jenny: Here Natalie, stick that in that trash down there.
Misty: There we go. And that is one, two, three, four, five, six, seven, eight, nine, ten. There we go. These rumples make it kind of hard but that’s alright. I think that’s right. Ok. And so then Nat if you just want to press this on the back of one of our squares.
Natalie: I’ll just lay that straight on. I think if you’re worried about it being over you could use a pressing cloth.
Misty: Absolutely.
Jenny: Ya you don’t want to get that on your mat.
Natalie: It can be just a piece of fabric that you have left over.
Jenny: Ya we say pressing cloth pretty loosely because it just could be anything to cover it so it doesn’t get on your iron or your mat.
Natalie: I think that’s good enough.
Misty: I think that’s perfect. So you can either cut this into fourths but I just cut it in half. I found it easier to cut out my octagons if I just had some strips.
Jenny: So can you just fold it into four and cut one off the top?
Misty: Maybe but I just like that the sides end up right at the edge so then I’m only, like even with a fold it’s hard to get that side. So you can stack it once you cut it in half, and then cut two at a time.
Jenny: This is very little waste then. Just the corners.
Misty: Very little waste, yes. So you’re going to have your straight edges on both sides and we’re just going to cut and cut. Whoops, didn’t get the bottom layer there. There we go. And I’m going to have to turn it. If you have a rotating mat, it does help when you’re doing all this cutting.
Jenny: Especially with an octagon.
Misty: Yes. So there’s two ready. Then we’ll go ahead and cut two more.
Jenny: I’m getting all the trash today.
Misty: There we go. And that one last side. I do like that they’re easy to keep lined up. It’s all those little sides. They just kind of lock together. There we go, last one. There we go. And so you’re going to need eight of those for your blocks. And I have other ones that are already cut and are ready to go from other ten inch squares. So we just stack those up. And now for your background fabric you’re going to cut big 20 inch blocks which I love a quilt with big blocks. It goes together so fast.
Jenny: Well can I say how cool it is that you used the mustard. You know we always tend to go with, you know, a light or dark or something like that. This is just so stunning.
Misty: I just wanted something different. I love this line and I thought it would be really fun to just kind of warm it up a little bit with something besides white as the background. I’m just going to fold this in half and press it in half both directions. So if you want to do that.
Natalie: Ok. So you want solid like
Misty: Yep.
Natalie: Solid crease lines
Misty: Yep solid crease lines because those are going to be our reference points to put our octagons on there.
Natalie: And you want it both directions?
Misty: Yep. Please. Perfect.
Natalie: There you go.
Misty: There we go. Alright so now we can open this up. And you can see we’ve got this grid here. And we’re just going to peel our paper off the back of our octagons. And you can either score that or I just like to crease it and it’s easy to grab. And then we’re just going to start lining these up. And the straight side is going to line up with those press lines. And then we’re going to intersect this straight line in between.
Natalie: Do they overlap, ever, or do they just line up right on the edge?
Misty: I like to overlap them just a smidge to try and keep the background from poking through but they really line up pretty close to that edge. And so if you want more overlap you’re going to scoot them closer to the center and that will make them overlap more. And so we’re going to just keep going all the way around. And when I was doing the whole quilt, I have already peeled some of these too. When I was doing the whole quilt I did this right on my pressing mat so I didn’t have to move it.
Jenny: Great idea.
Misty: There we go. And you just kind of adjust to make them all fit.
Jenny: You could also use those silicone pins where you can iron right over the head of them and they don’t melt.
Misty: Perfect too.
Jenny: I love the star that’s forming.
Misty: I do too. It’s like something magic in the middle there. And you just want to take your time and adjust and make sure they’re all going to intersect. But now we’re just going to press this down.
Natalie: That’s great.
Jenny: Cool. That’s a fast block right there even for a 20 inch block.
Misty: I know, isn’t it amazing?
Natalie: Do you have any tips on pressing, just straight?
Jenny: On this one, wait, see it has the little bit of glue over the top. I would put that down. Otherwise it would be like hello iron, I love you.
Natalie: Friends forever.
Jenny: It just takes a couple of seconds
Misty: And turn that one too because it’s got a little glue that’s peeking through just like Jenny pointed out. There we go. Perfect. Ya and you just don’t want to scoot your iron because you don’t want to lift up with that Heat N Bond on it. If you are worried about it you can put a pressing cloth down.
Jenny: Now while she’s ironing this, I’m from the generation of quilting where I don’t love raw edges.And so I was actually thinking about this because this quilt is so stunning. It’s so beautiful. And I thought, well you could use the interfacing that is Heat N Bond and just turn them. All those edges would be in.
Misty: I thought about that too and I just really wanted this to be so fast and I don’t mind the raw edge. And so I thought, I’m going for it.
Jenny: Yes, totally it’s a personal preference
Misty: Absolutely, but that’s a great option if it bothers you.
Jenny: Ya I think that’s really fun. I actually went over and looked when you were working on it to see if, did she set these in. And you were like, nope and I was like, huh? That is really cool because sometimes we need a quilt. I mean obviously when you quilt right over the top of them, it’s going to hold it.
Misty: Exactly, exactly.
Jenny: And then you did stitch right along that edge
Misty: Ya and so you can use whatever stitching you want at this point. So if you want to do a blanket stitch to enclose more of that raw edge, that would work. I just did a straight stitch. And I actually only did the outside perimeter and the inside. I didn’t even bother with my little middles. But it’s however you want to finish it. You could do a decorative stitch in between would be really, really great. But as you can see it’s holding up beautifully with the quilting and it looks awesome. That’s really it. Now all I did was topstitch just a skinny line all the way around.
Jenny: Perfect.
Misty: It’s almost no sew until you go to put your blocks together and it’s just four big blocks across and four down. And this is a five inch outer border.
Jenny: And literally it’s almost a 90 by 90 quilt. It’s 87 by 87. I mean that’s so close.
Natalie: You could put a bigger border on there pretty easily.
Jenny: Oh ya put a couple of borders on and you’d be there and it’s a queen size quilt.
Misty: Exactly. Super quick and easy.
Natalie: And your cute stitch pattern is Botanical Blossoms
Misty: Oh yes, Botanical Blossoms. And the backing is that same butterfly print.
Natalie: Oh that’s beautiful, moths.
Jenny: And then how wide is your border?
Misty: It’s five inches.
Jenny: Ok, five inches. Perfect.
Misty: So that’s it. So Jenny, are you up next?
Jenny: I’m up next.
Jenny: Ok, so this is the fun part to me about Triple Play because ours are so different, so different. So I used the medium template and let’s take a look at this quilt. Isn’t it fun? It’s just happy. It’s cute. Of course a lot of that has to do with the fabric. I want to point out for any of you younger people who are watching, these are telephones. These are what we used to use before we used this.
Natalie: A rotary dial.
Jenny: A rotary dial, yes. And they have them in several colors here.
Misty: My grandma had a rotary phone at her house and I loved it when I was little.
Jenny: Oh I remember, Natalie, you bought a house that had a rotary phone in it and your kids were like, what is this?
Natalie: Ya it was the cutest thing. I wanted to leave it attached but when the phone guy came to put in our internet he said we had to take it down so that they could use that outlet.
Jenny: I remember they were shocked because they said, well how did you walk around? And you were like no, we just had a cord. We would wind up in the cord. It was a great thing. Anyway let me show you how to make this because it’s really easy and really fun. To make the Good Vibrations quilt you’re going to need one packet of ten inch squares. And we have used Between Friends by Shannon Christensen for Windham Fabrics. For your background, you’re going to need one roll of 1 ½ inch strips and 1 ½ yards of yardage. For your border you’re going to need 1 ¼ yards. And for your backing you will need five yards of fabric and we’ve used this cute telephone fabric. You’re also going to need the medium octagon template by Missouri Star. I’m using layer cake squares here, nice big ten inch squares and I have four stacked up right here. And the first thing I’m going to do is I’m going to cut an inch and a half strip off of both sides. So I’m going to cut one here. And then one more and just set these up here.
Natalie: Oh so it doesn’t have to be off both sides? You’re trying to get a certain size square for your middles.
Jenny: And then I’m turning this and doing it off both sides you see, off the top and sides.
Natalie: Oh I get it now.
Jenny: Ya. Ok so now we have this little square left and we’re going to plop this little guy right here.
Misty: Look at that.
Jenny: See how he fits on there.
Natalie: Oh perfect.
Jenny: So all we’re doing is cutting off the corners like this.
Natalie: How many layers do you have there?
Jenny: I just have four, just four.
Natalie: Four is pretty decent. That’s about
Misty: I’m impressed with your underarm cut. I couldn’t do that.
Jenny: Ya be careful when you cut. Be careful when you cut. You know, we just want to do that. Alright.
Natalie: I don’t have a rotating mat, I could if I wanted to but I just don’t usually get it out. And I have my cutting mat on the edge of my table so that I just rotate myself. I cut on this side and then I’ll scoot over and cut on this side. And it helps a lot with that, you know, that I’m not going under and over and feeling all funky.
Jenny: Alright, so I have four different middles here. And back here, you want to make sure you have one, two, three, four, five, by one, two, three, four, five, 25 squares are going to be your middles. The rest of the squares you’re just going to cut into strips, inch and a half strips. So what we did on these is I took these and on, there’s eight sides so on four of the sides I started with these strips right here and I just sewed them to the outside edge. And they’re all different and they’re all random and I have a bunch over here
Natalie: Did you do all that cutting ahead of time?
Jenny: I do, ya you can actually cut these in half and get two out of these. And so, you know, save all your little pieces because you’ll be able to get them. And so if you want to go ahead and sew, I’ll cut you a bunch of these. You can sew these on the edges.
Natalie: Alright.
Jenny: And I’m just going to cut a little bit off of here like that. We have some long ones, you’ve got some short ones. And don’t fuss about it too much because we’re going to square it up in the end. They’re going to be 12 ½ inch blocks and we’re going to use our big 12 ½ inch squaring ruler.
Misty: Awesome.
Jenny: Is it here?
Misty: Got it.
Natalie: So then these go
Jenny: I was like, do we have a squaring ruler
Natalie: On four corners?
Jenny: Ya so skip a corner in between. And just sew down. Ya go ahead and clip that thread.
Natalie: Is that buggin you?
Jenny: Well
Natalie: I think I’ll go this one next.
Jenny: Maybe a darker one. Now this whole look of this quilt will change. So I start first with my color. But if you start first with the white the whole look of this quilt is going to change. So don’t be afraid to play with that too because it’s just fun to see what happens with these. So rather than, I mean I just decided to use that template shape and grow out and it kind of gives a pineapple look. I’m calling it Good Vibrations.
Natalie: I think it looks like the speaker sound. Like if you imagine those big speakers how they animate a little bit.
Jenny: Totally. Alright so then your white strip is inch and a half honey bun just like this. I used those so then you don’t have to cut those up. And let me show you how I trimmed this because this will be important to you. So what I did is I’m using these straight lines along the sides to cut and so I’m just going to lay it on there, match it up here and just trim off these corners like this. And come around here like this. Again line it up on that inside square and then right here as well. And this is one where you want to make that nest because you’re cutting, you’re ironing, you’re pressing. And I’m going to trim off this selvedge right here so it doesn’t get in there. And then what I want you to do now is you’re going to put these here corner to corner. And you’re going to, what’s going to happen is those little middles are going to get kind of close right there but we’ll trim them off. So go ahead and start with that.
Natalie: Ok.
Jenny: Wait, let me see how wide this is so I can cut my, six.
Misty: I was just about to ask if there was a size you
Jenny: So I just kept my strip whole and just sewing along the side. But they’re a little over six. So I’m just going to cut her some for ease.
Natalie: And you go all four sides?
Jenny: Ya all four sides. You can go opposites if you want.
Natalie: Do you want me to overlap them or do they not connect?
Jenny: They don’t connect.
Natalie: Ok.
Jenny: Nope, they don’t connect. So you
Natalie: So then I push that back, right?
Jenny: You push that back and sew the next one on.
Natalie: Alright.
Jenny: And we’ll get a close look at that when we’re done with it and you bring it over here. Can you press that over for her?
Misty: Absolutely.
Jenny: Here’s the next one. You do have a scissor cut on this you know.
Natalie: Oh I’m not
Jenny: We all have different personal sewing machines so we get used to different habits.
Natalie: There we go. Sorry about that.
Jenny: One more, here you go. Now these are the closest corners on the whole block. So what’s she’s talking about is she sewed this one on but then you want to roll it back and you want to sew this one on and roll them back. So go ahead and press those out. And then we’re going to trim it again. So we trim it every round. And honestly no matter how hard I tried to keep this perfectly square I was really glad at the end of the day I could square it up with a 12 ½ inch ruler because for some reason it just didn’t love it. So then, on this row because there’s not really a big straight seam, what I did was I used my little ruler and I put it here, I put my seam on the 1 ¼ line because it’s a 1 ½ inch strip and we took a seam in it so it brings it down to 1 ¼. And so then we’re just going to trim this off like this. And I did it here. And I used the seam line a lot to keep it square.
Natalie: That will help keep it square. Or at least things to look like they were going in the right direction.
Jenny: Ya I mean it wasn’t like they were crazy off just a little off. Alright so next we’re going to do the same thing. We’re going to add four more pieces, so here’s, and wherever you add your color before, you want to make sure and add that color on the same side as the color. So color to color, white to white.
Natalie: So you want pinks lined up with pinks?
Jenny: No, no, no I just mean the color goes on the color, the print, Ya so print to print.
Natalie: I thought you were saying if you had a pink one to keep going with the pink.
Jenny: You can. It would make a really cool pattern. I wanted to scrap mine up. You guys know, I love scrappy. And so that’s just how I did it. Here’s the next one. And you’ll get all sizes of these as you’re cutting along. And I was actually when I first started I was very careful not to put the same patterns together. But it doesn’t matter. It doesn’t matter. You can’t even tell what block they belong to at the end of the day.
Natalie: I need this one.
Jenny: Ok. And then how about this blue? Am I blue? And we are actually going to go out with one, two, three rounds of this and then we’re going to put a white square on the corner, a white triangle on the corner.
Natalie: Alright, these are done.
Jenny: Alright. Press.
Misty: Press again.
Jenny: I know I was like, who wants to sew, who wants to press? There’s lots of both. There’s work for all of you.
Misty: We will do it.
Natalie: These are the fastest quilts though.
Jenny: Well there’s so little worry about it and that’s how I quilt. You know, I don’t like a bunch of fuss. And so again, here I am on the 1 ¼ or you have a line now to base it on and it ends up being a little bigger than that but it doesn’t matter either way. So we’re trimming it down. And I’m just using this line right here now to make my straight edge. And again on this side.
Misty: It’s so fast.
Jenny: Well and just easy. It’s one of those things where you don’t have to think. And sometimes we need a little project where you don’t really have to think
Natalie: Ya it’s a lot less stress.
Jenny: Yes it is.
Natalie: This would be a great one where you just kind of made a block every time you made a quilt with your scraps
Jenny: Oh like a leader and an ender.
Natalie: Ya something like that.
Jenny: Ya just go ahead and
Natalie: Flip is around.
Jenny: No I was going to have you just clip it and here we go. I’ve got four more for you. Alright. Here’s, oh there you go. We’re going to have one, two in the corner. I had to check to make sure. Do we have a third row of white? No, we’re ready for the corner.
Natalie: So after the print.
Misty: Ya one more print.
Jenny: One more print.
Natalie: Here you go.
Jenny: Alrighty, let’s press this out. I’m going to clip this little corner for you so it makes it easier. And then you’re going to need four of these. So let’s see, you’ve got, one, two, three, four.
Natalie: Perfect.
Jenny: And if you start on the end when you’re cutting those then we can save more pieces for the middle.
Natalie: For the smaller pieces?
Jenny: The smaller pieces, yep.
Natalie: Ok.
Jenny: Ya I really try to conserve my scraps. I’m not sure why, our scrap bins never go down.
Natalie: Yes, I think they multiply.
Jenny: They do. Alright, look how fun this is. Look how fun this looks.
Natalie: How fast it gets done.
Jenny: Alright so now you’re going to put those last corners on there. And make sure between your strips that you have some contrast, unless you plan it to do all the blues, all the pinks. I think this would be a really fascinating two color quilt, you know, where it’s just like wah, wah, wah, wah. That was my vibration noise.
Natalie: Good job.
Misty: I recognized it immediately.
Jenny: That’s right. Oh gosh. Ya because all these little pieces will work on the first round of another block.
Misty: I love that.
Jenny: And when I was doing, you know, when you got the hang of it, I would do the same side, like I do four blocks in a row, you know, and then do the next one. And one more darling.
Natalie: Alright, getting there. Make sure that wasn’t folded under.
Misty: I love blocks like this where you just kind of circle around a middle. It just comes together so quick. My brain likes it.
Jenny: Ya I like it too. Alright there you go.
Misty: With those little tails it twists.
Jenny: It doesn’t matter, we’re just going to cut them off.
Misty: I know, it just feels like I’m doing something wrong.
Natalie: Because it’s all funky.
Misty: Ya. There we go.
Jenny: Alrighty. Ok, so now what we’re going to do is we’re going to trim this last one off right here. Oop let me get my little ruler. I like the little ruler for this thing so much better. It’s just right there. So this is a perfectly good size for a first or second round on another block so don’t lose those. Alrighty. And now what we want to do, let me trim that just a little closer, is we’re going to put corners on the white sides. So these sides right here. So we’re going to use a six inch square and we’re going to cut it diagonally one time and you’ll get two sides out of each square. And then we’re just going to sew those on. And we are going to attach them out here on the white. So this has to go, let me get this right here where you can see it better. This has to go, you know, you can see your little dog ears are going to overlap just a little bit on either side but we’re going to square all of this up.
Natalie: Do you center it? Do you fold them in half?
Jenny: You can. So I centered them for a while and then I just started putting them on.
Natalie: So it was easy to eyeball it?
Jenny: Ya, because it’s just like you get used to how much it hangs off. Because it hangs off a little bit more than we’re used to but you know, it’s so forgiving because you square it up and so. You know, first I was like let’s use a five inch square and it fit on there so tight and I was like, I just need a little more room. So we went with a six.
Natalie: Perfect.
Jenny: Here’s another. And two more. I can fold the little middle.
Natalie: Oh you’re fine.
Jenny: Are you good?
Natalie: Yep, I’m good. You’re going to square it up anyway.
Jenny: I am so grab that ruler down there. I didn’t see it up here on the table and I was worried that I forgot to put it up here. There we go. And honestly, on my desk, these strips were everywhere and I’m just grabbing a different color and grabbing a different color.
Natalie: Dropped this one.
Jenny: Oh ok. And she’s back. There we go.
Natalie: Mine won’t scissor cut if the presser foot is up so I didn’t think it would work.
Jenny: Oh sometimes it comes unthreaded when you use that scissor cut. There we go. Alright, go ahead. Last corner. Alright now if you’ll press these back. We will lay it on here.
Misty: It’s so funny, looking at those triangles on there it’s like, how is this going to end up a square? I was trying to figure it out in my head.
Jenny: It’s true. So what I did on this was I tried to make it like right in the half and because it’s a half inch and I don’t do the math thing very well, I mean, I know it’s 6 ¼ but it was just a little difficult for me. So I started making sure these lines out here lined up with something so it was just about even on all four sides. And this one, you know, has a little bit showing here. And so then I just squared it up like this. And one more down here. There we go. And so I just kind of eyeballed it to make sure that it’s going to be 12 ½ inches. And then I want to show you something really interesting. So here’s your block, this is what you end up with.
Misty: So pretty.
Jenny: Isn’t that cute? I mean it’s just a darling little block and it comes together so fast and these telephones. I mean what a fun memory that was. Alright so what I want to point out up here is that not all of my blocks came out perfect. And because I kind of eyeballed them, they’re not all perfect. So like I want to point out here, so like this one right here, can you see this one hangs over a little bit on either side. And this one, some of them are a little bit off. This one got a little bit off here but because of the way it’s set together you’ll never notice.
Misty: I was going to say, I would have never seen it.
Jenny: You just, you would just never notice. And so it’s one of those things where for me once I got it, you know, I got them together, I was watching it but I was like, you know what, I’m ok with that. And so I wanted this to be a carefree easy block and I think that’s what we’ve got. And so we have one, two, three, four, five, again five across by five down. So 25 12 inch blocks. We have a nice big six inch border out here and I just love this floral, these bit cabbage roses. And then our backing back here.
Misty: Look at those phones.
Jenny: The telephones. And our quilting pattern is Sticky Buns. It’s just a great round, round, round all over pattern. And now it’s time for Natalie’s. And I think this one is going to knock your socks off.
Jenny: Natalie, I just love this.
Misty: It’s so clever.
Jenny: It’s so clever.
Natalie: I thought it was really cool. I saw a picture that looked like this. It had a very old antique quilt in the background. And when we were given this template idea I thought that’s perfect. That will work for that. And then you don’t have to piece in these little pieces. So mine is a quilt as you go, nine patch, well Quilt as you Go Octagon Nine Patch is what I called it but that is also what it is. So I thought that would be easy to find it later.
Jenny: You used the large?
Natalie: I used the large octagon template.
Jenny: Now you could do this with any of the templates, couldn’t you?
Natalie: Any size? Yes you would just have to make your nine patch in the middle smaller.
Jenny: Right and so that’s actually what I was thinking when I was doing mine is that you could start with the big or you could start with the tiny, the centers could all be different. And honestly I think it would work for yours as well. Make bigger blooms.
Misty: Yes, giant blooms. I love it.
Natalie: It would be cool to have a full size piece of fabric. To make the Quilt as you Go Octagon Nine Patch quilt, you’re going to need one package of ten inch squares. And we’ve used Happy Chance by Laura Hiney for Windham. For your backing you’ll need 3 ¾ yards. You’ll need some medium weight interfacing and you’ll also need the large octagon template from Missouri Star Quilt Company.
Natalie: The first thing we’re going to do, well I guess you could do it in either order. You need to do two things. You need to make your backing pieces. That’s the full octagon and I stitched that to an adhesive stabilizer which means it has little bumps on one side and is smooth on the other side. So you’re going to cut out identical pieces of your template with both fabrics. So we’ll start with our background fabric or backing. And I’m going to cut this into ten inch strips, not with scissors.
Misty: I guess you could try.
Natalie: I could try. But not going to happen. Alright so we’ve got 12
Jenny: Hand me those. We get so many tools on the table. There we go.
Natalie: It should be, yep.
Jenny: So ten inch strips.
Natalie: Alright. So we cut our background into ten inch strips. Backing, background it’s kind of the same thing
Jenny: On this one it really is because it’s quilt as you go.
Natalie: This one has a little bit of a, I could feel that there was something off in the middle and I didn’t want that to mess with it
Misty: Do you want me to press it?
Natalie: I don’t think we need to. I just wanted to straighten it out. Alright. So again, this is going to fit nicely top to bottom but we have a little wiggle room. And I’m going to scoot it more towards the fold because we have a large chunk of selvedge over here. And then just cut this guy out. And I kept my whole strip folded in half because then you get all four cuts at once without having to. Whoops, that one got a little off, sorry about that.
Jenny: It happens.
Natalie: Ya it probably wouldn’t have mattered.
Misty: Ya pretty forgiving.
Natalie: Alright. Same thing with your stabilizer. You’ll cut a ten inch strip and then cut it into, you know, octagons. Just the same as you do the fabric.
Jenny: I can’t even tell you how many times I’ve called them hexagons. No, octagon.
Natalie: Yes, we use that pretty frequently also. Alright and this is a pelon product. You can use any stabilizer that you have at home. We used 9-11F Fusible Featherweight. It’s the same thing I love for T-shirt quilts.
Jenny: Ya I was going to say, that’s the one from T-shirt quilting too.
Natalie: Ya. So if you have stuff at home leftover from a T-shirt quilt that would be perfect for this.
Jenny: This is so pretty.
Natalie: Alright so you’re going to put these together. The bumpy side is what we’re going to consider the right side because what we want is for that to flip and be up at the outside when we’re done. So right sides together lining up all of those. And I stitched, I just went end to end and I went off the edge every time. And I think that helped kind of keep everything pretty straight. So that as you line them up they’re, you’re not going to end up with one side that’s longer than the other. So go ahead and stitch the entire thing completely shut all the way around all the edges.
Jenny: I guess I don’t have to cut it at the end. I can just keep moving.
Natalie: No you don’t have to cut. You just want to make sure that your seams overlap. So you get a nice
Jenny: That seam wiggled a little bit. Will it matter?
Natalie: Probably not.
Jenny: I have a wiggle in there.
Natalie: Nope you just want your seams to overlap so that you can get a nice crisp corner.
Jenny: Alright.
Natalie: Ok, so now we’re going to pull this apart.
Jenny: Oh and you are going to need my scissors.
Natalie: And cut it. And do you have a paintbrush or a dowel rod over there?
Jenny: I do.
Natalie: Ok. Well I like the tip of my paintbrush because it’s smooth and so it’s not going to tear anything up.
Jenny: This is pretty smooth.
Natalie: That will work. Ok, so you’re just going to cut a nice big slit and if it rips when you’re flipping it’s fine, it doesn’t matter.
Jenny: You flip the bumpy to the outside.
Natalie: Yep, all the way out. We’re going to poke out those little corners and get those. Yep, I’ll get to that in a minute. I do it first with my fingers and then I go back through and make everything nice and sharp
Misty: So did you just sit and make all of your backgrounds like this?
Natalie: Ya, so they’re all ready to go and you’re not going to press anything at this point because you’ll glue your iron down.
Misty: Ya that would be bad news.
Natalie: To your fabric
Jenny: Don’t tell you how she knows that.
Natalie: Just poke them out. If you want to run it along the seam that helps to kind of push it out so it’s really nice and flat.
Jenny: And you’re finger pressing a little bit?
Natalie: A little bit, ya. But it just keeps everything nice and sharp so that when you’re ready to add your nine patch, these are all ready to go.
Misty: Looks great.
Natalie: Alright so you are going to make a big pile, I think we have one, two, three, four, five, six, seven, by seven. Is that right? One, two, three, four, five, six, seven, yes. So make about 49 of them. That will be what you need.
Jenny: And the quilt ends up being about 46 by 46, pretty good size.
Natalie: Yes because these end up being a 6 ½ inch block when finished. And that’s where we’re coming to next is our nine patch. So I took my entire ten inch square pack and I cut them into 2 ½ inch strips. So not scissors. Keep them around though, we might need them. Yes, so I just cut this into 2 ½ inch strips. And then we’re going to sew these strips together in sets of three.
Jenny: Oh and that’s what’s going to scrap them all up.
Misty: Do you do dark, light or totally scrappy?
Natalie: I did but I didn’t. So you just want to make sure, I’ve got a bunch leftover from my other set so you don’t have to use those exact same ones. I did pull this piece out because I didn’t want it to end up disappearing. So I just didn’t use that one.
Misty: That makes sense.
Jenny: So I have these two? And what other colors?
Natalie: How about the gray?
Jenny: That would be perfect. And sets of three. Did you worry about the light being in the middle or
Natalie: I did not. I did mine completely scrappy and at the end I’ll show you kind of what it might have looked like if I had done a light, dark. Because I thought about that as I was going along too is how would this look and how would that look? There’s a bunch of different ways that this could go together. And I also will say I had quite a few strips leftover, I think I probably could have made the quilt bigger but I’m not sure if I would have had enough to go on both sides. I don’t know if I would have ended up, you know, it was just enough that I kind of thought I might be able to go bigger but also not quite enough variety by the time I got to that point. So ok, so then what we’re going to do is cut these in the opposite direction again into 2 ½ inch sets.
Jenny: And then sew those together.
Natalie: And then sew them back together. So for this one, I have this variety, if we can put that in the middle unless you want to sew a whole other three strip set. But I think that’s probably unnecessary at this point because you get the idea and I’ve got a bunch of random nine patches made that I think will give us a good starting place. I need at least one more of these if you don’t mind.
Jenny: Ok so the ones you sewed your quarter of an inch is bigger than mine
Natalie: Yes, that’s ok though, that’s ok because those edges don’t actually show up. So if your nine patch isn’t exactly square or isn’t, you know, if all the edges aren’t super lined up or it doesn’t measure 6 ½ perfectly it’s going to be fine. All of these edges on the outside are going to be tucked inside this little section when we fold those sides in so it doesn’t have to be perfect.
Jenny: Oh ok.
Natalie: So will you go ahead and stitch this one also because I want to show putting the two of them together. Alright so one of the things that will really help when you’re getting ready to place these nine patches and sew all your pieces together is marking that square. So you can see on here that we have these lines that will show you, why is this so hard suddenly? Ok, here we go. So it shows you where the square should go. And I’m using the one where the lines go into the corners here because then I have this pointed side that flips into the square. Does that make sense?
Misty: Yes.
Natalie: So what you’re going to do is, and this I’m just showing it for reference. So we’re going to draw a line. And I found that I didn’t need to draw the entire square. I just draw one side on every piece. And then, do you have a pencil back there, Mom?
Jenny: I do. Here you go.
Natalie: A pen will work too. It’s all on the inside so it doesn’t really matter. So I just did a straight line here and a straight line across here.
Misty: Kind of make an L.
Natalie: Yes. And then as you’re lining them up, when you get ready to sew you’ll put those two pieces together and you’ll sew on the drawn line on one side. The other side will be blank. You don’t need it because you can’t see it anyway. But when you open that back up you’ll still have your side to keep going as you go. So pick a side and just do the top and bottom and it works the same when you’re sewing your long rows together, you have all the lines drawn on one side. So it works really, really well.
Jenny: Alright, I’ve got this one ready for you.
Natalie: Ok, great. I’m going to go ahead and draw the line on this one, same thing. Just pick your side.
Misty: So you’re wanting that point to stick out.
Natalie: Yep, you want this point and then this point here. And I always keep it square by making sure that line stays square and then these ones line up here. Does that make sense?
Misty: Yes, absolutely.
Natalie: Ok, so now what we’re going to do is place our nine patches, and you just pick whichever ones you want. And I did not press these before, I pressed them a little. So this is going to be how they’re going to look.But what you’re going to do before you do this is start stitching all these rows together. And I stitched it in rows this way. So you’re going to put all of your background pieces together in a long row before you add your nine patches. So these get lined up just like this. And because I drew the line on one side you’re going to stitch on this side. And then when you go to add another one you’ll be able to see that stitch line on that side. So it’s just a little assembly trick that makes it easier to go ahead and sew along as you go. But I think we can get the idea with just a couple. Alright so at this point you’re not going to sew the long row together. We’re going to go ahead and put our nine patches in.
Jenny: But if you were making a quilt you would just put your things and sew the whole long row?
Natalie: Yep. And then once you’ve got that going what we’re going to do is place our nine patches and then we’re going to carefully using a pressing cloth, press down these center folds.
Jenny: Do you want to, if this is the top of the quilt, do you want to go ahead and fold these down too?
Natalie: You can as long as it is the top of the quilt. If you’re just doing your rows you’re just going to do the middles and the end, you can fold your end in. What you want to happen is you want to have this whole row ready to go and then you’re going to stitch this whole row to the next row. So you’re going to do all your insides first and then I did my middles of my rows in between and then I did all the outside edges at the end. So if you want to press that down. And we can use this scrap here as a pressing cloth. So basically the way that the pressing cloth works is you put it over the edge. So for here we put it over this edge and then Misty can get up there and press that nine patch
Jenny: Except you don’t want it to adhere to the fabric.
Natalie: It won’t adhere super hard. You can take it right off.
Misty: Oh ya, it rips right off.
Jenny: Oh ok.
Natalie: And then if any adhesive gets on here you’re going to throw that pressing cloth away and it’s not going to be a big deal.
Jenny: I just worry all the adhesive will be gone.
Natalie: So it doesn’t go away that quick. But then you can press it enough that you’ll get adhesion here. You just do the best you can.
Misty: Do you want me to press that side too or does it matter?
Natalie: Um, what side?
Misty: Just these sides of the nine patches.
Natalie: No. They just have to be in enough that you can put your top stitching here. And you can use any stitch you want. It’s just a finishing top stitch. You could do a zig zag or a straight seam. I used the feather stitch because I think it looks really cool to have it go on both sides. And then you’ll notice if you get in close you can see how we have these ones here and then the long row flips over and it folds out on these sides. So I think it looks really clean that way. I like it.
Jenny: Very good, very good.
Natalie: So I mean that’s basically it. There’s not a whole lot left.
Misty: So awesome Nat
Natalie: But I do want to show you, so I really wanted to know how it would look in two colors and so I made a few strip sets. I just used a white and a red. And I did both, you know, two reds on one side and two whites on this one
Jenny: Which is honestly how we normally make a nine patch, off of lights and darks, you know.
Natalie: Right. And so this one is really cute because it has the white in this corner and then this one is the opposite. And so you can see how it will kind of make different looking patterns. This one kind of looks more like a short stubby star and then this one has the more periwinkle corners. So there’s a lot of options for this
Jenny: Well and if you change this out, like if you fussy cut something out
Natalie: Ya well I’m thinking let’s see what it looks like with a pinwheel in the middle
Jenny: Or using denim on the background.
Natalie: Oh ya denim would be great. That’s definitely something on my list. You know I love a good denim quilt. A good raw edge. I wouldn’t stabilize my denim. I would definitely do this one raw edge
Jenny: Ya it’s really, really cute. Great idea.
Natalie: So that’s basically it. It’s that simple and then your quilt is done. I will also say I did not put any batting in this but because there’s stabilizer added it gives it a really nice weight. It doesn’t feel super heavy.
Jenny: Let’s look at the back.
Natalie: You can’t see a whole lot on the back because it blends in really well
Jenny: But you can see the squares, you know.
Natalie: And I will also say on this quilt, the fabric is kind of purple but there’s also a lot of red accents and I went with a color that’s kind of maroon. And it just blended in really well. So you just kind of want to get some top stitching thread, if you don’t want it to show, that blends with your background because it’s not going to show up as much on the nine patch as it will on the background. And whatever fabric you’re using
Jenny: I just lay threads across it and kind of see what disappears.
Natalie: Yep, and if you want the opposite obviously go bold. Go for contrast. So anyway, that, so it ended up you said 46 by 46?
Jenny: Yep.
Natalie: So it’s kind of a little baby quilt. I think you could very easily make it bigger
Misty: Just keep going, right?
Natalie: Just add another layer cake and keep on going until you’re content with it.
Jenny: Well I think we’ve come up with three great ideas
Jenny: Well girls, I think we really rocked the octagon template.I think we did a great job. We love this one, we love this one, we love this one. We hope you guys enjoyed this Triple Play on the Octagon template from the Missouri Star Quilt Company.
Jenny: Hi everybody, it’s Jenny from the Missouri Star Quilt Company. And I am here with Natalie and with Misty and we hope you enjoyed watching our latest Triple Play. You can find us together on the third Friday of each month as we hit another tutorial out of the park. If you aren’t already part of the Missouri Star Quilt Company family be sure to subscribe and click that bell to be notified each time we release a new video. See you next time.



