

Triple Play: 3 NEW Periwinkle Quilts with Jenny Doan of Missouri Star
 Jenny Doan
- Layer Cake
- Modern
- Double
- Beginner
- Quilt size 68" × 80"
Triple Play is a favorite tradition here at Missouri Star. Once a month, Jenny, Misty, and Natalie each demonstrate their own, unique spin on a favorite block, technique, or template. In this episode, the talented Doan ladies show off three fabulous new quilts made with the Periwinkle / Wacky Web Template.
Instructor
Jenny Doan
Jenny Doan is an American quilter, author, and YouTube personality. Jenny started Missouri Star Quilt Company in 2008 and today it is the largest quilting supply vendor in the United States.
Shop this tutorial
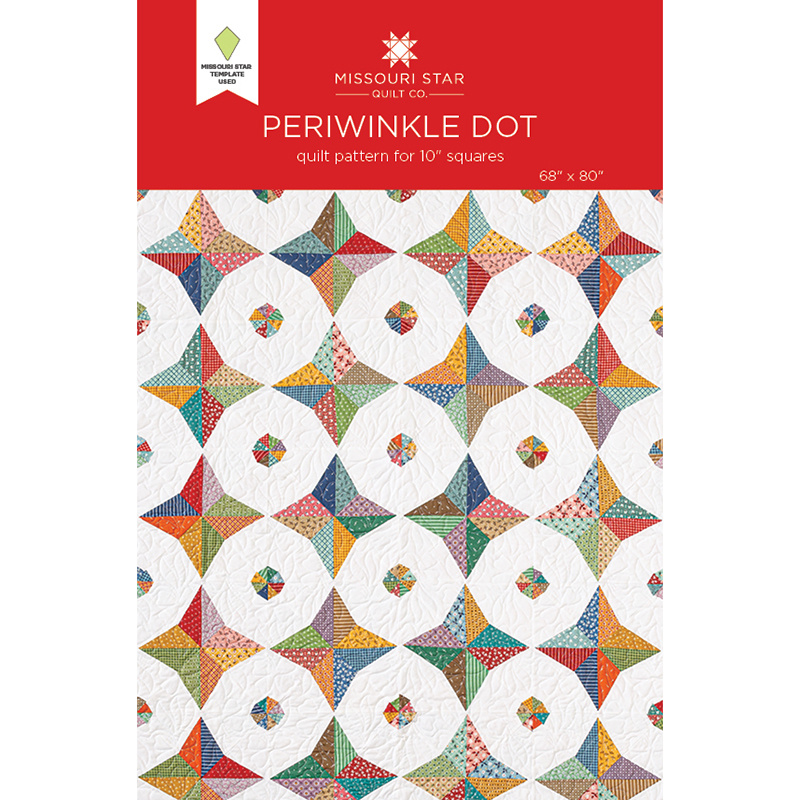 Periwinkle Dot Quilt Pattern by Missouri Star$6.95Shop →
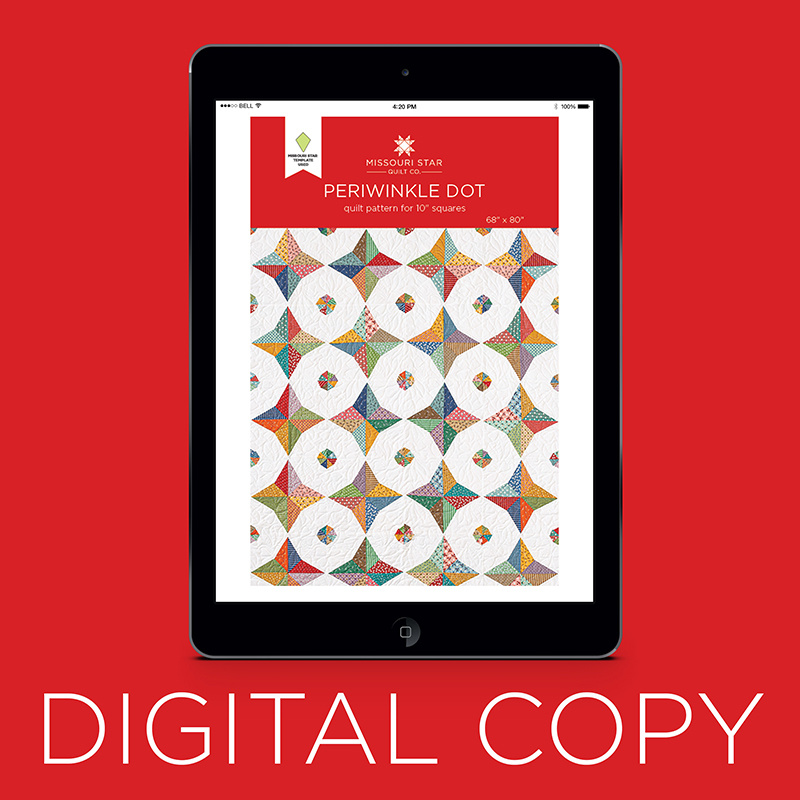 Digital Download - Periwinkle Dot Quilt Pattern by Missouri Star$4.95Shop →
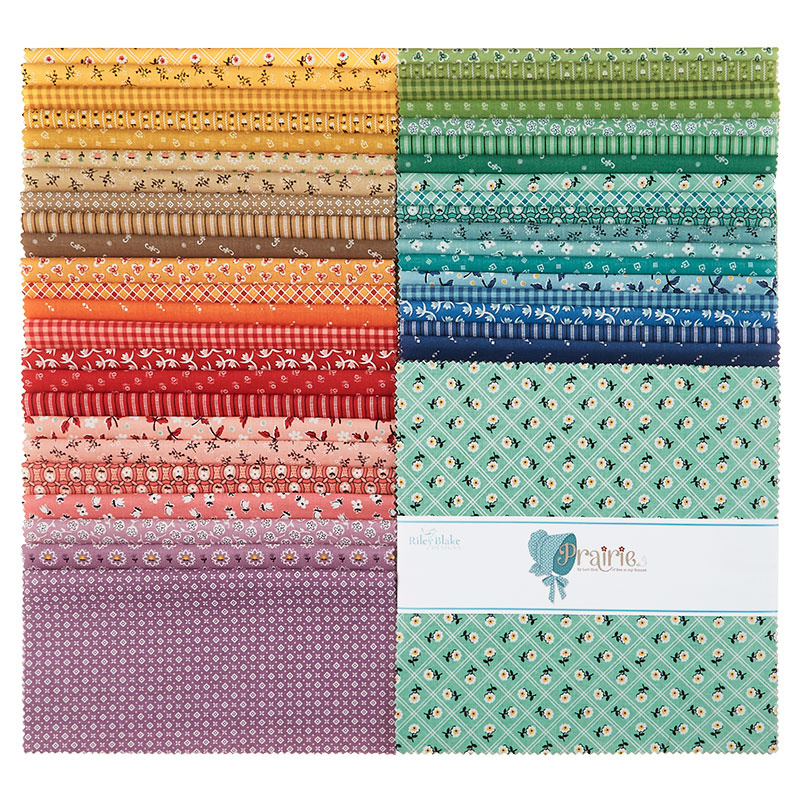 Prairie 10" Stackers$39.95Shop →
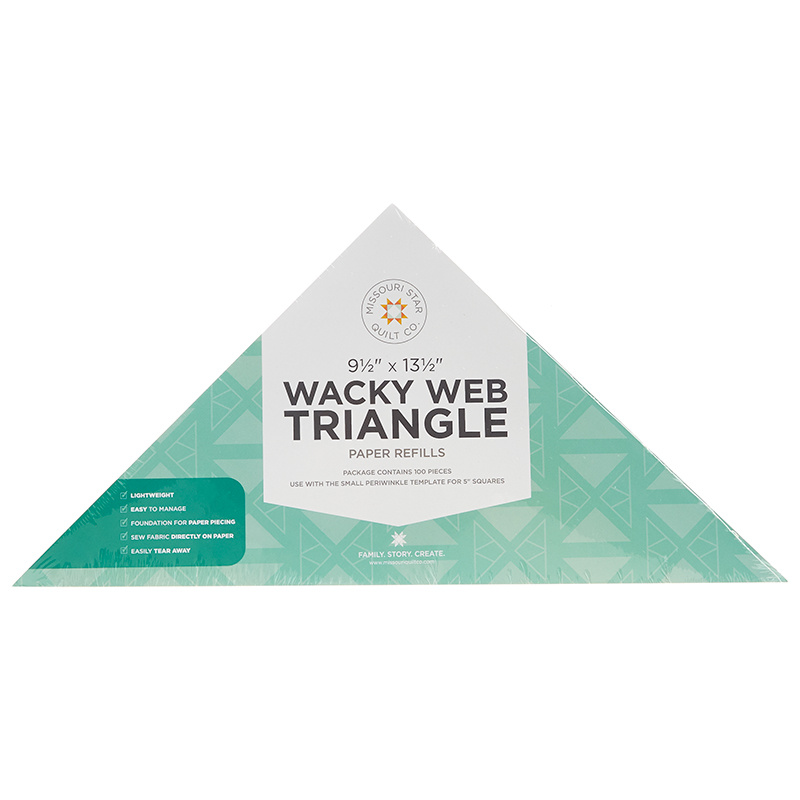 Wacky Web Triangle Paper Refills 9 1/2" x 13 1/2"$9.95Shop →
 Confetti Cottons - Crayola Solid Color Riley White Yardage$7.76Shop →
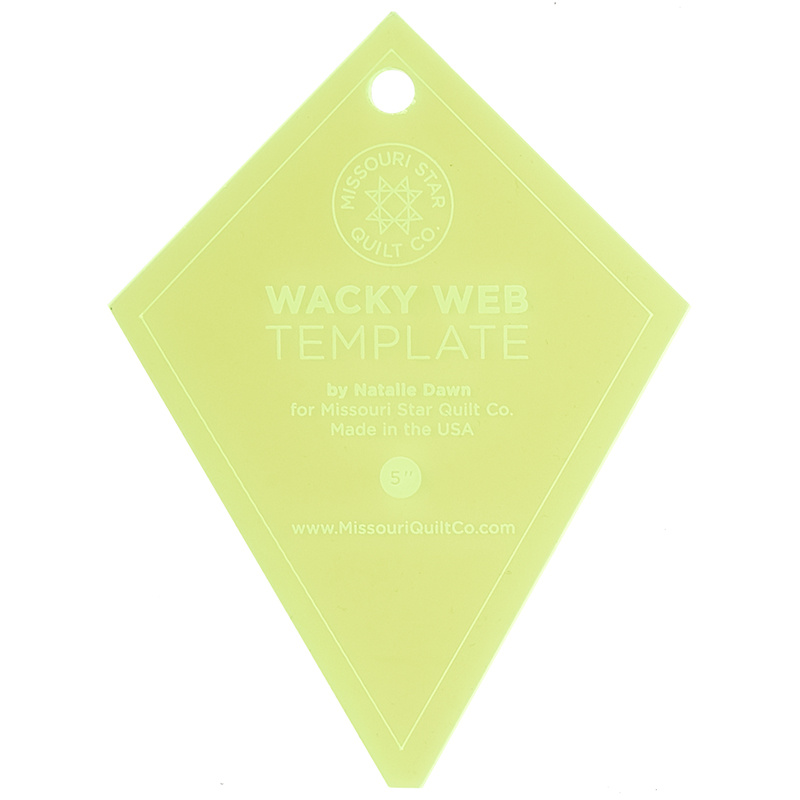 Missouri Star Small Periwinkle (Wacky Web) Template for 5" Charm Packs$7.95Shop →
 Water Soluble Glue Pen$7.75Shop →
 Prairie - Keepsake Red Yardage$11.96Shop →
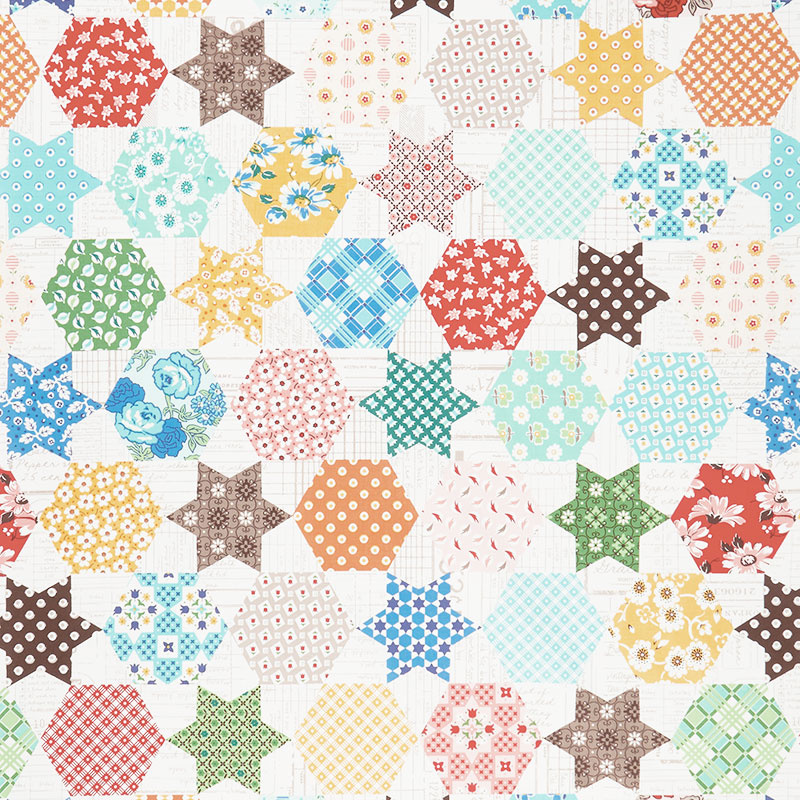 Flea Market - Cheater Multi Yardage$11.96Shop →
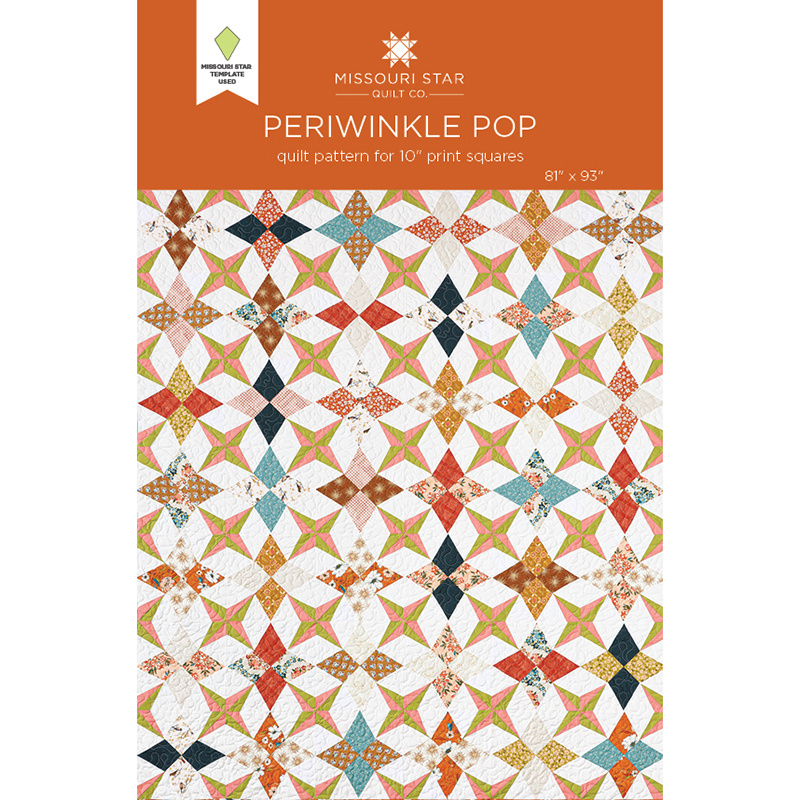 Periwinkle Pop Quilt Pattern by Missouri Star$6.95Shop →
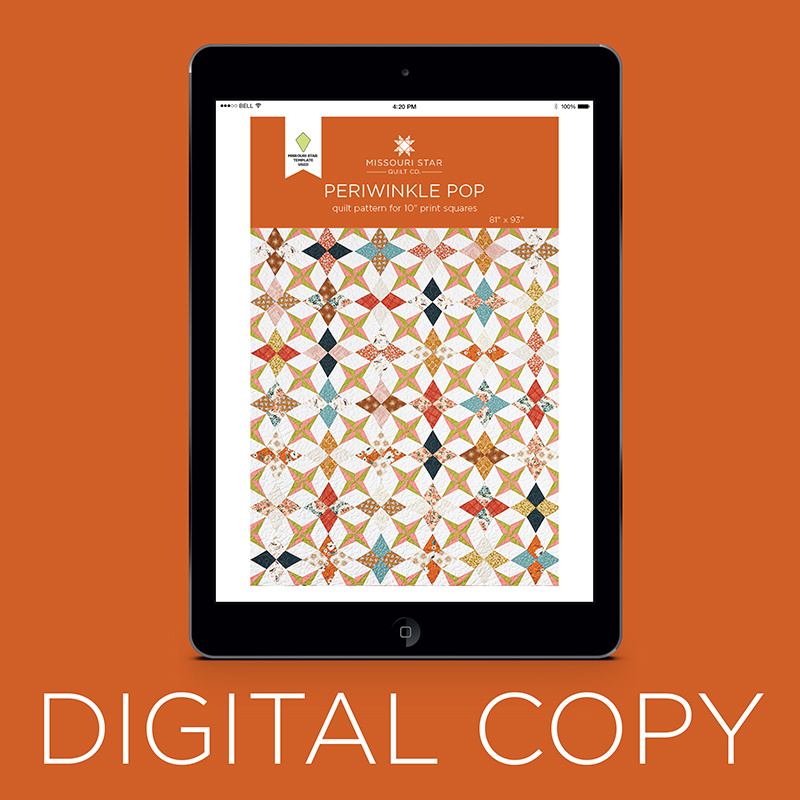 Digital Download - Periwinkle Pop Quilt Pattern by Missouri Star$4.95Shop →
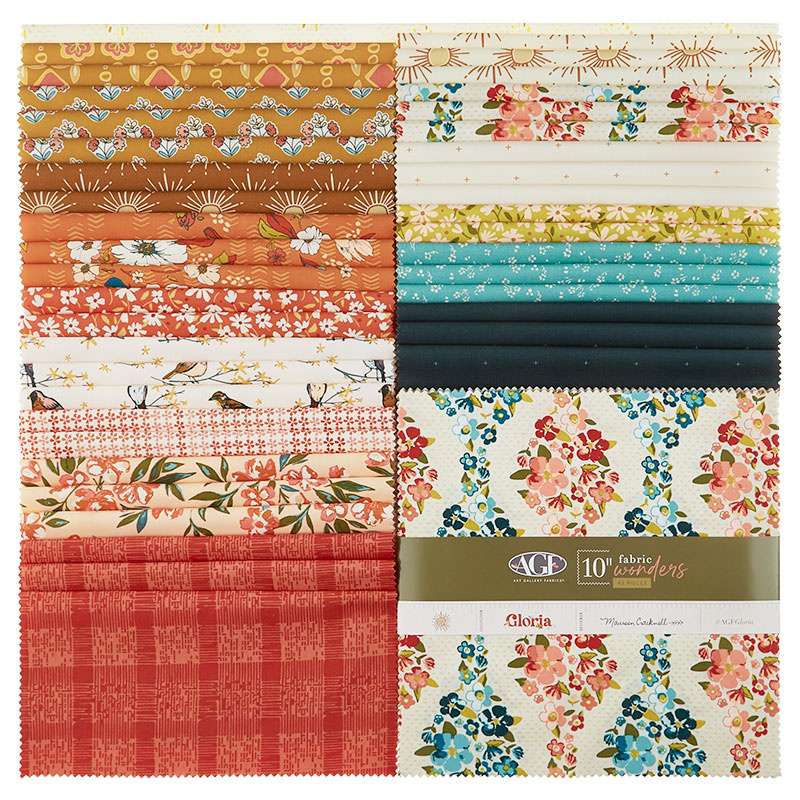 Gloria 10" Squares$49.00Shop →
 Kona Cotton - White Yardage$7.28Shop →
 Kona Cotton - Salmon Yardage$7.28Shop →
 Kona Cotton - Cactus Yardage$7.28Shop →
 Gloria - Handstitched Teal Yardage$12.44Shop →
 Gloria - Olden Bouquets Rust Yardage$12.44Shop →
- Wacky Web Triangle Paper Refills 9 1/2" x 13 1/2"$9.95Shop →
- Missouri Star Small Periwinkle (Wacky Web) Template for 5" Charm Packs$7.95Shop →
- Water Soluble Glue Pen$7.75Shop →
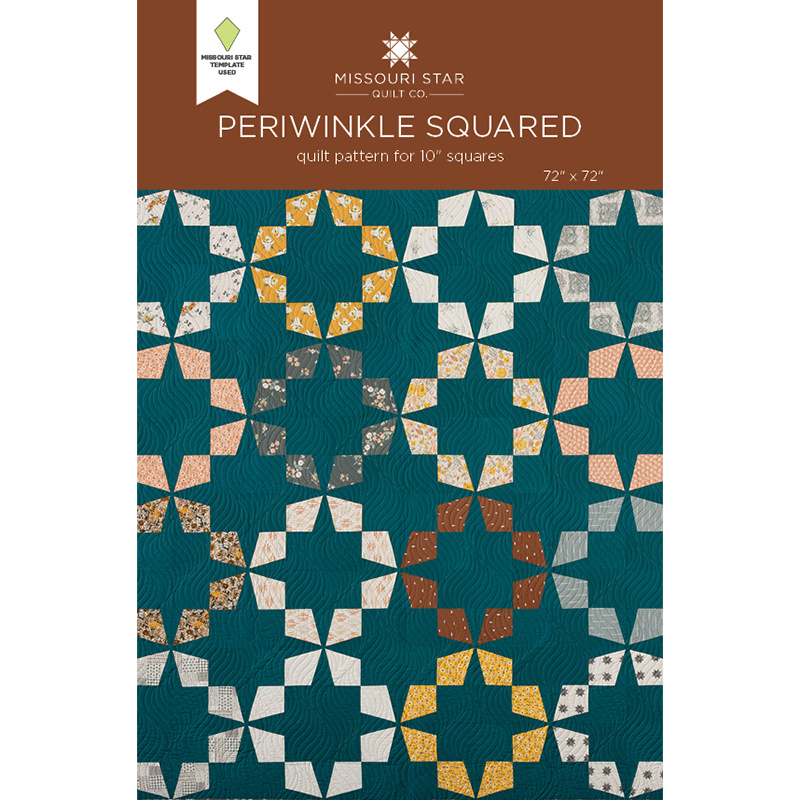 Periwinkle Squared Quilt Pattern by Missouri Star$6.95Shop →
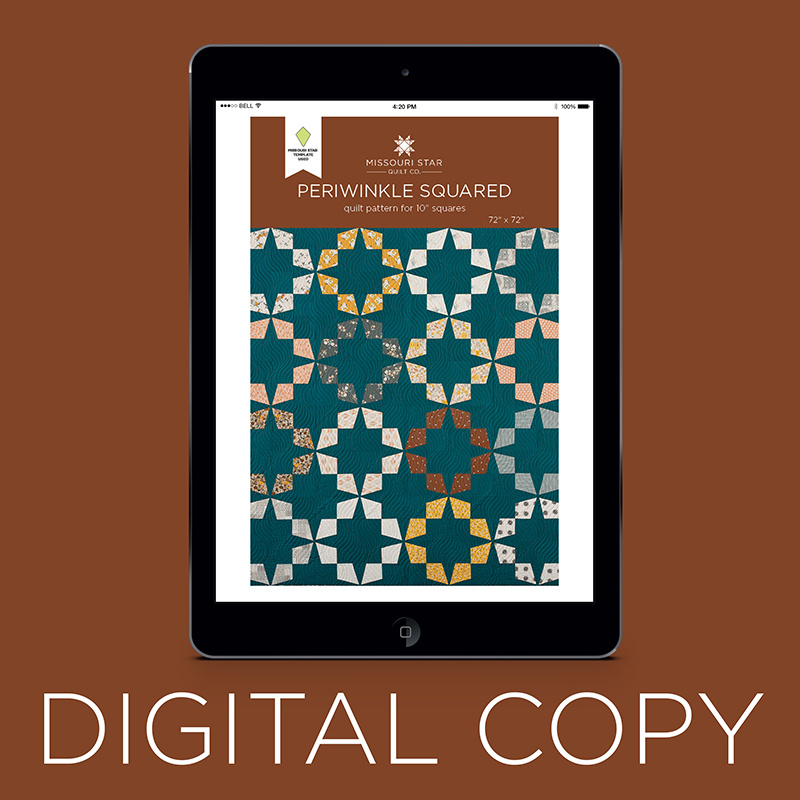 Digital Download - Periwinkle Squared Quilt Pattern by Missouri Star$4.95Shop →
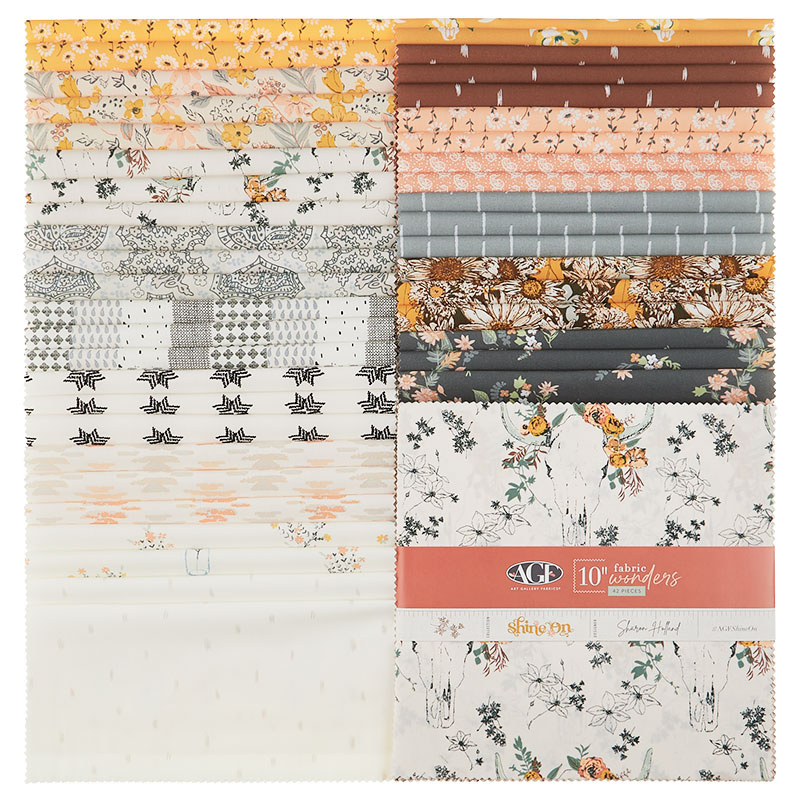 Shine On 10" Squares$49.00Shop →
 Kona Cotton - Everglade Yardage$7.28Shop →
 Missouri Star 10" Paper Piecing Squares$8.95Shop →
- Missouri Star Small Periwinkle (Wacky Web) Template for 5" Charm Packs$7.95Shop →
- Water Soluble Glue Pen$7.75Shop →
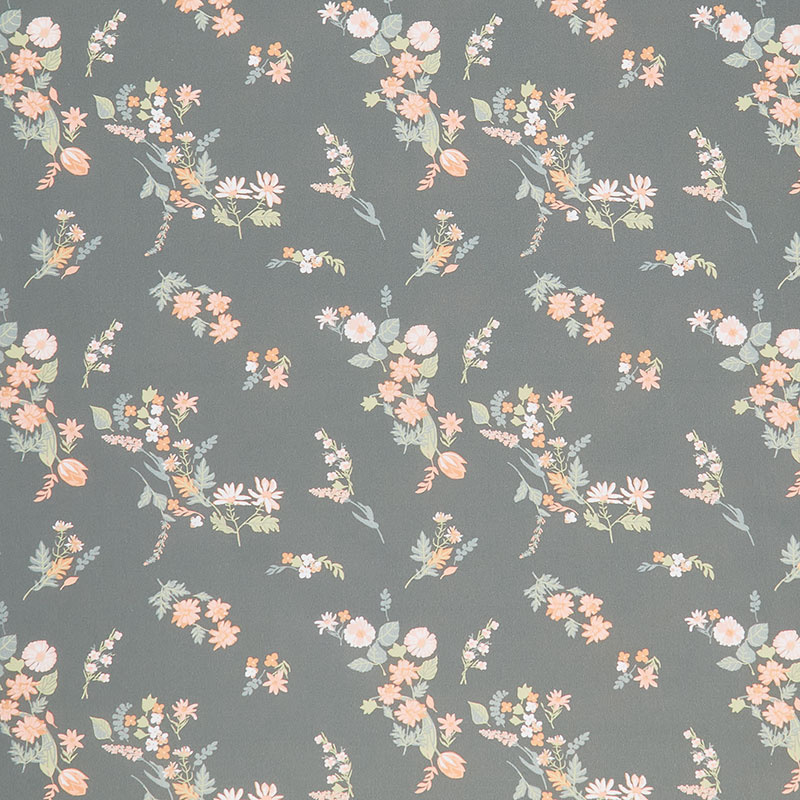 Shine On - Intrinsic Soft Yardage$12.44Shop →
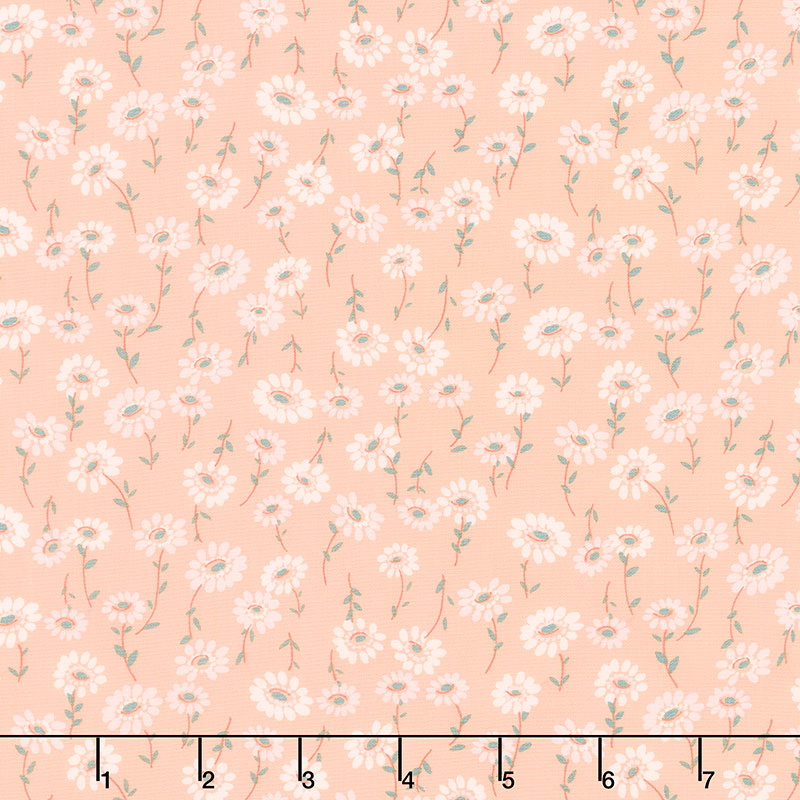 Shine On - Off the Path Quartz Pink Yardage$12.44Shop →
Common Questions
What is covered in Triple Play: 3 NEW Periwinkle Quilts with Jenny Doan of Missouri Star?
Triple Play is a favorite tradition here at Missouri Star. Once a month, Jenny, Misty, and Natalie each demonstrate their own, unique spin on a favorite block, technique, or template. In this episode, the talented Doan ladies show off three fabulous new quilts made with the Pe...
How long is the tutorial video?
The tutorial video is 00:38:34.
Are supplies listed for this tutorial?
Yes. The tutorial page includes the supplies and materials connected to this project.
Is a transcript available?
Yes. A written transcript is available on the tutorial page.
Video Transcript
Hi everybody, it's Jenny from the Missouri Star Quilt Company, and I'm here with Misty and with Natalie.
Natalie:
Hi.
Jenny:
Today is our triple play and we are talking about the Periwinkle today or the Wacky Web. It has a couple of names, but that's what we're focusing on today. This is my quilt back here.
Misty:
It's so fun.
Natalie:
It's so cute.
Jenny:
Isn't it cute?
Natalie:
I love it.
Jenny:
We've done several different ideas with the Periwinkle and you always think, what are we going to come up with, how's it going to work? Then bam, we come up with a new idea. So I just think it's fun. I can't wait to show you how to do it. So to make this quilt, you're going to need one packet of 10 inch squares, and we have used Prairie by Lori Holt for Riley Blake. You're going to need some background. We use this white right here. You're going to need three and a half yards of that. This is our outer border, and the outer border is one and a quarter yards, and it's a nice big six inch border. This backing, I love this backing. It's a cheater cloth. You're going to need five yards. Let's take a good look at it because it's absolutely adorable.
Misty:
It's so pretty.
Natalie:
It's so beautiful.
Jenny:
Isn't that adorable?
Natalie:
I love it.
Misty:
I love it.
Jenny:
The quilting pattern on this is fancy clover, and it just makes a little clover leaf, and I just thought it looked really cute with the prairie pattern. You're going to need a Wacky Web template. You're going to need the Wacky Web triangle paper refills, and this is the template for the five-inch squares. You're going to need a glue stick, optional, but I like to use it, and then it's going to make a quilt that is 68 by 80. So it's a good size quilt and fun to make.
So, this is one of those projects that looks like you worked really hard and while you need to know how to do it, it's not difficult. It's one of those things, kind of fun. It makes you feel like you're a really creative project, and when anytime you involve a glue stick, well, you know you're over the line with creativity.
Misty:
Exactly.
Jenny:
Just over the line. All right.
Natalie:
Silly.
Jenny:
So, I have some things going on here that I'll explain as we go along. This is the block that we're talking about right here. This is our Periwinkle block. It comes together in fourths like this. We're going to make four of these to make one of those, and so let me show you how we do this. The first thing we're going to do, Misty, I'm going to need you to sew.
Misty:
Okay.
Jenny:
We're going to take two contrasting 10-inch squares. We're going to put them right sides together, and I want you to sew just right down the side, this side and that side.
Misty:
Opposite sides.
Jenny:
Yep, opposite sides. We're going to sew down that. Need to make sure I have my ruler handy. I can put these aside for now. So out of every block that we sew, you're going to get your border piece here and you're going to get four of the middle Periwinkles, and so I'll show you how that works. Misty, your nails are so cute with the little hearts on them.
Misty:
Oh, thank you.
Jenny:
All right. So, now what I'm going to do is, I'm going to turn this and I'm going to cut three inches off the top right here, just like this. Then I'm going to put this on the edge, and I'm going to cut this right in half, just like this. Now these two pieces up here, these are going to form later on, our border right here, and so we're going to set these aside in a pile. These two pieces right here, I want you to sew on the inside line as well now. So we're sewing both sides of that rectangle.
Misty:
There's that one.
Jenny:
Alrighty, and we're going to do this to both. So you're going to get two Wacky Webs out of this piece right here. So, what I'm going to do is, I'm going to lay the points of my Wacky Web, this point and this point down here on my stitch line, and I'm going to come slide it right to the bottom. So the point is on the stitch line, and this point is also on the stitch line. I'm going to cut this like this and just barely, be careful cutting, don't cut too far off the edge. So then, we'll move this out. I'm going to flip this around and I'm going to do the same thing here. Now, I'm going to come up to the top and I'm going to put my point on both seam lines.
Natalie:
That's very cool.
Misty:
That is so clever
Jenny:
Like this, and then what we get, because most of our Periwinkle quilts have been one color, and now what we get is two pieces right together.
Natalie:
That's awesome. I love it.
Jenny:
So you'll do this for both those...
Natalie:
Can I press those?
Jenny:
Yes. You'll do this for both sides. So I will go ahead and cut these out and on one... Just don't cut in too far or you'll you lose your cutting area on the other, and so then this one, and because you're right on this, putting your points on the line, you can get two of these out of here. Don't throw away these little triangles because we use those too.
Misty:
Love that.
Natalie:
You do?
Jenny:
We do. It's going to be a surprise.
Natalie:
Okay.
Jenny:
All right, here's two more to iron.
Natalie:
All right.
Jenny:
Okay. So then what we're going to do is we are going to take our paper, our Wacky Web paper, and it comes in a thing like this. It's basically a 13 and a half inch square cut in half diagonally, so if you have your own paper, feel free to use it. You know what I used to do? I used to go to McDonald's and say, "could I have my hamburger wrapped in 14 papers?" They'd be like, "Ah, this woman's really OCD," but really those make that thickness of paper...
Misty:
The material, yeah.
Jenny:
...makes a great one. Now we have it for everybody, but at that time we would use phone books, which a lot of you probably don't even know. You guys know what a phone book is, but younger people. I mean, you're not that, you're not younger. They are definitely younger than me.
Natalie:
Thanks mum.
Misty:
Thank you.
Jenny:
Anyway, we're going to put this on our paper. What the paper does is it keeps everything together. It just keeps everything lined up.
Misty:
Stabilizes it a bit.
Natalie:
It gives you a pattern for cutting.
Jenny:
Yes. So this is going to be stuck on here like this, and then what we're going to do is we're going to cut a four and a half inch strip of background fabric and sub cut those into four and a half by five and a half. I believe it's five and a half. Yes, it is. So what we're going to do is, I'm going to lay this right on this seam right here, and we're going to sew one piece on here, iron it back and sew one on the other. So, I'm going to let you do that. I'm going to go ahead and put this one on here.
Misty:
Now, do you press, press or just finger press before you...
Jenny:
Either way.
Misty:
...add the other
Jenny:
So here's the other one.
Natalie:
I usually finger press the two.
Misty:
Me too.
Natalie:
I just want to get both sides on.
Jenny:
I usually finger press as well.
Misty:
Oh, we put it on the wrong way.
Jenny:
Nope, that's right.
Misty:
That's right? Oh, okay.
Jenny:
It's a surprise.
Natalie:
You have to wait and see, Misty.
Misty:
You're right, you're right. It's a surprise. I was worried.
Jenny:
All right. Oh, this did not glue on there. It must have dried before I got my fabric on there. I mean my, yeah, my fabric.
Misty:
Here we go.
Jenny:
All right, and I'll let you sew another one while we're doing this.
Natalie:
An I'll press those.
Jenny:
So Natalie, give that a good press.
Natalie:
Okay.
Jenny:
Then you're going to come over to your stack of all these little triangles that we cut off, and you're going to grab two triangles like this. We are going to put these to cover up those little ends. So you just want to make sure that your fabric is different. I liked mine to be different then this. When you sew these triangles on, you just want to bend it over and make sure it's going to actually cover the paper, because some of them, they might have a little bit different angle and it might be off a little bit, but you want to cover that end triangle, and because we're using pieces that are precut, this line right here where Misty said, "that's too short," that's the line we use to measure so that they all come out pretty close.
Misty:
It came unthreaded.
Jenny:
Oh dear.
Misty:
Just a moment.
Jenny:
That happens a lot to me. This is the cutting diagram that I made. It's very primitive looking, but these are the sew lines. Then you cut and cut and sew again your little triangles, put your two little template pieces on there. You can put that down there. Now you might see I have these papers up here. We no longer make these. We've gone to the solid color. So when you get your papers, if it doesn't look like the ones that you see on my table, don't worry about that.
Misty:
Do we have another one?
Jenny:
Same thing. Yes, we do.
Misty:
All right.
Jenny:
So again, we're just going to put this on here like this. Fold it back to make sure it's going to cover it.
Misty:
Stitch it down.
Jenny:
And stitch it down.
Misty:
Thank you.
Natalie:
Nice.
Jenny:
And then I will give you a couple more pieces for this one. I don't even worry about cutting this little piece off right here. Then I'm going to let you sew these on. Natalie, you can press that back.
Natalie:
Okay,
Jenny:
So, now this is actually one of the coolest parts of this block to me because we're going to flip it over and we're going to trim it up. We're going to use the paper as our pattern, and so we're going to line up our ruler just with the paper, like this. Then, we're going to trim the sides and the bottom to make sure that it's exact and this just gives you this nice clean block. Looks like you worked so hard.
Misty:
Well, it's so satisfying when it goes from being so wonky, looking to nice and clean.
Jenny:
All right, so here's this piece right here.
Misty:
Look at that.
Natalie:
Trimming up is one of my favorites.
Misty:
Me too.
Jenny:
It has become mine as well. I wouldn't say it was always so, but it has become one of my favorites as well because it's just so satisfying.
Misty:
It is.
Natalie:
Yeah.
Jenny:
So generally what I do is I'll sew a whole stack of these and then I trim all at once, trim a bunch at once and then start sewing them together. All right. So then once you get four of these done, we are ready to put them together, and I should have four of these here with these. We are ready to put these together now. So, I go ahead and sew these together before I take the papers off. Now, if you don't want two that are the same, make a whole stack and put something else in there. Let me see, what do I have here? Ones that are started, that I could finish. Nah, I'm okay to show you with this way. So, because you cut them up...
Natalie:
Let's swap these two because these pairing...
Jenny:
Were the same.
Natalie:
... are the same.
Jenny:
Oh, oh, oh, yes, yes. So look at your colors in here. Look at your edges out here to make sure they're different. These little edges are going to make these tiny little dots out here. Now, because they are sewn on an angle, they're not going to come out perfectly straight, which also was okay with me.
Misty:
I like that it's wonky. It's really cute.
Natalie:
But also when you look at it from a few feet back, it looks completely circular.
Misty:
Exactly.
Jenny:
So if you will sew these together, you can match this center part up here and then match this where the white comes here. Make sure those line up.
Misty:
Okay, I will do my best.
Jenny:
Then this lines up as well, and just sew straight down that side. I actually make these into blocks and then I...
Natalie:
You take your papers off at that point?
Jenny:
At that point. Once I have the block together, I take my papers off. So, I'll do a whole bunch of blocks and then take a lot of the paper off, and taking the paper off is also very satisfying.
Natalie:
I always take mine off at the triangle stage.
Jenny:
Oh, do you? Well, that's different strokes for different folks.
Natalie:
Yeah.
Jenny:
All right, here's this.
Misty:
We did all right.
Jenny:
We did great.
Natalie:
Doesn't matter at all.
Jenny:
Press that out.
Natalie:
Wait, I'm going to start up here in the middle. Am I sewing it on the right side?
Jenny:
We don't know.
Misty:
Okay.
Jenny:
We hope so. We're crossing our fingers.
Misty:
It's just fine.
Jenny:
If when we get it done and it's not exactly right, don't take it apart. Just make two more, more and put it together. Save them for the next one.
Misty:
All right. Keep it lined up as best I can.
Jenny:
If the paper is hard for your sewing machine, if it makes it so it doesn't hold on together very well, you can go ahead and take the paper off before you sew. That would be fine. It's such thin paper that it comes off super easily.
Misty:
It does.
Natalie:
It does.
Jenny:
All right, now what I'm looking for when I put these two together is, I'm looking to make sure these are different and these are different.
Misty:
We did it.
Jenny:
We're going to just put this together. This is two layers of fabric up here, so go ahead and make sure that they're opposite sides and sew that down.
Misty:
Make sure. I think that still feels good in the middle. Check these guys.
Jenny:
Yep, you just match them up as you go. Pretty easy. There are so many things you can do with this Periwinkle. I really love this.
Misty:
It's such a fun one.
Natalie:
I know, I almost had two or three other ideas that I wanted to use.
Misty:
I know.
Natalie:
I'm like, "whoa, which one?"
Jenny:
Another triple play, another year.
Misty:
We can do another one.
Jenny:
So let's go ahead and take this off. It comes off really easily if you can get your finger in between the parts and the seam and it comes off at the seam. The seam is like your chair line. It punched...
Misty:
It perforates it for you.
Jenny:
Perforates the fabric.
Natalie:
Also, I think if you leave a little piece of paper in there, it's not going to matter.
Misty:
No. It'll probably dissolve the minute you wash your quilt.
Jenny:
Oh, it will for sure.
Natalie:
So, you don't have to be perfectionist about it.
Jenny:
But you can if you want to. I am a little bit. All right, so this is our block we get at the end.
Natalie:
Sorry, just being a perfectionist.
Jenny:
Just being a perfectionist.
Misty:
Tidying up.
Jenny:
Tidying up. All right,
Natalie:
So cute.
Jenny:
So here's our block.
Natalie:
That's so cute. I love them.
Jenny:
Then we're ready to put them together. Let's take a look back here. We have one, two, three, four by one, two, three, four, five. So four by five, that's 20 blocks.
Natalie:
Nice.
Jenny:
And when you put them together, again, we want to look and make sure that our little blocks out here don't match, I mean that they're different.
Misty:
Just want it to be scrappy.
Jenny:
Yeah, you want it to be scrappy. When you put four of these together, it's going to make this little circular thing in the middle.
Natalie:
That's so cute.
Jenny:
So we called it Periwinkle dot.
Misty:
Cute.
Jenny:
And I love that we use two pieces of fabric to make the Periwinkle rather than just... Normally it's just one shape that we cut out of a five-inch square, but I love that we use the two pieces.
Natalie:
I love it.
Jenny:
That's how easy mine was.
Misty:
Adorable.
Natalie:
So, so cute.
Jenny:
Now, we put all these together four by five. I put a little one and a half inch border out here, and then I have these pieces out here and these literally, you're just going to sew them together like this. I left them the same size. Two are already sewed together. I just sewed them together again and again. Got to the bottom. I didn't worry about, like this block is a little shorter. I didn't worry about that at all. I just put them on and let them go. Put another inch and a half border and then went ahead and did my big six-inch border on the outside, but I did rows of this. Sewed all my pieces together and put my borders on. I still had a stack leftover. So...
Misty:
Fun.
Natalie:
Oh wow.
Jenny:
I made a little bonus project. I put them together in this little patchworky table runner.
Natalie:
Oh, so cute. I love it.
Jenny:
I just think it came together really cute. I lined them up so that they would stagger and cut my rows in half.
Misty:
And a brick, that's really cute.
Jenny:
And off course, it's not exact either, but it's darling, and I use this on the back of it as well.
Natalie:
It's so cute.
Jenny:
So a cute little bonus project with mine.
Natalie:
With your leftovers, I love it.
Misty:
Awesome.
Jenny:
And Natalie, I guess you're up next.
Misty:
It's perfect.
Natalie:
Okay, can't wait. Okay, so my quilt is called Periwinkle Pop, and I think it's just really fun.
Jenny:
It's really fun.
Misty:
So cute.
Natalie:
I think it looks a little bit harder than it actually is to make.
Jenny:
I love those kind of quilts.
Natalie:
Which is fun.
Misty:
Yeah, magical.
Jenny:
It's magical. Yeah, because this is our piece right here, our triangle. How cool is that.
Natalie:
So I'm going to show you how to do it. You're going to love it. So to make my quilt, you're going to need one package of 10 inch squares. I used Gloria by Maureen Cracknell for Art Gallery fabrics.
Jenny:
It's a beautiful name.
Misty:
I love this collection.
Natalie:
And the fabric is really soft. I enjoyed using it. It's great.
Jenny:
I have to feel it for a moment.
Natalie:
Yeah, it is. It's soft.
Jenny:
It's very soft.
Misty:
It's beautiful fabric.
Natalie:
So you're going to need some background, and this quilt takes quite a bit. You'll need eight and three quarter yards for your background.
Jenny:
I was thinking though, it would be really fun if you had a bunch of scrappy low lights.
Natalie:
It would be fun to do out of scraps.
Jenny:
That would look beautiful, yeah.
Natalie:
You're going to need a couple of accent fabrics. I used this beautiful pink and green and you're going to need about three yards of each. I also think these would be pretty done in scrappy prints or could use jelly roll strips because they're two and a half inches. So that would be so...
Jenny:
Or black and white.
Natalie:
Black and white would be good. So yeah, lots of options there. You'll need a yard and a half for your border and three-fourths for your binding and eight and a half yards for your backing.
Jenny:
Let's see that backing.
Natalie:
Now I went ahead and pieced this backing.
Jenny:
Oh, I love that.
Natalie:
I used this print on the border as well, so I just put a strip down the middle.
Jenny:
So what quilting pattern is on this?
Natalie:
So I used simple stipple or simple meander.
Jenny:
It looks like a stipple. Yeah, it looks great.
Misty:
It looks beautiful.
Natalie:
So I love it. So a couple of other helpful tools, the Wacky Web template of course, and the papers and a glue stick, whichever kind you like or have at home. Even Elmer's glue will work because it's temporary.
Jenny:
Even the little washable, non-toxic glue sticks for school.
Natalie:
Yes. A little glue stick will work.
Misty:
Especially because you're not stitching through it, through this. It's just holding them in place.
Natalie:
And you're going to pull the papers off before it sits, so it'll be fine.
Jenny:
All right. Well, let's see how to do this.
Natalie:
Okay, let's get started.
Jenny:
So Natalie, show us how you did this.
Natalie:
All right, so what we're going to do is every block, I don't know if you can see, but they all have contrasting pairs. So, I'm just going to grab a couple of them and cut them at the same time. You don't need...
Misty:
It's funny, I didn't notice until you pointed it out, but I love it.
Natalie:
You don't actually have to cut in pairs. You can cut your whole 10-inch square pack down into Periwinkle shapes and then sort them if you want to.
Jenny:
I'm actually interested in how you cut your Periwinkles.
Natalie:
But just for the sake of this today, I'm going to go ahead and cut this in half and cut them down into charm squares because it's just so much easier.
Jenny:
That's what I do. That's what's one of the fun things for me about doing this, is that...
Natalie:
It really is so easy.
Jenny:
It's like how is she going to do it? Is she going to do it? How I do it, is she going to do it...
Misty:
I do it the same.
Jenny:
And so I love it. This is how you're doing it. So this is what I would do.
Natalie:
So I cut them down and stack them up.
Jenny:
Which doesn't mean it's right. It's just a way, right?
Natalie:
Yep, it's just a way. I like to line up on the cut edge because then I don't have any little...
Misty:
Pinked edges to work out.
Natalie:
Pinked edges to worry about.
Misty:
It's so funny, I do the exact thing.
Natalie:
I know you not supposed to cut under your arm, but I did. Sorry about that.
Jenny:
That's okay.
Natalie:
I'm actually going to twist it that way because maybe that'll be easier. Nope, it won't be, I already know.
Jenny:
So if you have a rotating mat, this is a great time to use it.
Natalie:
This is a great time.
Jenny:
Or if you have a... And you can actually just turn that.
Natalie:
I'll just flip it.
Jenny:
Or if you have a small mat, you can turn it and make it a rotary mat.
Natalie:
Yes.
Misty:
Perfect.
Natalie:
Okay. So you've got all your little sets.
Jenny:
Together, lights and darks.
Natalie:
Lights and darks.
Jenny:
And out of all your layer cakes you'll get two blocks, right?
Natalie:
Yes. So, because we're using all of the fabric in our layer cake or our 10-inch square pack, we're going to have 42 blocks.
Jenny:
Okay, perfect.
Natalie:
So, this is a six by seven layout.
Misty:
Wow.
Natalie:
And it is quite large. It's 81 by 93.
Misty:
It's beautiful though.
Natalie:
And it's huge. If you made your border bigger, it could be even bigger. You could add an inner border if you wanted to. There's options.
Misty:
It would go even bigger quickly.
Natalie:
Yes. Lots of options. Okay, so I'm going to use this little birdie fabric because it's so cute.
Jenny:
I love the bird.
Misty:
I Love it too.
Jenny:
I think the bird fabric would make a beautiful back too.
Natalie:
You can do a line or you can just do a couple dots. You don't have to have a lot of glue. You just want it to stay in place until you make your first seam. That's really all you need it for.
Jenny:
And of course you could pin it or anything, but this looks easy.
Natalie:
You could. I have pinned it. It's not easier.
Jenny:
It is not?
Natalie:
Glue is easier, I promise you.
Misty:
I agree.
Natalie:
I promise you. Okay, so your background is going to be cut into five and a half by six and a half inch strips, and these are sewn on either side of your Periwinkle diagonal edge.
Jenny:
All right, let me do it.
Natalie:
Okay.
Jenny:
I get the sewing job right now.
Natalie:
Yay!
Jenny:
We're going to...
Natalie:
Fold it.
Jenny:
...Finger press it back
Misty:
There it is.
Jenny:
And then put it on here.
Natalie:
And I need a pen.
Jenny:
And then Misty, you can press that.
Misty:
Absolutely.
Natalie:
That'll work or this, okay.
Misty:
All right.
Natalie:
All right, so now we're going to go ahead and flip it over. We're going to use the paper as our back, our pattern for trimming and just line it up. There's quite a bit of waste. This background fabric would be great in a crumb piecing box or throw it away if you want to, I don't care.
Jenny:
Whatever you want to do.
Natalie:
It's all up to you.
Jenny:
And again, I just love how instantly you've got this cleaned up block.
Natalie:
Yep, and I almost always will line up my ruler on the top corner just to make sure everything stays...
Jenny:
Oh, my gosh, I never even looked at that.
Natalie:
Everything stays nice and square that way.
Jenny:
That's so awesome. Yeah, that's a great tip because I literally just follow the paper.
Natalie:
Also, because I now have my pattern in fabric, this is where I take my papers off.
Jenny:
Okay, perfect.
Natalie:
Because I don't like to tear through so many different seams. I just want it gone and out of my life.
Jenny:
Go away, paper.
Natalie:
Go away.
Misty:
It served its purpose.
Natalie:
Okay, so the next thing you're going to do, once you've got these made, this is the tricky part, you're going to do a little mark two inches from the end of your triangle point. It doesn't have to be big. You don't have to use a special fabric marker because you're going to sew over it. It's not going to show. I line up that edge and just put a little dot there and I do same one on this side, two inches. Okay?
Jenny:
Okay.
Natalie:
All right, and now you're going to add your accent colors. For my quilt, I chose pink on the right and green on the left. You do them the same throughout the whole quilt, and that's how you get these alternating colors.
Misty:
Oh, they swirl.
Natalie:
Yep. If you're doing it scrappy, it doesn't matter what you put where, but if you're doing two colors, always put one color on the right and then the other color on the left. All right, so the accent fabric is cut into two and a half inch strips. You're going to start from the top, right from this intersection here, that's your marker, and just line it up on the edge of that dot and sew right down.
Jenny:
Okay.
Misty:
All right. You want to overlap it enough up at the top that you can have a...
Jenny:
Have a seam.
Natalie:
A good looking seam, yeah. Also, I strip pieced a whole bunch of pinks. I think I could get six on a strip, maybe.
Misty:
Oh, on a strip, that's smart.
Natalie:
But you want to be sure that you leave enough in between.
Jenny:
So let me ask you this, because I sewed it so I could see my dot.
Natalie:
That's exactly right. You want to see your dot, so it's actually a quarter of an inch in from the dot, and then you flip it back. When you're trimming these apart, you trim from the back side so that you can cut the angle of this.
Jenny:
Oh, okay.
Natalie:
Because the next point is going to be the top and you don't need the fabric at the top, but if you cut them the opposite direction, this will not cover your point.
Jenny:
Okay, perfect.
Natalie:
So does that make sense?
Jenny:
Yes.
Natalie:
Okay, so we can do the other side.
Jenny:
So, you want this to get trimming?
Natalie:
Well, you can trim it if you want to. I was a lazy trimmer and I just put the strips on both sides of the triangles and then cut them all apart.
Jenny:
And then cut them.
Misty:
In between, okay.
Natalie:
Yeah.
Jenny:
All right, well let's add that green one.
Natalie:
And this side, because I'm right-handed, I did the opposite. I go upside down. Does that make sense? You want to make sure on this, that you start a good inch and a half off, because it needs to cover your point. So, you just have to watch these points and make sure everything is covered, but it's the same concept, you're just lining up with the edge so you see your dot, and then you're lining up with the intersection of the seam at the top of the Periwinkle.
Jenny:
All right, it's the same.
Natalie:
It sounds tricky, but it really is easy, I promise.
Jenny:
All right.
Natalie:
We're going to flip it over so we're looking at the back and we're going to cut the direction of the point. So that comes off there. This one, we're not too worried about it so you can just cut that at that point, and because it's upside down, you already know that it's going to cover what you need to cover. So now we'll press and then we'll do a real trim with our ruler, once it's pressed
Jenny:
The real trim.
Natalie:
The squaring, that makes it look good.
Misty:
All right.
Jenny:
This is so cool. I love how...
Natalie:
It's super easy.
Misty:
Here we go.
Natalie:
And again, my favorite part is this trim because it just makes it look so clean and perfect.
Jenny:
And our triangle is our pattern.
Natalie:
Triangle is our pattern. Lining that up. Nice 45-degree angle there. All right. Also at this point, I'm going to go ahead and trim off this extra layer of fabric because I don't want to sew through eight layers when these points come together in the middle, because that gets really bulky, really fast. If you choose to leave them, that's totally fine. It's up to you. I just want to get rid of the extra bulk. Oh, sorry.
Jenny:
You had that rotary cutter.
Natalie:
What, what, what? Just kidding. Yeah, so I just cut out that extra fabric just to give it more space.
Jenny:
Probably Smart.
Misty:
Awesome.
Natalie:
And that's it.
Jenny:
So you going to make...
Natalie:
You just make...
Jenny:
Four of those.
Natalie:
4000 of these and then you...No, I'm just kidding. I don't know how many, but yeah, these go together just like this in the quilt. So, you put together your lights and dark and I've got a couple of these made here. Here's two of these lights and this cute blue matches.
Jenny:
Oh fun.
Natalie:
You'll notice that...
Misty:
Oh, that looks so cute.
Natalie:
...they don't necessarily match up perfectly at this juncture. You're not always going to get it perfect at the dot because your seam or your fabric, but if you look at the quilt, you can see there's a few things off here and there, but I think from a distance it looks great.
Misty:
It's beautiful.
Jenny:
I'm going to sew.
Natalie:
And I just don't think we have to be that perfectionistic about everything. I like it. I like the way it looks. I like the effect.
Misty:
It's all about enjoying the process.
Natalie:
I think it's pretty cute.
Misty:
It's very cute.
Jenny:
It's all about the idea too.
Natalie:
You just do the best you can.
Misty:
Such a fun idea in that.
Natalie:
Here's the next one if you want to go for it.
Jenny:
I do. I want to see this finished block.
Natalie:
All right.
Jenny:
I always sew that first one, I don't know if you guys do this too, but when I'm testing out a block, an idea from my head, I sew it together without too much worry about what's going on because I want to see what I do need to worry about.
Natalie:
Yep, exactly.
Misty:
Oops.
Jenny:
I love this. So, mine of course had the two fabrics up here, but I love that we did the same thing, but on different ends.
Natalie:
Sort of, yeah. I just think there's so many fun ways to use this template.
Misty:
There you go.
Jenny:
And when you have this template, if you go to our app, all you have to do is put in Wacky Web template or Periwinkle template and all the ideas will come up for that. A template's good if it can do one thing, I say this often, but if it can do lots of things...
Natalie:
It's even better.
Jenny:
...it becomes a valuable tool to you. This Periwinkle is one of those quilts that really makes it look like you worked so hard.
Natalie:
So I did worry about matching up that middle seam, and I tried really hard to match up my points, but there's a lot going on.
Misty:
Yeah, just do the best you can. It's beautiful.
Jenny:
All right, Ms DC, how we did?
Misty:
All right.
Natalie:
So because I have so much going on, I didn't put an inner border. I went ahead and just put six by seven, and my outer border is only five inches. That's pretty much it.
Jenny:
It's a great quilt.
Natalie:
It's super, super easy.
Jenny:
Just so you guys know, when I am making a quilt, I make a lot of bed quilts.
Misty:
There you go.
Jenny:
When I'm making a quilt for my bed, if you want it bigger and you don't want to make more blocks, literally if you add a four inch and a six-inch border, that's 10 inches on each side. It's going to increase your quilt by 20 inches, so we can get very big, very fast. That looks awesome.
Misty:
It's beautiful.
Natalie:
It is. Now there's a lot of bias in anytime you do anything,
Jenny:
Shouldn't you just spray that.
Natalie:
Yeah, spray it.
Misty:
Starch is your friend.
Natalie:
Press it flat.
Misty:
Awesome.
Natalie:
And that's it.
Jenny:
Awesome. Well, Misty, I can't wait to see what you've got.
Misty:
All right. This is my quilt.
Jenny:
Oh, I love it.
Natalie:
It's so pretty.
Misty:
Thank you. I really love how it turned out and it's very, very quick and easy, so let me show you how I did it. To make my quilt, you're going to need one package of 10 inch squares, and I used Shine On by Sharon Holland for Art Gallery Fabrics.
Jenny:
Beautiful fabric.
Natalie:
So pretty.
Misty:
It's really pretty, and you're also going to need four and a half yards of background. I used this deep teal green. I thought it really made the fabric pop.
Natalie:
It does.
Jenny:
Well, it's just so fun to see something different. We tend to go with standard things, but it's fun to see it different and because...
Misty:
A lot of these were more muted, and so I really wanted to make sure that you could still see them because they're beautiful and so...
Jenny:
Good picking, Misty, good picking.
Misty:
Thank you. I appreciate that.
Natalie:
I like it.
Misty:
Then there's no border on this. I just went straight to the edge, but this is my backing fabric, and for that you're going to need...
Jenny:
Which I love.
Misty:
...four and a half yards.
Jenny:
Let's see it.
Misty:
Just those little babies.
Natalie:
Oh, that's so sweet.
Jenny:
Isn't that so cute?
Natalie:
Peachy color, I love it.
Misty:
And I love the contrast with the teal.
Jenny:
And your quilting pattern?
Misty:
Time warp.
Jenny:
Time warp.
Misty:
I used Time warp for the quilting, and in addition to that fabric, you are going to need the 10-inch paper piecing squares for mine as well as your Wacky Web template and your glue. So, let me show you how we do it. So to make this, you will notice that these are all matching fabrics in these blocks, and so you need two matching prints from your layer cake for each one of those blocks. I have those two here, and we're just going to go ahead and cut them down into five inch squares and cut out our Periwinkle shape.
Natalie:
Excellent.
Jenny:
It's so interesting to me how one little different thing, and you have a whole different something.
Misty:
A whole different thing.
Jenny:
I love this. Wouldn't this be so cute in Christmas fabrics with the wreath looking...
Misty:
So fine
Natalie:
It kind of looks like a star in the middle.
Misty:
Yeah, I like that you got that secondary burst once you set them together. They carry through.
Natalie:
So cute.
Misty:
All right, so let me cut a few of these. I have some of these already made, but for each of our little units, we need two of our Periwinkle shapes. So I'll cut that.
Jenny:
Oh, you're going to flip it?
Misty:
I'll just turn it.
Jenny:
I was going to say I cut the other side with my left hand.
Natalie:
The temptation is to just cut it, isn't it? I just want to go and go.
Misty:
I am not a good ambidextrous cutter. I can't do that. So there I have those ready?
Natalie:
Me neither.
Misty:
Let's cut a couple more. Make sure you're lined up.
Jenny:
I'm pretty good swapping rotary cutter hands.
Misty:
You're so good at it. It's pretty amazing.
Jenny:
I have to go slower on my right hand. Have you ever had that thing where you're cutting and your rotary cutter's just out here and you're like, "how did that happen?"
Misty:
How did I get there?
Jenny:
You think you're going along the edge of the ruler and then you're way out there.
Misty:
I have had that happen. I hate that.
Jenny:
It just cracks me up. I'm like, "whoa, wait, what is happening here?"
Misty:
So, I would usually finish this up, but like I said, I have a few already made, so this is enough for now. We're just going to set those aside. You need eight of your Periwinkles in the same print, and then we're going to take our 10-inch squares and we're going to cut these down into five inch squares.
Natalie:
Awesome.
Jenny:
So this is basically foundation paper piecing just like ours, only this is the 10-inch square pack.
Misty:
Yep. We're just going to put it on a square instead of a triangle.
Jenny:
So, these are great for any kind of little round... Even crumb block piecing. It's like anything you're going to do, you want to have your size remain there and stabilize your blocks.
Misty:
Exactly. All right, so then now we're just going to take these and our glue stick.
Jenny:
That's it.
Misty:
And same idea, I just did a line and set those on the corner. I did get a bunch ready at once so I could chain piece after the fact.
Natalie:
Oh yeah, I did mine in those steps too. So, I glued all my papers, I sewed all my sides on.
Misty:
Exactly.
Natalie:
And then I did all my marks, and then I did all my strips.
Misty:
Yeah, it makes it go really quickly.
Jenny:
Well, and it also looks like this, you need to actually lay out, because you'll have a block that will have two.
Misty:
No.
Jenny:
No?
Misty:
No, ma'am.
Natalie:
Just wait. Wait and see.
Jenny:
Wait and see.
Misty:
Okay, and so then from our background, where did I put them?
Jenny:
I love it when that happens? You think you have it figured out, boom, Misty's got a surprise.
Misty:
I lost my pieces. Oh, here they are. Okay, so then for our little squares, we are going to cut some background strips, I believe they're two by five and a half. Yes. Okay, so then now we're just going to lay this along the edge and sew down either side.
Natalie:
Cool.
Misty:
Let me clean up here while she [inaudible 00:34:55]
Jenny:
So we're going to attach these to both sides.
Misty:
That's right. Just finger press.
Jenny:
Do you have to keep it right up here, at this corner?
Misty:
It should be pretty close at the top, just so you get the overlap at the bottom. Here we go, and if you want to press that.
Natalie:
I sure will.
Jenny:
Oh, this is a clever hack on the periwinkle. I like this.
Misty:
Thank you.
Natalie:
I do too.
Misty:
I was very pleased with it when it all came together like I thought it might work in my head. That's the funnest part about doing triple plays, I think. We get these ideas and then we get to, "will it work, will it actually work how we think it will work.?" Now, I'm just using my ruler and trimming this up to five inches square. I've got this last little side here to trim off.
Natalie:
Nice.
Jenny:
Again, ask Santa for that rotating mat.
Misty:
Exactly. So, for each unit you're going to need two of these, and then I just set them like a four patch with the wide parts in and a five-inch background square.
Jenny:
Are you kidding me? That's the whole block?
Misty:
That's it. That's the whole block. So we're going to sew those together.
Jenny:
I'm making it.
Natalie:
I know, I love this one.
Misty:
Thank you.
Natalie:
I need to make it. I think it would be beautiful.
Misty:
It is really quick. It comes together super fast. It's so easy.
Jenny:
Oh, my gosh! I can't believe it.
Misty:
Pretty magical, huh?
Jenny:
Pretty magical. Then at what point do you take your papers off?
Misty:
So, once I got to these four patches, then I would pull these off. I didn't do that yet, I should have, but once I sewed these together, I went back and...
Jenny:
Oh, I'm sewing this together like a four pack.
Misty:
You should.
Jenny:
Is that what I'm supposed to do?
Misty:
That's exactly right.
Jenny:
Okay.
Misty:
Yep, thank you. We'll just peel these, but I think, like Natalie said, you can take the paper off whenever, is your preference. I don't think there's really any right or wrong.
Jenny:
Iron that, and then I slid a little bit here, so we might just want to trim that up and straighten up that seam.
Misty:
Okay, sounds good. I'll do this while...
Natalie:
No, I can...
Misty:
No, you're fine. I'll let you finish.
Natalie:
I'm slacking on my job.
Jenny:
No, you're peeling papers.
Misty:
You're helping, you're helping. Okay, and so then now, because we had those matching fabrics, remember then to make our block, we're just setting these together in a circle.
Jenny:
Oh my land, that is so darling.
Misty:
That is it.
Natalie:
That is adorable.
Misty:
And you just sew it together again and you have these four big blocks across and four blocks down, and it finishes off at...
Natalie:
72.
Misty:
72 inches square.
Jenny:
How many of these squares did you use? Two for each one?
Misty:
Yep, two for each. So you'll need...
Jenny:
16, 32.
Misty:
32 out of your whole pack.
Jenny:
Wow. That is awesome.
Natalie:
That is so cool. I love it, Misty.
Misty:
Thank you.
Jenny:
I do, I just love it.
Misty:
It's pretty easy.
Jenny:
Really quick and easy.
Misty:
I can't wait to see it in different fabrics.
Jenny:
I know, right?
Well girls, I think we hit it out of the park with this triple play.
Misty:
I think so too.
Natalie:
That was fun.
Jenny:
These were great. Awesome ideas to use the Periwinkle, and we hope you guys enjoyed this triple play from the Missouri Star Quilt Company.
Hi everybody, it's Jenny from the Missouri Star Quilt Company. We hope you enjoyed watching this video. If you aren't already part of the Missouri Star Quilt Company family, be sure to subscribe so you won't miss a thing, and if you click that bell, it'll notify you every time a new tutorial comes out. See you next Friday.



