

Triple Play: 3 NEW Pinwheel Quilts with Jenny Doan of Missouri Star
The talented Doan ladies show off three fabulous new pinwheel quilt patterns. Misty's Pinwheels and Diamonds quilt is made with 10 inch squares of precut fabric. Natalie's Pinwheel Slide quilt has dramatic diagonal movement with high contrast fabrics and 2 sizes of half-square triangles. Jenny's Pinwheels and Pumpkins quilt features appliqué pumpkins and tiny pinwheels set on point.

Instructor
Jenny Doan
Jenny Doan is an American quilter, author, and YouTube personality. Jenny started Missouri Star Quilt Company in 2008 and today it is the largest quilting supply vendor in the United States.
Shop this tutorial
 Pinwheels and Pumpkins Quilt Pattern by Missouri Star$5.95Shop →
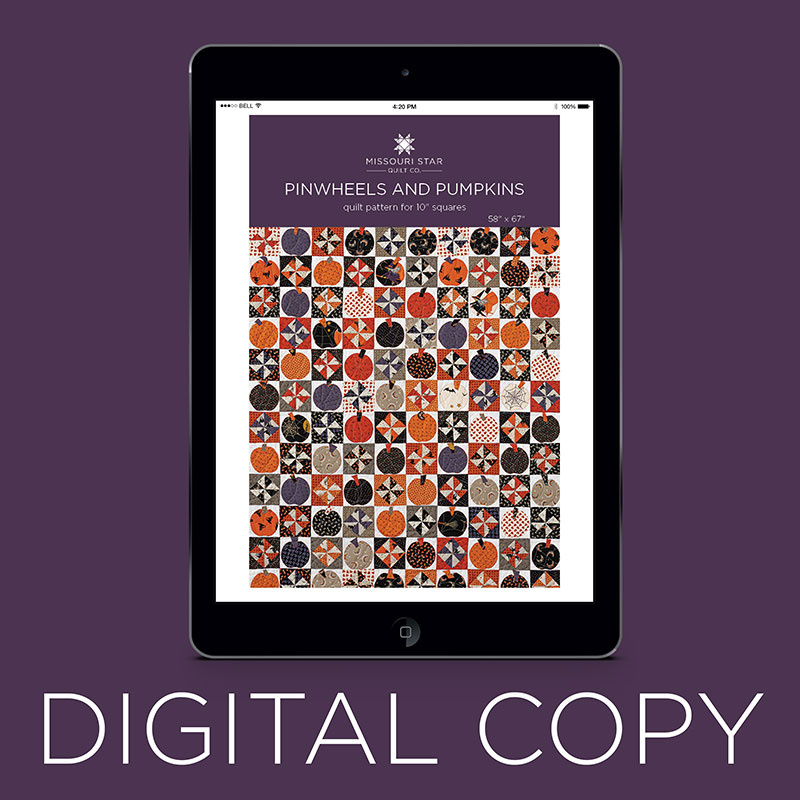 Digital Download - Pinwheels and Pumpkins Quilt Pattern by Missouri Star$4.95Shop →
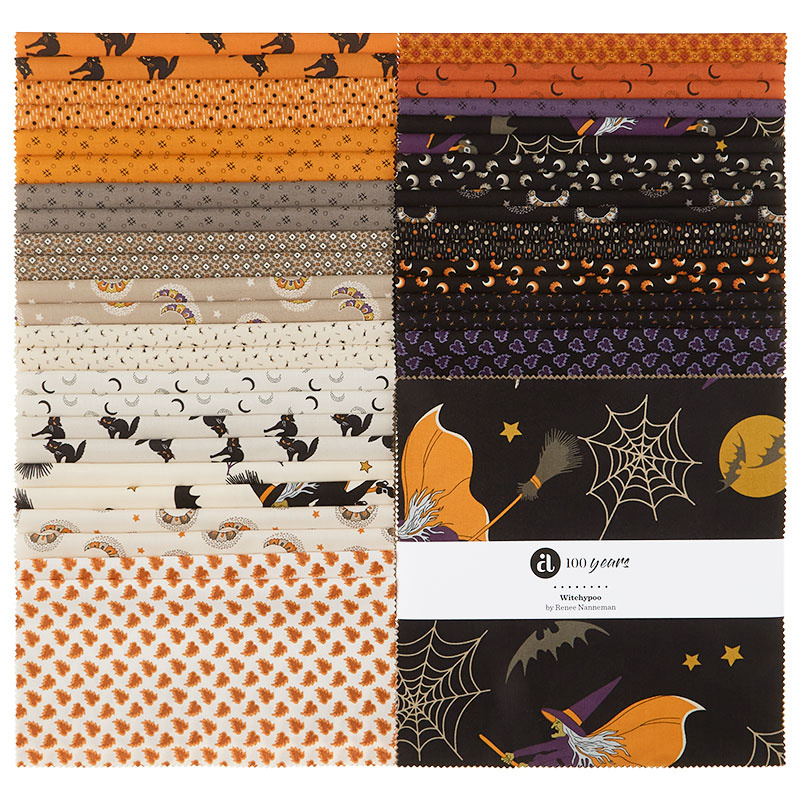 Witchypoo Sundaes$37.95Shop →
 Kona Cotton - White Yardage$7.28Shop →
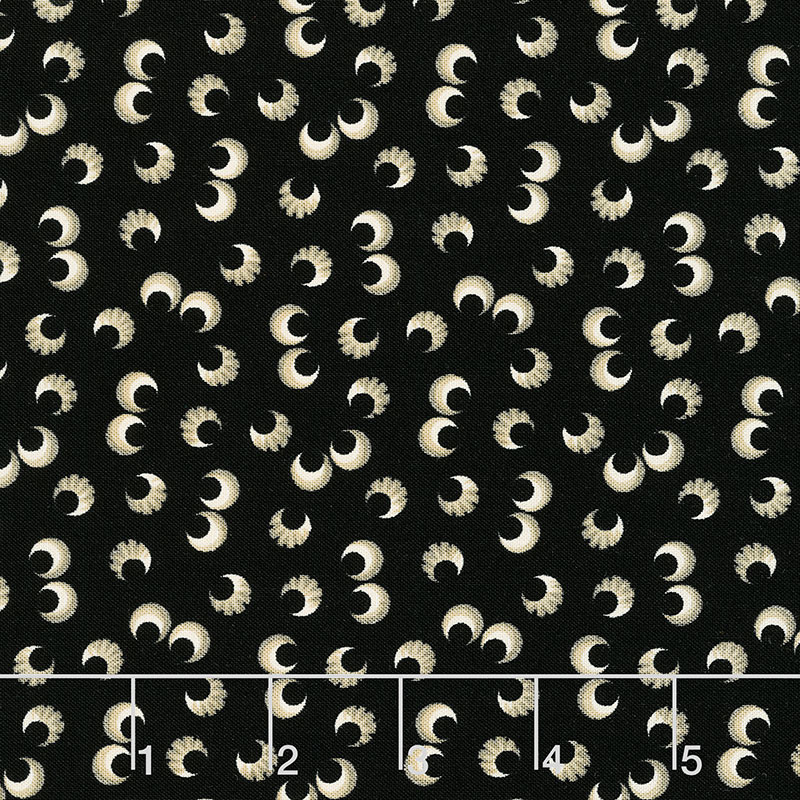 Witchypoo - Dark Eyes Twilight Yardage$11.24Shop →
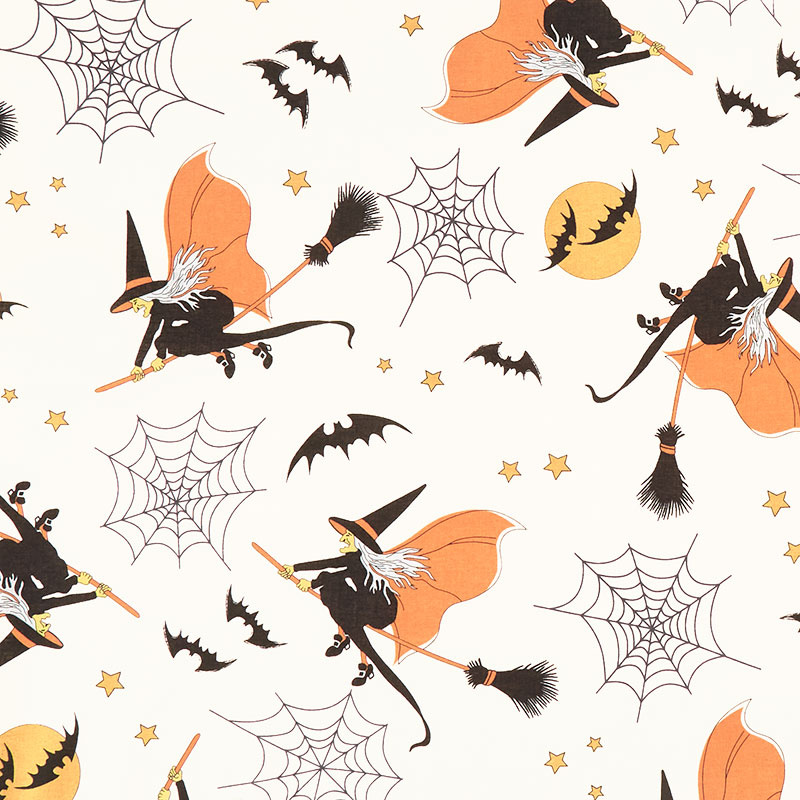 Witchypoo - Night Flight Dawn Yardage$11.24Shop →
 Pinwheel Slide Quilt Pattern by Missouri Star$5.95Shop →
 Digital Download - Pinwheel Slide Quilt Pattern by Missouri Star$4.95Shop →
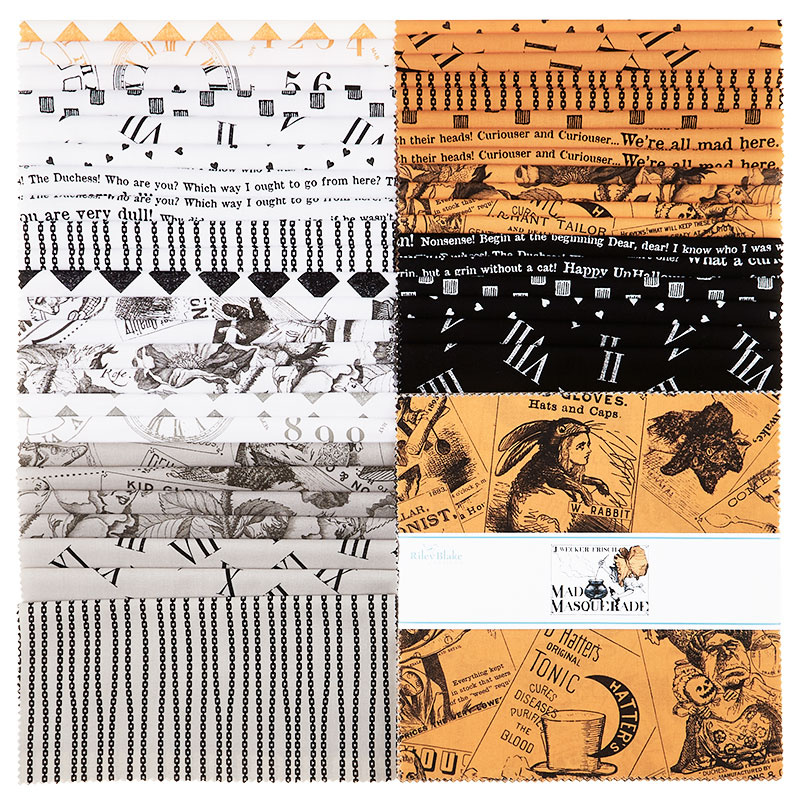 Mad Masquerade 10" Stackers$38.95Shop →
 Confetti Cottons - Crayola Solid Color Riley White Yardage$6.76Shop →
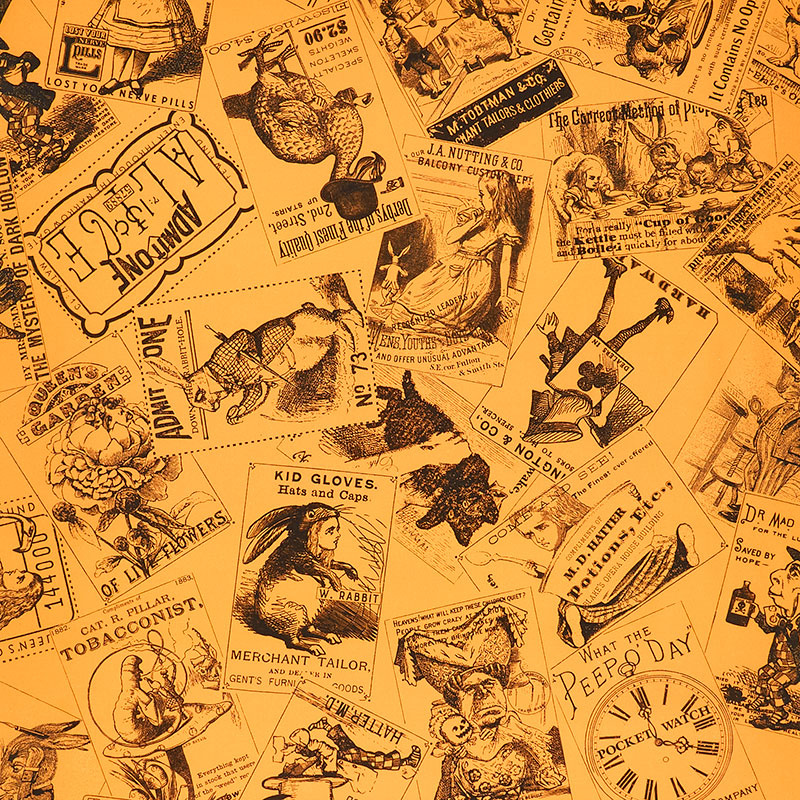 Mad Masquerade - Card Toss Orange Yardage$12.64Shop →
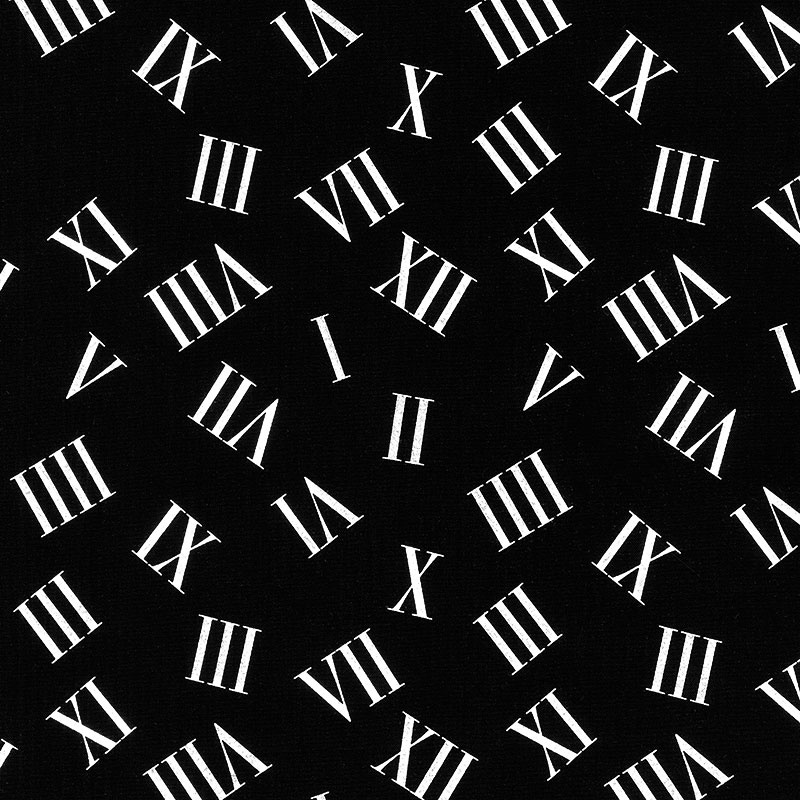 Mad Masquerade - Roaming Numerals Black Yardage$11.96Shop →
 Pinwheels and Diamonds Quilt Pattern by Missouri Star$5.95Shop →
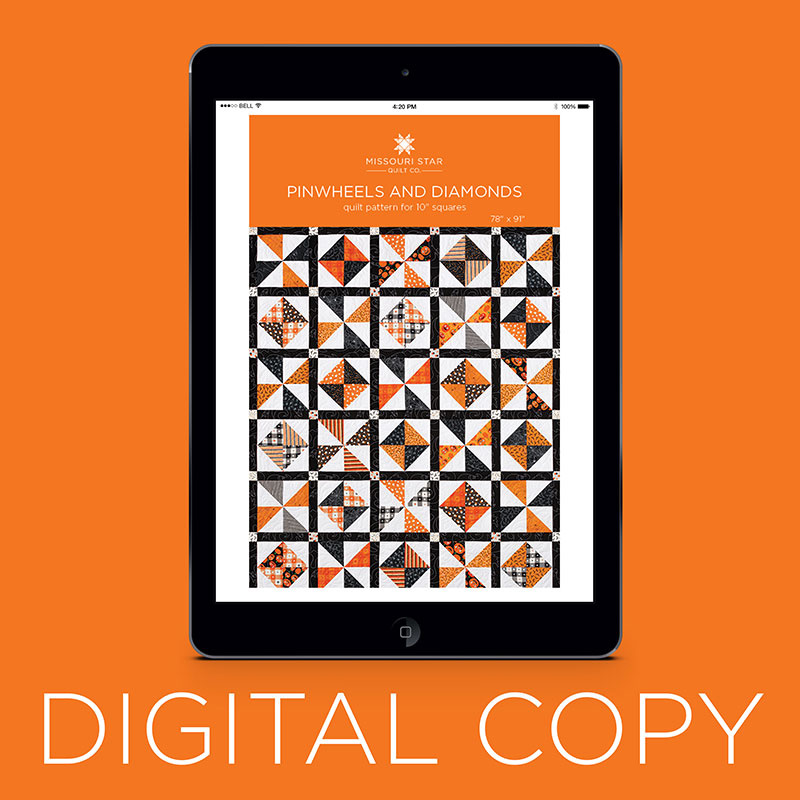 Digital Download - Pinwheels and Diamonds Quilt Pattern by Missouri Star$4.95Shop →
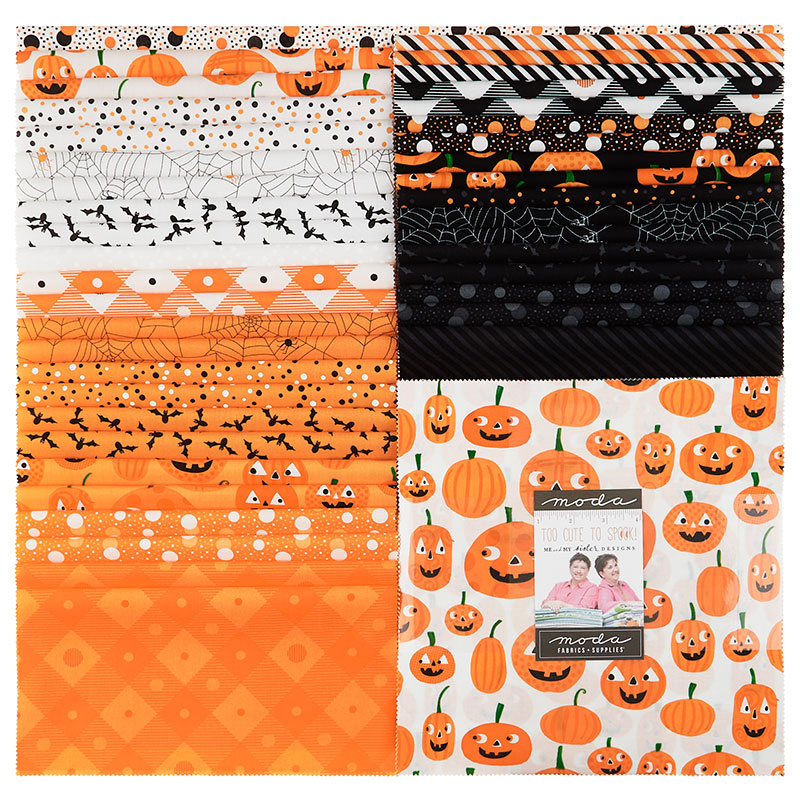 Too Cute to Spook Layer Cake$42.95Shop →
 Bella Solids - Black Yardage$8.24Shop →
 Bloc Loc 6 1/2" Square Up Ruler$28.40Shop →
 Clearly Perfect Slotted Trimmers$31.95Shop →
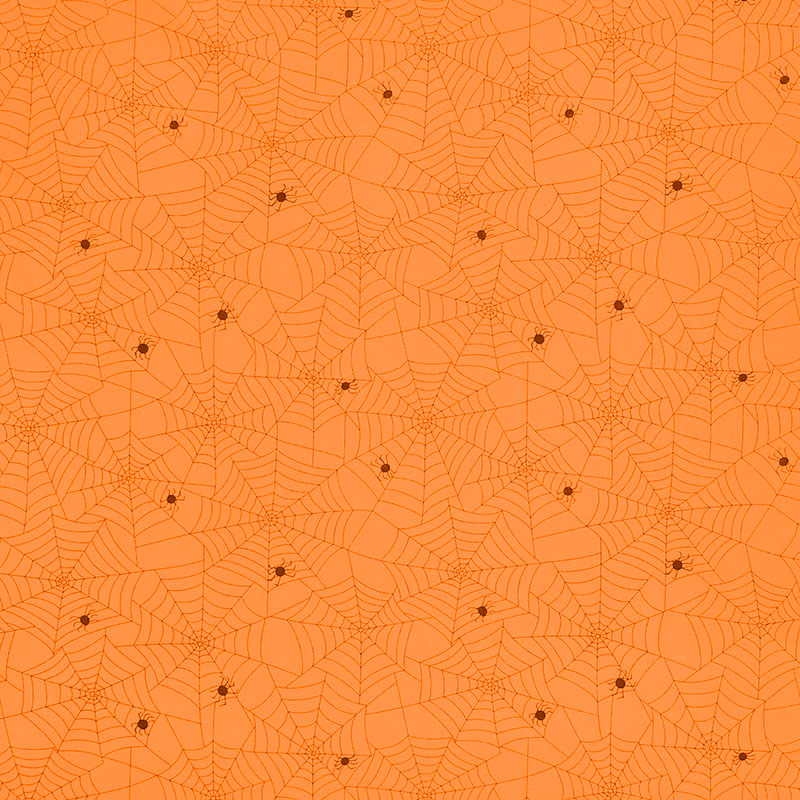 Too Cute to Spook - Spidey Webs Orange Pumpkin Yardage$11.24Shop →
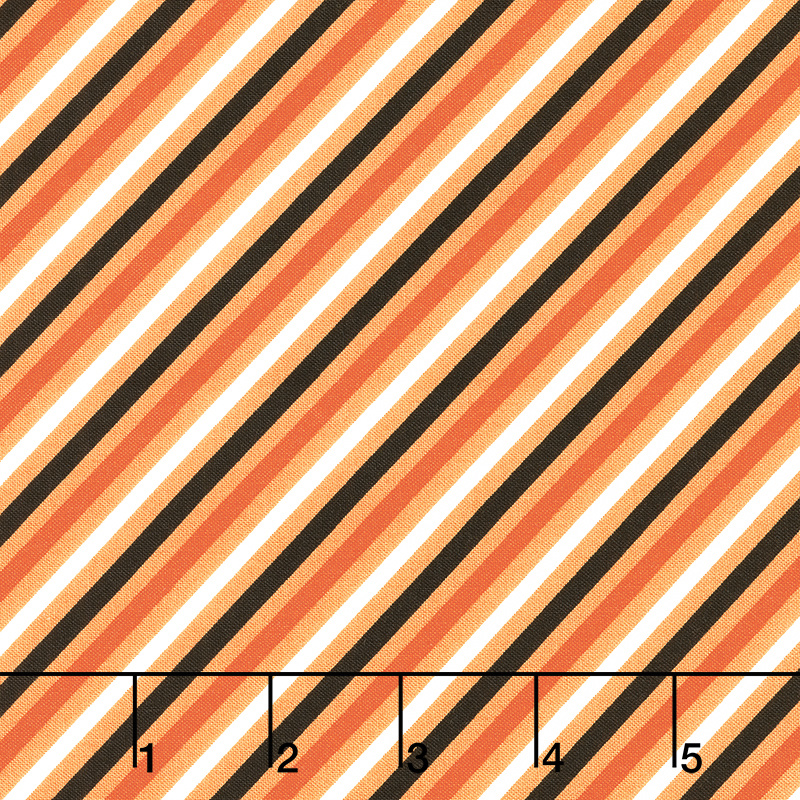 Too Cute to Spook - Spooky Stripes Orange Pumpkin Yardage$11.24Shop →
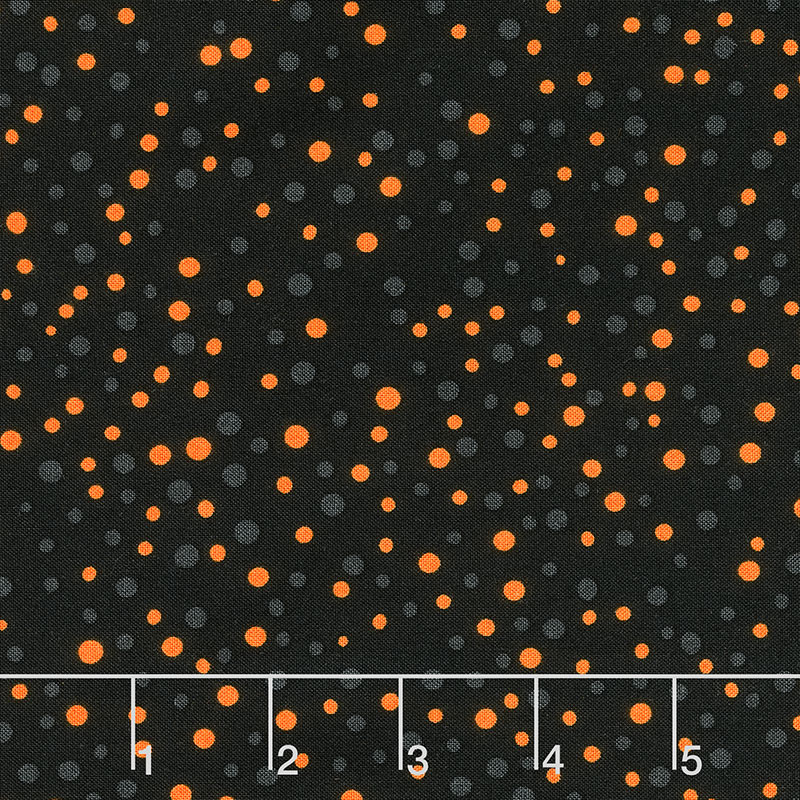 Too Cute to Spook - Keep Calm and Carry a Wand Black Cat Yardage$11.24Shop →
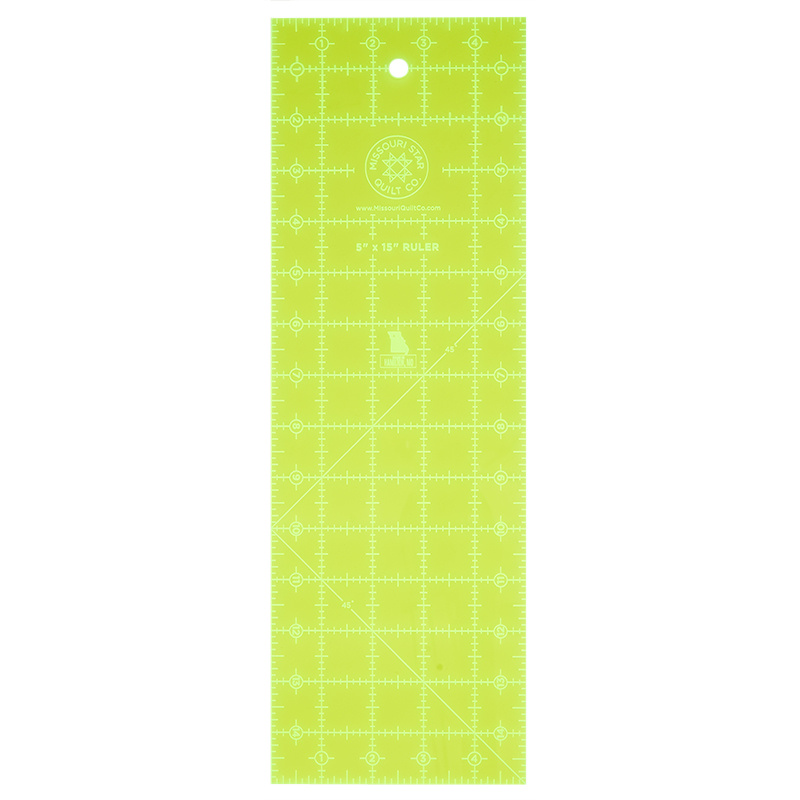 Missouri Star 5" x 15" Ruler$15.95Shop →
Common Questions
What is covered in Triple Play: 3 NEW Pinwheel Quilts with Jenny Doan of Missouri Star (Video Tutorial)?
The talented Doan ladies show off three fabulous new pinwheel quilt patterns. Misty's Pinwheels and Diamonds quilt is made with 10 inch squares of precut fabric. Natalie's Pinwheel Slide quilt has dramatic diagonal movement with high contrast fabrics and 2 sizes of half-square...
How long is the tutorial video?
The tutorial video is 00:40:34.
Are supplies listed for this tutorial?
Yes. The tutorial page includes the supplies and materials connected to this project.
Is a transcript available?
Yes. A written transcript is available on the tutorial page.
Video Transcript
Hello.
And today we're going to give you three different takes on the pinwheel block. So, we are going to start with Misty. Misty, this quilt is adorable.
Its just a quick and easy one, but I think it turned out really cute.
Awesome, I'll give the floor to you.
Let's dive into it. So to make this quilt your going to need one layer cake of prints, and I used Too cute to Spook by Me and My Sister for Moda. Its just adorable.
Its so cute.
You'll also need a one 10 inch background pack, and I just used white. Then we have one and three quarter yards for our sashing, and that's this black fabric, and then let's see her. My outer border is one and a half yards. My backing is five and a half yards and I use this really cute stripe, for my bindings.
I love it when they print a strip on the diagonal, because then you can cut it straight grain and make that really cute twist.
Exactly. Its just such a good little detail, and you are going to need a squaring tool. I like the block lock, but you can use the clearly perfect slotted trimmer.
Or a regular square.
Any square. Exactly.
45 degree angle.
So let me show you how we are going to do this.
We are just going to grab two of our background squares, if I can get them out of here. There's two, and one white and one dark.
I get to be the organizer.
Okay, I love it. From our pack, so I'm going to use this guy, and how about this one?
Oh, that's a cute one.
Yeah.
All right, so Me and My Sister always do such cute fabric.
They really do.
Its just adorable.
It is adorable, and then we are going to pair these up bright sides together, and then we are going to sew on all four sides.
All right Natalie. Sew Natalie, sew.
I'm ready.
There you go.
I'm going to sew all around the outside edge right?
Yep.
So this is an old trick that we use for making half square triangles. It just makes them quick and easy. It really works on any size square, and so literally if you have a stack of Halloween fabrics that are eight inches,
You could make that work.
Sew around it, and make it work.
Exactly.
I mean, you won't end up with the size quilt, but as long as your half square triangles are the same size.
Yeah.
It'll be perfect.
Exactly. I actually already have one of these sewn to, so you can just sew one.
You have the orange done?
I do. Yeah, I forgot.
Nice.
So prepared.
I try, you know? It doesn't always work out that way.
We never know from day to day, if its going to work out.
Exactly, we do our best.
That's generally how creative people are.
Exactly.
We just do our best, we show up. It is what it is.
Keep on keepin' on. That's all you can do. All right, so now that we've sewn all the way around both of these. You can see in drew a line corner to corner, just because I wanted you see that's where we are going to cut it. Lets cut these both these exact same way.
And then are you going to want me to iron these, before you cut them?
I would love that because I like to use the block lock, so if you could press those open.
I can.
Thank you.
What I'm doing is I'm pressing to the dark side. So my darker fabric is on top, and the reason we do that is to hide that seam allowance on the dark side of the fabric, because if we press the orange fabric to the white it could peak through.
Yes.
And this way its not going to ever show up on your white fabric.
It'll be hidden.
Exactly.
All right, there we go.
And I'm sorry, I'm a little slow today.
No, you're totally fine. And then as you keep pressing I'm going to start squaring these to six inches square, and so I like to just slide this down. This is actually six and a half, so I'm just going to slide this down so I have a half inch hanging over the edge, and I can just trim this off now for my six inches.
Its always nice when that one side lines up perfectly.
Exactly, and you could test yours, because if you can get six and a half out of all of them. You might as well have bigger blocks.
True.
I don't know if I was just sewing really fast, but mine got really wonky. So, I trimmed mine down just a little down to six.
That's good.
Technically, six and a quarter is about the size you can get.
Consistently.
Consistently, yeah.
So six and a half would be a,
A stretch.
A real,
Miracle, it would be a miracle.
Very, very snat.
Exactly.
Well, and you would probably get two that are six and a half, and two that are six and a quarter.
And so we just went, that's smaller.
Six is easy.
But really as long as you're squaring them all to the same size, that's really what matters most.
Yeah, and six is a much easier size to square to consistently, whether you're working with a block lock, or any other ruler its just easier to see that whole number.
Do you want to set those in a pinwheel so Natalie can sew while your squaring?
Not yet, because you have to mix them together.
Oh, okay. All right.
We are,
We are double colored, look at that.
We mix it up, so I'm just going to finish squaring these and then we will set them together.
So cute.
This is the fun part for me about watching these quilts to fruition, because we all do things so differently.
Just a little different.
Yeah, its just fun. I love it when Misty's like, "No."
Almost, almost.
Not quite what I was thinking, but.
We're almost there. So, now we have two. So we can lay out our first one, and I did it in sets like this and half of them I made into a pinwheel block, and half of them I made into the diamonds. Its called pinwheels and diamonds. So, we'll do our pinwheel first. So we just spin it around, just like so with those angles. There we go.
I have a mantra. Light, dark, light, dark, light, dark. All seams to the center.
Are you worried about the ones in the quilt going this way, so the color is actually the opposite direction?
As long as they are the same right?
Yes, I am, but as long there the same its okay.
Doesn't matter? Really?
It shouldn't. So you just do all your pinwheels the same way.
Okay.
So the we can just put those together, Nat if you will sew those and I will finish these last two squares.
Absolutely.
Thank you.
And then we'll make the diamond.
That's right.
Now with the block lock ruler. Generally, if you're cutting it and you pressed to the dark side. The way I remember is the logo always goes on the right.
On your right. That's a good tip to remind people.
Because, if you turn it the other way its oddly weird, and so if you're using your block lock and it just feels like there's way to much on one side. Don't cut, stop.
Yeah that's probably why. You want it to nest into that seam, and it really works when you,
yeah , so the block lock has a little, right on that 45 diagonal, its shaved a little bit so it just bumps right up to that middle seam right there and locks it in. That's why its called a block lock.
Exactly, and so then now here is our diamond setting. Our same half square triangles, but we point them all in, and then we'll just put these together.
There you go.
So as soon as Natalie is finished with those, we can move on to this one.
Move onto the next one.
And the one seam you want to watch in this, is your center seam.
Yeah, where they come together.
But, also one thing I want to say is that when you cut out half square triangles this way. They are on the bias, and there's a lot of quilters who, bias is scary to them.
Yes.
And as a clothing sewer, I love the bias. It makes things hang well, and so I never knew to be afraid of it, and so just watch what's going on. If you feel like you're blocks are a little to stretchy, you can spritz them with some spray starch or,
Yep, with some starch. What is was going to say, I think the bias can really be your friend if you don't pull to hard. I think that's when it becomes a problem. If you're tugging and pressing, or pulling it under the machine. Then it gets a little wonky, but if you just take it easy,
Very nice, yeah.
Then it turns out beautiful like that.
So on this one am I sewing this side?
Yep, this side. There we go.
Excellent, and you've got it all laid out exactly as it should be.
Its ready for you, I think.
It will be a surprise when I open it up.
There it is nice and flat. Perfect center.
Yes, it looks beautiful.
Perfect points. Hashtag, perfect points.
There's that one. Awesome, and so you can see in the quilt behind me, we just alternated between these awesome pinwheels. Goes into the quilt right like so, and them every other one is a diamond block, and I sashed in between with two and a half inch strips, and you will notice in the pack, there's quite a bit of lights, but I only used 30 of my prints from my pack and then I used the rest of my lights to make my little cornerstones.
Okay, perfect.
And so then if you want to make something you could, but I just really wanted the contrast of the black and orange.
And with the lights and cornerstones, that black really pops them. So its really,
Exactly.
Very, very cute.
It made good use of all of the fabric in the packs still, and I think it turned out adorable.
Its really cute.
So Natalie's almost done.
I'm almost there.
No, you're good.
I'm just nesting this middle.
No hurry Natalie.
No rush. It all just takes time.
There you go.
There we go. There is that diamond. Do you want to press that real quick?
I hope that middle looks okay.
It looks great.
So tell me, when you sew your sashing together. Do you sew one to each side, and then the long row in the middle? How do you do it.
So, usually ill stack up my rows of blocks and then I have strips cut, and I just sit and piece the whole row.
Okay.
For some reason in my brain, that's faster.
Okay.
Well it depends honestly, because other days ill just grab all of them and sew them all to a strip too. So it just, I don't have one way that I do it, but for this one I had cut my strips in between. You know so you just measure the height of your block, and cut your strips down, and I just sat and sewed in between my rows.
And then did around.
And then did top and bottom.
I do love the quilting pattern on this, I don't know if you guys can see but its,
Its called ghostly, yeah.
Its so cute. And the back you might be able to see the quilting pattern easier on the back.
Better with those dots. Its really fun.
Isn't that fun?
Reminds me of Casper the friendly ghost.
Me too, I know when I saw it in our catalog selection, I was like, "I haven't used that one, and I want to give it a try." So that's really cute.
I love the binding.
And I think its a six inch border.
It is, yeah.
Yes., and I can't remember what it measures. Do you have the paper?
Oh I sure do.
It measures 78 by 91. So a great size quilt.
Great size quilt.
Perfect win.
Yeah, exactly. Natalie, are you up next?
I think you are.
I think so.
All right.
Yay.
All right Natalie, its your turn with the pinwheel slide.
Yeah, I love it.
We're going to slide into home place with this triple,
All right, so show us your quilt.
So this is my quilt. Its called pinwheel slide, and its actually very easy. Its just one block. So the block looks like this, and its all made up of half square triangles. Just two different sizes, and the reason mine ended up a little bit small, is because I really wanted to match up certain colors, so if you have a different layer cake you can combine different colors and do whatever you like with your lights and darks. So I separated out my black and white prints to make the larger half square triangles, and that creates this really sharp light dark stripe.
Because that contrast.
Goes through it, and then I used orange and gray for all of the little pinwheels.
Can we just talk for a minute about how fun this fabric is?
It is so cute. So to make my quilt you are going to need one package of 10 inch print squares, and I used Mad Masquerade by J. Recker Frisch from Riley Blake Designs.
And she is such a talented artist.
She is so talented, yeah. Very talented. You'll need a half yard for you inner border. Three quarters of a yard for your outer border, and three yards of backing.
Can I show the backing?
Its so cute.
Its roman numerals, and how cute is that?
Their fabric is so fun.
And there's keys, and quotes and clocks and cute little post cards and advertisements.
Just such good details, its just really amazing.
Oh my god, the cats.
Yes my machine built in pattern is called Whiskers and its so cute.
Its adorable.
Cats are, they are so cute.
I thought it was cute, because its very,
I don't think I've ever seen this pattern.
Oh, its adorable.
Yeah, it is adorable, and so how big is this border out here?
So the border is five inches.
Okay.
And the quilt itself measures 43 by 53.
Awesome.
So its a good crib size quilt. It doesn't use the whole layer cake, you'll have some fabric left over, and that really is just because of my color choices within this pack.
That makes sense.
So you can adjust colors and put things where you want them.
I love that.
And use more of your layer cake or whatever you decide. Its your quilt, there are no rules here.
Exactly.
I can only tell you what I di.
That's right.
Okay, so to get started were going to pull out some of our squares. We can pull out gray and orange to make our small pinwheels.
Well here's an orange right on top.
And really if you want to you can separate all your colors ahead of time and count out the pieces you need. The counts are in the pattern, I think its probably about six of everything. Something like that.
I'm going to go with this one, this is fun.
Okay, so were going got ahead and just cut this down to five inch squares. You could make them eight if you wanted to, but the cool thing about this is when these are cut to five inch squares, you do make four and then you also do make four out of your larger 10 inch squares. The method is exactly the same on both.
Yeah.
So that's why were going to go ahead and just cut these down, but really whichever works out best for you is totally fine.
There half squares?
There half square triangles, you just have to get to that end result.
Exactly.
And I do love that you've been able to match four with two. That's always a little bit of mathematical eek for me.
Right.
How do we do it?
Okay, so right sides together. So all around the outside edge. Just line them up the best you can, sometimes they don't want to sit exactly perfect.
I thought we were going to square them?
Were going to square them, so no big deal.
All right.
All right, well set those aside, because I have a set made already.
You are on top of it. Ill move these closer. I just got to do something.
You're going to press it, just a minute I promise.
All right.
Ill give you a job.
I'm going to move this forward, and move my iron up. I'm going to get ready.
One orange one got a little wonky but,
That's okay. So, were going to cut them apart.
Yeah that's the cool thing about this method, if it pleats in the corner, its a little off,
Its super easy, very forgiving. Did I?
No, it got a little close.
Little blade, I am sorry.
No that's okay. I was such paying such close attention, and then all of a sudden it was right there.
And here I am, flinging a blade around.
You're fine.
Okay, so if you will press those open, because its gray and orange there's not really a light or dark so it doesn't matter which side you pick.
But pick the same side.
Consistency helps though, as your sewing.
There's your piece.
Okay so I square with the block lock, and were going to square these to three inches, and then I'm going to just cut that little guy off.
It does help.especially with smaller, faster triangles.
Yeah, you'll get quite a bit of bulk in that corner if you don't get rid of those little extra pieces there.
Sometimes I'm just to lazy to do it, that's why I didn't trim mine off.
Oh you're fine. Okay, going to line them up like that to create our little pinwheels. This one is not straight in the corner so I'm going to trim both sides.
Its good for everybody to see that.
Yeah sometimes you just have to.
And you're trimming these to three?
Three inches.
Okay.
Okay, there we go, tricky.
Its funny how you think you've got it, and then it just looks so odd. You got to spin it just to make sure.
Oh sometimes mine goes around several times, because I'm so angle challenged.
I think its so funny that you say, "angle challenge," and now like a whole bunch of other people say it too.
There's a bunch of us out there. Were all angle challenged.
Its true, its a real thing.
That's funny. All right.
My favorite is when I am confident that I've got it right and then I set it down and I'm like, "Nope."
You look at it and its like, "That's not how its supposed to look."
That's not right at all.
Okay, so these two, connect these two and you can do a little chain piecing trick.
Yes.
And then we've got, I went ahead and had the black and white sewn together already. So we can cut these apart and press them.
All right.
Once this is together, then well know the measurement that your half square triangles need to be. So if you're ever making a project and you, whatever size you square your have size triangles to if you need something of it. You just measure that block and then square your next set to that same size. That's what we did for this quilt.
So you'll notice, there's going to be a little bit of extra waste, but that is just because I wanted them to match exactly, and we could've cut the block down ahead of time, but I really just wanted to cut once.
Yeah.
Cut once, save yourself the step.
Well, and we need these little traps for our crumb quilts.
Oh for sure. Everybody needs crumb quilting.
All right, lets iron those for you.
Okay, so lets press this.
Press this one? Okay.
And if you've got three inch squares sewn together and take out the seam, you're squares should be five and a half inches. [Inaudible 00:18:32].
It is. Excellent.
Oh look at these keys, cute.
So that means then if that these guys need to be squared to five and a half inches to match our little kinder blocks.
So you can set them together, yeah.
To set them together.
And when you do a half square triangle thud way it generally comes out six and a quarter or six and a half.
Yeah so you can see here that there is quite a bit. There's about an inc.
But literally if you have not watched.
But this can be used, honestly its a good sized piece.
It is a good sized piece.
Then you put them in your scrap bin and use them for all kinds of other things.
If you have not seen my tutorial on crumb quilting, oh girls. Oh quilters, I should say. It is a fun way to, I start my day with that, and it just releases all that tension and I just sew a bunch of pieces together, to make a bigger piece of fabric, and it is just, I love crumb piecing.
So five and a half, well flip this around because the side is just a little wonky.
It needed it.
Well this way you really do have enough room to do that.
Yes, oh totally.
And you only need two for your block, correct?
That's right. So each block, just like this one here. Each block is going to have two pinwheels pieces. Do we have an extra one there.?
And you mix those up, but you keep them same to the block.
You can mix them, or you can match them, it doesn't really matter, and them two of your light dark blocks and they go together just like that.
Very cool.
Awesome, do you want me to sew them?
Should we sew it, I mean? We can, its fine and then we can show where it goes in the quilt.
Yeah, lets do it.
Its really a super simple quilt, but I think it has a really nice effect. It almost reminds me of a Jacobs ladder with a pinwheel instead of a fore patch.
When you run your half square triangles that way, it is totally a Jacob's ladder.
The other thing that is cool, there's different ways that I could've laid this out, because it has that light dark, I could've gone and done something like this and made it like chevron. You see how , and then the pinwheels would be together but we would have this cool different.
Oh yeah.
There's a lot of different layout options that I thought would.
They are really fun.
This is so fun. All right almost done here. Just the last seam.
Yup. You don't feel awkward or anything, do you Misty?
Nobodies looking at you its okay.
Nobodies looking at you.
It is, what it is.
Only maybe, a hundred thousand people.
When you're sitting at the sewing machine though, it does feel like for some reason you can't sew fast enough.
Nope, you just do the best you can.
Were okay with however you sew.
Thank you, there we go.
All right, lets give that a good press.
Is everybody okay with however I press?
I love it, you press great.
So from the top i.
Your pressing is impressive.
Its impressive? And then if you want to make your seam go a certain way you can turn it over and press the back. I don't, because nobody looks inside my quilt.
But it looks great.
Right?
All right, so I will show you where to put the block on the quilt and they rotate a little bit so you have one going this way, and then you flip it and it goes this way. So that way your lights are together and your darks are together.
Perfect.
Makes that change.
This one flips back.
So three across.
So three across by 4 down and you just alternate your blocks so that your darks and lights match and create that beautiful diagonal line.
The pinwheel slide.
But yes, all of the blocks are exactly the same they just rotate.
Okay.
Sox ya and I've got a two and a half inch inner border, a five inch outer border and a beautiful little binding made out of this roman numeral fabric that's going in my stash later.
Its so cute.
So fun. I hope you enjoyed that and I think you're next Mom.
All right, let me show you what I did.
All right, so let me show you my quilt.isnt this cute?
Is adorable.
So my pinwheels are tiny. I went the tiny route this time, and they are set on point, and then the pumpkin is all aplikay, so super easy, and I'm going to show you how to do it and I made ,y half square triangles just a little bit different. So to make this quilt you're going to need one packet of 10 inch squares, and I used Witchy Pool by Rene Nanneman for Andover Fabrics, and then you're going to need some backing. We used three and three quarter yards. This is our backing and honestly when I show you the backing its so darling. It has this big patterned motif on here. Its witches.
Its so cute.
The border, are these little eyeballs that look at you. Our border is one and a quarter yards and its a six inch border. You're going to need some background fabric, and this is for the five inch squares we cut to set our pumpkins on, and that first inner border which is an inch and a half.
Perfect.
And then, because I wanted to make my quilt a little bigger, I actually had two quarter yards of contrasting fabrics and all these squares and this yard is just going to be cut into five inch squares to make our pumpkins and our pinwheels. So it all works out great. You're also going to need, I use the clearly slotted trimmer B's, so you'll need a squaring tool, and I use that one. Your going to need our Missouri Star by 15 ruler because were cutting on the diagonals, and then also your going to need some of this Missouri Solite fusible and don't you love that it comes, in this box.
Its so convenient. I have one at home and I just love it.
So here's our fusible. Here's our sliding ruler, it just. Wait a minute.wait for it.
It keeps it nice and tidy and keeps it so clean.
It does its really convenient.
Just like that. Look at that.
And then you get the exact amount you need and,
That's right, and you will need a pattern. Its a four inch circle for your pumpkins, and this was my pattern right here. My coaster on my desk, because I use whatever is close by me.
You can use a mug, or duck tape or.
Whatever you can find.
1 hundred percent. All right, so let me show you how I do this.
Okay, so let me show you how I made this. So I started with my big layer cakes, and honestly this would work with charms, if you want to do charms as well, and what I did, was I picked some that were different and I put them right side sides together like this, so they were ready to go. Then I'm going to cut them in half, vertically and horizontally. So that's a little bit different, were going to take our layer cake and were going to cut it in half this way and this way.
I love that I don't even have to use my mat, because my ruler fits right along the edge. So now I'm going to turn these over because its easier to mark on this side, and instead of sewing all the way around I'm going to draw my line both directions on the diagonal like this. Then I'm going got have you sew on either side of those, because were doing the easy eight. Tiny easy eight.
Oh I like it.
Itty, bitty, little triangles.
Actually, I have this one already penciled off and some.
Oh so did you?
No, go ahead. It'll be fun to watch those.
Watch those later in another project.
Seems to just be a theme this go around. Waiting on me.
Right? Anyway, basically you can see why here, were sewing on both sides of the line. I used to always say, "Either side of the line," and id get these little comments, "It's not either side, its both sides, and I'm like yes it is you're right. So were sewing on both sides.
Excellent point.
Excellent point. Well just wait for you to finish that up and I will use that for something else.
All right.
You did a fabulous job.
Thank you.
All right, so here we are sewn on both sides of the line, and what were going to do, is we're going to cut this horizontally and vertically and then diagonally, and I always cut on the way that there are no lines, because my square is still intact so I'm using my edge as the,
So you're doing two and a half?
I'm cutting it in two and a half and ill do that on both sides, and make sure they stay lined up. So two and a half and it should intersect right through the middle right there, and then if you're moving your ruler, and these things get moved around, you have a line to cut on so you're good to go, and I'm just going to, cut these ones both ways too. We only do the slide on Natalie's quilt because its the pinwheel slide. Then we have eight half square triangles, and then these all get squared to two inches, and I have some already squared over here.
Oh you don't want the press?
So let me show you how I trim these with the clearly perfect. So you're going to lay your stitch line on your stitch line.
Is it easier to see it on the dark side because your thread is light or does it matter?
Let me see. It may be.actually its easier for my eyes to see it only the light side.
Is it? Okay.
So your just going to trim this like this and the these little indents here are to cut off your little dog ears. So then were going got have a whole stack of these, and you need four for each block. So literally out of one of these your going to two pinwheels, and were going to put those together like pinwheel and mine are going to go light, dark, light, dark, light, dark, all seams to the center. Like this, and so Misty I'm going to let you sew those together.
Okay.
Then I just have a fun way of setting the, let me see if I have a different one cut here. Setting these on point. So this is what our little pinwheel will look like and you're just going to want to mix up your fabrics and do pinwheels of all different colors, and all different kinds, but what I did, was I went through my pack and I pulled out all the lights, so that I could make those light and the dark pinwheels. None of these are background colors, they are all fabrics that are in the line. Which is think is really fun, and were going to make out normal pinwheel, then I'm going to show you how we set it on point.
Okay, almost there. Trying to make sure it stays nice and straight.
Perfect points, no pressure.
Never has there ever been.
No, right. Not in front of the camera for sure.
Nope, well we all know if it was going to go wrong it happens when its on camera, so.
Well, honestly if it goes wrong, it goes wrong for everybody and then we fix it, but this looks pretty dang good.
Thank you.
If you'll press that, that would be great.
I would love to.
So to set these on point here's my trick, your going got take another five inch square and you want it to be different then the one you've used, then just going to cut it diagonally both directions like this. Its going to give us four little triangles, and then these are going to be laid like this. Were going to put two on this side, and what I do when I sew these, is I fold my little triangle in half an I finger press a little press line and lay that right on there, and then you're going to sew that on either sides. Its also going got hang over about a quarter of an inch on either side. Which is perfect.
Anytime you want to set a block on point. Whatever size that block is, you can actually cut another block in half diagonally twice and it should be the right size for the sides. So here's another.
Okay, one more.
And if you fold these wrong sides together and make your little crease line, it will sit down in the seam where if you do it on the right side it will bump up like a little mountain. Then were going to press that open. Move all these little things for you, give you some pressing room.
Now the other two sides.
Now the other two sides. Again, we have our little crease, it'll go here and it should again still stick over a quarter of an inch on either side.
I love that..
That's going to throw that block on point and its going to give it a whole new look.
Frames it up nicely.
I need a squaring ruler, to square up my block.
Do you need the other one?
Oh yeah, sorry.
Its okay.
Yes, both sides need to be done.
Bring it on.
Let me see if I have a little.now I wanted this little block to actually match a five inch square, because I love it when you make a block like this. So this pinwheel block will match a five inch square, but what I love is this is not just usable in this quilt. Its usable with any charm, with anything you want to put in the block nest to it and so many ideas are happening because of it.
To be honest, when I did these, they rarely came out perfect and so I was always like, "Huh, would you look at that," so I always lined up my two and half lines right here in the center and make sure they line both ways and were going to trim off this side, and trim off this side. Then I'm going to turn my block, because we want this to end up five inches so that it matches without pumpkin. So were trimming this side, and I'm going to flip that around because its so much easier for me. I can do it two handed but, why right?
There's your little block.
Its so cute.
So adorable.
The pinwheel is now set on point,
And it matches any five inch square?
It does and so this is a great intern block for any quilt you want to do, and they're just cute how they are.all right so on our pumpkins, I'm a little bit of a matcher. You guys are really good with color but I'm a matcher and my first thought when doing this is, "There's not going to be enough orange for my pumpkins," because pumpkins are orange, and so I kind of had to go out on limb and just make a pumpkin whatever color I wanted to make a pumpkin.
It turned out so good.
I remember you texting me and saying, "Should I make the pumpkins all orange?" And I said, "No, use any color you want, it doesn't matter"
So when I started doing it, I actually had so much fun with it. So what I've got is my piece of heat and black light and I'm going to trim off a five inch piece, and normally I would have,
You can just trace the circles right on the other side.
Normally, I would have a long row. This is how I did it.
Oh okay.
I'm going to trim this again at five and let you iron that square on there.
Okay, all right. I see what your doing.
And there's a reason for this, and I will show you as soon as we get to that part.
I understand now, I'm sorry.
We all think we know best.
Well we all have our own way of doing things, that's what makes triple play so cool.
Absolutely,.
So we have our background square here, its cut to five, and I used the background stuff, and honestly what I generally do. Especially if I'm making a lot of pumpkins ill pull a big roll of this out and ill stick all my five inch squares on there and iron a whole bunch all at once. So then I'm looking for, what size do I want to make my pumpkin, and I wanted to fit it as close as I can to this, but still allow room for a stem. So what I did literally, this is sitting on my desk. I put my water on it every day, and I'm like this is the perfect size circle, and I just took these. I'm going to need a pair of scissors, because you can do this with a rotary cutter but you know what. Oh they might be under here. Oh here they are.
Okay.
I got scissors too.
You're awesome, ill use yours.
You were quick.
So what I did was I cut out my perfectly round circle, like this.
But whose pumpkins are ever perfectly round?
They are never perfectly round. So then what I did, was I folded in this in half. And on a pumpkin, you have a little divet on the bottom and on the top, so I just cut a little divet in here like this. I literally hand cut every one, so there all different.
Oh isn't that cute?
It has a pumpkin look to it, and then were going to peel this off and were going to iron this on and keep it close to the bottom of the square, but still leave the corner on the edge. So that we can add a stem to the top.out of these extra pieces over here, this is where I got my stem, and I used this material would be used on a different pumpkin with a different stem, and since I don't have on of those that's already pressed, I will just cut a tiny square of this. I'm going to get a cat in there.
Oh there you go.
You're going to cut your stem?
Stem just for this moment.
Wow.
I don't think there's a fussy cut stem up there.
Because there all just different right?
Yup. So she's going to press that on there, be really careful you don't touch the iron to the sticky.
Yeah I'm going to do it just in this corner.
And really we just need a little stick on there, because were going got actually be. What do we call it?
Were going to press it again, and were going to top stitch it down.
Yes we are. Were going to be aplikaying it down that's what I was looking for. So what I'm going to do is, I'm going to cut this random shape right here, and it'll have this way, it can be anything you want it to be honestly. That's a little bit big isn't it?
Get a whole kitty in there.
I'm trying to keep the whole kitty, but I'm going to cut he's going to be smaller. All right, so then I just roll this back and the piece lifts off and then you can take it right off. And I'm going to stick him on here like this, and I put my piece way down onto the pumpkin because there isn't that much stem room, but I like a big stem. So you'll see on this one, I set it way down on there and then it gives it that pumpkin look.
Natalie you can press that.
Okay.
Then what I did, was I just, you can see right here. Let me close this. You can see right here, I did this blanket stitch around the edge and I kept the same color thread on all of my pieces and it didn't matter to me whether they were orange or whatever, they blended, because it just holds it on and then you literally put these two together and make a row.
So just alternate?
Every other one. This way, and this way, and because I used the lighter, kind of an ivory color, for my pumpkins. Regardless of what colors you use on thee it makes them pop. So it just went together really well, and so I have 10. One, two, three, four, five, six, seven, eight, nine, 10 by 12 goes down and how big is my quilt? Where's my paper? It says 58 by 67, so its a great size quilt because there small squares it comes out a little smaller, but it was just really fun to do. And it went together so quick.
So cute.
I want to show you the back, here's my back.
Oh that cute witch print.
Isn't it so cute?
So cute.
So whenever you have a big print like that. It doesn't work so well in these tiny blocks, but it makes it.
Well I don't know, look at that pumpkin.
She is so adorable.
Fussy cat, a few of them. This one right here too. That's a spider web, you know you have this five inch ruler and you can literally lay it right on your fabric and then cut out the piece that you want. If you want to have your cats in the middle or whatever, and so it works. Also I did a tiny little inch and a half border, just to set the quilt away from the outside. This is a five inch border out here. Is it five or six?
Looks like six.
Nice big six inch border out there, oh and my quilting pattern. Spider webs.
I love it, so cute.
Spider webs everywhere. So I thought it was fun and I did indeed fussy cat some of these so that they would have these cute little things in them. I just couldn't help myself. That is pumpkins and pinwheels.
So this triple play has been so fun, based on the pinwheel, and Misty yours is?
Pinwheels and diamonds.
Pinwheel slide.
Pinwheel slide, and mine is pumpkins and pinwheels, and we hope you enjoyed this triple play from the Missouri Star Quilt Company.
Hi everybody is Jenny from the Missouri Star Quilt Company and I'm here with Natalie, and with Misty and we hope you enjoyed watching our latest triple play. You can find us together on the third Friday of each month as we hit another tutorial out of the park. If you aren't already part of the Missouri Star Quilt Company family, be sure to subscribe and click that bell to be notified each time we release a video.
See you next time!



