

Triple Play: 3 "Wing Template" Quilts with Jenny Doan of Missouri Star
 Jenny Doan
- Layer Cake
- Solids
- Twin
- Beginner
- Quilt size 84" × 84"
We have a new tradition here at Missouri Star: Triple Play! Once a month, Jenny, Misty, and Natalie each demonstrate their own, unique take on a favorite block, technique, or template. This week these talented Doan ladies are showing off three adorable quilts made with our brand new Missouri Star Wing Template, which is a companion to our trusty Simple Wedge template.
Instructor
Jenny Doan
Jenny Doan is an American quilter, author, and YouTube personality. Jenny started Missouri Star Quilt Company in 2008 and today it is the largest quilting supply vendor in the United States.
Shop this tutorial
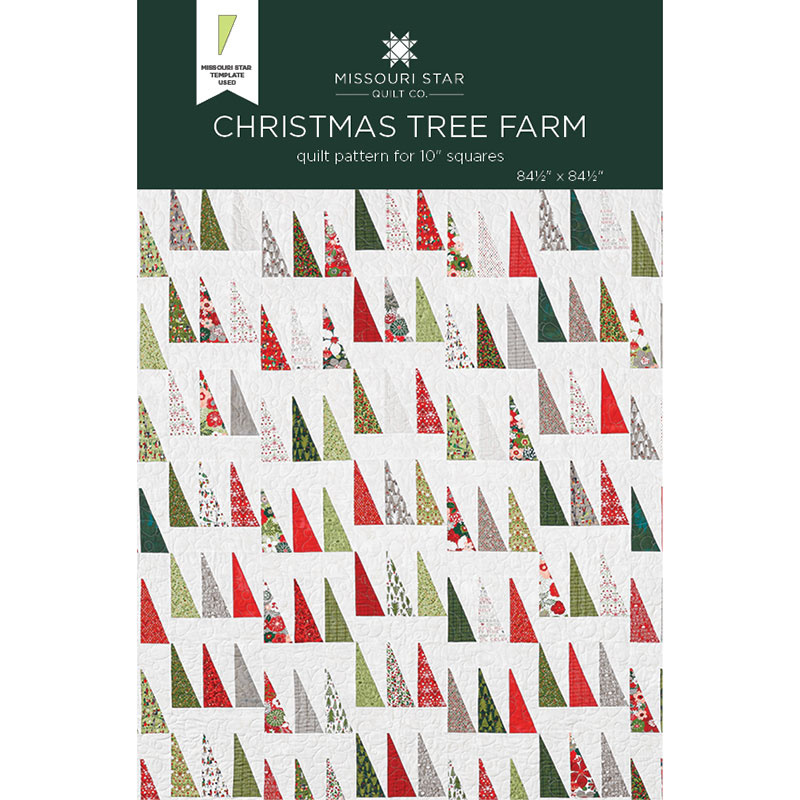 Christmas Tree Farm Quilt Pattern by Missouri Star$4.95Shop →
 Digital Download - Christmas Tree Farm Quilt Pattern by Missouri Star$3.95Shop →
 Grunge Basics - Vanilla Yardage$11.44Shop →
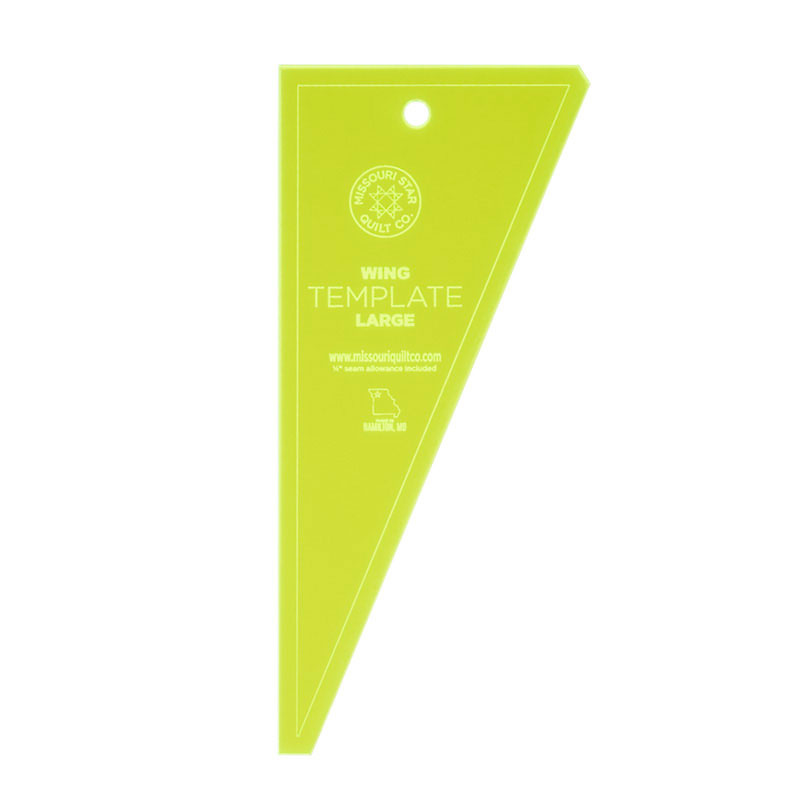 Missouri Star Large Wing Template$11.95Shop →
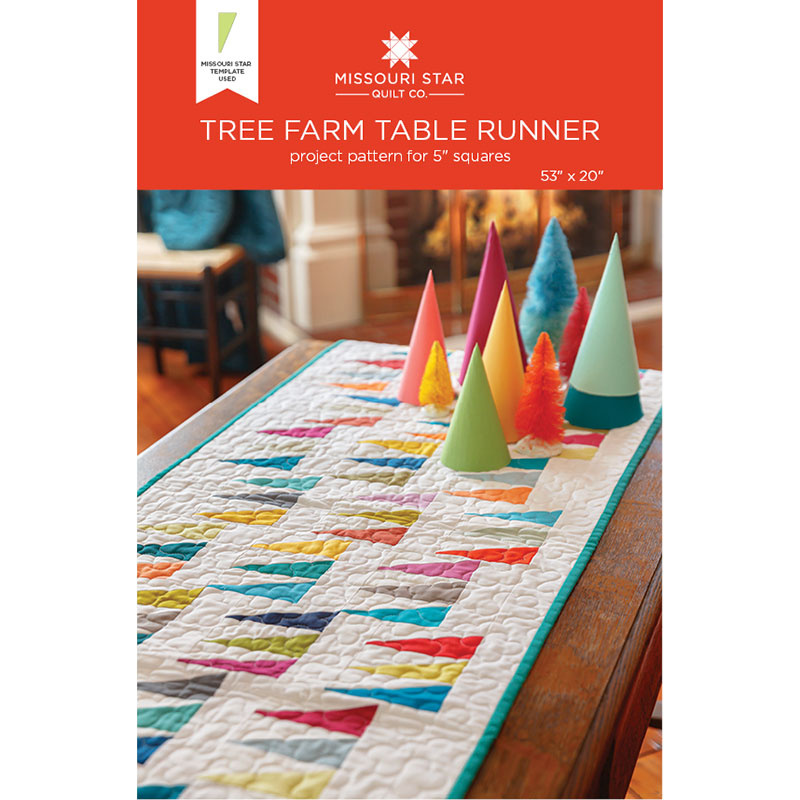 Tree Farm Table Runner by Missouri Star$4.95Shop →
 Digital Download - Tree Farm Table Runner by Missouri Star$3.95Shop →
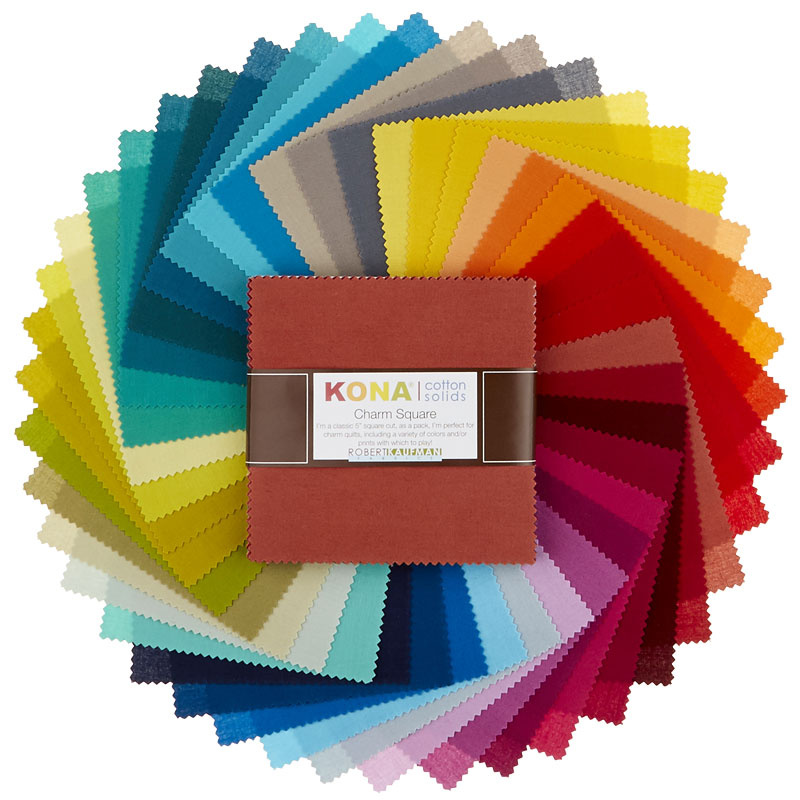 Kona Cotton Paintbox Charm Pack$8.95Shop →
 Kona Cotton - White Yardage$6.76Shop →
 Kona Cotton - Teal Blue Yardage$6.76Shop →
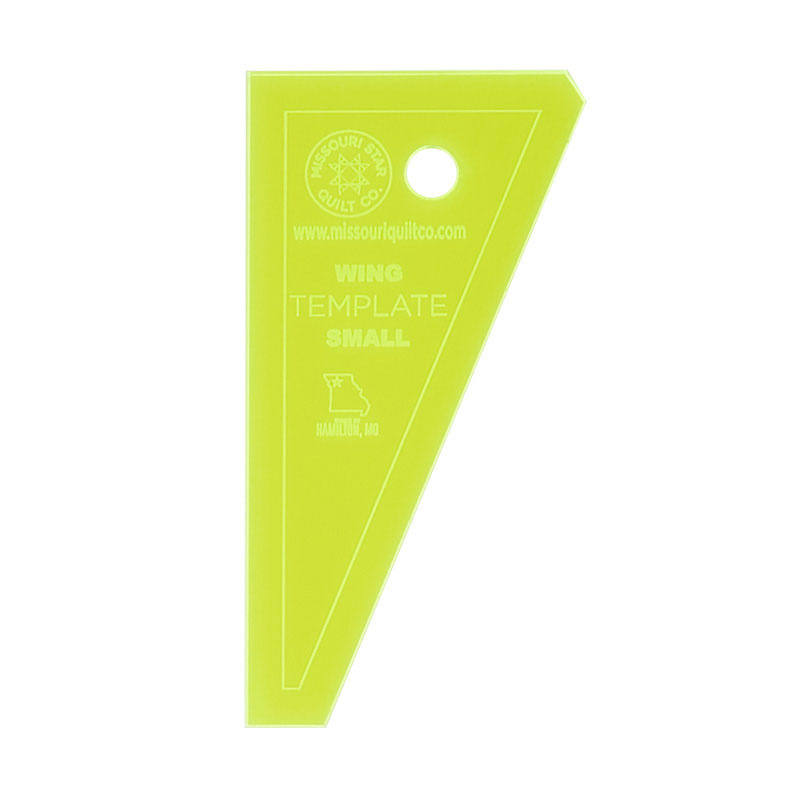 Missouri Star Small Wing Template$5.95Shop →
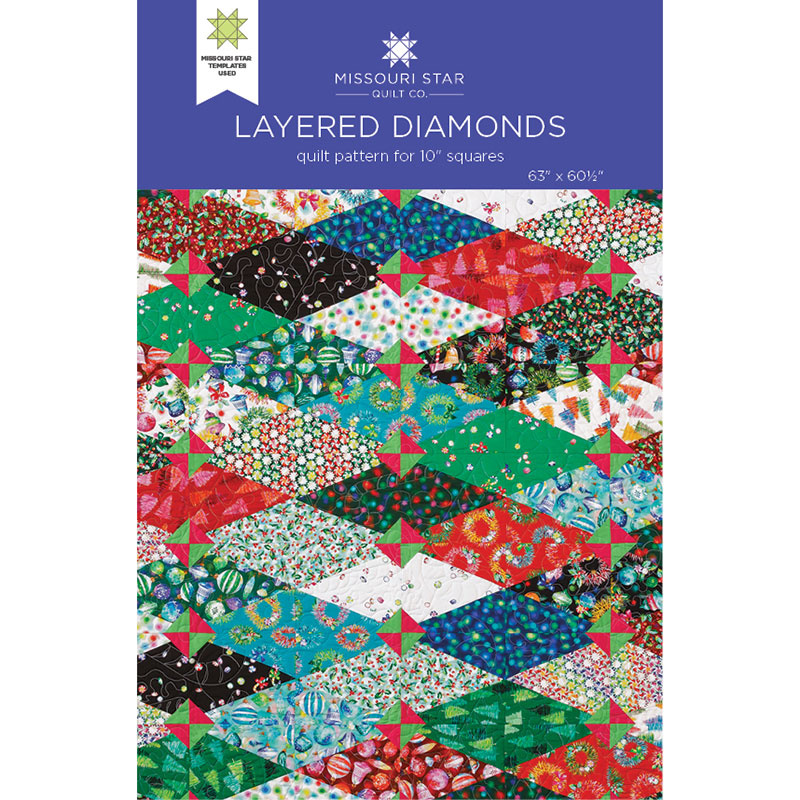 Layered Diamonds Quilt Pattern by Missouri Star$4.95Shop →
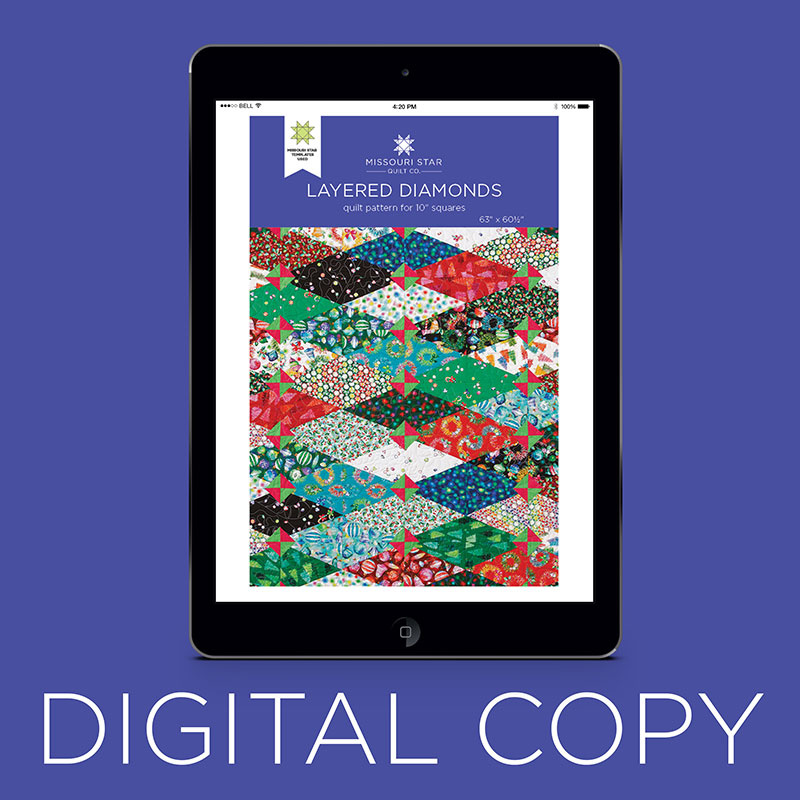 Digital Download - Layered Diamonds Quilt Pattern by Missouri Star$3.95Shop →
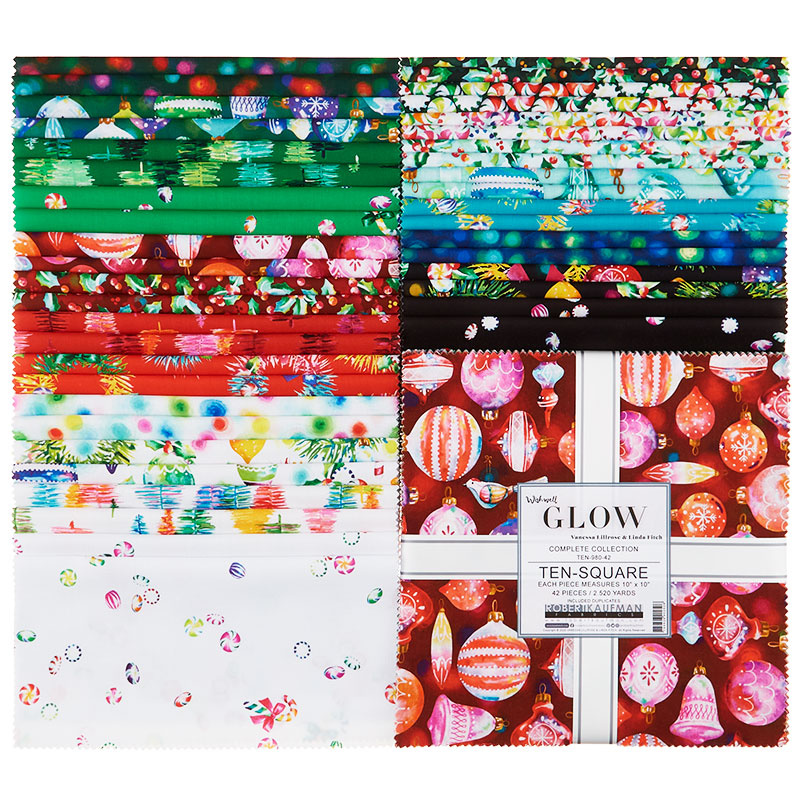 Glow Ten Squares$37.95Shop →
 Kona Cotton - Sour Apple Yardage$6.76Shop →
 Kona Cotton - Honeysuckle Yardage$6.76Shop →
- Kona Cotton - White Yardage$6.76Shop →
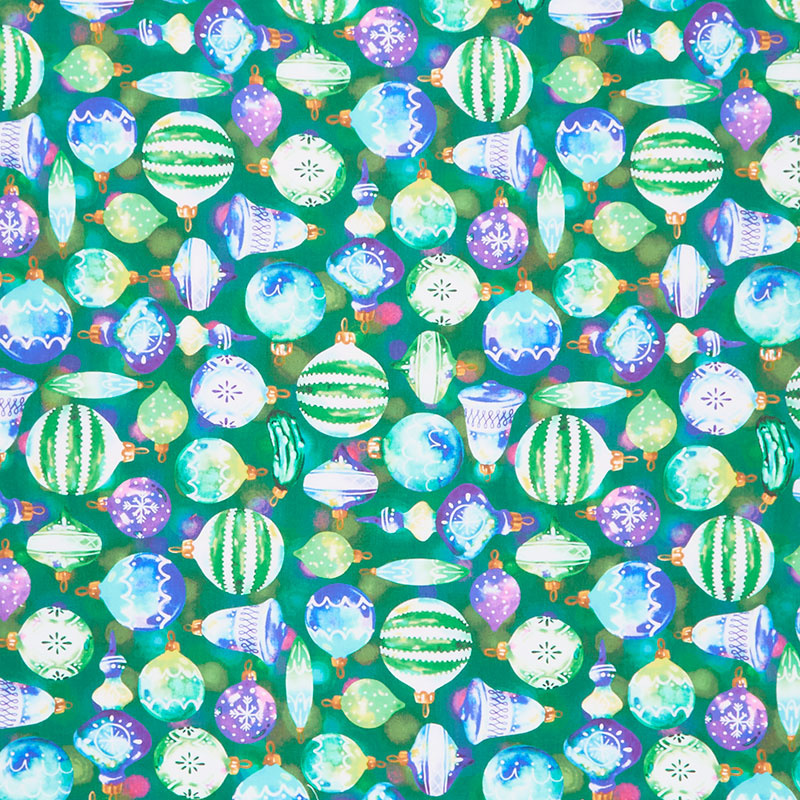 Glow - Ornaments Spruce Yardage$10.76Shop →
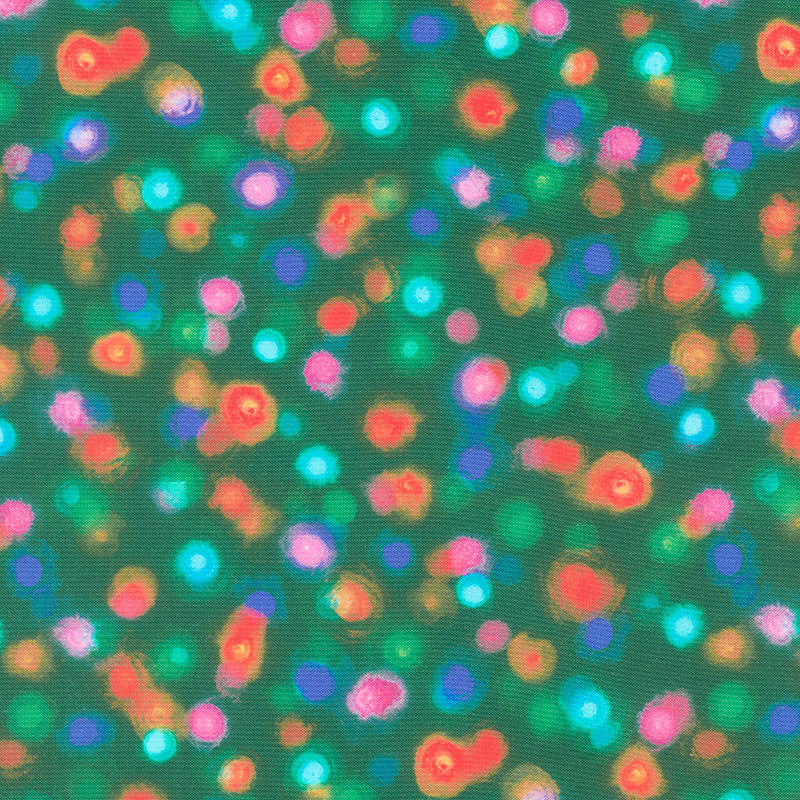 Glow - Lights Evergreen Yardage$10.76Shop →
- Missouri Star Large Wing Template$11.95Shop →
 Missouri Star Large Simple Wedge Template for 10" Squares$11.95Shop →
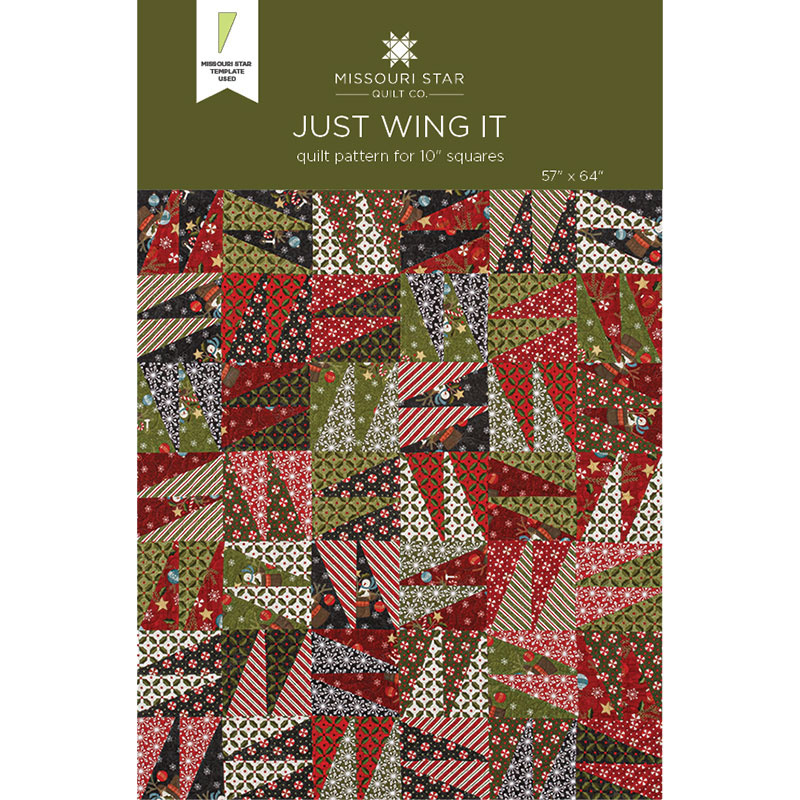 Just Wing It Quilt Pattern by Missouri Star$4.95Shop →
 Digital Download - Just Wing It Quilt Pattern by Missouri Star$3.95Shop →
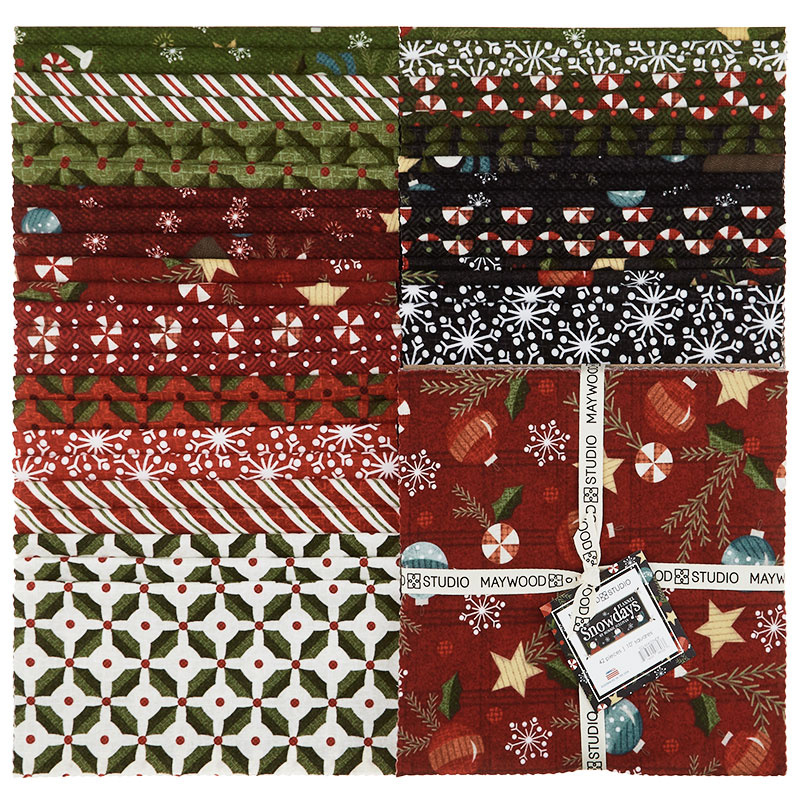 Snowdays Flannel 10" Squares$41.95Shop →
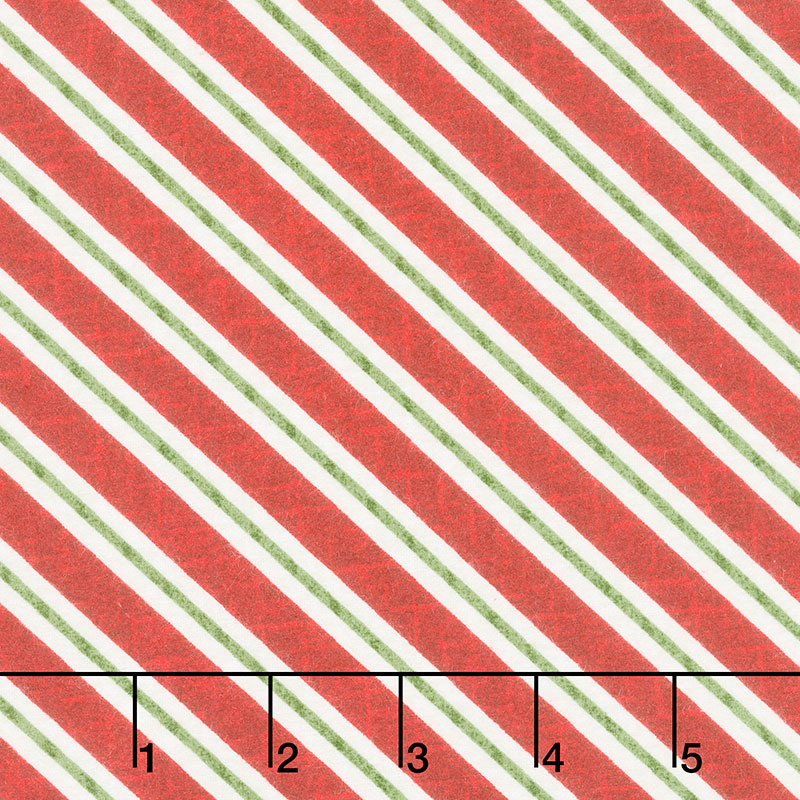 Snowdays Flannel - Candy Cane Stripe Red Yardage$10.96Shop →
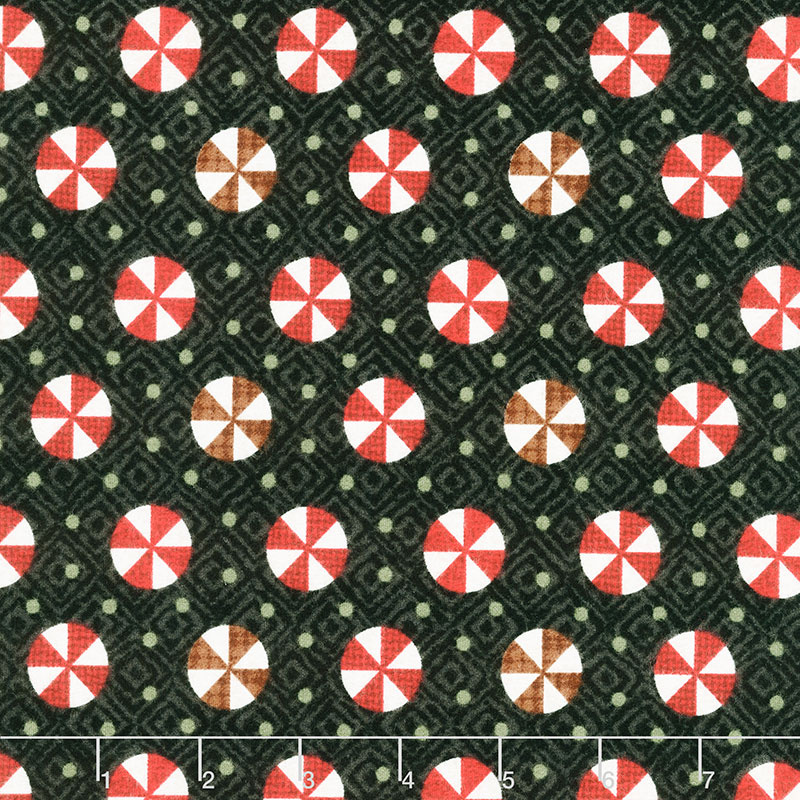 Snowdays Flannel - Peppermint Charcoal Yardage$10.96Shop →
- Missouri Star Large Wing Template$11.95Shop →
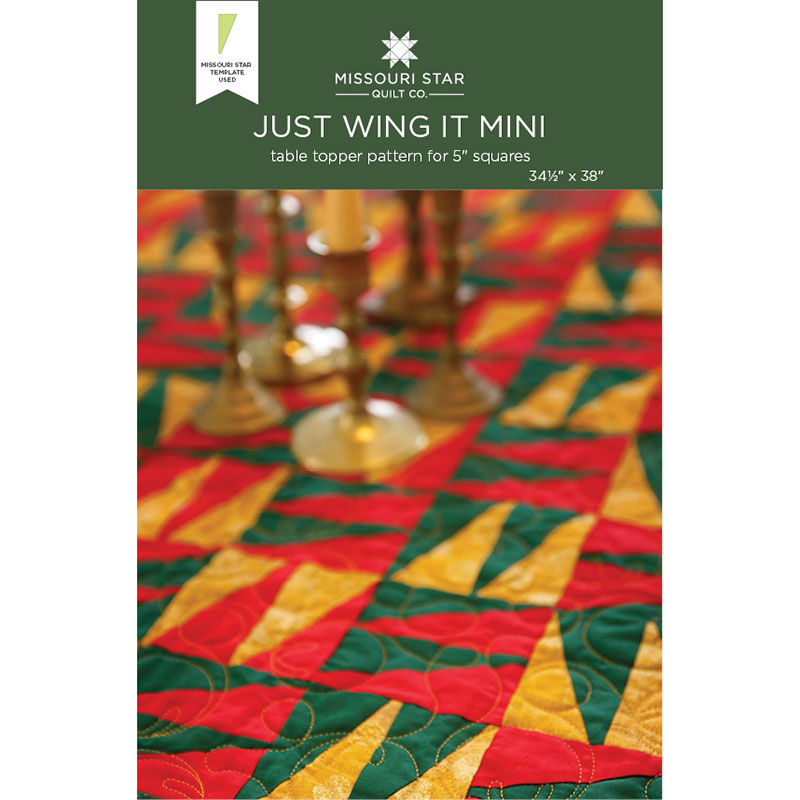 Just Wing It Mini Table Topper Pattern by Missouri Star$4.95Shop →
 Digital Download - Just Wing It Mini Table Topper Pattern by Missouri Star$3.95Shop →
 Bella Solids Red Charm Pack$8.95Shop →
 Bella Solids - Christmas Green Charm Pack$9.50Shop →
 Grunge Hits the Spot - Pumpkin Metallic Yardage$11.44Shop →
 Grunge Basics - Harvest Gold Metallic Yardage$11.44Shop →
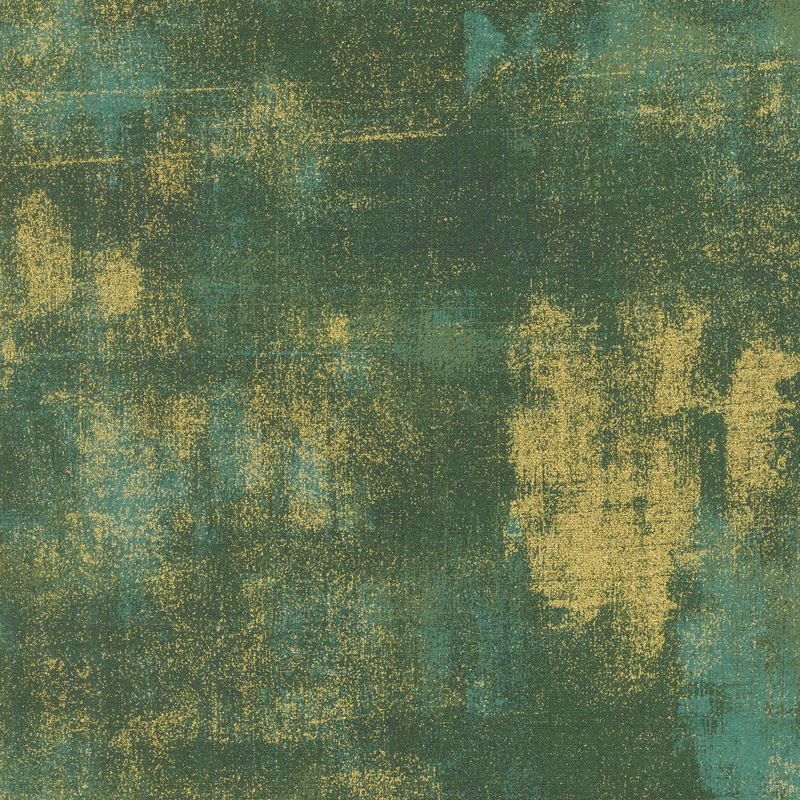 Grunge Basics - Christmas Green Metallic Yardage$11.44Shop →
- Missouri Star Small Wing Template$5.95Shop →
Common Questions
What is covered in Triple Play: 3 "Wing Template" Quilts with Jenny Doan of Missouri Star?
We have a new tradition here at Missouri Star: Triple Play! Once a month, Jenny, Misty, and Natalie each demonstrate their own, unique take on a favorite block, technique, or template. This week these talented Doan ladies are showing off three adorable quilts made with our bra...
How long is the tutorial video?
The tutorial video is 00:39:41.
Are supplies listed for this tutorial?
Yes. The tutorial page includes the supplies and materials connected to this project.
Is a transcript available?
Yes. A written transcript is available on the tutorial page.
Video Transcript
Misty and Natalie: Yep.
Jenny: Alrighty.
Natalie: Alright so my quilt I called Layered Diamonds and that is because I made these diamonds here and then these ones are on top of it.
Jenny: It looks so cool.
Natalie: It’s very logical.
Misty: I love it.
Natalie: But I think it turned out really cute and it’s going to be fun to make so
Jenny: It was fun to watch you make it because you were like laying it out on the floor and getting it just so.
Natalie: Ya it is one of those ones that you have to lay out before you can make the blocks and I know that’s a little bit more tedious in the beginning but then you just pin everything together and sew it up and put it back together like a puzzle, no big deal.
Jenny: It’s awesome. And I love, she always uses the floor. She has a design wall but she’s down there on the floor.
Natalie: It’s just easier to move things around and sometimes, so with the wall you have to pin everything in or it will fall down and I just like to get it all out.
Misty: And rearrange it.
Natalie: Yes, exactly. Rearrange as I go. To make my quilt you’ll need one package of ten inch squares. And I’ve used Glow by Wishwell for Robert Kaufman. You’ll need a quarter yard of each of two different accent fabrics. And I went with pink and green. You’ll need a half of a yard for your inner border. Your outer border you’ll need a yard and a quarter. For your backing you’ll need four yards with vertical seams or two yards of a 108 wide. Other tools that will be helpful are the large simple wedge template and the large wing template. Alright you’re going to take each of your layer cake squares and your whole layer cake you divide in half. So half of them you’re going to cut, get two of your simple wedge triangles.
Jenny: You want to cut them?
Natalie: Sure. I will do that.
Jenny: Do you want a rotating mat? I can make your dreams come true.
Natalie: Eh, I’m fine. I’m good and I’m just going to start kind of out here. This whole piece gets cut off so I’m not worried about going all the way to the edge.
Misty: Was there any rhyme or reason on how you split it up, like as far as lights and darks?
Natalie: Well actually the glow pack pretty has two of each.
Misty: Ok.
Natalie: It’s kind of pretty even.
Misty: One in each pile basically?
Natalie: Yes but then also the way that this works out if you’ll have two of these that match and then on your wing you get four out of it. So then you’ll always have the right number of pieces because you’ll need four wing templates to make this part and two simple wedge pieces to make the middle.
Misty: Oh perfect.
Natalie: Part. So it works out perfectly even if you don’t have doubles of everything you’re still going to have the doubles that you need from the cuts that you use in the ten inch square. Yes.
Misty: To make each piece. Ok.
Natalie: Yep. So I’m going to put this back and finish this cut. I got distracted and lifted it. I just need to scoot a little bit this way, Mom.
Misty: I’m sorry.
Natalie: You’re fine. You’re really close. And then this one just fits right up here nice and neat. And every once in a while you just have a little bit extra where those peaks are so I just cut those off. Whoops. And you’ll end up with two of your simple wedge triangles. And what we’re going to do is just cut the entire half into triangles and then the entire other half into those wedge pieces and I’ll show you how we do that.
Jenny: Do you want that one?
Natalie: Sure, it’s a great one.
Jenny: Oh that one is pretty too. This is a really fun line.
Natalie: Whichever one you want. It’s beautiful and bright and good for the holidays but I think it is also like a fun kids holiday quilt. It’s just so bright and fun.
Misty: Really cute.
Natalie: Alright so now for the wing templates what you want to do is fold your fabric in half because you’re going to need pieces that are opposite from each other. And by folding it in half you’ll get a front and a back. And I’m going to cut just along this one side. And I’ll line it up best I can with that corner. And then I’ll pull these apart and stick this on this section. And I will line it up with the angle because that’s a straight edge. And then I’m going to cut this fold off here and that one and then let me just turn this way. And there you go.
Misty: Get all those angles.
Natalie: Yep. So what you’re looking for are two pieces that fit nicely on both sides of your triangle, just like that.
Misty: So easy.
Natalie: Yep. So that is the whole quilt, this simple block. But the layout is the part where it gets tricky because you can’t just make them like this. They have to intersect. So this block right here has this candy print and this ornament print on one side and then this one, the same middle is hollys and red ornaments.
Misty: Oh I see.
Natalie: So you can’t necessarily make all your blocks the same or
Misty: Right because actually I’m noticing it in here, the sides are always a different print.
Natalie: The sides are always different.
Misty: Ok.
Natalie: Yep. So you’re going to go ahead and separate your layer cake into two piles, get them all cut and then once that’s done you’re going to lay your whole quilt out. And I’m going to show you how to do that. I’ve got some pieces already cut. So we’re going to start with, what I did to start out is I started making my, I started with the big diamond. Once you put all of those together, so these ones connect in rows up and down and point to point. So you can put your big diamonds together point to point and up and down. And then you’re just filling in the gaps with the other diamonds.
Jenny: Here’s two big diamonds.
Natalie: Alright. And I tried to, I just lined them up like this. It was an easy way to get started on that layout. And then what you’re going to do is add these guys and they are kind of particular. They have to go on the right sides. Whoops, no you’re right. So this one is going to go up here to create another diamond. So then you fill in
Jenny: Oh I see how it goes.
Natalie: Does that make sense. So this is how you have the two pieces that are opposite. This one goes, uhh, I’m
Jenny: See these are hard if you’re angley challenged.
Natalie: I am a little bit, I think.
Misty: And this way.
Natalie: Yes, thank you Misty.
Misty: You’re welcome. This way.
Natalie: Nope. That one has to be up.
Misty: How does that happen?
Jenny: Oh wait. Here’s another one.
Natalie: Let me just say the layout is a little bit of a challenge. But be patient. And if you have a better eye for angles it won’t be any problem at all. No problem.
Jenny: If you don’t, you just keep turning the piece until it fits.
Natalie: It will fit eventually. So your straight line goes in the middle. Your angled line goes next to the triangle. Alright? And I didn’t worry too much. There’s a lot of double prints so I didn’t worry if I had the same fabric as long as they were contrasting colors.
Jenny: Wait for it.
Natalie: The other thing is you have, you’ll have your outside edges so a lot of these pieces can be found in the sides or you know just in different places. You’ll see these two match up in these corners and then the same with these ones down here at the base. You’ll be able to get all of your edges and all of your sides.
Misty: And then it
Jenny: I put one in. It took me a while.
Natalie: Yay, good job. Awesome.
Jenny: Alright, what else do we have here?
Natalie: Well I don’t think we need to keep going. I mean it’s going to take a minute to lay all your pieces out but then what you’re going to do, when you get ready to sew, I separated mine just a little bit by rows. And then what I did is I put together these three pieces and stuck a pin in them. And if you are the person who writes letters or numbers on your rows, I would do, you know, row one, block one. And then you can stack up the whole rows and sew these pieces together. So let’s go ahead and stitch this one together, Misty, if that’s ok. You’re just going to do this piece. And I lined up the base.
Misty: Ok.
Natalie: And the point just hangs off a tiny bit which basically shows that you have a quarter of an inch so.
Misty: Ok.
Natalie: We’ll just do one side and then the other. And I didn’t press mine. You can press them on each side if you want to. I didn’t press until I had both sides on because I’m wanting to hurry up and get it done.
Misty: And then you just fold this back
Natalie: Yep finger press that back and then line this one up. Yep, just go point to point. And this should cross over just a little bit.
Misty: Ok. There’s a thread caught there.
Jenny: I’m thinking these would be really cute star legs too.
Natalie: They’re great star legs. These would be awesome in a number of projects.
Misty: There you go.
Natalie: And I’m actually really excited. Would you like to do one more by any chance?
Misty: Sure, I will do whatever you need.
Natalie: Ok. I’m going to pick these pieces up and give them to you.
Misty: Ok.
Jenny: I’m going to flip this over and make sure it’s right. Look how nice that is.
Natalie: Ok, so now that we have this piece I’m going to let Misty go ahead and sew that one and maybe this one, I don’t know. Ok so now that we have our little pieced square we’re going to square it up. These are going to end at 7 ½ by 8, 7 by 8 ½. So I started, always by trimming off the bottom because that’s typically my straightest edge. I know that that’s a piece that I cut from the template. It’s an easy place for me to start with squaring up these blocks and it’s not your typical square up that has a half square triangle line down the middle. Ok so I flip that around, line that up with the mat because in this situation we’re squaring using the mat and our ruler. I’m going to count over here to the 8 ½. One of the things that I like to watch for is this point. I want to make sure that I have enough to keep my point, although it’s not a huge deal if you don’t. They just kind of blend into each other a little better or you know, more than they should. Alright so as long as this is straight against that line then I’m going to go ahead and cut this one. Then I’m going to turn it and I’m going to center it because I need a, one, two, three, four, five, six, seven. So the reason that I center it is so that I can cut a similar amount off both sides. The other thing I look at is this point right here I want to kind of make sure that I have a similar amount. Although we’re going to cover that up with our 2 ½ inch squares so it’s not a big deal. It’s just for, when I eyeball, I eyeball with a plan. So I have a few things that I look at and then I just let the rest go. So I’m trying to make sure that in my one, two, three, four, five, six, seven, I’m about in the middle which is 3 ½. And then down here these are pretty similar. That’s all I look at. Then I’m going to go ahead and trim this side here.
Jenny: And you’re really just trimming little bits.
Natalie: Just trimming little bits and it makes them super easy to stitch together because they’re all the same size, they’re squared up, well rectangled. Whatever you want to call it.
Jenny: You’ve got two more here.
Natalie: Ok. So let me just square these.
Jenny: I think it’s good for people to see it a few times because they, you know, this is one of the things, people all the time when they make a block they’re terrified to cut it, to make a mistake. You know and I always say if you make a mistake then you square it to the smallest block.
Natalie: That helps a lot, yes. And it makes putting everything together so much easier.
Misty: So that was 8 ½ that direction, right?
Natalie: Yep, 8 ½. And then this goes to the seven. I’m not really using, I’m just looking at this grid and I know that I have seven across here because my block is already pretty close to that size anyways. It’s not really complicated. I could do this on any area. I could turn it, ya turning it is easier for me. But I do keep putting it back in line on this other edge so that I know that I’m going to continue to have that. One more.
Jenny: It’s interesting how, you know, I would probably start from this end because I’d be so afraid of losing that.
Natalie: I didn’t end up having too much trouble with that. I have done it both directions so ya that’s a great idea. If you’re worried about losing your point, start with your point edge and make sure that you leave a quarter of an inch so that you keep your point. And then flip it around to the other side. That’s a really good tip, Mom. I like it.
Jenny: Ok. Every once in a while I have one.
Misty: All the time. So many great tips.
Jenny: Well so many brains work differently and that’s my favorite thing in quilting is to watch how people come up with things because they, you know, they come at it from a completely different direction than I do, a lot of times.
Natalie: Alright so our next step in this quilt is to add the 2 ½ inch squares and that’s with our accent fabric. I have these pinks and these greens. And I just cut the whole thing up into 2 ½ inch squares. And then we’re just going to snowball these corners. So you’re looking for a block that looks like this. And what that means is that every time you have a block that looks like this you’re going to put a pink square on the right and a green square on the left throughout the whole quilt. There’s no more thought to it than that. They’re pink and green, right and left and as long as it’s facing this direction. So I will have you add these to this. And I, when I did it, I just did all of my right sides with all the pinks. I just string pieced them through and then I flipped that block around and did the left side with all the greens. So I’ll give you a couple of those. And you can draw a line if you want. You’re going to sew straight on the line, just a regular snowballed corner, point to point. Ya you can draw the line, press the line or use the seam tape or any other method that you have for snowballing.
Jenny: Misty, those nails are so pretty.
Misty: Thank you.
Natalie: Beautiful nails
Misty: There we go.
Natalie: Alright. So do you want to press, well we’ll trim these off.
Jenny: I’m just going to hand that off to Misty.
Natalie: Did we ever do this last one? I mean we might as well since we’re going to get all three of these blocks completed and then we’ll lay it out again so you can see how they fit in the layout. There’s that one.
Jenny: There’s that one. I’ll move this back here. Once you get the layout done though this does go together fairly quickly.
Natalie: Yes.
Jenny: And it’s pretty painless sewing but it’s got a beautiful look to it.
Natalie: I did think, after I got the whole thing sewn together, that it would be cool to snowball these corners too. Extra, all the snowballs.
Jenny: That’s another quilt.
Misty: Another layer of diamonds
Jenny: Triple layer.
Natalie: Now if we actually put a pin on it with a row one, block one, the layout goes back together so much easier. Because at this point I don’t even know which one is our first block because I can’t remember.
Misty: That’s all right. We’ll just play with it, right?
Natalie: Ya. Ok.
Jenny: Alright so I think I have this ready.
Natalie: Ok so once you’ve got your snowballs on then you can go ahead and start putting them back into your layout. It helps to have things pinned and I will usually sew a row and then put it back down with the original quilt so that I make sure that I stay on track because it’s pretty easy
Misty: I would label these blocks for my brain.
Natalie: Ya it’s pretty easy to get mixed up.
Jenny: And I would probably pick up two and go to my sewing machine and walk back.
Misty: Do one at a time, yep. That makes sense.
Natalie: Yep. So you can see here we have our, this one still needs its pieces which these guys go here. We’re just trying to reassemble the layout a little bit so you can see that you’re going to continue sewing.
Jenny: Oh ya and this guy is going to go in here.
Misty: Voila! Makes sense.
Natalie: Yep so
Jenny: It comes together.
Natalie: Ya, so that is how that goes.
Jenny: So how many rows do you have over here?
Natalie: So I have one, two, three, four, five, six, by one, two, three, four, five, six, seven. So six by seven. They are rectangular blocks so they can only go one direction. The quilt ends up 60 by 63. So we used this great Candy Cane pattern. It’s really cute. It has a large one and a small one. And the backing is this great, it looks like sparkly Christmas lights. There is one thing that I want to point out on this quilt though, on my inner border I think you can tell that I went up here and did this out into the inner border, this little extra piece that finishes off those diamonds. And that is a lot simpler than you’d think. It’s only on the top and bottom. The sides are just solid inner border, 2 ½ inch strips. So but these ones are going to be that 8 ½ length with a snowballed corner. So super simple. You just make sure that you know which one you’re working on. You’ll cut your 2 ½ inch strip into 8 ½ inch sections and I did kind of lay mine out because, you know, I wasn’t quite sure which one went which direction. But you’re going to want to make sure that you snowball the opposite direction with the opposite color so that you can continue that cute little four patch.
Misty: I love it. It’s such a pretty look.
Natalie: It’s super simple
Jenny: And then you get this.
Natalie: Yes, yes. And then we made a mini version because with the little wedge we have little mini tools. So this is my mini and it’s made in exactly the same way except I only used pink because I thought it would be cute. To make the Mini Layered Diamonds table runner you’ll need one package of five inch squares. And I’ve used Glow by Wishwell for Robert Kaufman. You’ll need a half of a yard of accent fabric. You’ll need a half of a yard of your outer border. You’ll need a yard and a half for backing. Other helpful tools are the small simple wedge template and the small wing template. And I didn’t finish out the inner border. It was a tiny table runner and I was like, eh. I’m just going to do this quick little thing.
Jenny: Look how cute. It’s really fun.
Misty: It’s such a fun little runner
Natalie: Ya.
Jenny: Love the quilting on it
Natalie: Thanks.
Jenny: You did that yourself, didn’t you, girl?
Natalie: Yep. I sure did.
Jenny: Alright, so Misty are you up next?
Misty: Sure.
Natalie: Alright, let’s see what you did.
Misty: Alright, this is my quilt.
Jenny: I love this quilt, Misty. This is so cute.
Misty: Thank you. I’m really happy with it.
Jenny: I love that it’s too big for our space. It’s awesome.
Misty: It’s a really good size. It finishes 84 by 84 and I decided to call it Christmas Tree Farm because that’s what it reminded me of, all these trees out in a field for us to go pick during the holidays. And it’s really, really simple to make. To make my quilt you’re going to need one package of ten inch squares and I’ve used Hustle and Bustle by Basic Gray for Moda. You’ll also need four yards of background fabric, 1 ½ yards for your outer border and 7 ¾ yards backing or 2 ¾ yards of 108. And you’ll also need the large wing template. So let me show you how I did it. You’re going to take your entire layer cake and you’re going to cut it all the same way. And so I started by putting my wing just in the bottom corner like this. And I did stack up a few at a time just to make it go faster but we’ll just cut one layer cake for now. And then you don’t want to flip your template. You just want to spin it. Because if you flip it you’re going to get pieces going the wrong direction and I had all of my trees going the same direction.
Jenny: Like right from the beginning you figured that out?
Misty: Um, no it took some testing because I tried to fold it first and it just doesn’t work so I just kept flipping it back and forth across my square.
Jenny: And for this quilt you only used the wing, right?
Misty: Yep, exactly. Just this large wing template. So you can see how that works out. Whoops, there we go. And you would just keep going. You’ll get four out of each layer cake square. And then you’re going to pair those with a background piece. And so it’s actually cut the exact same way. You also want to make sure that your template is facing the same direction as when you cut your tree pieces. And so
Jenny: Ok so if you laid them on here they would be identical?
Misty: Exactly the same.
Jenny: Ok that makes sense.
Misty: And if you want to sew just one of those together I’ve got more ready.
Jenny: I would be happy to. Alright so people are always looking up for, you know, what do you line up where do you go and so if we just put that corner on that corner and this corner on this corner it should just come out perfect. With any luck, right?
Misty: Or close to it, close enough that’s for sure.
Jenny: Alright. I took off like a race there. Alrighty.
Misty: And Nat if you want to go ahead and press that. And then to make our blocks we’re going to put three of these together.
Jenny: Three little trees.
Misty: Three little trees, that’s right. I’m going to switch it for this green one. It will show up better.
Jenny: Well some of the fabrics are just so cute. I love this line anyway.
Misty: I love this so much. And then I’m just going to sew these three together. So if you want to do that.
Jenny: Alright. Lay it on here. So there’s no trimming at this point?
Misty: Not at this point.
Jenny: Alright let me see here.There we go and one more. And you do have to look to make sure they’re all going the same way. You don’t want one tree standing on its head.
Misty: No you don’t.
Jenny: That would be something I would do. I would have my quilt all finished and be looking at it and going how did I do that?
Natalie: Some people do hang their trees from the ceiling.
Misty: I know.
Jenny: I’ve seen that. That’s pretty cool. Alright there we go.
Misty: There we go and we just want to press that. Alrighty. So now for this quilt to get the staggered effect we actually have an A block and a B block. And the only difference is for the A block you’re going to sew it on the top and for the B block you’re going to sew the strip on the bottom. And this just measures 2 ½ by 11 and so that’s what you’re going to add. So let’s sew it to the top of this one for our A block. And then I have another here that we can make into the B block. So we’ll add it to the bottom of this one. There’s that one.
Jenny: This one on the bottom.
Misty: There we go. Perfect. Alright and then Nat I’ll have you press this and let me show you how this layout works because it’s really simple. You just alternate between your A and B. And the rows actually continue the same. So the next row will still start with an A block and then a B block so that your trees are still staggering. So you don’t actually swap, you know, sometimes we’re tempted to start with a B here but that’s not what I did.
Natalie: So all the rows are A, B, A, B?
Misty: Ya your columns remain exactly the same all the way down. So that’s it. It’s as simple as that.
Natalie: I love it. No squaring.
Misty: No squaring. It comes together really nice. You can see I added a nice big six inch border. And the quilting pattern I used is called Christmas Lights. It’s so cute.
Jenny: And did you make something else?
Misty: Oh I did. We made some little runners. So I actually got two runners out of one charm pack. I just used some solids. But I think it’s so cute. This one I didn’t do a border. And on this one I did. Oops, it’s upside down.
Jenny: So both of these runners came from one charm pack?
Misty: One charm pack
Jenny: One of those things that go a long way.
Misty: It makes your fabric go real far.
Jenny: That is awesome. I love it.
Misty: To make the Tree Farm table runner you’ll need one package of five inch squares. And I used the Kona Paintbox Basics by Robert Kaufman. You’re going to need 1 ¼ yards of background fabric. And I just used this white. And an additional half yard for your outer border which I used in white as well. For your backing you’ll need 1 ¾ yards. And you’ll need the small wing template.
Jenny: What did you call this again?
Misty: This is Christmas Tree Farm and this is just the Tree Farm runners.
Natalie: I think this would look great in a full size quilt.
Misty: I agree.
Natalie: For my birthday.
Misty: Ok, perfect. Perfect, now I can add it to the list.
Jenny: There you go.
Misty: Maybe next year but eventually. Alright, so Jenny you’re up next.
Jenny: Ok let’s do it.
Jenny: So it’s my turn and this is my quilt right here. First of all it’s made of flannel and it’s just so cozy and comfy and second of all what interested me in this template was the idea that we could make half rectangle triangles out of them. It’s an easy way to do that, you know, and for a lot of us we’re like how do we get, how do we get. And this makes it so easy. So to make this quilt you’re going to need one package of ten inch squares. And we have used Snow Days by Bonnie Sullivan for Maywood. You’re going to need a half of a yard for your inner border. And for your outer border you’re going to need 1 ¼ yards. For your backing you’re going to need 4 ¾ yards or 2 ½ yards of a 108 wide. For your binding you’re also going to need ¾ of a yard of fabric and we used this stripe. We also used the large wing template. And you’ll probably need a ten inch ruler to square your project with. What I did with mine is I took two pieces and stacked them up and these were my partner pieces if you will. And because they’re flannel they stay together so nice. And I folded mine in half. I wanted a piece that went one way and the other way. I wanted the two differences and so I’m going to start here like this. And I’m going to cut it just in from the little pinked edges so I would be trimming that off.
Natalie: Did you have trouble cutting through four layers of flannel? Or was that no big deal?
Jenny: It was really no big deal. Flannel cuts like butter. I mean and it sews like butter. It’s also so forgiving. I mean it’s just super forgiving as far as seams or you know, boo boos or anything like that. It’s super easy. Alright so now again I’m lining, like Natalie I’m going to use this edge as my cutting and I’m going to come and cut right down the side, across the bottom and this little notch on the top. Alright so then what I did was I kind of just swapped mine out. So I had the same two pieces here so this is going to make the one side of the block and you’ll get two blocks out of these pieces but you have to take one from each side to make it work. And so on this one over here, again I’m going to put this one this way and then this one this way. And you have your two going the same direction. So Misty if you want to sew these together. And I’m going to set them up. And flannel, again, is one of those things that when you put them together they are not moving much.
Misty: I do love that, that they kind of hold.
Jenny: Hold on. So you can chain piece these so once you get these pieces cut.
Misty: I can’t find the pedal.
Jenny: That was my long leg. I sewed last. And it just went all the way under. We can do all four of these. And I have to check each time to make sure they’re still going to match up. And here’s another for you and then this last one. And they do, they just hug onto each other so they can keep going and snip this. And Natalie, I’m going to let you press these open.
Natalie: Ok
Misty: There we go.
Jenny: Alright and then these two. And then once you get those done Misty can sew those together. It’s way fast when you have help. You have an ironer, you have a sewer.
Misty: Team sewing.
Jenny: Yep. So then these again, you’re going to make sure they’re going the same direction, line them up and put them on there.
Misty: Ok. Oh, it started to shift a little bit on me there. I have to pull that out.
Jenny: Alright. You might have to Jenny rip it. There you go. That is a Jenny rip.
Misty: That is a Jenny rip. Now you know.
Jenny: They talk about this, are we going to Jenny rip this? Ya, that’s a Jenny rip. Now don’t try that with batiks. And if you want to do that you want to make sure that your stitch length is not tiny because it won’t come apart if it’s not tiny.
Misty: And we learned after watching you, that you have to be committed to it
Natalie: Oh ya, if you hesitate
Misty: It does more damage.
Jenny: If you start that little, a few threads and then you’re just like pfft. Alright here’s this one and we’ll press that. All this business going on around me. Uh oh, you missed this little. Oh we can’t Jenny rip that
Misty: Oh no! No.
Jenny: Let me get the seam ripper.
Misty: How did that happen?
Jenny: Well it’s just one little stitch. It’s just, oh there we go. So I’m just going to clip this little edge right here and then you can fix that right there. There we go. And then, Natalie, if you’ll press that open. Now on my block you can see that what I did here is I have a block going up and down and a block going sideways and a block going up and down. So my blocks have to be square. And so there’s a little bit of trimming and a little bit of waste I don’t love. But I think the outcome is worth it. So what we’re going to do is we’re going to measure how wide this is. Now everybody, with your seam allowance is going to come out your size so see what size it is. And mine comes out to, let me measure this right here. It should be pretty close to 7 ½ I think. So let’s see. So we are at 7 ½ wide which means we need it to be 7 ½ inches tall. So I’m here like this. And you can see I’m an easy nine. Alright so then we’re going to square this because it’s 7 ½ wide, we’re going to square it to 7 ½ long. So what I’m going to do is I’m going to take some off the top and I’m going to take some off the bottom. So I’m going to start up here and I’m going to take, oh I don’t know, just a little chunk off. And then I’m going to come over here and I’m going to count it to 7 ½. One, two, three, four, five, six, seven, eight. So I know I need to do the half inch right here. So it’s like about, you know, mine is about ¾ of an inch off either side. I didn’t worry about losing my points because what I wanted to do with this is I wanted to put it together fence rail style. So again
Misty: I love how it turned out. I think it’s so cute.
Jenny: I think it’s really fun. It’s just a really quick quilt. And of course I love the look of the half square triangles, you know, I mean, I’m sorry the half rectangle triangles. I love that look. And there are so many things that you can do. I mean once you have this unit done, I mean, there are so many things you can do with that. So I’m going to take this piece off here. And then we’re going to come over, five, six, seven and a half right here. And trim this off. And so then once you get your little blocks squared like this then you can put them together like a fence rail. So let me show you how I did that. Alright so I have one block here and it’s going, I’m looking at these going up and down. This one will go sideways. You know, this one will go up and down. Let’s put a whole different one in here. Up and down and this one will go sideways. And so it’s just a matter of up and down and turn and up and down and turn. Just like this. When you start the next row, you’re going to start it like this. And this one will go up and down. Sideways, up and down. And so that’s how you lay it out. Let’s see we’ve got here, we’ve got one, two, three, four, five, six, blocks across and one, two, three, four, five, six, seven, down. Now whenever a line, you guys know I’m crazy about a bias stripe. And this one has a bias stripe. That doesn’t mean that we cut it on the bias but it means it’s printed on the bias so that if we cut straight pieces we’re getting that bias look. And of course I wanted to use, in the binding, I love a bias strip in the binding. But it was so cute, I decided to use it also in the first border because I just think it made this quilt pop. And, you know, it’s just fun to be able to use a bias stripe.
Misty: Stripe binding is always a good idea.
Jenny: And so just watch for those in fabric lines when they come out because those stripes, those are our favorites for things like that. So this was my quick easy project. And I have a little mini as well. So this was the big wing now we’re talking about the little wing and I have it right over here. It’s exactly the same way, exactly the same pattern. But look how cute this is in this fabric. So to make the Just Wing It mini, you will need two charm packs of solid colors and we have used Bella Solids green and Bella Solids red for Moda. You’re going to need, for your backing 1 ¼ yards. You’re going to need for your border, you can see on the quilt here we’ve used this nice green. And you’re going to a ¼ yard for that border. For this background fabric right here, you’re going to need two fat quarters of that. It’s also helpful to have the small Just Wing it template. Now one of the things that’s fun about this is this is just a pack of green solids and a pack of red solids and then we chose this kind of gold, this is a grunge fabric for the background. And we actually had, you know, we didn’t have any border fabric because this is just a mini we made up of what we had in the studio. And so we found this kind of grunge out here that had the gold in it and I think it looked really nice to add to it. Look at it, we quilted it with Jingle Bells which I think is so cute. It’s fun to use those Christmas quilting patterns when we can. And on this one over here, it has the meandering snowflakes and on a flannel it’s going to be a little hard to see because, you know, they blend in and they’re busy.
Natalie: It shows up better on the back.
Jenny: So let’s look at the back. Look at this fabric with the snowmen and you can see, here’s a little snowflake and then it meanders down here and it’s a little snowflake and it meanders, you know. And I mean, it just makes, it’s a really cute quilting pattern. So I put a six inch border on here with my striped binding and by the way, when you hand bind flannel, oh it’s so nice.
Misty: I don’t know that I’ve ever bound with flannel.
Jenny: Oh it’s just like, really like butter. I mean your needle just slides through there so nice so it’s. So that’s my project.
Misty: I love it. It’s so great.
Jenny: So this was really fun, you guys. We got to use a new template, a large wing and the small wing and they pair up with the simple wedge and it just makes it really fun. I hope you enjoyed our three great quilts and our mini quilts. These were such fun projects. Yep, bonus projects from all of us. Anyway, we hope you enjoyed this Triple Play from the Missouri Star Quilt Company.
We hope you enjoyed watching this video. If you’re not already part of the Missouri Star quilt family you can hit the subscribe button below so you won’t miss a thing. And if you click that bell it will notify you every time a new tutorial comes out. See you next Friday.



