Skip to content

Free quilting video tutorials from Missouri Star

Quilting Tutorials
Triple Play: How to Make 3 NEW House Block Quilts

Triple Play: How to Make 3 NEW House Block Quilts

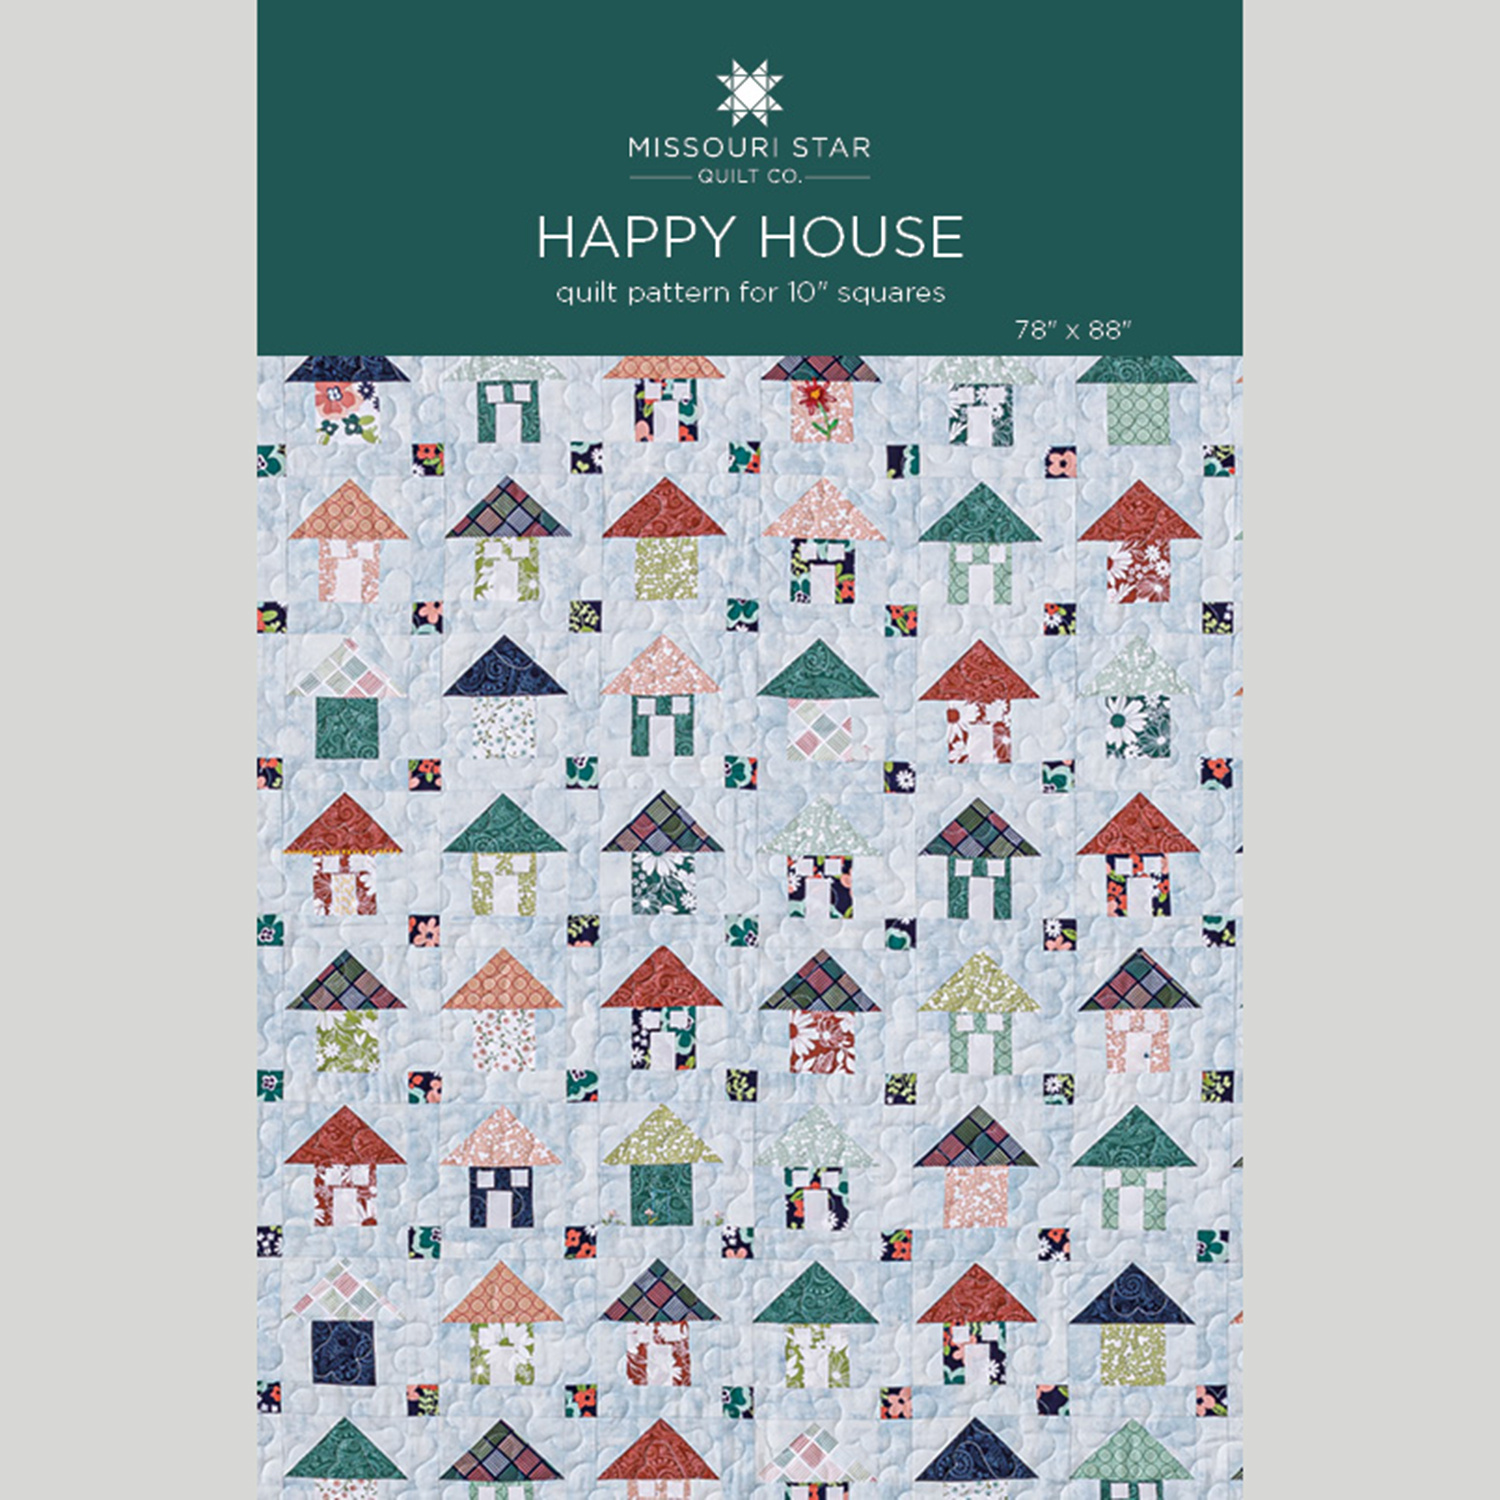
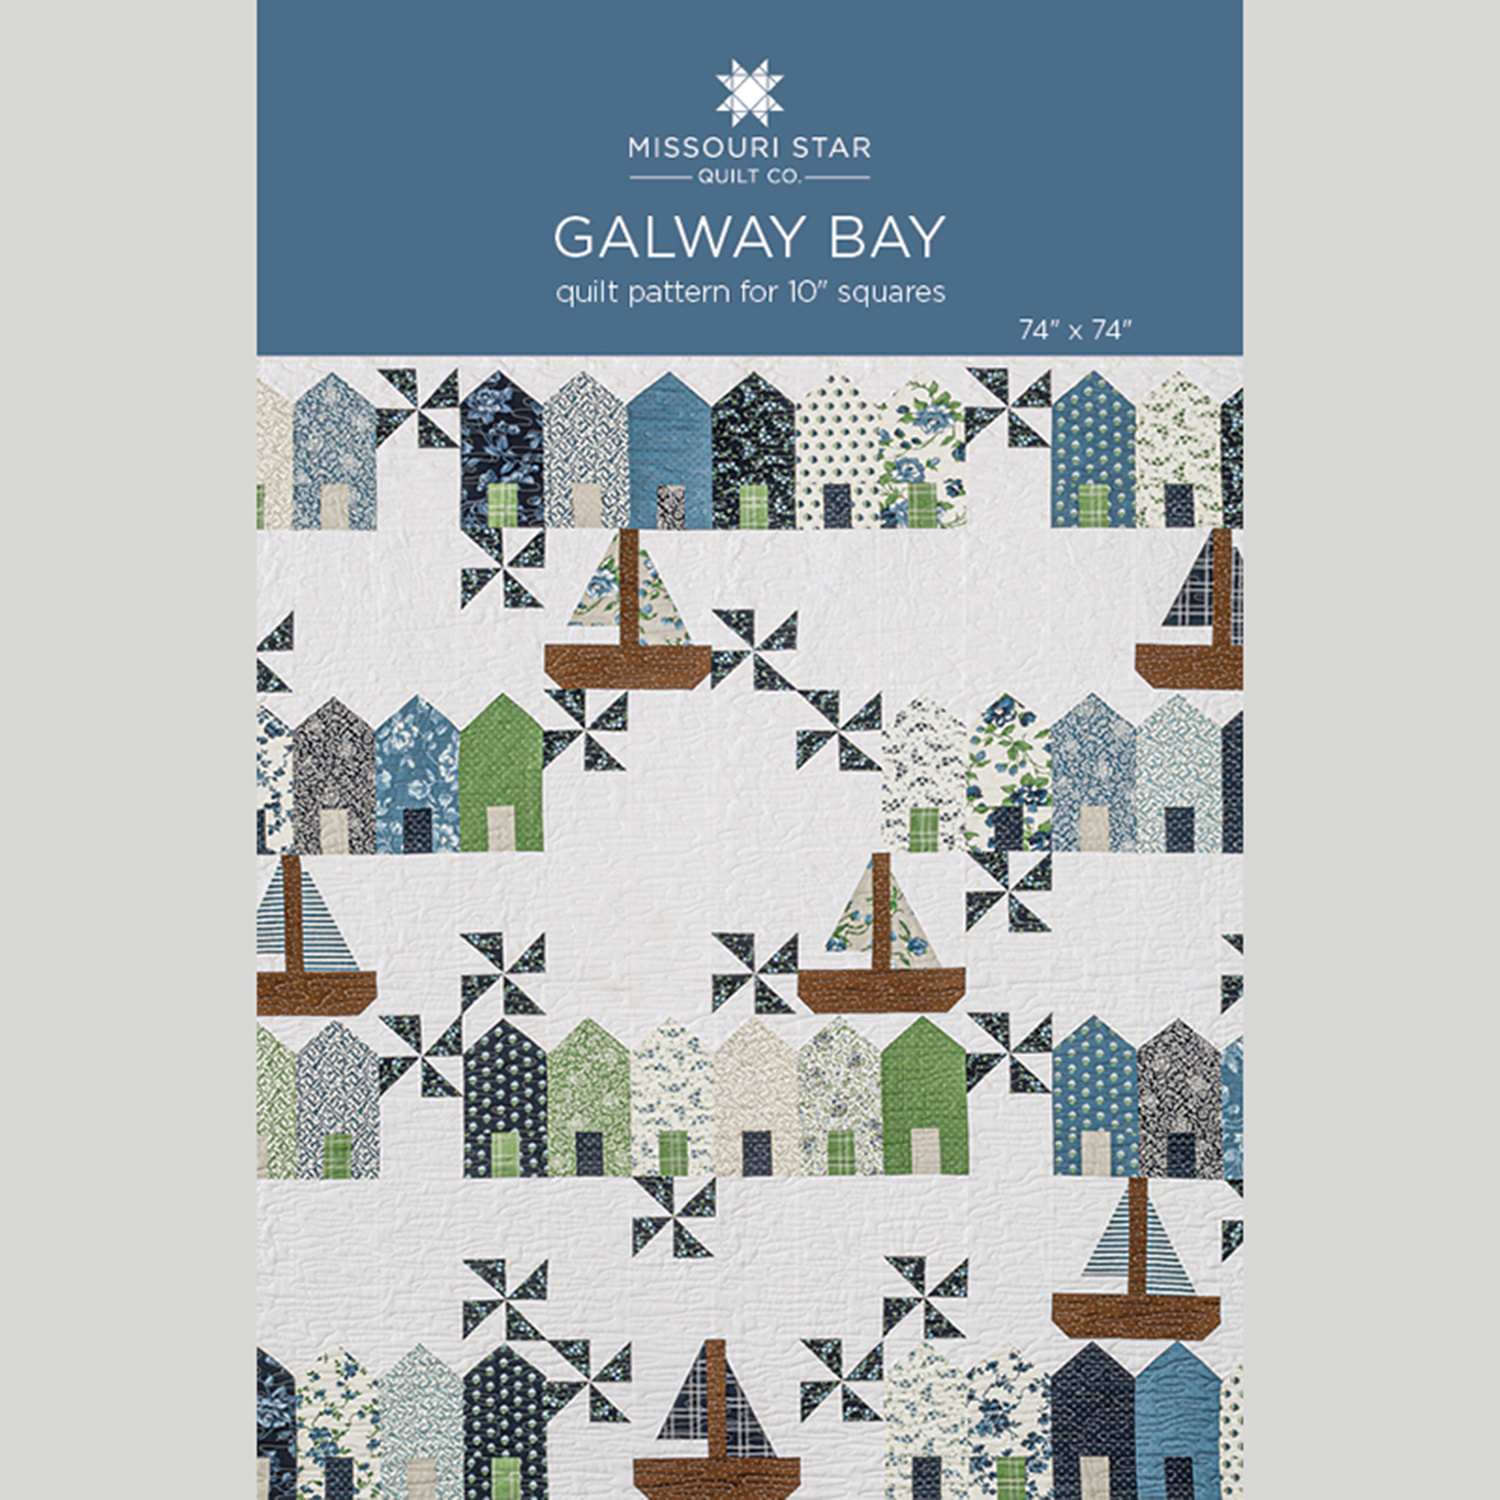
It's Triple Play Day, and the Doan girls have dreamed up three new house block quilts: Natalie's Happy House quilt is filled with itty bitty houses. Look closely, and you'll find applique windows, embroidered flowers, and more! Misty's Galway Bay was inspired by a trip to Ireland. Boats, pinwheels, and house blocks are set against a white background with water-themed quilting. Jenny's Neighborhood Nights quilt is made with a black background and the extras become TWO table runners!

Instructor

Jenny Doan

Jenny Doan is an American quilter, author, and YouTube personality. Jenny started Missouri Star Quilt Company in 2008 and today it is the largest quilting supply vendor in the United States.

Common Questions

What is covered in Triple Play: How to Make 3 NEW House Block Quilts?

It's Triple Play Day, and the Doan girls have dreamed up three new house block quilts: Natalie's Happy House quilt is filled with itty bitty houses. Look closely, and you'll find applique windows, embroidered flowers, and more! Misty's Galway Bay was inspired by a trip to Irel...

How long is the tutorial video?

The tutorial video is 00:49:49.

Are supplies listed for this tutorial?

Yes. The tutorial page includes the supplies and materials connected to this project.

Video Transcript

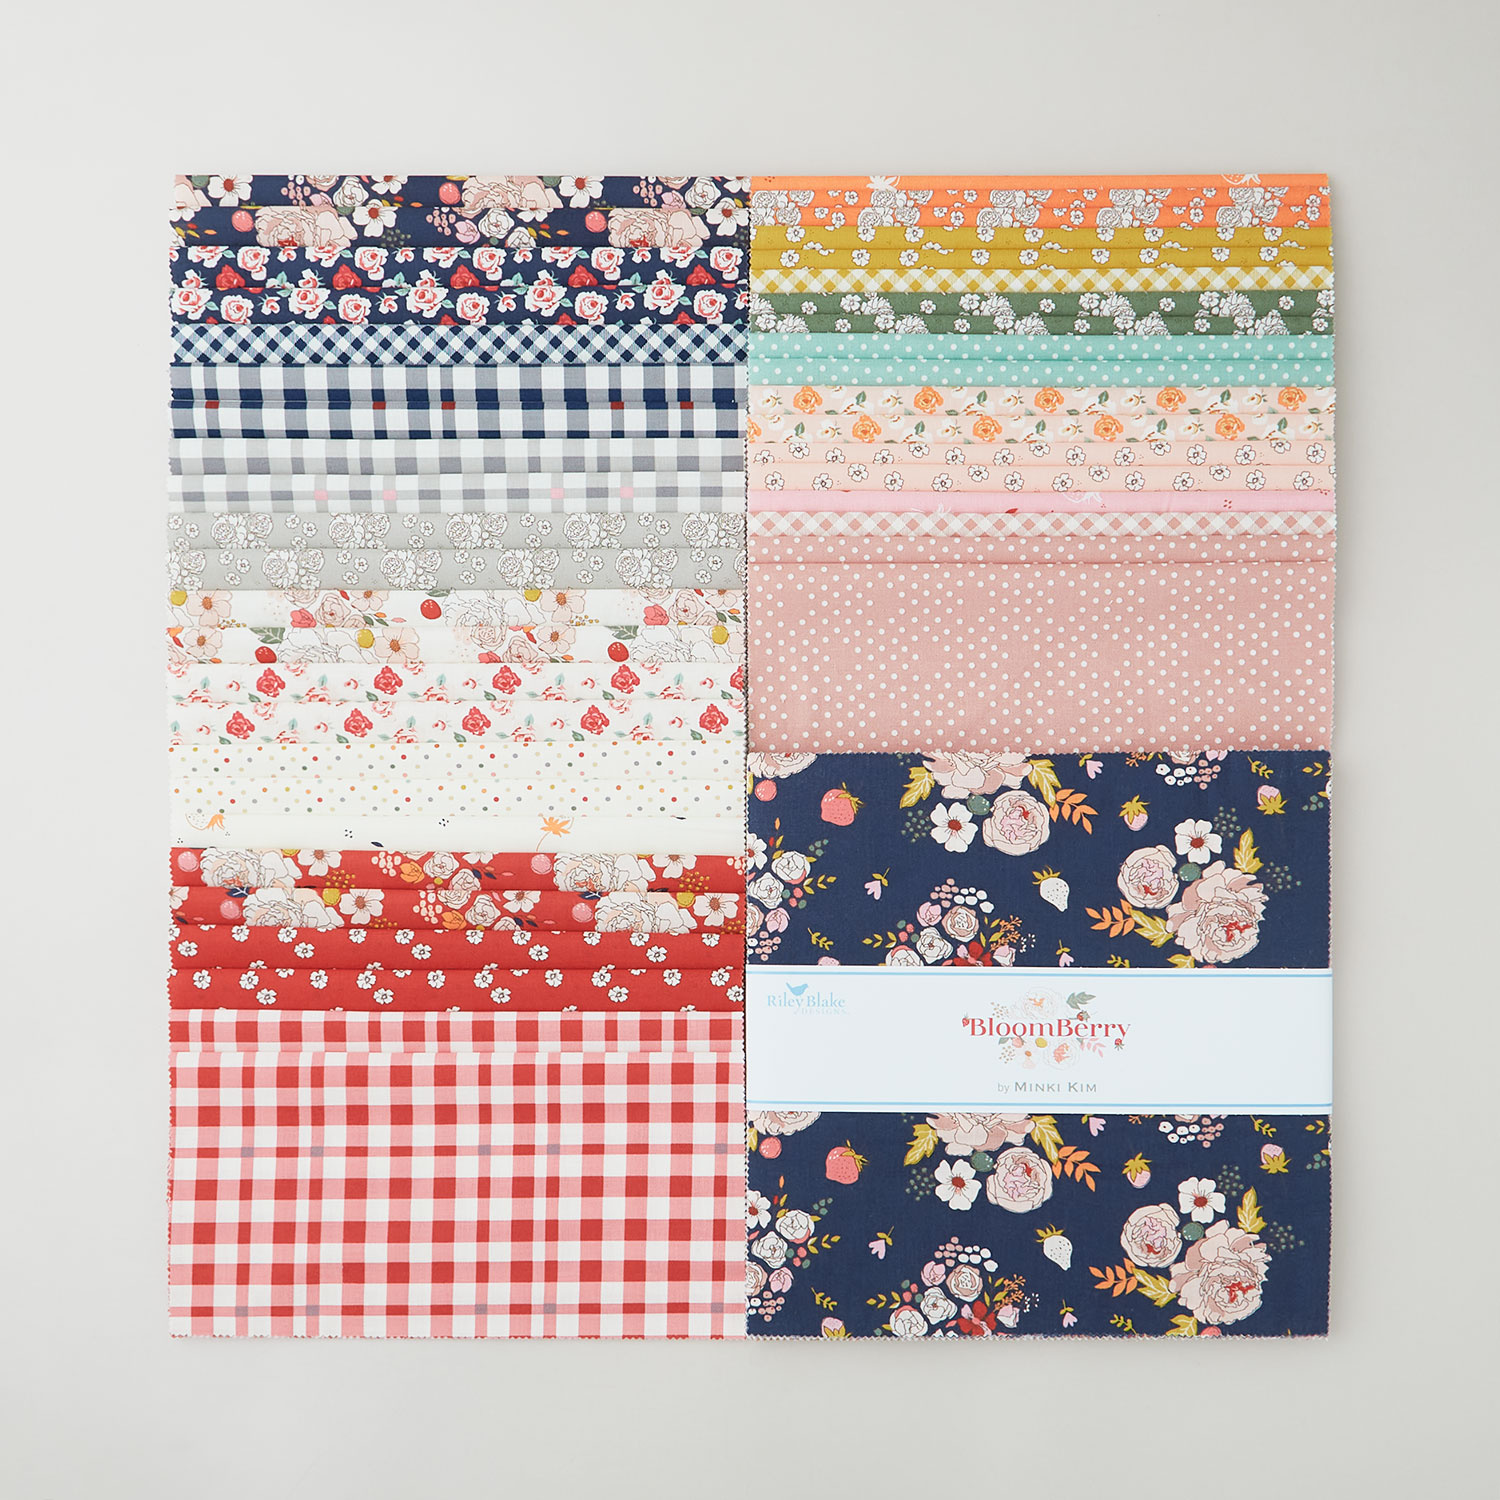
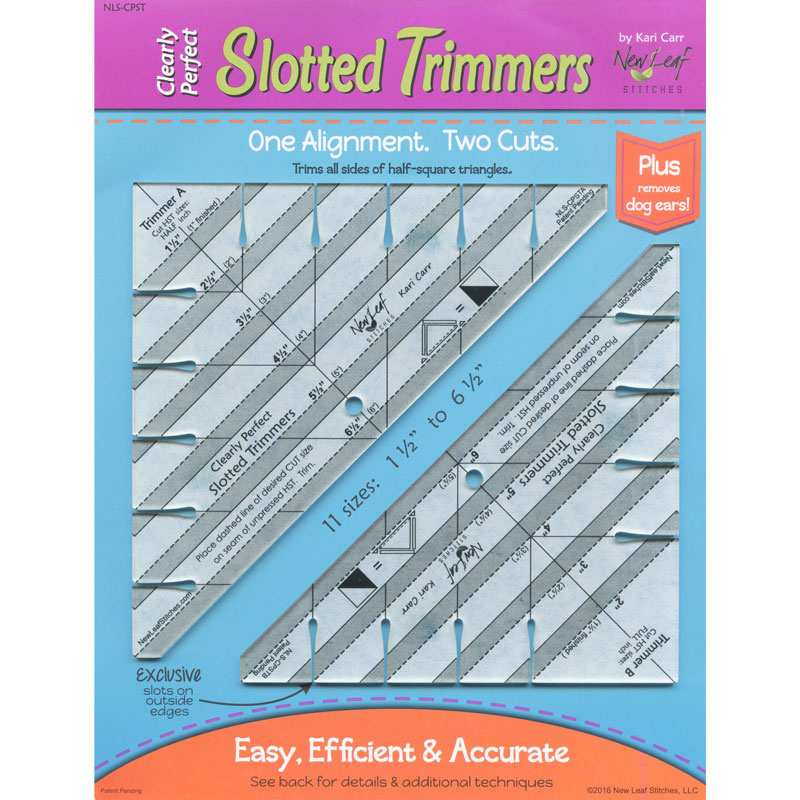
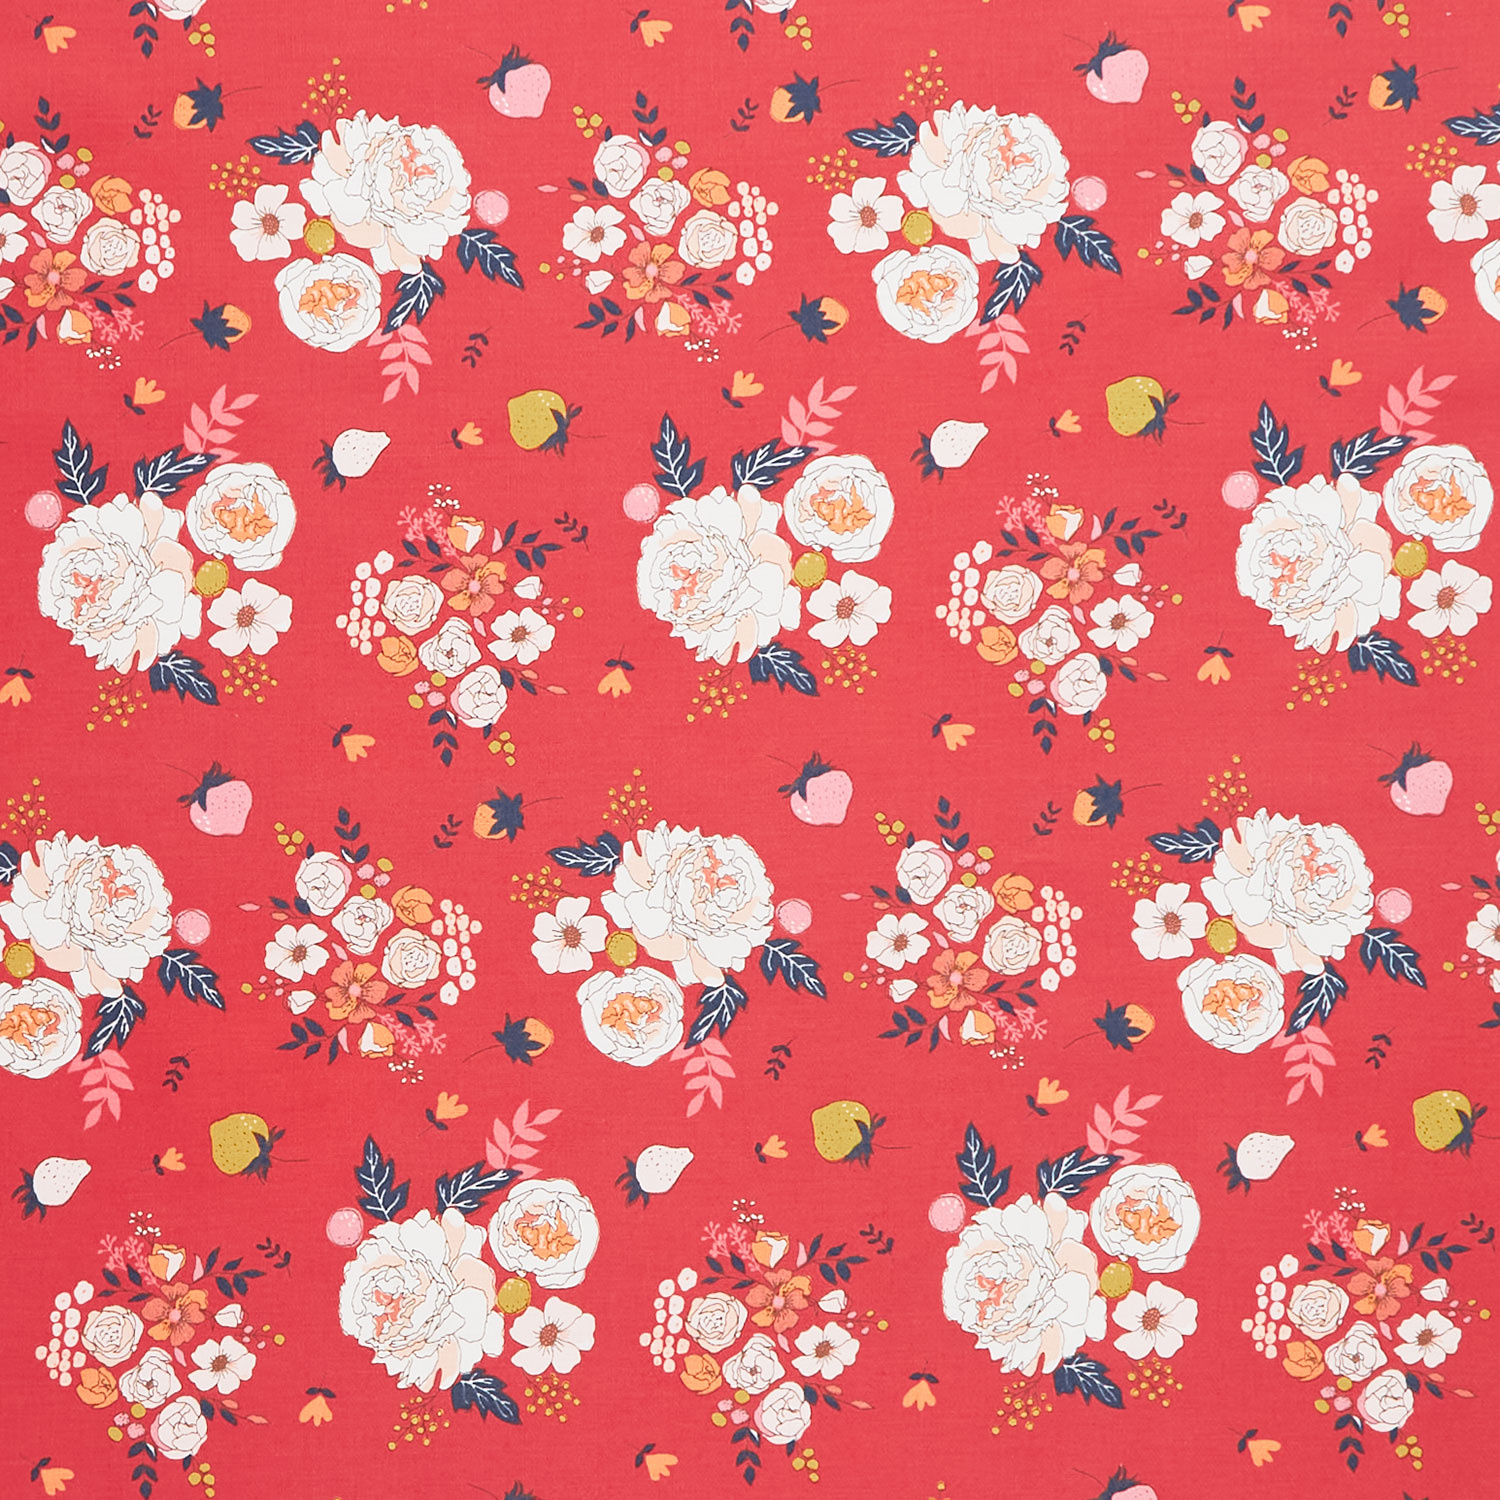
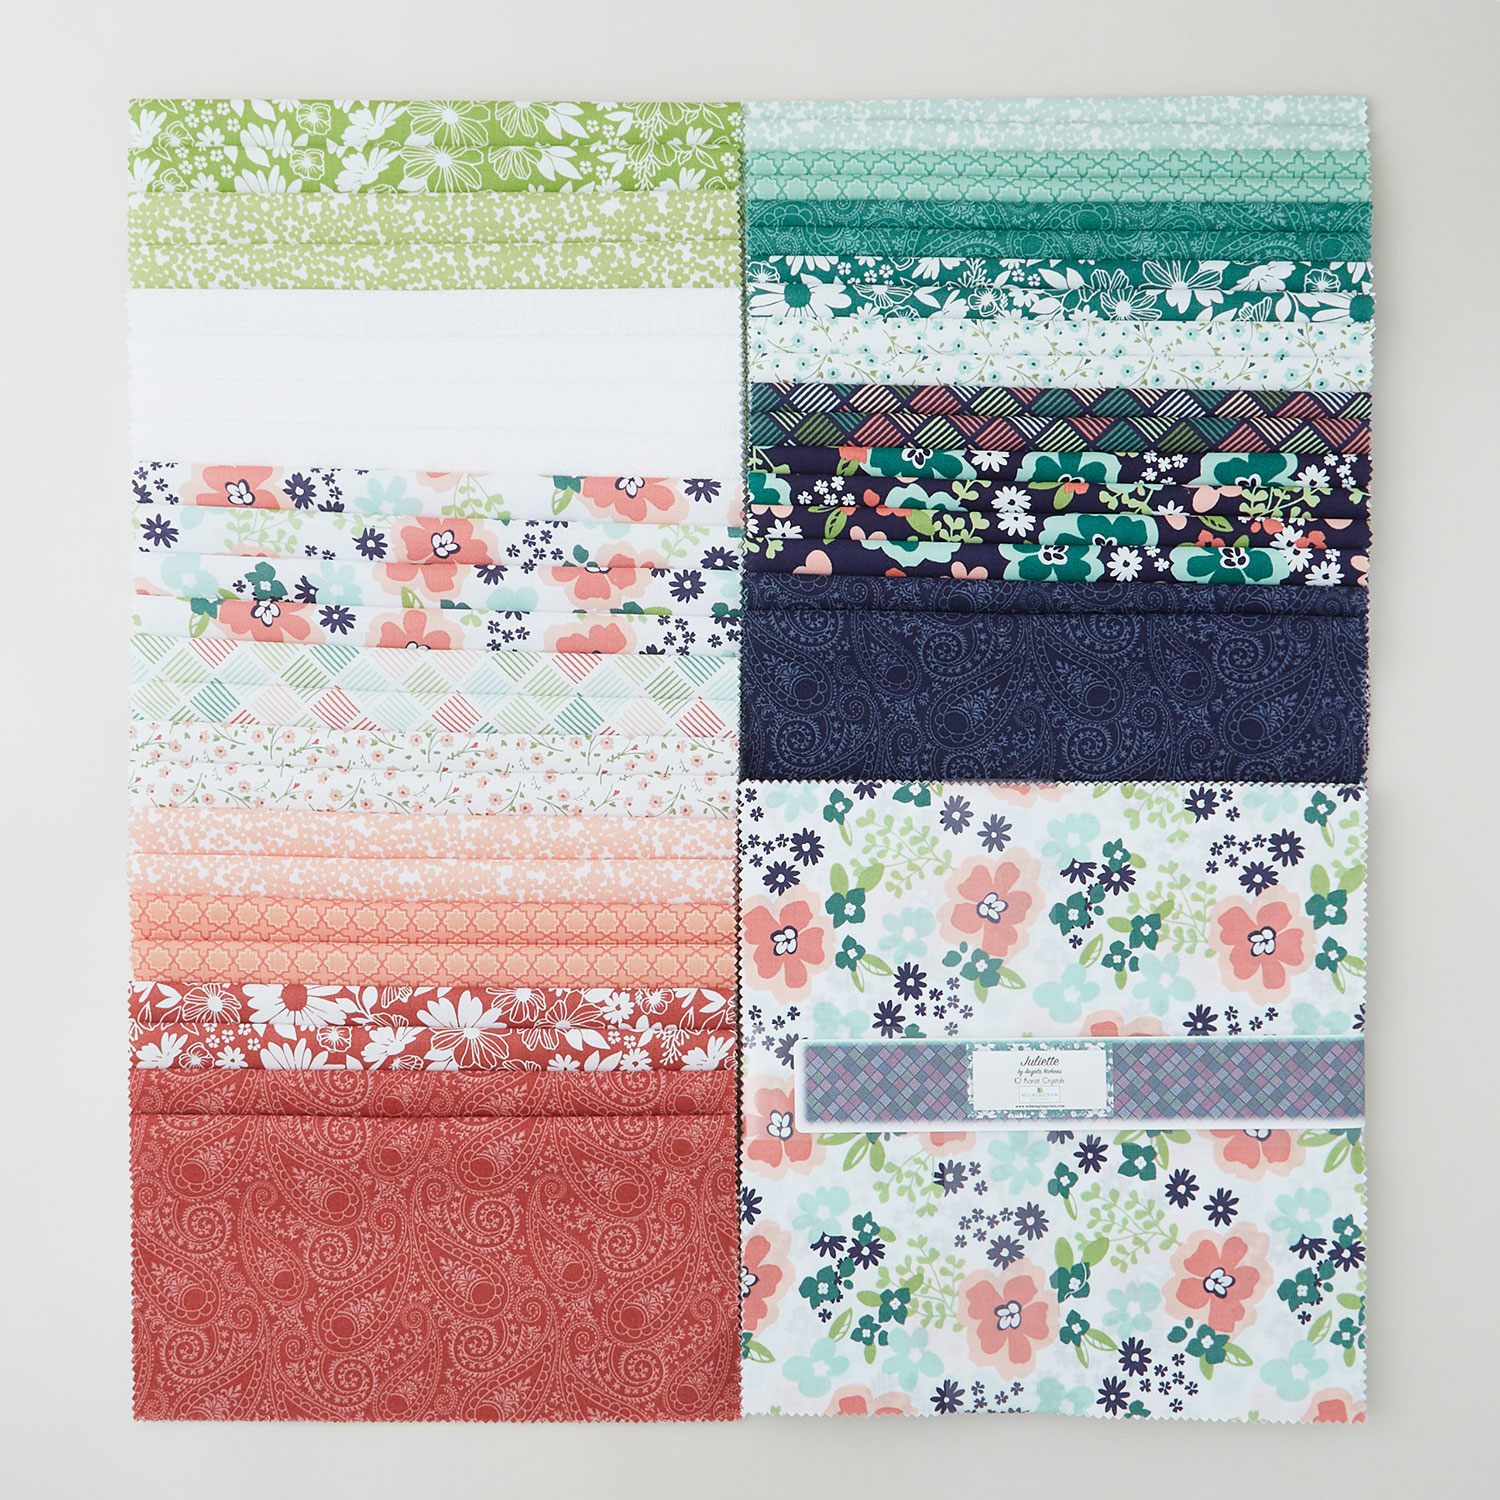
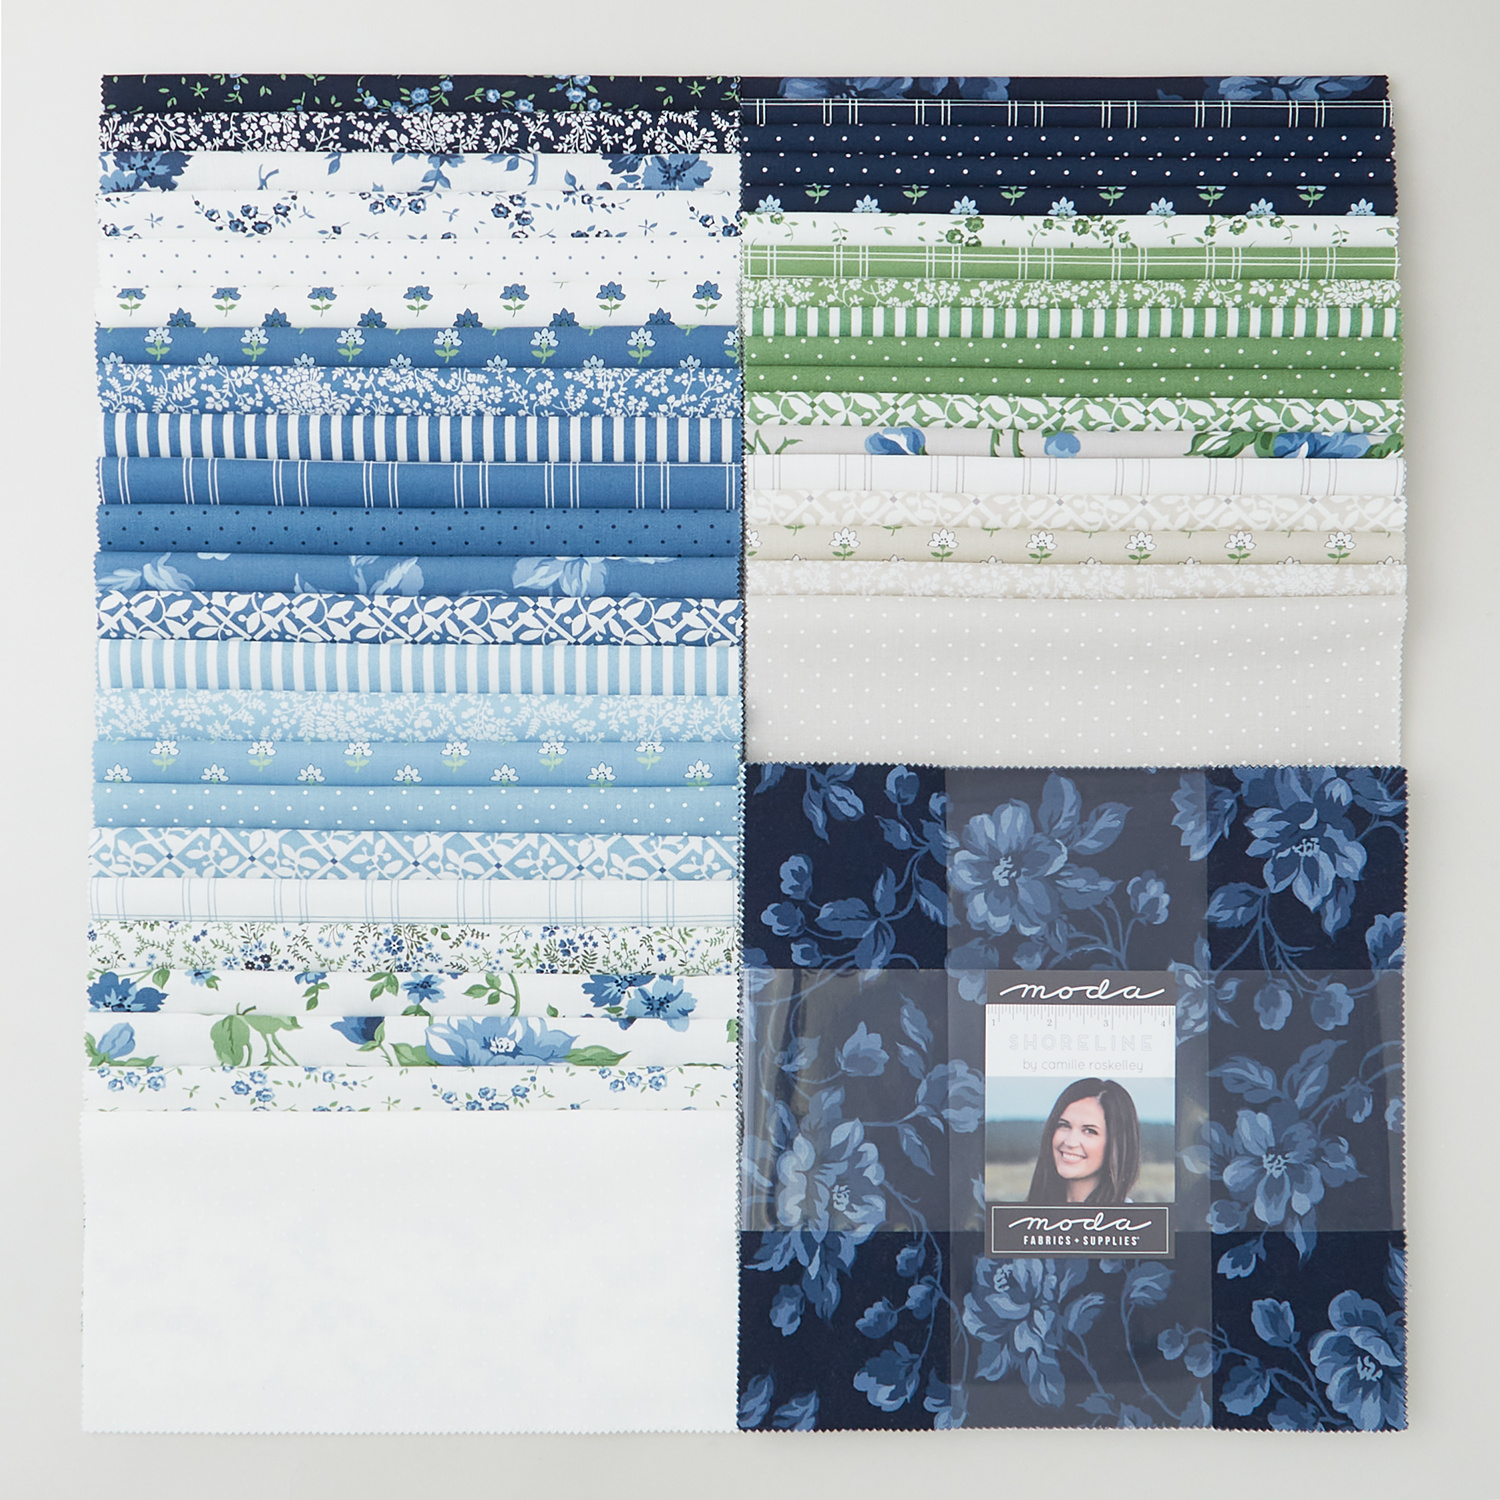
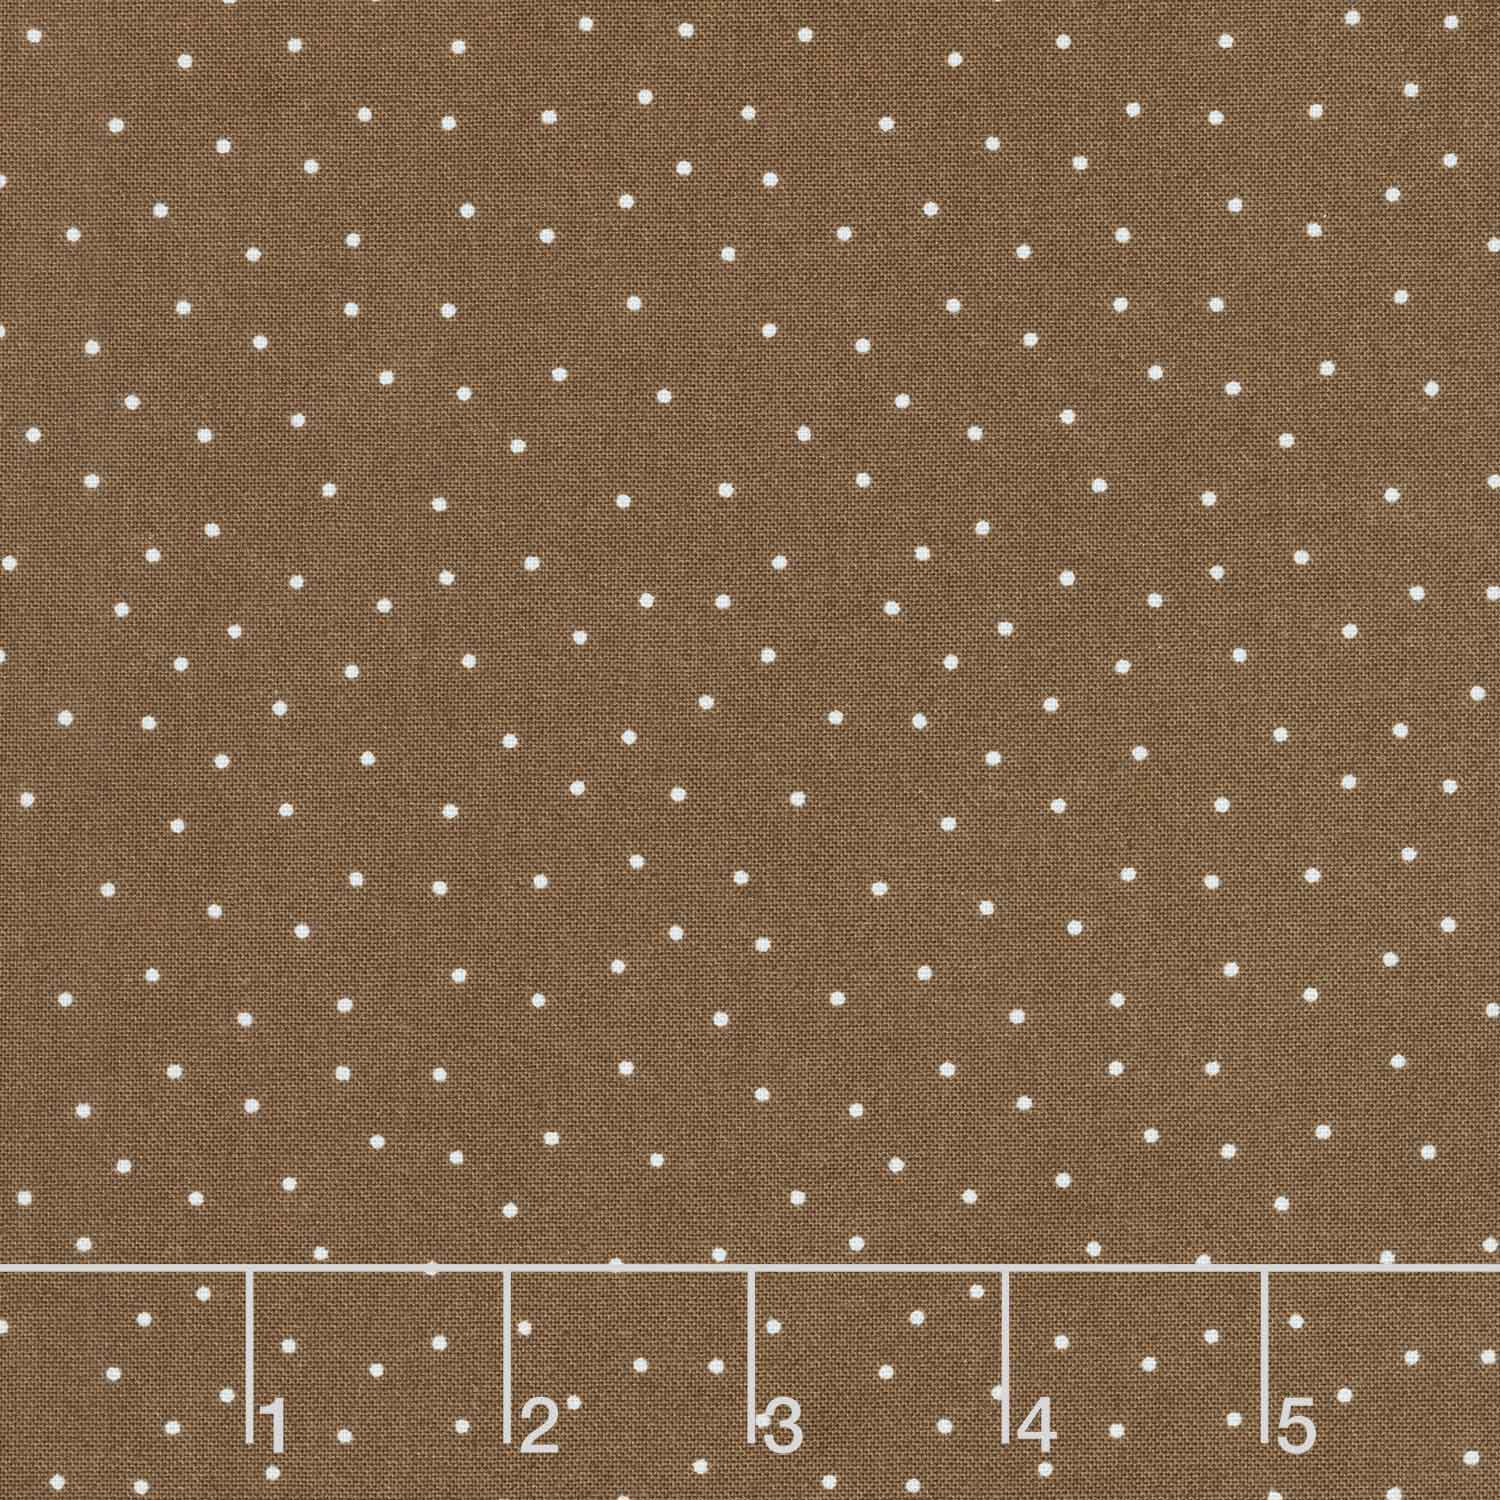
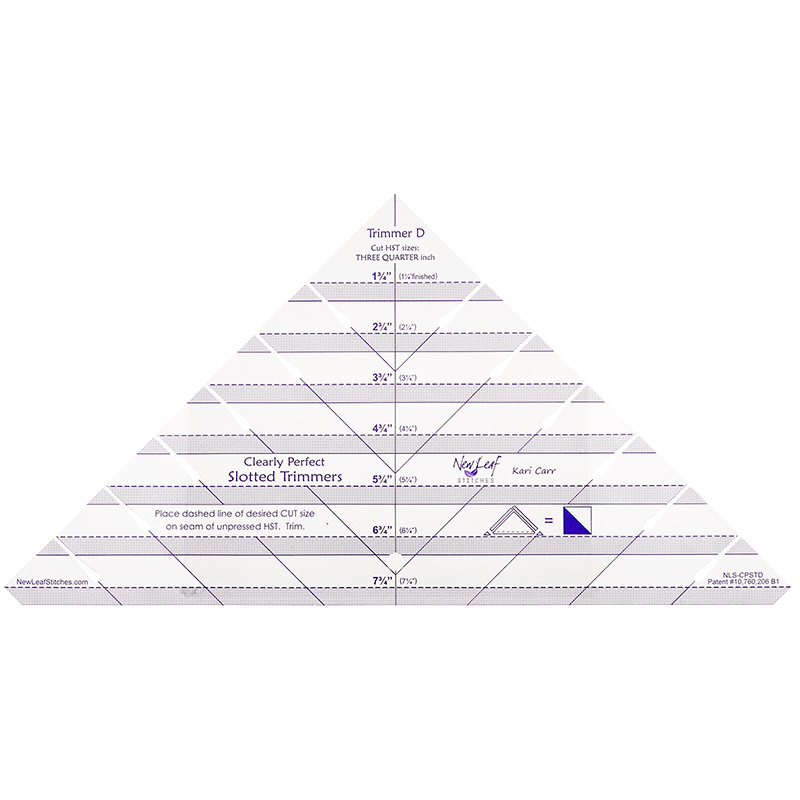
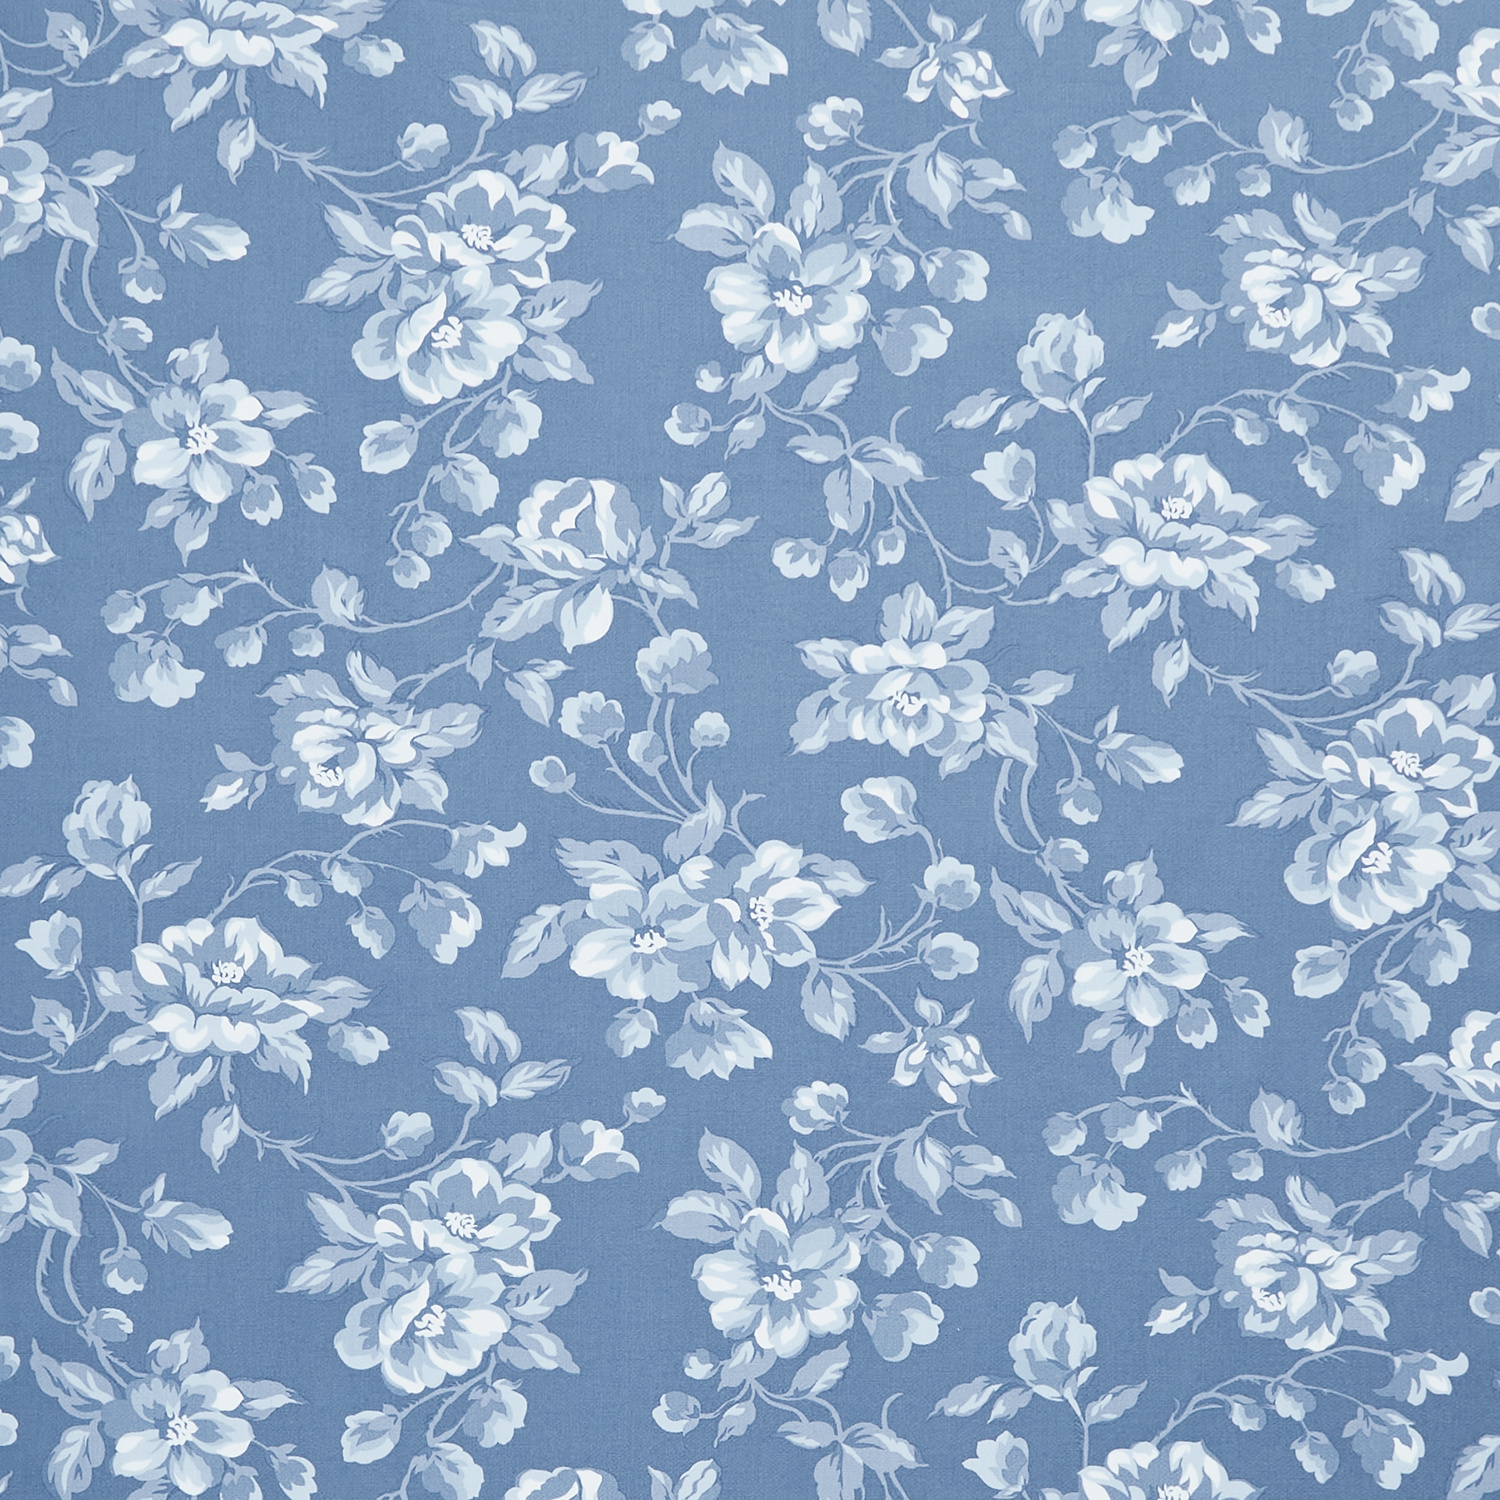
[Music] hi everybody it's Jenny from the Missouri Star quot company and it is triple play week and I'm here with Misty hi and with Natalie hi and the block we've chosen for this month is the house block and you guys know how I feel about the houses I love those hous cute it really is and I can't wait to show you all the ideas that we've come up with for the house block so who's going to go first I I think it's you Natalie it's me it's you all right so this is my quilt behind me and I think it turned out so cute love I went with tons of tiny houses because they're just so fun to make they're a little bit addictive and they're just it comes together a lot easier than it looks so fun so cute all right so to make my quilt you will need one package of 10in squares and I've used Juliet by Wilmington Fabrics all right so you're going to need some background Fabric and I used this beautiful dry brush light blue by Wilmington it's really fun cuz it looks like the sky it really does um you'll need 5 and 38 yards for that for your outer border I use this fun floral print you're going to need a yard and 5/8 and for your backing I use this beautiful green floral you're going to need 5 1/2 yards of your regular 45s if you want to piece it or you can use 2 and2 yards of a 108 um the other thing because we added some embellishments you're going to need some fusible if you wanted to put doors and windows on your houses and then I did also add some cute little embroidery embellishments to it so just your typical you know floss that you have at home you can just dig from your stash because they're just super fun cute all right so let's get [Music] started all right so the first thing you're going to do is cut your background fabric into the pieces that you need to to create the surround of your square and we're going to be making a bunch of tiny little houses like this so have 2 and 1/2 in squares that go up here on the the roof of the house and then these side pieces are 1 and 1/2 by 2 and 1/2 so we've got these 2 and2 and two and2 and 1 and 1/2 by 2 and 1/2 and then these are 4 and 1/2 by 1 and 1/2 and this makes up all of your sashing the sashing so if you're cutting all at once these are your background Cuts Perfect all right so then from your layer cake squares you're going to take several of them I love that you can stack them different yeah different amounts so for your roofs and your doors and because they're in different sizes you'll cut a whole set into 2 and 1 half inch squares and then a whole other set into 2 and 1/2 by 4 and 1/2 for the roofs okay so we'll cut a few of those real quick so and you can just go along and um separate out you can do coordinates but it really doesn't matter because you'll be able to mix and match these throughout the whole quilt um but you can just select a few to make in all into two and a half inch squares and well and this is one of those things where once you you try it and you get started on it you just like I'm just going to sit here and make little houses all day long right yes yeah and you can you can mix and match so if you wanted to take you know and do half of the the 10in square of um two and a halfs and the other half with four and a half you could do that a little bit but you'd want to make sure that you have enough it's more efficient to cut you know numbers are in the pattern of like how how many you're going to cut into 2 and 1 half inch squares and then the rest are 4 and 1/2 by 2 and a/2 it's really fun so well it's really so you have one house body and one you know right the difference is in a 10 in square you get 16 squares but only eight Roots okay okay that makes sense that makes sense thank you for explaining yeah that's the reason why you're going to need more for your roof than you will for the bodies as far as the the squares of fabric that's right so so but I'm just going to cut a few of each so we can make a block or two Misty will get uh she'll get addicted over there ditching sewing and sewing right okay so now we've got all of our pieces made so what we're going to do we're going to put um snowball on our roof okay basically making a little flying geese block and you can mark the line or press the line or use your seam we have our seam tape yeah yep and you're just gonna Stitch from corner to corner all right to create the little peak of your roofs Y and these are these are the type of stitching where you'll want to do a whole bunch of roofs on one side and then cut them flip them back and press them and then we'll do um do the other sides of all of these and I'm ready okay and you can press that here's the other the next one for you this little dry brush it's a little it's kind of the same either side isn't it right so I mean if you want to you can do two of them I'll give you a second one two little houses I will do it hey they're super cute so that I do love that you made this big I love it yeah well I H I made a tiny one too and I used background Fabrics from the line and I think it's just really fun so I'll show that in a minute in a in a bit in a bit there's a lot of ideas there we go sometimes we get a little carried away it can happen all the fun stuff that we can do it so true with the especially with the triple plays you know it's like we could do we could do here's another idea here's another idea all right so it's just that simple for the roof if you want to go through you can do a little squaring if you want to sometimes when these look pretty good when we add a snowball it can get a little wonky um but the thing to remember is they should end up being 2 and 1 half by 4 and 1/2 and so as long as they're in that range you're going to be just fine so nothing to worry about there all right so let's make the um the houses what we're going to do next is we'll take our 2 and 1/2 in squares and we're going to stitch a 1 and 1/2 by two and A2 to either side actually to both sides yes I to be clear to be we're putting a 1 and 1/2 by 2 and 1/2 to both sides of your 2 and 1 half inch squares okay all right so I'll give you that and then we have a couple made here and again so you can just mix and match and these are so cute and it is one of those things where you literally can sew 20 of a whole bunch yeah yeah you could just sit here in chain piece forever yep so fun right there okay there's that one all right that went super fast well the whole thing is super fast which I really love about these are ones that you could just you just make these you know from your scraps and you can do one every morning or five every morning it literally feels before you know it and so see these these should line up where you have um this also measures then 2 and 1/2 by 4 and 1/2 and we're going to just flip those and put them together Stitch along that edge perfect and we will have two cute little houses to embellish as we wish make sure I'm lined up this is one of those things where when you do there's certain sewing that you do for relaxation and this is one of those where it's like first thing in the morning you just want to come in and do a little sewing for yourself and this is one you would do that so they're super fun and they go together so quick yeah they really do MH there's that guy all right got a neighborhood going yep see really cute this brush is fun I don't know if you can tell but like this fabric almost looks white and it's just a different part of the the print the print where it's brushed but so so fun okay so the next thing we're going to do is add a few embellishments and this is optional you can see on the quilt back here that sometimes I put a doors and windows sometimes I did a little embroidered flow and other times I just left them plain cuz the Fabric's cute you know so you can do as many doors and windows as you want or none at all or whatever whatever like appeals to you it's a great place to be creative and have fun you could put a little a little name of like who lives there or this one has a little son yeah it's so cute this one has little I love the like little window boxes this one has like little FL flowers growing over the door and the little tulips outside oh yeah they're so cute really cute all right so um so what we're going to do there's beautiful white Fabrics in this pre-cut oh I don't think I have them up here on this pile do I have more down there you have them in this new one you probably used them right up I might have so this white is mainly what I used but you could also use white or gray or pink your doors can be any color you want them to be honestly and I just think that is fun too especially especially doors because they could be all kinds of bright pop colors and then like your windows could all be white or gray or black or whatever whatever floats your boat so we are going to just take a little strip of um so light adhesive I'm actually going to trim this off before we press it because we don't want to get any sticky stuff on our iron or our ironing mat I just measure that scoot it over and then it'll slide back and fit just right so if you want to go ahead and put this on the back yep you're going to press your that's right I wasn't even noticing that I had done that so yeah we're going to press on to the back side of our fabric I like back side better than wrong side yeah no fabric is wrong no because if you don't like the front you can use the back that's right that's totally optional and sometimes it looks really cool to have those like M low lights I actually do that often yeah all right so all of your doors and windows the windows are all a/ inch square I know it sounds really tiny just them on and then you're just going to top Stitch around them it's no big deal so I would just go ahead and cut a little honestly I would cut an inch because I've got you know this gives me the opportunity to trim in where the um where the Heat and bond isn't or so light adhesive whichever you got what size is your door they still the do are 1 and A2 by 34s so our little windows are just half inch squares and you can just cut a strip and make a bunch of Windows um and uh yeah then you're just you're just going to assemble when you've got a little pile of pieces right so it looks like you're at 3/4 on that yeah so these are the doors am I at 34s no I'm at I am at 34s okay well I was trying to do a half inch I guess we all make mistakes right we do that's okay okay well maybe you have big Windows on this house we could make them bigger 34 in square I mean it so that's so that is the thing right you have freedom to make them whatever size you want and you could have one window and a door or two windows and a door whatever mix and match as you wish so then how tall were the doors one and a half one and a half by 34s okay okay so you could just do a one and a half inch uh piece on that that's true maybe you were planning ahead and you didn't even know it that's right all right I'm going to unpeel this one and your doors can be taller or shorter so maybe you don't want a 1 and 1/2 in tall door maybe you want a 3/4 inch every house can be different absolutely I love that all right I'm going to make a couple more windows can I have just one window and one door on this one absolutely I like that like this mhm and I mean you could even have a dormer yep and then we're just pressing press it straight down no ironing just pring yeah because these are so small I recommend um assembling them on your ironing board just so that you don't have to carry anything around and have it slide um yeah so then we could do like this one we could have two windows here cute and a little door and we need to just the doors I I think the reason that I made them one and a half is because you want you kind of want to like go ahead and Tuck that into the bottom and it'll it'll land in your seam and that gives it a little bit more that makes sense just sticks let's do this over here so we only have to we don't have to move it you're right okay so we'll put that one right in the middle and then put our little Windows above it and are these the half inch windows Yep they're te they're so tiny but they're so cute they're really cute so these can be I always just eyeball it because I think it it interest in character and it doesn't really matter yeah it just looks cute really cute I think you should show your little one it's so happy all right so then so then you're just to top stitch them with your with whatever um Stitch you like you could do Straight Stitch you could do zigzag or um blanket stitch button hole Stitch whatever that could be creative and then you're going to go ahead and add your um well I would Stitch the quilt together next so once you've got your little embellishments added to your your house blocks we're going to go ahead and put them together and we did row of a lot by a lot so 1 2 3 4 5 6 7 8 9 10 11 12 13 14 by 1 2 3 4 5 6 7 8 9 10 11 12 13 14 15 16 so 14 by 16 so cute and there is no inner border but the sashing strips are these little four and 1 half so they go like this in between each house and then you'll have your little cornerstones which I didn't I can cut some of this this is our Cornerstone fabric these are 1 and 1/2 in square and they come out of the outer border so I just used the same fabric that that's in my outer border for my cornerstones because it is all the same in quilt that's awesome yep and that's just it's convenient and cute so now for a quilt this size do you think you use the whole layer cake when making it uh I did use the whole layer cake as much of it as I could so all right that makes sense yeah and then these are going to go together just by um attaching to your horizontal stashing which is the same size same size 1 and 1/2 by 4 and 1/2 cute really cute and that's it so it's super fun easy okay so the outer border is a 5 in Border I think that looks I love that and really I mean with all things you can make your border bigger or smaller and it changes the size but I used this beautiful green for the backing and I just think it turned out so fun it's very Springtime and Happy Looks picnic uh I quilted it in in cotton candy which I think is fun because it kind of just looks like clouds to me it was just like like a city in the sky so I called it happy house quilt and it measures 78 by 88 and I think it's really fun I hope you guys like it and here is my little bonus so I made this before designing the whole quilt behind me oh my gosh I thought it would be such a cute little wall hanging and I haven't finished it obviously I got distracted but I thought you might want to see some of these cute little um embroidery elements so this one I just stitched on the flower with you know a similar color green and the doors and windows I outlined so that they would pop out and look really fun and then this one has like a Vine up the side this one has flower box um under the window so cute so yeah and the little the little door handles um these are super easy it's just a little tiny lazy Daisy Stitch and I think it looks fun because it almost looks like one of those like long handles on the door but you could also do little French knots if you wanted a around door knob too love really so super fun just enjoy it and have fun so who's next I think Misty s all right let's go all right all right this is my quilt I called it gallway Bay we got the chance to go to Ireland a few years ago and I just thought it was the cutest little town with all the kind of old row houses and the so this is inspired by that I love it and I just I love how I love everything about this it's really I'm very excited about it and it's really easy to make and we like actually match it we are coordinating it perfectly we are thank you girls for that yes so to make this quilt you are going to need one package of 10inch squares and I have used Shoreline by Camille Ross Kelly for Moda it's just perfect for this you're I used white bleached for my background Fabric and you are going to need need three yards of that that includes your little inner border then for your accent fabric I use this brown polka dot for all of the boats you'll need 1/3 of a yard for your outer border you need one and A4 yards that's a 5 in Border and for the backing I use this beautiful floral you'll need four and 2/3 of a yard with a vertical seam or 2 and A3 if you use a 108 so here is that oh that's so pretty oh that's so pretty all right I love the quilting pattern on it yes and so this is just uh called water which was perfect for these little ships at Sea and let me show you how to make it so this quilt is actually made up of three different blocks we have the house the boat and these little pin wheels that fill in in between so and so we're going to start with the house block so to make that we are going to take one of our 10inch squares and we are going to start by cutting a 7 in strip so let me just make that cut there we go and then we can turn this and we will get two that are 5 by S oh fun and then we are going to subcut this 3in strip into 2in rectangles there we go and for each of your houses you need two of those there we go and this one extra can be used on a door for a different house and it'll also tell you in the pattern how many to use just for doors but but just keep that in mind I went ahead and already have a contrasting piece ready but it's the exact same size they all measure the same and so we are going to start so you just mix and match those within yep the um within the layer cake you're going to have a little extra one from every piece from every single one but you do need a little bit more cuz kind of like yours you get two houses and not enough so let's just go ahead and sew these together we're going to sew our um house rectangles on either side of the door so if you want to do that happy to cute all right and then if you want to press in half just at the top I just need a good Mark for my Center okay there we go should work yeah that'll be great when she gets there we are perfect we'll press that and then we'll sew that to the bottom here and then we can add our roof there you go all right so if you just want to sew that along the bottom okay all righty lay that down there we go all right now if you want to press that back sure thing you still need that yeah I do need that little Center Mark I think we can still see it yeah it's still there okay so then we've pressed a little crease line here right in the middle and you can do a mark with a pin if you want and then we are going to lay our rectangle this always throws me off just a little bit like this and we're going to sew point to point so if you want me to draw a line I can because I just want this to go to the edge and then overlap the center and we're going to go point to point and then when you fold this back it will fill in exactly oh that's so interesting I never thought of doing something like that let's draw the line let's draw the line I love it so it gives you very little waste and we are just going to sew yeah that's a fun little new new way to do it yeah all right I'll sew that one and you can draw the line on the other one yes because we need that one to go the opposite way I have to try this trick myself oh look at that it works it works there we go so we can trim it off now you do want to probably test it at the machine just like Jenny did to make sure make sure it covers the corner especially as you're first doing it press that back yep that is so cool there we go and then same thing with this guy we just want it to overlap our quarter inch there and it'll match up with this side and then so right on the line and anywhere you move it it actually won't mat no I mean you have to actually match it to the the the side of the block yeah I'm I'm just thinking out loud about how uh how that happens possib yeah how that happens all right and so then we'll trim that one off there we go and if you want to press that back our little house will be done so cute they're so happy I love the tall peaked roof that is such a fun thing yeah that's really cute it looks like gway Bay doesn't it do yes all those tall little houses all right so there is our house let's go ahead and move on to the boat cool so I have those pieces here so to start with I just took my 10-in square and I cut it directly in half so this is 5 by 10 in rectangles and then I have background rectangles that are the exact same size and then we are going I've drawn a line opposite directions kind of like we just did for the roof Peaks and then we are going to offset these like so you could do a whole quilt out of what she's to do right here I'm just telling you this is going to be a whole there's I love the I love the Stagger I just think it's clever and so we are going to sew on both sides of this line on both of those so if you want to do that there we go there's one one all right get that open and we can cut it apart right on that line that we through and the line goes right into the corner correct yeah it does CU we're going to square this up so you don't have to worry about it there you go perfect I was just watching Natalie I forgot I needed to cut this one you're fine there we go all right so then now that we have these made we we're going to do some squaring and they should be about 4 and 1/2 in wide and they are which is what we're looking for so I'm going to start by just cutting off this bottom so that my corner goes right in to the corner so I'm just going to make sure my ruler is nice and straight and then from this bottom Edge I'm going to measure up 6 in cuz these need to measure 6 by 4 and2 hold on wait let me make sure I'm doing it right y you won't have a point at the top that's I know that's what I'm I'm realizing I'm doing it wrong so I actually need to measure from this side I caught it so we're going to straighten this Edge and measure from the top thank you Jenny that would have been disastrous all right so then from the top we're going to measure down six inches me look at my numbers correctly here you're still not going to have a point will down there this is what I want this is right and so this is this is waste but that's okay and so I'm going to slide this over and just make sure it's only four and a half there we go and so this is the one side of the sail that we need and so now we need to do the opposite so again that one was a little confusing because I got Twisted so we're going to start by squaring up this top corner to make sure it's nice and straight we all got a little twisted you know happens to all of us and then from the top point we're going to measure down 6 in make sure it's nice and straight oh so they're the same size they're the same size that is so funny the way that you have them offset I thought they were different sizes they are the same I did too but they that's why I think this is so clever so cool and so then if you have any excess to trim off the width I recommend doing it on the background side so you keep most of your sales so these are 4 1/2 by 6 and then I have little 1 and 1/2 in by 4 and 1/2 in backgrounds and we're going to sew one to the top and one to the bottom and you can mix this up the sales can be different on both if you want that's a fun idea did you do yours the same I did them all the same but it would be fun feel free to play with it so that's the one at the top and this is the one at the bottom very good and then this should measure seven there we go there's that one all and press that okay and then so we will sandwich this in between our accent strip that is 1 and 1 half by seven this so we'll sew that to both sides isn't that so cool this such a great little boat block Ador I really love it I'm very excited about it and then for would be the cutest little baby quilt I know now I want to do a whole quilt of just these both well or even like if you just did like the little one little corner corner it would be be so cute all right got this all right so we'll let Natalie press that and we'll work on the bottom of our boat so this is a 3X 9 and 1/2 in rectangle from our accent and then we have two little 1 and 1/2 in background squares that we're going to just snowball two bottom corners all right there we go go cute I just pressed that right into the middle I just love it so much so good so happy there you go all right we'll trim these little guys and press them back and we can sew it on to our sails just a cute little snowball there we go really cute just really cute boat thank you I do love me some little boats you too all right and we're just going to put those together so down that side perfect we'll give that a press and our little boat block is done how many boats do you make so there are good good question one two three four five six on the uh quilt very cute so just kind of interspersed in there love it there we go isn't it so cute it's so cute all right and so then now let's just make our last little pin wheels and so to do that I just subcut my square into five inch squares we're just going to put these right sides together and we're going to sew all the way around okay one of my favorite ways yep to make a half square triangle that's right there we are okay and now we can cut this in half both directions move that for you yeah perfect we're just cutting through those Stitch lines and now this is kind of fun this is a clearly perfect slotted trimmer but it has the 3/4 inch Mark oh instead of the halves and holes how interesting so for this size we need two and 3/4 cuz we want these to end up five oh that's helpful so it's trimmer D trimmer d and so there's a one quar as well I thought oh look they're doing it a new color yeah but it's just a different tool I mean same same concept but different size so two and 3/4 is what we're squaring these two so you just line your Stitch line up with theirs same like you've seen us use many many times now I actually um will cut those before I I don't cut it in tce do your outside edges yeah just saves me a cut that's true that does save all those Center cuts and then I just turn the square around yeah that's a good tip either way works that is a great tip there's that one and one more okay there we go Nat cool so now we can just arrange these into our pin wheel there we go one more one more in there there we go so now that we have these we can just sew them together into our pin wheel and because we have squared them to two and 3/4 they're going to end up as five so we can just pair them up with a 5in background and so then once it's all sewn together it looks just like that and so then these are the elements of our quilt we have our block our boat block our pin wheel and our houses and they are all the same height and so you can kind of just play with the layout and so anywhere that I have an empty space this is just a 5 by 9 and 1 half inch rectangle that I just put in there to offset and stagger everything but I just you know put my pin wheel up and down and just moved it to give it a lot of interest and I just think it turned out so cute it really did this little inner border is an inch and a half 5 in outer and I think it finishes at 74 Square so it's just beautiful thank you it's a really fun one and so I think Jenny you're up next all righty cool all right so this is my quilt it's called neighborhood nights I love the dark background and this fabric is so cute the fabric is adorable and oh my gosh it's just so fun to make and so quick and easy said make this quilt you're going to need one packet of 10in squares and I have used bloomberry by minky Kim for Riley Blake designs and you're going to need some background and I use this black and you're going to need three yards of background Fabric and that includes that inner border as well your outside border is going to be a nice big 6in border and it's a yard and 38 and your backing you guys look how cute this backing is look how cute this is that's so darling like I just want to dress out of this it's so cute anyway for your backing you're going to need three and 1/2 yards or if you use a 108 you're need going to need 1 and 3/4 yards of fabric so it's also helpful to have a 6 and 1/2 in tool because we do do some squaring up and then I use this uh clearly perfect slotted trimmer a uh for some half Square triangles that are coming up so cute let me show you how to do this so for my quilt you just need two blocks and one is the wonky star which you guys know I love I'll show you how to do that one and also my house block and mine has a little bit of a taller Peak and uh to be honest I actually made all the blocks for this quilt and then I woke up knowing how to do it easy so we're teaching the easy version to you nice all right so this is really fun because a lot of the trick for this is in the cutting and what we're going to do is we're going to take two layers of fabric and out of these two we're going to get two houses and two stars okay and so all that's going to come out of the I love that when the cutting is the trick where you you know you're able to use your Fabrics yes so efficiently that's that's the word so here's what we're going to do all my reminders and we can put those pins over there all right so the first thing I'm going to do is I'm going to cut this right in half so I'm going to make uh a 5 in 2 5 in strips so then I'm going to cut this 5 by 6 and 1/2 and that's going to be the roof part of my house right here and we're just going to set that aside for now so with the rest of this piece I'm going to take this and I'm going to cut this into uh 2 and 1/2 and this is our leftover piece here these are going to be my doors and then over here I'm going to cut the sides of the house and my stars so I need two sides so I'm going to cut two and a half they're 2 and 1 half by five like this so these are all the same size yeah yeah all the same size cool and then right here I'm these are going to be four 2 and 1/2 inch squares and this is going to be for my wony star perfect so we get two houses and two stars out of two squares which is really cool all right so then we're going to put this house together and Natalie if you want to sew this doorway oh I love a little your shirt it does so cute I wonder how that happened careful planning I would say all right so while she's sewing the bottom of the house together which is just quarter inch seams on your 2 and 1/2 by 5 in rectangles we've got this roof to deal with here and on the roof we're going to need some background squares and those are 3in squares because this is a nice big we've turned it from five to by six and A2 so now it's turned so the six and a half part is the wide part of the roof so these squares here are 3 and 1/2 and we are going to sew these on one at a time and we're just going to sew on the diagonal line and then we're going to come over and sew again so Natalie if you'll do that and this one right here I'm just going to pull up here and let me see press this all right all right so I'm going to use the diagonal seam tape right she's using the diagonal seam tape to sew the line and then she's just going to come over and sew it again like how a half inch is just is yeah yeah just a half inch okay mhm just a bit half inch all right all right I usually just set my move my foot over just a little bit and sew it again okay because we just want to cut in between them and we're going to save this little house corner for a surprise something special something special all right if you'll press that of course then we'll do the other side of our roof and we're going to do the same thing Natalie you're going to we're going to make sure this crosses over and you're going to sew on the line and then come to the outside edge and do a half an inch okay I can do that and then you're just going to save these in a little pile these actually get squared to 2 and 1/2 so if you have a sewer and a pressor you can actually take a minute and square your little square them in between in between which I can do nice I didn't actually do this when I made the quilt but I can do it now there we go all right so we'll trim this now okay and I'm just going to use this little straight edge here trim it Misty if you'll press that I'll go ahead and trim this one to two and a half I love when there's the that perfect little size to make another project right all right so now you're going to sew these together like this okay and just quart and quart quarter inch seam sew it right down the side all right now make sure that's all right perfect I'm sure it's perfect I didn't check it I am sure it's perfect it is all right so out of your leftover squares you're going to make your wonky stars and so because because I want this wonky star to be a little bit different than the block I'm I just stacked mine up and then I made a bunch of w wonky stars at once so what we're going to do with this is we are going to take our background squares and you're going to need uh nine of these it becomes a little nine patch and four of them are going to be the legs of the stars and what we're going to do is we're just going to lay this and you can put it anywhere you want on here so the your background square is always on the bottom your leg is on the top and you can put it a short leg you can do a long leg just make sure that it goes a little bit further than um than the middle of that square so Natalie's going to do two of those so they overlap yeah you want it to overlap and and I would normally do all four of those I have two of the legs already done for you because because I do you know yeah cuz why not and then we're going to we're going to trim those and mist's just going to hit those with an iron and press them back and this part can be a little confusing but if you keep your background Square to uh bottom to the bottom then your leg will always go in the right direction so then we're going to use this background Square as our pattern and I'm just going to cut it straight off the side right here like this one big piece and then I'm going to cut this piece here and then what I'm going to do with this piece is I'm going to take it and I'm going to cross over the middle and I'm just going to lay this on here so that's the trick though right if if you cut if you always cut your large piece first you'll be able to use it you'll be able to use it yes always cut your large piece first like this and then trim your little top and then when you lay this on here it's a good you're just going to put this on I like to put it so that I can see that little middle for a quart of an inch CU it gives me a nice big place and also my stars do not tend to turn out very wonky yeah you get into like this muscle memory and the habit of where things Tred so I did this to my whole layer cake I made you know two houses and two stars from each one I oh wait a minute I got to first I got to open my rotary cutter and use this as a pattern don't try to um you know trim the back off trim the back off the front although to be fair you could do that because it's a 2 and2 in square is a 2 and A2 here it's just a little easier to use use that back fabric yep and it's way easier if you actually open your rotary cutter so that's true all right so I'm just going to trim this and trim this and these are my little star legs and then we're just going to build our little nine patch and we're going to put the legs all the way around like this and then we're going to have these little squares in the corners and in the middle that's so fun I love them I really like it on the dark back I do too background it's so pretty well it just stars come out at night you know and I wanted to use my stars so we're going to go ahead and just do it in a column so I'm putting all these right down here and then you can sew that one just chain piecing them yep okay all right then what I do is I flip them around like this and then you can just add this Square to the other side right here and this one to here the middle square and this one to the bottom there you go very cool that's my little star hack mhm makes them makes them go super fast yeah and somehow I don't know how this really happen but somehow when you have these perfect little squares and you sew them together they don't always end up exactly Square it's true and so I have a little squaring tool that I just lay on there to make sure you know to look at it and then because she's kept these hooked together with little bits of thread the rows are ready to go together and so now we'll just open this up like this and you can see it's ready to become a star and then she'll just sew these and match every where every block comes together you want to Nest your seams so one seam is going to go One Direction one seems going to go the other and you're just going to make them Nest make them behave and then you'll do the other side it around all righty here I just think it came together so cute so cute it really did I love it I like to put the the middle seams always towards the middle for some reason that's a good little Mantra it makes sure that they're going the same way I don't pay any attention to it so sometimes I'll have a twisted seam TST and then I just have to clip it but if I had a little Mantra like always middle seam always to the center I'd be great yeah well and it doesn't matter oops if it if it gets a little off all right press that for us isn't it cute that's so cute this is like Natalie's little houses I get I get making little wonky star a stack of wonky Stars too that I haven't made anything with yet but I love them all right so on the quilt behind me you'll notice that this house has a star above and this house has a star below so half of our blocks the star will be above and half the star will be below so I have one with the above so if you'll do this below right here okay and just Stitch that on there so here this one the star is above and one the Stars below and what it it does the same thing your boat sails do it just gives them some movement um and then you just can put them together but I discovered something really interesting when I was doing this I had these all laid out on my design floor yes so we're going to lay these out with we're going to start with the star up and then star Down star up star down you're going to make a row of these and there are nine of these across 1 2 3 4 five six 7 eight nine house and star blocks across but there's only four 1 2 3 four down because this is a much longer block than it is wide and so as I started to lay out all of my blocks it became like a Runway it was like and then I didn't have enough to bring it around and make it wider and so I had a few of these left over how fun so what I did was I turned them this way so I'd have a house up house down and Miss if you'll grab that bottom project right there and I made a little table runner out of my leftover ones and I just think oh my God so cute that's for me right and so yeah so you just you just put this on your table so but these ones if they they all have the star facing up the Stars on top that's Co so I did have I did actually have to take some of mine yeah I was noticing that when you look at this layout here these you can't really alternate your two different blocks they all have to have the star on all them have the star going up and I you know I like a runner where everybody gets to look at it to look at it correctly that is so cute and so this was really fun to do um I love this it was really fun to do but also remember you guys I had these little tiny half Square triangles over here if you'll press those oh yes I will so I have uh I took all those little half Square triangles you guys know I'm obsessed with the no waste right you know and so um what I did was because they're all Scrappy I decided to make them into 2 and 1 half inch uh Scrappy Square stars and so love so these are the leftover half Square triangles and I just put them together in the love note block so cute made the little stars so as I cut off my rubs you know there's only two of those so you're obviously not going to get a star that's made of the same ones and so what I did was I just left them in a pile and then I started making the stars and so basically what you're going to do is you're going to take these stars like this and you're going to put them together this way in a uh in the half Square the love notes block which is where they all come together like this and then here I have these other ones done over here so I'll just show you how it goes together because this is such a fun extra project and you know we literally I mean obviously you have to have more black but you um you know you just get to make these tiny little triangles into something one more Yep there we go sorry that's my angly challenged right there and I'm going to overlap them so they look like they go C isn't that so cute so cute so then these I just sashed and put a little border around them and I got three projects out of this amazing I love it I just think it's so fun so again this quilt has a nice big 6in border I want to show you the back oh that looks it's so cute I did the um the Star Spangled pattern on it because I had my stars up here and I love how they show up on some of the lighter fabric it just looks really cute the Border uh I think I said a nice big 6 in Border Andy how big is this one 69 by 75 69 by 75 so it's a great uh great size plus how fun are these extra projects so cute so good so I love doing this Triple Play I think it was really fun and so cute your quilt is Happy House quilt and gallway Bay and neighborhood nights and we hope you enjoyed this Triple Play From the Missouri Star Quilt Company hi everybody it's Jenny from the Missouri Star Quilt Company I'm here with Misty and Natalie and we do a show called Triple Play We Love sewing together as a family and we would like you to join us as we shoot for a million Quilters I can't believe we're so close we're so close to a million so hit that subscribe button and join us today

More Layer Cake tutorials

See all