

Triple Play: How to Make 3 NEW Block Star Quilts - Free Quilting Tutorial
 Jenny Doan
- Layer Cake
- Traditional
- Lap / Throw
- Beginner
- Quilt size 67" × 67"
Triple Play is a favorite tradition here at Missouri Star Quilt Company. Once a month, Jenny, Misty, and Natalie each demonstrate their own unique spin on a favorite block, technique, or template. In this episode, the talented Doan ladies show off three fabulous new Block Star quilt patterns + 2 bonus projects.
Instructor
Jenny Doan
Jenny Doan is an American quilter, author, and YouTube personality. Jenny started Missouri Star Quilt Company in 2008 and today it is the largest quilting supply vendor in the United States.
Shop this tutorial
 Mini Block Stars Quilt Pattern by Missouri Star$6.95Shop →
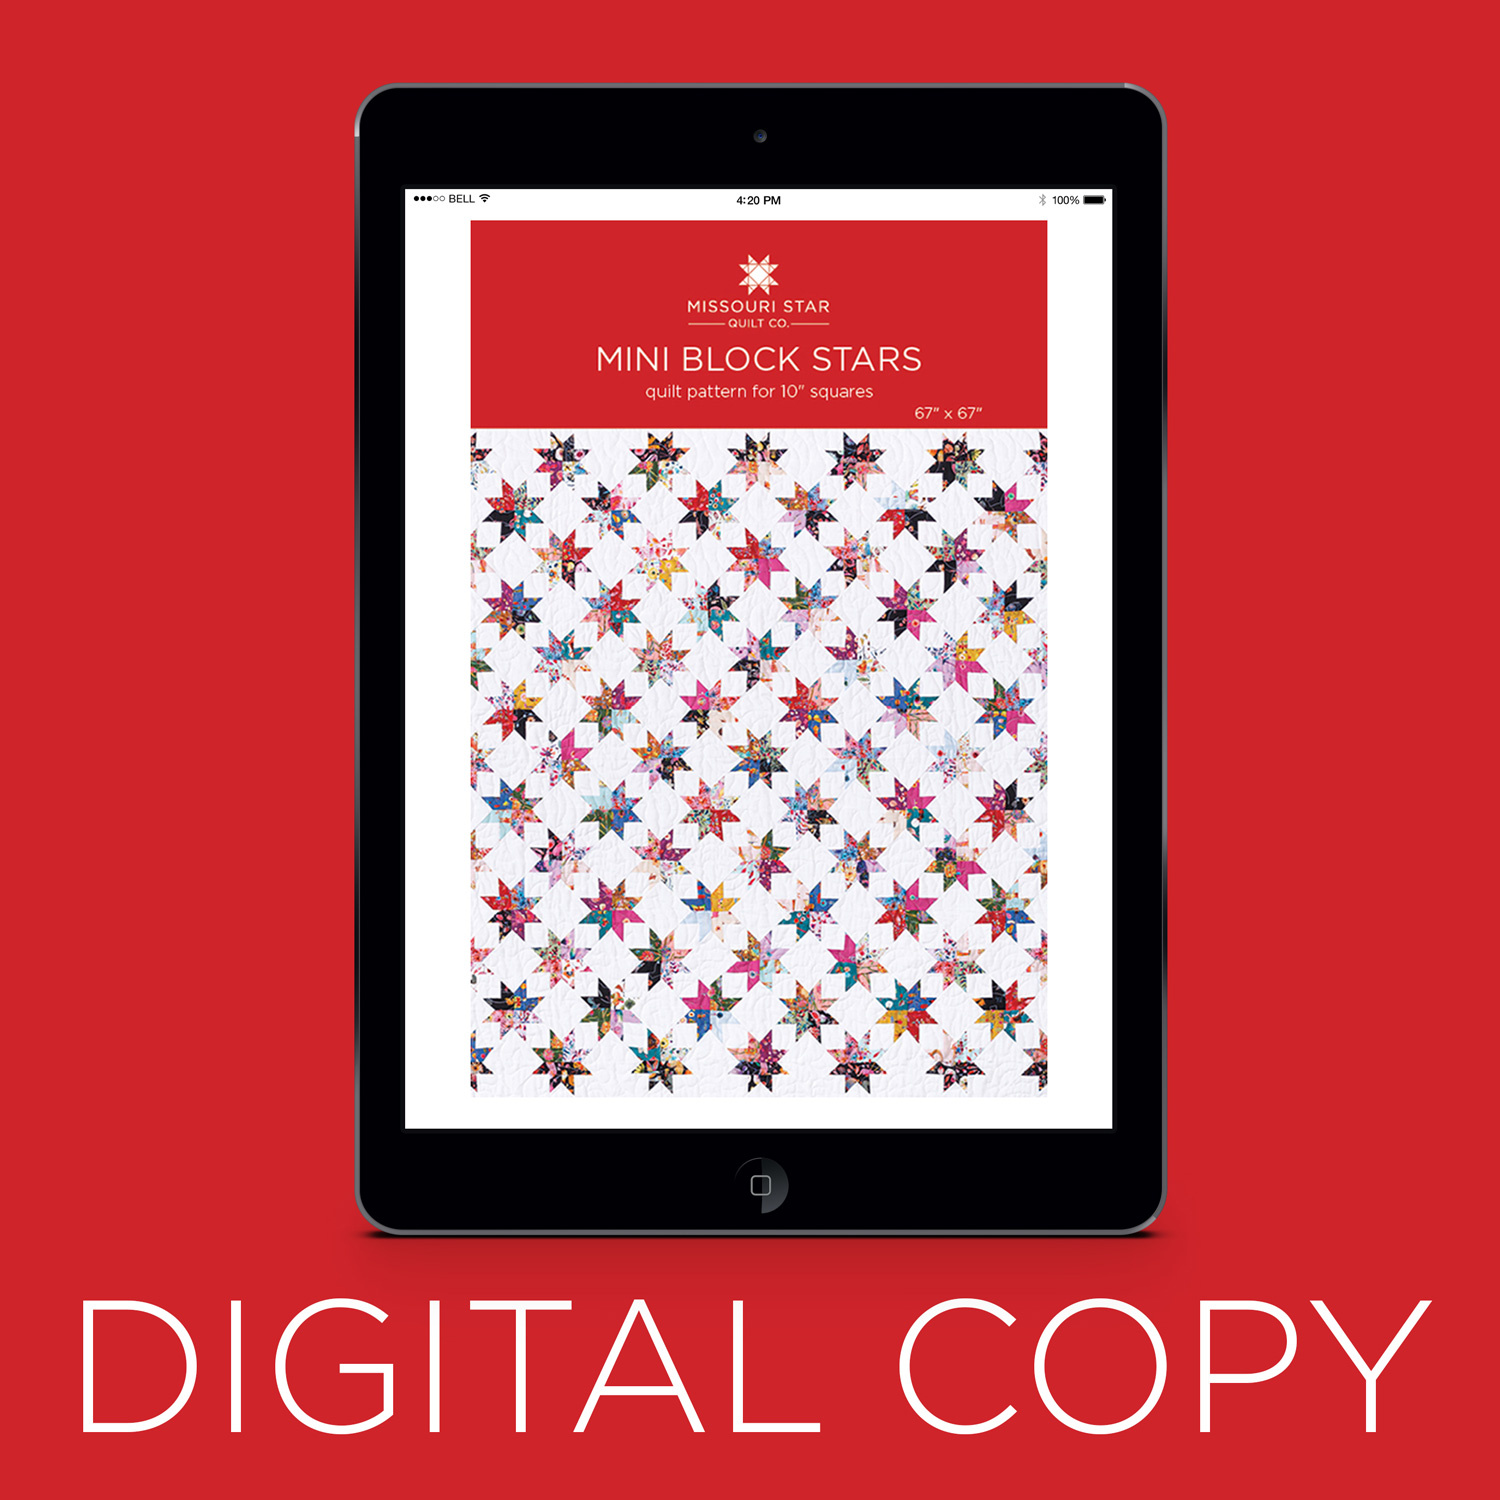 Digital Download - Mini Block Stars Quilt Pattern by Missouri Star$4.95Shop →
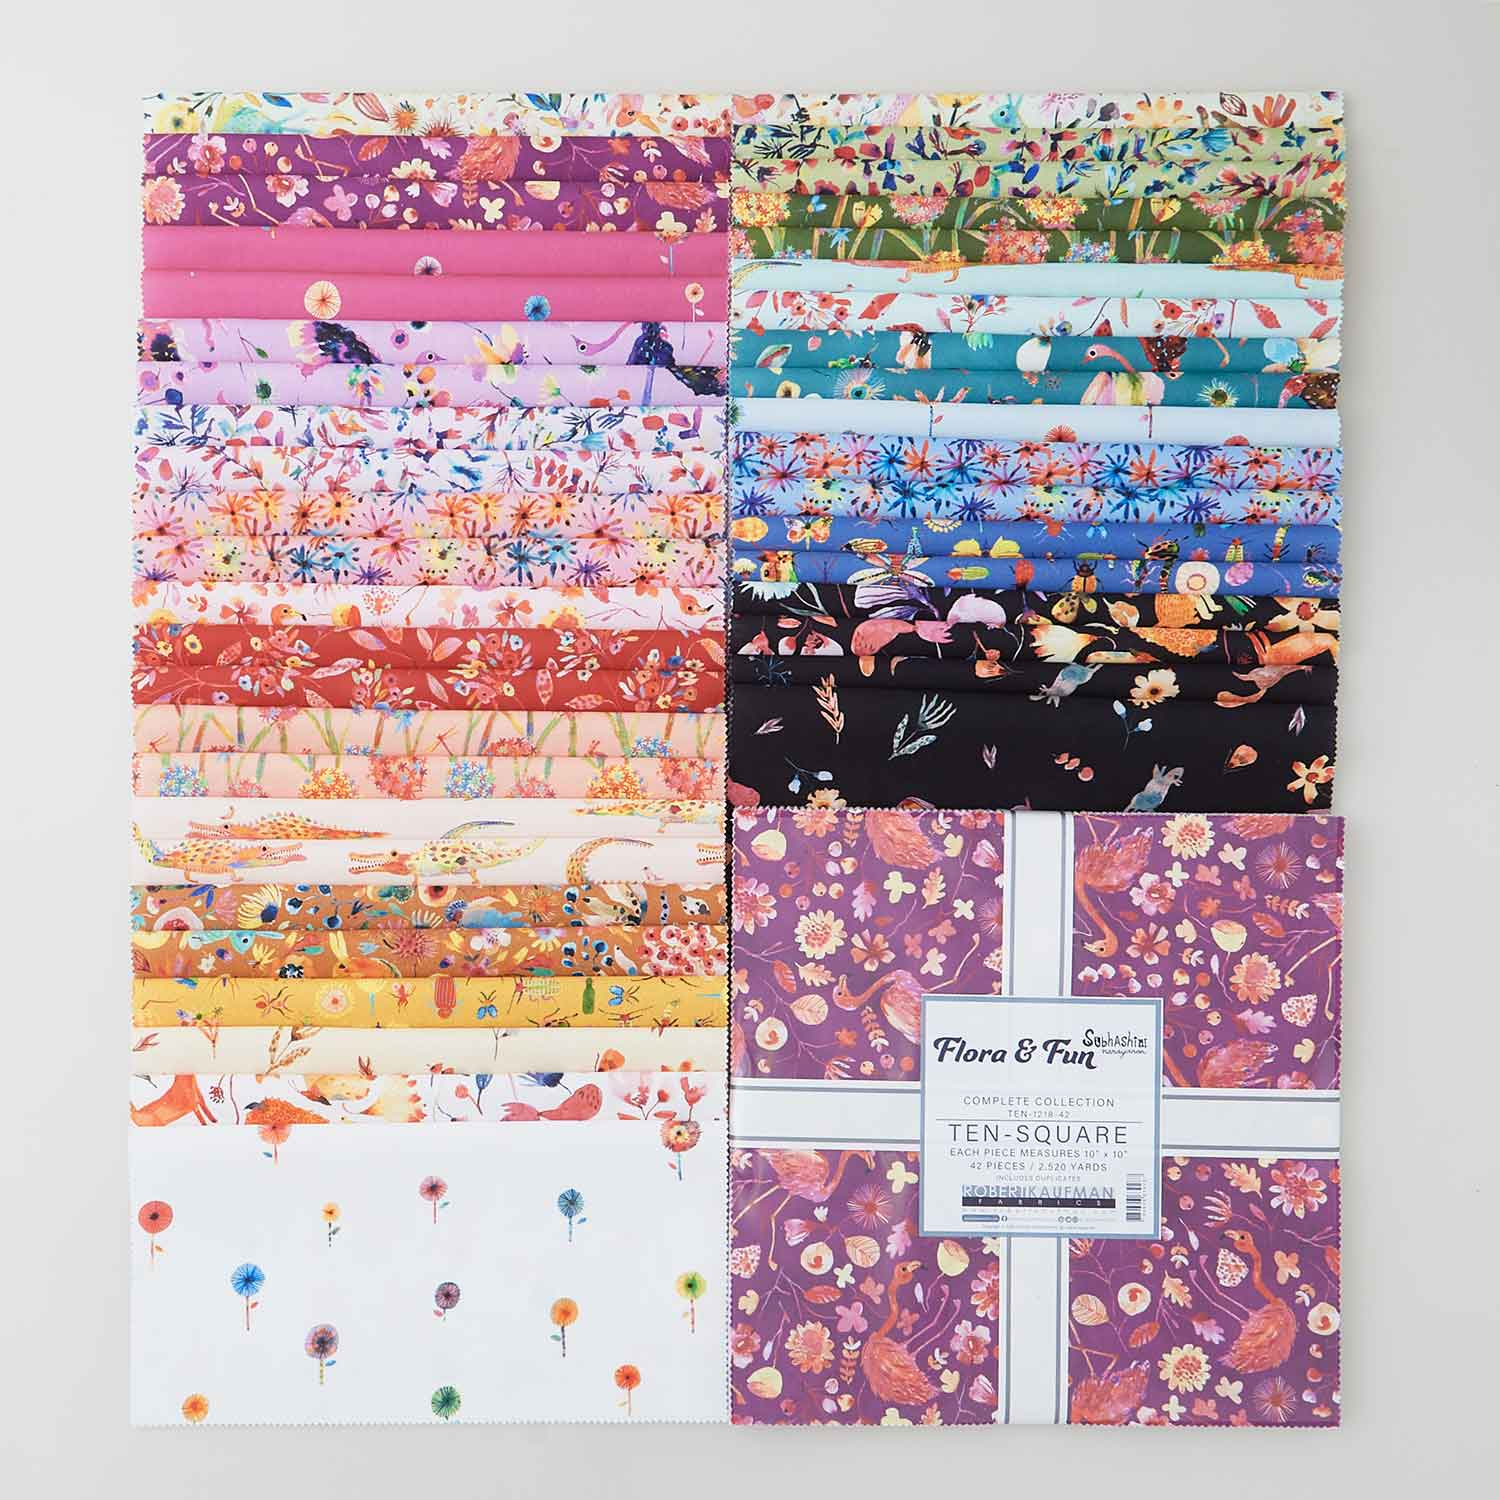 Flora and Fun Ten Squares$36.95Shop →
 Kona Cotton - White Yardage$7.28Shop →
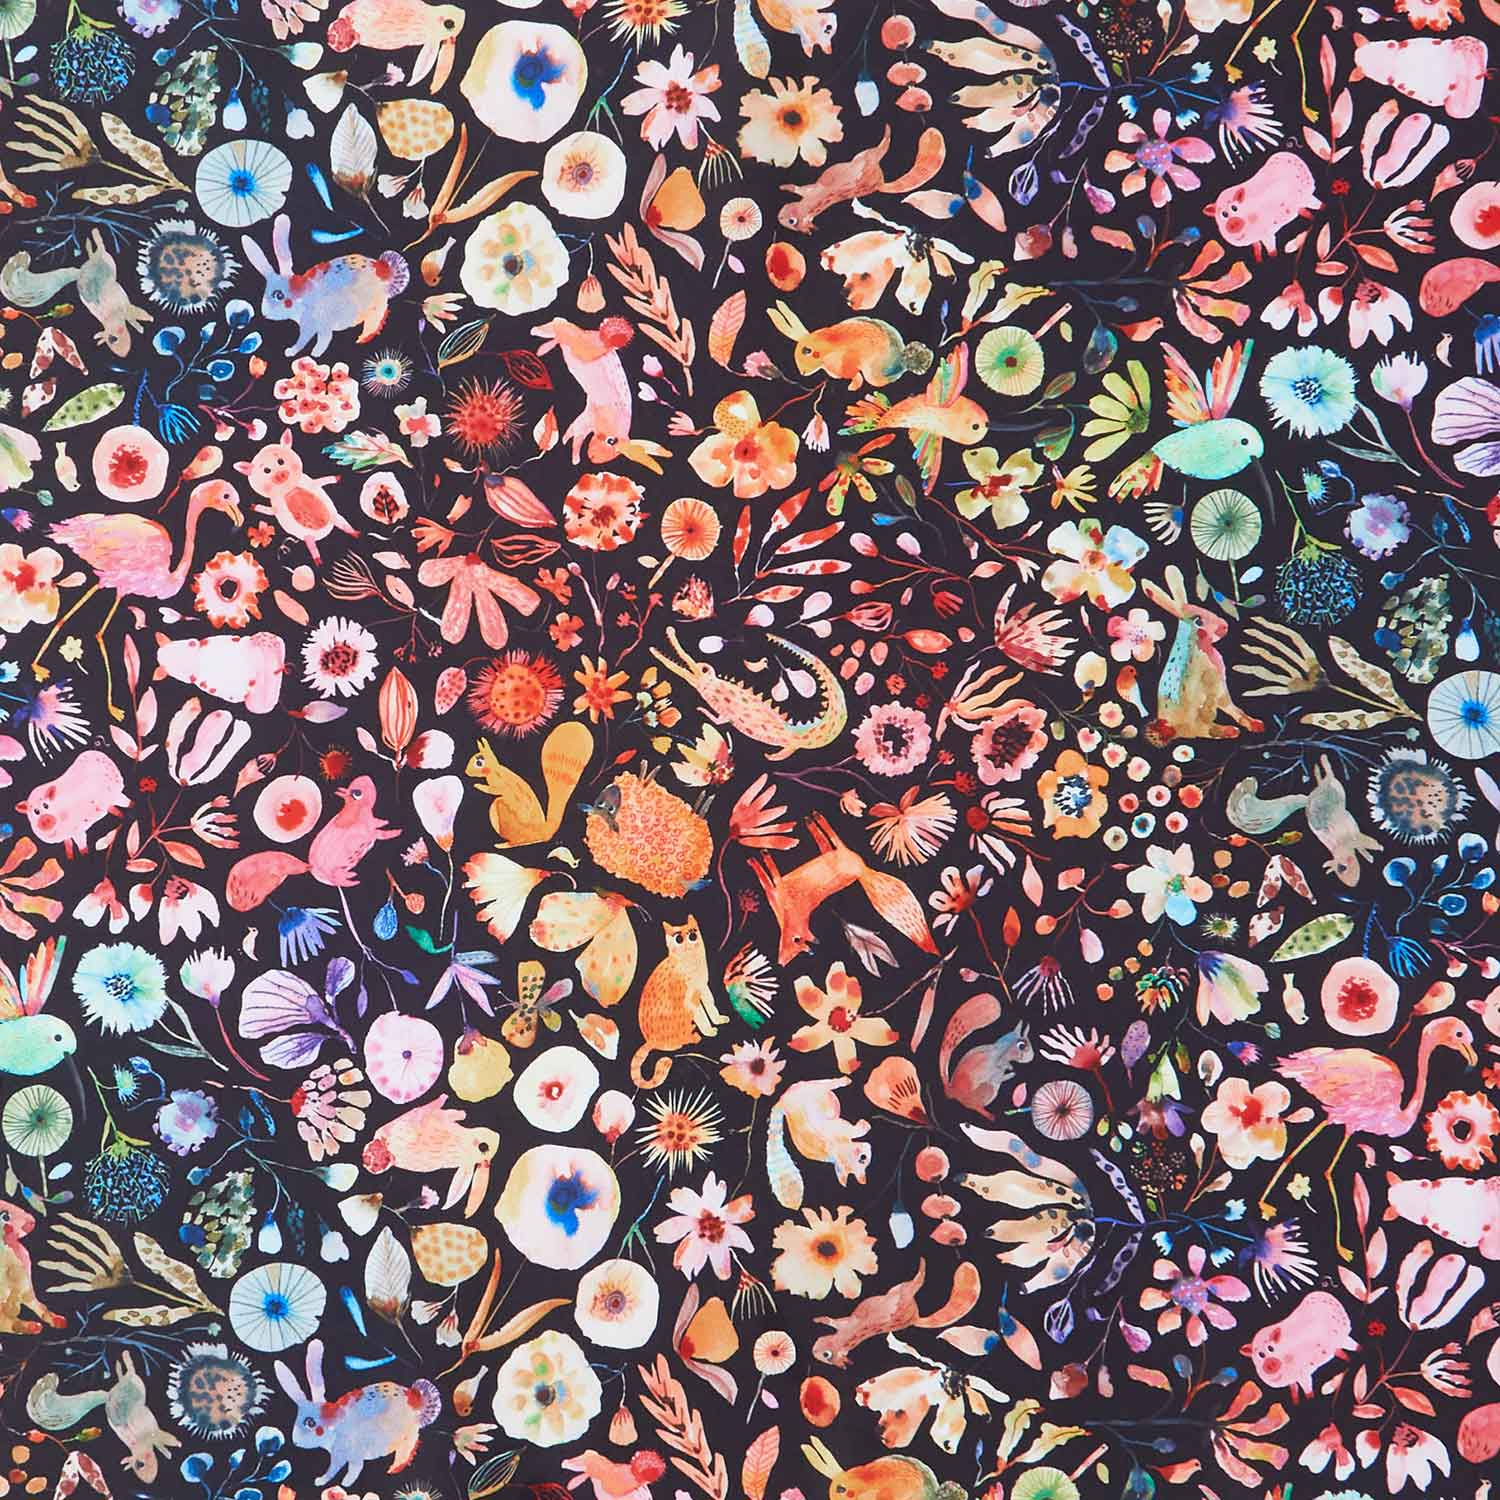 Flora and Fun - Animals Black Yardage$11.96Shop →
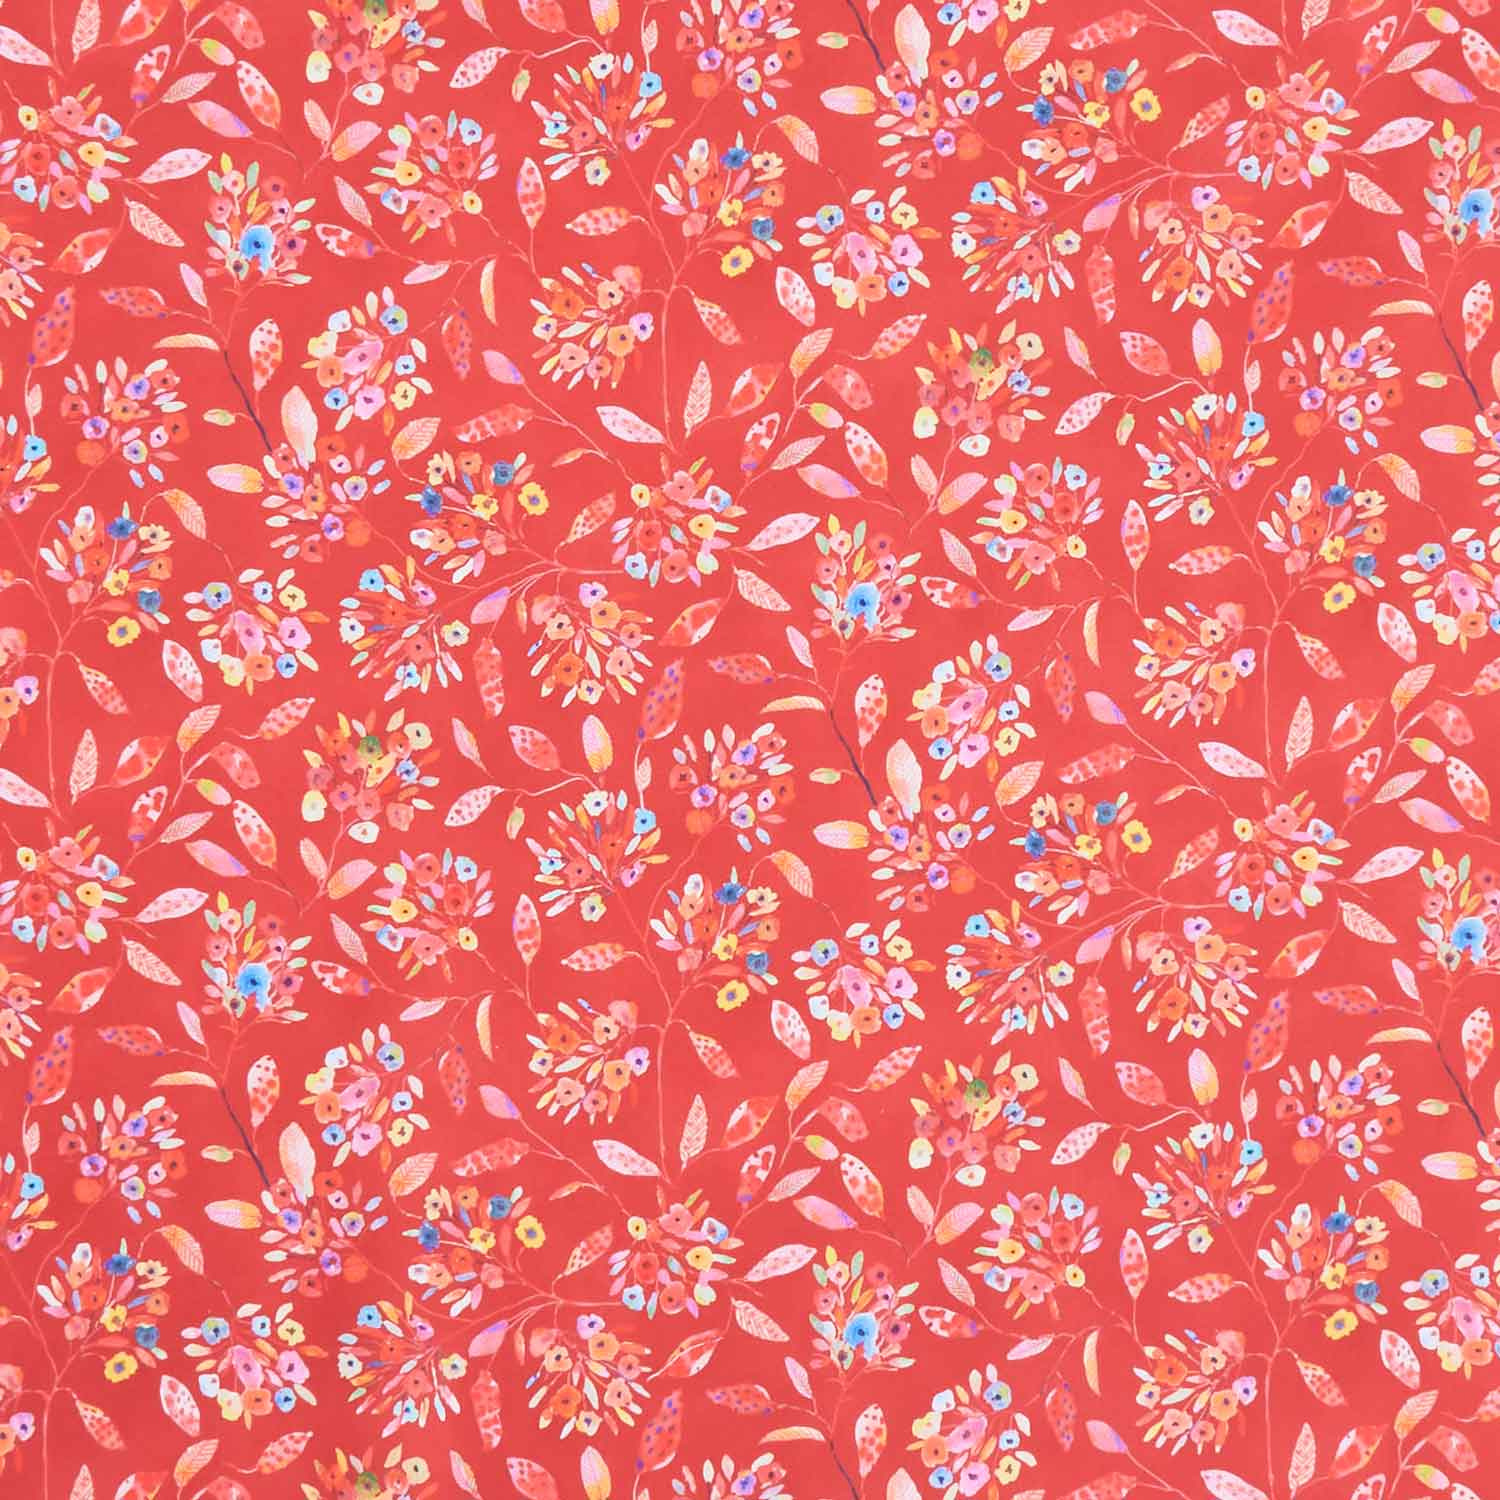 Flora and Fun - Branches Poppy Yardage$11.96Shop →
 Clearly Perfect Slotted Trimmers$31.95Shop →
 Sunflower Stars Quilt Pattern by Missouri Star$6.95Shop →
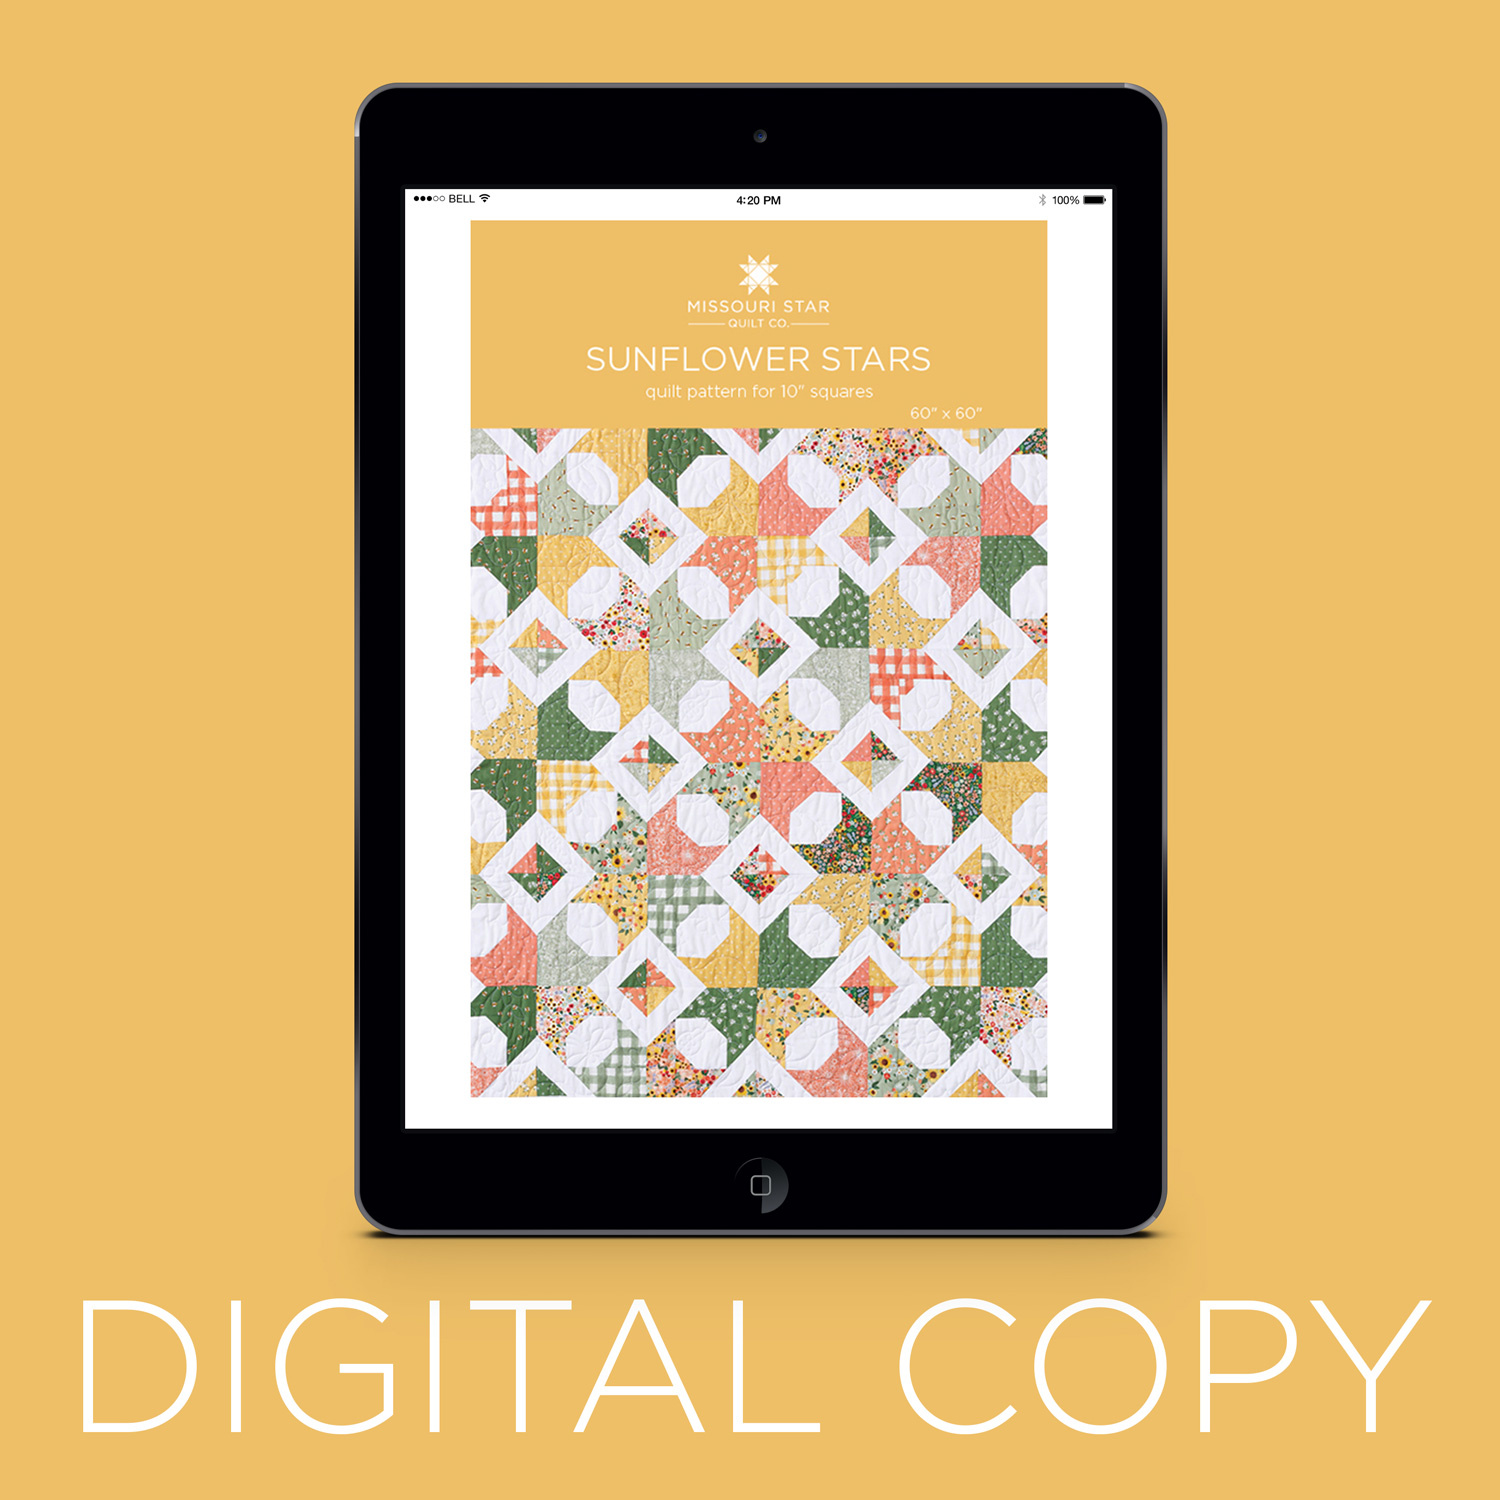 Digital Download - Sunflower Stars Quilt Pattern by Missouri Star$4.95Shop →
 Homemade 10" Stackers$39.95Shop →
- Kona Cotton - White Yardage$7.28Shop →
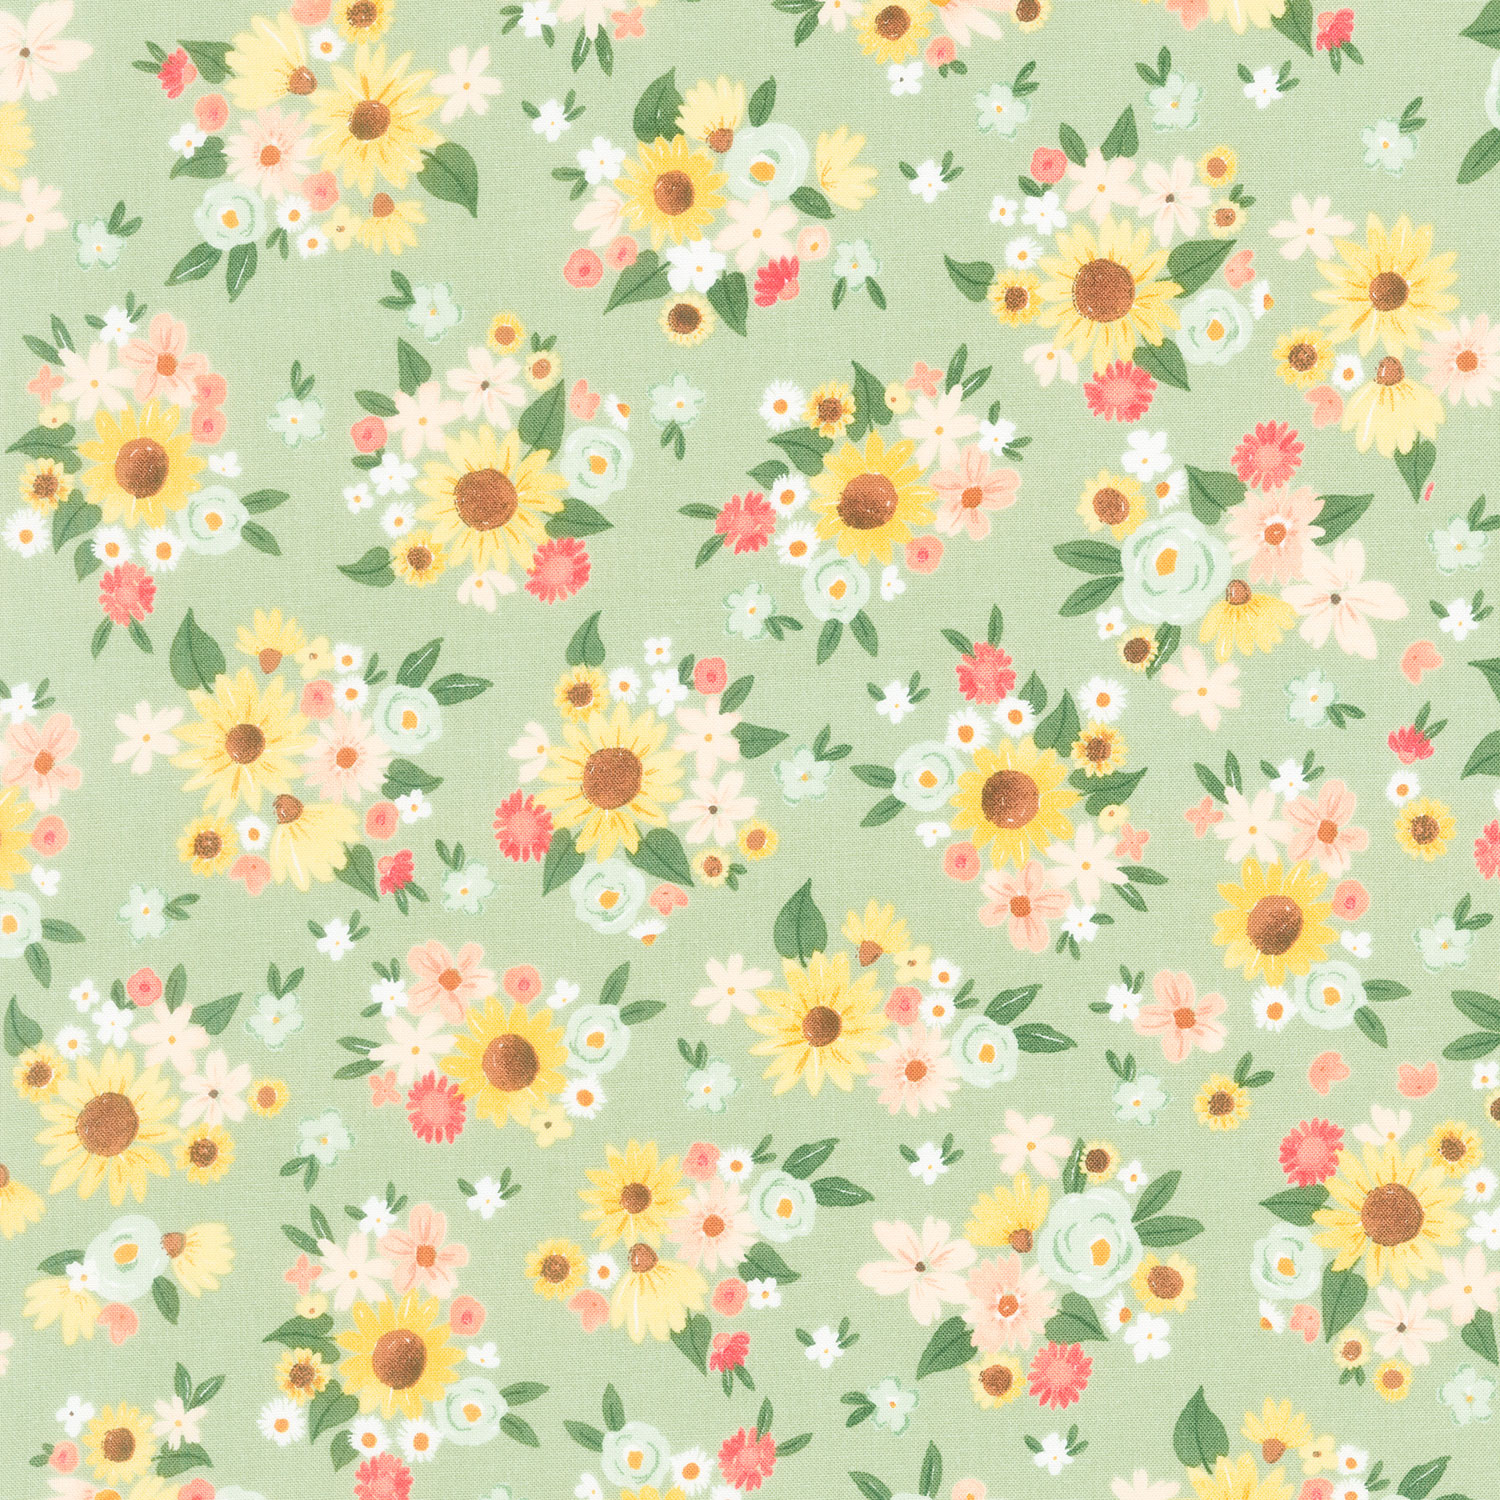 Homemade - Floral Sage Yardage$11.96Shop →
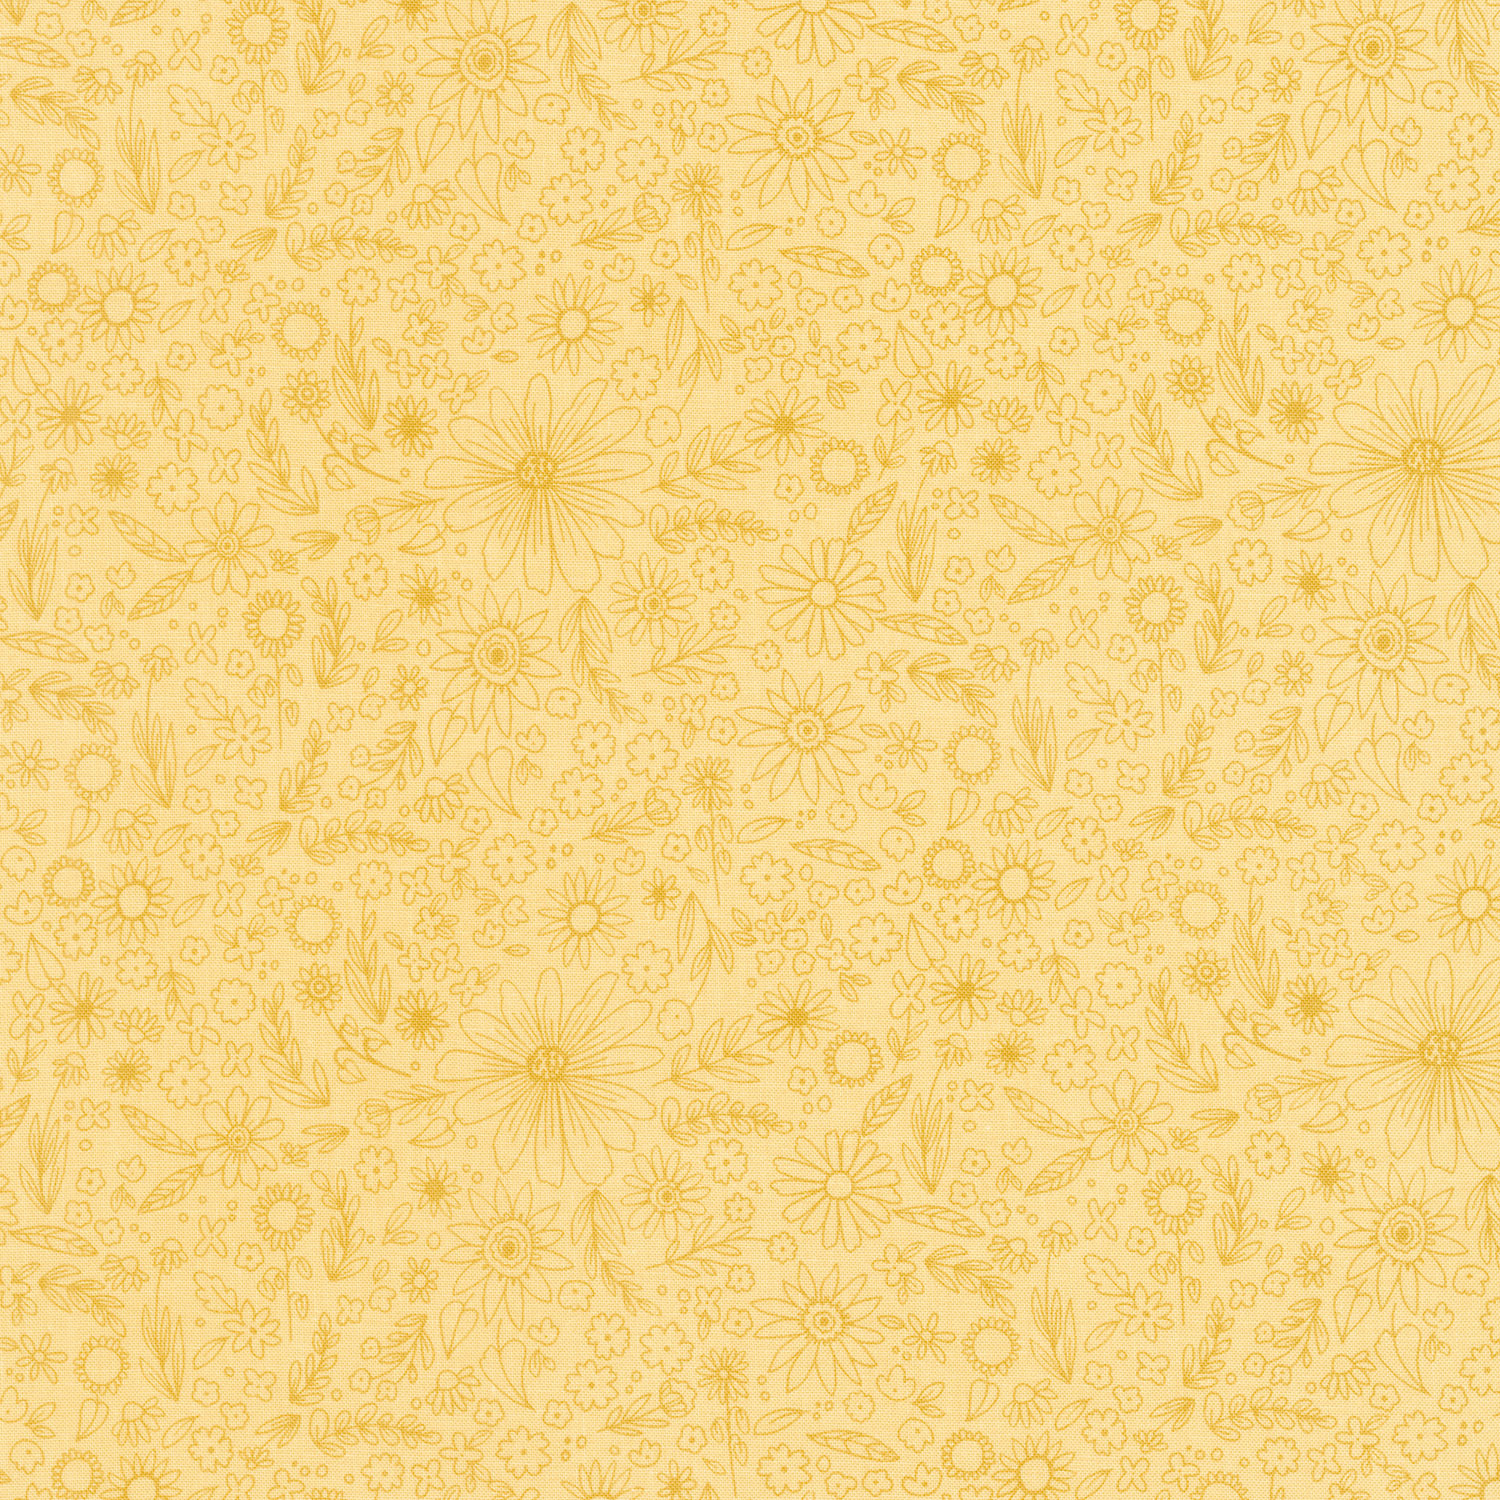 Homemade - Outlined Flowers Sunshine Yardage$11.96Shop →
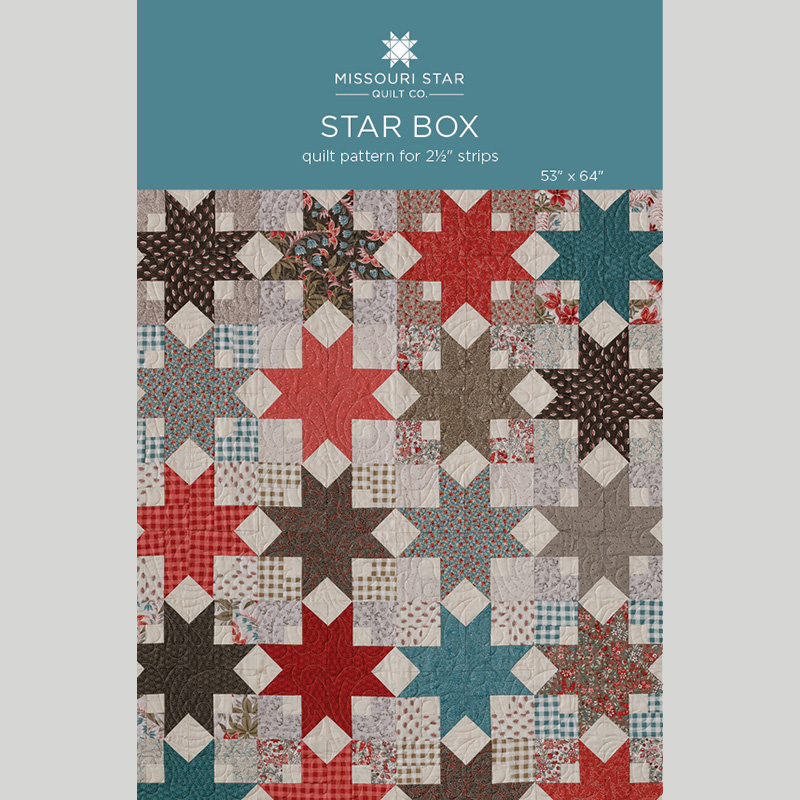 Star Box Quilt Pattern by Missouri Star$6.95Shop →
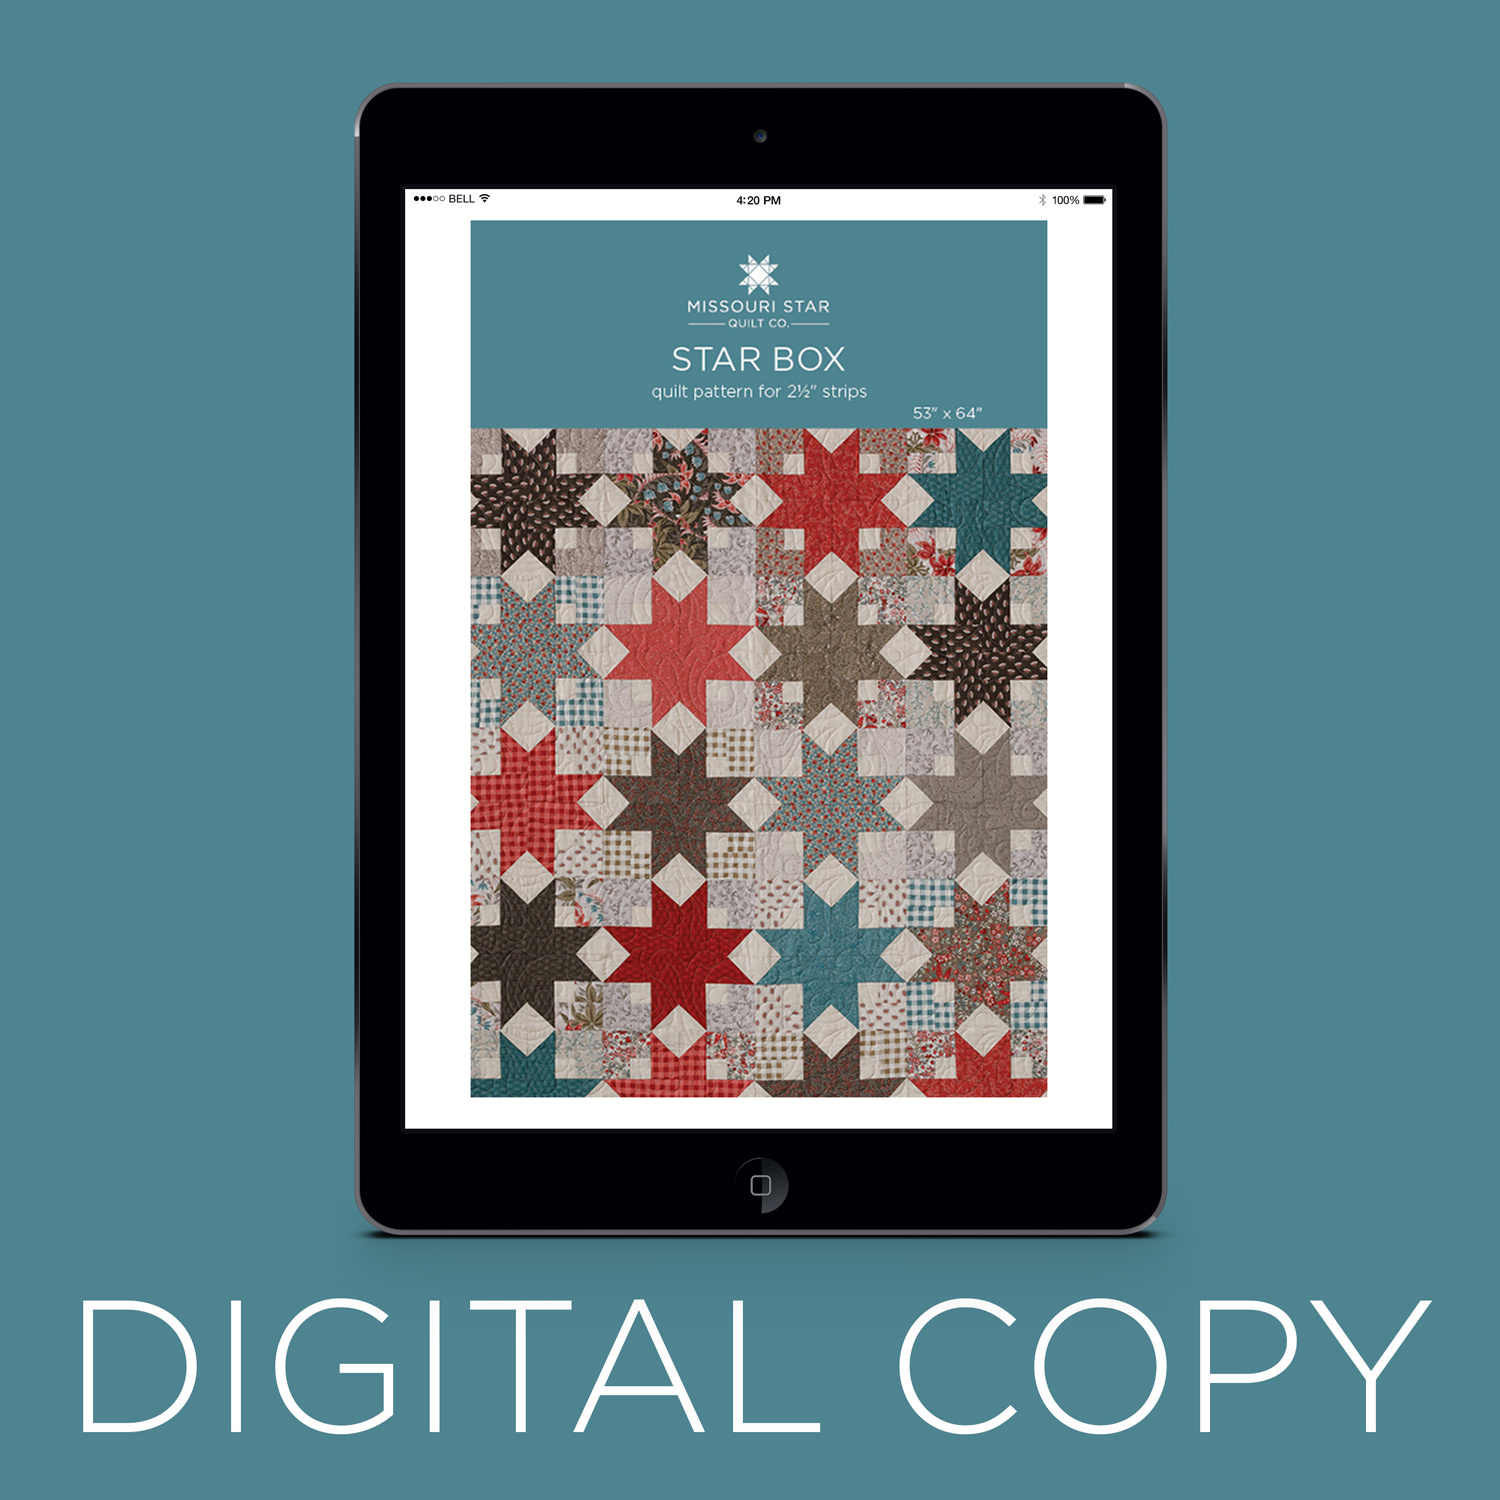 Digital Download - Star Box Quilt Pattern by Missouri Star$4.95Shop →
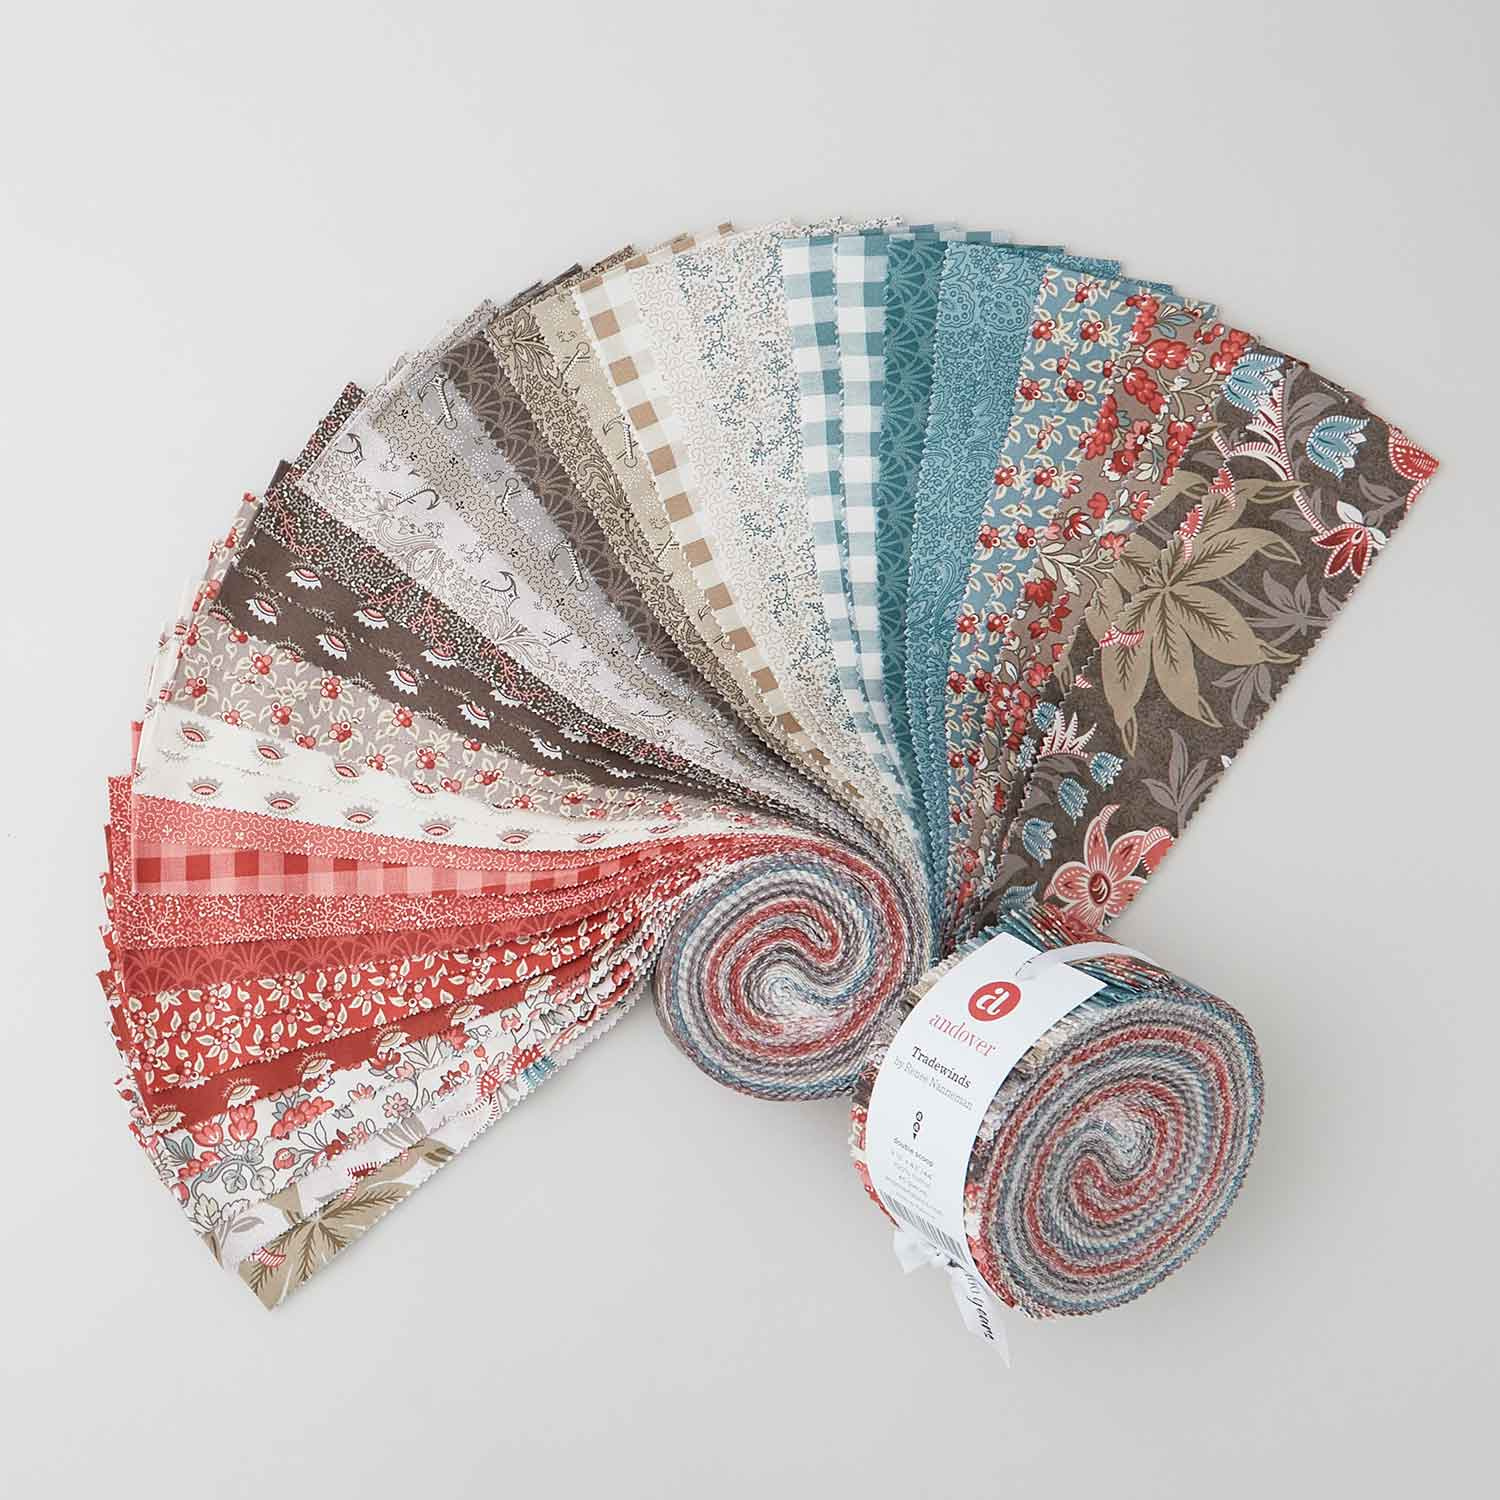 Tradewinds Double Scoops$42.95Shop →
 Laundry Baskets Favorites - Linen Texture Vanilla Yardage$11.96Shop →
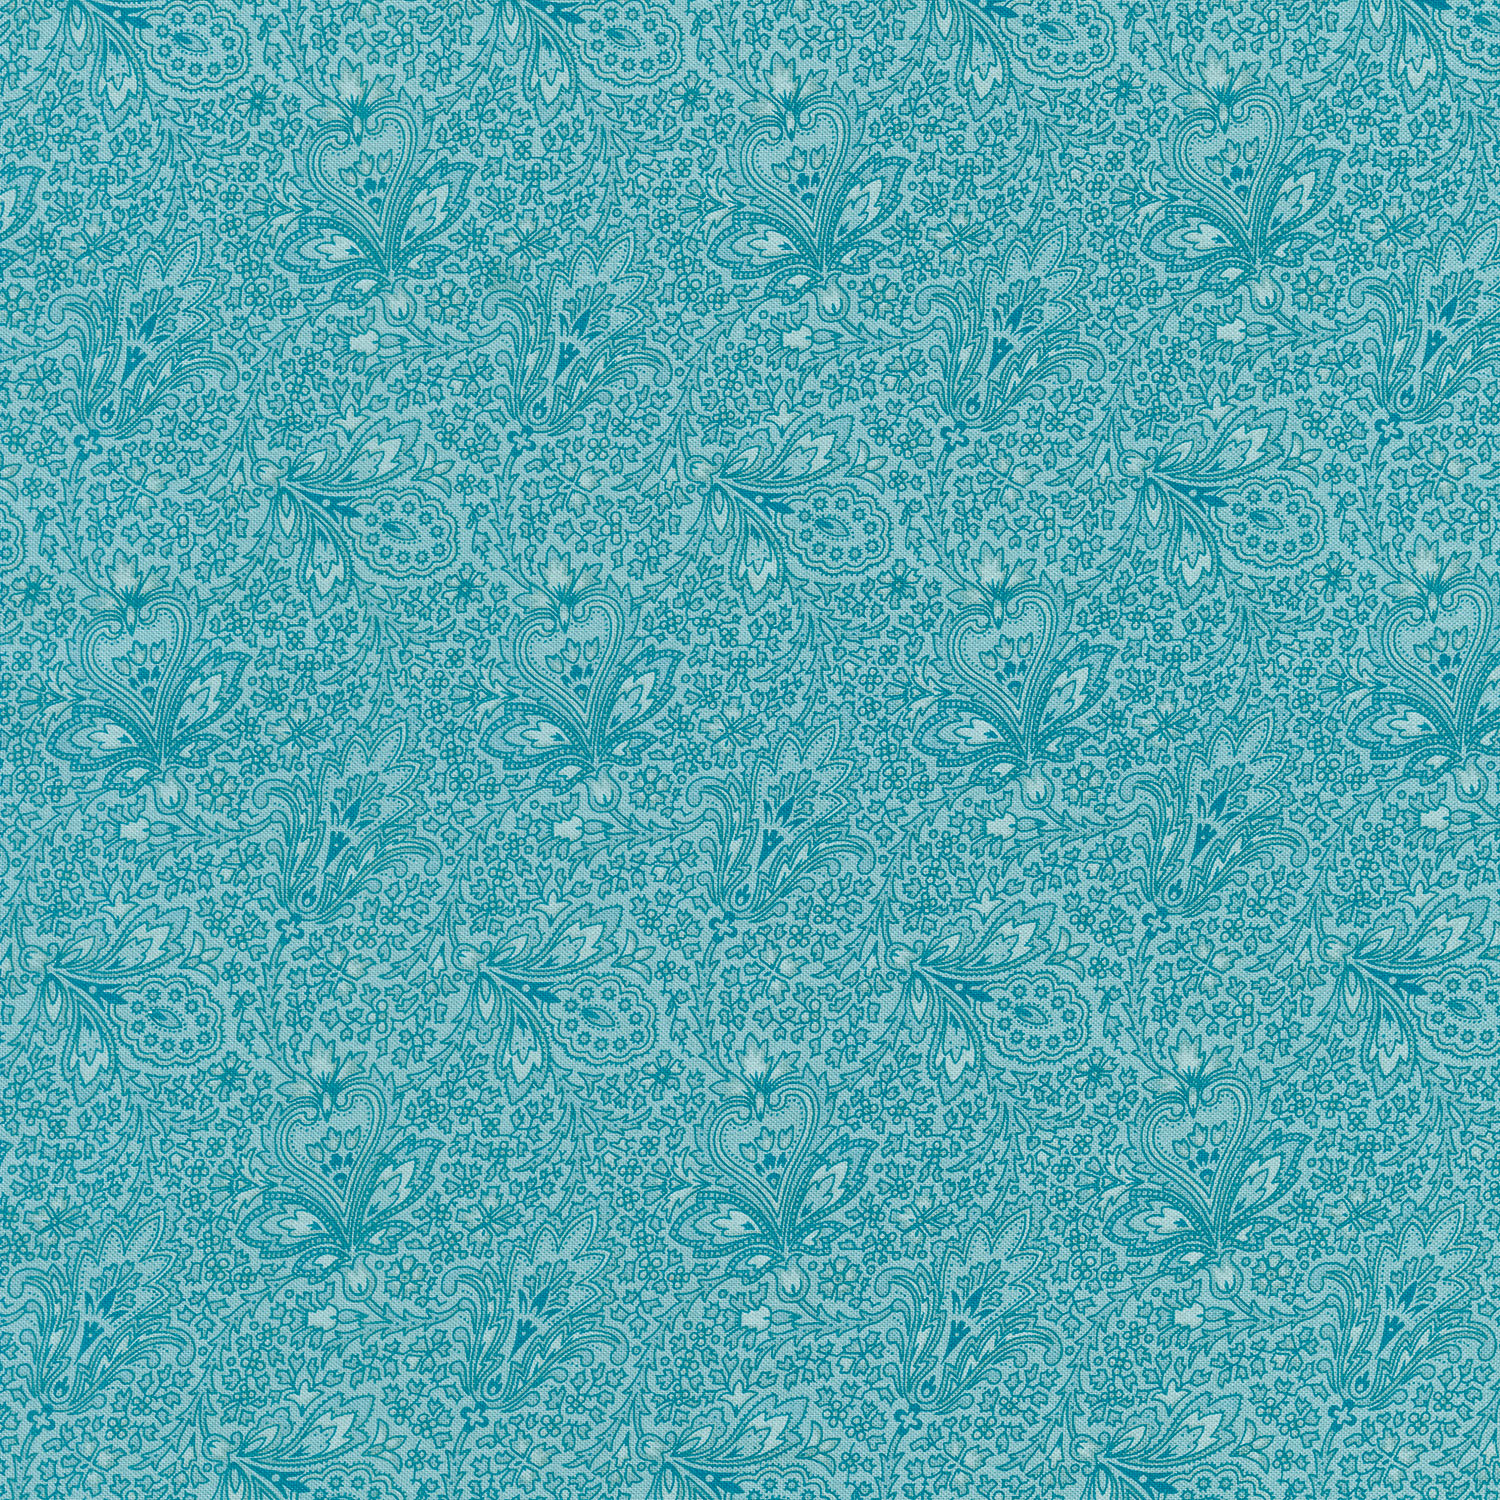 Tradewinds - Paisley Aquamarine Yardage$11.96Shop →
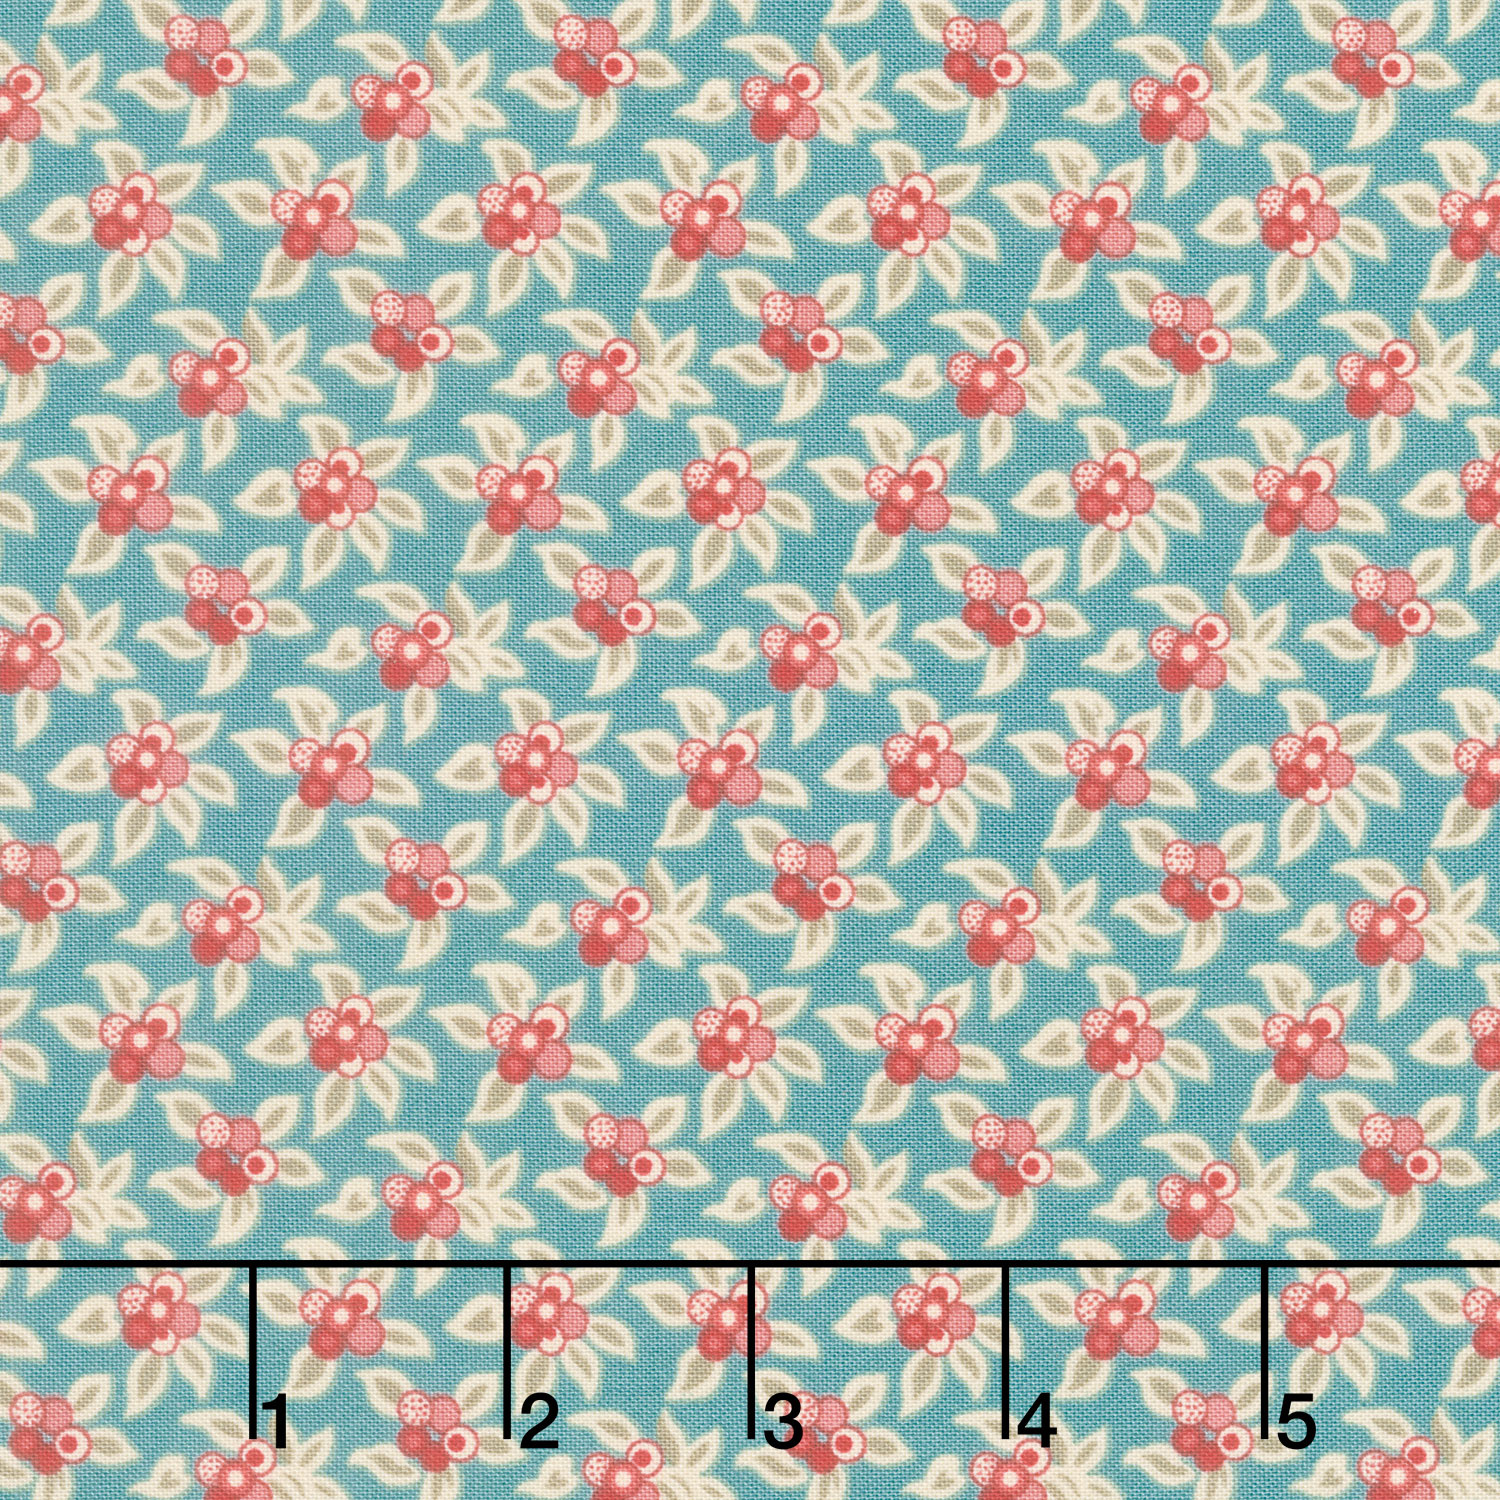 Tradewinds - Plumeria Aquamarine Yardage$11.96Shop →
 Missouri Star Quilter's Best Blend Throw Batting$20.95Shop →
Common Questions
What is covered in Triple Play: How to Make 3 NEW Block Star Quilts - Free Quilting Tutorial?
Triple Play is a favorite tradition here at Missouri Star Quilt Company. Once a month, Jenny, Misty, and Natalie each demonstrate their own unique spin on a favorite block, technique, or template. In this episode, the talented Doan ladies show off three fabulous new Block Star...
How long is the tutorial video?
The tutorial video is 00:49:38.
Are supplies listed for this tutorial?
Yes. The tutorial page includes the supplies and materials connected to this project.
Is a transcript available?
Yes. A written transcript is available on the tutorial page.
Video Transcript
Hi everybody, it's Jenny from the Missouri Star Quilt Company and it's triple play day. And I'm here with Misty and with Natalie, and we are super excited about this week's triple play because it's all about the Block Star. So to start this off, we wanted to show you the original quilt that we did because all of ours are so different than the original one, we wanted to see where the beginning point was. So this is the original Block Star that I did in a tutorial, and the block is here, right here, and you cut off these triangles and we used the triangles out here in this border. And I can't wait to show you all the different things that happen with these triangles, particularly with mine. Girls, will you help me take this down?
Misty:
Absolutely.
Natalie:
Yeah.
Misty:
It's such a fun quilt.
Jenny:
It's a great one.
Natalie:
And a great block.
Jenny:
So I went tiny.
Natalie:
Oh, its so small and its cute.
Misty:
Oh, I love it.
Jenny:
I know you're surprised. I went tiny. And I finished my outside edge, you know on the other one the triangles were just hanging out there waiting for their other side to appear somewhere. And there's no inner border of the part we cut off because we did a whole bonus project with that. And so I can't wait to show you how to make it.
Natalie:
That's so fun.
Misty:
Adorable.
Jenny:
All right, so to make this quilt, you're going to need one packet of 10 inch squares, and we have used Flora & Fun by Robert Kaufman, and it is really a fun-
Misty:
It's beautiful.
Jenny:
... fun line of fabric. We use some background here. The background is three and three quarter yards. Our border is one and a half yards, and it's a nice big six inch border. And this is our backing right here, and the backing is four and a quarter yards. And I also used that on my binding, but it's just a happy red.
Natalie:
So pretty.
Misty:
Such a vibrant, vibrant line and I love it. It's just beautiful.
Jenny:
My favorite is this border because it has so many little animals and I love how it gradates in color.
Misty:
It look like water color.
Natalie:
Yeah.
Jenny:
I think so too. I just think it's beautiful.
Natalie:
I love it.
Jenny:
Anyway, it's 67 by 67 and the quilting pattern we used on it was birds because there are so many birds in this fabric and I just thought it would make a fun, fun quilting pattern.
Natalie:
Very cool.
Jenny:
So let me show you how to do this because it's a lot easier than you think. So this is made exactly like the big Block Star only it's smaller. And when you go smaller, Misty knows very well, when you go smaller, the math all has to be redone to make it work. And so we did that, but we did it with a layer cake which I think is really kind of fun. You're going to start with some background cutting, and you're going to need some two and a half inch strips, some three inch strips, and some three and a half inch strips. So just make sure that you cut some of those so that you're ready to go when you start.
Also, all of the strips that we use to form our block, we need to cut out of here and we're going to cut them one and a half, and so you literally get six strips out of each piece. And I have a little trick to show you what to do. So I'm just going to pick a few of these, and I'm already covered in quilters fluff.
Misty:
Your little glitter.
Jenny:
Yeah. Look, I just want to pick through here and show you-
Natalie:
So fun.
Jenny:
... some of these. Look at the bugs.
Misty:
They're so cute.
Jenny:
And then of course this one is the border. Let's see. Oh, look at this one, we'll get one of these. I'm just going to get a few of these so that we can show you, well show off the fabric actually.
Misty:
Look at those.
Natalie:
I like that.
Jenny:
The alligators. Look at the flowers.
Misty:
Ah, it's so fun.
Natalie:
It's so pretty.
Jenny:
Anyway, every square is fun to look at, every one. It's just joyful. It's joyful, joyful fabric. So I'm going to stack these up and we're going to cut them into one and a half inch strips. And just line them up really carefully. And you do have a little bit of leeway at the end, so if you have that feel that you want to straighten up this edge right here because all your peaks may not be identical. You do have a little bit of leeway to do that. So I'm just going to straighten my edge up right here, and then we're going to cut one and a half. And so I'm just going to lay my ruler on the edge and I'm going to cut these and scoot them over. You should get six. I know you can't believe that I'm cutting through alligator bodies.
Natalie:
I know.
Jenny:
Actually, you know what, if I'd been thinking about this, I should have turned it the other way because I could have got full alligators in here.
Misty:
Yes.
Natalie:
Maybe.
Jenny:
But I didn't think about it. I didn't think about it. And we're going to sew it and cut it again so it may not even matter.
Natalie:
It's okay.
Jenny:
All right. So what we're going to do with this is we are going to... See here's your little extra, so that's your leeway if you have a cutting error or something like that.
Natalie:
Yeah, that's great.
Jenny:
So to make this work for me, what I did, because I'm a make do girl, is I took all of these strips right here, all of these, and I just sewed them together end to end to make one really long strip.
Misty:
Okay.
Jenny:
So that I could make many, many of these. Now you can chain piece, as you're sewing the blocks down, you can chain piece these, but if you want to do just a few at a time, which is what I'm going to do for you to show you how to make the block, then we won't do the whole long thing. So it's built like a Log Cabin, you start with a two and a half inch square. So you're going to take your two and a half inch strip and subcut it into two and a half inch squares. You can actually also buy this as a precut, you know?
Natalie:
Yes.
Jenny:
You can get the two and a half inch squares as a precut.
Natalie:
Yep. But then you just want to make sure your background fabric matches the precut that you bought.
Jenny:
Right. Now I'm going to get a contrasting piece. Oh, I'm going to, oh gosh, what should I pick? This blue or the pink?
Natalie:
The pink.
Jenny:
The pink. All right, so then if you'll sew these together.
Misty:
Of course. And there's these.
Natalie:
Do you need them pressed?
Jenny:
And I don't know if you noticed-
Natalie:
I can press.
Jenny:
... how Misty did that, but she just literally kept them all in there under and just took the end and sewed another piece down. So let's watch here. So see how she does that? Then she brings the top piece over and adds another piece to it.
Misty:
Just to keep it right sides together.
Jenny:
Yeah. And you just sew along. Now she'll pull the other piece over and then it just makes one long strip and you're not sewing two, two, two, four, four, four, you're sewing a whole long strip.
Misty:
Almost there. And the last one. Here we go.
Jenny:
Alrighty, let me just grab these and we'll just trim these apart. There you go Ms. Nat.
Natalie:
All right.
Jenny:
All right. Now what I want you to do, what I would do if I were making a big quilt of these, which dare I say this on television. On television...
Misty:
I mean, maybe.
Jenny:
I mean, dare I say this on YouTube, but I think... I like this quilt actually so much I'm considering making one for my bed.
Misty:
Well, it's beautiful.
Natalie:
Wow.
Jenny:
Which is king sized.
Misty:
It's so beautiful.
Natalie:
That would be great.
Jenny:
And this is 67 by 67, so probably I'd have to make three of them.
Misty:
Yeah, pretty close.
Natalie:
Yep.
Jenny:
Pretty close. Anyway.
Natalie:
If anyone can do it, you can.
Misty:
Yeah, I believe in you.
Jenny:
So what we're going to do is we're going to add a two and a half inch square on here and sew just down the side. Now if you wanted to do several of these, you could actually add squares and add squares and chain piece them. I'm just going to have Misty do a couple so that I can show you how we put the block together, because you don't want to stay here as long as it's going to take me to make that king size quilt.
Natalie:
Maybe we do.
Misty:
I don't know, they might.
Jenny:
Maybe. I don't think so. It'll take a little more time than you think.
Misty:
I just lie this a little closer.
Jenny:
Yeah, you don't have to have any room in between, you can just slide them right next to each other.
Misty:
Here we go.
Jenny:
And honestly, if you're making one block at a time, you don't even have to sew your strips together. You can actually just do one little block at a time. If you want to iron those.
Natalie:
I sure do.
Misty:
I love that you sewed them together because it reminds me of the old quilts where they would, you had-
Natalie:
You find the seam.
Misty:
... those seams all the time. Yeah.
Jenny:
Yeah, that has never bothered me.
Misty:
No.
Jenny:
That's never been a thing for me. People will say, oh, I don't have enough fabric to finish this. I'm like-
Misty:
Put a seam in it.
Jenny:
... sew some pieces together.
Misty:
Absolutely.
Jenny:
All right. So this one then, what we're going to do is we're going to sew down this side, like this, and you can add that piece on. Now when I get close to this seam right here-
Natalie:
Use this one.
Jenny:
... if you want to take it off and not sew the seam in it, you can.
Misty:
You can skip it.
Jenny:
There is plenty of fabric to do it. This is just how I did it. There's lots of ways to do things.
Misty:
As a nod to those old quilts, I'm just going to keep it in the same.
Jenny:
All right, there you go.
Misty:
You know, why not?
Jenny:
There you go.
Misty:
I'll just slide that under there. This is twisting on me, I want that to lay flat.
Jenny:
All right, I'm going to... I guess I'm just going to wait here.
Misty:
Yep, there we go.
Jenny:
I was thinking I was cutting the string but I'm cutting a whole strip here. Let me use these. All right, if you can press that, that would be great.
Natalie:
Okay.
Jenny:
And I'm going to-
Natalie:
Here we go.
Jenny:
... open this one. All right, so now what we're going to do is we're going to take our other color and we're going to come around this side. So it doesn't matter, but the way I remember it is whatever side I end on, which is the one that goes all the way across the block, that's the side I start on.
Misty:
Okay.
Jenny:
So if you want to do that. And then if you just want to pass that to me, I will trim it and you can do the same thing on the next block.
Misty:
Okay.
Jenny:
And then we're going to add one more strip on there.
Misty:
All right.
Jenny:
Now I'm pretty sure, in the pattern it gives you the exact measurements to cut everything.
Misty:
Perfect.
Jenny:
But you can do it however you want.
Natalie:
Its good to have multiple ways.
Misty:
Yeah, either way.
Jenny:
It is. All right. So you can then sew this on the other side.
Misty:
I'll use this end.
Jenny:
All right, there you go.
Misty:
Sweet.
Natalie:
Cool.
Jenny:
Teamwork makes the dream work. And here's one more and you can do it with this end.
Misty:
All right.
Jenny:
We'll just keep switching ends.
Misty:
Swapping.
Jenny:
See how handy that is.
Natalie:
It works.
Jenny:
Press that.
Misty:
I'm going to slide past the seam for you on this one.
Natalie:
There you go.
Jenny:
Alrighty. And we've got one more here. And we are going to trim this side and trim this side. Misty didn't want the seam in there, I guess.
Misty:
I just decided not to.
Jenny:
There you go. All right, so this block looks a little wonky but it's not going to really matter because where these two colors come together, the opposite colors, we're going to take a three inch square, now you had a three inch strip here, you're going to subcut that into three inch squares and one's going to go on each corner just like this. And we are going to draw a line or we are going to use our diagonal seam tape. I'll draw a line on this one, and we're going to do one of these on both sides. So the first thing we're going to do is we're just going to draw a line corner to corner. And then if you want to, you can come out a little bit and draw another line.
And this piece right here is going to give you our bonus project. So if you want to do the bonus project, then you have to kind of do both of those. So I'll do that for you.
Misty:
All right.
Jenny:
And then I'll draw the line on another one. And it should be about a half an inch, it doesn't have to be exactly. I actually never draw the line for the outer piece, I just eyeball it and come over. And so what we're doing here, let me just show you, I'll line this one up. So again, where the colors come together, the corner goes on here, we're sewing on this line, sewing on this line, and then cutting in between.
Natalie:
Pretty cool.
Jenny:
Alrighty. Now Misty lived dangerously, she sewed these at the same time. But I would be really careful about that because-
Misty:
I did flip it back, out of the way.
Jenny:
Did you?
Misty:
Yeah.
Jenny:
Because I was going to say, that point comes pretty close. So there's that one. And so let's work off of this one. Now what we're going to do is we're going to trim right in between here, just like this and just like this. And I'm not too worried about that quarter of a inch seam. And you can shorten up your stitch length a little bit if you're worried about that. Natalie, if you can press that.
Natalie:
Yep. I would love to. Those are so cool.
Jenny:
And then I just made a pile of these to work with later. And then this is your block, this is what we're shooting for right here. We want two little corners just like this with our three inch squares on them.
Natalie:
It's very cool.
Jenny:
It's so cute, isn't it?
Natalie:
Yeah.
Jenny:
Tiny little stars.
Natalie:
I love that you can make stars with these blocks. It's super in interesting to me.
Jenny:
Yeah, It is interesting always when things come together, how it works.
Natalie:
Yeah.
Jenny:
All right, we're going to go ahead and trim this one as well.
Natalie:
If you were ambidextrous, you could just leave that right in the middle.
Jenny:
Slide it over.
Natalie:
No, you could cut on both sides-
Misty:
Almost, yeah.
Natalie:
... it's two and a half inches.
Jenny:
Oh, there you go. So once you get a pile of these done, you're ready to start putting your blocks together. And literally, what we're going to do is, this is how it makes a star right here, I have some made.
Misty:
Oh, that's so cute.
Jenny:
And as you put them together, it forms a little star.
Natalie:
That is just adorable.
Jenny:
And so basically when you put your quilt together, you can do rows, but you're going to put them together so the colors and the whites always come together. So this one would be turned like that. So let's take this back to the quilt and I'll show you just how it fit back there.
So this is our top row right here. This out here is the outer border that I made, so the stars finish, but this is where it goes in the quilt, just like this. And then you're just going to turn it to do a row. Now when I put them together, I put a whole star block together and make my row out of those. So it has one, two, three, four, five, six by one, two, three, four, five, six. So six by six rows of stars.
Natalie:
Very cool.
Jenny:
But I wanted to finish the outer edge.
Misty:
I love that you did that.
Jenny:
That's one of the things that actually bothered me on the Block Star quilt, I'm a finisher, I like things to look complete and finished. So to do that we had to do some math. I had to do it in the morning because afternoon math is terrible. And so what we did for this one, this is new to this Block Star, you can do it with the original as well but this math is for the mini. So what we're going to do is we're going to take a three and a half, so remember I told you to cut a three and a half inch strip, you're going to cut that into three and a half by three. So these are your squares right here. And I chose to use my border fabric in all of the outer stars.
Natalie:
I just noticed that.
Misty:
Yeah.
Jenny:
I thought that this would kind of go up into the border and kind of bring it all together. And I like how it did that.
Misty:
That's beautiful.
Jenny:
And I didn't have enough of the other strips to actually make the same on both sides, so I thought, well I'll try it with the border fabric and we'll see what happens. But I really like it and it made it easy for my brain. You know, it made me go...
Natalie:
Yeah, that's very cool.
Jenny:
I'm just going to cut some of those strips.
Natalie:
I didn't notice it at first.
Jenny:
So here, Misty, if you'll sew a strip on both sides of those.
Misty:
Of course.
Jenny:
Now you're going to make two of these blocks and they're going to be opposite. So what I mean by opposite is...
Natalie:
And you can't just turn them?
Jenny:
You can't just turn them.
Natalie:
Okay.
Jenny:
See, there's no way to make them-
Natalie:
Because they're rectangles?
Jenny:
Mm-hmm. They're just opposites.
Misty:
Trim that one for me.
Jenny:
So we'll trim this. I was looking to see... Oh, did I grab the wrong block? You just finger press that.
Natalie:
So they're three by three and a half, huh?
Jenny:
Three by three and a half. And one block, you're going to put your strip on this side and across the bottom and on the other block you're going to put it on the opposite side and across the bottom.
Misty:
Does it matter which way I do this one?
Jenny:
It doesn't, because we'll just make a pile.
Misty:
Okay.
Jenny:
As I went along, I just made a pile. And when I got the stars right, because you want them to come together like this to form the star.
Natalie:
Okay.
Jenny:
So let's see which pile this goes in, it was always a mystery to me. I know, after a while you're like, okay, this goes on this side and this goes on that side, and that's how you figure it out.
Natalie:
That's so funny.
Jenny:
But in the beginning, everyone was like, okay, this one goes in this pile, this one goes in that. All right, so this is also my mantra of how I remembered how to put these together. The top of my block right here is going to be the top of the star legs, and so this has a two and a half inch square that we're going to put, we're going to draw a line and we're going to sew diagonally. So our two and a half inch square, it has two squares just like the other one, but this one has, on this top it has a two and a half here and it has a three out here. So we're going to let you go ahead and sew that on there and we'll sew another one over here. Oh, here's one. And I did not cut off the other side of the two and a half. I did not. So go ahead and do this one.
Natalie:
You mean, stitch it? Like stitch another piece.
Jenny:
Yeah, I didn't. When they get to be two and a half and you cut it off, that gets a little bit-
Natalie:
It's so tiny.
Jenny:
That's a little bit tiny for me.
Natalie:
A little one inch block.
Jenny:
All right. Let me draw a line here. Do you need the line? You have the diagonal.
Misty:
I do not need the line.
Jenny:
Oh, Okay.
Misty:
Nope.
Jenny:
So she has the diagonal seam tape over there so she can do that without. So see how the beginning of this leg is forming. And then we'll do a three inch block on the other side, so the blocks always cover the fabric like this.
Misty:
There we go.
Jenny:
So go ahead and trim that one. I mean, sew that one, and I'm trimming. No I didn't. All right, so I'm going to go ahead and trim this and trim this. And Natalie, you can press that.
Natalie:
Okay.
Jenny:
There you go. And we will trim this one. And then, oh, Natalie's pressing. Here we go, our little Natalie. All right. So here, we'll pretend this is the top of our quilt right here, like this. And we'll do one more. Where's our block? Here it is. So this is, as we're making our row or maybe even our stars, maybe we should just make a star right here so you can see how this all works. Look at this fabric with the insects on it.
Misty:
It's so cute.
Jenny:
It's so dang cute. All right, so this is our little tiny mini quilt with two rows. What we're going to do is wherever there's a star, we want to put these two legs together like this. And then what it does is it finishes out that star and it gives you enough room at the top so that it looks like you've added a little border. It gives you room in between the star and the border, so it really makes it pop.
Natalie:
That is really pretty.
Jenny:
And I just love how that worked. And Even on the times where I put them on and there happened to be the same fabric on the star, it didn't matter. And so I loved that I was able to finish that up and do it. So now let's talk about those little pieces we cut up. Oh also, I brought this just to show because this is a scrappy one.
Misty:
Right.
Jenny:
And you can do the same thing, if you have scraps and you want to do it all scrappy, you just choose two corners and put it on there and it will still make the same star legs.
Natalie:
That's great.
Jenny:
All right. So now we have all these little pieces that we've cut off and we're going to square those to two inches, and I used the clearly perfect for that.
Misty:
They're so cute.
Jenny:
Because you know, you can't just throw these away.
Misty:
No.
Jenny:
You know, they're too much. So Natalie, I'm going to trim these and let you iron a few of these.
Natalie:
Okay, I would love to. Do you want to cut the little dog ears or no?
Jenny:
Oh no, we can.
Natalie:
I just didn't know if that was a thing.
Jenny:
I just forget. It is a thing and especially on a-
Natalie:
You can always trim them off with your scissors.
Jenny:
On a small project, it is a thing.
Misty:
It does help.
Jenny:
Yeah, I just always forget. I get like a horse to water, I want to see what my little block is going to look like. Let's see, I'll do this one and I'll do this one and then this right here. Now you'll have a set of these, you'll have them going two different directions because we've cut them off either side of the block. So what I mean by that is, right here, so you can see these are opposites. So we want to make a pile of our two opposites and we're going to make pinwheels, so you need four for each one. And how you tell, they have this little small piece at the top and a bigger piece at the bottom, and so that's going to go in that pile, this is going to go in this pile. This one I'm going to turn, it's going to go in that pile. This one's going to go in this pile.
Natalie:
You got it.
Misty:
Yep, that's right.
Jenny:
All right. So, what this means is that when we put these pinwheels together, one's going to go one direction and one's going to go the other. So we're going to start this way and we're going to put this one, I'm a little anglie challenged, wait for it, there it is.
Natalie:
And you want all the little tinies to point to the middle, yeah?
Jenny:
I do want, yes, you're right. You're right. All the little tinies to point to the middle. So wait.
Natalie:
It's okay. You can do it like this.
Jenny:
I can't think it, I'm anglie challenged.
Misty:
Like that?
Jenny:
Oh there we go. Okay. All right.
Natalie:
And then just add the other two.
Jenny:
So my idea in doing this, with having the smaller pieces, is that it would make a double pinwheel.
Misty:
Right.
Natalie:
It's really cute.
Jenny:
And so as these come together, you'll see that tiny little pinwheel in the center.
Natalie:
I'll put this one up there.
Jenny:
There we go.
Natalie:
That way they're opposites.
Misty:
So cute.
Jenny:
See that tiny little pinwheel?
Natalie:
That's adorable.
Jenny:
And then this one will actually turn the opposite direction. You want to put your pinwheels, because you've cut them off both sides, you have one going this way and one going this way. We looked at whether or not this was really going to matter. Because I wondered, is it going to show up in a quilt if I do them so that they're opposite? So here's our little pinwheels. And so we decided that it didn't really matter. Cherry loves minis, she was in charge of this mini, I told her make something really cute with these half square triangles. And so I want to show you this darling-
Misty:
It's so fun.
Jenny:
... little tiny...
Natalie:
It is so cute.
Misty:
I love it.
Jenny:
... are these. And you'll see every one, like this one goes one way, this one goes the other. This one goes one way and this one goes the other. But when you look at the quilt as a whole, it doesn't matter at all. So she sashed every single one of these, and it's a one and a half inch sashing, and you need a little more yardage for that. What is it Natalie? About three quarters?
Natalie:
I think for the background, three fourths of a yard, yeah
Jenny:
Okay, so three fourths of a yard for that. This is a little three inch border. And so what did we go around it?
Natalie:
Another half yard.
Misty:
Half yard.
Jenny:
You won't even use a half yard for sure.
Natalie:
Yeah.
Jenny:
And then we did back it with the same darling...
Misty:
I just love that.
Natalie:
It is so cute.
Jenny:
This is the best baby quilt I think you could ever give.
Misty:
It's so happy.
Natalie:
It's darling.
Jenny:
It's just absolutely darling. And the size of it ends up 38 by 42.
Natalie:
That's a good sized baby quilt.
Misty:
That's perfect.
Jenny:
It's just perfect sized, yeah. I love, love, love it.
Natalie:
It's so great.
Jenny:
So anyway, so you get two projects out of one block. And now we get to see what Misty did with her Block Star.
Misty:
All right. All right, so this is my quilt. I had a jelly roll to work with and so it was a bit of a challenge for me, but I'm really excited about how it came together. I'm calling it Starbox.
Natalie:
It's really cute.
Misty:
Because you get your one star in the middle and it kind of boxes around it.
Jenny:
That's really cute.
Misty:
Not very clever, but you know.
Jenny:
It's hard to name quilts.
Misty:
It's hard to name quilts.
Natalie:
I liked it. I like it.
Misty:
Thank you.
Jenny:
And we name a lot of them.
Misty:
Yes we do. All right. To make this quilt, you're going to need one jelly roll. And I used Tradewinds by Need'l Love for Andover Fabrics, and I used this great Laundry Basket Basics for the background, you'll need one yard of that. One yard for your outer border and then three and a half yards for your backing. So let me show you how to make it.
Jenny:
It's so cute.
Misty:
Thank you.
Jenny:
I love this fabric too.
Misty:
Thanks. It's really pretty. I was surprised how much I enjoyed it. Okay.
Natalie:
It's always fun to use something a little different for you.
Misty:
Yeah.
Natalie:
You don't typically go for the-
Misty:
It's my typical fabric, yeah.
Natalie:
... more traditional fabrics, but they always turn out so beautifully.
Misty:
I think so too. Actually let's grab that jelly roll because I'm going to pull a few out of there.
Jenny:
Alrighty.
Misty:
So we're just going to open it up. All right. And so I am going to use this brown.
Natalie:
It's so pretty.
Misty:
And then this kind of mottled one here. And then we'll set the rest of these aside for now. And then you're also going to cut some strips out of your background, both two inch and two and a half. So I'm going to subcut this one into two inch squares. I have a couple stacked here. Oops. I always have to make sure I've got my ruler right.
Jenny:
That's right.
Natalie:
That's right. That one has the...
Misty:
That half inch that can throw you off. So we'll just cut a few of these, and this is going to be the center of our blocks. I started with two and then I went ahead and I have my two and a halves cut and ready to go. So I kind of separated my jelly roll into darks for the star and lights for the box, and we're going to start with the lights. So I'm keeping this folded and we are just going to go ahead and cut off our selvage.
Jenny:
I think the separating the lights and the darks was pretty genius.
Misty:
Oh, thank you.
Jenny:
It gives it a really cool look.
Misty:
It was kind of difficult to figure out how to get those stars to pop. I really wanted them to pop and I wanted to keep the four colors together.
Jenny:
And for me it's like, which one is light?
Misty:
Exactly.
Jenny:
I don't actually... Sometimes you have to look through your phone or your camera to see it.
Misty:
Yeah, to see. All right, so then we are going to cut a two by two and a half inch rectangle, we're actually going to make that cut twice. And this is going to give us enough to make our whole block.
Natalie:
Oh. All four because you have it folded still.
Misty:
All four, because they match, yeah.
Natalie:
Perfect, I love that.
Misty:
And then the next cut is four. And so I'm just going to lay this on here. And same thing, we're going to do that twice, and then we will just hold onto these for now. All right, so from our dark strip now I still have this one folded. So again, we're just going to lay this out nice and straight and I'm going to take my ruler and just trim off that salvage edge, there we go. And our first two cuts are going to be four inches. And remember this is folded, so we're actually getting four that are the two and a half by four inches. There we go. And then our next two cuts are six inches. So let me turn that around. One and two.
Jenny:
Oh, I love a project that just uses almost the whole strip.
Misty:
Yep.
Natalie:
Just right.
Misty:
So just a little bit of waste. Not bad at all.
Jenny:
Not waste.
Natalie:
That could be a little two and a half inch square that you put in your...
Jenny:
I mean this is...
Misty:
That's true. You could add that to a border.
Natalie:
Oh, is it two and a half?
Jenny:
Mm-hmm. It's bigger than two and a half.
Misty:
Yeah.
Natalie:
Perfect.
Misty:
So you could trim it down to two and a half, easy.
Jenny:
Nice.
Natalie:
Nice.
Misty:
All right, so now we have all of our components to make our block. So we are going to start with that little two inch square and we are going to add one of our two by two and a half inch rectangles.
Natalie:
Back to the [inaudible 00:29:09].
Misty:
This side there.
Jenny:
So the first cut was two by two and a half. I actually, when you were cutting that, because I'm so used to thinking two and a half, I'm like, how is that going to fit on there?
Misty:
I know.
Jenny:
Then when you turned it on the end I'm like, okay.
Misty:
There it goes. There it goes.
Natalie:
Okay.
Misty:
All right. And then we will add, we'll give that a press or you can finger press, either one.
Natalie:
What do you?
Misty:
Whatever you prefer.
Natalie:
I'll finger press for this one.
Misty:
All right. And then we'll add our four inch piece to the other side.
Natalie:
Does it matter what side?
Misty:
I just was consistent the whole time, and so for my brain, I would turn that print to the top and I'd add it to the right.
Natalie:
Okay.
Misty:
Because I'm right handed, I think that's just how it made sense to my brain.
Jenny:
All right. Everybody has a little mantra that they use. It's all a little different.
Misty:
Exactly. There we go.
Jenny:
I'll press that.
Misty:
You can press that. And so because I wanted the star to be the dark fabric I started with that light every single time. And so then we just keep rotating, and we'll add our four inch dark to this side and then we will add our six to the other.
Natalie:
Alrighty.
Jenny:
And you make four of those, right?
Misty:
You make four, exactly. I have the other ones ready to go. So we'll just make one because it's the same thing over and over.
Jenny:
I love that you were able to figure out how to get all the same colors together.
Misty:
Thank you. It actually was trickier than I expected. I had to rework the math about four times and then I was like, oh no, the jelly roll's too short. But we got it. Got there in the end.
Jenny:
I love that.
Natalie:
Nice.
Misty:
All right. And then this last piece to this side.
Natalie:
Okay,
Misty:
There we go. And so I just kept spinning that block, always to the left and I added to the right.
Natalie:
Awesome. It's so cute.
Misty:
It was my little mantra while I was working on it. Alrighty, perfect. So now we will just give that a press and we'll grab two of our background two and a half inch squares, and we are going to add these onto the corners with our darks. And so again, you can draw a line or press a line, we're just going to so point to point on both sides.
Natalie:
Okay. Eyeballing it.
Misty:
Perfect.
Jenny:
Where the two colors come together?
Misty:
Exactly.
Natalie:
Using the...
Misty:
It really mostly covers the dark because of how this is added. But yeah, your two colors are meeting.
Jenny:
Well you know, I've been teaching this for the Doan girls this year.
Misty:
Yeah.
Jenny:
And so I've noticed how many times, I say that over and over, because I notice how many times somebody will put a square and they'll be like, I did this wrong.
Misty:
Wrong side, yeah. It's so true.
Jenny:
And that's not a problem, it just makes a whole new tutorial.
Misty:
Exactly. That's exactly right.
Jenny:
You don't get what we're looking for for sure.
Misty:
Nope. Sometimes those mistakes are the best little happy accidents.
Jenny:
They really are.
Misty:
All right. And so now we'll just trim these off, here and here. Make sure. And if you want to press that.
Jenny:
Okay.
Misty:
Have our other ones ready to go. And then so we will just lay these out.
Jenny:
Look at that.
Misty:
Like that. And have these two sewn together and you'll see how it will come together.
Natalie:
That's so great.
Misty:
So Natalie, if you want to sew these.
Natalie:
Yep, I'd love to.
Jenny:
I love how this was once the center becomes the outside edge.
Misty:
Exactly.
Jenny:
I like this a lot, Misty.
Misty:
Thank you.
Jenny:
You did a great job on this. This is fun.
Misty:
Thank you so much. It's a fun block to make.
Jenny:
I'm always amazed at what different things...
Misty:
Come out of our brain.
Jenny:
... come out of our brains.
Misty:
I know. It's crazy, isn't it?
Jenny:
It's fun actually.
Misty:
I think so too. Yeah.
Natalie:
All right.
Misty:
This one's already sewn, so if you just want to nestle up those middles.
Natalie:
Okay. It's going to be so pretty.
Misty:
Yeah. And I like that the light is that box on the outside because it really lets those stars shine. Makes them stand out. And she's just lining up where those points come together, trying to keep everything matched.
Natalie:
Yeah, nesting the center seam.
Misty:
Yep. Nesting the middle seam.
Natalie:
Making sure they... Yep, they're going opposite directions, and my...
Misty:
Awesome. There we go. Get those threads. Awesome. There we go. We'll press that.
Jenny:
Oh, so cute.
Misty:
Pretty easy.
Jenny:
Yep. I love it.
Misty:
So there's our blocks, you can see how great they come together, just quick and easy. And I just set them one next to the other, and so it's four across by five down. It has a five inch outer border. It finishes up at 53 by 64. And let me show you the backing.
Natalie:
Oh, that's such pretty fabric.
Misty:
Just this great little floral.
Jenny:
That's perfect.
Misty:
And I quilted it with Variety. Turned out pretty good.
Jenny:
I love Variety too.
Natalie:
Variety is just such a great elegant...
Jenny:
It's a really beautiful quilting pattern.
Natalie:
... kind of feathery but not.
Misty:
A little bit more traditional.
Natalie:
Yep.
Jenny:
Yeah.
Misty:
I like it.
Natalie:
It's beautiful.
Misty:
All right, Natalie, I think you're up next.
Natalie:
Okay. All right. So this is my quilt behind me.
Misty:
It's so fun.
Natalie:
I'm calling it Sunflower Stars because I think what I did is I made the stars look a little bit rounder, kind of like a flower.
Misty:
It's really cute.
Natalie:
So I think it's kind of fun.
Jenny:
It's really cute.
Natalie:
And I'm excited to show you guys how I made it. So to make my quilt, you'll need a package of 10 inch squares, and I used Homemade by Echo Park Paper Company.
Jenny:
Beautiful line.
Natalie:
From Riley Blake. You'll need a little bit of background fabric, two and a quarter yards. Your outer border is a yard and a quarter, and then four yards for backing. The quilt is, basically it's kind of like a small picnic or large a baby, it's 60 by 60. The backing is really cute, do you see it.
Jenny:
Oh, I love the quilting pattern. That's like-
Natalie:
And the quilting pattern is Little Nature, so it has little ladybugs and dragonflies and flowers.
Jenny:
That's really cute.
Natalie:
I thought it was super cute.
Misty:
Really cute.
Jenny:
I'm still chuckling about the large baby.
Natalie:
I meant large baby quilt, but take it how you will.
Jenny:
It is what it is.
Natalie:
All right, so let's get started. So we'll take two of our layer cake 10 inch squares and we'll put those together and I will show you how the cutting is to be done. The reason that I'm doing two, kind of contrasty squares, is that's how the quilt block goes together well. And so this makes cutting super easy, so first you're going to cut an eight inch by two and a half inch strip. Well we'll cut it as 10, then we'll cut it down to eight.
Jenny:
Get out your pencils and your notepad.
Natalie:
That's right. There is a little cutting diagram for these in your pattern.
Jenny:
So eight by two and a half?
Natalie:
Yep. And that's first. This is your longest strip, so you'll set those aside.
Jenny:
Can I have those for my crumbs?
Natalie:
No.
Jenny:
Oh no, you're going to use those.
Natalie:
I'm going to use that, yeah.
Jenny:
All right.
Natalie:
So then we'll cut another two strips here. And these get cut down into six and four. So we're just going to cut these now and set them aside, we'll use them up as we need them. So we have our eights, our sixes, our fours. We'll cut one more. This one also gets cut into six and four. So we'll stack those up there. And then from this strip we're going to need two, two and a half inch squares. Oops, not three.
Jenny:
It's always so fascinating to me-
Misty:
It's so cute.
Jenny:
... how different everybody's is.
Natalie:
How our minds think.
Jenny:
Yeah.
Natalie:
All right. And then we need two, two inch squares.
Jenny:
Wow, you're using every bit.
Natalie:
So you can have this piece for your crumbs.
Jenny:
Well that's even bigger.
Natalie:
It's bigger, yep. So these are our two inch squares that go and end up as little snowball corners.
Misty:
Oh, cute.
Jenny:
Very cool.
Natalie:
So that is the most efficient way to cut your layer cake squares to get all the pieces that you need.
Jenny:
Perfect.
Misty:
Awesome.
Natalie:
Now from your background, you're going to need four inch squares and four and a half inch squares. So I just cut those into two strip sets and we will just subcut a few of our little four inches and our four and a halves. So I'm going to just use this, I usually use a square to cut my squares, but this will work. I can use the mat just as well. So, one, two, three, four.
Jenny:
So, four by four, four inch squares.
Natalie:
So four inch squares and four and a half inch squares. So this one is four and a half inches wide. And I'm just going to cut a little, cut the salvage and the fold off of that side.
Jenny:
And give it a toss.
Natalie:
Toss, toss. So one, two, three, four and a half. All right, so we're just going to make one block because I have several made already and that way I can show you how to put them together.
Jenny:
Okay.
Natalie:
So we're going to start with our four inch middle and we are going to snowball two corners with our two inch squares. So opposite corners get snowballed, you can just lay them down.
Jenny:
Different colors?
Natalie:
You do your two opposite colors because we're going to make one block with these fabrics.
Jenny:
Oh okay. I'm ready for you. And just right on the...
Natalie:
Right on line, you can draw the line, press the line. It's a two inch square, you can probably eyeball it if you've been doing this a while. If not, draw the line and that'll make you more comfortable.
Jenny:
There we go.
Natalie:
All right, so we'll just trim these off. These were a little small for me to save as well, even though I like tiny things.
Jenny:
They are pretty tiny.
Misty:
Had to let them go.
Natalie:
I had to let those ones go.
Misty:
There we go.
Natalie:
All right, so for these, you just choose whichever one you want to be your starter. But you're going to take your four inch and start one side. And you want it to match, so what we're going to do, we're going to lay it out. I'm just going to show you before we sew everything. You'll do it like this so you have your colors matching your snowball.
Jenny:
Oh okay. All three colors match.
Natalie:
Yep. And then you'll do your six and your eight on this other side with your other color.
Jenny:
Oh, okay.
Natalie:
So we'll put it together like that.
Jenny:
Alrighty.
Natalie:
And we'll just keep on going. You can finger press the whole thing.
Jenny:
Well there we go.
Misty:
Perfect.
Jenny:
Alrighty. And we'll finger press that back and add this. So we're adding the four and six.
Natalie:
Yep. Four and six, and then we'll do six and eight. And I'm going to go ahead and draw the line on these four and a half inch squares because they are, it's a larger space to stitch on and it just makes me feel a little more comfortable to have that.
Misty:
That guideline.
Natalie:
Yeah.
Jenny:
All right, so then we're going to finger press this.
Natalie:
Yep. You ready for your next six?
Jenny:
Mm-hmm.
Natalie:
All right.
Jenny:
And this little six comes here.
Natalie:
And that starts your second color.
Jenny:
Oh okay.
Natalie:
And they should square in the middle or meet in the middle with your snowball.
Jenny:
All right.
Natalie:
We were at a recent Doan Girl's retreat and I was just saying, if you want to make your block different, just snowball it. And so I went a little snowball happy on this quilt.
Misty:
I love it.
Natalie:
I had snowballs on my mind from that.
Jenny:
I think that's fun.
Natalie:
Snowball the inside. Snowball the outside.
Misty:
Right? What else can I snowball?
Natalie:
Add another one. So you'll see it's like the triple snowball Block Star.
Misty:
I love it.
Jenny:
There we go.
Natalie:
All right.
Jenny:
A little bit of thread there.
Natalie:
Go ahead and press that out.
Jenny:
Absolutely.
Natalie:
And we'll add our big snowballs.
Jenny:
I'm going to hand you these little snips so you can snip those little threads.
Misty:
Okay.
Natalie:
Do you want me to go ahead and draw you a secondary line?
Jenny:
No.
Natalie:
Are you sure?
Jenny:
I am just going to wing it.
Natalie:
All right.
Jenny:
Just going to wing it.
Misty:
There we go.
Jenny:
I never measure that line.
Natalie:
Next step, where these two colors come together, the opposite colors, we're going to add our four and a half inch snowballing block.
Jenny:
That's a big snowball.
Natalie:
And then we're going to sew a line on the other side because we are going to make a bonus project.
Jenny:
We are going to save them.
Misty:
Awesome.
Jenny:
All right.
Natalie:
So both sides get snowballed and a secondary line sewn a half inch away. Okay. So up to this point, the only thing I've changed from the original pattern is the two inch inner corners. Everything else is the same. Same sizes, same everything.
Jenny:
So I sewed down the middle and I'm just going to come up this other side.
Natalie:
Perfect.
Jenny:
My thread's caught on there. There we go.
Natalie:
That's okay. All right. So we'll go ahead and trim these off and I will give this to you to press, Misty.
Jenny:
And again, that was the four and a half on the side?
Natalie:
Yes.
Jenny:
Okay.
Natalie:
Four and a half on the side's, four in the middle.
Misty:
All right.
Natalie:
And if you need a mantra, it's small in the center, big squares on the outside.
Misty:
There you go.
Jenny:
Look at that, there's our star.
Misty:
All right, so this is the basic star.
Jenny:
Actually, wait. Look at...
Natalie:
But what-
Jenny:
Wait, look it.
Misty:
There's little kitty's.
Jenny:
This actually looks like a little kitty head.
Natalie:
Yep.
Jenny:
Those are cute.
Misty:
So cute.
Natalie:
Okay, so the other thing that I did, with your little two and a half inch squares, I mixed those all up and did them scrappy. So I have a couple of extras here, but this is where I added one more snowball, just for fun.
Jenny:
Just for fun.
Natalie:
Just for fun. So you can draw the line if you want. And this one is just straight on so we have one extra little bit of color.
Jenny:
I actually love what that does to a block.
Natalie:
Mix and match, super scrappy.
Misty:
I do too.
Jenny:
All right, this one straight across. And then-
Natalie:
I'm snowball happy.
Jenny:
... straight across over here. There we are.
Natalie:
So we'll trim these off and press them back. One more.
Misty:
All right.
Jenny:
That is fun.
Misty:
There you go. Really fun.
Natalie:
And that's it. This is the block for the quilt, I'll show you where it goes. So I just lined mine up just like this. One, two, three, four, five, six across by one, two, three, four, five, six down.
Jenny:
Awesome.
Misty:
That is so cute.
Natalie:
They just rotate, just like that, all the way along. And it creates this cute little diamond in between the stars that I like.
Jenny:
I love it when that happens.
Natalie:
That secondary snowball, makes this little frame. So I think it's super, super cute. We can put a few together if you want.
Jenny:
Yeah, let's put one together, I want to see it.
Natalie:
So you can see the star up here.
Jenny:
In the east.
Natalie:
Nope. Oh, that one doesn't need to be out.
Jenny:
That was a demonstrator.
Natalie:
Uh-oh. There we go. Those were experiment blocks. Now you know.
Jenny:
Now you know. It takes a village.
Natalie:
Yep. So that's how that looks.
Misty:
Cute.
Jenny:
That is so cute.
Natalie:
Yeah.
Jenny:
And then if you want to show-
Natalie:
You can sew them together in rows.
Jenny:
And if you want to show this, what happens when these come together?
Natalie:
There you go, got what a cute little diamond.
Misty:
Little diamond.
Jenny:
It's so cute, Nat. I love it.
Misty:
I love that.
Natalie:
Awesome.
Jenny:
What size did it end up?
Natalie:
So it ended up 60 by 60. It's just square and it's super cute.
Jenny:
Really cute.
Natalie:
My border is six inches, inner border's two and a half.
Misty:
Awesome.
Natalie:
Okay, so now we have a bonus project because we have all these cute little triangles that are left over.
Jenny:
And they're pretty good sized.
Misty:
Yeah.
Natalie:
Yeah, they're a great size. So I actually love the Bloc Loc, I went ahead... And if you'll press these open, I'm going to show how I trimmed them to keep all my little triangles the same size.
Misty:
Okay.
Natalie:
All right. So these I squared down to three and a half, and I don't know if you can see very well, but what I did is, I always made sure that this line where the two fabrics meet, landed on my one and a half inch line.
Jenny:
Oh. People are going to love that.
Natalie:
So this lines up. This lines up right here with my one and a half.
Jenny:
So your little pinwheels will be the same.
Natalie:
So my pinwheels, this triangle will always match.
Misty:
That's so fun.
Natalie:
And I didn't actually end-
Jenny:
That is super smart.
Natalie:
... up making pinwheels though.
Misty:
Oh I actually knew that.
Natalie:
You'll see if you hang on.
Jenny:
But you could.
Misty:
But you could, yeah.
Natalie:
Now when you flip it around and bring it back down, this line can still stay in where there's one and a half inches from point to seam.
Jenny:
But you just slide your Bloc Loc.
Natalie:
Does that make sense?
Misty:
Yeah.
Natalie:
Yeah. So it's going to work out the same either way. These are squared to three and a half inches and you have, not a lot of room to do that, but it's comfortable, it's not like you're shaving little tiny bits. So I like a little extra comfort space.
Misty:
And trimming like that is so satisfying. It just is the best.
Natalie:
Yep. So again, you're here at one and a half on the seam line.
Jenny:
I actually love that you can do that. My blocks were so tiny, probably... I'm not sure it would've worked or not, but that is comforting to know that somewhere it's lining up and they'll all be identical.
Misty:
They'll match.
Jenny:
Because on this you can really see how the two fabrics come together, you could easily get a double pinwheel.
Misty:
Yes
Natalie:
You could, yes. And those are very cute.
Jenny:
But not what you did.
Natalie:
But not what I did. So what I did is, I made little diamonds. And so my one opposite color goes at the top and then the second one goes here at the bottom and I stitched them together, just like that.
Jenny:
Okay. There's your little diamond.
Natalie:
Very cute. All right, if you'll press that.
Misty:
Of course.
Natalie:
And I just put them together in a little row.
Jenny:
So cute.
Natalie:
I have a couple of these.
Misty:
This is so fun.
Natalie:
And This one. And I love this cute little diamond. I ended up making a table runner and it's five across, so one more than this is your row by however many long, I didn't count.
Misty:
Lets see, one, two, three, four, five, six, seven.
Natalie:
But it's super cute. What size is it? Like, 19 by 47, I think.
Misty:
19 by 46.
Natalie:
19 by 46, I was pretty close.
Misty:
You were so close.
Natalie:
Pretty close.
Jenny:
That's really cute.
Natalie:
And you have everything in your original supply list to make this except for backing and binding.
Misty:
Perfect.
Jenny:
Very cute.
Natalie:
So, there's a little two and a half inch outer border on it. And I just thought it was really fun. I thought, a cute thing.
Misty:
I love it.
Jenny:
I love when we use all the parts.
Misty:
Exactly, no waste.
Natalie:
And if you happen to decide you wanted to give a baby quilt to the mom and then a table runner with her dinner that you're going to bring her.
Misty:
Right.
Jenny:
Ah, very sweet.
Natalie:
I mean, you're just wrapped right up.
Jenny:
Yeah, very sweet.
Misty:
Yeah, you'll be winning all the bonus points, for sure.
Jenny:
That's right, for sure.
Natalie:
So that's it, it's that simple. And I hope you like it.
Jenny:
Yeah.
Misty:
I loved it.
Jenny:
So we love the old Block Star quilt behind us, and we loved coming up with these three new ideas, we hope you enjoyed them. Plus two bonus projects. And we hope you enjoyed this triple play on the Block Star quilt from the Missouri Star Quilt Company.
Jenny:
Hi everybody, it's Jenny from the Missouri Star Quilt Company. We hope you enjoyed watching this video. If you aren't already part of the Missouri Star Quilt Company family, be sure to subscribe so you won't miss a thing. And if you click that bell, it'll notify you every time a new tutorial comes out. See you next Friday.



