

Triple Play: How to Make 3 NEW Clearly Perfect Quilts - Free Quilting Tutorial
 Jenny Doan
- Layer Cake
- Modern
- Twin
- Beginner
- Quilt size 72" × 81"
Triple Play is a favorite tradition here at Missouri Star Quilt Company. Once a month, Jenny, Misty, and Natalie each demonstrate their own unique spin on a favorite block, technique, or template. In this episode, the talented Doan ladies share three new projects made with the Clearly Perfect Slotted Trimmer.
Instructor
Jenny Doan
Jenny Doan is an American quilter, author, and YouTube personality. Jenny started Missouri Star Quilt Company in 2008 and today it is the largest quilting supply vendor in the United States.
Shop this tutorial
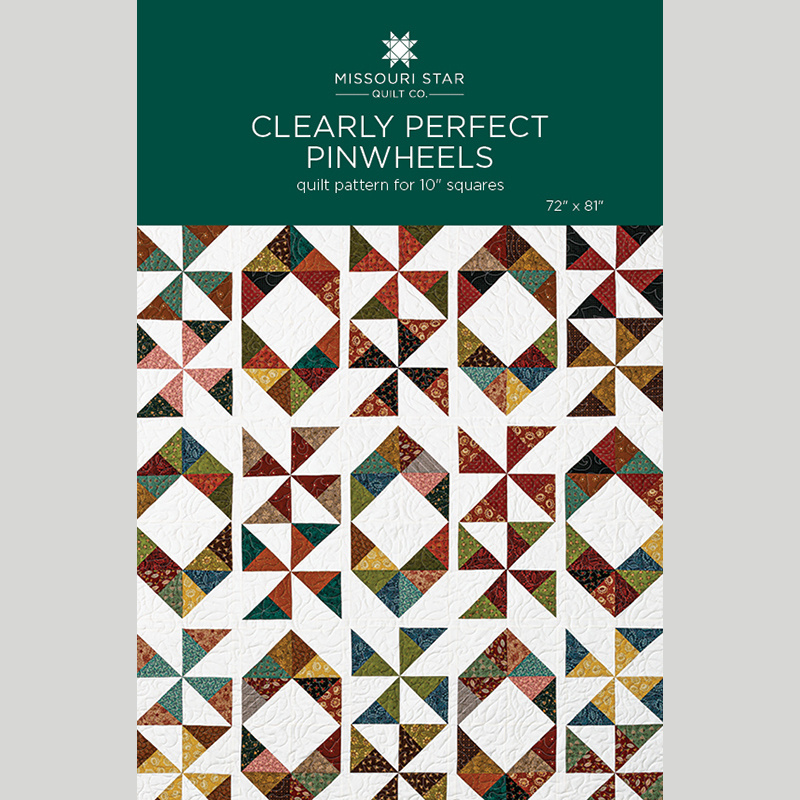 Clearly Perfect Pinwheels by Missouri Star$6.95Shop →
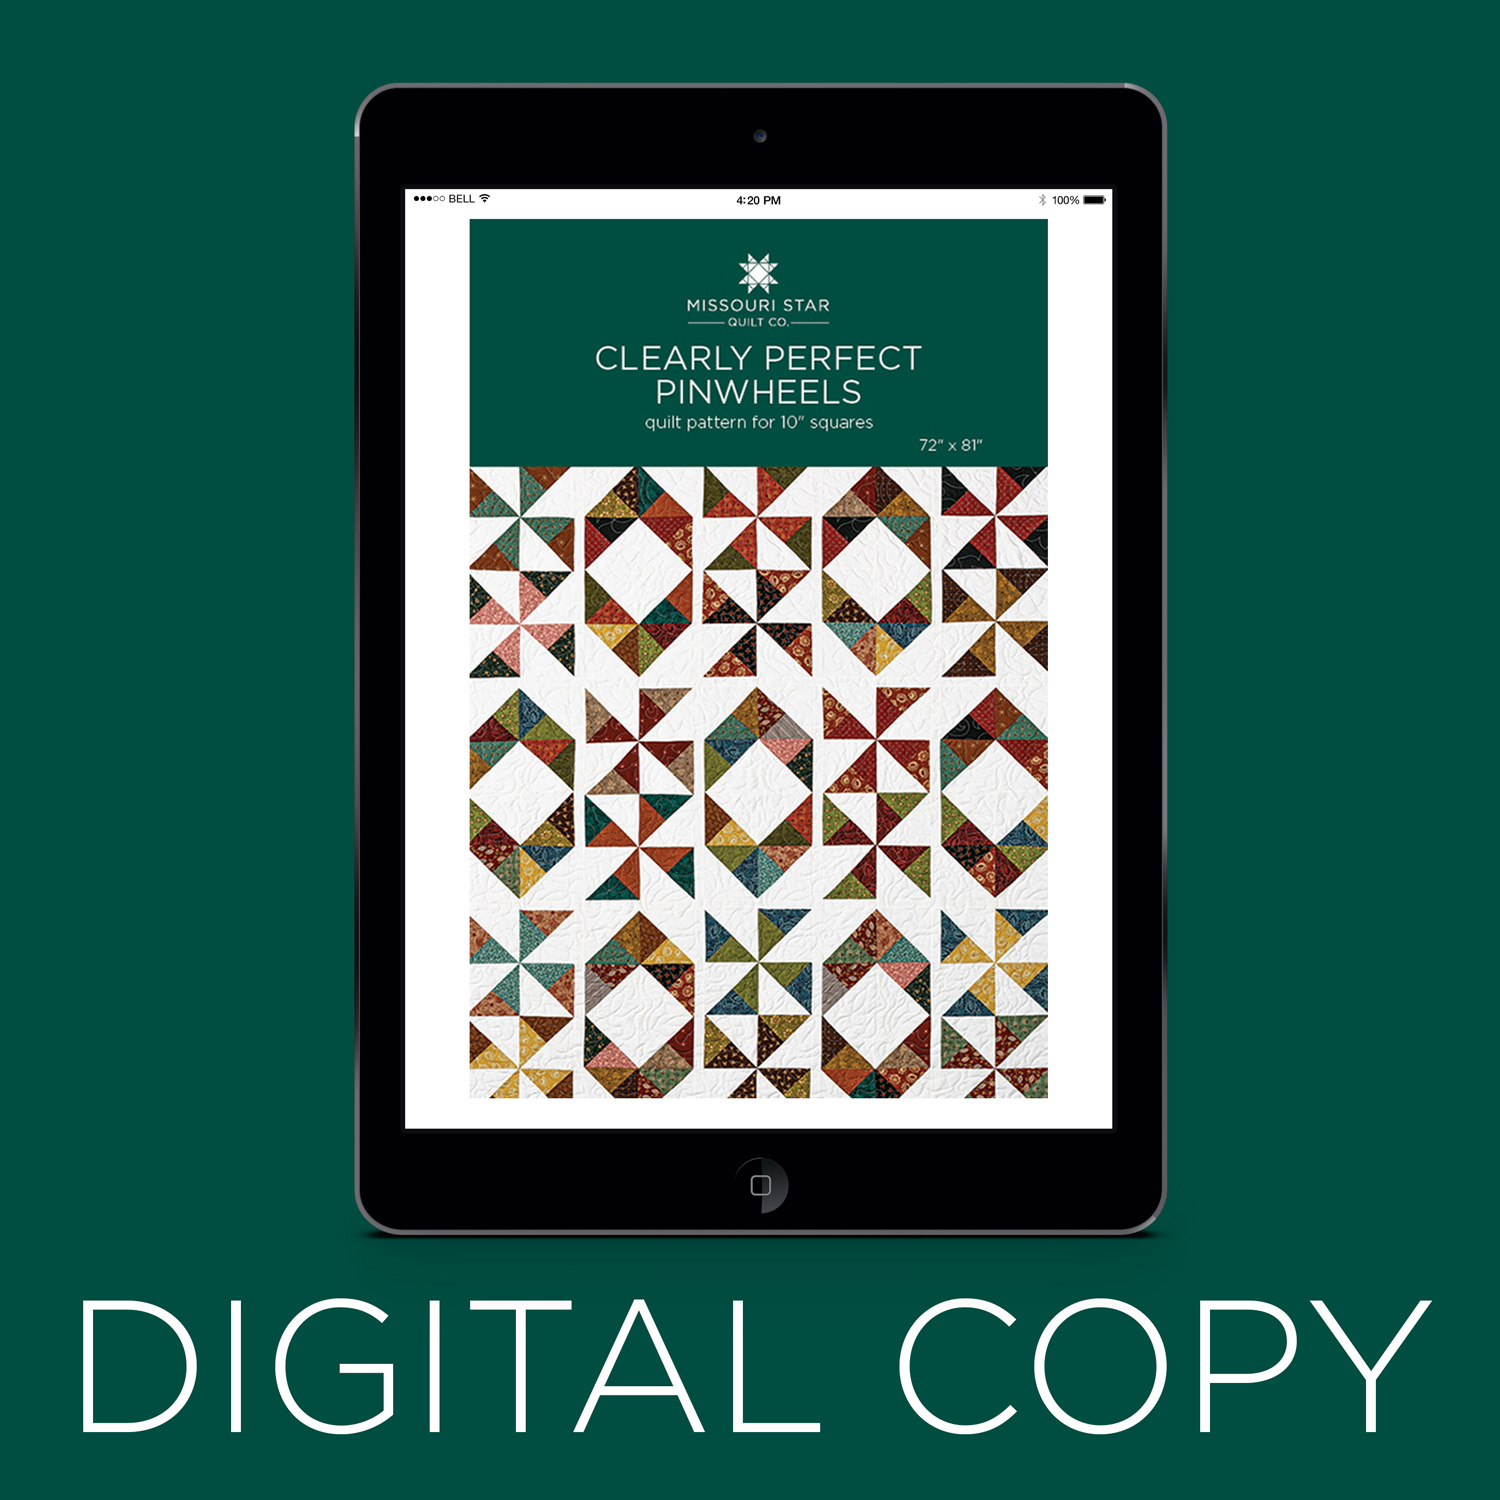 Digital Download - Clearly Perfect Pinwheels by Missouri Star$4.95Shop →
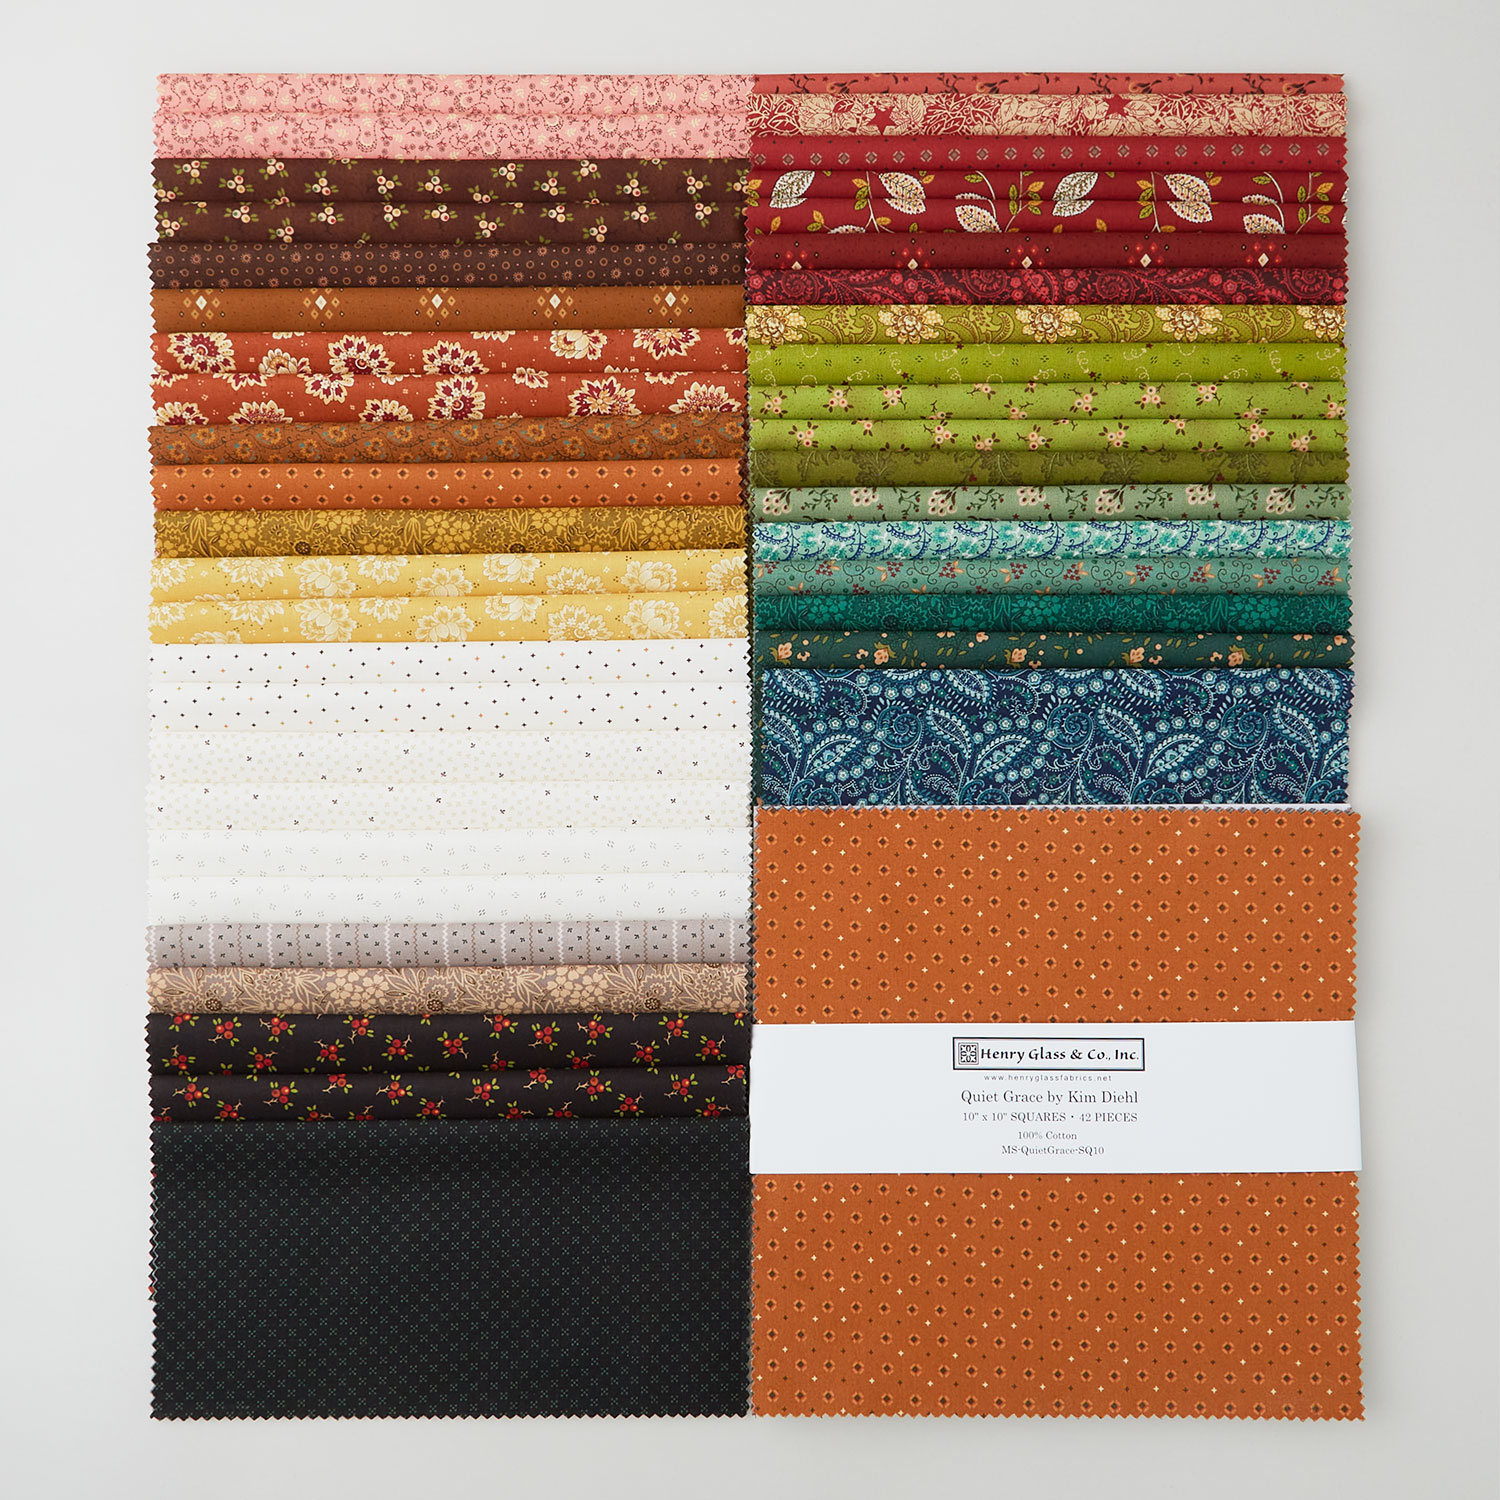 Quiet Grace 10" Squares$41.95Shop →
 Kona Cotton - White Yardage$7.28Shop →
 Quiet Grace - Scatter Garden Teal Yardage$11.96Shop →
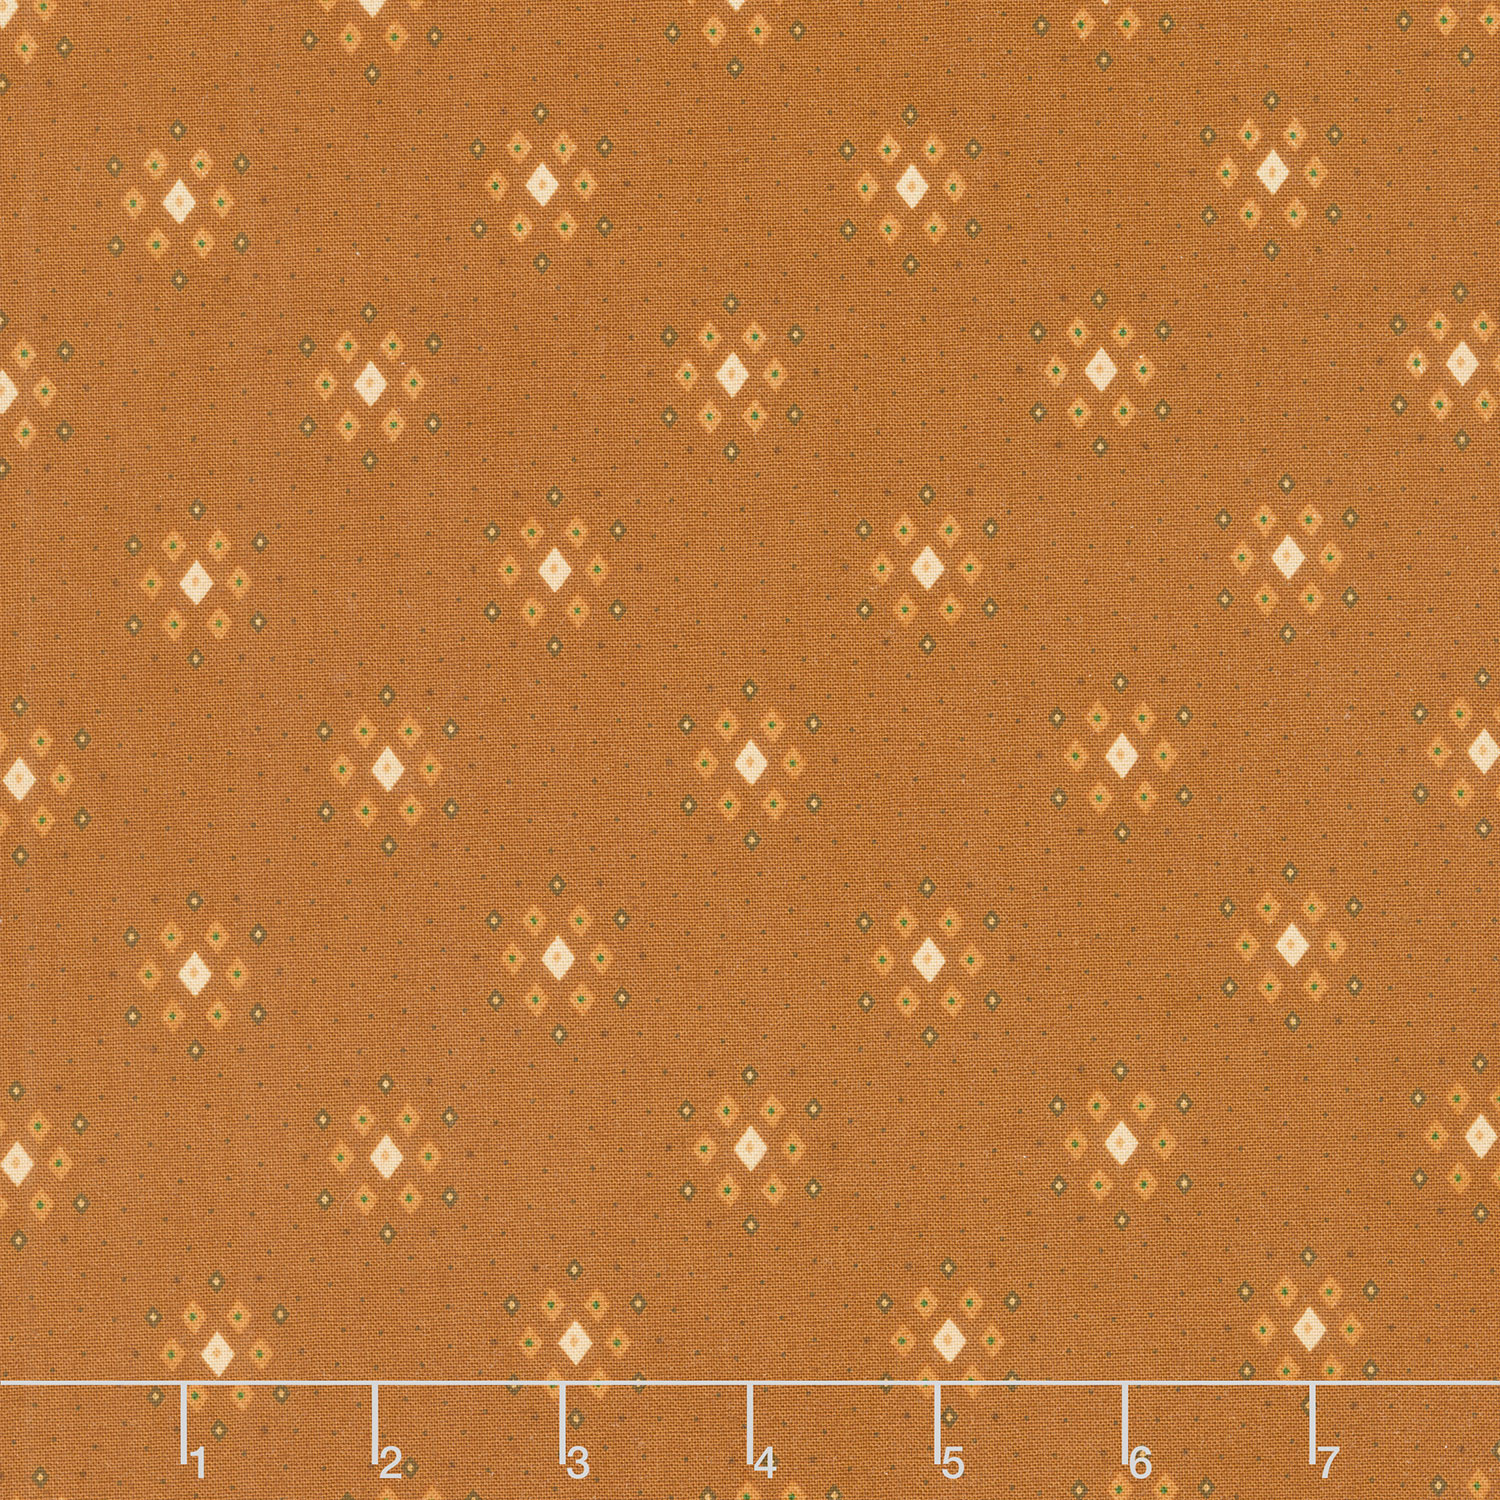 Quiet Grace - Diamond Clusters Chestnut Yardage$11.96Shop →
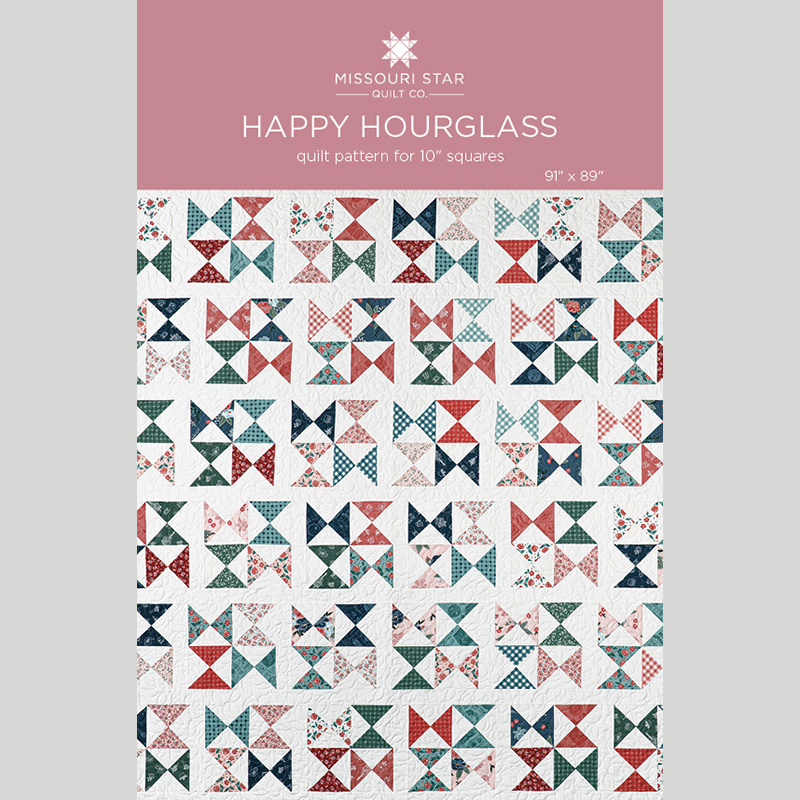 Happy Hourglass by Missouri Star$6.95Shop →
 Digital Download - Happy Hourglass by Missouri Star$4.95Shop →
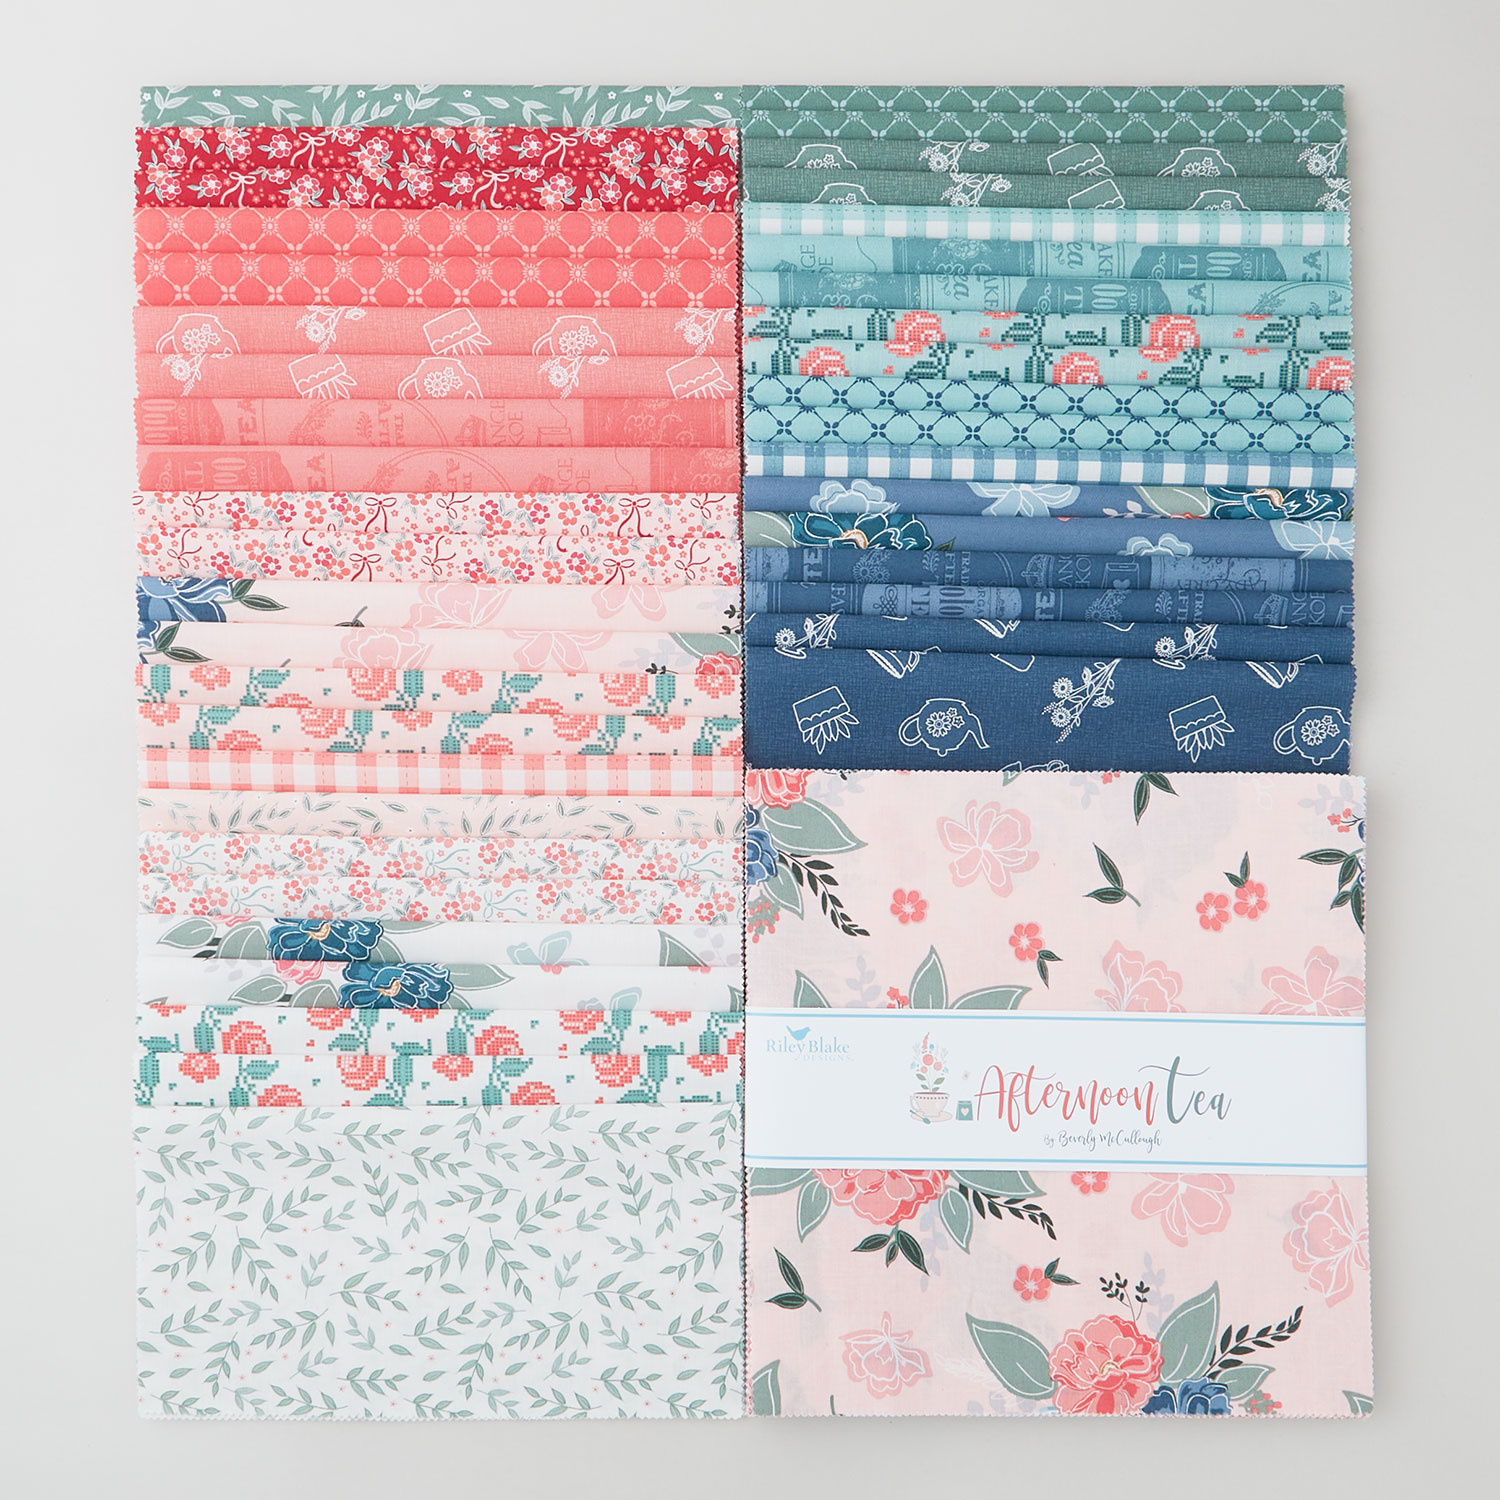 Afternoon Tea 10" Stackers$39.95Shop →
 Kona Cotton - White Ten Squares$30.95Shop →
- Kona Cotton - White Yardage$7.28Shop →
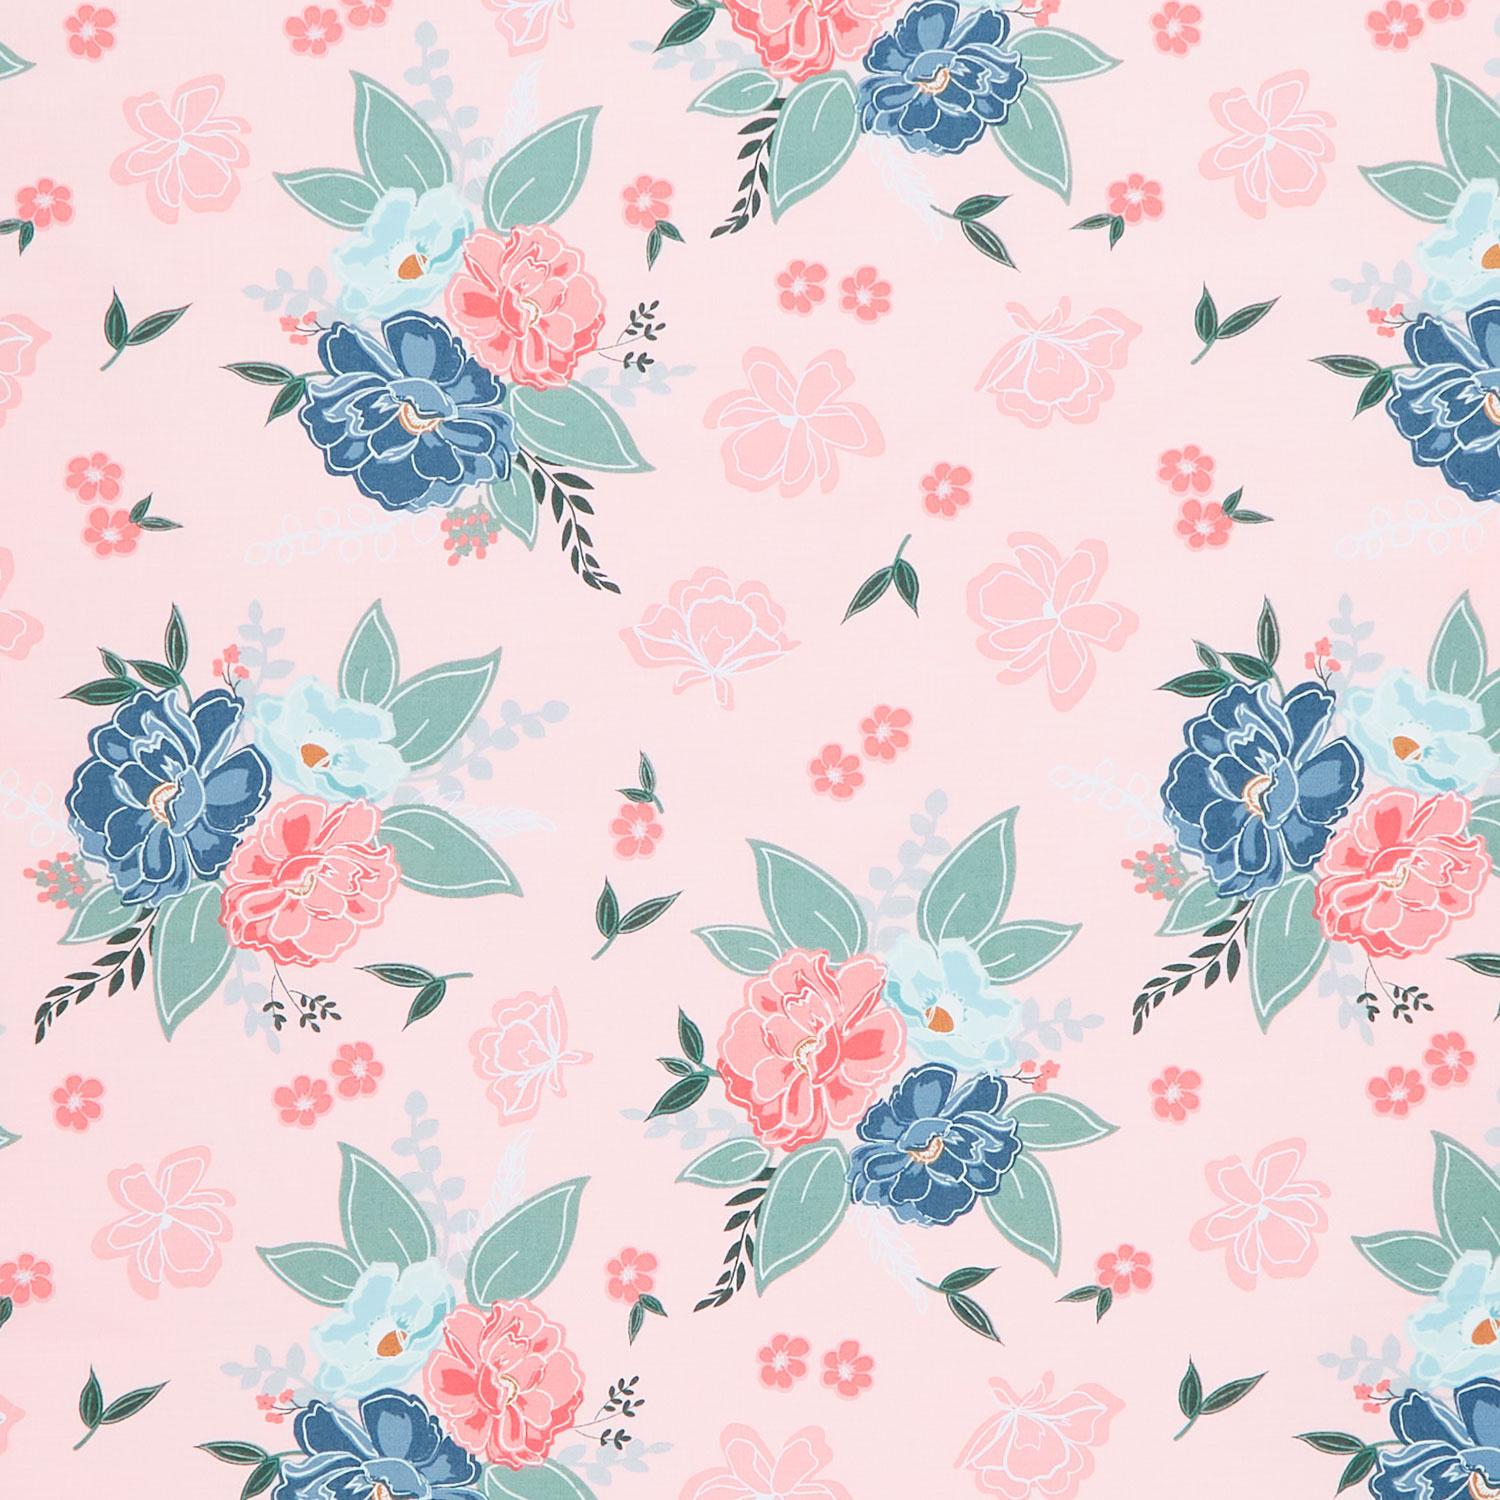 Afternoon Tea - Main Floral Blush Yardage$11.96Shop →
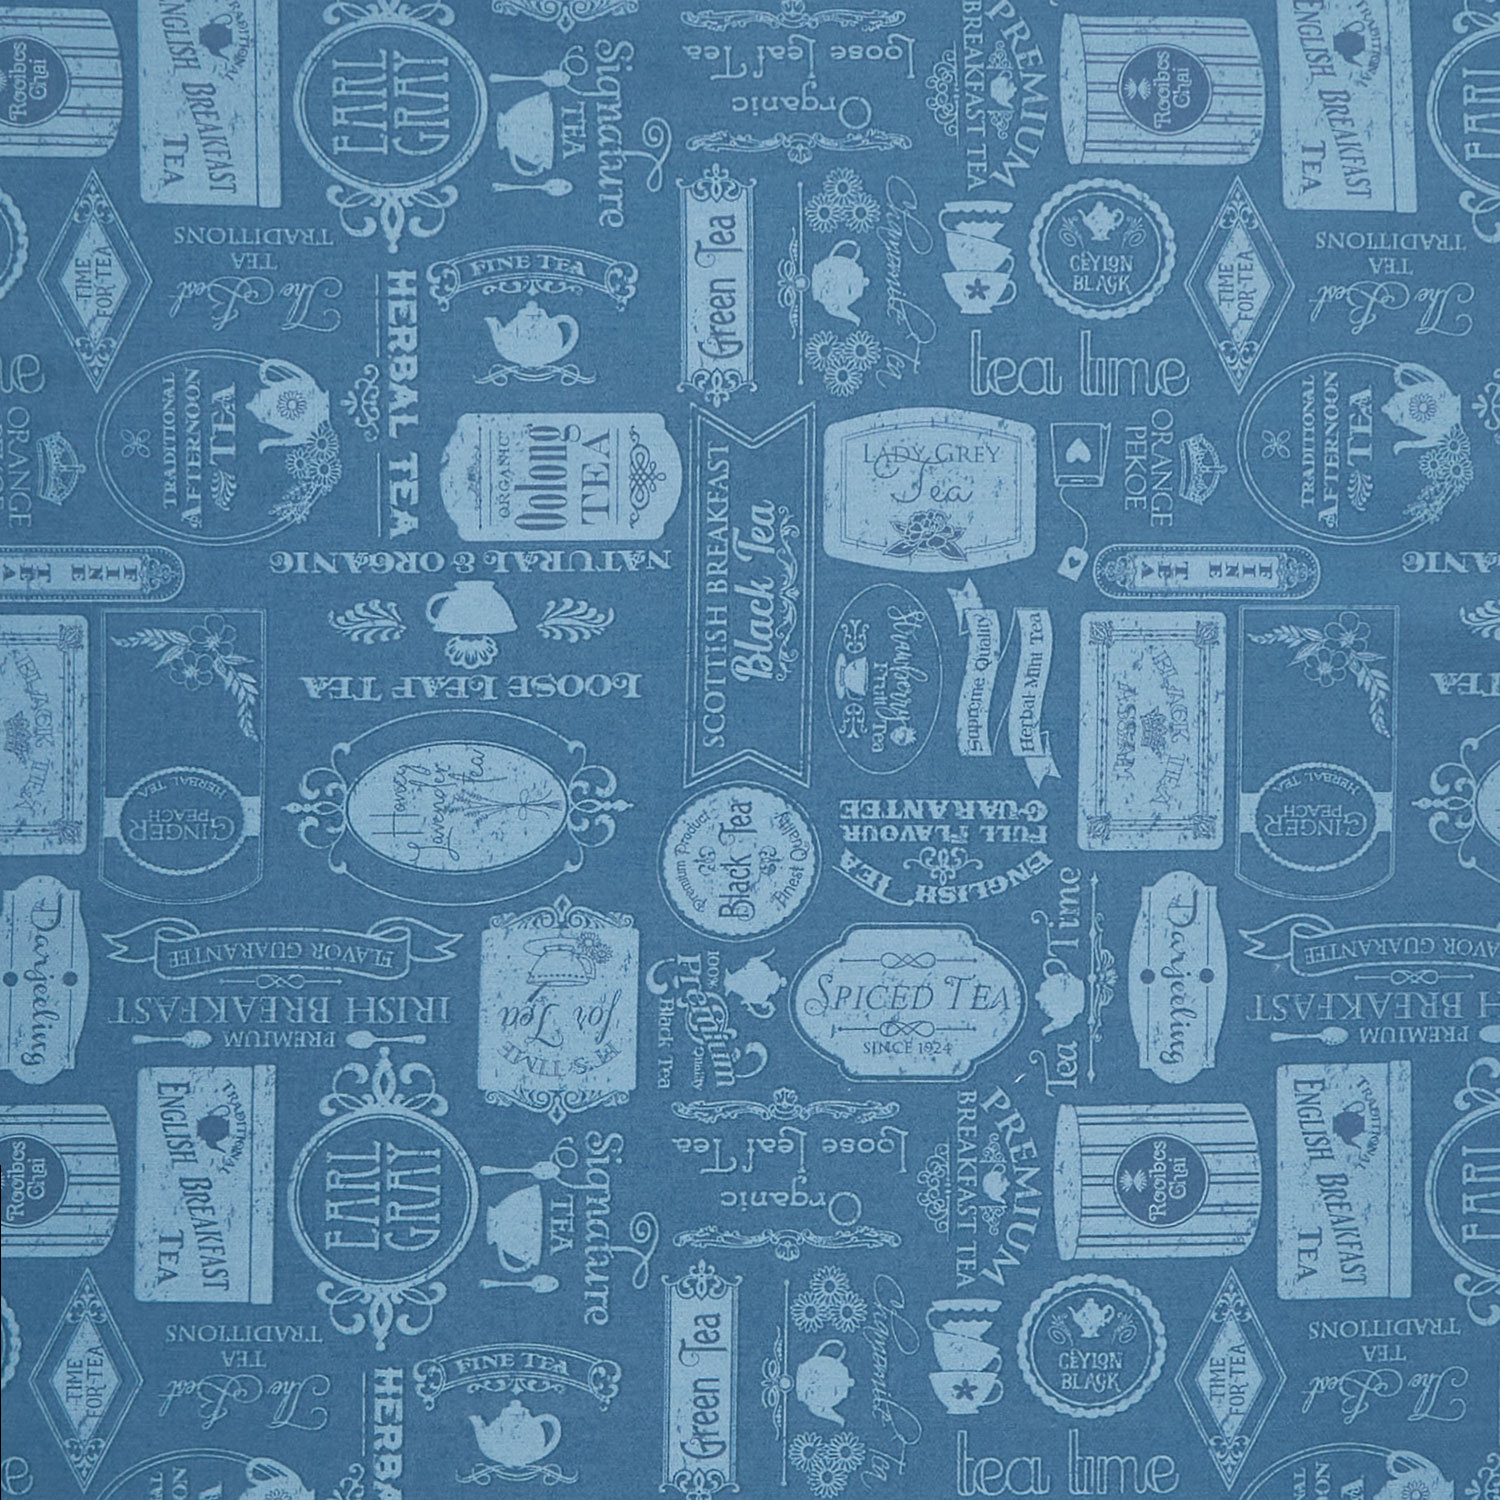 Afternoon Tea - Labels Colonial Blue Yardage$11.96Shop →
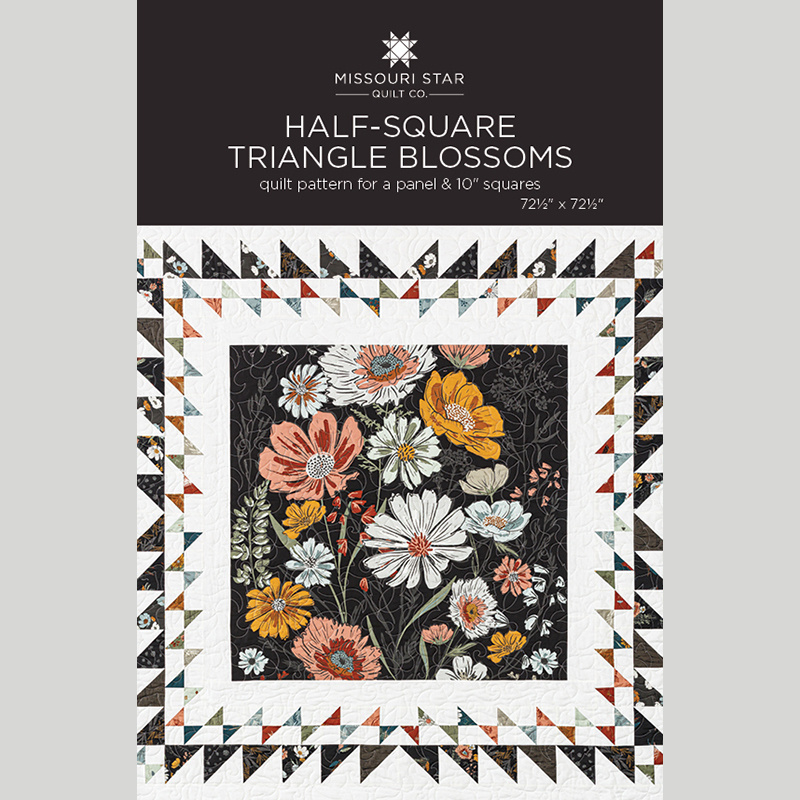 Half-Square Triangle Blossoms by Missouri Star$6.95Shop →
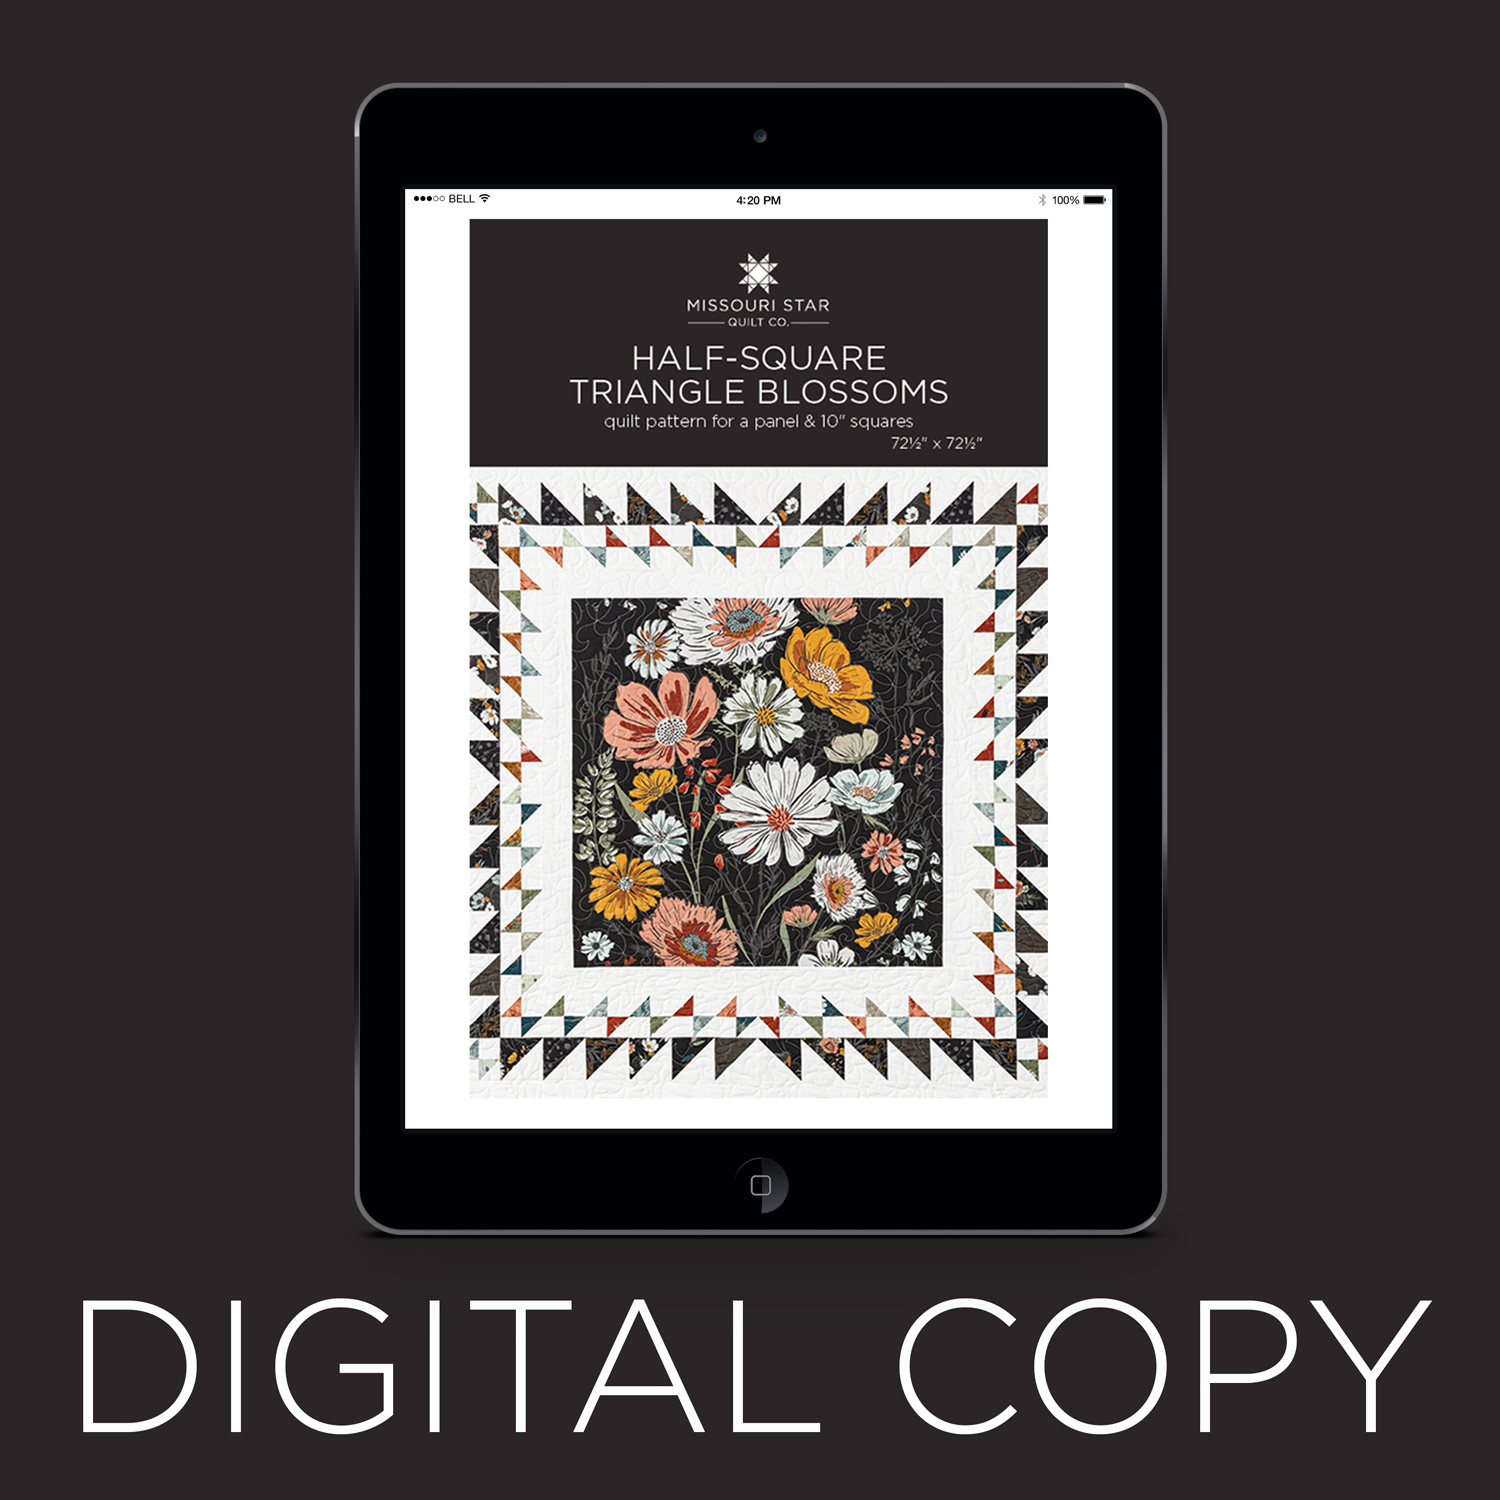 Digital Download - Half-Square Triangle Blossoms by Missouri Star$4.95Shop →
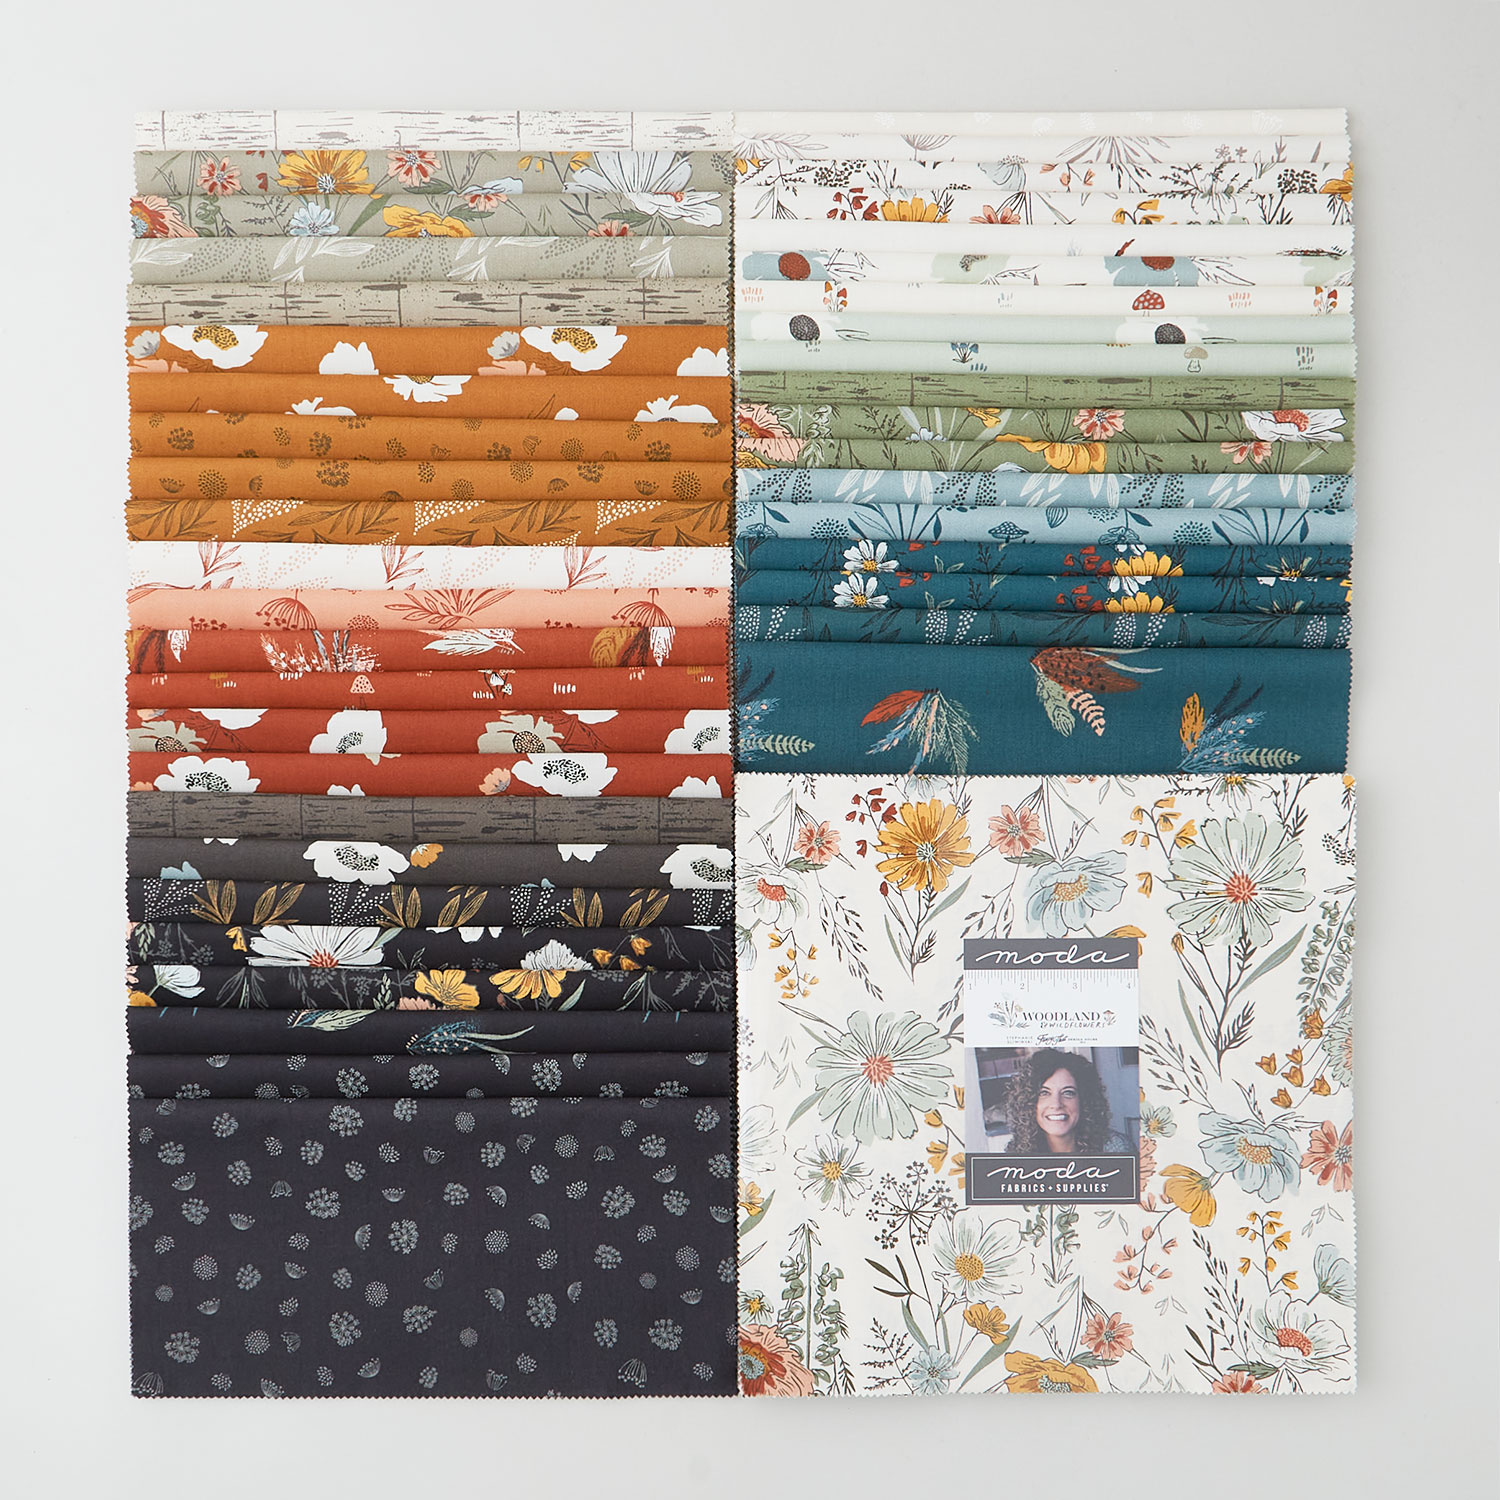 Woodland and Wildflowers Layer Cake$45.95Shop →
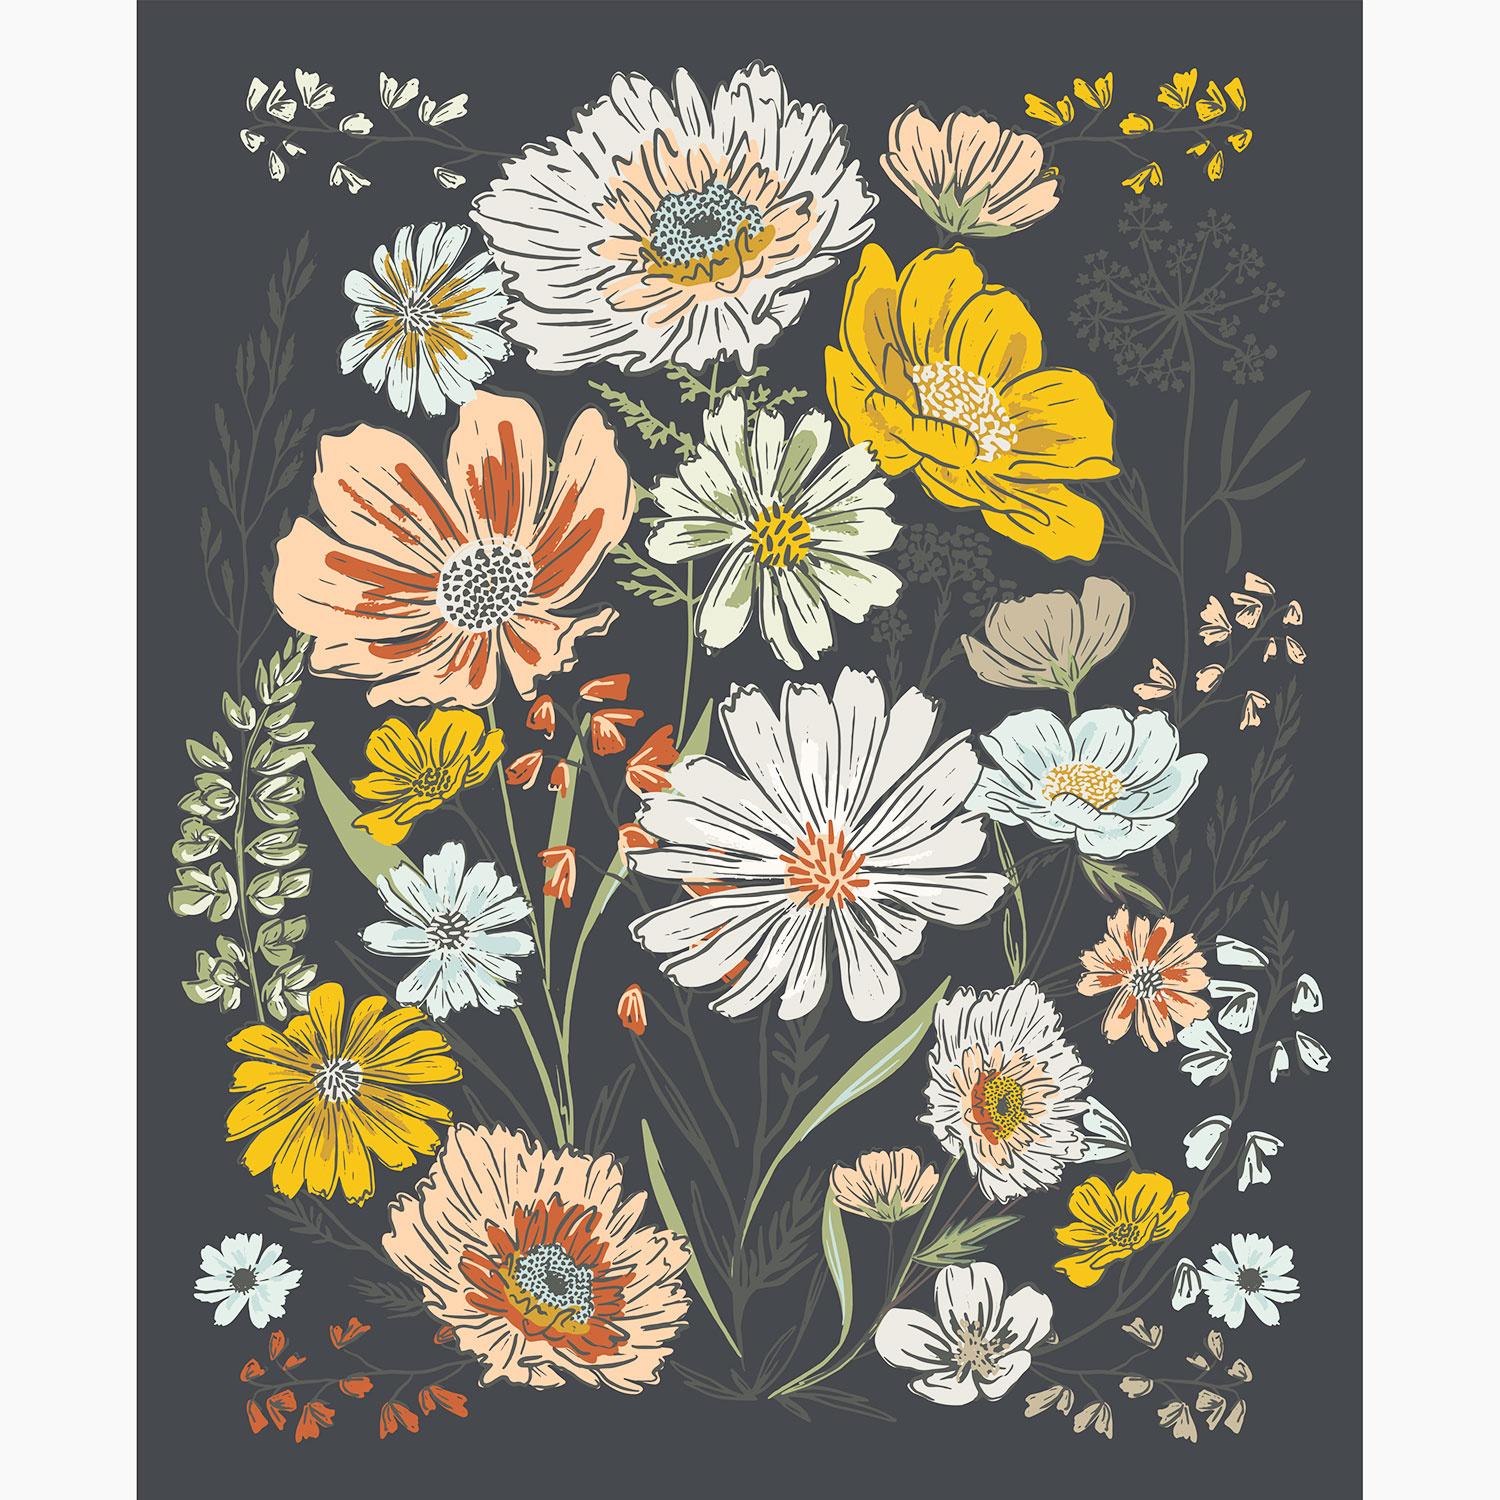 Woodland and Wildflowers - Wildflowers Charcoal Panel$11.96Shop →
 Bella Solids - Snow Yardage$8.24Shop →
 Woodland and Wildflowers - Wildflower Wonder Charcoal Yardage$11.96Shop →
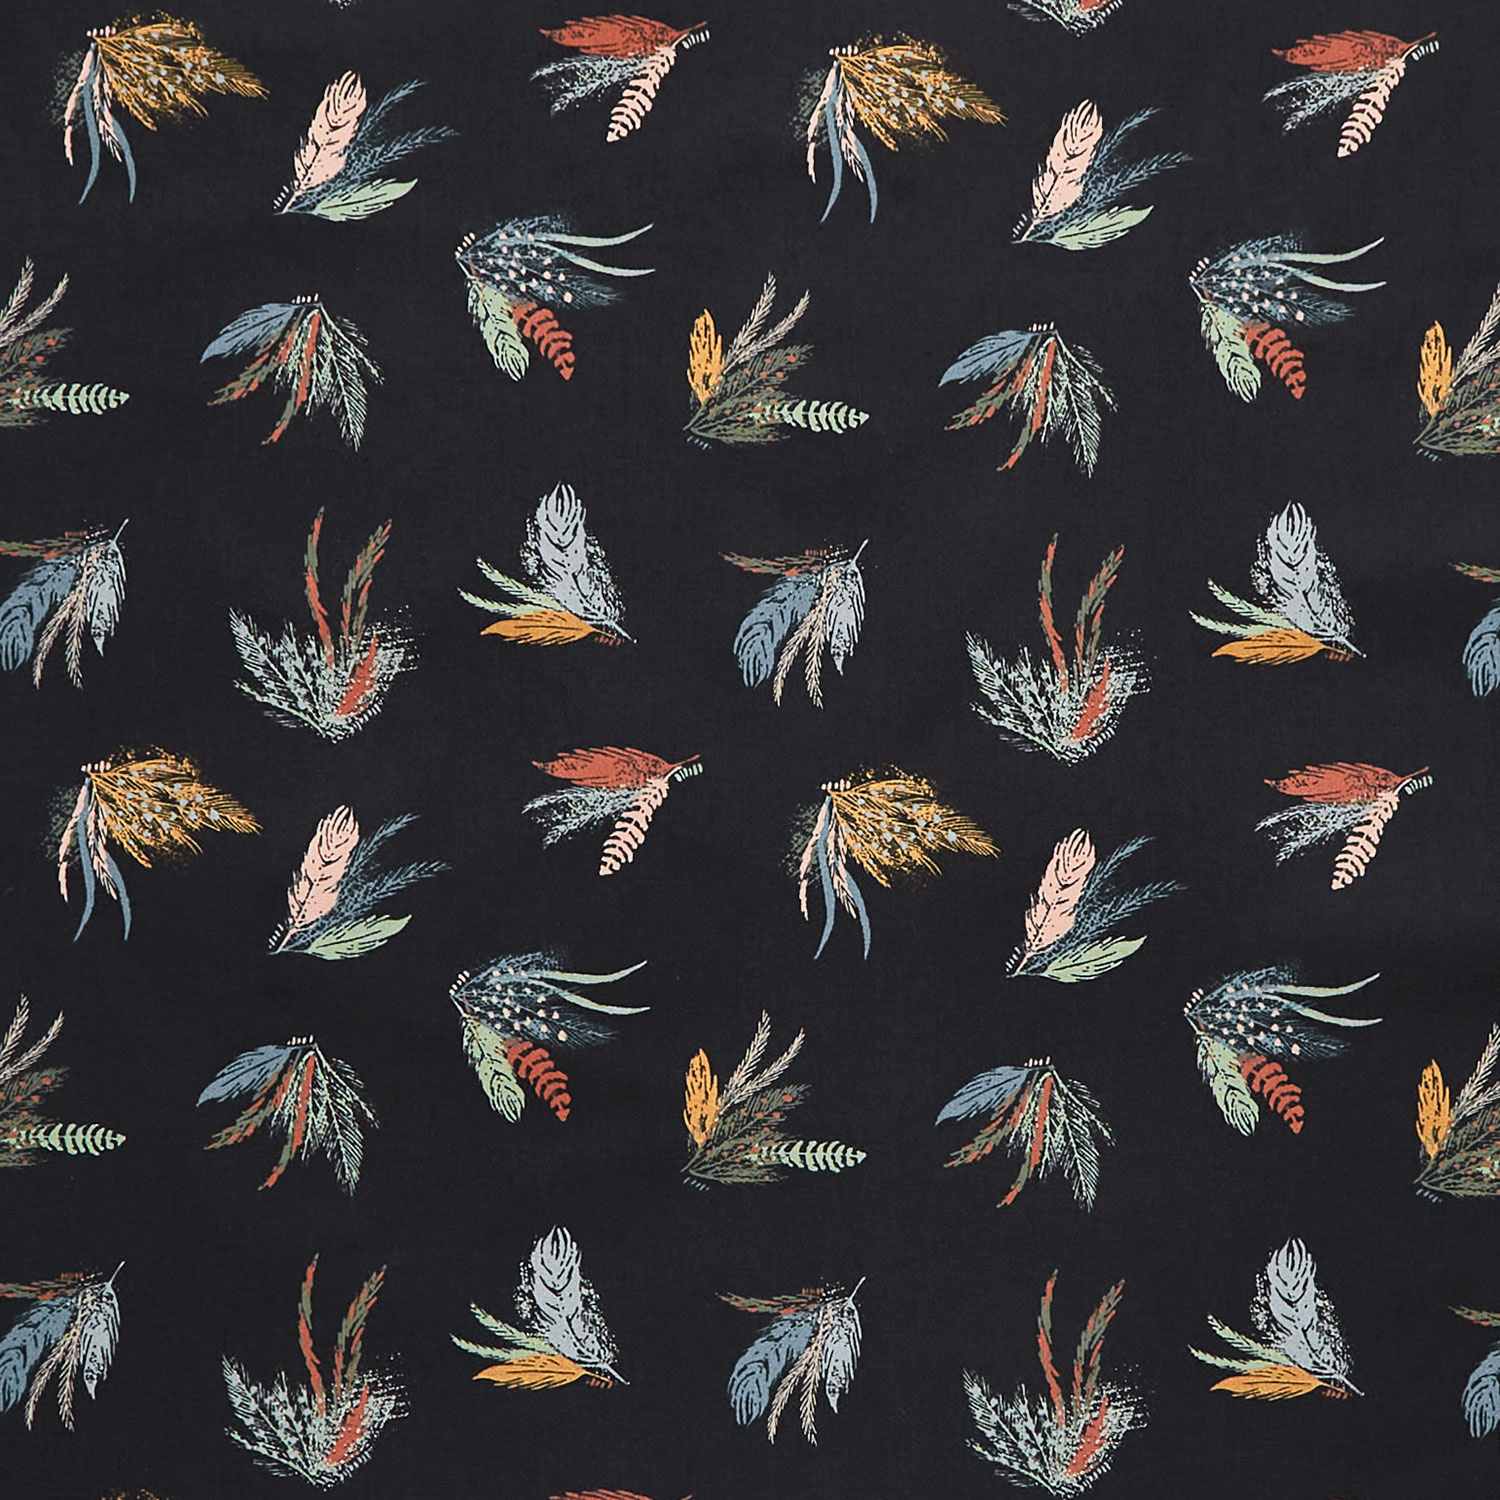 Woodland and Wildflowers - Feather Friends Charcoal Yardage$11.96Shop →
 Missouri Star Quilter’s Best Blend Full Batting$32.95Shop →
 Clearly Perfect Slotted Trimmers$31.95Shop →
Common Questions
What is covered in Triple Play: How to Make 3 NEW Clearly Perfect Quilts - Free Quilting Tutorial?
Triple Play is a favorite tradition here at Missouri Star Quilt Company. Once a month, Jenny, Misty, and Natalie each demonstrate their own unique spin on a favorite block, technique, or template. In this episode, the talented Doan ladies share three new projects made with the...
How long is the tutorial video?
The tutorial video is 00:35:07.
Are supplies listed for this tutorial?
Yes. The tutorial page includes the supplies and materials connected to this project.
Is a transcript available?
Yes. A written transcript is available on the tutorial page.
Video Transcript
Hi, everybody. It's Jenny from the Missouri Star Quilt Company and it is Triple Play Day and we have a great project for you today and I am here with.
Natalie:
Natalie.
Jenny:
And...
Misty:
Misty.
Jenny:
Our projects are based on the Clearly Perfect Slotted Trimmer and this is a tool that we use a lot. We know a lot of you have gotten it and if a tool can do one thing like trim, that's awesome. But this tool can do a lot of things and we want to show you those things.
Girls, let's show them what they're going to learn today. These are our three different projects and we are going to start with you, Misty.
Misty:
All right, let's do it.
Jenny:
All right.
Misty:
All right. This is my quilt. I called it Half Square Triangle Blooms.
Natalie:
It's beautiful.
Misty:
And it uses the clearly perfect.
Jenny:
I love it.
Misty:
Thank you.
Jenny:
I love it too. I love this border. It's so great.
Misty:
I really enjoyed it. When you buy the Clearly Perfect Slotted Trimmers, it comes with two sizes in there for whole measurements and half measurements. On the back, it gives you some great tips and tricks of what you can do. I'm going to start with just the basic half square triangle and we're going to make two different sizes of that to make this quilt.
Jenny:
That's awesome.
Misty:
You will need that for sure. You're also going to need one package of 10 inch squares. I use Woodland and Wildflowers by Fancy That Design House from Moda and it's a beautiful line.
Jenny:
It's gorgeous.
Misty:
I also used a panel, which I don't do very often, but I just loved this one.
Jenny:
I love this panel.
Natalie:
It's very cool.
Misty:
You'll trim that to 35 inches, but you'll need that. Then, you're going to need some background fabric, approximately two and a half yards. That includes your borders, your inner and out two inner borders is what I'm trying to say. Both of those. You'll need your outer border, which is a yard and a quarter. That's a six-inch border. For your backing, you'll need four and a half yards.
Let's go ahead and set all of this aside for now and we can get started. For my project, you are going to be using Trimmer A, which is the half inch measurements. You can set B aside-
Jenny:
For both blocks?
Misty:
For both blocks.
Jenny:
Awesome.
Misty:
Yep. You can set B aside for now and then, I'm going to pull just a couple of prints out of here. For my big half square triangles, I used my darker shades and for the little, I used the mediums and lights, so-
Jenny:
Oh, nice.
Misty:
You can do whatever you want, but that's just how I made sense of it in my mind. I'll just grab a couple. There we go. I love this green. That's so pretty.
Jenny:
The whole line is really beautiful.
Misty:
It really is. We're going to match this up with a 10-inch background square and I've gone ahead and cut that already and I drew a line, corner to corner in both directions and we are using the Easy Eight method, and so we're going to sew a quarter inch seam on both sides.
Jenny:
Alrighty.
Natalie:
Very cool.
Misty:
If you will do that...
Jenny:
I'm happy to. All right. Let's see here. Safely made it down two sides.
Misty:
That's perfect. Yeah.
Jenny:
You don't have to be too exact on this because we are going to square them up, right?
Misty:
We're going to square at the end. Absolutely.
Jenny:
I'm just noticing my square is off a little bit, but that shouldn't really matter.
Misty:
Should be just fine.
Natalie:
Yep.
Misty:
All right, perfect. We will take our five by 15 ruler and I'm going to cut this in half, both directions now, just like so.
Jenny:
I love the Easy Eight.
Misty:
I do too.
Jenny:
It is always a good idea to cut on the unlined part first-
Misty:
Yeah, because then now, we can just cut in between. Exactly. We'll just cut these and then we can come back and square.
Jenny:
You want Natalie to start ironing?
Misty:
We have to square.
Jenny:
Are we squaring with the Clearly Perfect.
Misty:
Of course.
Jenny:
Then we don't iron.
Misty:
Right? Okay. We are going to square these. Oops, I picked up the wrong one. We need a four and a half is what we're looking for. We are just going to line our stitch line up with the dashed line on the trimmer just like so. You'll see, I don't have to trim very much at all, but we're just going to shave a little bit off of both sides. I do like to use these little notches to get rid of that extra fabric.
Natalie:
I do too.
Jenny:
I do too, but I forget. I forget they're there.
Misty:
Oops, I missed this little bit. I'm just going to trim that off. There we go. Now, you can press.
Jenny:
People are always asking me what are those little... I'm like, "Oh, I forget."
Misty:
I really forget about them. They are super helpful though.
We will just square one more and you'll do this to all of yours if I can get in that notch. There we go. There we go. We only need two for each of our blocks, so we'll just get that far. You're going to go ahead and square up all of yours that you make that way.
Natalie:
Set these aside.
Misty:
Set those aside for now, and then we can move on to our smaller half square triangles.
Now for that, I'm actually going to square this down to six inches. We're just going to trim our square just like so. You're going to have some extra that you can just put in your stash for a different project. There we go. We'll just set those aside. I should have the exact same concept here, but just a smaller square.
Natalie:
Oh, nice.
Misty:
We are just going to sew again with the Easy Eight and I should have some done to save us a few steps. But you're just going to repeat the exact same thing and we'll cut that in half, both directions just like we did. It's just smaller. Now, we can square these to two and a half. I have some of these ready to go.
Jenny:
Oh, you already have one going? You don't even need mine.
Misty:
Yeah, but you can keep going. I'm just trying to move it along. There we go.
Jenny:
It is just fun to sew these.
Misty:
It is. I love the Easy Eight.
There's one little two and a half inch square.
Natalie:
So tiny.
Misty:
Yep. I'll trim up one more. You're just lining up that stitch line with the stitch line on the ruler.
Jenny:
Now, do you have a lot of extra room on this with the six-inch square? Do you have the extra room?
Misty:
Not a lot-
Jenny:
Not a lot?
Misty:
... But still, just a bit to shave.
Jenny:
Oh, okay. So you need to kind of be careful with your quarter of an inch.
Misty:
Yeah, just watch it but you should be fine. It's still enough to trim down. I didn't have any trouble at all.
Jenny:
Perfect.
Misty:
Now that we have those-
Natalie:
Very nice.
Misty:
... We are going to make a couple of these little four patch units. If you could sew that together, just like that-
Natalie:
I'm happy too.
Misty:
Put these right sides together. There we go. We are going to do two like that.
Did it get turned?
Jenny:
I don't know. I might've moved this. I want to make sure they're right. I'm going to take it out and open it up.
Misty:
It's always better to check.
Jenny:
Yep. All right, so let's see here.
Misty:
Oh, yep. This goes like that. Yep. It's a good thing we checked.
Jenny:
You'll get that gut feeling. When you get that gut feeling, it's always a good idea to stop and just make sure what you're doing is right.
Misty:
It's much easier to fix it then.
Jenny:
I kind of veered in a little bit right there, but let's see if it matters.
Misty:
I bet it'll be fine. Do I have one more of those? Oh, I do. We can just make one.
Jenny:
You want to make sure that you use two different fabrics on this.
Misty:
Yeah, I just made the whole thing scrappy.
Jenny:
I love that.
All right, Nat, you want to iron this?
Natalie:
Sure.
Misty:
Yeah, if you could give that one a press. Now, this is really fun because the magic of this is that we're actually making four different blocks that are made up with our big half square triangles and these little units. They all are made up of two of these and two of these but let's just talk about the panel and how we got it all to fit together a little bit more. I trimmed this panel down to 35 inches-
Jenny:
Square.
Misty:
... Square, exactly. Both directions. This first little inner border is three and a quarter inches wide. That was the math that we needed to have it match up with our blocks. That's what you're going to want to do, whatever panel you choose, so then now, let's talk about the four different blocks. The first one is our corner block, which is this one here. You'll see, we arranged that with this little unit and this little unit and our two half square triangles in. That's the first block and that fits in the four corners.
Natalie:
You just make four of that one.
Misty:
You make four of that.
Jenny:
Oh my gosh, that's so clever.
Misty:
The next block, we have both a right and a left facing. You can see, these just alternate. We'll do this one first and we are just spinning so that they all match. It's the exact same units. We'll sew these together in a four patch, just like the others and you'll get this block here and this is the right orientation. On all your right sides, you're going to have this block.
Jenny:
Oh, and I see it changes right here in the middle.
Misty:
Well, yeah, so we actually have a middle block also.
Jenny:
Oh, okay. That's great.
Misty:
We can move to that one since you pointed that out. This will spin and this will spin and this is our center.
Jenny:
Oh, that's so cool.
Misty:
Block just like that.
Jenny:
You're such a clever girl.
Misty:
That fits right there.
Jenny:
That's awesome. You need four of those.
Misty:
You'll need four of those. The last one of course is the left orientation and so, this just rotates just like that. That's so great. Here's our last block that fits on this side.
Jenny:
Oh, that's perfect.
Misty:
It's just as simple as that. Once you get your blocks added around, you're going to do another three and a quarter inch border that'll go all the way around. I finish it off with a six inch, and then I use the dense leaves quilting pattern and this is the back.
Jenny:
Oh, the back is really cute.
Misty:
Little feathers, and I think it measures 72-ish square.
Jenny:
Yep. That's awesome,
Misty:
Thank you.
Natalie:
I that's very cool. I think this would look fun in lots of different-
Misty:
I do too. Yeah, and lots of different panels even.
Natalie:
Yeah, well, if your panel can be measured to 35 square, that would be awesome. But even if you had just yardage that you like-
Misty:
That's true.
Natalie:
... A 35 inch square would be great in the middle.
Misty:
I do have a bonus actually because I thought it would be fun to show these blocks without the panel. This is just with a plain center square in the middle and then it makes this great little burst.
Natalie:
Oh, that's great.
Misty:
Isn't that fun?
Natalie:
Yeah, I love that. That'd be a great baby quilt or wall hanging.
Misty:
Yeah, I love it too.
Jenny:
Really fun. This part, even if it was a baby quilt, could be used for the baby [inaudible 00:12:29].
Misty:
That's a great idea.
Jenny:
Really cute.
Natalie:
Or leave it empty so you can put your centerpiece on it.
Jenny:
That's right,
Misty:
That's true.
Jenny:
It was a table.
Natalie:
Either way.
Misty:
Awesome. All right,
Natalie:
So many fun ideas.
Misty:
Who's up next?
Jenny:
I think Natalie's up next.
Misty:
All right, let's do it.
Natalie:
We'll build on this half square triangle.
Jenny:
All righty.
Natalie:
All right, so my quilt, I called Happy Hourglass because it's just a bunch of hourglass blocks and they're separated-
Misty:
It's happy.
Natalie:
... By some sashing, so they look like they move around quite a bit.
Jenny:
I love the movement.
Misty:
I love this line.
Natalie:
It's really pretty line.
Jenny:
This is our friend, Deb's line, isn't it?
Natalie:
Yes. I took the half square triangle and it's one of these ones on the back and I combined it with another half square triangle going the opposite direction to create the hourglass block or the quarter square triangle, whichever you want to call it. We're going to use the Clearly Perfect Slotted Trimmer B.
Jenny:
Say that fast three times.
Natalie:
Sometimes, that's a bit of a mouthful, isn't it? Clearly Perfect Slotted Trimmer.
Jenny:
There we go.
Natalie:
B, which is the whole sizes. That was just what came out most conveniently with the size that I used. Perfect?
Jenny:
Yeah.
Natalie:
Okay. To make this quilt, you'll need one packet of 10 inch squares and I used afternoon tea by Beverly McCullough from Riley Blake designs.
Jenny:
It's adorable.
Natalie:
You'll need an additional package of background fabric plus two and a quarter yards, and that includes all of this that goes in between the blocks and the inner border. Sashing here, inner border here. There's just quite a bit of background in this quilt, which is fine. It makes a really great quilt with minimal effort. It's 89 by 91, which I think is almost queen size probably and it's great. It's perfect. You can make yours bigger or smaller, obviously by using more or less blocks or bigger borders or whatever.
I got off track. All right, so to make for your outer border, you'll need a yard and a half and that's just five inches. The backing is this beautiful.
Misty:
I love that.
Natalie:
It's like all the tees and it's really pretty. Here, let me give you a look at that. I did piece this backing, which I think is fun.
Jenny:
Oh, I love the tee on the backing. That's really cute.
Natalie:
I used mainly this blue tee fabric and then I pieced in a little bit in the middle because I thought it looked really fun. I love that you'll need a total of eight and a quarter yards and cut into three strips is great and pieced together.
Jenny:
I do love that you put your piece in the middle. One piece in back, you want to put it in the middle.
Natalie:
Putting your pieces in the middle makes it easier for your machine quilter to line it up when they're rolling the quilt on.
Jenny:
You need eight and a quarter yards because of where it falls on the 90, but you won't use a lot of that bottom piece. You need three passes, but if you use a 108, it's just two and three quarter yards.
Natalie:
That's right. That's it.
Jenny:
I'm just trying to help you.
Natalie:
Exactly. Thank you.
Jenny:
All right, show us how to do it.
Natalie:
All right, so to start with, we're going to make half square triangles and I use the make four. We're going to take one of these pieces and one of our background pieces and we're going to sew all the way around the outside edge. Just line them up, right sides together and stitch all the way around the outside edge and then, we'll cut that into fourths. There's really so many different ways to make half square triangles and for me, it matters how many of them I need and what sizes I want them to end up.
Jenny:
People will always say, "Why don't you use the same method?" I'm like, "Because looking for a size."
Natalie:
It depends what you're going for. For this one, I needed to start out with some larger triangles because when you combine them, they get a little bit smaller. Every time you cut and take another seam, then they get smaller and smaller. With this fabric being so beautiful, I wanted them to be large. Also, it goes together quicker.
Jenny:
It does, it does. No, it's always interesting to me that somebody can take-
Misty:
I had to follow this one since this was a little wider.
Natalie:
Well, it's no big deal, so we're not going to square anything yet. What we're going to do is cut this both directions diagonally to get our half square triangles. We can press these open And we're going to mix and match. Well, in a minute, we'll mix and match. Not quite yet. Sorry, I got a bit ahead of myself. Once these are pressed, what we're going to do is make our hourglass block, and this is pretty simple. What we're going to do is place these right sides together on opposite sides. So the print goes to the white and white to the print. Does that make sense?
Jenny:
That makes sense.
Natalie:
If you've pressed to your dark side, your seams will naturally lock. They'll be going in opposite directions and so they'll lock in place. What we're going to do is we are going to grab a pencil and draw a line opposite the seam.
Misty:
Perpendicular.
Natalie:
Yeah, perpendicular.
Jenny:
That word. Perpendicular.
Natalie:
We're going to go opposite the seam and just draw a line right down the middle, then you're going to sew on both sides of this line. You just want to feel and make sure that these are pressed tightly up against each other-
Misty:
But nesting there in the middle.
Natalie:
Yeah, it shouldn't take too much effort because those seams just naturally lock in place because we've pressed to the dark side.
Jenny:
The cool thing about this is you don't square it the first time, you only square the block one time.
Natalie:
No, you don't have to square yet. We're not there yet. Yeah, because these are such large pieces, it comes together so quick.
Jenny:
Out of each set that you do, you actually get two hourglasses.
Natalie:
All right. Now, we're going to cut this apart, right down the middle. And it doesn't necessarily have to be on that drawn line, you just have to make sure that you have two secure pieces and they will be looking just like this with this line down the middle. This is where the Clearly Perfect Trimmer tool comes in. Super handy because it has a straight line that goes from the peak to the center. Now, you're going to be looking at the dashed line with your bottom seam and then, this straight line goes right on the vertical seam.
Misty:
Perfect.
Natalie:
You line that up-
Jenny:
Which keeps it right in the middle and people have struggled with this kind of squaring for years.
Natalie:
Yes. These are six-inch squares. You just have a little bit to trim off. I do use this bottom edge to cut those little dog ears because it makes everything stitch together smooth. Just like that. You'll see when you open it up, you have a perfect hourglass lock, which is so great. Yes, having that seam line means that your middle is going to be centered and all of your points are going to line right up in the corners they're supposed to.
Again, the little dashed stitch line goes on your sewn stitch line and the straight line here goes straight up on the seam line, so we're always matching up our seams. If they're a little off, just so you know, I do sometimes have them where they don't line up exactly perfect.
Misty:
We're human.
Natalie:
Just center it.
Misty:
That's the most important.
Natalie:
And it'll be fine. Yep, just center it up and it'll be just fine. Do the best you can.
All right, I'm going to trim this one, trimming the dog ear and the other end. It doesn't really matter which order you go. We've got one more.
Misty:
So cute.
Jenny:
Cute.
Natalie:
Isn't that fun?
Jenny:
Really fun.
Natalie:
Okay. Now, all we do is we mix and match. All right, so we've got these, we're going to put them together with the print touching the white, and you would just want to make sure that all your blocks are consistently the same. I did mine scrappy. You can combine your colors however you like, but as long as every block is put together in the same orientation, then it's going to come out great. You just have to be consistent.
Jenny:
I'm noticing that it kind of makes this pinwheel-
Natalie:
It does it make a pinwheel. It's always print background, print background, print background.
Misty:
Cute.
Natalie:
Just like that. You just fold them up and sew a little four patch and then all it is sashing. I start with a block and sashing, block sashing, etcetera and then, end with a sashing here. These rows are all the same, but this row is flipped so you make them all identical, but then this one gets flipped every-
Jenny:
Other row you just flip over.
Natalie:
... So it's A and B diagram but really, the row is the same.
Misty:
Yeah, you're just flipping it over.
Natalie:
It starts with a block, ends with a sashing.
Misty:
Okay, perfect.
Natalie:
You have your long horizontal sashing in between, but you have no points to match up because these are offset. The inner border is two and a half inches, the outer border is five inches and it just makes a really great quilt. I love it.
Misty:
It's beautiful.
Natalie:
I hope you guys love it as much as I do. Mom, you're next.
Jenny:
Alrighty then. Now, I get to show you my quilt and I called it clearly perfect Pinwheels because it's made with a Clearly Perfect Slotted Trimmer and it's a three piece triangle square. It's really fun to show you how to make. Let's look at the quilt.
Misty:
It's so great.
Jenny:
All right. Here's my triangles and I actually added this giant diamond block in here because when you're dealing with half square triangles, you can do so many designs. Anyway, to make this quilt, you're going to need one packet of 10 inch squares and I used Quiet Grace by Kim Diehl and I love her fabric because it's a little bit rustic, but it's so rich. A lot of beautiful colors in it.
You're going to need three and a half yards of background fabric and that includes your sashing. These are little one and a half inch sashing pieces that I did in here. Also, your outer border is one and a half yards and it's a nice big six inch border and your backing here is five yards and I just use this beautiful-
Misty:
It's pretty.
Natalie:
Oh, that's so pretty.
Jenny:
It's like caramels. It's so pretty. Yeah, love it. My quilting pattern is dense leaves and the quilt comes out to be 72 by 81, so it's a great size quilt. Let me show you how to do this.
All right, so I used a little bit different method in making mine and what I did was I took two 10 inch squares like this and I sewed them right down the side. Two squares, right sides together. Make sure you have a little contrast. You don't want to put two colors too light. I like that you can see the two different colors.
Natalie:
Like dark or warm cool.
Jenny:
And then, you're just going to sew on the sides. All right, so this is the little trick and it's just kind of fun how I did this. You want to sew a quarter of an inch just on the sides.
Now, what you want to do when you start is you want to choose 36 of these squares. I only use 36. You'll have a few left over for another project but what I'm going to do now is I'm going to lay my ruler right on the edge and I love this ruler because the block is 10, the ruler is five. You don't even have to worry about where it's going to end up, you just put it on the edge and cut right down the middle and then, do it the other way as well. You'll have four blocks that are all have one seam on one side. What we're going to do now is we're going to press these to the dark side and then, we're going to sew them together and make a long strip.
Misty:
There's those two.
Jenny:
Okay, so Natalie, I'll just have you-
Natalie:
So we turn them so that they're light dark, still? Make a pattern.
Jenny:
Yep, you make pattern. You're going to do light, dark, light, dark, light, dark. Just different fabrics. They'll go right along here and you're going to need your clearly perfect slotted trimmer B For this one because we're going to be cutting these at six inches.
Misty:
Awesome.
Jenny:
Now, the next thing you're going to need, these are five inches, that's how they end up and you're going to need a strip of background that is also five inches because we're going to make a tube out of this. This is our tube quilting. There's one more.
Natalie:
Do one more. All right.
Jenny:
Misty, if you want to press that little seam out right there.
Natalie:
Sure.
Jenny:
Alrighty. Let me have it. There we go. All right, so then we're just going to press these. Now, I know you girls are going to die over this, but I actually opened my seams on this.
Natalie:
What?
Misty:
What?
Jenny:
I know. You're so shocked.
Misty:
Do you want me to-
Jenny:
Now, you don't have to. But for some reason, I just did and all of mine are like that. Look at this.
Natalie:
Wow.
Misty:
This is so unlike you.
Jenny:
I know it, right?
Misty:
Yes. Do I need need to do that?
Jenny:
No, you don't. You don't actually have to do that all.
All right, so what we're going to do is we're going to take these pieces now. These are the four pieces out of one layer cake square and we are going to put them with a background and we want to cut off this selvedge so that we can start it right at the edge. I'm going to go ahead and just trim this off. We're going to sew a quarter inch down this side and a quarter inch down this side. We're making a tube and we'll just line these up and you can put as many of these half square or layer cakes together as you want. Maybe you want to cut a whole bunch of these and make a really long chain.
Misty:
And just sit and sew.
Jenny:
It's okay either way. We're just going to sew a quarter of inch all the way down one side and then she's going to flip it and we're going to do it all the way up the other side. Keep them lined up. She loves when I tell her how to sew over her shoulder. It won't go actually all the way to the end of this strip. There we go. You'll just turn that around and sew down the other side.
Now, it's all sewn together.
Misty:
Perfect.
Jenny:
There we go. All right, so you're going to look at it on this side and you can see that some of our seams are going one way and some are going the other and we want a straight line on these. This is just a little trick that I do. I just come up here to the seam and I just give it a little clip and, that seam will lay right down. This one is perfect, but this one needs a little clip and so don't stress over that because you can make it work and you can do like I did and iron them open.
All right, so we're going to get our trimmer. What we're going to do is we're going to lay this, so like now, it goes right on this seam line, straight up the middle, and then, this one comes right along this seam line here. You'll have a little bit extra room up here on the top, but that's going to be just perfect for what we need. We're going to cut here. I'm going to move this out of the way, I'm going to trim off my little dog ear over there. We're going to come down here and trim off this little one as well. What you get is this beautiful little...
Misty:
How cute
Jenny:
Double colored triangle. What did they call it? I always call them 40 squares.
Misty:
Three-piece square.
Natalie:
Triangle square.
Jenny:
Triangle square.
Misty:
I think that's it. Three piece triangle square.
Jenny:
All right, so then you flip your piece over because you still want to keep this side up and we're going to cut the next one. We want to lay this seam down and we're going to line again our little line on their seam line. And this one goes straight up the middle. It's going to be six inch cut. You're going to line it up on the six-inch line. We have the middle and the six-inch sewing line just like that. The thing that's cool about this is there really is very little waste. Again, we're just going to flip it and we're going to come back to this line right here.
Natalie:
But that center line is the one you're always looking at.
Jenny:
Always looking at the center line.
Natalie:
[Inaudible 00:29:49] most important one.
Jenny:
Of course, right across this bottom edge right here, we want to make sure that we're in enough, that we're lined up our seam line on their seam line and that this middle one is still right up and down on that seam line.
Natalie:
Excellent.
Jenny:
All right, so then I'm going to just trim another one and you'll need four of these for your little projects, your little pinwheels. My pinwheels are all the same color. Now, I'm just going to come in and clip this seam right here so it lays flat and you see then, it'll go over. You don't cut into the stitches at all, you just cut that little seam line. We'll do the same thing here and then they just lay nice and flat.
Because as you're sewing along, if you flip your piece, you will have some of your seams wanting to go this way and some wanting to go that way. That's just an easy fix on that.
Natalie:
It could be tricky.
Jenny:
I'm going to go ahead and put this one on the stitch line again. I look at my stitch line first and then I make sure it's lined up in the middle. Again, all this is really all the waste. There is that little tiny piece right there.
Misty:
It's so fun.
Natalie:
It's very cool.
Jenny:
All right, so we have four of these now. You're just going to go ahead and keep cutting your strip. You're going to get seven out of that and you're going to want four of them for your pinwheel. We're going to take these over here and all your pinwheels need to go the same direction. Once you get one pinwheel done, leave it right there for a pattern so you can make sure it goes the same direction.
My pinwheels start with the color pointing down in the top left-hand side, so we're going to start it this way. This'll determine what color your pinwheel is in the center. We'll just add this one and it's the yellow ones on this block that are going to make the pinwheel. I do the same mantra, light, dark, light, dark, light, dark, all seams to the center and this makes your pinwheel right here. I have several of those blocks done and let's look at how they go into the block. I did two right here. Here's one, here's the next one. I did two together and that formed my pinwheel block. I sashed it on one side with an inch and half and across the bottom.
With your extra ones, you're going to have three extras and you want to scrap those up to make this block in here. This is just a big diamond block. What you're going to do is you're going to lay your pieces. I'll get some more of my extras over here so that you can see how this all comes together. This is such a versatile block that you can do all kinds of things within. Anything you can do with a half square triangle, you can do with this block here that has the two fabric colors in it.
What we're going to do is we're going to mix them up because these are our leftovers and we're going to put them together so they form a peak like this. The bottom ones are going to come together with a, right here. We're going to make the same block, but it'll be upside down. This is going to come out here to this side right here. This is the block. Let me get a different colored one right here. You're going to make this block twice to make this long diamond right here. The long diamond, this is the same blocks as our one pinwheel, so we need two to match it up. What we're going to do is we're going to go ahead and I am just going to have some matching ones right here.
Misty:
That's okay.
Natalie:
That's all right.
Jenny:
Here's this right here and then this. This is actually would be called a Chevron block, and then this one here, like this.
Misty:
Adorable.
Natalie:
Pretty cool.
Jenny:
It makes the long Chevron block and the two pinwheels as well.
You're going to need to make seven of these blocks right here in the middle. We have one, two, three, four, five, six, seven. Your pinwheel blocks, you're going to make one, two, three, four, five, six, seven, eight of those. It just makes this darling little quilt. On the side of each block, you're going to put an inch and a half. Now, I tried putting these together without sashing to see what would happen, but it just got a little confusing.
We liked the inch and a half sashing, next to each block, and then we put our inch and a half sashing between the rows, and then we went ahead and put an inch and a half all the way around it to go ahead and match it up to this nice border, so nothing bled into the border. I just think it came together, so-
Misty:
It's really cute.
Jenny:
Our two blocks, again, we've got our pinwheels right here and we've got our big diamond blocks. So many things you can do with this. It's just really fun. Very cool.
We hope you enjoyed this-
Speaker 4:
Triple Play.
Jenny:
... On the Clearly Perfect Slotted Trimmer. We hope you try it to make sure if you do that, you hashtag it, MSQC Show and Tell. We hope you enjoyed this tutorial from the Missouri Star Quilt Company.
Hi everybody, it's Jenny from the Missouri Star Quilt Company. We hope you enjoyed watching this video. If you aren't already part of the Missouri Star Quilt company family, be sure to subscribe so you won't miss a thing. If you click that bell, it'll notify you every time a new tutorial comes out. See you next Friday.



