Skip to content

Free quilting video tutorials from Missouri Star

Quilting Tutorials
Triple Play: How to Make 3 NEW Dresden Quilts - Free Quilting Tutorial

Triple Play: How to Make 3 NEW Dresden Quilts - Free Quilting Tutorial

Triple Play is a favorite tradition here at Missouri Star Quilt Company. Once a month, Jenny, Misty, and Natalie each demonstrate their own unique spin on a favorite block, technique, or template. In this episode, the talented Doan ladies share three fabulous new Dresden quilt patterns.

Instructor

Jenny Doan

Jenny Doan is an American quilter, author, and YouTube personality. Jenny started Missouri Star Quilt Company in 2008 and today it is the largest quilting supply vendor in the United States.

Shop this tutorial
Common Questions

What is covered in Triple Play: How to Make 3 NEW Dresden Quilts - Free Quilting Tutorial?

Triple Play is a favorite tradition here at Missouri Star Quilt Company. Once a month, Jenny, Misty, and Natalie each demonstrate their own unique spin on a favorite block, technique, or template. In this episode, the talented Doan ladies share three fabulous new Dresden quilt...

How long is the tutorial video?

The tutorial video is 00:35:24.

Are supplies listed for this tutorial?

Yes. The tutorial page includes the supplies and materials connected to this project.

Video Transcript

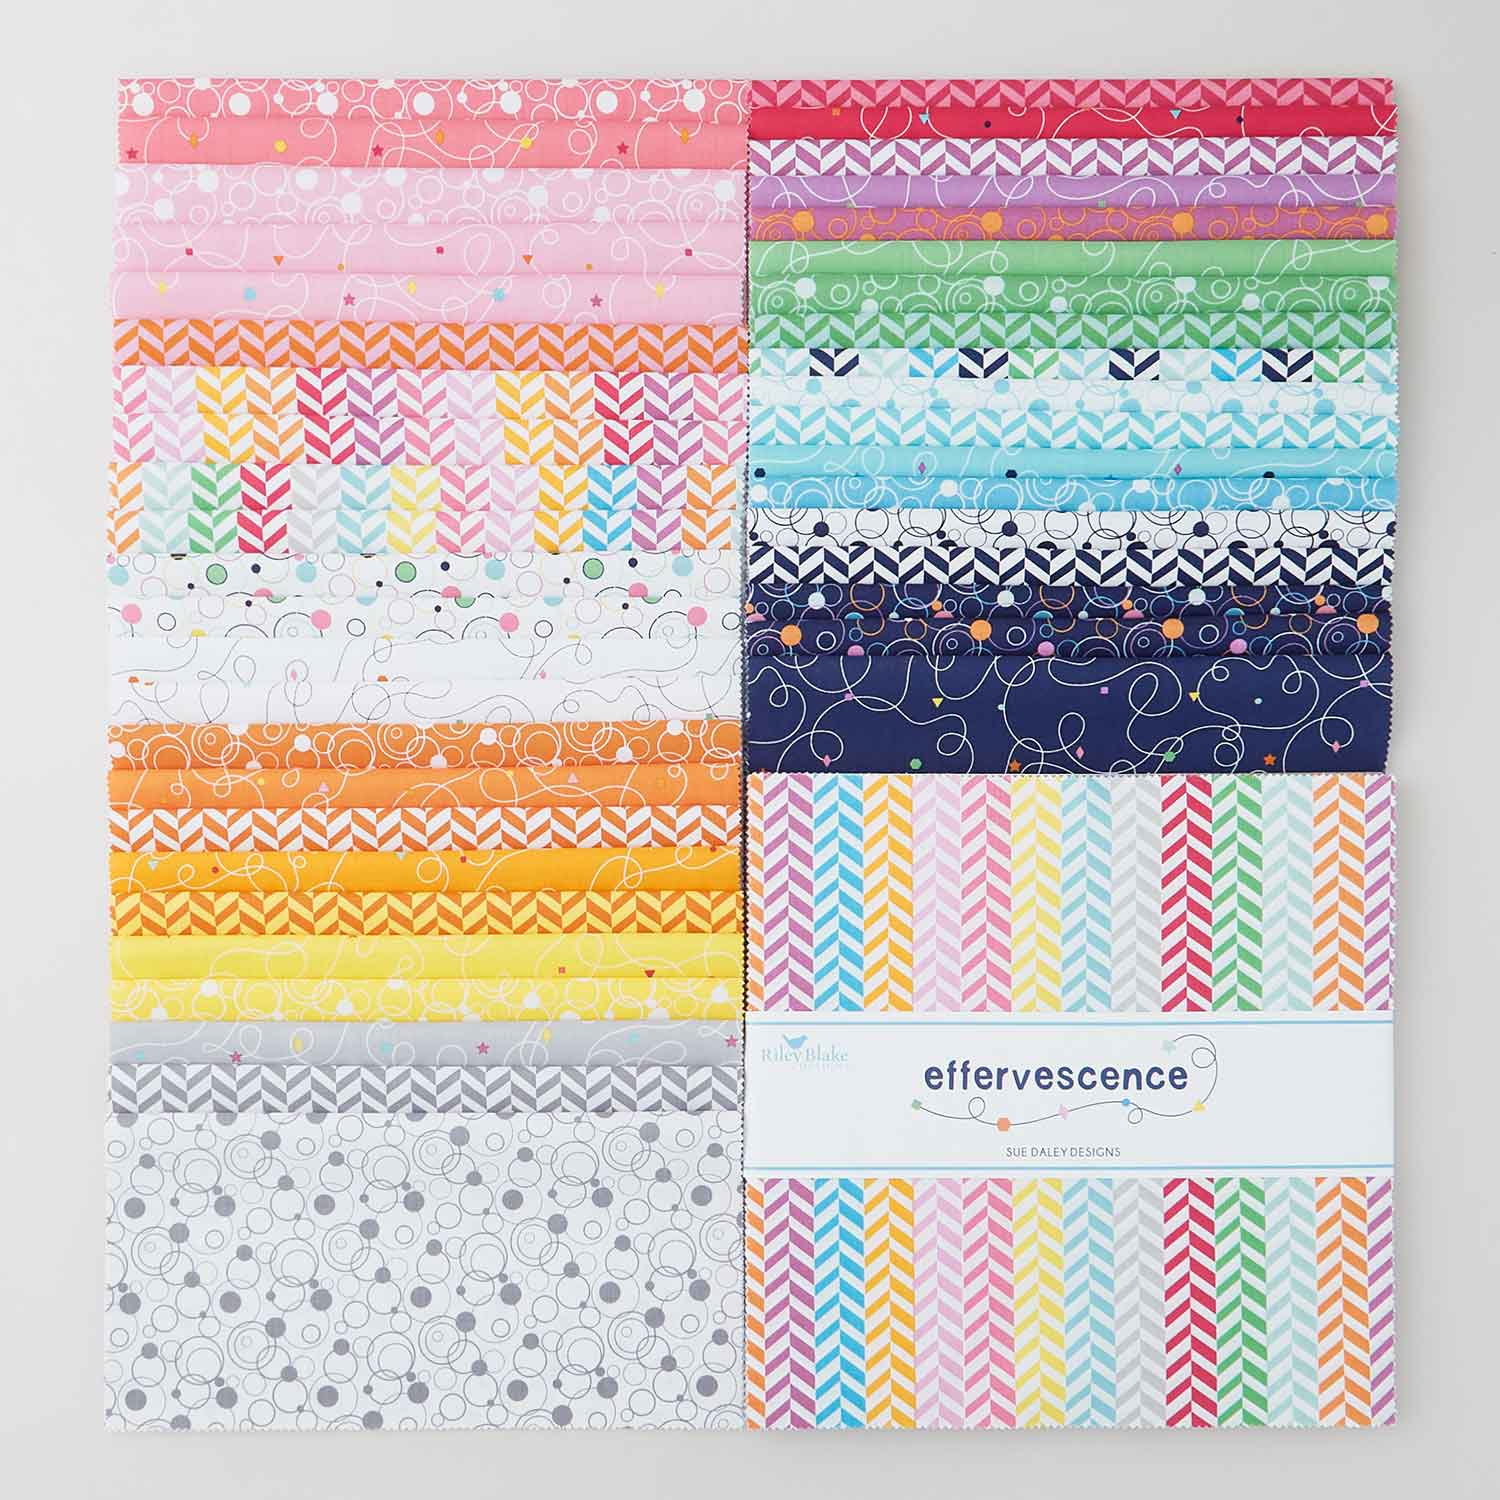
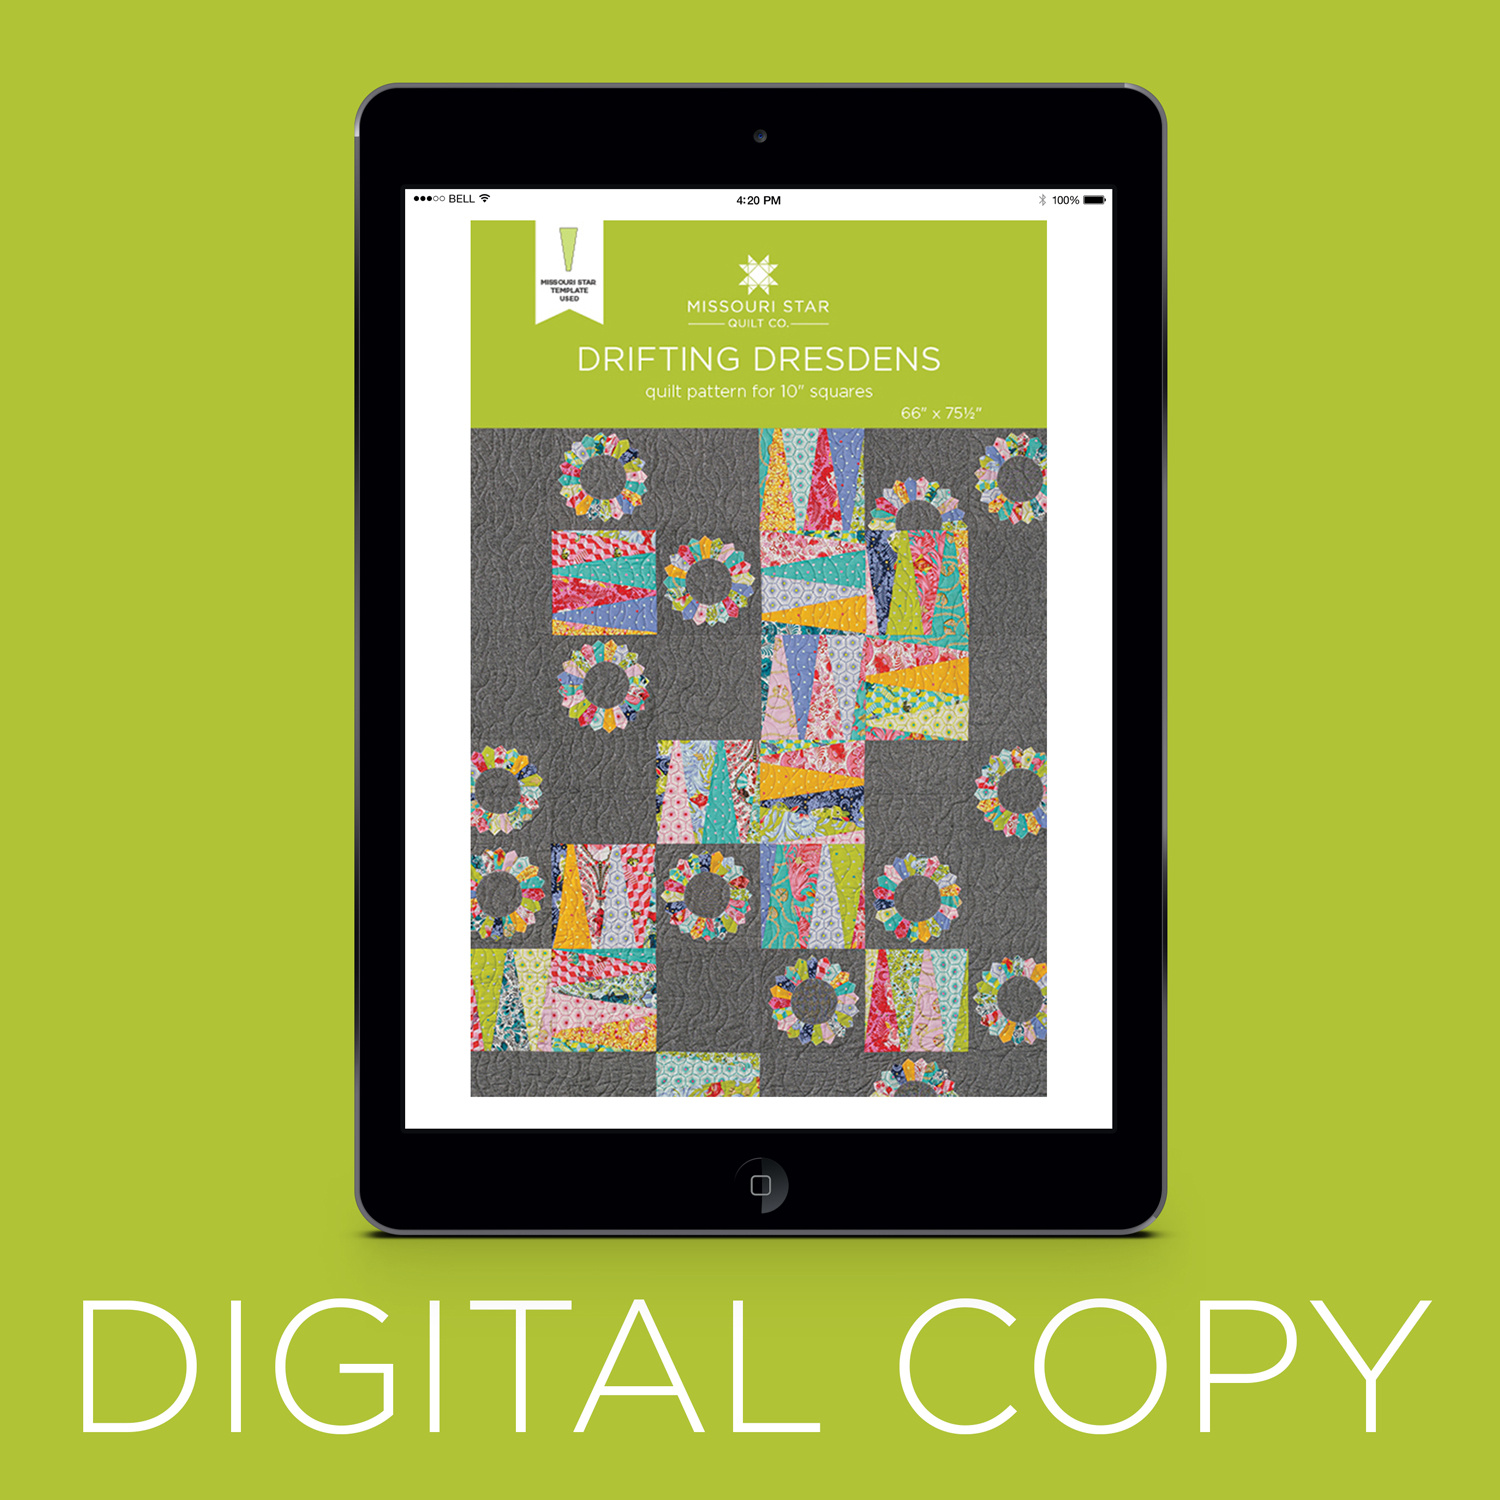
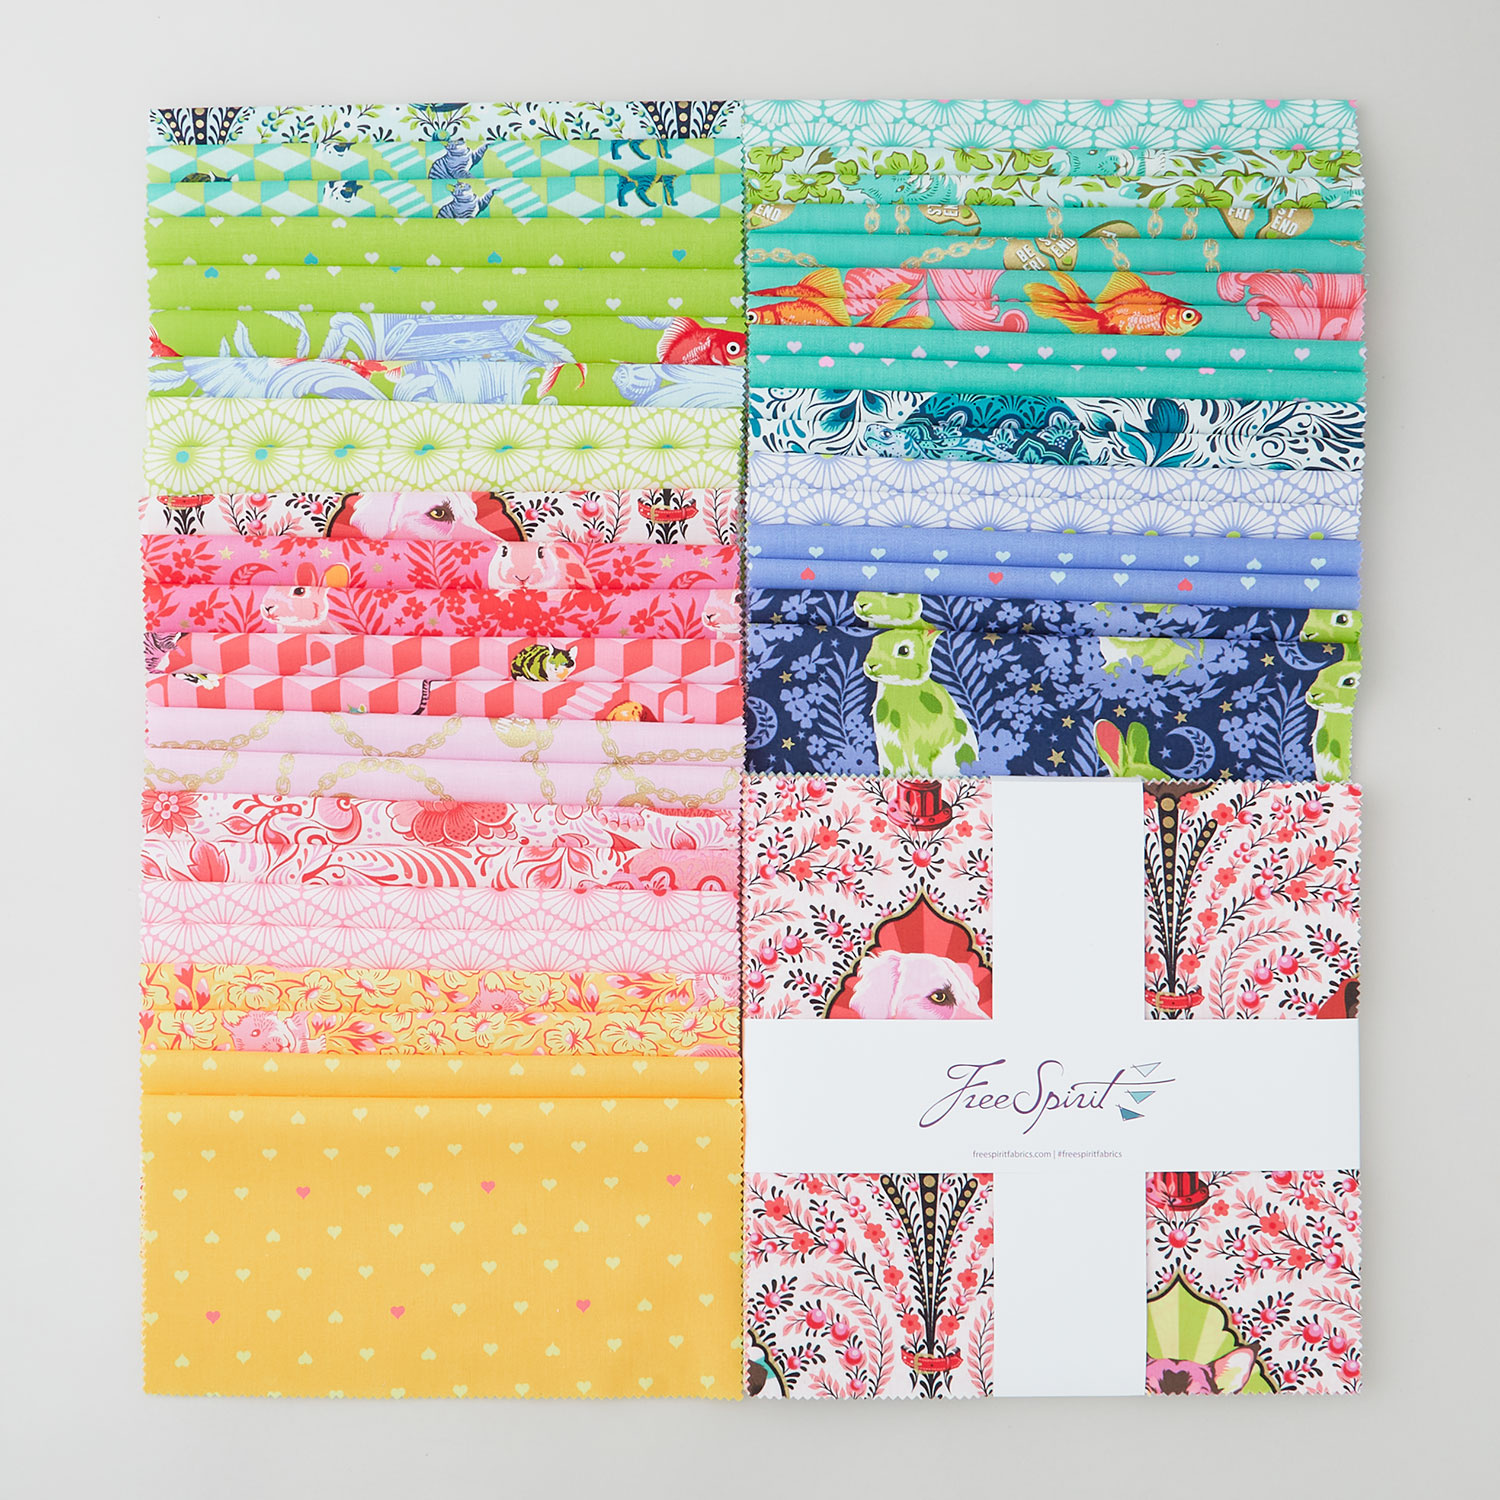
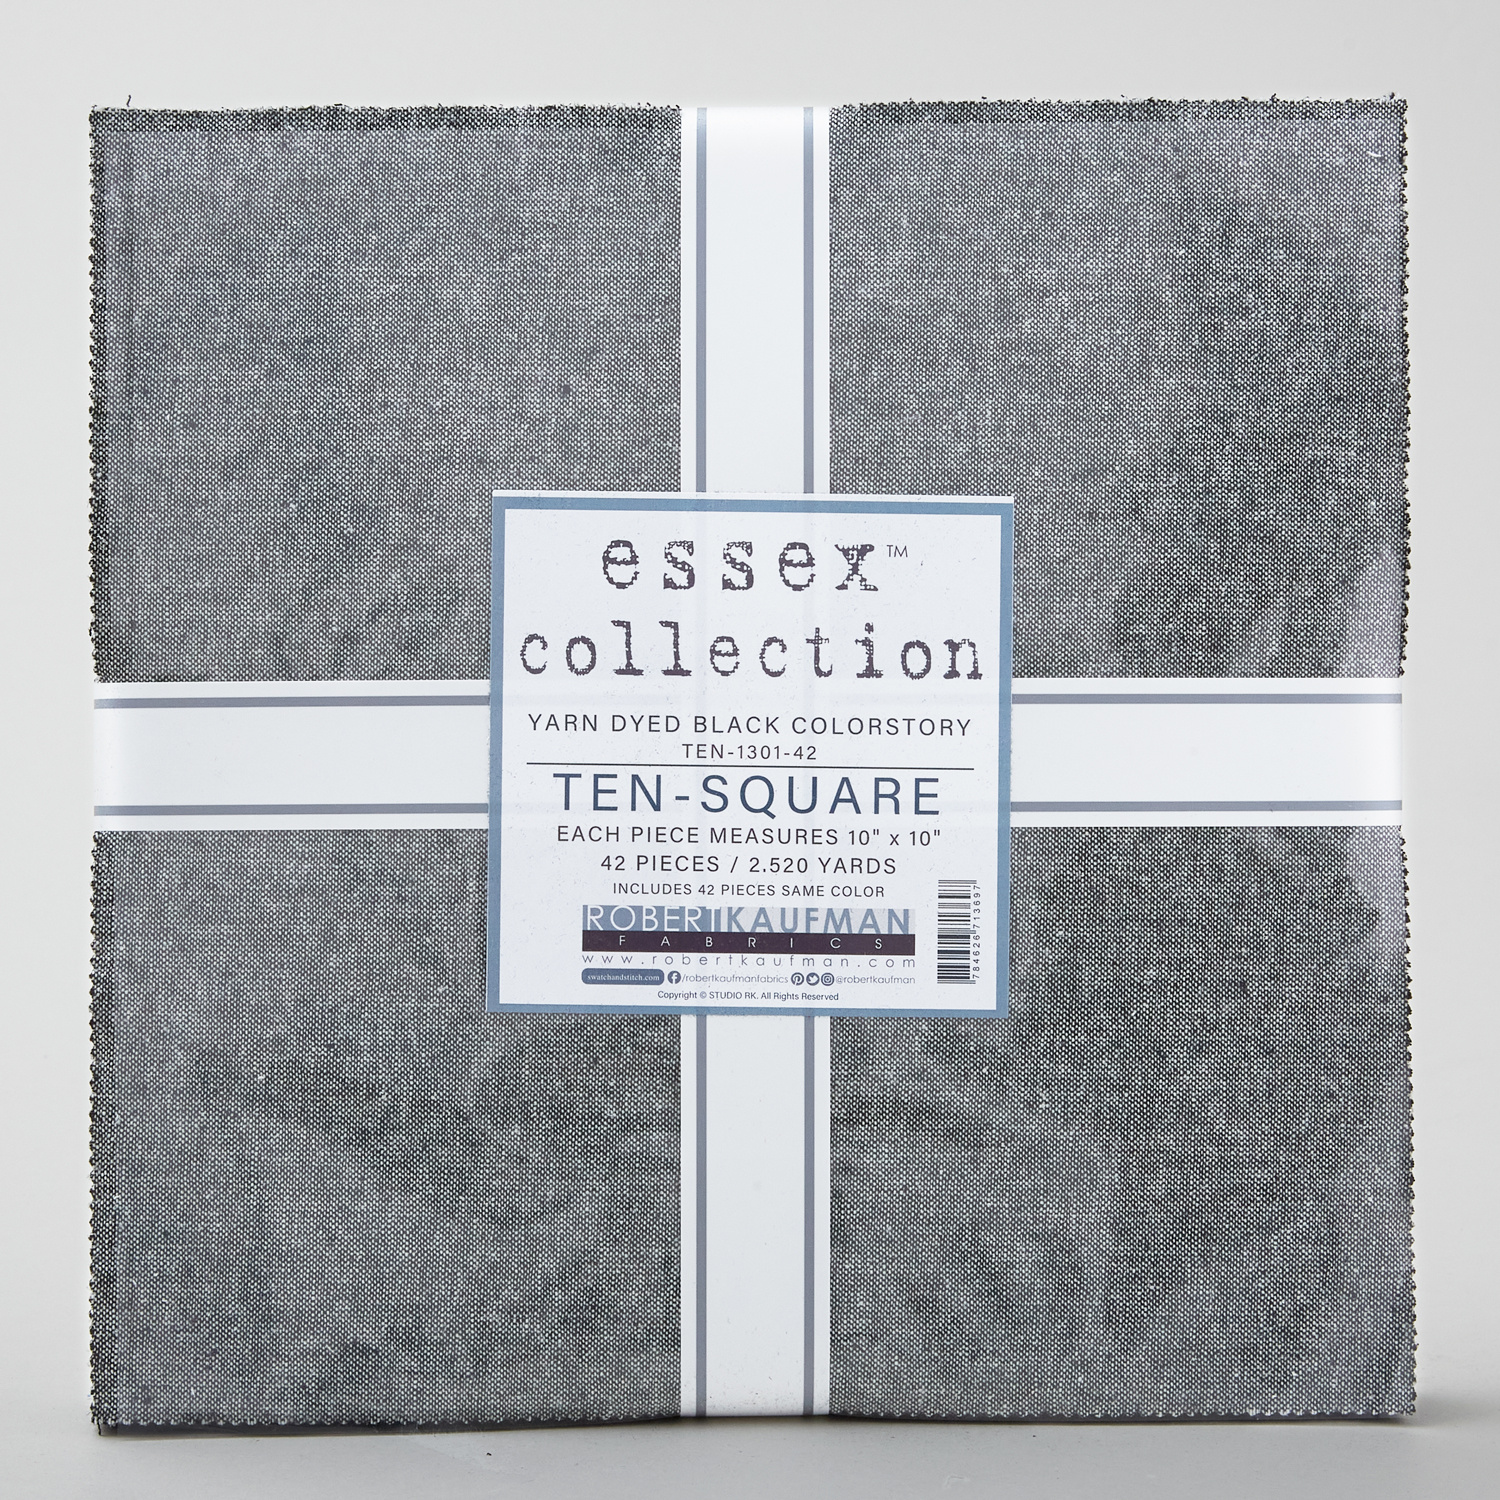
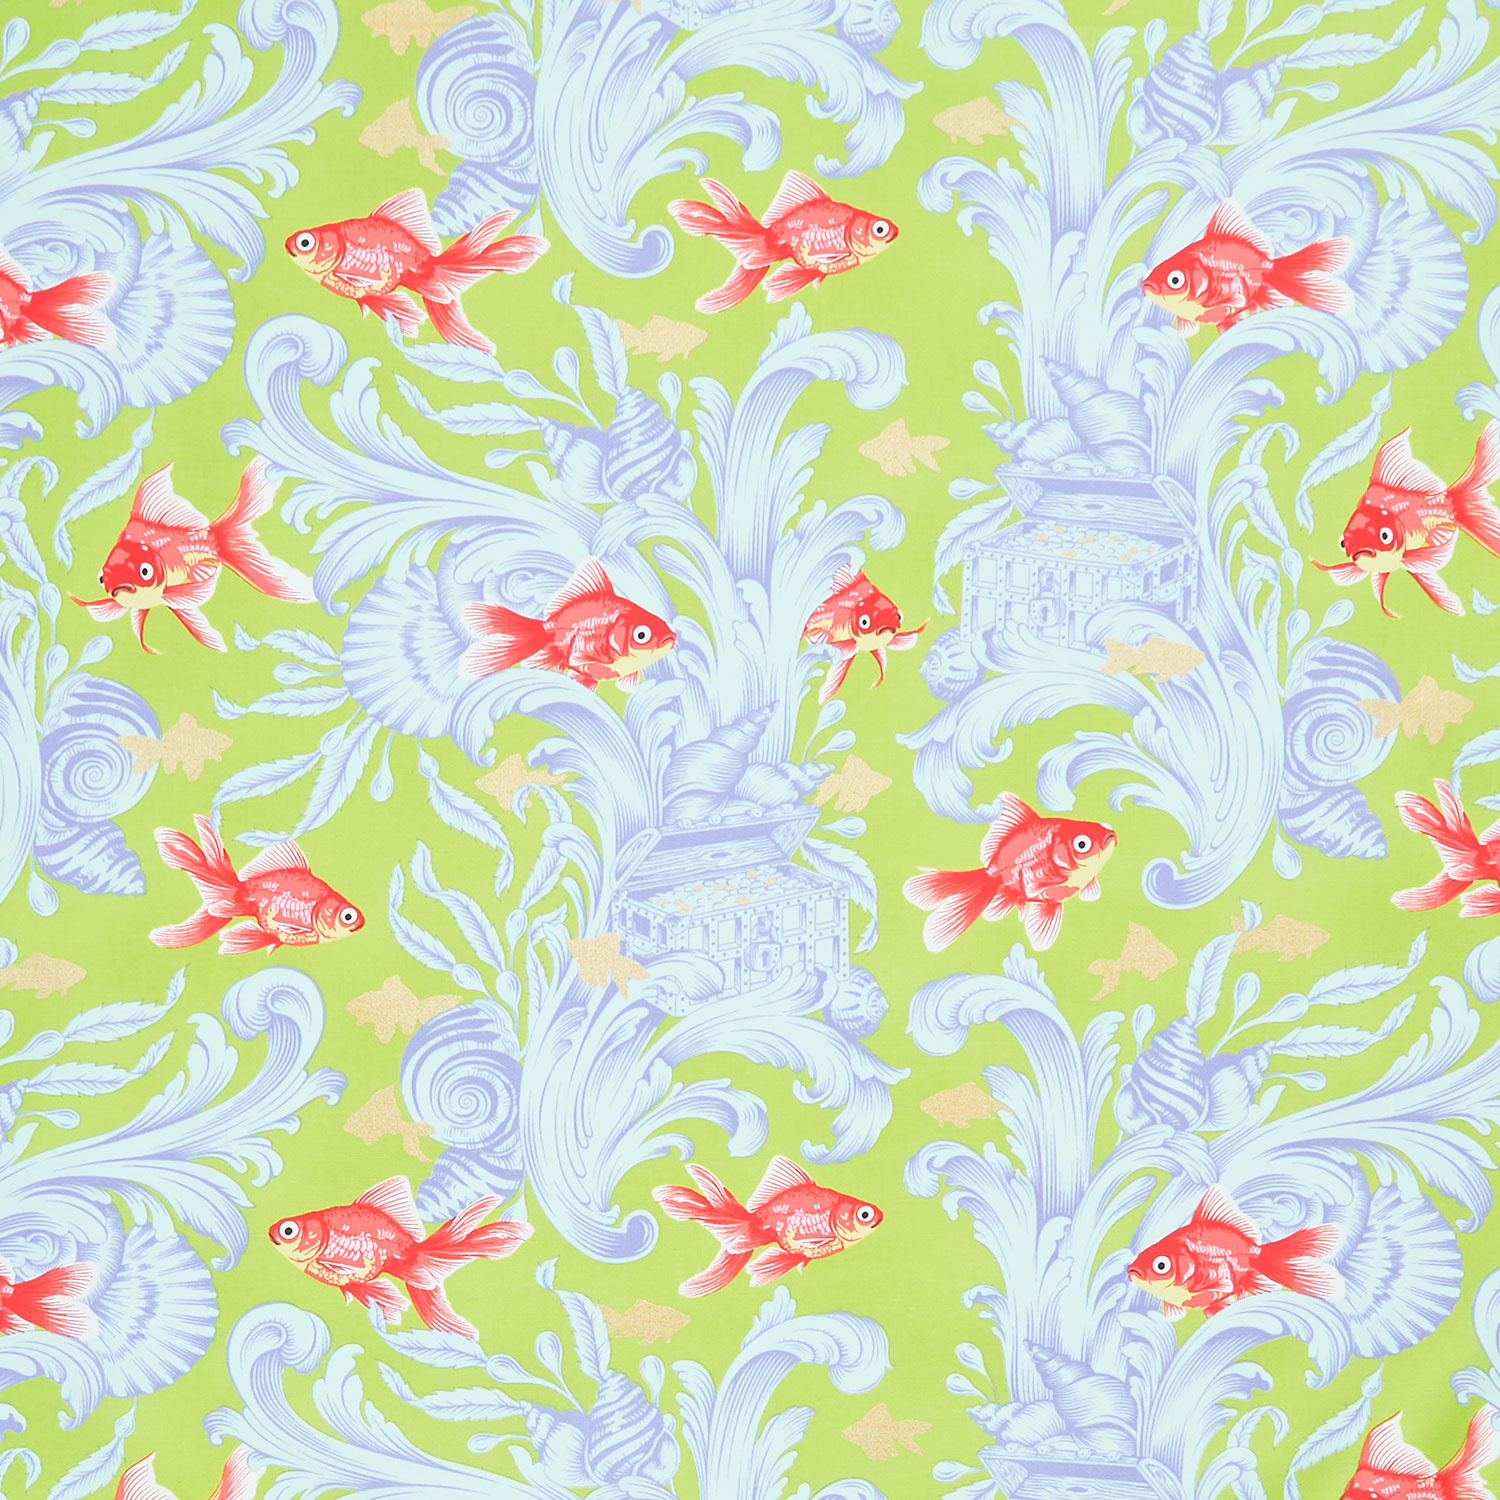
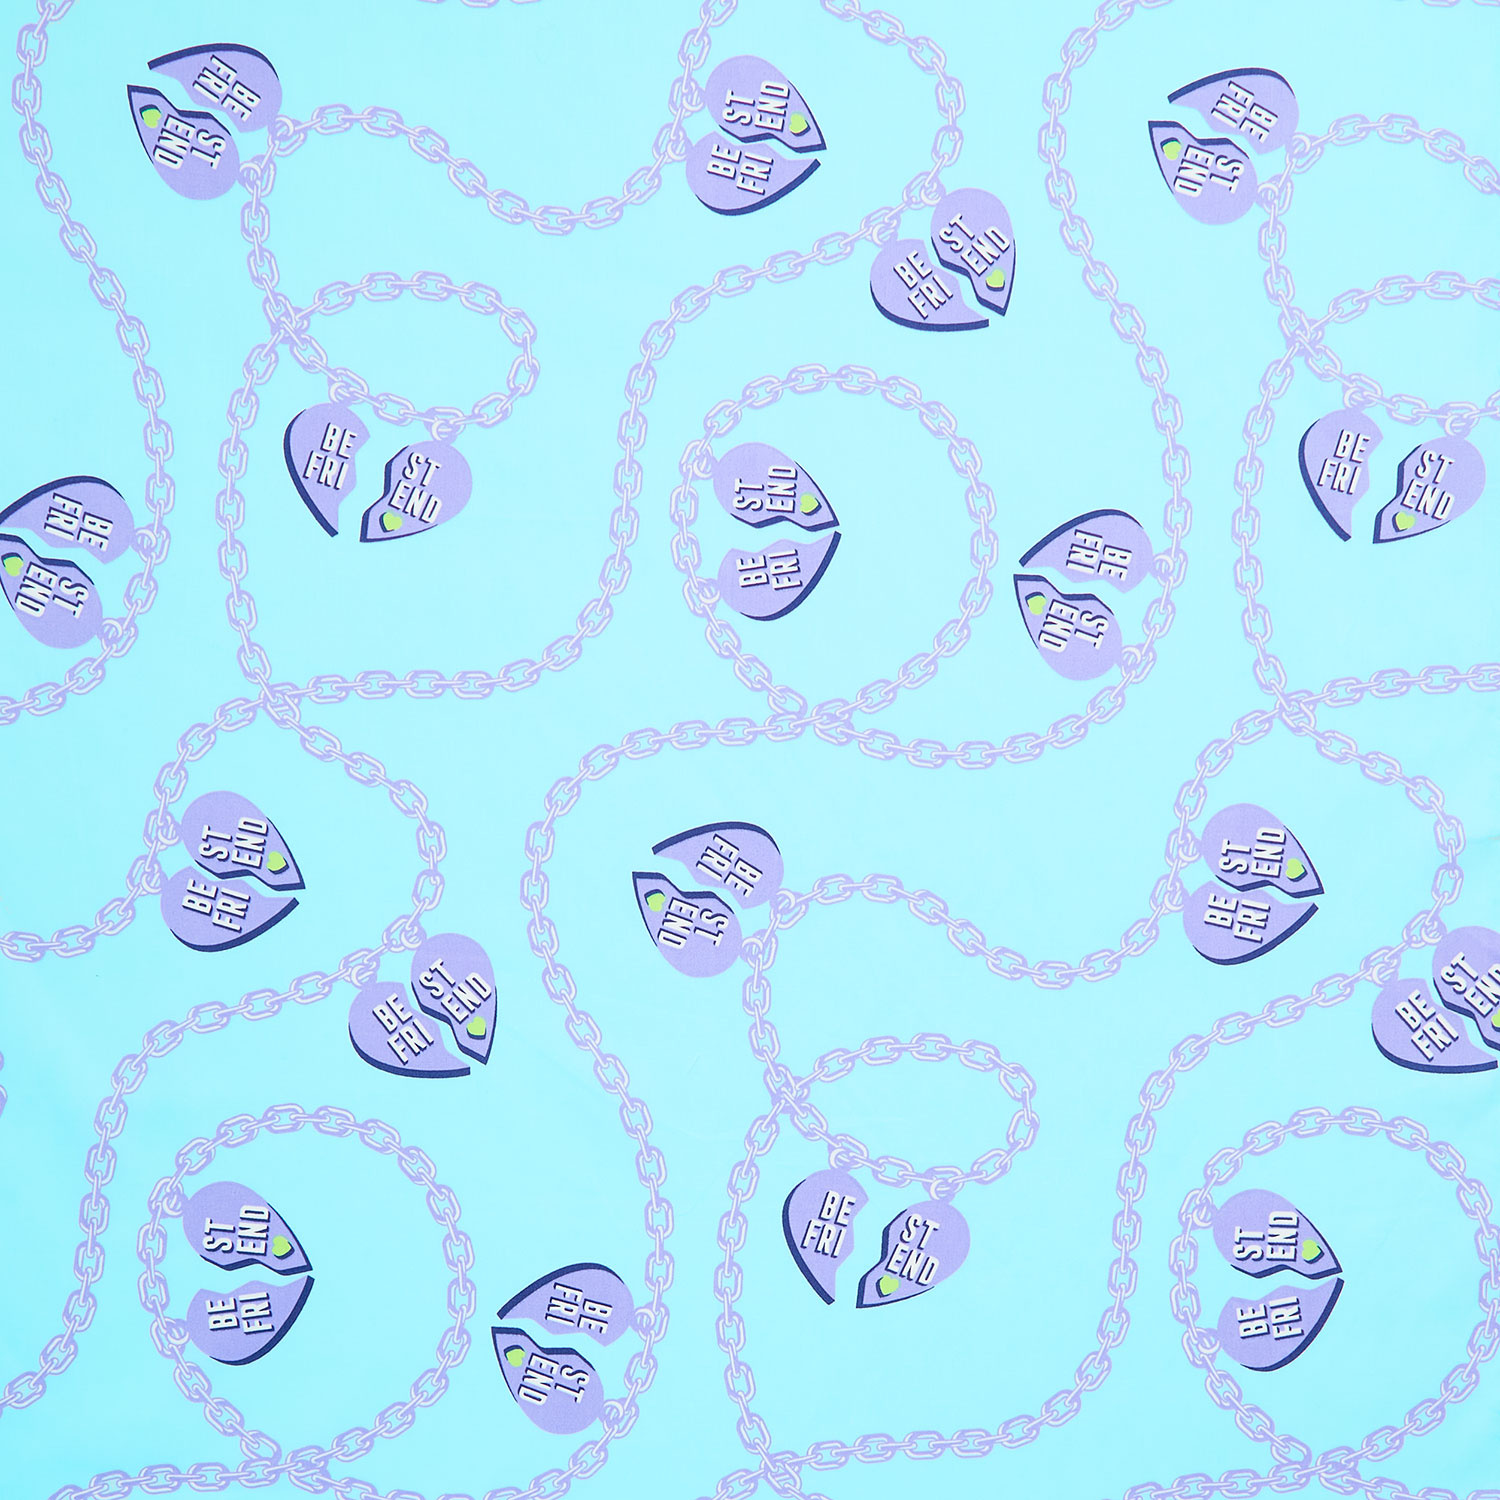
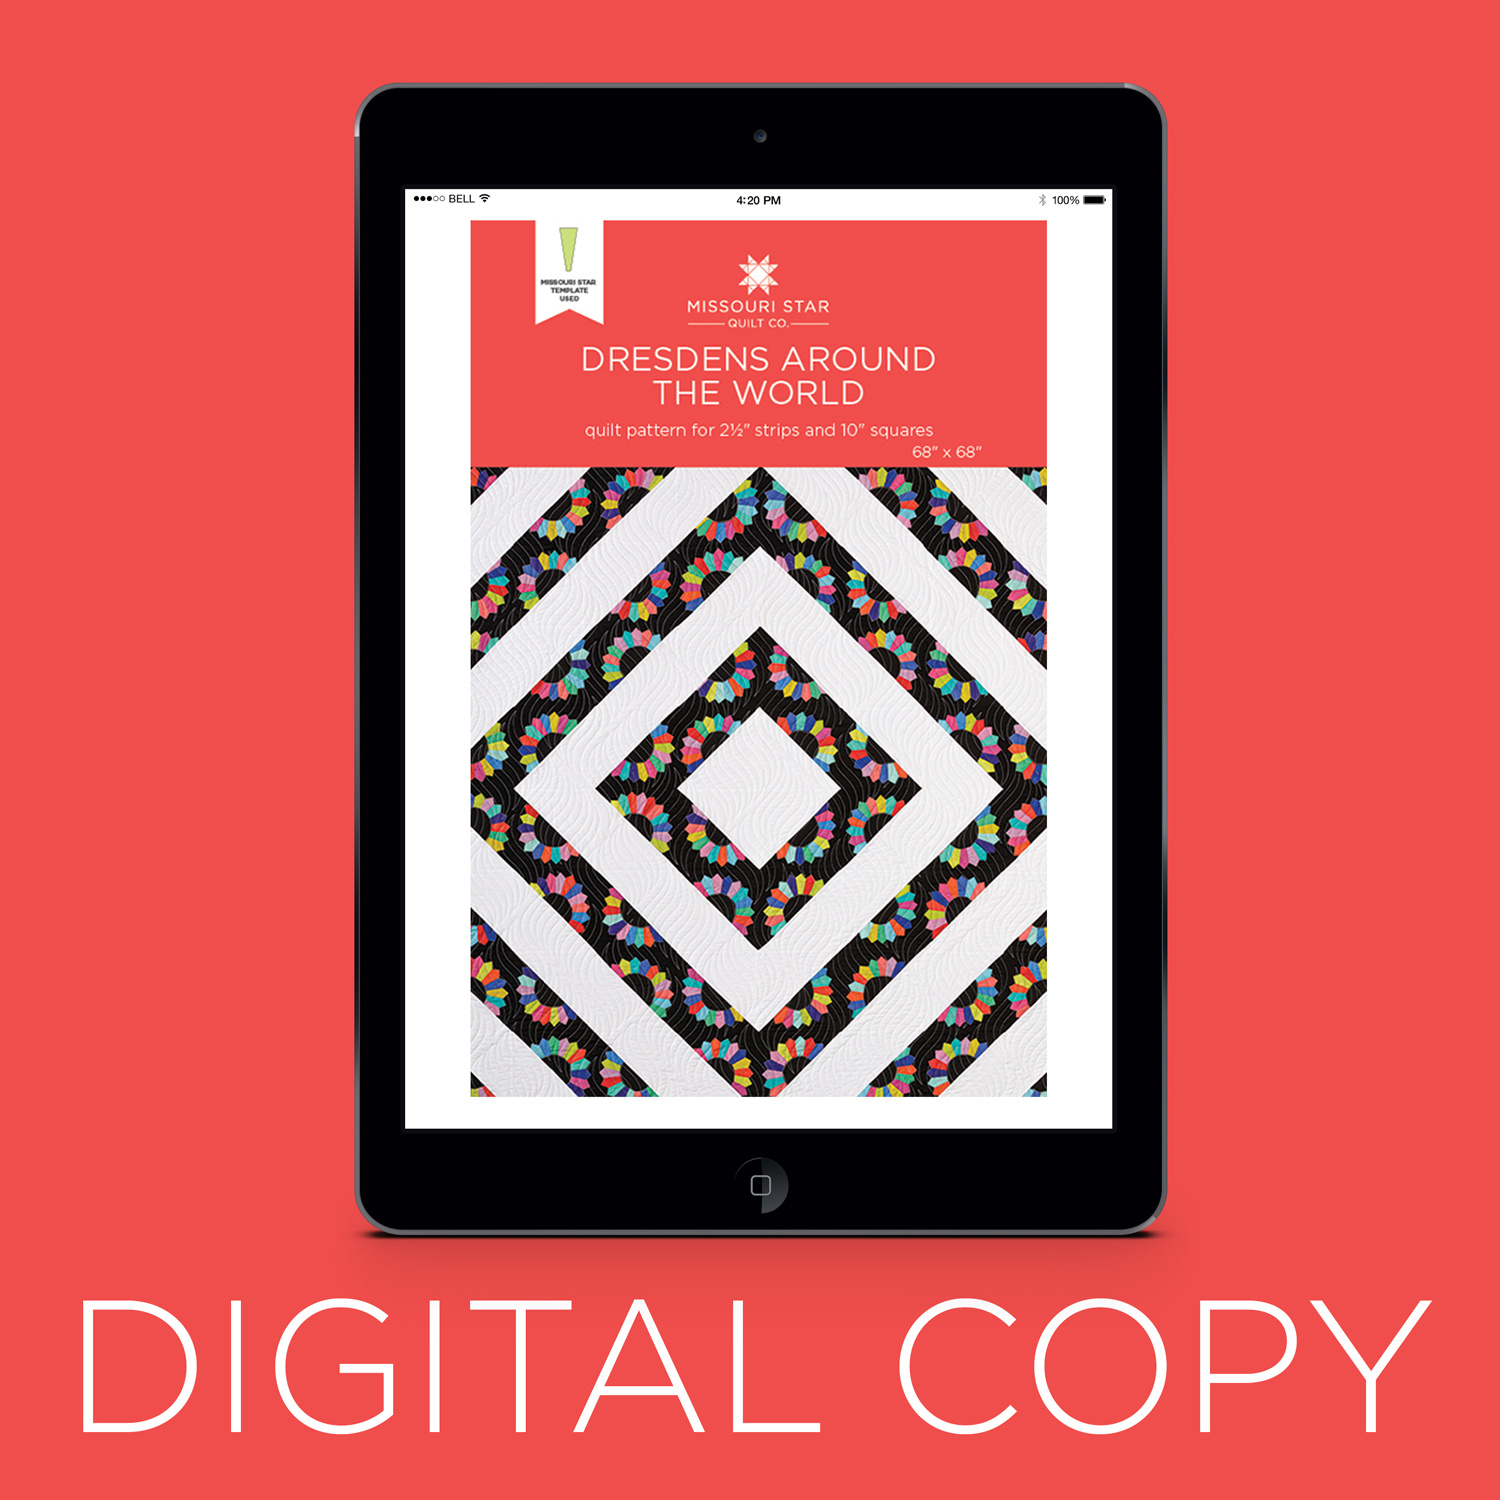
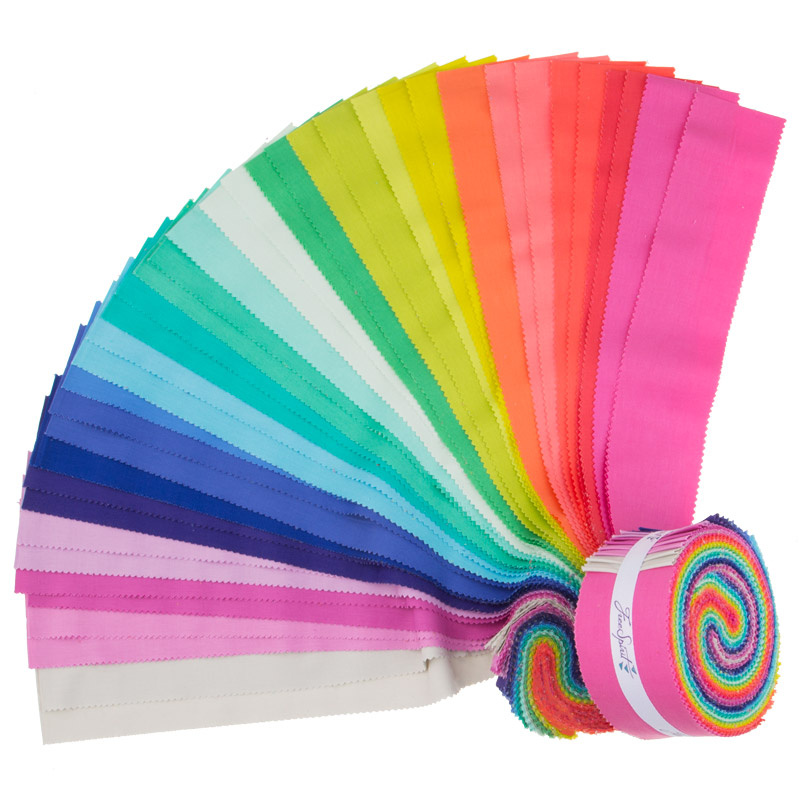
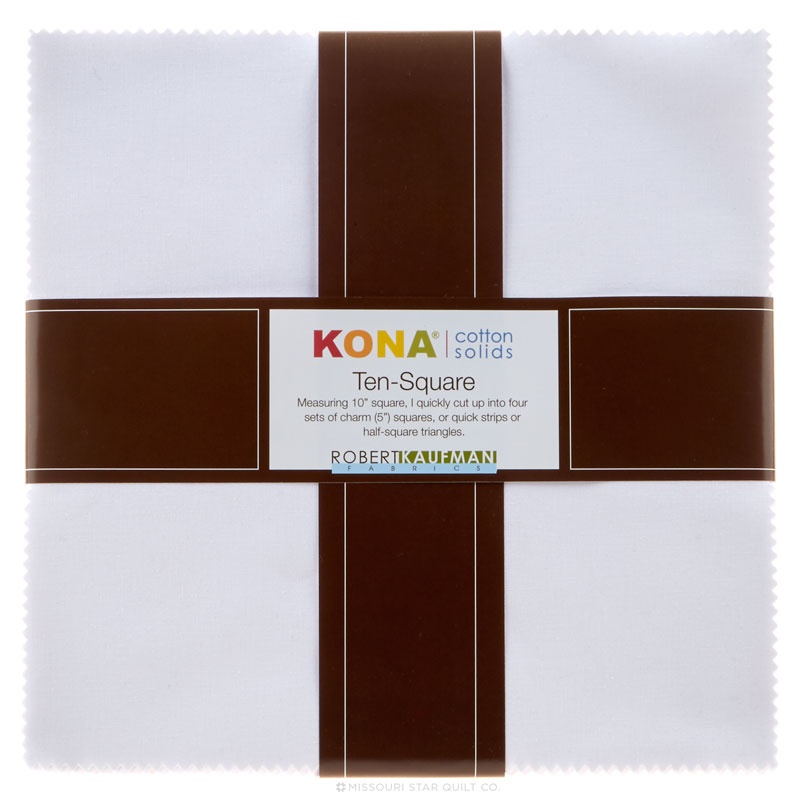
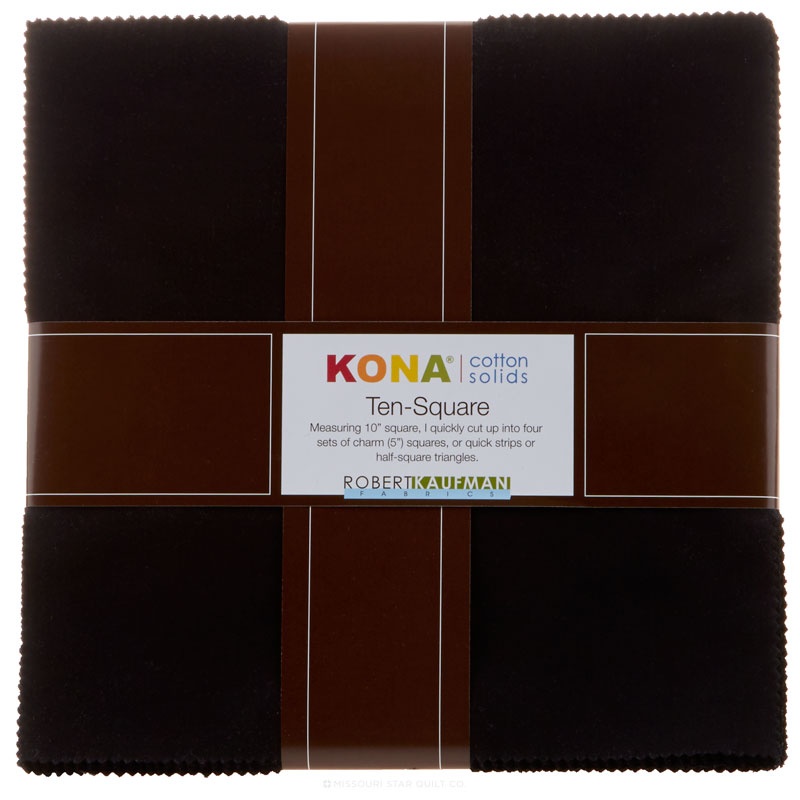
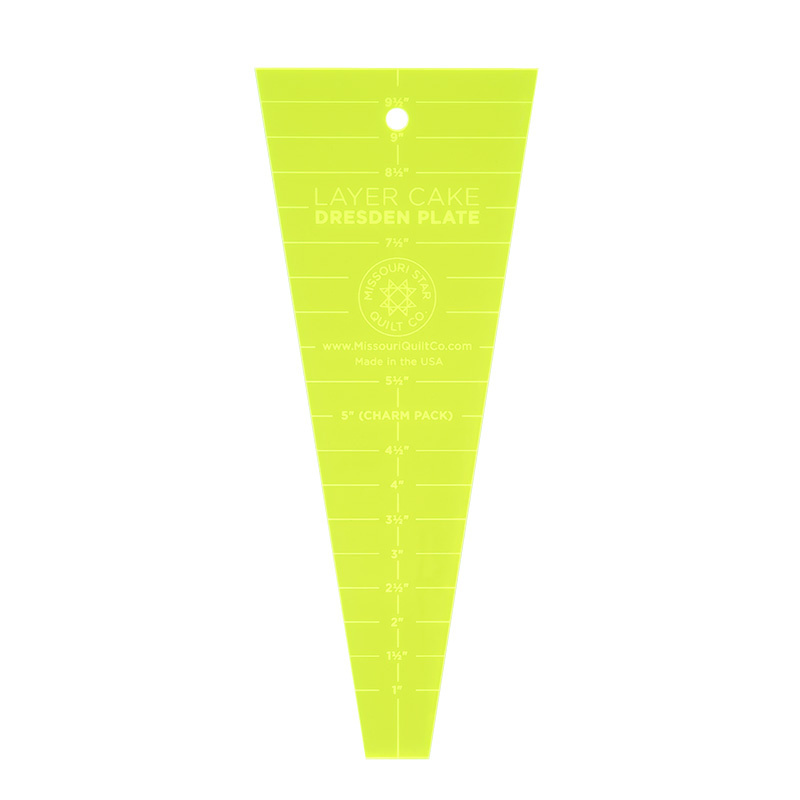
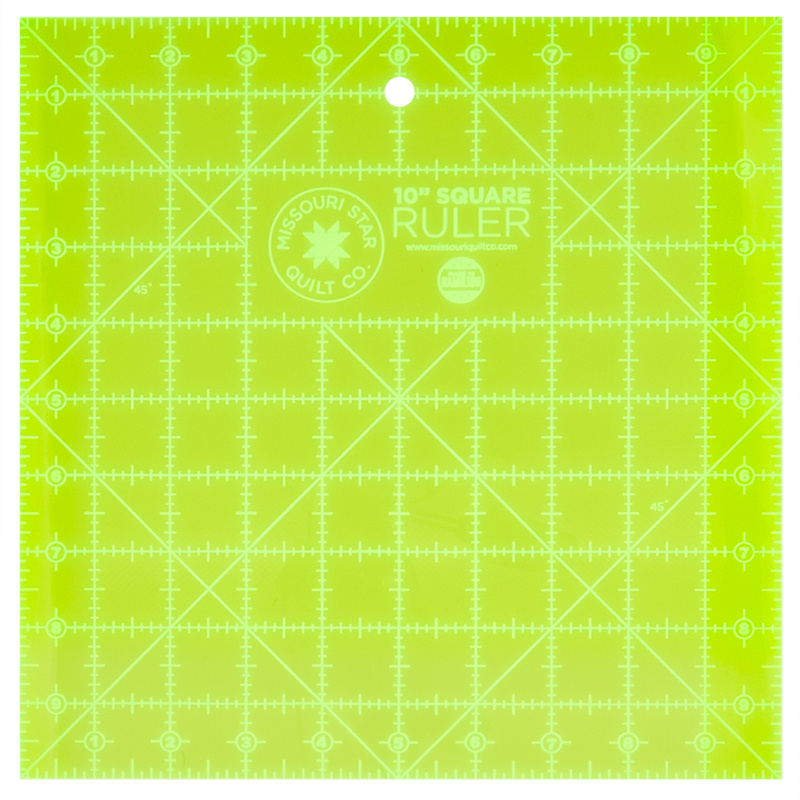
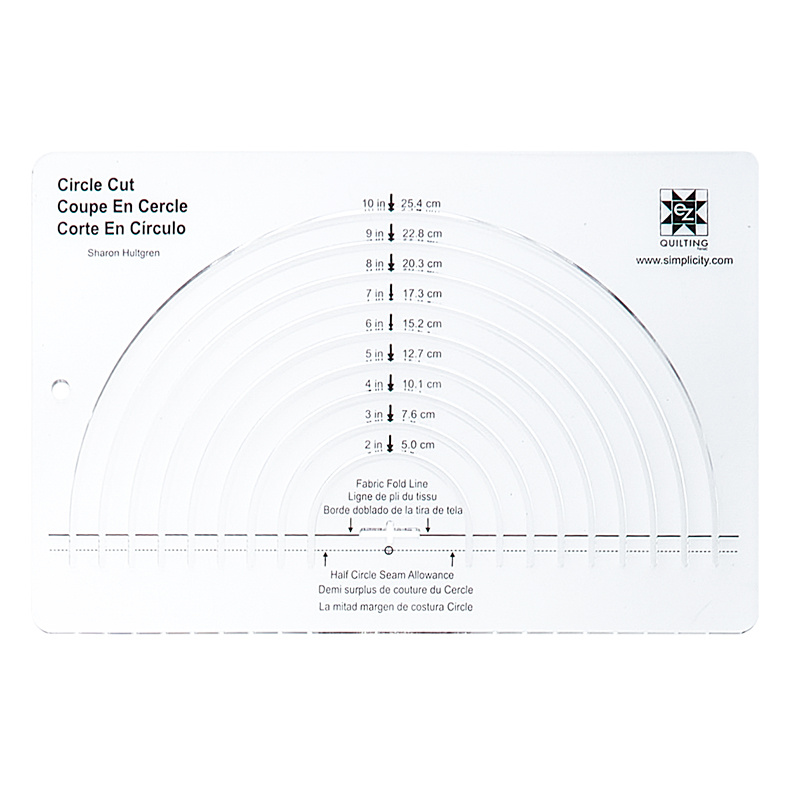
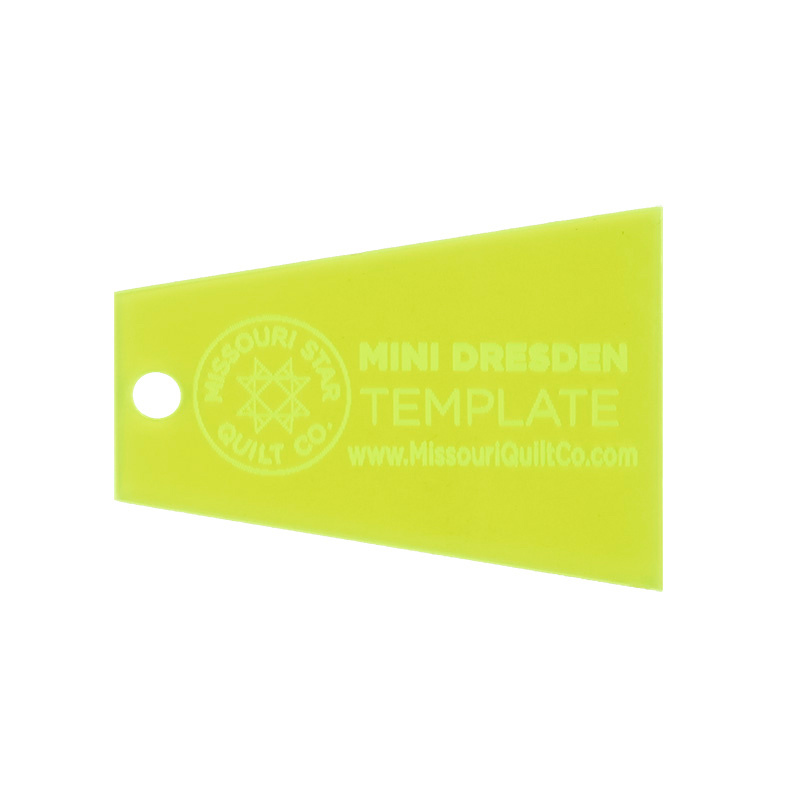
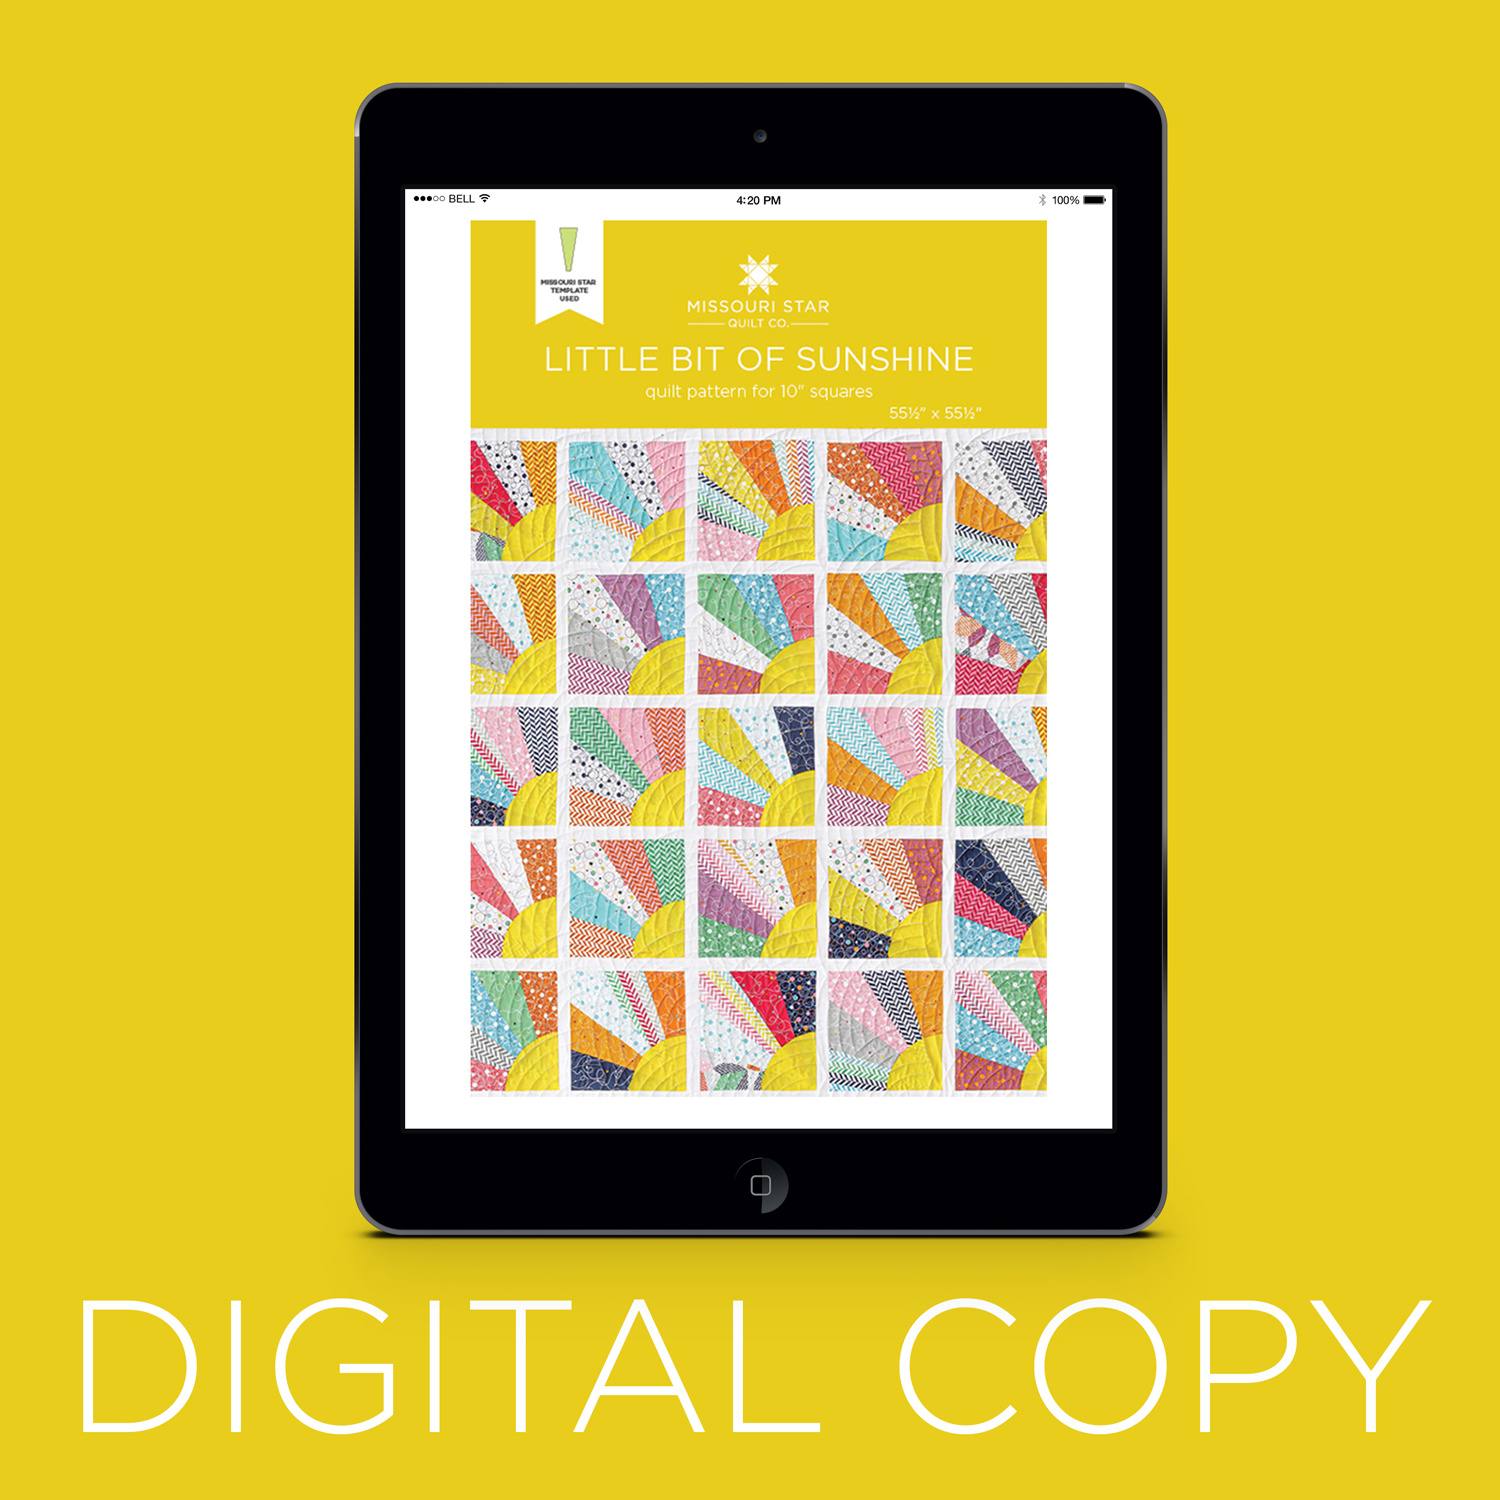
[Music] hi everybody it's Jenny from the Missouri Star Quil company and it's Triple Play day it is the third week of the month and we have a wonderful Triple Play for you I'm here with Natalie and Misty and the block we chose this month is the Dron yep and so we're super excited about the things we have to show you with the dresen and I'm up first so let's take a look at this quilt behind me so I'm calling this little bit of sunshine because it just feels that way to me it feels like a little sun beauti with the Rays and there's so many things you can do with a Dron besides just make a plate for sure so to make my quilt you're going to need one packet of 10in squares and mine is called effervescence and it is by Sue Daily for Riley Blake you're going to need some accent fabric fabric this is for your little sons and you're going to need 3/4 of a yard for that for your sashing and inner border you're going to also need 3/4 of a yard and for your border fabric you're going to need surprise 3/4 of a yard the backing back here you're going to need three and 3/4 of a yard and I want to show you that back here is darling it's just I think any of these Fabrics would make a great backing they would make a great backc they're happy and fun and it's just absolutely darling you're going to need a little bit of fusible about a yard and a half to make your little corner circles with cuz I just fused those on and sewed around them it did it really easy you're going to need the dresen um ruler and you know ours just goes all the way to the top of the layer cake uh I used the squaring ruler to square them up because I squared my blocks this is not a round dresen this is a square dresen and I squared them to nine so you're going to need a square one and you're going to need something to cut your circles with and um I use this circle cut ruler but there is in the pattern there is a quarter Circle which you can trace or you can trace a bowl or a plate any SI Circ however you want you'll have a circle size in your mind and you probably have that sitting right on your desk so you can use that anytime you want so let me show you how to make this now this is an easy dress in quilt even easier than your normal Dresden because there's no you don't have to make a Dresden you don't have to make Peaks that's pretty awesome and so to make this what we're going to do is we are going to pick five different Fabrics now you can do less if you want um but I chose five because that's how many is in my block and so it depends on how good your rotary cutter is ours is really good so I'm looking for some Fabrics that are different prints in here that orange print right there that's Prett the orange there might be another Orange in a different color oh this one is multicolored let's use this one let's see and we can use go back and use Natalie's favorite I have one with some strings on it but that's all right and then let's see what else we have in here how about a green all right so I'm going to line these up all you have a green you need a pink oh pink sorry I'm being boss pink B colors pick pick good colors that's right that's right anyway this will make three blocks when you do this so I'm going to line these up perfectly with each other just like this and they don't have to be 100% perfect because we're not going like right on the edges we're going to cut it this way and so what I'm going to do is I'm going to take my rotary cutter and I'm going to make one cut like this and then I'm just going to kind of move this away for now and then I'm going to flip this and make a cut here I'm lining this right up along the side of the first cut that we made like that so there's one and then out of these side pieces I'm going to go ahead and cut this off so little bit of waist but not too bad and then on this one I'm going to flip it around because I don't want to have to cut at a weird angle anytime you know you find yourself cutting at a weird angle that's danger so just don't do it so I'm going to trim this off right here all right so now one of these is all ready to go and we've picked all different Fabrics so they're all going to go and they're all going to blend and you're going to do this to your whole layer cake and what we're going to do is we're going to line these up so they make a pretty pattern and let's see I kind of like this out here and maybe this one over here what do you think we're cute all right so the key to doing this to making this work is that we're going to sew these together but we're going to stagger them an inch here at the bottom so right here we're going to go up an inch and then when we add this one we'll go up an inch and then this side will come back down and back down so when you start to sew them you know we're going to put these together and this one's just going to hang off about an inch at the top so you just eyeball it mhm we're just eyeballing it so it's just about an inch all right let me so I can see what you're doing [Music] here and then you'll add the next one so just kind of finger press next one goes and put it up an inch again yep so like about like that sure sure is that that's very non-committal is that right or not right it's super easy I you can't really get it pring I guess yeah I mean you just have to remember to go up and go down okay all right and then we're going to come down the other side finger press and then this one when you put it on yeah just come down okay so you have the tall guy in the middle all right like is that good yep that's perfect okay no there's no rocket science in this block for sure although the first one I did I sewed them right together and it didn't work work with them straight yeah it didn't it didn't give me a good Corner out here you know and so I'm like all right we have to think about this a little more it's really fun kind of freeing to just be able to shift them like that well what's fun is you know what you get at the end to me it's like this makes it really fun and this one's even farther down yep and then it just comes down an inch so we go up up up down down down all right and again because of what I'm doing with this blocks there is a little bit of waste but nothing that can't be used up in your crumb box there you go perfect all right Misty if you'll press this nice and flat quilt y I'm going to grab me a squaring ruler here because we're going to square this block to 9 in nine or n and a half nine they're all 9 in and I did that because that was that was like the most I could Square it and and still reach my point out here okay so I've got my nines lined up here on the edges and sometimes they're not perfect and if they're not that's all right and what we're going to do is we're just going to trim this like this and this like this and then because this is our nice Square corner I'm going to pull this back around pull it out at nine and then make sure cuz I had a little Edge over here that didn't want to behave so we're just going to trim that off and make it behave so then this is your block like this and then of course we need to cover up that center now in your pattern you'll have a little quarter circle like this and these are are so great because um you can just trace this through on your fusible and then you know Iron it to your accent color whatever you decide that is and then it has the sticky on the back and then we're just going to lay this on here like this cuz it's a quarter Circle and we're going to press it and you want to you might want to put something underneath here because it will stick to your mat I only tell you this by experience so so just like a an old an extra piece of fabric just an extra piece of fabric or something so okay if you lay that on there or you could use a pressing sheet or anything like that but we're going to line this up in the corner that that'll kind of just pull right off you won't you're just doing it to protect your mat yeah and you won't you won't lose that fabric or anything no and so then this is your block right here that's it so cute and so this one right here you can see if you come in really close I love um you know whenever I do any top stitching like this I love we have these machines that can do 80 million stitches and we generally use three of them right and so I use that turkey foot stitch on here and I just think it looks really really cute and so find a you know Stitch that you love and then you can just Stitch right around the top straight Stitch or zigzag or oh my gosh any of those things and so it just goes together really easily then comes the sashing and the sashing the block is square to nine so your sashing is also going to be nine so you're just going to cut your that one looks a little short you're just going to cut your sashings that one looks a little long no no oh I know why I know why hang on these I cut these at 10 in and so we're just going to cut them to match the block so we're just take an inch off of that and these are 9 in I'm like wait why aren't these fitting but um I think I cut a 10in strip but on your yardage you can just cut a 9in strip and then cut your sashing because one goes this way you know then the other one will need to be a little bit longer yeah and then well then you'll cut a whole long one to put a long strip for the row so your sashings will go in between right here like this and then you'll put a row of sashing in here and you'll do the same thing on every row and then a little inner border out here and these are all just inch and a half so they're nice tiny little ones and this is just a little 4 in is it 4 in y okay my mind went blank for a moment there and I was like wait what size is this so a little 4-in border out here we use the Baptist fan as our quilting which I think it just looks perfect on it it makes a quilt that's 55 by 55 and it comes together super fast because every time you do your Cuts you get three of these and so it uh you know I I just hope you'll give it a try and have some fun with it and I think we are who's next I'm not sure whichever one oh it's going to be a surprise well Misty it looks like you're up I guess so so this is my quilt I love it thank you I'm really happy with how it turned out I called it Dresden around the world and I feel like I took a you know play out of your book for this thank you so to make this quilt you're going to need one layer cake of black and one layer cake of white and then I also used this jelly roll of the free spirit designer solids from Tula pink just all these bright happy colors you're going to need your uh Dressed in template a turning tool is really handy to push out all those Peaks some fusible and then for your backing you are going to need 4 and 1/4 yards and I use this beautiful T wide back and I love how you did The Binding scra so there's really no there's very little waste cuz I used all the extra jelly roll to bind it that is great I love that binding and so if you opt for a 108 like I did you'll only need two and A4 yards perfect awesome all right so let me show you how to make it all all right so to make this the first thing you're going to do is you're going to open up your jelly roll the scariest part it always it always feels a little bit terrifying and so pretty I know they're such happy colors I do want to point out there's a few that are just really light like these light Grays and this light green I just left those out yeah just cuz I wanted lots of contrast colors exactly and so I just took a few of my strips because I wanted every single Dresden blade to be different so I just stacked them up and cut a bunch of my little Dres and so we'll just stack a few here so that they're all lined up and we are just going to turn our Dresden template this way so we're just getting a little 2 and 1/2 in Dresden plate or blade I should say and so we'll cut and just like Jenny I flipped this around yep no danger no danger and I just grabbed a few at a time and started um so I had a bunch of variety because I didn't want them all to be the same so I'll just cut a few more colors do you want me to start yeah and so then to sew those we are just going to fold those in half and sew right across this wider side acoss the top straight have some cut yeah so we can just add to that I'm going to shorten my Stitch a little yes wait you're not you're not oh you are yeah what what nothing I was confused for a moment and so to make one dress in plate you're going to need 20 of these little guys so I have a few of them done but we can just sew as many as you'd like well and I honestly sewing these as a chain is so much fun cuz when you get done you feel like you have a little gar part very cute yeah it's very fun to work with these and it's just tiny little stitches so yeah so I shorten my Stitch length a little bit that's a great tip because you don't want to lose those small enough to hold together and big enough to still pick if we need to exactly you shouldn't need to pick though all right so here's our little party yeah and so we'll just trim these apart okay just a few at a time and then I just used this little wood turning tool and I pushed it right against there and it just helps push that out and then now you can press that and it should kind of line up with the the the seam should go right down the middle that's what you're looking for so if you want to press a few and for my brain I just started sewing five of these together at a time oh okay I would just stack them on my um sewing table and I just sew five and then I would put those four little sections together so I'm going to sew two and two that's perfect then open them up and and add that yeah last little CU again two you can chain piece pretty easily so we'll open this up and then we'll look at where we are and I think that little orange one can fit right in the middle perfect yeah this is perfect for chain piecing because you're going to be making a lot of these little dresdin so just have them all cut and sit and so so so and remember you know when you so tiny like this it's not harder it's just smaller little bit more time consuming but and I do feel like as far as a small piecing project goes this one's pretty forgiving um because you're not matching these little seams up with anything else so yeah and so I just like I said I made these five and then I would make another until you have your completed plate that looks like this and so it's just this tiny little Dresden so I have that ready to go so we're going to take one of our black 10in squares and Natalie I actually like pressed this okay like that if you will give it a crease line for me all right in half once then both directions is fine but one is more important than the other okay do you want it both directions or do you want it just one one one is good enough and so what I did is I wanted to make sure when I centered this on here that the downward part of my dresdon was right on that line oh okay and so that's how I knew it was in half I didn't want the peak on that and so then I took my fusible web and we're going to trace our Circle just on here do you have a little pen I think I have one over here that would be great let me see here we go perfect thank you so we can just trace this and it's really easy to see through yeah it totally is or if you struggle with it you can get a light box or something or just Trace around your favor exactly this is about a 4 and 1/2 in circle so if you can find something close to that you'll be good the oatmeal lid is really good you're right that's probably exactly right I always think about all the things that are in my cover I could use and then so for your centers you're actually going to cut some of your 10in squares in half both directions so you have fives so we can just press this to that all right on the wrong [Music] side and there isn't really a wrong side on a solid no it's true which is nice it is so nice so then we can grab our scissors and just cut this out really quick on that sline I don't know why but it's so much easier to cut with the paper adhered it is just to cut a circle on fabric I think CU we grow up cutting and gluing with paper as little kids it's like ingrained in us a little bit that paper is just more comforting so there we go and so now we can peel that backing off and then we will use this to hold everything down okay and so we just Center that up in the middle give it a good press all right there we go me clear some of this out of the way I think it's probably good I think it looks great and so that just holds it in place enough to go back and do any of your top stitching or finishing stitches that you want to do and so I just did a little blanket stitch on this one you can see that's all done and so now we are going to match this up with our white 10in square and I'm going to go ahead and draw a line corner to corner to match up with that press line that I did earlier so we're just going to take this just like so and then we're going to make sure that that's going the same way and that's so after we sew this that we have the majority of our little dresin peeking through through that's what we're looking for and so now we're just going to sew a/4 in on either side nice yeah I was wondering how you were going to do [Applause] that back down the other [Applause] side there we go all right did this feel a little scary to you at first a little bit terrifying yeah that's why I said I was like I feel like Jenny I'm cutting my block in half so now we're going to cut right on that line that we drew just like so and that is going to give us these two half Square triangles with our half Dresden on the dark so if you want to press that great that is great everything's already in the scene and enclosed it's all enclosed so you don't have to worry about any of that I think I'm going to press to the light got the yeah the bulk of the block wants to be that way wow Misty that's very very clever thank you cute and because they get a little wonky when you do that I did Square all of these to nine and so I just used that diagonal line on my ruler and just trimmed these down this is great thank you I'm just going to trim a half an inch off each side yeah basically so we'll just trim this off just like so oops missed my little corner there there we go and then spin it around make sure we're all good that's really fun thank you absolutely adorable I just can't believe how much movement it has Isn't that fun on the board it's just gorgeous and so it is just eight across by eight down I went with square so that we could complete this kind of around the world pattern and I laid it all out of course point the square out to me up there so this is just our square right here and so then you're just turning it back and forth to get to get this pattern and I quilted it with the uh Thorp pattern and then like I said I used all of those extra jelly roll strips for the binding and so great very little waste so how long are your binding strips did you cut those so they ended up somewhere between like 12 and 14 in and I just whatever was left that's what I used so that is great it worked great I love the scrappy Scrappy binding that's really beautiful thank you so much it finishes up at 68 in square so it's a nice throw size that is darling I love it all right you're up next Nat all right all right Natalie it's your turn and I love this I'm up so happy very fun so I called my quilt drifting Dresden because I like a little obliteration and they kind of just go wherever you want them to go yep I love it it's kind of fun it's really fun so let me show you how to make this quilt so I used a package of 10-in print squares and this is um besties by Tula pink for free spirit I also used the es6 linen yarn dyed black and so you can use that in it comes in a a pre-cut um or you can get two and a/4 yards of whatever fabric you want for your background I love that we're getting this in a preut it's beautiful super easy to use yeah and so then for your border you'll need a yard and a quar it's a 5 in Border and it's great it has these cute little fishies fish and the treasure CH all the Fabrics in this are like little animals so there's dogs and turtles and fish and and fire hydrants for the dog perfect of course cuz your your bestie dog needs a fire hydrant his life that's right and then our backing is super fun so if you're using regular yardage you'll need four and 3/4 yards but if you're using a 108 it's 2 and a half and I I love it so Tula always enlarges one of her pieces so or several and they're just so fun this is just the best friend's friendship bracelet throwback and I love it I think it's so great you and Sarah wore one of those we sure did all right so we're going to make two separate blocks so one of them is going to be the large 10in dresdin and that is very easy to do I actually need that layer cake so I can pull a few pieces out of it there we go cuz I'm going to show you kind of a tricky cutting that I did it's not I mean it's easy I like tricky I can't get that off neatly so we're going to tear it look at that cute puppy oh it's so fun all right so like you guys I just select a few in we're going to do this cut to your entire layer cake so you don't have to pull out different colors but we will for the sake of the mix and match look that cute bunny oh my goodness this one has Turtles pick like a yellow she is very very I don't know if this is a hamster or a Geral or something a mouse maybe it's super cute who knows all right so we'll do I don't know I have a few cut already so we can mix and match those with the other ones the Goldfish of course I love and then there's some great blender prints in here yeah I love that one too which one I mean just this this one yeah it's a little geometric print little hearts yep all the fun we'll grab this one sure okay so however many you think you can cut through which you know really about four is pretty comfortable um and the first thing we're going to do is take our straight edge ruler and cut a 3-in strip because we're going to get all of our cuts out of one square well not you know the whole layer cake gets cut like this so these make up our little dresin for our tiny dresen plates and then the rest get cut into large dresin and if you know we have the Dres in template but if you don't every one of our patterns comes with the Dres in that you can use as well you trace it cut it cut it out of you know template plastic or just use the it's just there for you if you need it yeah so we cut and flip same as the other that's a little bit of waste and then this and you'll use every piece you'll notice I have one on there that's just a half and that's because that's all I had left and I just bought I thought well if I have a half I still want to put it in the quilt it's cute I love it it's so cute so I went ahead and threw that one in there and that's just instead of placed in the middle obviously I mean it's pulled down and placed right along the edge it's really cute all right so we cut all of these and set them aside and then these ones are for our little 3in dresin and like misy you're just just going to line that up with the three line on your template cuz you cut that 3-in strip off first that's smart y that is smart and then you have all of the little dresdin that you need to make the little plates now Misty's was cut at two and a half and yours has cut at three right just a little bigger you can make your dresin any size you want you actually could you know this could fit up even a little bit bigger if you wanted to yeah the reason I did the three is just so that I could get all the cuts out of my that's right out of the the pre-cut before I go recommending bigger we got to remember we need all the you need you could go smaller if you wanted to make 2 and 1/2 in you could do that or you know even little than that but you you'll need the at least the threes so cute and this is perfect for your crumbs throw them in it sure is all right so we're going to make two separate blocks so let's make this one first it's fairly simple you're just going to line up uh let's see we've got one two six three and you just mix and match I I did start out just by sewing sets of two together okay but you do kind of want to make sure they going the right the right direction can you take one and just cut it in half and use it on either end you could but you're still going to trim it to 10 in oh okay so if you want to cut them in half you can mhm I just didn't know if that was just start that makes sense but yeah we'll start by sewing sets of two and as long as you keep them going the same direction they'll they'll all match up did you have a few that didn't yes did you grab ask me how I know right yeah now it doesn't really matter um which way they go because you can't tell that you know some of them started out with the wide end at the top or the bottom but yeah see let's use this purple one instead here or maybe this pink I think this pink one with the Lions CU everyone has a besti oh it's not Lions they're cats they're house cats I was like everyone has a bestie lion or it would be tiger too I'm just a besti cat having fun you can press these if you want I would love to give you something to do over there right I know you don't like to stand still you know me well there's one more so these get sewn back together this way just keep going like you're making a big row and you could if you wanted to you could cut this into a big long strip and then just cut 10 in squares out of it or you can make them a block at a time whatever is more comfortable for you that's a great call out I did a quot one time and I was like do these pieces and then somebody in the comments wrote could you not just do a long piece and cut them and I'm like you totally could you could continue all the way down and then you'll just take any square but the 10 in is pretty easy and we're just squaring them to 10 in so it you know you can even see some of with the layer yeah some of these have a little bit extra we could trim that up just a bit [Applause] all right let me iron that one that one and then we'll have two of these done and the little one is just um very similar to Misty's but I didn't do you know the half square triangle thing all right all right so on here and you can you can kind of Center them up if you want or you can go all the way to one side or the other it's completely up to you there we go I'm going to turn that because I can't get that side without going under my own arm yep that looks pretty good not a whole lot there okay so that is what makes up all of these blocks and you can do your own layout I put them this way cuz I thought they looked kind of cool you can make more or less this is a quilt of creativity you have freedom to do whatever you want I love that I love how you turn Sal and laid down yes I did kind of do um like a fence rail so up and down and up and down just so that they did whatever they wanted to do yeah they played well so that's that part and then you're going to take your regular um 10in squares and we're going to put little dresin on them using our 3in blades and those are just the same as the ones Misty made so we probably I mean we can stitch them together and flip them if you want to but I feel like feel like it's pretty straightforward yeah you can go back and watch how Missy did it it's exactly the same sew across the top and then put them together there's still I believe 20 blades in this um I did a little bit of heat and bond on the back of mine because I wanted to be able to just press it down yep and you're really just eyeballing it you I do that too with my scrap you can fold it into fourths and um do a little like a finger press and Mark your middle you know so you can Center it on the Square which like I don't know if we'll be able to see it because it's kind of a dark heathered linen it's really pretty but that gives us your your direct Center and then you know lay that out how you want it and then I did I traced my circles onto a piece of fusible heating Bond or or you know soof fuse light or whatever it is and then uh it is about 4 and 1/2 in square there's a template that comes in your pattern or you can trace anything in your house if you like your squares or your circles bigger or smaller do you know it is interesting that's completely up to you cuz it changes the way that the really changes the way the blade looks you know if you put a large Circle in there or a smaller Circle it really changes the way it looks which I think is fascinating and very fun yes and so this I mean you can do these straight on the the full 10in square or you can cut them in fourths and do them one at a time like you did either one is fine and then we're just pressing that down and and doing whatever decorative top Stitch you like whether it's a straight Stitch a zigzag or one of the many hundreds of stitches that are on your machine and that's it that is how you know that's the the Simplicity and the fun of this quilt I just kind of threw them on in the pattern of how you can you can absolutely follow my layout or you can make up your own I think it's just it's just fun and easy and playful and you have a few solids in there too yes so I added my Essex linen solids for my layer cake to make up that negative space and it's just I believe 6X s yep 1 2 3 4 5 6 yeah 6x 7 I have a nice fat 5in border on it which honestly I think it would look great without a border if you wanted to do that but I thought this fabric was super fun really fun okay I did do a sort of like a a trick on it because these fish are directional I have them going sideways at the top and sideways at the bottom so you have to cut it length of fabric to get that and then my they're swimming up streaming and down on the sides so they're all they're all sort of like um horizontal with the quilt border and your quilting pattern it's Flames so this is very similar to our um beloved time War but this is a it's called flames and I think it's really cool it looks great on there gives it a ton of texture and I think it kind of went because even though it's a fire pattern it sort of looks like water it does so and then the quilt ends up being 66 by 75 which is great for picnics or twin beds Twins or lap quilts on your couch I mean it's it's just great it's a wonderful size so I love it now awesome I hope you guys like it it's sort of fun and playful and I like it a lot got a lot of creative license do whatever you want with it so fun so we hope you enjoyed this Triple Play I think we hit it out of the park girls what you this was fun yeah it was fun so we gave you three new ideas all based on the Dresden plate and we just hope that you enjoy them and give them a try and we'll see you next time for Triple Play Bye everybody hi everybody it's Jenny from the Missouri Star Quilt Company we hope you enjoyed watching this video if you aren't already part of the Missouri Star Quilt Company family be sure to subscribe so you won't miss a thing and if you click that Bell it'll notify you every time a new tutorial comes out see you next [Music] Friday

More Layer Cake tutorials

See all