

Triple Play: How to Make 3 NEW Flying Geese Halloween Quilts - Free Quilting Tutorial
 Jenny Doan
- Layer Cake
- Holiday
- Table Runner
- Beginner
- Quilt size 18" × 56"
Triple Play is a favorite tradition here at Missouri Star Quilt Company. Once a month, Jenny, Misty, and Natalie each demonstrate their own unique spin on a favorite block, technique, or template. In this episode, the talented Doan ladies show off three fabulous new Halloween quilt patterns made with the Flying Geese quilt block.
Instructor
Jenny Doan
Jenny Doan is an American quilter, author, and YouTube personality. Jenny started Missouri Star Quilt Company in 2008 and today it is the largest quilting supply vendor in the United States.
Shop this tutorial
 Night Flight Quilt Pattern by Missouri Star$6.95Shop →
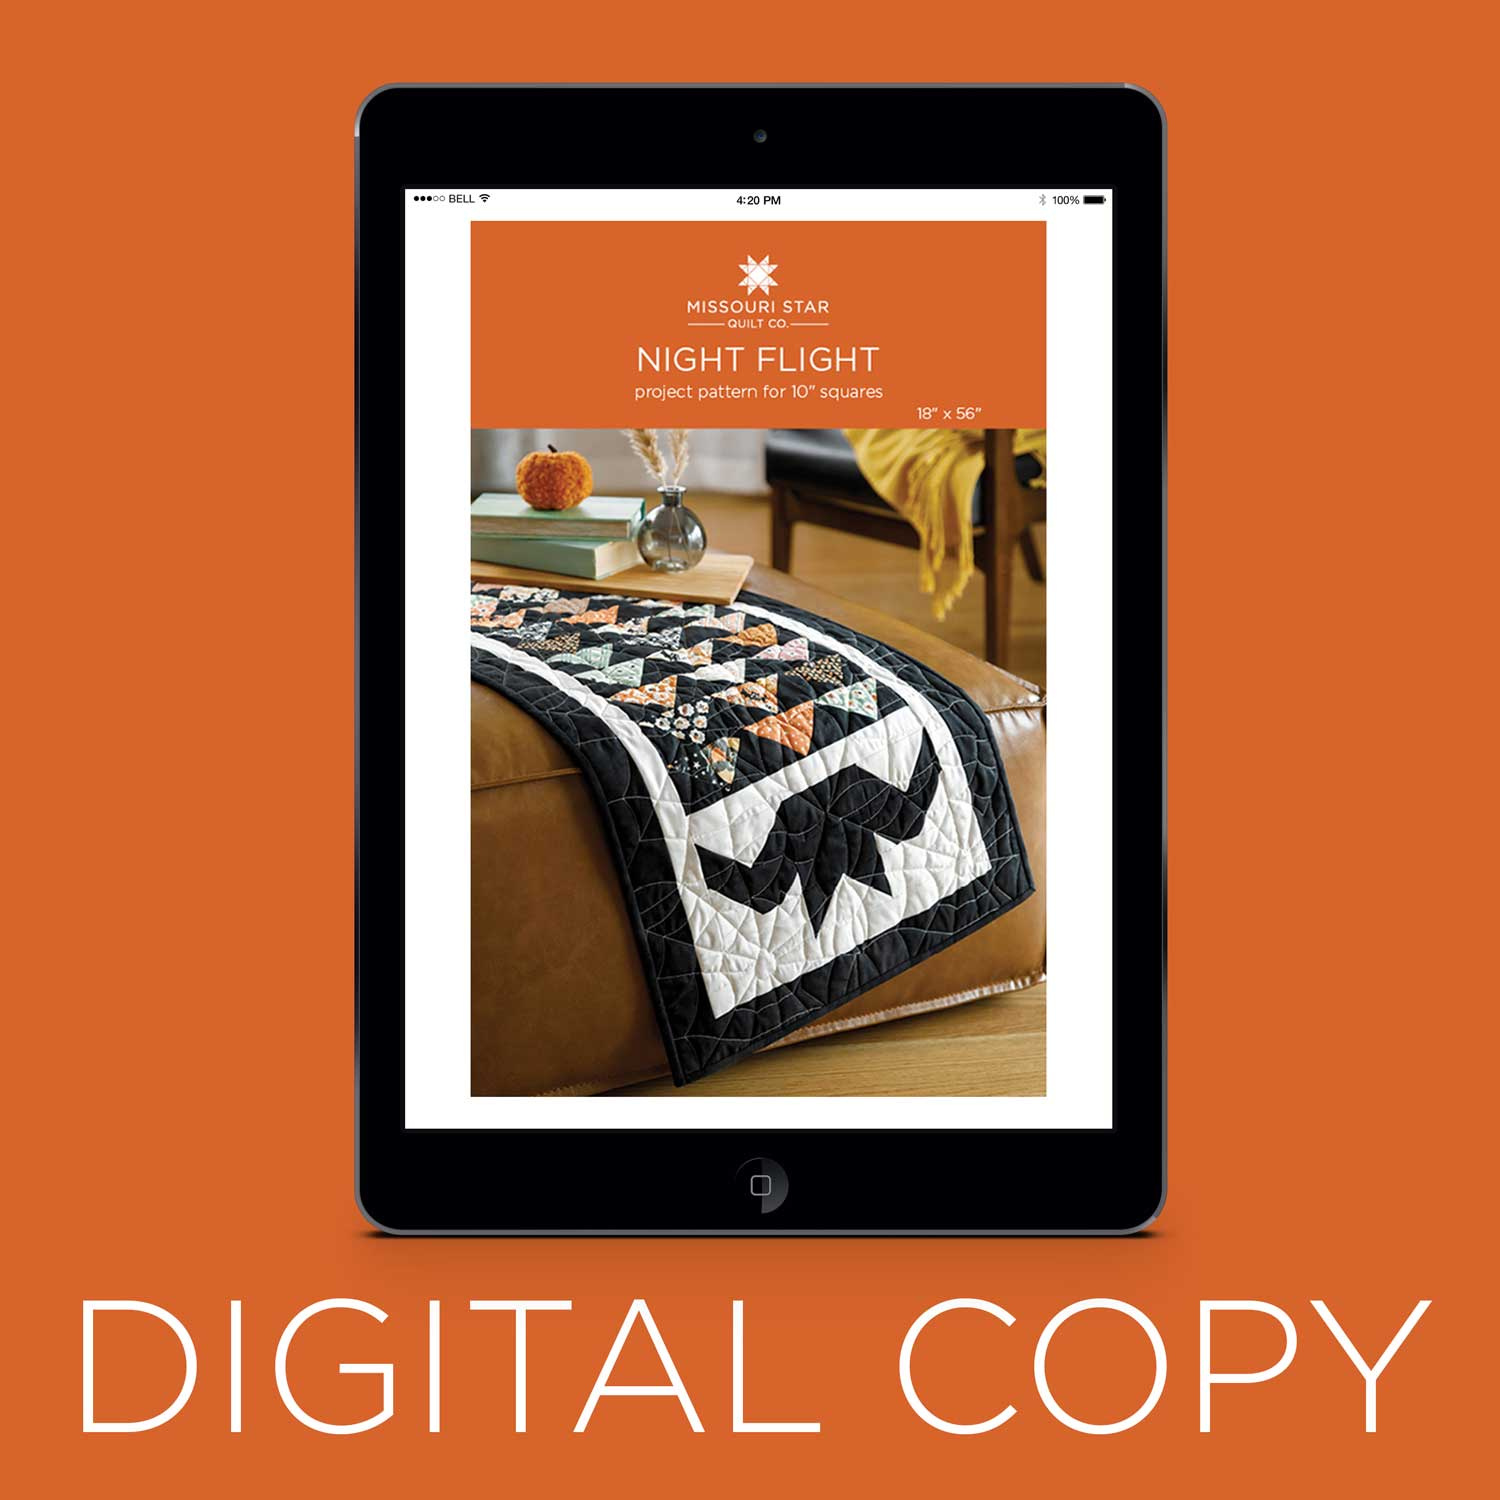 Digital Download - Night Flight Quilt Pattern by Missouri Star$4.95Shop →
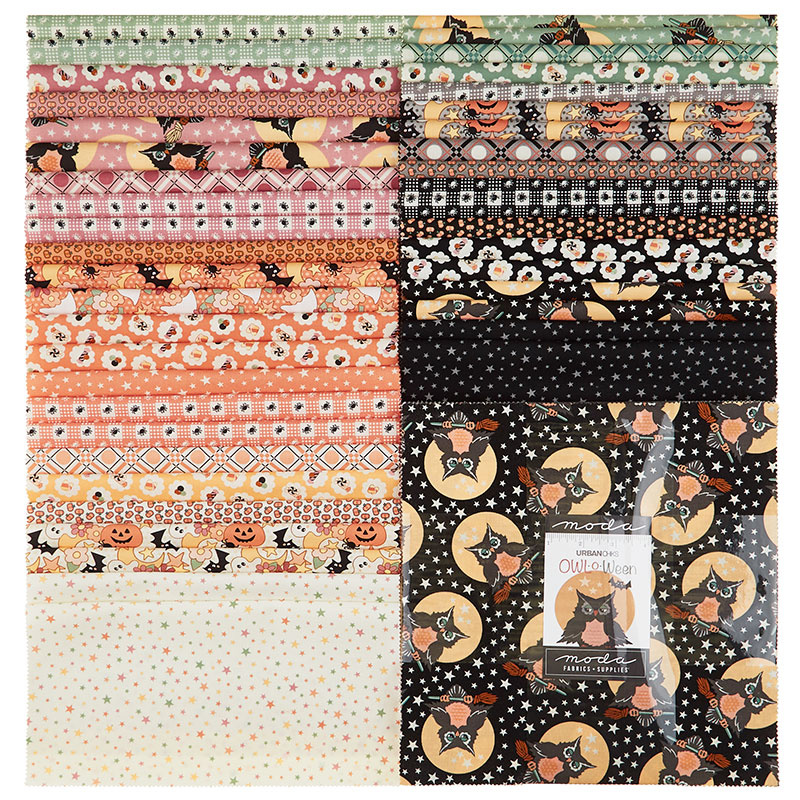 Owl-o-Ween Layer Cake$45.95Shop →
 Kona Cotton - White Yardage$7.28Shop →
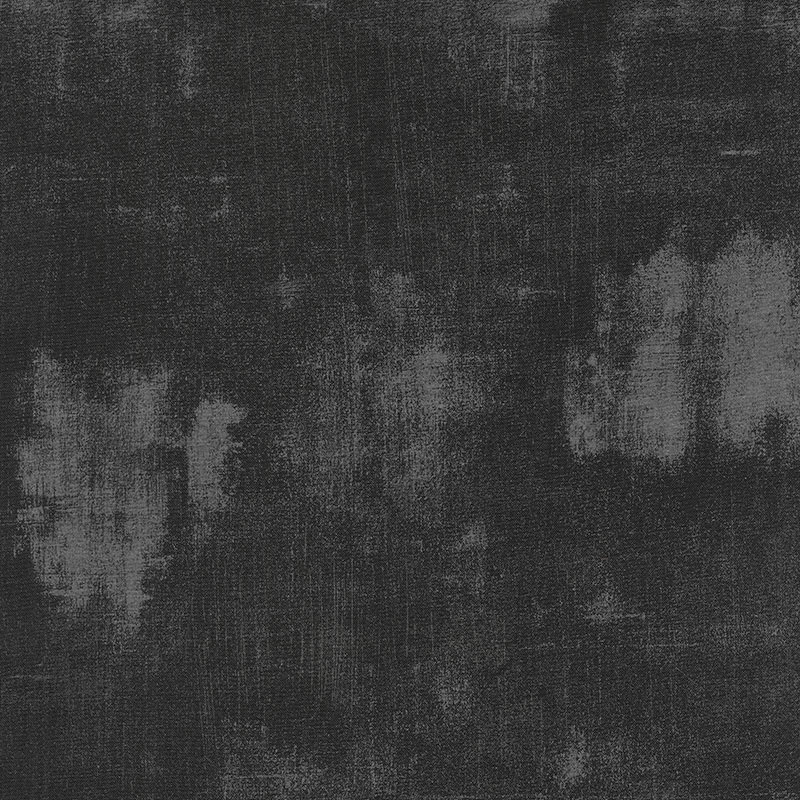 Grunge Basics - Black Dress Yardage$11.96Shop →
 Missouri Star Quilter’s Best Blend Crib Batting$14.45Shop →
 Fly and Flip Table Runner Pattern by Missouri Star$6.95Shop →
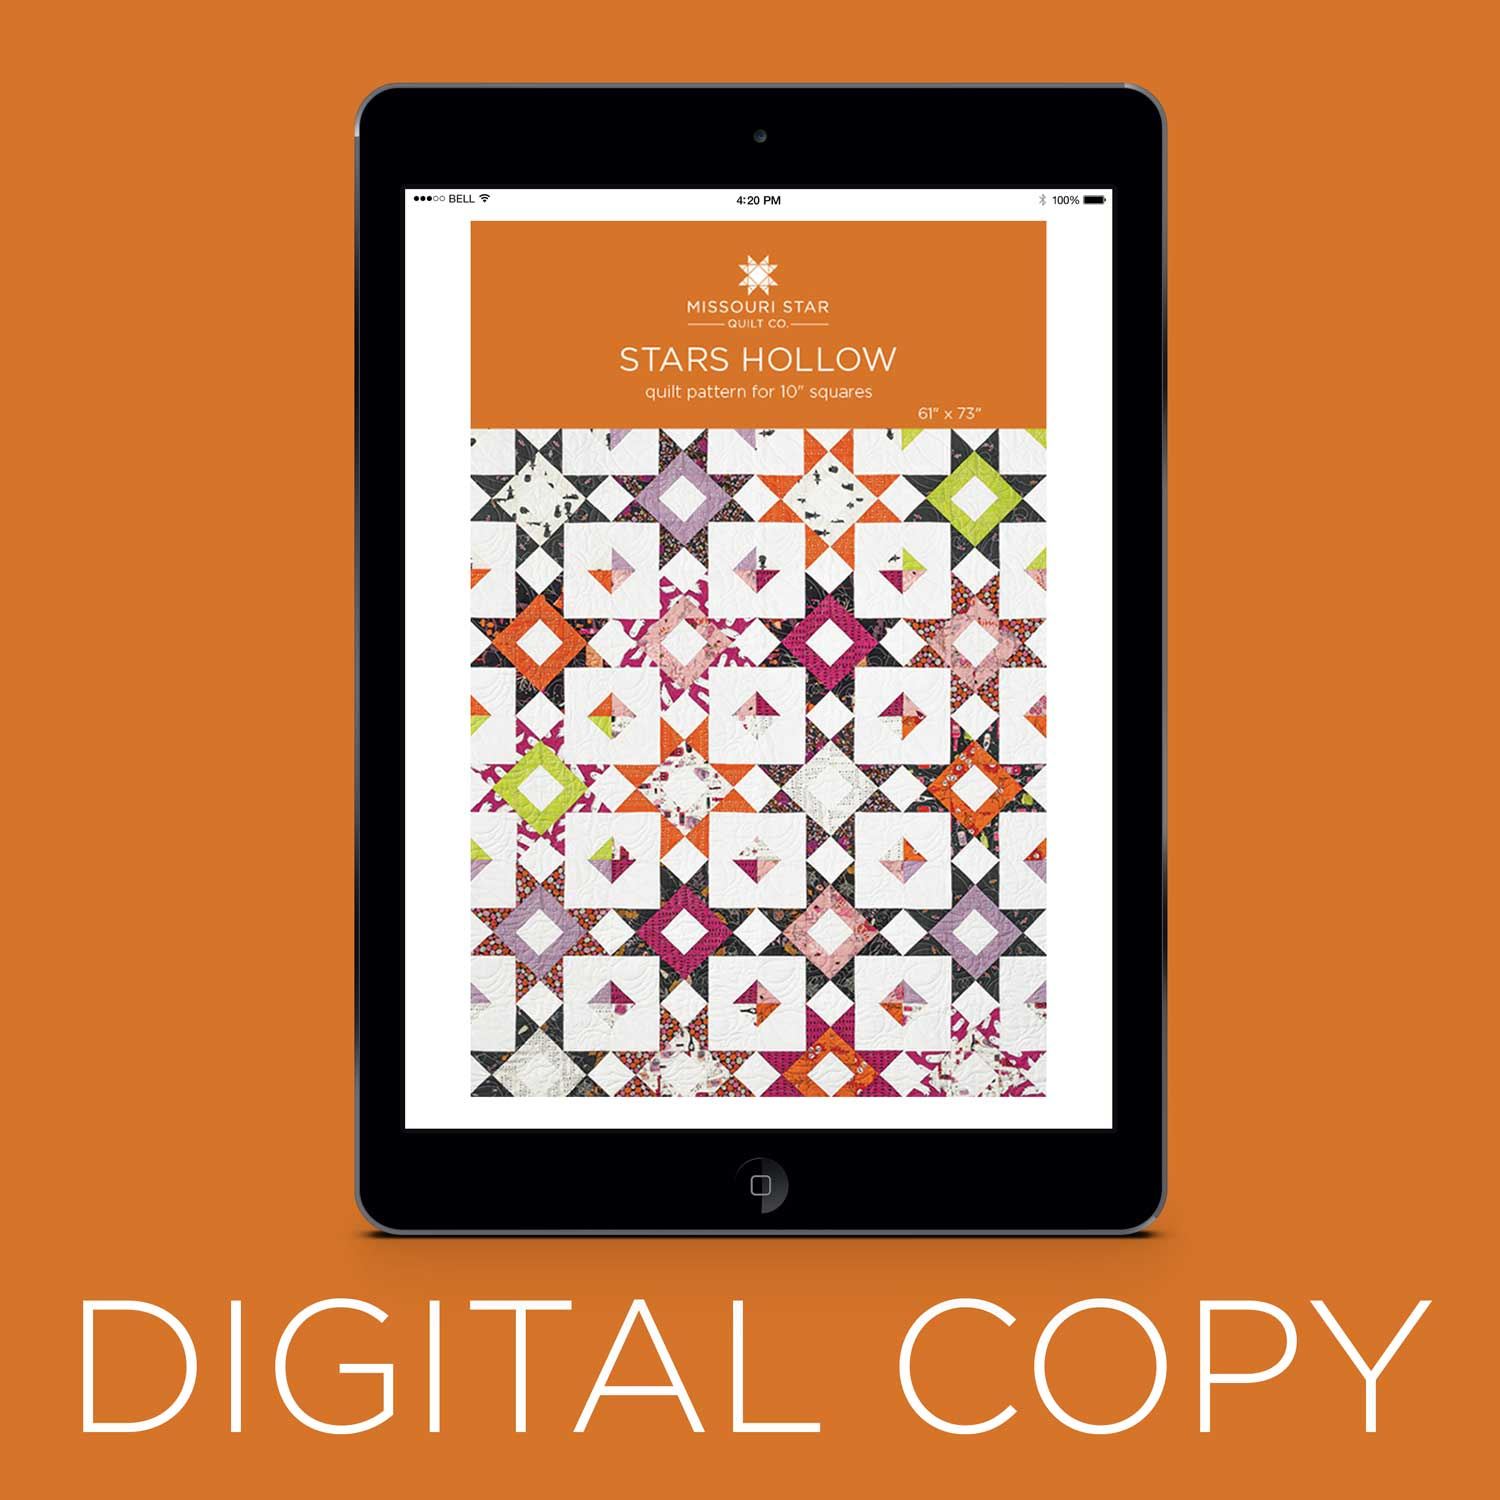 Digital Download - Stars Hollow Quilt Pattern by Missouri Star$4.95Shop →
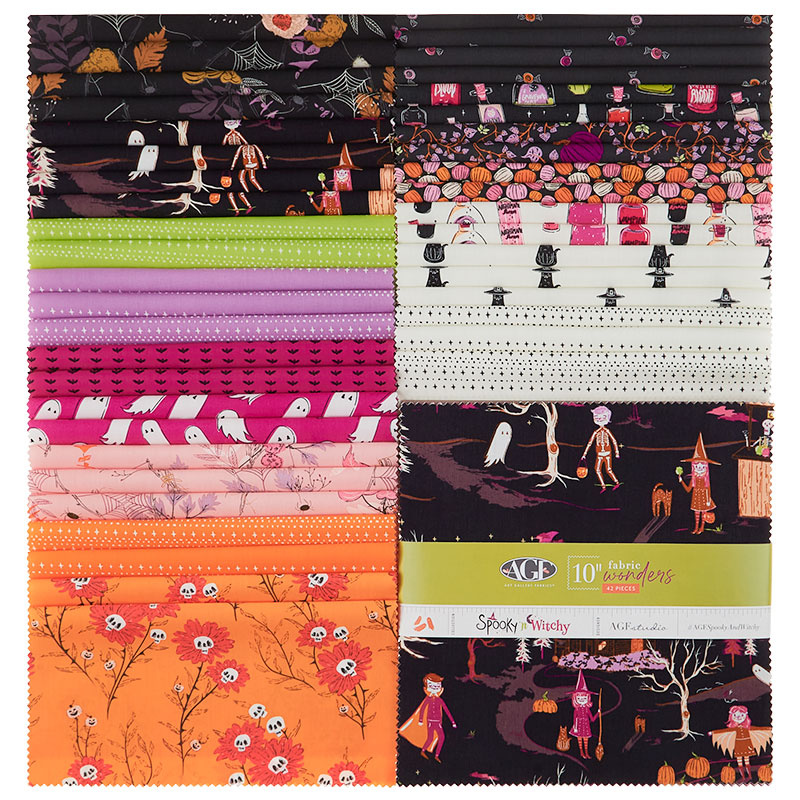 Spooky 'n Witchy 10" Squares$47.95Shop →
- Kona Cotton - White Yardage$7.28Shop →
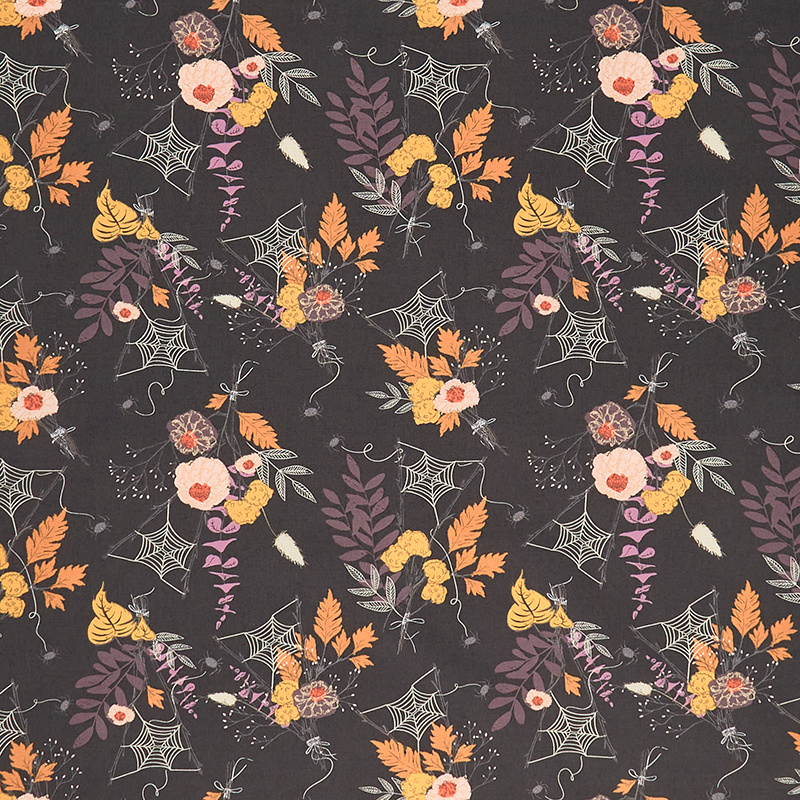 Spooky 'n Witchy - Cast a Spell Yardage$11.24Shop →
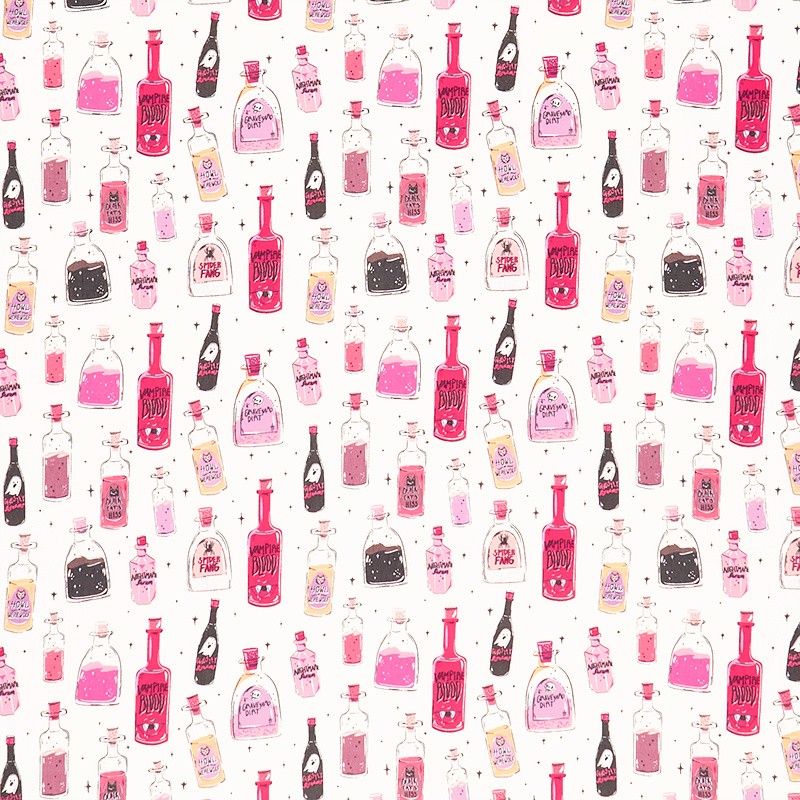 Spooky 'n Witchy - Liquid Magic Berry Yardage$11.24Shop →
 Missouri Star Quilter’s Best Blend Twin Batting$26.45Shop →
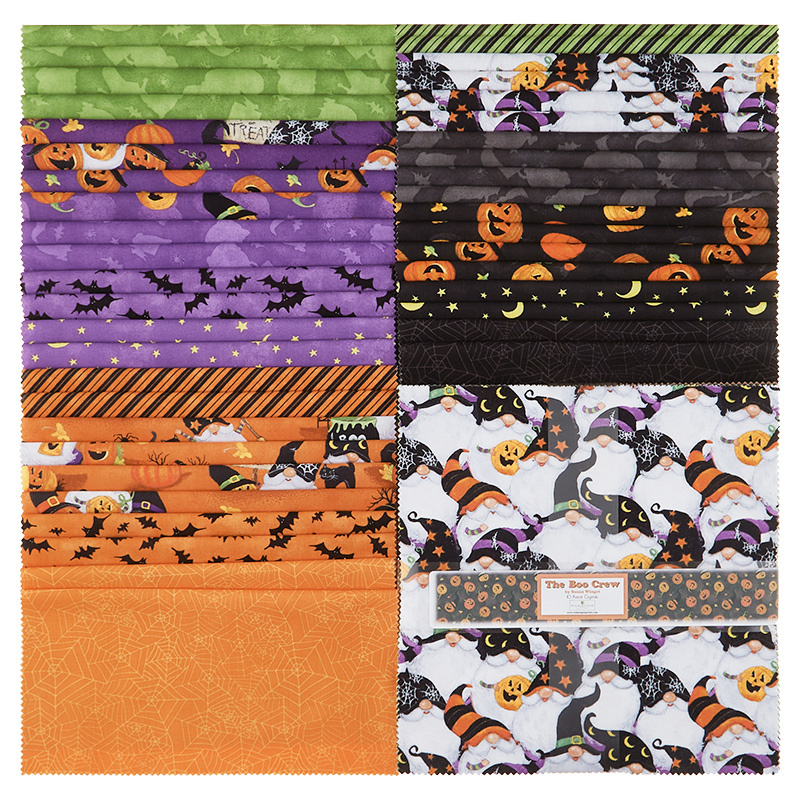 The Boo Crew 10 Karat Crystals$40.95Shop →
- Kona Cotton - White Yardage$7.28Shop →
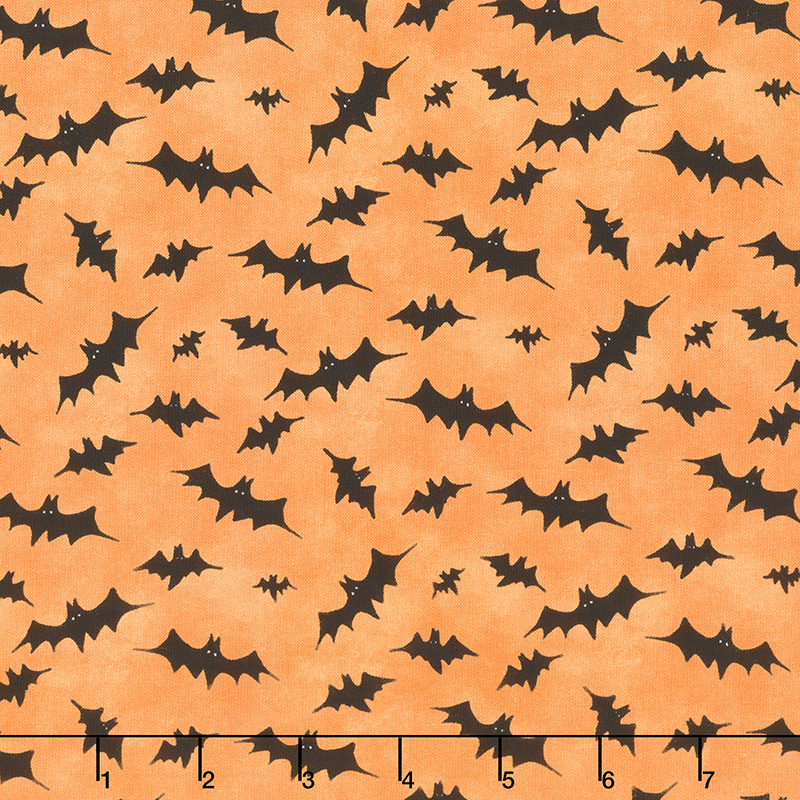 The Boo Crew - Bats Toss Orange Yardage$11.96Shop →
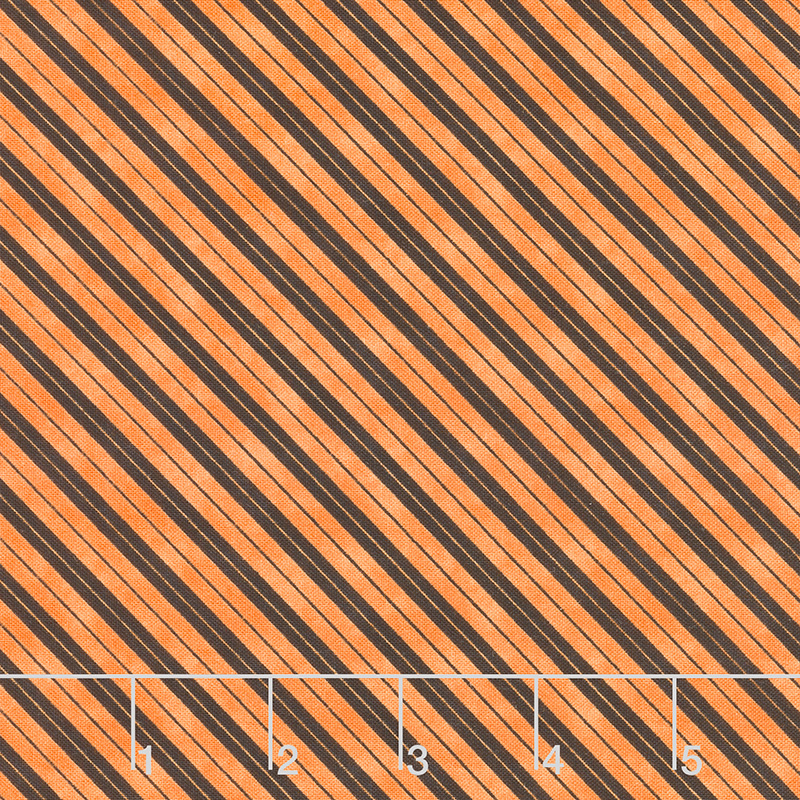 The Boo Crew - Stripes Orange Yardage$11.96Shop →
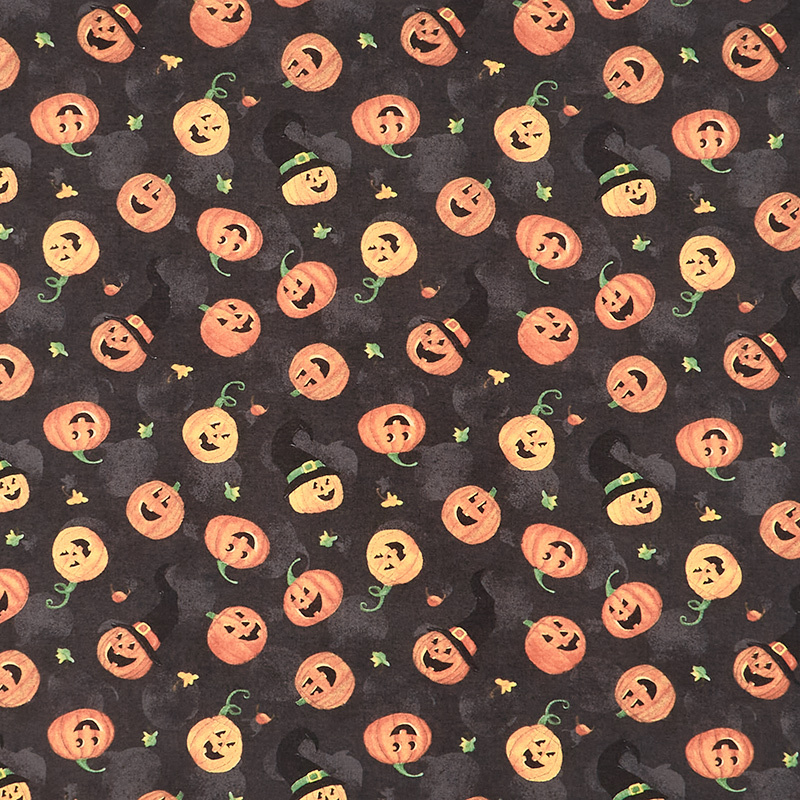 The Boo Crew - Jack-O-Lantern Toss Black Yardage$11.96Shop →
- Missouri Star Quilter’s Best Blend Crib Batting$14.45Shop →
 Missouri Star 2.5" x 8" Ruler$10.95Shop →
 Missouri Star 5" x 15" Ruler$15.95Shop →
 Olfa Splash Aqua 45mm Rotary Cutter$18.75Shop →
 Exclusive Missouri Star Jenny TG1600 ProPlus Oliso Smart Iron$199.99Shop →
 Missouri Star Wooly Betty Board - 17.25" x 25.5" Orange Border$98.95Shop →
 Missouri Star 50 WT Cotton Thread White$6.95Shop →
Common Questions
What is covered in Triple Play: How to Make 3 NEW Flying Geese Halloween Quilts - Free Quilting Tutorial?
Triple Play is a favorite tradition here at Missouri Star Quilt Company. Once a month, Jenny, Misty, and Natalie each demonstrate their own unique spin on a favorite block, technique, or template. In this episode, the talented Doan ladies show off three fabulous new Halloween...
How long is the tutorial video?
The tutorial video is 00:36:53.
Are supplies listed for this tutorial?
Yes. The tutorial page includes the supplies and materials connected to this project.
Is a transcript available?
Yes. A written transcript is available on the tutorial page.
Video Transcript
Hi everybody, it's Jenny from the Missouri Star Quilt Company and it is Triple Play Day, and I'm here with Natalie and with Misty. And I don't know if you notice anything different, but this is a special day and we can hardly wait to show you what we have in store for you.
So to make my project, you're going to need one packet of 10 inch squares, and we have used Owl-O-Ween by Urban Chiks and it's just such a darling line. Really kind of a different take on Halloween. You're also going to need some accent fabric. You're going to need one yard, and we've used this black grunge. Add it to the cauldron, see what we're going to get. Then you're going to need some background fabric, one half yard right there. Mix it all up. You're even going to need some backing, one and a half yards of backing. We're going to put that all together and we're going to get this. How cute is this?
Misty:
So fun.
Jenny:
Look at this, girls. Isn't that fun?
Natalie:
That is so cute. I love it.
Misty:
The little bat.
Jenny:
All right, well let's hang it up and I'll show you how to make it.
All right, so let's take a look at my quilt back here. So this is really fun. So these are all just basically flying geese and they're going opposite direction, and even this guy's made with flying geese. So let me show you how we did that.
Natalie:
So cute.
Misty:
Adorable.
Jenny:
So I picked seven squares. Actually I didn't pick seven squares. To make this, you only need to pick seven squares, but I wanted it really scrappy. So you can see I have really scrapped this up and one of the best things about this is that, honestly, if you want to make a lot of runners, you can make a lot of runners from this.
Misty:
Perfect for gifts.
Jenny:
It's really perfect for gifts. And so I'm going to take-
Natalie:
About six runners.
Jenny:
Yeah, about six, about six. And then the other thing about it is that, honestly, if you want it longer for a long table, you can make it longer or you could make it shorter, either one.
Misty:
Totally.
Jenny:
But it's basically made with two and a half by four and a half inch rectangles. So I'm going to cut a two and a half inch square right here and I'm just lining my ruler up along the edge and I'm going to go ahead and cut this and then I'm going to come in and cut the rectangle. So I'm going to go to four and a half right here, and just cut that rectangle right there. And you can get two out of a strip, but really it's how scrappy you want it.
All right, so once you get all your little two and a half by four and a half cut, I put them in a big stack and then you're ready to make your flying geese. And out of your background, you're going to cut two and a half inch strips and you're going to subcut those into two and a half inch squares. You're going to need two for each rectangle. And these, I'm using the black grunge, and so a black pencil line won't work. We're using our diagonal seam tape here and can you see that it's on this cute little Featherweight.
Natalie:
Such a cute machine. I love it.
Misty:
Adorable Featherweight.
Jenny:
That's my little featherweight and I love using it and we thought it would be fun to tie in with our Halloween theme and do this. So anyway, what we're going to do is we're going to sew corner to corner right here. And Natalie, if you want to do that.
Natalie:
All right.
Jenny:
And I think I'll have you chain piece a couple of them and do that. We'll do at least three. So here's one more. And then as they come through, I'm going to snag them. And we're using white thread. I used black thread for mine, but we're using white right here so you can see it. We're going to trim this part off. And Misty, if you'll press that back, that'd be great.
Misty:
Of course.
Jenny:
It's so good to have my Halloween helpers. And then we're going to go ahead and-
Natalie:
Do the other side.
Jenny:
Do the other side. All right, so let me clip these so Misty can press them. There we go. Didn't mean to throw that at you.
Misty:
Oh, it's all right.
Jenny:
All right, now we're going to put a square on this other side. And again, we're going to sew from the middle to the outside or outside to the middle, either way. All right, so we're going to lay this corner on here and I think I called this background, but it's actually our accent fabric. And we're going to sew again diagonally corner to corner from the middle out. And I'll clip this one off. I bet a lot of you out there have these little Featherweight machines. They're so fun to sew on, aren't they? Such great little workhorses.
Misty:
They're pretty amazing.
Natalie:
How's that?
Jenny:
There we go. Perfect. There we go. And you can rotary cut these or scissor cut them, whatever you'd like. I tend to scissor cut. I'm just a little old school. And then you're going to make rows of three like this. We're going to do this. So we're going to sew them together in a little rows like that.
Natalie:
Okay.
Jenny:
And I'll just let you go ahead and put those together.
Natalie:
Okay.
Jenny:
And we are going to make, let's look at this, 1, 2, 3, 4, 5, 6, 7, 8, 9 rows right here. And then we make these rows and they're made exactly the same. We just flipped them around and I'll show you how that works. So you're going to need 18 rows total for the middle of yours, unless you want it longer, which I would. For my table, I have a very long table and I would like it long.
Misty:
Just keep going.
Jenny:
And then I just put those cute bats at the end, which I can't wait to show you how to do. The bats are really fun. All righty.
Natalie:
There you go.
Jenny:
Now, Misty, if you'll press that back, that'd be great.
Misty:
There we go.
Jenny:
And so what I just did was I just sewed these up, matched these seams right here. And when I got to the middle I just flipped this and started the other way. So it makes these little squares in the middle. If you can see right here, these are the little squares. It makes those little squares and then it just goes out both directions with our flying geese flying, going both sides. And then I decided I wanted to put a bat at the ends of it. And the bat was a little bit tricky because the first one I made was this long.
Misty:
Oh, how funny.
Jenny:
And I'm like, "That's very wide for a table runner." And so he kind of looks a little bit like a spider bat kind of. But I think he's fun.
Misty:
He is fun.
Jenny:
And I think he looks Halloween-ish and a little bit creepy ish. So I think that's fun. So let me show you how to do him. It's basically all half square triangles. And so the pieces we're going to need for that, we're going to need 1, 2, 3 regular flying geese. So that's this right here where we have the white middle and the dark outside. So Natalie, I'm going to go ahead and let you sew these guys up.
Natalie:
Okay.
Jenny:
And basically we're doing the same thing, we're using our two and a half inch squares and you're going to sew from the outside out.
Natalie:
Okay. All right.
Jenny:
And we're going to make three of those. And I have one over here. I kind of had all my little step outs separated right here. Here's my last guy. These are the wings, these are the body, these are the two top pieces. All right, we'll clip this. That is probably the biggest. We get real used to a scissor cut on our sewing machine and our little Featherweight doesn't have one. But you know what, that's all right. All right, I'm going to come along here and I'll just clip, as you clip your thread, you can clip it. And Natalie, I'm going to have you add another corner to the other side right here. And the grunge, using the black grunge is really fun because you can really see the opposite side. It has that kind of...
Misty:
Texture.
Jenny:
Texture. That's the word.
Natalie:
Yes. I love it.
Jenny:
All right, so we're going to go ahead and put these on here and we are going to start building out our back. There's the two more right here. I don't think this goes to anything. I think this was a booboo.
Misty:
Yeah.
Natalie:
What? Oh the-
Jenny:
Get rid of him.
Misty:
He doesn't.
Jenny:
Just put him over there. All of a sudden I'm like, "Wait, where does he fit different?" And I must've just picked him off my desk when I was putting my step outs together. I'm like, "No, he doesn't go."
Misty:
He does not.
Jenny:
All right, I'll clip this. There you go. Go ahead and do that one. And these are for the head and the two lower wing parts. So go ahead and do those. Now we have to make the upper wings. And the upper wings are made just a little differently. This is what I'm calling the upper wing right here. And it's made with a two and a half on one side and a one and a half on the other. So I have those together right here. And you have to make sure that your one and a halfs are to the middle. So this one is going to go one and a half on here and two and a half out here. And you'll go this way and this way.
Natalie:
Okay.
Jenny:
All right, I'll put that together for you. And if you're very careful, you can actually just leave them right on there. Now this one, remember it's going to be the opposite way. So we're going to put our one and a half in here and our two and a half out here. And this one's going to go this way and this one will go this way. I'll put that right there for you. There we go. And we'll trim this off and then we will be able to build our bat.
Misty:
So close.
Jenny:
Cut this little thread right here. Not used to having those dangling threads.
Natalie:
I've been trying really hard.
Jenny:
You've been doing great.
Natalie:
Just didn't want the unthreading to happen.
Jenny:
All the girls actually have their own Featherweights. Misty has her grandma's.
Misty:
I do.
Jenny:
And Ron started collecting them, he just loves them. So we went on a retreat and we gave all the girls a Featherweight and it was just really fun. We had a Featherweight retreat.
Natalie:
That was so great. I love it.
Jenny:
It was just very fun. And so they're all very accomplished on sewing on them and they're such great little machines to just pack and go.
All right, if you'll iron that back, we can start assembling our bat. Now all of the pieces for our bat, I made two and a half by four and a half. We have these two black ones right here and it could be one solid piece, but this was how my brain works and so this is how I put it together. So you're welcome to do whatever you'd like, but this is how I did it. So here is our top piece right here and we're going to flip that around to make the ears of the bat. And then we're going to sew two white pieces on either side like this. Next come our top wing right here. And then lastly, come our bottom wings right here. And then for the body of the bat, we're just going to put two, again, two and a half by four and a half inch rectangles right here in the center. So it's three rows to make our bat. And that's how he looks right there.
Natalie:
Very cool.
Misty:
So cute.
Jenny:
Isn't he so cute?
Natalie:
He's so cute.
Jenny:
All right, so Natalie, if you'll sew these two together on this one right here, and we'll just put him together row by row so you can see that. Because in my mind this is the toughest part of the runner. We make a lot of flying geese and we're used to that block. But to put this bat together I think was really fun.
Misty:
So cute.
Jenny:
And by doing these in segments, two and a half by four and a half, it gives us all the lines to line up on and it makes things right together.
Natalie:
Do you want 1, 2, 3 rows or can I chain piece?
Jenny:
You can chain piece if you want to. So go ahead with that.
Natalie:
I think it would be easier on the Featherweight just because it'll keep the threads attached.
Jenny:
Okay. And this will go over here and then this one goes here. So again, this doesn't matter. It doesn't matter how you sew these together honestly, it's just going to be three rows of three. So again, we'll put this out like this and I'll set this up for Natalie to chain piece right here.
Natalie:
Thank you.
Jenny:
And I'll get these going. And we will get this little guy together. He goes here with this one here. There you are.
Natalie:
Thank you.
Jenny:
And our bottom wing. And there's that one. Misty, if you'll press this real quick.
Misty:
Definitely.
Jenny:
And here's another. I'm going to cut this one out here. All right, Natalie, you're ready for these first two rows?
Natalie:
I think so. I hope so.
Jenny:
All right, so here's the top two. You're going to want to lay them and make sure that everything's right. Our small squares are to the middle, our ears are pointing up. And then Natalie, you'll just match these two seams right here.
Natalie:
Okay.
Jenny:
And what you wanted to do is you want to make sure your seams one is going this way and one is going the other. So as you put them together, there'll be less bulk right there. And even if Misty didn't press it right, you can make it go the right way so that it's flat and then repress it. Now hers are actually pressed perfectly, but you just want to make sure that-
Misty:
Try to help out a little.
Jenny:
Just that there's less bulk.
Natalie:
Excellent. Just lining them up.
Jenny:
Yeah, just making sure they're lined up. Actually, that's one of the things, so when we sew on our Featherweights, it's not as fast as my machine and so it actually makes me slow down and enjoy the process a little more, which I didn't even think was a thing, but it is very enjoyable. All right, so we're going to open this up. There's the top of our bat right there, and we're going to add his lower wings on.
Natalie:
All right.
Jenny:
There you go. And I have two ready for the next table runner I'm going to make. Who wants one?
Misty:
Me.
Natalie:
I do.
Jenny:
All right, maybe I'll have to make three.
Natalie:
Looks like you have to make more than one.
Jenny:
Of course. Always in my family, more than one.
Misty:
I was going to say.
Jenny:
I made a table runner for Sarah for her birthday, and everybody's like, "Wait, I want one of those.
Misty:
"We need that."
Natalie:
"I want one."
Jenny:
There we go.
Natalie:
Almost there. Just taking it easy.
Jenny:
How are you liking sewing on that machine?
Natalie:
I love it. I love it so much.
Jenny:
All right, we're going to let Misty give it the final press.
Misty:
Give it the final press.
Natalie:
Trim those off.
Misty:
Okay. So cute.
Jenny:
Isn't it cute?
Misty:
It's adorable.
Jenny:
There we go. It's actually a little bit more perfect than mine. There we go. So now we have two bats. We know how to make our flying geese units here in the middle. We're going to put nine going to the left, nine going to the right. Then I put a little inch and a half inner border right here just to separate so that my bat would get a full focus on both ends. And then we put a inch and a half of runner all the way around. Our outer border is a two and a half inch border, just a little border to set it off. We've quilted this with the spiderweb quilting pattern, and on the back we went ahead and used the black grunge that we had on the back. But look how that quilting pattern shows up there. Isn't that fun?
Natalie:
I love it.
Misty:
So cute.
Jenny:
With all the spiderwebs. It just makes a great little runner. So it measures 19 by 57. And Misty, I guess it's time to go back to the cauldron.
Misty:
All right, let's do it.
Jenny:
Okay.
Misty:
Okay, so we're going to make a full quilt today. So first up, you're going to need one package of 10 inch squares. And I used Spooky and Witchy from Art Gallery Fabrics.
Jenny:
It's so cute.
Natalie:
I love it.
Misty:
It might be my favorite Halloween line ever. It's so cute.
Jenny:
It's so cute.
Natalie:
It's so great.
Misty:
So we'll put that into the cauldron.
Jenny:
Look what she's cooking up for us.
Misty:
And then you're going to need two and three-quarter yards of your background fabric. For your outer border, you're going to need one yard and you're going to need four and a half yards for your backing. So we'll mix that all up. And then you get this adorable Stars Hollow quilt.
Jenny:
Oh my gosh.
Natalie:
So great.
Misty:
So let's hang this up.
Natalie:
I love it.
Misty:
It's a fun one.
All right, so I'm just going to walk you through one block because they're all made exactly the same. So from my package of 10 inch squares, I picked basically a light and a dark. I was just looking for contrast. And for all of the darks, I'm going to cut these into two, two and a half inch strips and then subcut them into the two and a half by four and a half inch rectangles, just like Jenny did. So we'll just make a cut and we're going to use our whole square. So we're going to cut all the way across. Just make sure I've got it all lined up.
Jenny:
It's so cute, Misty. I can't get over these different fabrics.
Misty:
They are so fun. It's kind of hard to see on this dark mat.
Jenny:
It is a little difficult.
Misty:
I just want to make sure. There we go. And now I'll just stack these up. And then I'll cut my rectangles just to save a little bit of time. Just like so.
Jenny:
And you should be able to get two from each strip, right?
Misty:
Exactly, yeah. So we'll have a total of eight of these. So two and a half by four and a half is what we're looking for. There's our first four. And make one more cut here. There we go. And so we can set these aside for now. And now we'll cut our light 10-inch square. And for this one, we are going to cut it down to two and a half inch squares. So the whole thing, same thing with the strips.
Jenny:
Now before you do this, it bothers a lot of people when the design is off on a precut, but it doesn't really matter, does it?
Misty:
Well, especially in this case, because we're cutting it down so small.
Jenny:
Right, right.
Misty:
It's not going to show at all.
Jenny:
Yeah, don't stress over that.
Misty:
Yeah, exactly. So we're just going to cut this into strips and then we'll subcut each of our strips down into squares.
Jenny:
And you should get four strips out of each layer cake.
Misty:
Yeah.
Natalie:
Yeah, and 16 two and a half inch squares.
Misty:
Yeah, exactly. Which is exactly what you need.
Jenny:
And Natalie, you kind of have a trick for that. You make sure that you cut on the other side of the line to make sure that it has enough room.
Natalie:
Yeah.
Misty:
Yeah, if you just make sure it's right in the middle of your marked line on the ruler, instead of hanging past, you're usually safe. And so I just kind of watch, try and float my fabric in the middle of that mark.
Natalie:
And also measure your precut ahead of time to see whether it measures large or small.
Jenny:
Right. Because a lot of times with the [inaudible 00:20:36] edges, yeah.
Natalie:
And then I also will sometimes kind of center it up on the mat so that I know where my whole 10 inches lies, whether it's in or out. And then I just kind of adjust with my ruler.
Misty:
All right, that is the majority of our cutting. You're also going to need two background two and a half by four and a half rectangles. Then you're going to need eight two and a half inch squares out of your background. And four four and a half inch squares. So keep that in mind.
Natalie:
And you've got those cut precut, okay.
Misty:
I've got those cut and ready. And so we're going to start with our dark fabric. And we're actually going to make two of these because half of our rectangles are made with our print on one side and half are made with our print on the other side. So you need to make sure-
Jenny:
They're opposite.
Misty:
They're opposite. Four going one way and four going the other.
Jenny:
Okay. And you want me to sew on the line?
Misty:
Yes, please.
Jenny:
All right, let me do that.
Natalie:
This is very cool. I like it.
Misty:
Thanks. It was fun to... When it worked, you know? You're like, "Ooh, that's going to be fun."
Jenny:
It's kind of fun when the color placement plays such a big role in what we're doing. So here's this one and I'll give you those.
Misty:
Perfect, yeah.
Jenny:
And this one's on here right? I don't have to readjust it, correct.
Misty:
It should be right. Trim those threads. If you could press that back?
Natalie:
Yeah.
Jenny:
And we'll just do this. There we go.
Misty:
All right. And then since we put our print on opposite sides, now our background will automatically be on the other side. So half and half for these little blocks.
Natalie:
Just trim these little guys.
Misty:
Thanks, Nat.
Jenny:
Let me straighten them up.
Misty:
So we're just intersecting that. You can see I drew the line here. We're sewing right on that line. Awesome.
Natalie:
There's no... Mom.
Jenny:
There is a cutter right here.
Misty:
Is there really?
Natalie:
There is?
Misty:
I did not know that.
Jenny:
Yeah, that's an old time machine thing. Any of us who started sewing on the old machines, we gravitate very easily toward these machines because they're done just like we used to do ours. And they have this little curvy thing right back here and it's a little blade.
Misty:
Oh, interesting.
Natalie:
I didn't know that that was a thread cutter.
Misty:
I didn't either.
Jenny:
Bonus.
Misty:
You learn something new every day. There we go. And then if you'll press that.
Natalie:
Mm-hmm.
Jenny:
She's like, "Mom, what are you doing?"
Misty:
So now that we have these two opposites done, we're going to go ahead and put these together just like so. We want our prints to match and we can sew these together into a square.
Jenny:
So this is your flying geese right here?
Natalie:
That's very cool.
Misty:
Yeah, these are our two little flying geese going together. And these are going to make our star legs.
Jenny:
Misty always does such interesting things.
Misty:
Thank you.
Jenny:
All right, now as I'm sewing along here, you can see really clearly where these threads come together and cross. And as long as we stay on this side of that seam line, we won't lose our point.
Misty:
Exactly.
Jenny:
And let me look and make sure we did it on the other side as well. Yeah.
Misty:
It looks good, yeah.
Jenny:
So we're going to have a perfect point on that one.
Misty:
Get rid of this little bit of thread. And then if you'll press that.
Jenny:
Is it perfect, Nat?
Natalie:
It is very perfect.
Jenny:
Awesome. I did good.
Misty:
Lovely.
Natalie:
Great.
Misty:
And I have our three others ready to go. So you'll need four of those for your block. So next up we're going to make our center, which is using that background rectangle, and we're just going to add a print to either side. So this gets a print on both sides. And there you go. There's one and then here's the other rectangle.
Jenny:
All right. Let me make sure this is all lined up so nice. There we go.
Misty:
Okay, trim that extra fabric off. Press it back. This is one of those blocks where if you have a nest of all your things really close to you, it makes it really easy.
Jenny:
We all sew in a nest.
Misty:
Yeah. And then we'll add the other square to the other side here.
Jenny:
Now, I have a preference for sewing from the outside in. Do you?
Misty:
I actually feel the same way. I feel like it ends up smoother that way.
Natalie:
I do too.
Misty:
Yeah. All right, there you go. And for the middle you'll need two just like this. So I've got one ready to go. And then when Natalie finishes pressing...
Natalie:
There we go.
Misty:
On this one, instead of our points going together like we did for the star, we're going to put our long sides together for the center.
Natalie:
Nice.
Misty:
And so we'll sew those just like that.
Natalie:
Makes it like a square in a square.
Misty:
Square in a square.
Jenny:
I know, I thought it was a square in a square. I didn't know it was two.
Misty:
Well, and you could totally do it that way. You could cut a four and a half inch square and snowball all the sides, but it was a flying geese Triple Play so it seemed right to-
Jenny:
Flying geese everywhere.
Misty:
That's right.
Jenny:
That's fun.
Natalie:
That's really great. I love it.
Misty:
All right, so we'll press that. And that is the middle of our block, which just leaves us with our four corners. So we've got that four and a half inch square and another one of our two and a half inch print squares. And we're just going to put that on one corner. One for each of those.
Jenny:
One on each corner or just one?
Misty:
On each corner unit. So just like that.
Jenny:
So just one?
Misty:
Just one.
Jenny:
All right, here we go.
Misty:
Exactly. And so we'll trim this and then we can lay out our block. And the thing that I love so much about how this worked out is you use all of the pieces that you cut from those two layer cake squares. There's no waste at all.
Jenny:
Oh, wow. It's perfect.
Misty:
So you need all 16 of your little squares.
Jenny:
For each block.
Natalie:
For all of your-
Misty:
Yeah, exactly.
Jenny:
Oh, that's perfect. Well it's absolutely adorable.
Misty:
Thank you. And so I always start with that middle block.
Natalie:
Me too.
Misty:
Just helps my brain. And then I add my star legs and then our little corners come into place here.
Natalie:
That's so great.
Misty:
Just like so. And this is as simple as that. And then when you sew it together, here's your little finished block. So I just set them right together in the quilt. So that's four across by five down. And then I did a little two and a half inch inner border and a five inch outer border. And let me show you this backing because it is so cute. It's these little potion bottles.
Jenny:
So cute.
Misty:
They're so fun. And I quilted it with pumpkins. It ends up 61 by 73 and I just think it is so fun.
Jenny:
It's a adorable.
Natalie:
It's great. I love it.
Misty:
Thank you. So Natalie, you're up next.
Natalie:
All right, let's see what I can mix up. For my quilt, it's actually a table runner. And again, like mom's, you can make several because you have a layer cake to work with. So you'll need one 10 inch square packet. And I use The Boo Crew by Susan Winget for Wilmington. Oh, oh, go in there.
Jenny:
You got to get it in the cauldron.
Natalie:
There we go.
Jenny:
Mix it up.
Natalie:
Okay. All right. Then you're also going to need some background, about three fours of a yard. You'll need an outer border. And I used this cute little bat. It's a quarter of a yard. And you'll need some backing, a yard and a half. And binding because we've got this cute diagonal stripe.
Jenny:
Ooh, you've got the stripe.
Misty:
How fun.
Natalie:
Only a half yard is needed.
Jenny:
Mix it up.
Natalie:
We're going to mix it all up and then we're going to get a table runner that looks like this.
Misty:
So cute.
Jenny:
It's so cute.
Natalie:
Isn't that fun?
Misty:
I love it.
Jenny:
That is really fun.
Natalie:
I love it too.
Jenny:
All right, let's hang it up there.
Natalie:
So this is a really fun thing. I'm kind of excited to show you. It's a totally different type of flying geese than the other girls. First thing you're going to do is take your 10 inch square and we're going to cut it in half to get two five by 10 inch sections. And then what we're going to do, this one's just a tiny bit bigger than 10 inches, so I'm just going to trim off that little bitty bit.
Jenny:
All those little peaks.
Natalie:
Yeah. And then we're going to cut an inch off of the long end. So you're going to end up with two five by nine inch strips or rectangles. All right.
Jenny:
There we go.
Natalie:
From your background fabric, you're going to cut five inch squares and you're also going to need some two and a half inch squares to snowball these corners. And I just kind of cut a variety from my pack. They were mostly the smaller prints, because I like the bigger prints for my larger flying geese. That's just kind of how I did it.
Jenny:
Yeah, and there's some super cute prints in here.
Natalie:
They're so fun, yeah. So I've got my two and a half inch squares pre-cut for you because that's kind of self-explanatory and I thought I'd focus more on this part.
Jenny:
Well and Misty and I both snowballed something so they can see it.
Natalie:
That's right. That's right.
Jenny:
All right.
Natalie:
Okay, so to make this, we're going to do the one seam flying geese trick.
Jenny:
I love that she's doing this.
Misty:
I love this.
Natalie:
So we have these two guys and then we're going to fold this in half.
Jenny:
Wrong sides together.
Natalie:
Wrong sides together. We're going to line that up with the edge and we're going to make a cute little flying geese sandwich.
Misty:
All right.
Natalie:
And then we're going to sew right across this top line, just a quarter of an inch.
Misty:
Okay.
Natalie:
So the fold is on the edge and we're stitching across the top. Does that make sense?
Misty:
Yeah.
Natalie:
Okay.
Misty:
Okay.
Natalie:
That's so fun.
Jenny:
This is a really-
Natalie:
These come together so quick.
Jenny:
It is. And it's a fun way to make fly geese. It's like every time you open it's like a little bit of magic.
Natalie:
Yes.
Jenny:
Which is what we're hoping for here today. Little bit of magic.
Misty:
Exactly. It fits perfect.
Natalie:
It's really fun.
Misty:
There we go. I'm going to try this cutter thing. I don't know how this works.
Jenny:
It goes in... Let me show you.
Misty:
I got one thread.
Jenny:
So you come in this side and it just goes in between these two here.
Misty:
Ah. Okay.
Natalie:
Okay. All right, cool.
Misty:
I had to try.
Natalie:
So now we're going to open this up and then you just pull this straight down like that and you've got your flying geese.
Jenny:
Look at that.
Misty:
I love it so much.
Jenny:
Is that not the coolest thing? One seam flying geese right there.
Natalie:
So we'll press it.
Jenny:
All right, let me press it. And this is probably a good place to use some-
Natalie:
Starch if you want?
Jenny:
Starch if you want.
Natalie:
You can. I didn't use it. It wasn't necessary for me. I did go ahead and trim my bottoms straight if you want to. I don't know if that's a thing that matters or not, but I would rather have a little bit extra to just trim off. And then we're just going to simply snowball our two corners. And I think I'll use a green on one side and a black one I think on the other side. I like both of those.
Misty:
Perfect.
Jenny:
There we go.
Misty:
All right.
Natalie:
So you can just do them both while they're there.
Misty:
Yeah.
Natalie:
Looks like it's caught in the thread cutter.
Misty:
Thread it caught. Yeah. This didn't work out in the long run for me.
Natalie:
That's okay. Everybody has a machine struggle once in a while.
Jenny:
Let me clip it.
Natalie:
Just makes you normal.
Jenny:
Pull this up from here.
Misty:
There we go. All right.
Jenny:
It only takes three of us to figure it out.
Natalie:
Hey, it's all good
Jenny:
As long as we get there.
Natalie:
We're a team.
Jenny:
That's right.
Misty:
Yeah.
Natalie:
There we go. She went to use the thread cutter. I saw that.
Misty:
I know. I was thinking about it, but-
Natalie:
That's where it is on the other machine.
Misty:
Yeah.
Jenny:
All right. I'm assuming-
Natalie:
Trim them.
Jenny:
I just trimmed that without asking.
Natalie:
Flip and press. Absolutely.
Misty:
You got it.
Natalie:
You did it just right.
Jenny:
Alrighty. There we go.
Natalie:
Okay, so that's basically it. Your block is pretty much done. At this point, if you wanted to leave these straight, you totally could. If not, you can fold it back and it makes this cool little curve that I thought looked really fun. I thought it made just sort of like a swoopy circle.
Misty:
A little more movement. Yeah.
Jenny:
It really does.
Misty:
I love that.
Jenny:
Look at this. It's just a little more curvy. Really cute.
Misty:
All right.
Jenny:
All right, you're going to sew that down, Misty?
Misty:
Absolutely.
Natalie:
Yeah, you can flip that back and sew as you go. I prefer to start at the top peak and just do one side at a time.
Misty:
And you just sewed right along that little outside edge.
Natalie:
So right along the outside of the curve because that's the part that I wanted to make sure stayed flat.
Misty:
Yeah. Just a little bit at a time.
Jenny:
Now I have to say, when Natalie brought this in, I was like, "You did the wrong block, you did the cathedral window, not the flying geese." And she goes, "No, I did the one seam flying geese."
Natalie:
Yeah.
Jenny:
Yeah, this was one of those times where I was worried our Triple Play was going to be a double play with one extra one. But she was in it to win it.
Natalie:
One seam flying geese is fun. I think it's cool.
Jenny:
It is so fun.
Misty:
It is fun.
Natalie:
So you just do the one.
Misty:
Ooh, I did miss a tiny spot there at the top.
Natalie:
No big deal. And then you do the second one on this side as well.
Misty:
All right. Perfect.
Natalie:
Just start in the middle and overlap it a little bit.
Misty:
Make your way down. You got it.
Jenny:
That's so fun, Nat.
Natalie:
And you can use all the same color thread or different colors based on your fabrics if you want to. You don't have to use a straight stitch. You could do one of your decorative stitches or a little blanket stitch.
Jenny:
Oh that would be fun.
Natalie:
You could do all kinds of different things with the threads at this point would be kind of fun.
Jenny:
Yeah, that would be fun.
Misty:
Sorry, my thread was all knotted.
Natalie:
Yeah. That's all right.
Misty:
All right.
Natalie:
Now I think that I made mine into... I think I put the whole quilt together and did my seams after at the end.
Misty:
Oh, okay.
Natalie:
So you could do it that way as well. I found it doesn't really make too much difference. But I did, go ahead... Oh, I did these exactly the same. That's all right.
Jenny:
You have some more here you can have them at either end.
Natalie:
Well, I went ahead and just made these into little two block sections and that's how the quilt is put together.
Misty:
Oh, okay.
Jenny:
That is so cute.
Misty:
So fun.
Natalie:
It is all just this block right here. Just a block of two.
Jenny:
Right.
Natalie:
And then I did four across the top, and then I flipped the others and did four across the bottom.
Misty:
That's so fun.
Natalie:
And so that's how the whole runner's put together.
Jenny:
It's super cute.
Natalie:
It just has a little two and a half inch outer border and a little two and a half inch binding. Fold and flip.
Misty:
It is so cute. And this would be a really fun full-size quilt too.
Natalie:
It would be, yeah. It's super cute.
Jenny:
It'd be a really fun full-sized quilt.
Misty:
Really fun.
Natalie:
And you get a secondary little flying geese if you look at this here. This I think is super cool. That kind of looks like another little flying geese.
Jenny:
Oh, it sure does.
Natalie:
But it also makes these neat little arches that I loved.
Misty:
It's really cute, Nat.
Jenny:
And your quilting pattern?
Natalie:
So my quilting pattern is Time Warp because I love it so much. And oh, the backing is this super cute, Jolly Little Pumpkin. I love it. He's cute. And my quilt measures 22 by 40. And I just think it's great.
Jenny:
It's super cute.
Natalie:
I hope that you enjoy it and have fun. It's kind of one of those things that you can be creative with. You can leave them straight or curve them or whatever you want.
Misty:
It's really fun.
Jenny:
It's really fun.
Natalie:
So that's it. That's my project.
Jenny:
Well, we hope you enjoyed the magic we brought you today from Triple Play.
Misty:
So many fun things. Three great flying geese ideas.
Jenny:
You've got plenty of time before Halloween to make this magic happen.
Natalie:
We hope you enjoyed this spooky Triple Play from the Missouri Star Quilt Company.
Jenny:
Hi everybody, it's Jenny from the Missouri Star Quilt Company. We hope you enjoyed watching this video. If you aren't already part of the Missouri Star Quilt Company family, be sure to subscribe so you won't miss a thing. And if you click that bell, it'll notify you every time a new tutorial comes out. See you next Friday.



