

Triple Play: How to Make 3 NEW Snowball Table Runner Quilts - Free Quilting Tutorial
 Jenny Doan
- Layer Cake
- Table Runner
- Beginner
- Quilt size 47" × 47"
Triple Play is a favorite tradition here at Missouri Star Quilt Company. Once a month, Jenny, Misty, and Natalie each demonstrate their own unique spin on a favorite block, technique, or template. In this episode, the talented Doan ladies show off three fabulous new quilts made with the Snowball quilt block.
Instructor
Jenny Doan
Jenny Doan is an American quilter, author, and YouTube personality. Jenny started Missouri Star Quilt Company in 2008 and today it is the largest quilting supply vendor in the United States.
Shop this tutorial
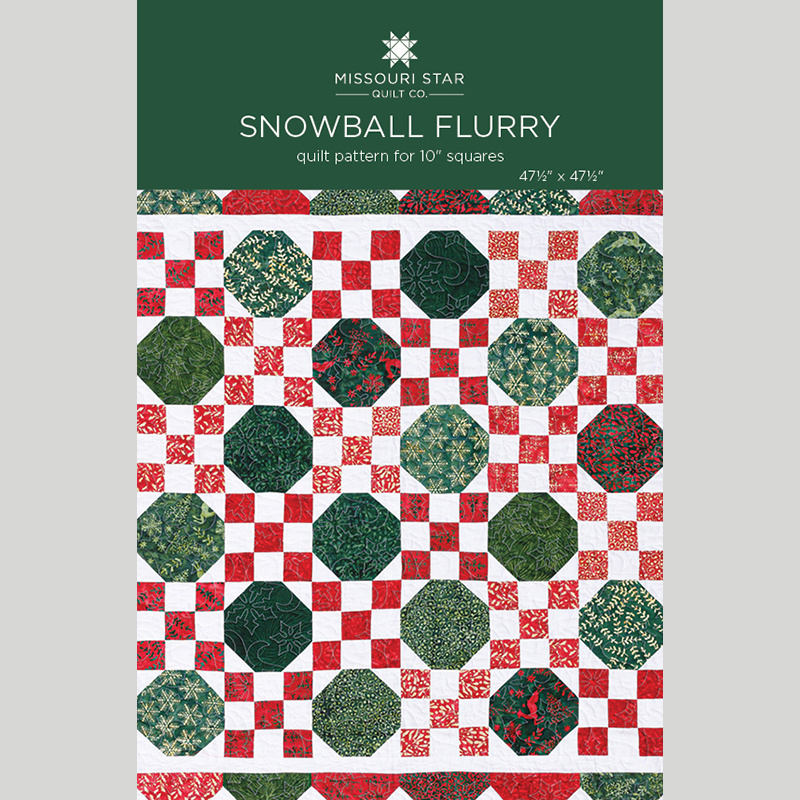 Snowball Flurry Quilt Pattern by Missouri Star$6.95Shop →
 Digital Download - Snowball Flurry Quilt Pattern by Missouri Star$4.95Shop →
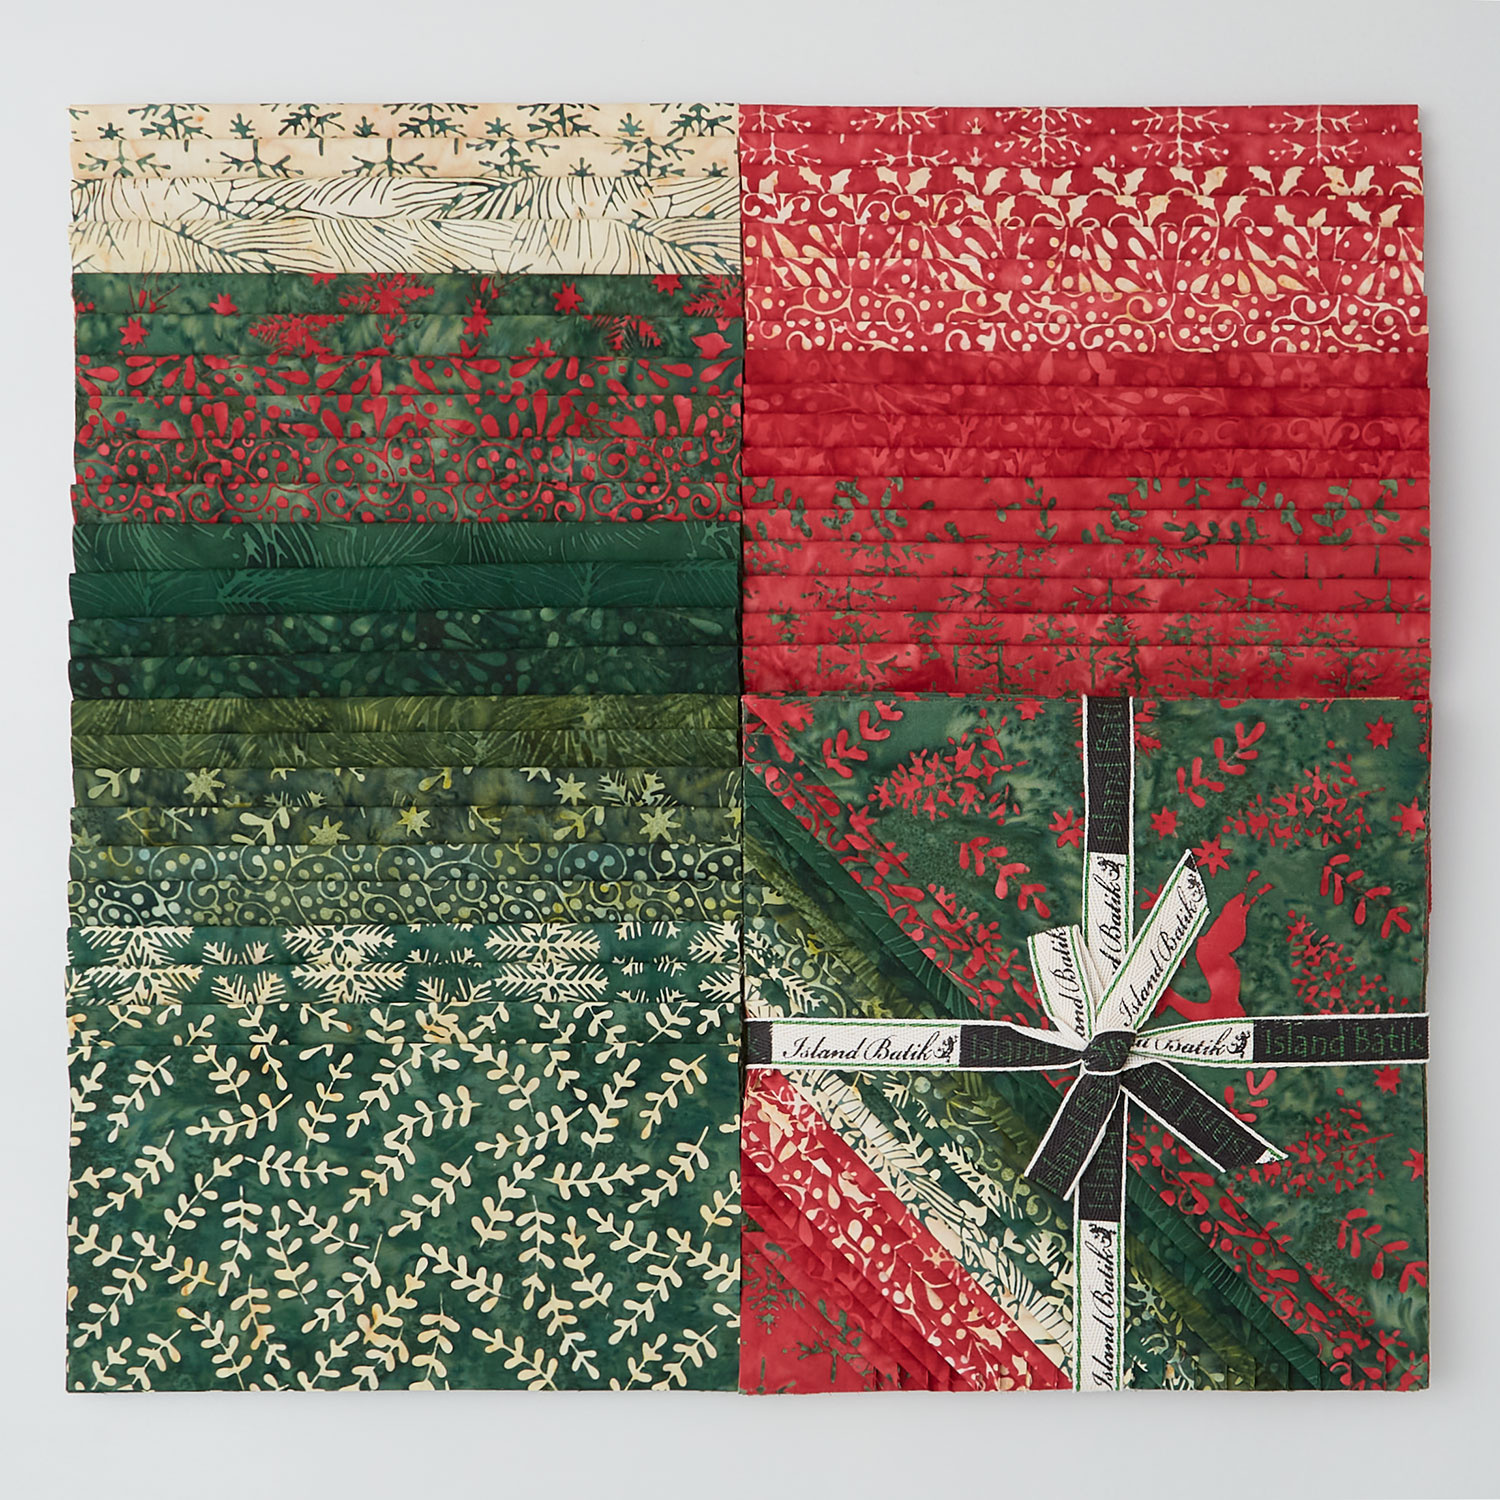 Holiday At Home Batiks Stacks$39.95Shop →
 Simply White Batiks - Solid White Yardage$11.96Shop →
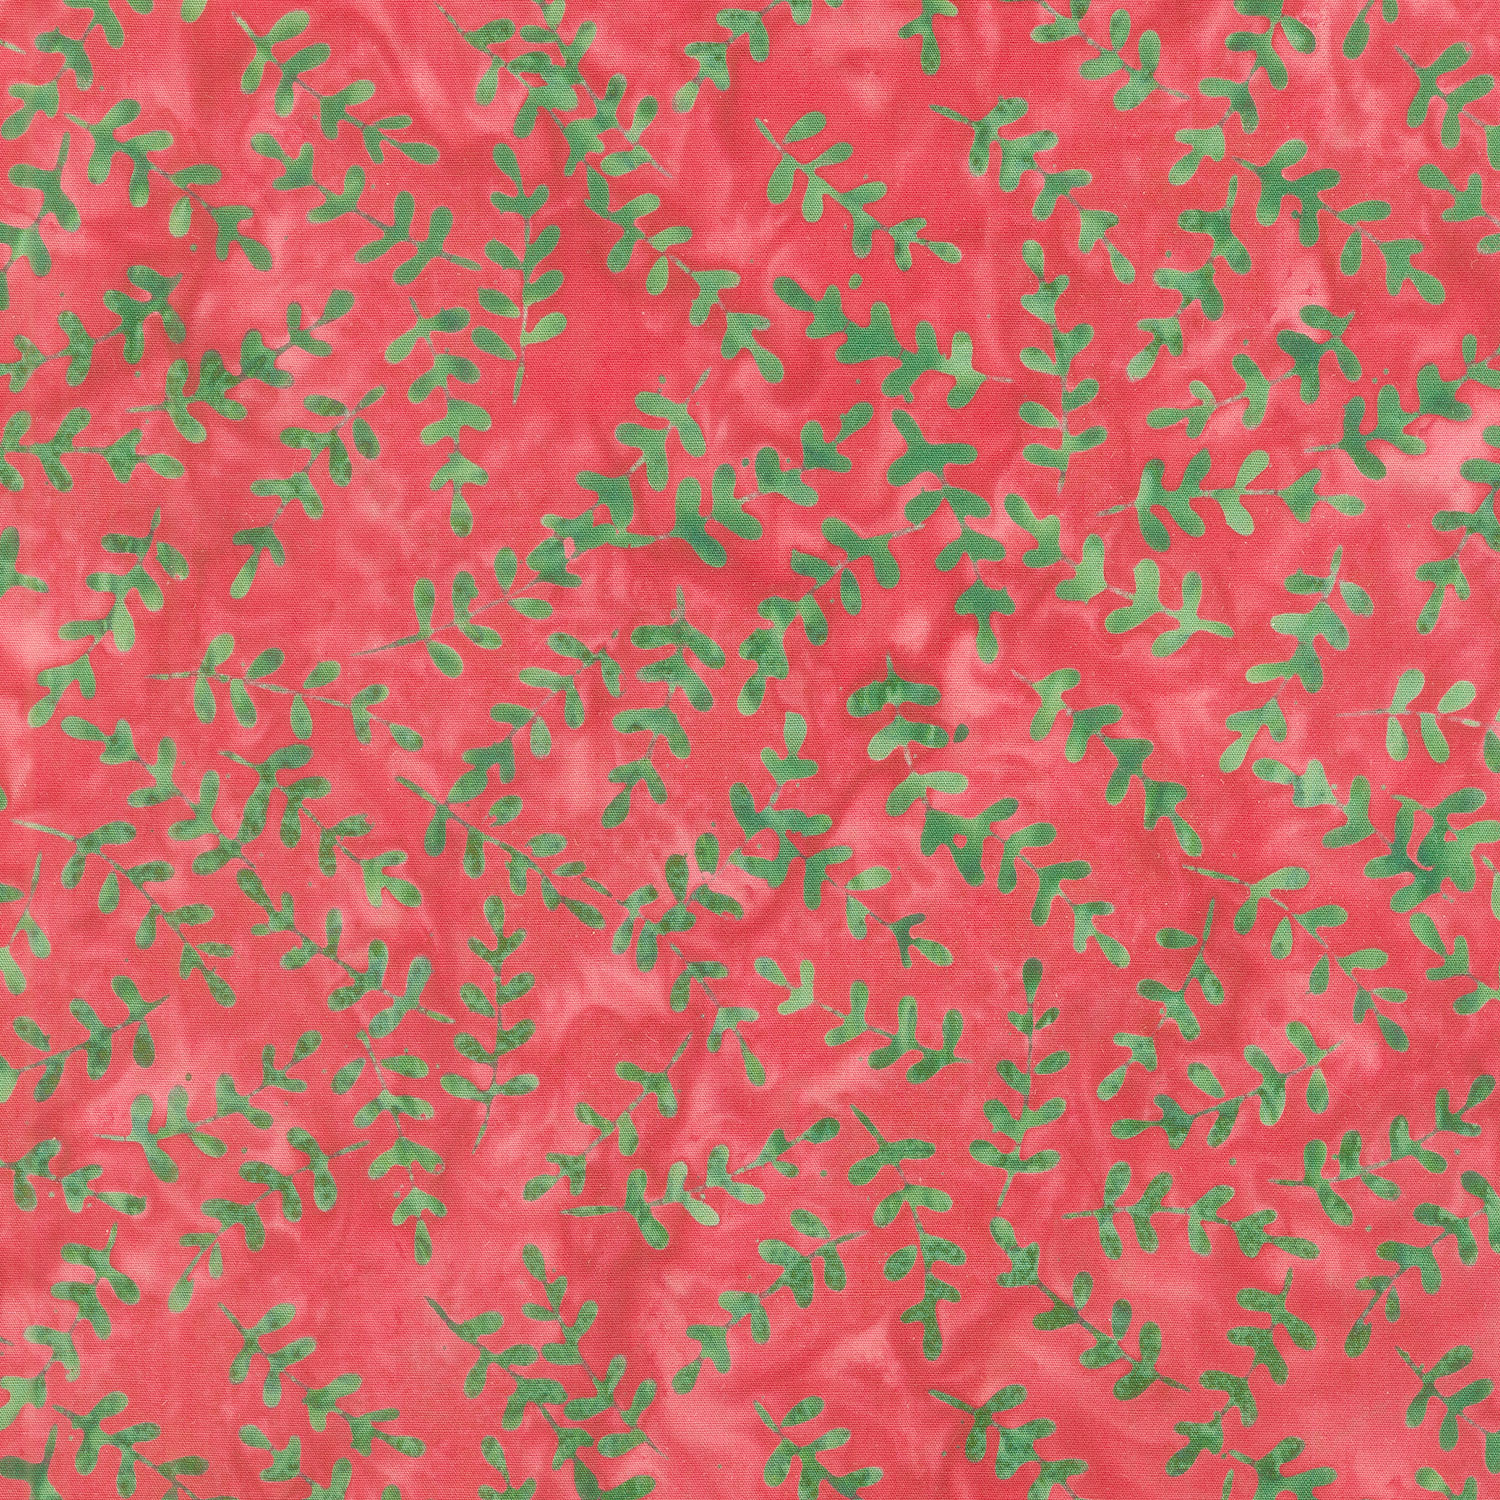 Holiday At Home Batiks - Small Leaf Red Cherry Yardage$11.96Shop →
 Missouri Star Quilter's Best Blend Throw Batting$20.95Shop →
 Snowball Cheer Table Topper Pattern by Missouri Star$6.95Shop →
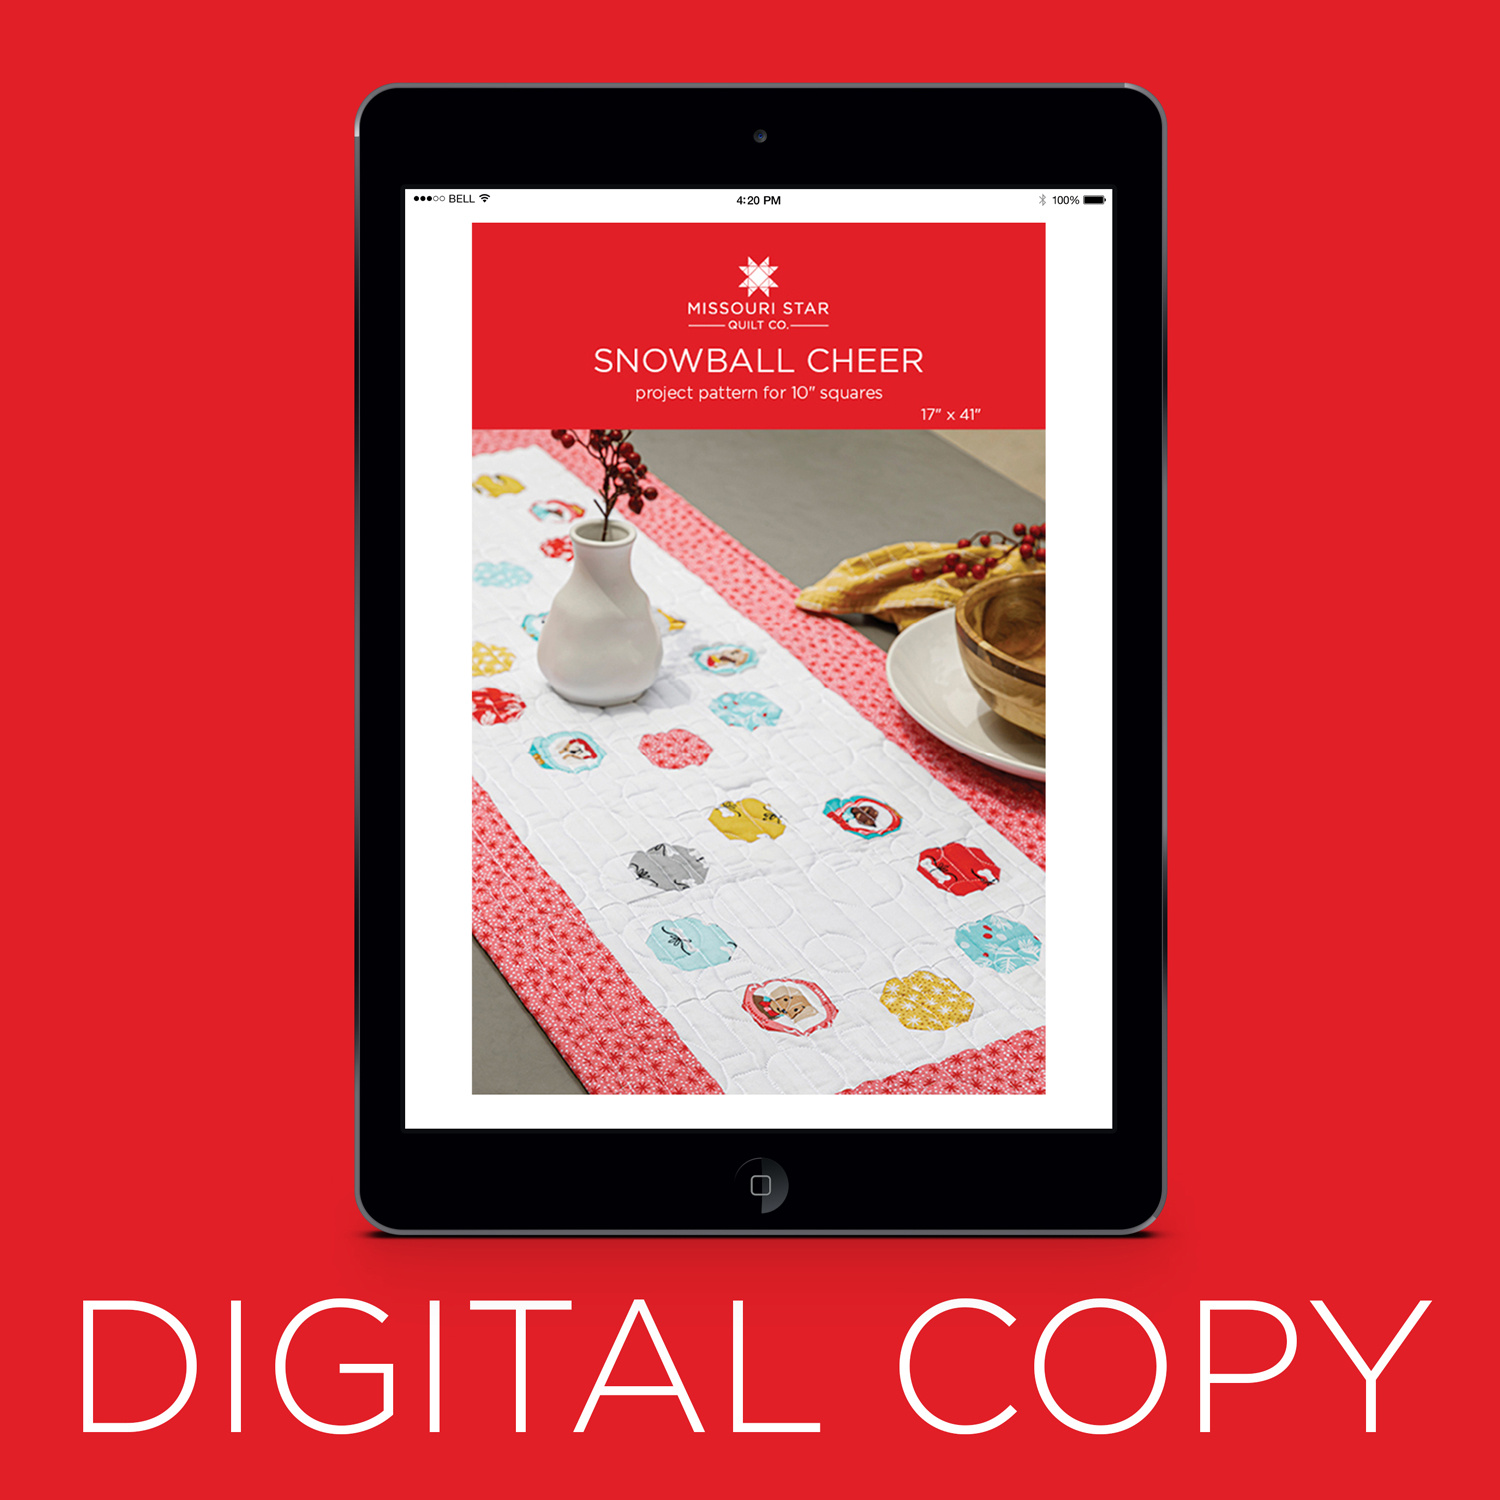 Digital Download - Snowball Cheer Table Topper Pattern by Missouri Star$4.95Shop →
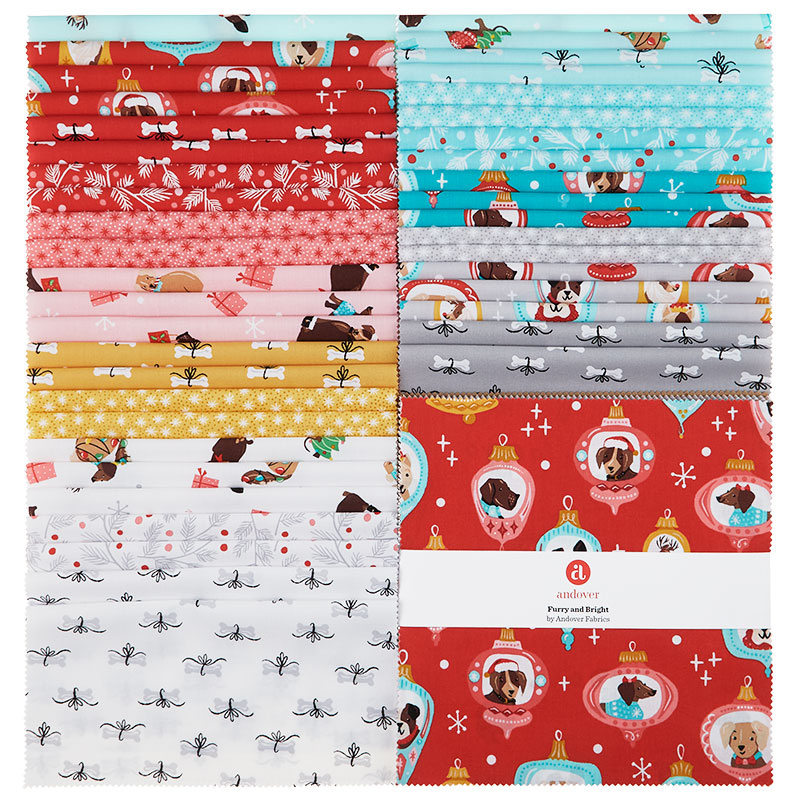 Furry and Bright Sundaes$37.95Shop →
 Kona Cotton - White Yardage$7.28Shop →
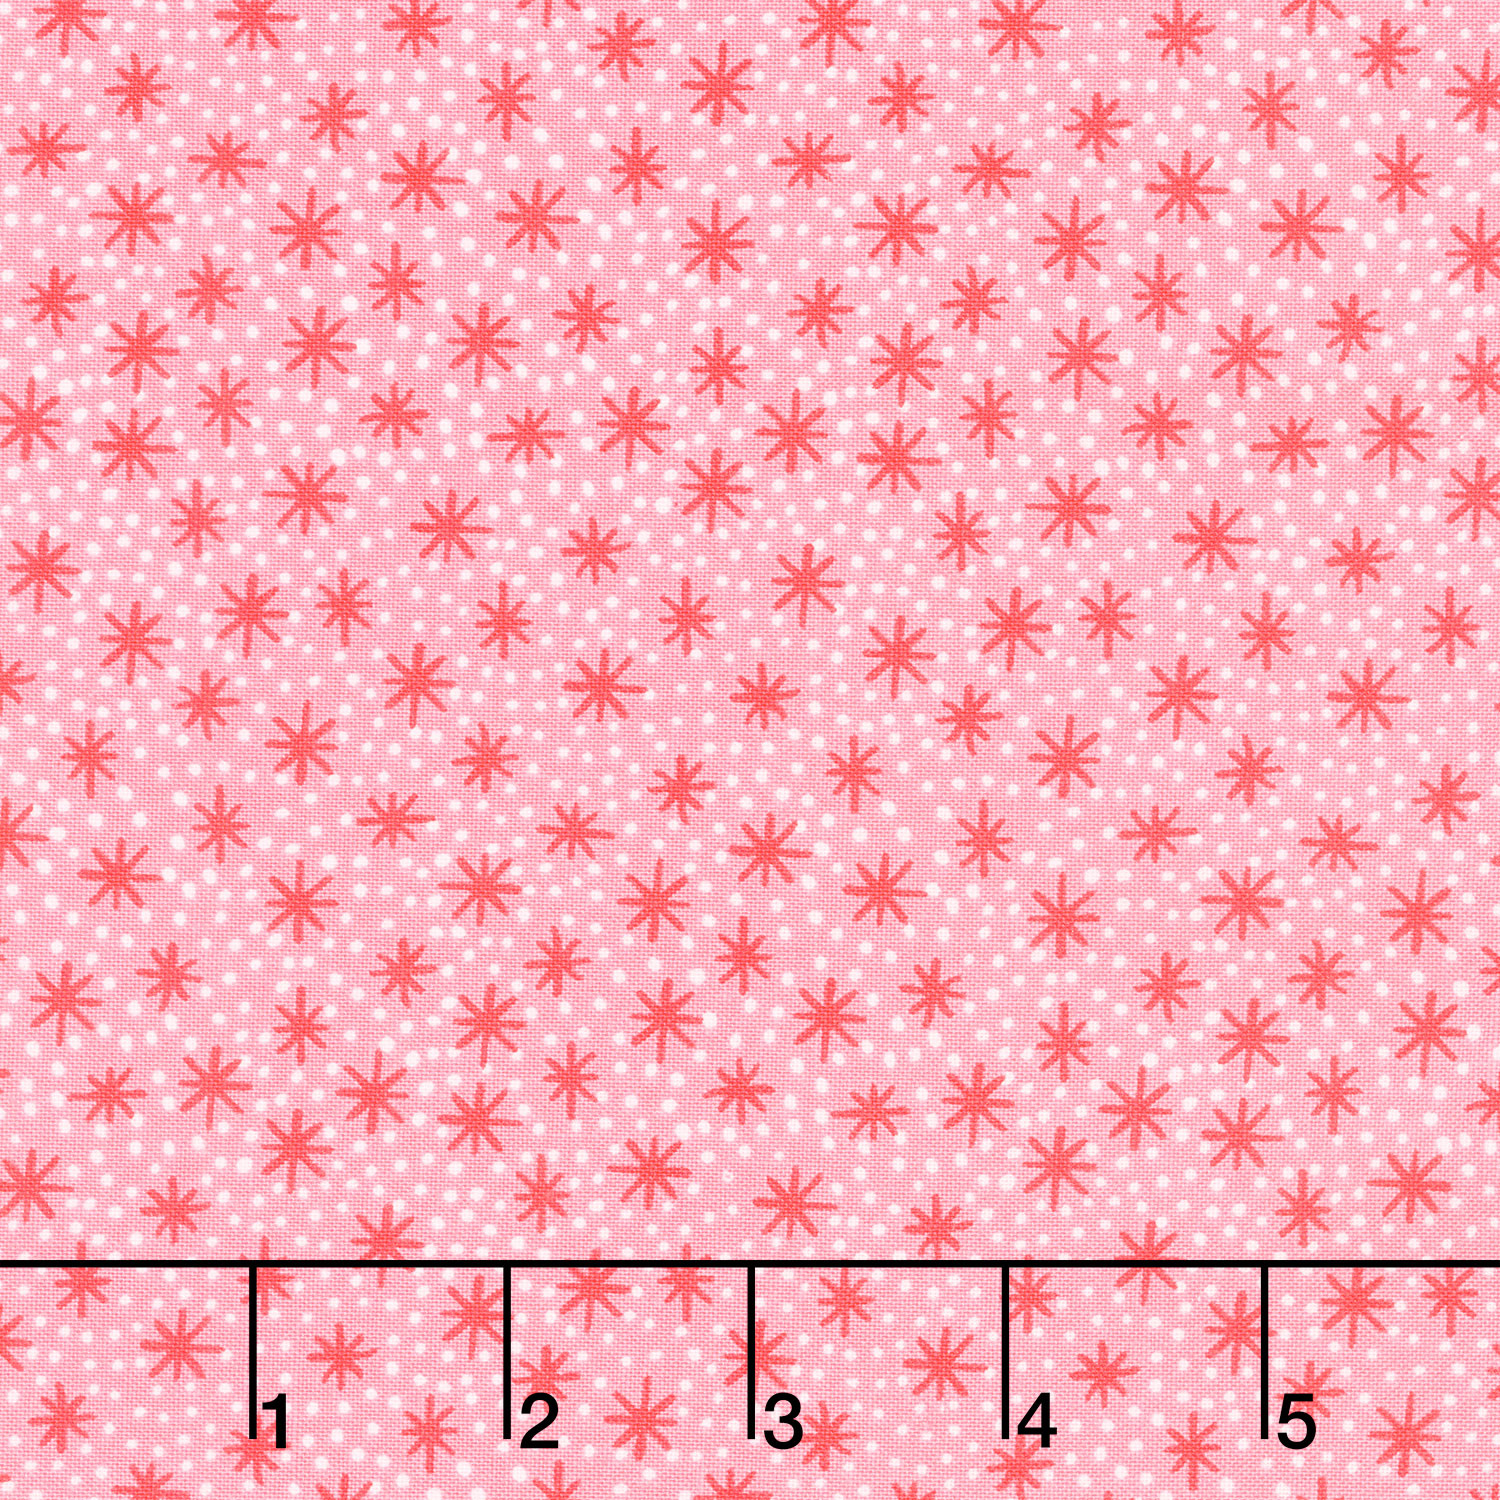 Furry and Bright - Star Dot Red Yardage$11.96Shop →
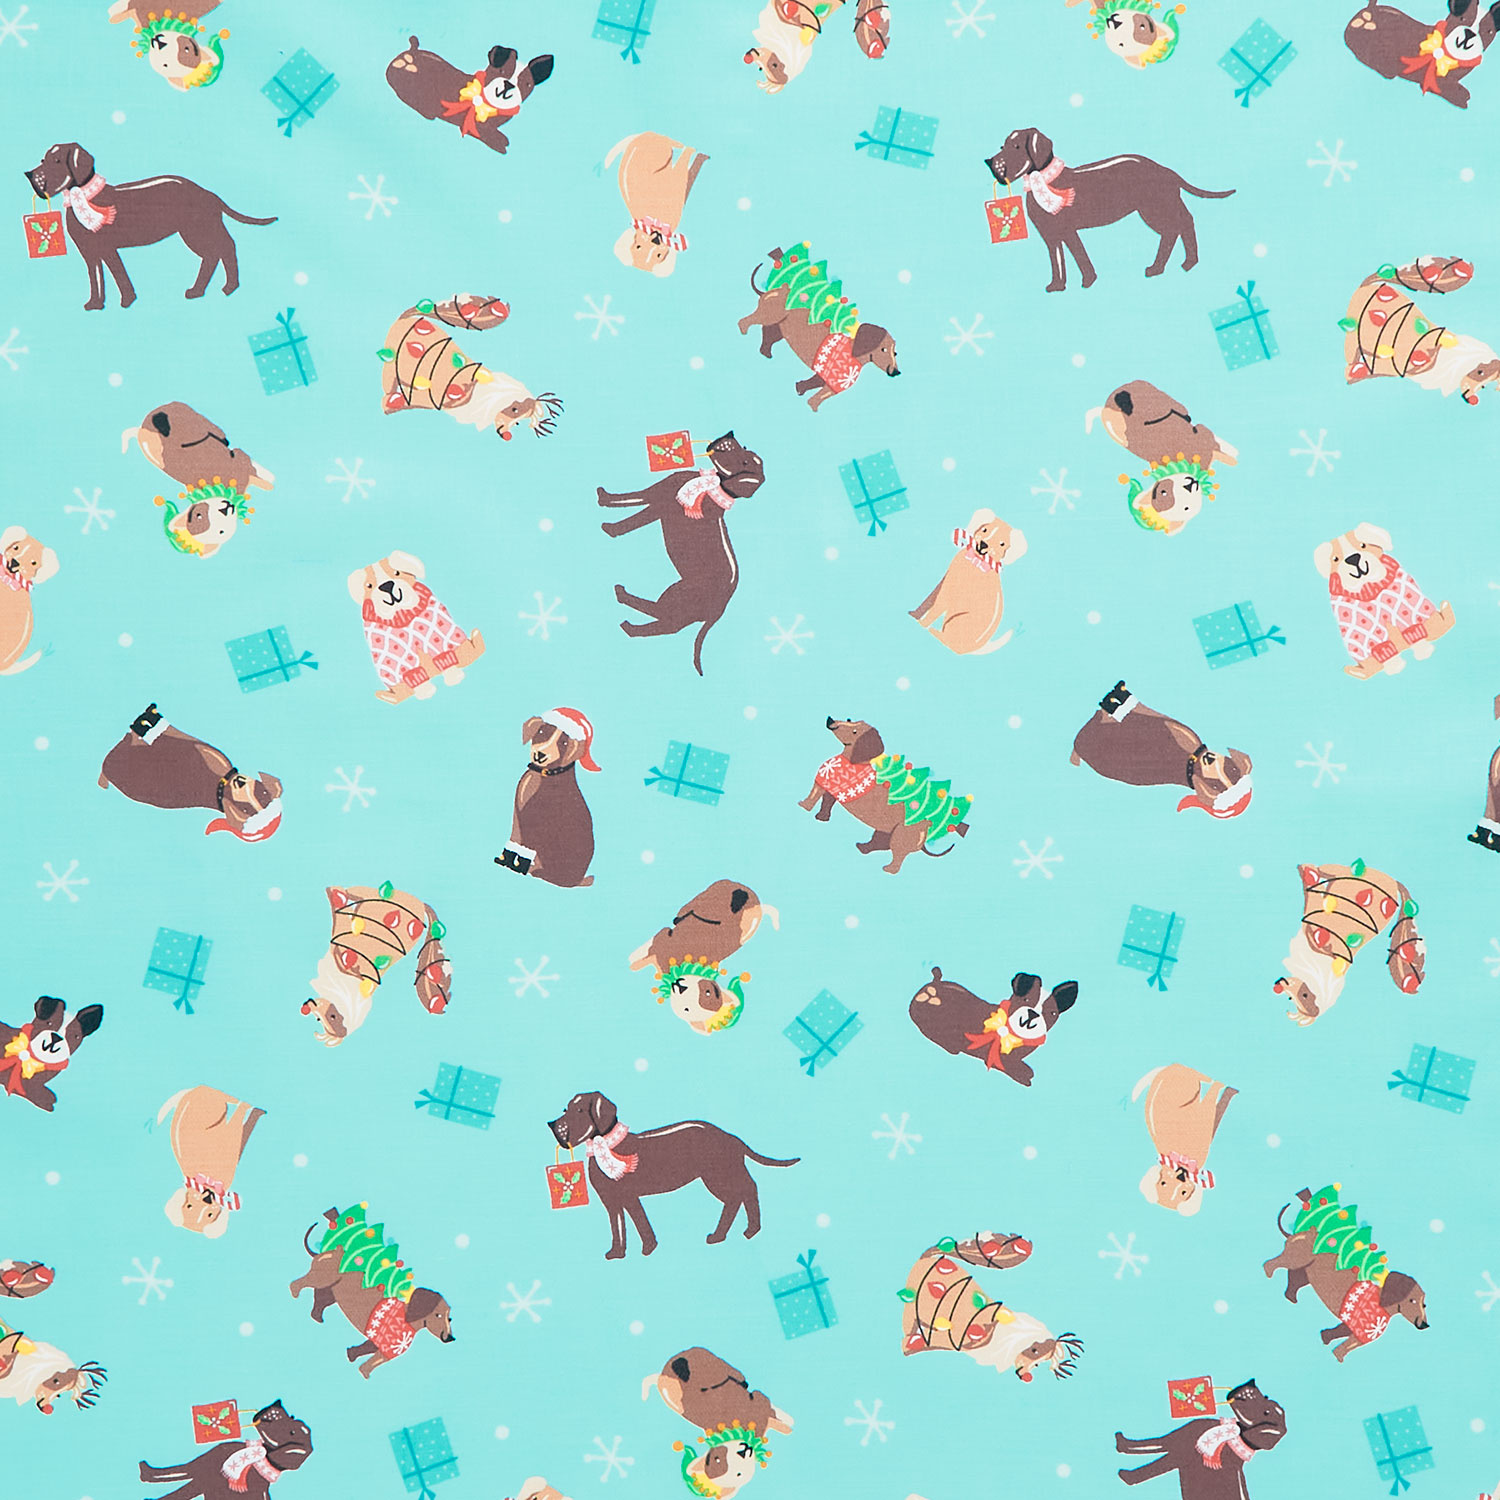 Furry and Bright - Holiday Dogs Teal Yardage$11.96Shop →
 Missouri Star Quilter’s Best Blend Crib Batting$14.45Shop →
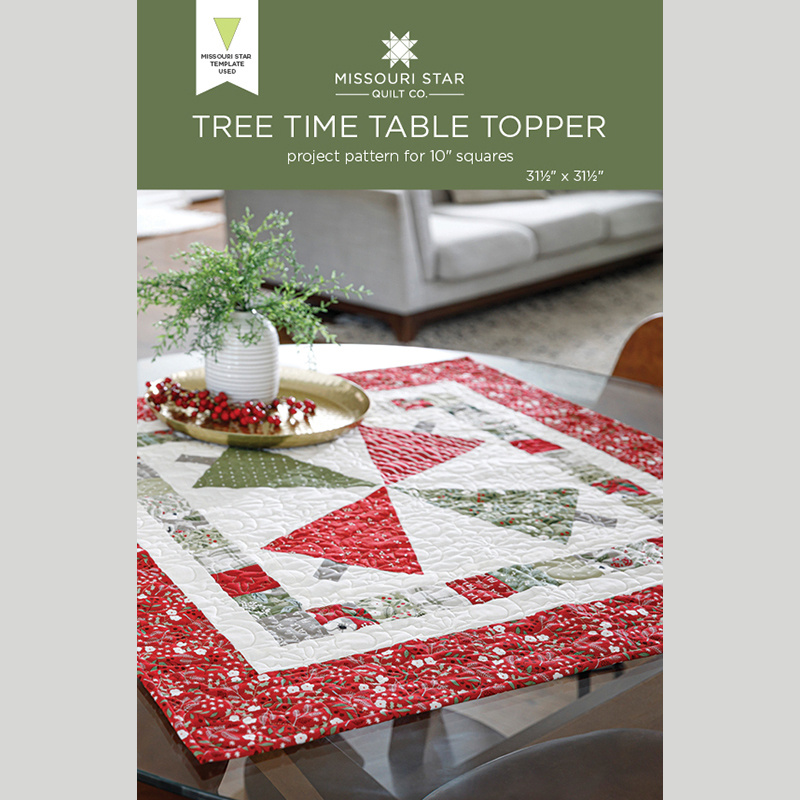 Tree Time Table Topper Pattern by Missouri Star$6.95Shop →
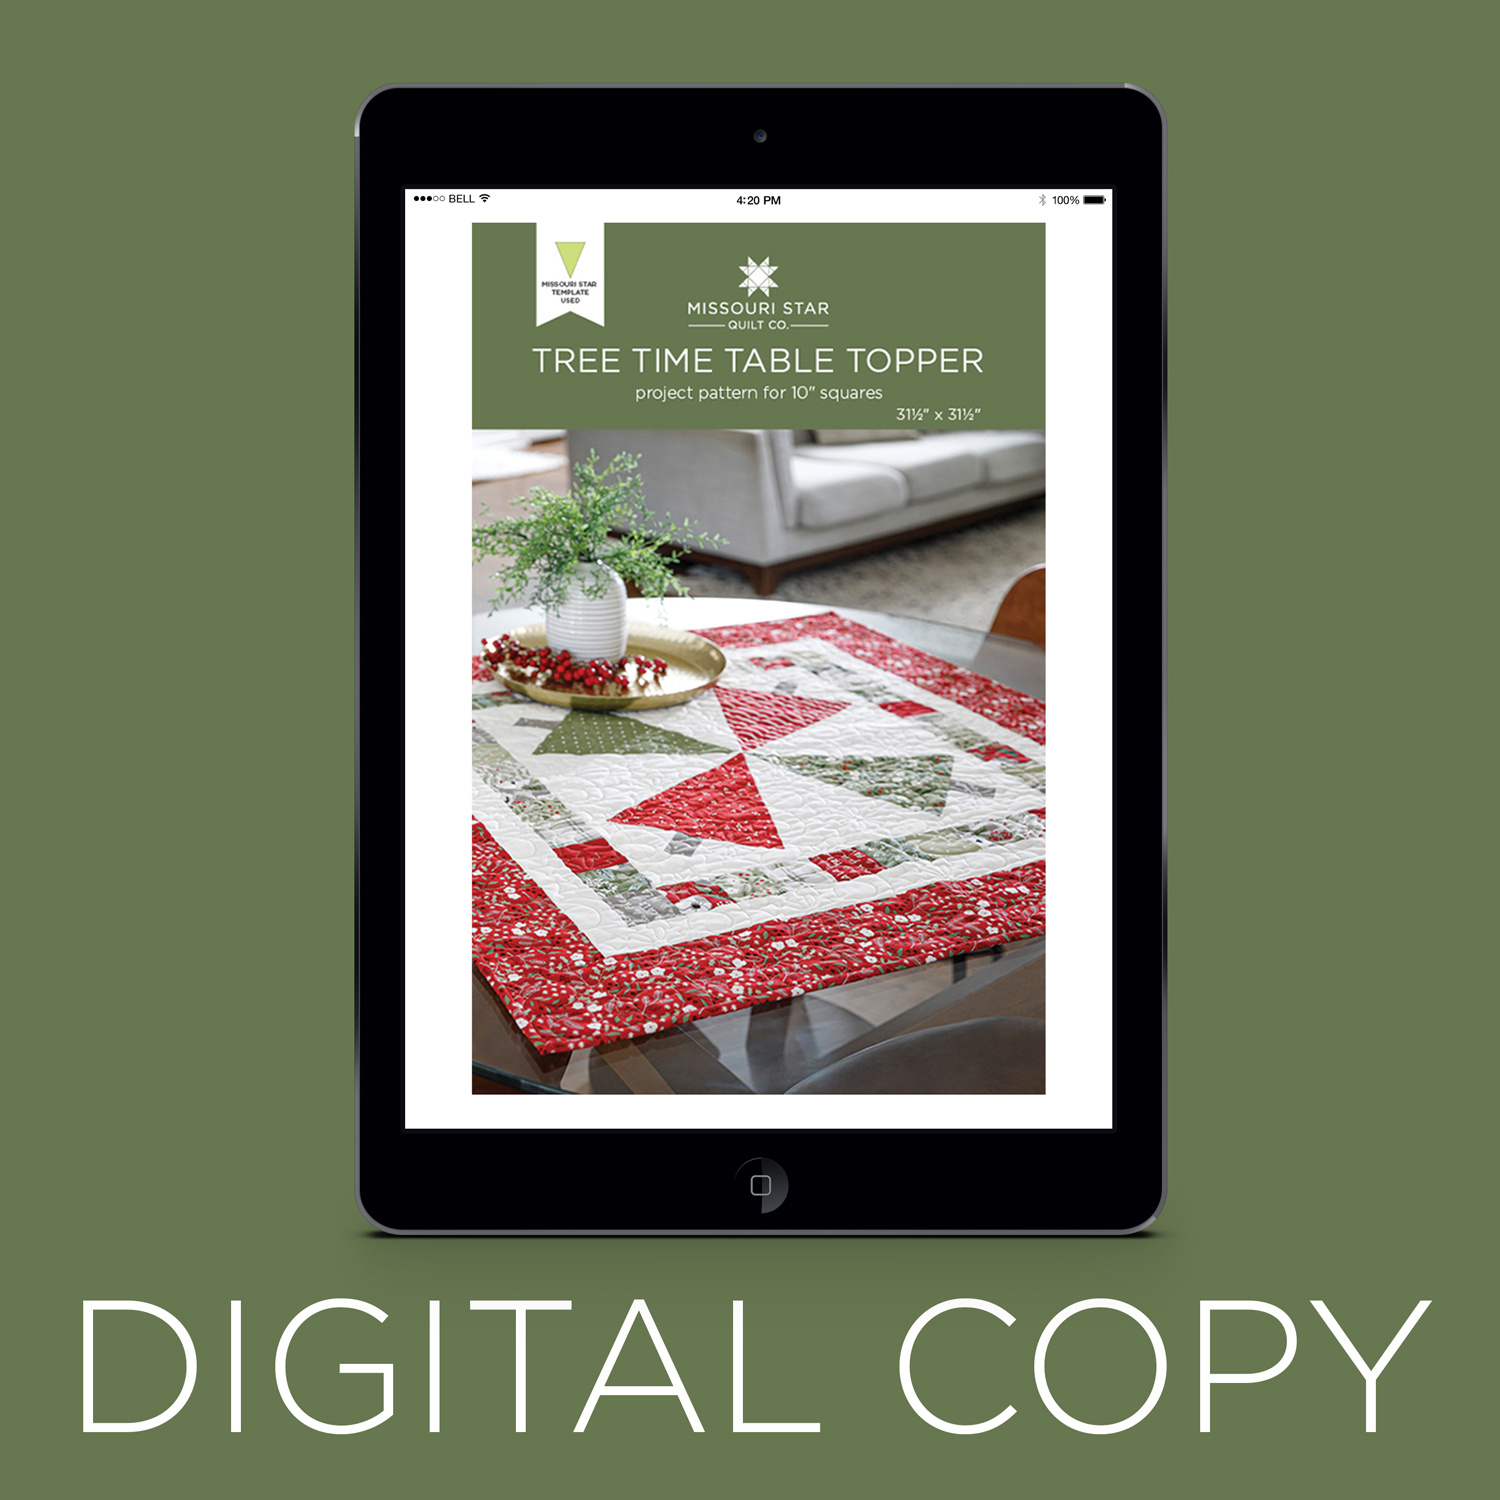 Digital Download - Tree Time Table Topper Pattern by Missouri Star$4.95Shop →
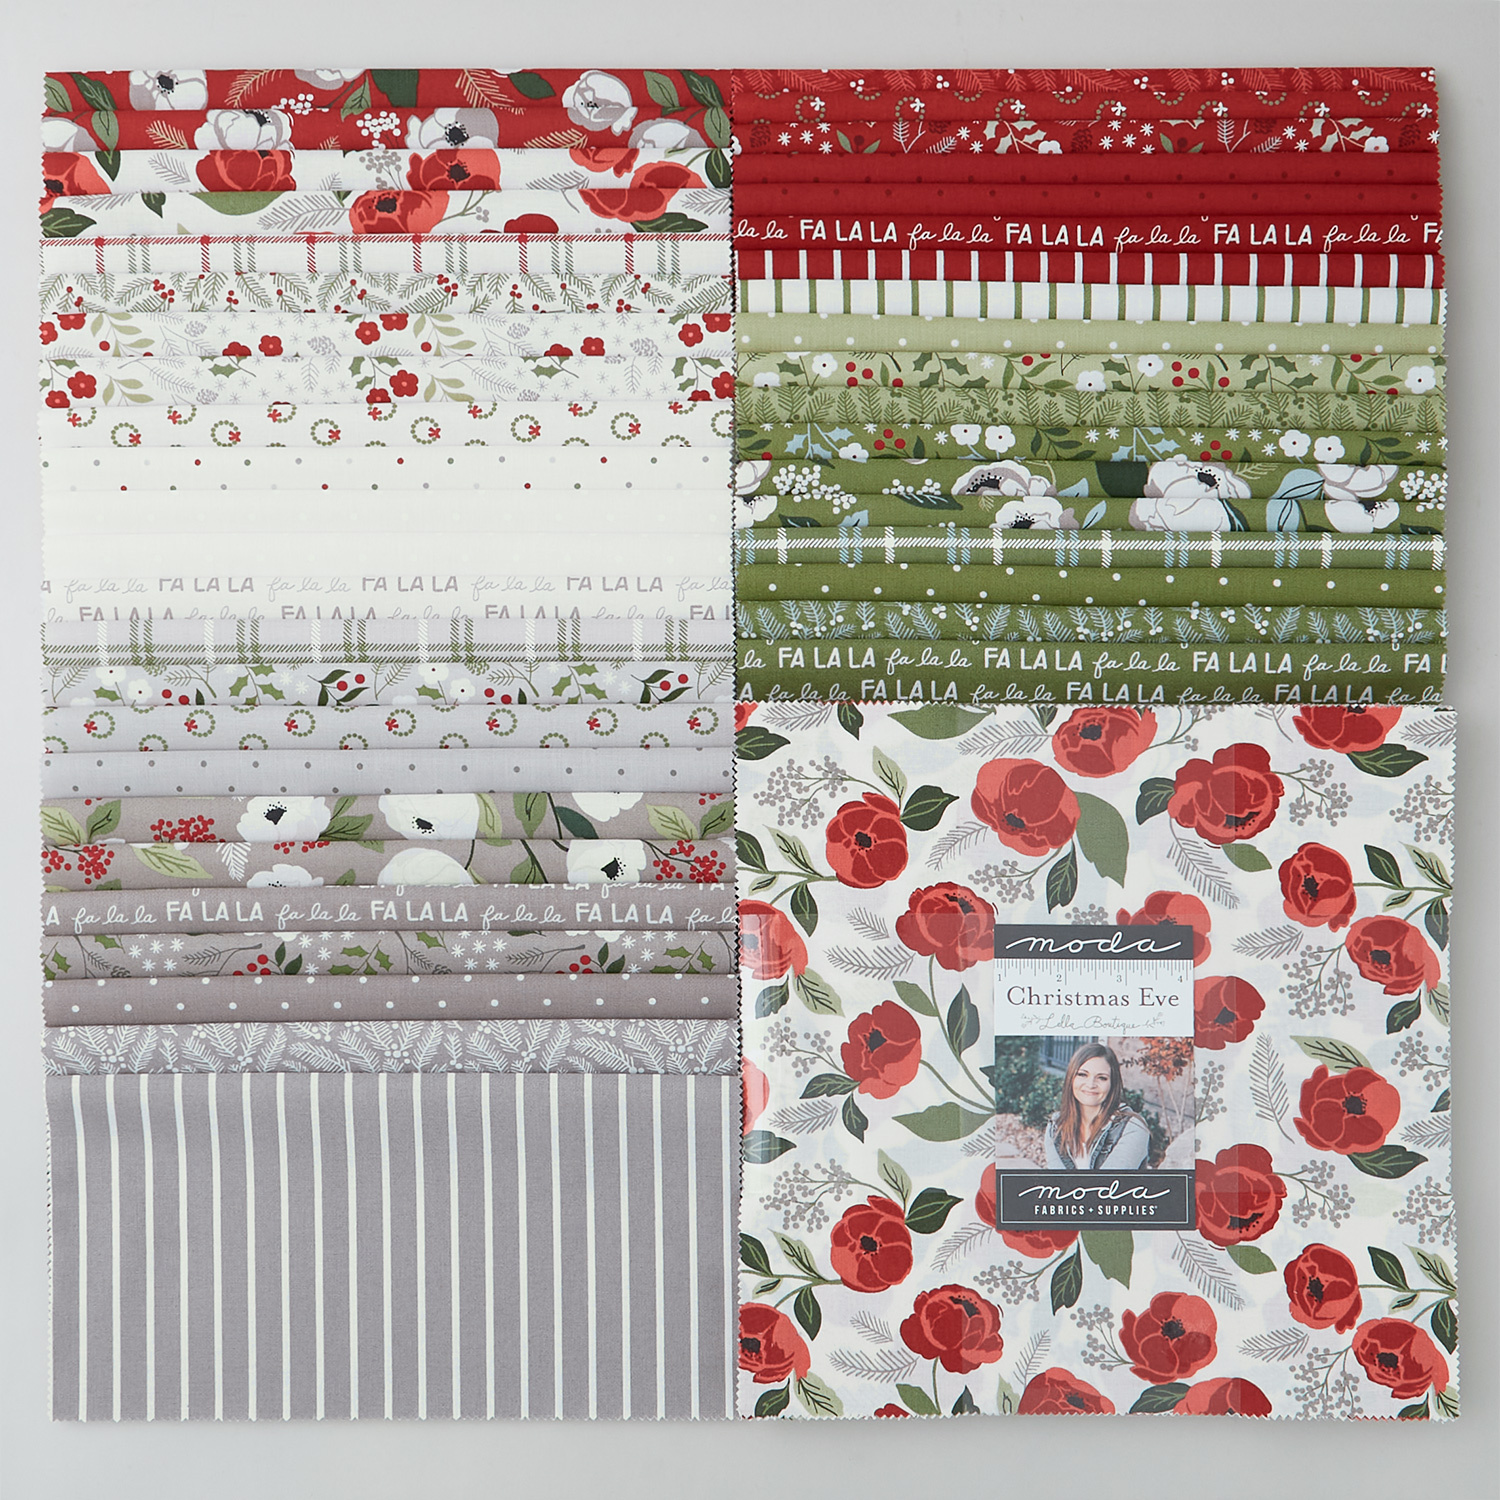 Christmas Eve - Layer Cake$45.95Shop →
 Bella Solids - White Bleached Yardage$8.24Shop →
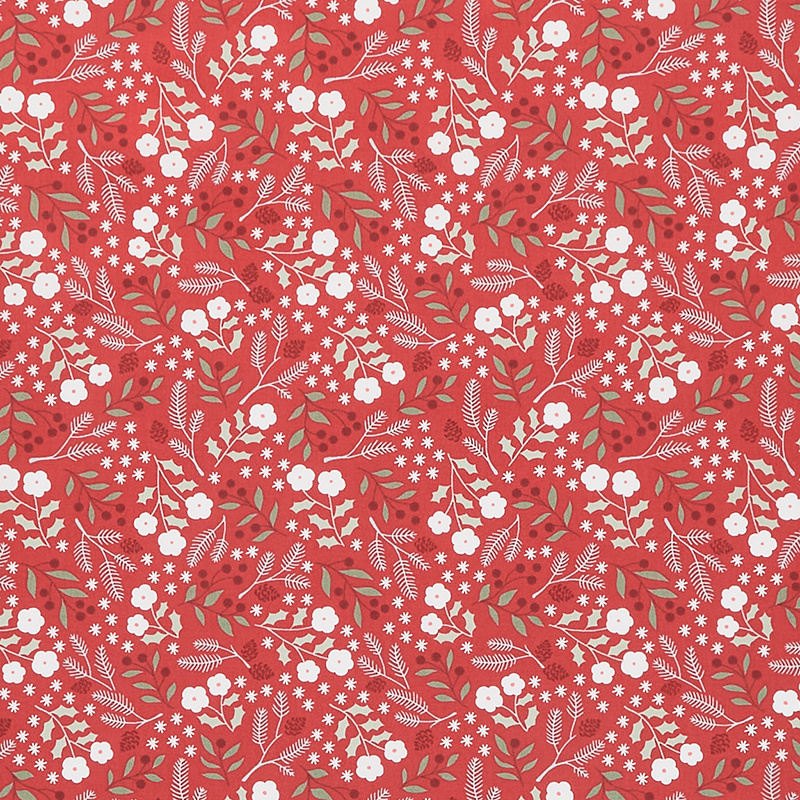 Christmas Eve - Winter Botanical Cranberry Yardage$11.96Shop →
- Missouri Star Quilter’s Best Blend Crib Batting$14.45Shop →
 Missouri Star Large Simple Wedge Template for 10" Squares$11.95Shop →
Common Questions
What is covered in Triple Play: How to Make 3 NEW Snowball Table Runner Quilts - Free Quilting Tutorial?
Triple Play is a favorite tradition here at Missouri Star Quilt Company. Once a month, Jenny, Misty, and Natalie each demonstrate their own unique spin on a favorite block, technique, or template. In this episode, the talented Doan ladies show off three fabulous new quilts mad...
How long is the tutorial video?
The tutorial video is 00:42:17.
Are supplies listed for this tutorial?
Yes. The tutorial page includes the supplies and materials connected to this project.
Is a transcript available?
Yes. A written transcript is available on the tutorial page.
Video Transcript
Hi everybody, it's Jenny from the Missouri Star Quilt Company, and it is Triple Play Day.
Misty:
Hooray.
Jenny:
We're very excited to be here. I'm here with Natalie and I'm here with Misty, and we have some wonderful things to talk about. It is Christmas in July.
Misty:
Yes.
Jenny:
And so, we're very excited about that. We have three quick projects for you today, and we're also wearing these fun new shirts. I always love it when they give us a shirt to wear it. It's very fun. And this is just who you get to sew with, especially whenever you watch tutorials. It's just really fun. All right, so I guess what we're going to do is, we're going to start with my tutorial. We were supposed to make table runners, and I disobeyed.
Misty:
That's all right.
Natalie:
Wait. If you have a big table, this works.
Misty:
This is perfect.
Jenny:
Well, that's what I thought.
Natalie:
Or it's small enough, it could be a whole tablecloth.
Misty:
That's true.
Jenny:
Well, I thought not everybody has, one's a table runner. Some people want a table topper.
Natalie:
Yes.
Jenny:
So I went with a table topper. Besides, this is so quick and easy, I very quickly found that I had way more blocks than I needed. And the block we're choosing for this triple play is the snowball block. So we have all chosen something to do with the snowball, and when you're snowballing, it just means that you're putting a block on the corner to round it out. So to make my quilt, I'm calling it snowball flurry, and this is it right here. This is our snowball block, and I've paired it with a nine patch. And then I did this cool outer border. Now, this is a fun border to use on all your quilts, and I'll tell you how to make it.
Natalie:
It's cute. It looks like a scalloped edge. I like that.
Misty:
That's really fun.
Jenny:
I think so too. I think so too. So to make my quilt, you will need one packet of 10 inch squares, one and a half yards of background fabric, and that includes this little inner border right here and this outer board right here, and all the snowballs and all the little blocks in the nine patch. You're also going to need some backing, and we've got three and three-quarter yards here. And I've got this cool layer cake that is just all reds and green, and it really allowed me to do what I wanted to do with this.
Misty:
It's perfect.
Natalie:
That's great.
Jenny:
Let me show you how to make this. So for my quilt, you can see all of my snowballs are the green fabric, and you're going to need to pick 24 greens out of here. And I've got one right here. And so, let's start with our green fabric. Now, there is going to be some waste on this, but you know what, you get to make other things with that, so I'm okay with it.
Misty:
You could make it all again in reverse.
Jenny:
You could make it in reverse and you could also make more than one.
Misty:
That's true.
Natalie:
Or just make this a little bit bigger.
Jenny:
And in my family, more than one table runner is always a good thing, because I have lots that I make from. So I'm going to cut this square into six and a half, and I've got it lined up on my mat, so it's nice and straight. And I'm just going to cut this into a six and a half inch square like this.
And I'm going to set this aside and I'm going to cut this side as well. So I've got five, six and a half, and it's lined up nice and straight. And then I'm going to set that over there for you to sew. And then out of your background, we're going to cut two and a half inch strips and sub cut those into two and a half inch squares. And Misty, I'm going to have you put one of these on all four sides.
Misty:
Perfect.
Jenny:
I'll give you one to start with. We have the diagonal seam tape here, so she can start without drawing the line, but I'm just going to show you how easy it is to draw that line just in case somebody's never drawn the line before. You just line it up corner to corner like this. I do like that little ruler, and then you sew right on the line. So here's another one. That's going to feel like a piece-
Misty:
Yes, that's true.
Jenny:
... of cake for you, because usually we just eyeball it. We've done it so many times. And so, Misty's going to do four of those, and that's going to make our snowball block.
Natalie:
And if you love teeny tiny pieces, this is a good chance to just sew a half an inch over and get some tiny little half square triangles.
Misty:
That's true.
Jenny:
You totally could. Yeah. What Natalie's talking about is coming out on this side and sewing again, and cutting in between there. And that will give you maybe a one and a half inch half a triangle.
Natalie:
And then you just save them in a little jar, because they're so cute.
Misty:
They're so adorable.
Natalie:
And then maybe someday you make something. But you don't have to.
Jenny:
Now, this piece right here should be about three and a half. And right here in our corners, you can see up here, here, and here, we have four corners, and we need two greens and two reds. So I'm going to cut a three and a quarter inch square out of that corner, for that corner, I mean.
Natalie:
And you only need two green ones, so you can-
Jenny:
I only need two.
Natalie:
... just pick the ones you like best, right?
Jenny:
Yeah. You can pick whichever ones you want. And I didn't actually do this till all my quilt was done, and then I just picked four, and I may have another one of those over here. Here I do. I have two greens and two reds.
Natalie:
Nice.
Jenny:
And so, I'm ready to go with my corners.
Natalie:
Perfect.
Jenny:
And then I'm just going to set this aside for another fabulous project. We are going to trim these off, and again, what Natalie was talking about is, if you draw another line out here like this, I'm just going to show, and then sew on that line. Look at this tiny, tiny little half square triangle you'll have out here.
Natalie:
Cute.
Jenny:
Look at how cute that is, yeah. But we're not going to do that today. Today we're just going to cut off our corners and iron this back, and that will give us our snowball block.
So that's how easy a snowball block is, and almost any time you pair it with another block, it just gives it such a great look. And it doesn't have to be a nine patch, it can be any block you want. So this is our little snowball block. Now you're going to make 24 of these. 18 for the middle of the quilt, and then the other ones we're just going to cut in half for that border. How easy is that? So now that you've finished your green snowballs, we're going to need to make some red snowballs for our outer border, and you're going to need to make six of those, and those will be cut in half again. So now let's move on to our nine patch blocks. Now our nine patch blocks is made out of two and a half inch strips. So we're just going to go ahead, and these are so close in color.
Misty:
Oh, that was almost really dangerous.
Jenny:
I know, I almost cut one wrong.
Natalie:
Although, you could have just-
Jenny:
If they were stacked perfectly.
Natalie:
... stack and cut through-
Jenny:
I could totally stack them up.
Natalie:
... four layers at a time.
Jenny:
As I look down here, I could see that it was over.
Misty:
Yeah, it was crooked.
Jenny:
And I was like, uh-oh. So anyway, I'm just going to cut some two and a half inch strips like this, to make my nine patch like this. And you can go ahead and cut your whole thing into that. I'm just going to show you how to make one here, how I do it. And what I did with these is, I then took them and I sewed them to a white strip. So two and a half inch white strip, sew them down the edge. And then I'm going to cut these into two and a half inch segments, which almost works perfectly, and I'll show you what I mean in just a sec.
So we're going to go here and we're going to cut these in two and a half, and two and a half. We're just going to cut all the way along here. And you can use your little ruler for this. I feel like that might be a little easier. This one came up just short. I'm not going to worry about it. I have another strip here. Sometimes it does, but there's plenty of extra in here if in case you come up short a little bit.
Natalie:
So if you need that piece, if you wanted it to come out exact, you just have to put the edge of the ruler. See how this is like a fat line?
Jenny:
Mm-hmm.
Natalie:
If you put it on the outside of your fabric-
Jenny:
It'll come out just right?
Natalie:
... you'll be able to ease it in. So all of your blocks will be... It's like a scant cut instead of a bigger cut.
Jenny:
So glad we have her.
Natalie:
The width of the line that's drawn on the ruler can create-
Misty:
It adds up over time.
Natalie:
Yeah.
Jenny:
Yeah. I didn't realize that.
Natalie:
Yeah. So if you just cut it on the outside, just put this ruler or this line so it's on the outside of the fabric instead of right on top of it, or to the middle.
Jenny:
Well, and honestly, in my brain I go, this is barely under there. We can fit it in a quarter-
Natalie:
It's so tiny.
Jenny:
... of an inch.
Natalie:
Yeah, it's so tiny that you can fit it in, but if you were really worried about that, where you place that line can matter over time.
Jenny:
That's really great information.
Misty:
Great tip.
Jenny:
So how I'm going to put this nine patch together, this is just how my brain works and what I do. So I'm going to put two of these like this and make a four patch. Then I'm going to add this one over here to finish the top two rows. This bottom row, I'm going to turn sideways, put here, and then I'm just going to add one more square, and sew that row on. So I'll have you complete this row.
Misty:
Okay.
Jenny:
And then we'll sew these three together and then add that row to the other, and that makes my nine patch. And it's just quick and easy. And you'll have three more here. And actually, if you cut like Natalie cut, you'll have enough for two blocks. All right, let's go ahead and sew these three together.
Misty:
Okay.
Jenny:
And it's just up, down, up.
Misty:
Yep.
Jenny:
And I make sure that my colors are in the corners, so if you turned them, the white would be in the corners. But this one, the colors are all in the corners.
Misty:
I'm just nesting those middle seams.
Jenny:
Yeah, nest those two middle seams. If you press to the dark side, then Natalie, you want to press this to the dark. If you press to the dark, then your seam should line up perfectly. They'll just nest together.
Misty:
Right there in the middle.
Natalie:
The middle press out, and the top and bottom press in.
Jenny:
Oh, right. Or whatever.
Natalie:
Or whatever way you want to press them. I don't care.
Jenny:
All right, press that one real quick, and then she's going to attach that one to the bottom, and that's going to make our nine patch.
Natalie:
Oh, are we adding...? We need these to go this way then, right?
Jenny:
I'm not sure, but-
Misty:
I can make it behave.
Jenny:
... we can change him. Yeah.
Misty:
It's fine.
Natalie:
There we go. There we go.
Misty:
All right, perfect.
Jenny:
All righty. So then we're going to talk about this outer border when she gets this one done.
Misty:
There we go.
Jenny:
All right. If you will iron that, that'll be great.
Natalie:
One more, yeah. I'd love to.
Jenny:
Now, this is made with strips. So three strips together is going to make six and a half, and it should match up exactly with this guy right here.
Misty:
It does.
Jenny:
Which it does.
Misty:
Perfect.
Jenny:
All right, so you're going to make all your blocks for the middle, now we're ready to do the border. So the first thing I did was, I sewed a small one and a half inch strip to the outside of my blocks right here, so that I could differentiate this border out here. And then I just took my extra blocks, and just like this, I divide them in half. So if this is six and a half, we're going to cut this at three and a quarter. So we've got three and a quarter right here, and it should cut right down the middle like this. And so, we're just going to come like this.
And here's your border pieces just like that. And so, you're going to put those, every other one I did every other one, red, green, red, green. And then you can see out here, I sewed these together and put the tiny little one and a half out here on the edge, and then added my three and a quarter inch square. I did that because once you add this strip in here, these aren't going to line up exactly with the other ones.
And so, we had to make this work up here, and it worked perfectly. One and a half on this side, and one and a half on this side. So these sides I sewed first, attached to the quilt, and this one as well. Then I put this little piece right here on the end so that it would attach right to the quilt. And then this piece up here was one whole top border. So I had my three and a quarter inch square, my one and a half, and then all my little six and a half inch halves. And so, it went together so cute. So the quilt is 47 by 47. This is how the back looks right here. And we use this wonderful-
Natalie:
Snow winds.
Misty:
Snow winds.
Jenny:
... quilting pattern called snow winds. It's just so fun and cute. And I know I have a little square table it's going to look gorgeous on for our Christmas celebration, for sure. And who's up next?
Natalie:
Whoever. I'll go if you like.
Misty:
Perfect.
Jenny:
All right then.
Natalie:
I love it.
Jenny:
All right, well Natalie, I guess you're up.
Natalie:
All right. Well, I'm excited about this little table runner. It turned out so cute.
Misty:
It's adorable.
Jenny:
It's so cute.
Natalie:
I'm calling it snowball cheer, because it's just cheery and fun.
Misty:
Yeah.
Jenny:
Well, it's little snowballs in little snowballs.
Misty:
Teeny tiny rings-
Natalie:
Little snowballs.
Misty:
... of snowballs.
Jenny:
So this is the kind of runner that when you sit down at the table, you want to actually look close and see every little square, because they're so [inaudible 00:13:14].
Natalie:
Well, and my line is really fun.
Misty:
It's so cute.
Natalie:
So I took the opportunity to do some cute little fussy cutting too.
Jenny:
That's awesome. So show us how to do it.
Natalie:
All right, to make my quilt, you're going to need one package of 10 inch squares, and I used furry and bright, by and over.
Jenny:
Really one little package?
Natalie:
You really only need about two and a half or three squares, so you can make about 18 table runners from your layer cake.
Jenny:
That's awesome.
Natalie:
So your Christmas list is covered.
Jenny:
It's done.
Misty:
It's perfect.
Jenny:
That's right. That's awesome.
Natalie:
You will need some background fabric, about a half a yard and a little bit of border fabric.
Jenny:
Which is really cute.
Natalie:
I think that's also about a half yard.
Jenny:
Yes.
Natalie:
It's just a few strips, maybe three, four-ish.
Jenny:
And this is back.
Misty:
It's co cute.
Natalie:
Yeah, and you're backing, you can get away with another half a yard. So this is really low yardage if you're-
Jenny:
Yeah.
Natalie:
Unless you make all 18 and then, of course-
Misty:
And you need a lot.
Natalie:
... multiply that.
Misty:
Sure, sure. Look at all these puppies though. How cute is that?
Natalie:
Aren't they cute? Furry and bright. And there's many cute little-
Misty:
All wrapped in the Christmas lights.
Jenny:
Yes. I know, it's cute.
Natalie:
It's absolutely darling.
Jenny:
I'm anxious to know how you got these to circle up.
Natalie:
Okay, well, it's really, really easy. So we're going to start by cutting some background fabric. That's where most of the cuts are. The print squares are just going to get cut down into two and a half inch squares, but we'll do that in just a minute. So to start with, I'm going to get this unfolded. Oops, I didn't mean to unfold it all the way. One second. Let me fix that.
Jenny:
Usually they're pretty straight on the fold.
Natalie:
They are. I just unfolded it all the way open, instead of just some of the way. So sorry about that.
Jenny:
That's all right.
Natalie:
Okay, I'm going to move this paper.
Misty:
Yeah.
Natalie:
I'm going to start by cutting some four and a half inch strips, and then sub cut them into squares, and those go in the center of the block. So we'll just cut those and set them aside for now.
Jenny:
Are you going to make more cuts on this?
Natalie:
Yes, I am.
Jenny:
Okay. I'm going to refold your fold.
Natalie:
Oh, perfect. Thank you. All right. So because we're working with two and a half inch squares and there's going to be a seam, everything is going to end up being four and a half. So we've got some four and a half inch squares for the middle of our blocks.
Jenny:
And you might need to clean up that edge a little bit.
Natalie:
Are you ready?
Jenny:
Yeah.
Natalie:
Awesome. Okay. I'll just cut a little bit off. Make it completely straight. Whoops. Then we're going to cut some two and a half inch strips, and these also get sub cut into four and a half inch segments and some two and a half. So we'll just cut a few of each so we can make one of each block.
Jenny:
So you've got two and a half by four and a half?
Natalie:
Two and a half inch squares and two and a half by four and a half inch strips.
Jenny:
Okay.
Natalie:
So we just need a little bit of a variety, and I'll show you how to make each piece that goes in the quilt. So once you've cut your two and a half inch strips and squares, we're going to cut the smaller pieces. So we're going to start with a one and a half inch strip, and that gets sub cut into two and a halfs and four and a halfs. All right, let me just get that little selvish.
Jenny:
You want the little ruler? It might be easier for you.
Natalie:
Oh, sure. All right.
Jenny:
I love that we turn the ruler that way. I just think it makes so much sense.
Natalie:
Yeah. So we'll have some two and a half inch by one and a half inch strips, and then we have one and a half by four and a half inch strips. We'll set those aside. Those are for bordering our block. Then we're going to get some one inch strips for the teeny tiny little snowballs.
Misty:
One inch?
Natalie:
Yeah.
Misty:
So cute.
Natalie:
One inch. I know, it's tiny.
Jenny:
Not harder, just smaller.
Misty:
Exactly.
Natalie:
So tiny though. It's so, so cute. All right, so we're just going to cut this.
Jenny:
I bet you're going to make me sew those on the corners.
Natalie:
You've got the lucky seat.
Misty:
It'll be the fastest, tiny little snowballs. They're not far to sew.
Natalie:
Yeah. So we just need four per block, and I think we'll just make a couple. I've got some already made, so we'll just set that aside for later.
Misty:
All right.
Natalie:
Okay, now we select our print. So we can do a little fussy cut if you want.
Misty:
Oh, my goodness.
Natalie:
But most of these are going to be just two and a half inch squares. Let's do this red one maybe.
Misty:
So cute with the bones.
Natalie:
Yeah. So these all get cut into two and a half inch squares, and you can do that four strips across and then you'll get 16 out of each block. But we'll do this one. And then because we have a whole layer cake to work with, there's no reason why we couldn't do one of these little fussy cut things.
Misty:
You definitely should.
Natalie:
So you just line up your two and a half inch here.
Jenny:
Now actually, if you use your two and a half inch ruler-
Natalie:
Is that easier to see?
Jenny:
Oh, so much easier.
Natalie:
There you go. So you're going to center that up, and if you want to be really careful, you can cut strips and things like that. But I like to just cut right out of the middle. So I'm just going to go like this, and then I'm going to cut this way. So I've got all three sides here. Then I'm going to flip that back and just flip it around and make sure that I'm still centered up the way I want it to be.
Misty:
Look at that cute little puppy face.
Natalie:
Cute little puppy, just like that for a little fussy cut.
Jenny:
Oh, I love that.
Natalie:
All right, so we're going to start by snowballing all four corners with our one-inch squares.
Jenny:
Now, when you're stitching a smaller piece, you want to reduce your stitch length so that it just hangs on there a little better, because if it's bigger and you only have three stitches, it's not going to hang on nearly as well as if you have 10 tiny ones.
Natalie:
I didn't do that.
Jenny:
You didn't?
Natalie:
So it's technically, I think, okay either way.
Jenny:
It's just a general rule.
Natalie:
Although yeah, I understand the logic behind it. That's in a way tiff.
Jenny:
Your pressor foot all almost goes from one side to the other, so you don't have to-
Natalie:
I kept mine connected too, by the way. Yeah.
Jenny:
Yeah, that will also help it not to come undone. That's just a little tip.
Natalie:
All right, I'm going to set this one up for you, so you could just do them both.
Jenny:
I don't know if you're noticing, but I'm sewing so very slowly.
Natalie:
You're being so careful. I love it. I love it.
Jenny:
There's that one.
Natalie:
Okay, so we're just going to trim these off. This is one of those places I probably wouldn't do the extra stitch.
Jenny:
No.
Natalie:
These are tiny enough as it is.
Misty:
Yeah, you wouldn't have a whole lot left there-
Natalie:
Nope.
Misty:
... if you tried.
Natalie:
Press those back.
Misty:
All right. Just roll all those little corners.
Natalie:
How is it, mom?
Jenny:
One more.
Natalie:
Is it super hard, because it's so tiny?
Jenny:
No. No, I think you just have to pay a little better attention.
Natalie:
Yeah.
Misty:
This one doesn't want to lay down. Just wants it to flip up.
Natalie:
It will.
Jenny:
That's when you put a little bit of spray on it.
Misty:
Exactly, you just don't have it.
Natalie:
A little starch.
Jenny:
There we go.
Misty:
All right.
Natalie:
Okay, so now we come into our cuts. So we actually need to make two different blocks to make this circle up. So one of them is going to get squared in, so one by two and a half on the tops and bottoms of this one.
Jenny:
Okay.
Natalie:
There you go.
Jenny:
Thank you. All right. So quarter of an inch, right?
Natalie:
Mm-hmm. Yeah.
Misty:
Same scant seam allowance.
Jenny:
And over here.
Natalie:
It doesn't have to be super scant, just consistent scant.
Jenny:
And I'm going to go back to my regular stitch length.
Natalie:
All right, if you'll press those-
Jenny:
Of course.
Natalie:
... we'll add the other pieces. Okay.
Jenny:
All right.
Natalie:
So then we're going to put our four and a halfs on the side.
Jenny:
Make little square.
Natalie:
So we're just squaring this into the middle.
Jenny:
Okay. And make sure this lines up nice and sweet.
Natalie:
For each of these blocks, you're going to make four.
Jenny:
For each of your-
Natalie:
Each of the larger blocks. There's only three as you can see of each-
Jenny:
Oh, you'll make four out of the square?
Misty:
That style. Yeah.
Natalie:
So you'll make four that have the square right in the center, and then you make four where the square is offset, your snowball.
Jenny:
Okay.
Misty:
Okay.
Jenny:
I was like, wait, I think there's eight in a square.
Natalie:
Yes.
Misty:
All right, there we go.
Natalie:
Okay, so you'll make a bunch of these.
Jenny:
Four of those?
Natalie:
About 12 for the entire table runner. And then this one you're going to add a two and a half inch square to one side. So we'll stitch on that side right there.
Jenny:
Okay. I don't know why you always have to, even though you've lined it up, I've got to tell.
Natalie:
You've got to double check it. I know. It's just force of habit and it's good practice when you're sewing.
Jenny:
Hang on now. This is... I have must have a corner that's winging out, because it's not lining up with my square exactly.
Natalie:
Well, the good news is, because these are surrounded by background, it doesn't matter.
Jenny:
Right.
Misty:
So forgiving.
Natalie:
So just center it up. If they get a little wonky, just center them up and surround them by that fabric and it's going to look great. You'll never know. Now you're going to add a two and a half by four and a half. I did it all on top, so they ended up looking like that. As long as they're all the same, it's going to circle up, no problem. There you go. So stitch down one side, and then Misty, will you grab my extras?
Misty:
Yeah.
Natalie:
We can start putting these blocks together.
Jenny:
There you go, Misty.
Natalie:
So that is as easy as can be.
Misty:
Perfect.
Jenny:
It's both easy and it looks like you worked so hard. I love it.
Misty:
I love this method.
Natalie:
I know. I seriously considered making a whole quilt-.
Jenny:
Oh, my gosh.
Natalie:
Just skipping out on the table runner and making a full sized quilt.
Misty:
So cute.
Natalie:
And blowing everyone behind it.
Misty:
We give you permission to do that, because it would be adorable.
Natalie:
Duvet. It would be so fun.
Misty:
Yes.
Natalie:
Okay, so to make the block, we're going to start with our center, is one of these four and a half inch background squares. And then I'm going to put my squared blocks here all the way around it, like this. And there we go. I've got a bunch of blues today. And then these ones go in, I believe, yeah, they go into the middle. So you're going to put these around like that.
Jenny:
Oh, and that circles it up.
Natalie:
Yeah.
Jenny:
Sure does.
Natalie:
Just like that. And I think, oh good, I've got another a pink puppy.
Jenny:
So cute.
Natalie:
Isn't that cute? So we are just going to sew this nine patch together.
Jenny:
All right. I love it.
Natalie:
And we can chain piece it.
Jenny:
Make sure.
Natalie:
It's just so much simpler than it looks, I think.
Misty:
Yeah, it really is.
Natalie:
Which is really fun, especially when you're doing something with tiny pieces.
Jenny:
Well, especially like at Christmastime, when you give a gift, you want it to be ooh ah, right?
Natalie:
Mm-hmm.
Jenny:
So this one-
Natalie:
Okay, so this guy goes right there.
Jenny:
The little square goes into the middle. And I've kept these connected, so they're working for me like little pins.
Natalie:
This one goes on the other side.
Jenny:
Okay. This one goes to the middle.
Natalie:
Yeah, and your blocks up. Yeah, that's right.
Jenny:
Yeah. Whenever I do anything like this, I make those little mantras up. All right, now we're just going to fold this one over and we'll match the seams as we get to them. So I'm going to take a few anchoring stitches, and then line up my two seams, make sure one's going one way and one the other.
Natalie:
Nice.
Jenny:
And then this one as well. Oh, let me lay that guy down, and then we'll put this top row on as well. Oh, I love that.
Natalie:
That's so fun.
Misty:
Just sweet and happy.
Jenny:
It is. And think about how many people you know that love dogs, or if you had cat fabric or if you-
Natalie:
Any fabric.
Misty:
It's true. It would be adorable.
Natalie:
I mean, this is just so great, because it's small, and you'll get all that variety and color.
Jenny:
There we go.
Natalie:
All right, if you'll press that open for us.
Misty:
Absolutely. There we go. Make sure we don't have any pleats in there.
Jenny:
So cute.
Natalie:
Yeah, and because it's two and a half inch squares, I mean really any precut that you have or scraps that-
Jenny:
Anything.
Natalie:
... you have would be great. So that's it. That's the block.
Jenny:
That's so cute.
Natalie:
Isn't it fun?
Misty:
I love it.
Jenny:
So do you have a sashing in between or-
Natalie:
There's no sashing.
Jenny:
... do you just put them together?
Natalie:
We just did one, two, three blocks. And with my fussy cutting, you'll notice, because I like to have things go either way. These ones are facing up and then these ones are upside down, so if you're sitting on either side of the table, the puppies are facing you.
Misty:
Oh, that's cute.
Jenny:
I love that.
Natalie:
So I just rotated them, and then I did a cute little three inch border to fill it out. And you can vary the size of your border depending on how wide you want your table runner to end up. This one ended up being 17 by 41.
Jenny:
So cute.
Natalie:
And yeah, I mean, if you wanted to add some blocks, you could make it longer. You could do nine and make a square table topper.
Jenny:
What quilting pattern did you use on that? So cute.
Natalie:
I used circles and lines, and look at this cute backing with the dogs. It is just adorable.
Jenny:
Oh, it's adorable.
Natalie:
I love that fabric so much.
Misty:
So fun.
Jenny:
That's really good.
Natalie:
So that's it. It's really that simple and fun.
Jenny:
Awesome.
Natalie:
And I guess now it's going to be Misty's turn.
Misty:
All right, let's go.
Jenny:
All right.
Misty:
Okay, so this is my little project, and I decided to mix it up, but it is still a snowball, because we're still adding four corners to make our block rounding.
Jenny:
You just snowballed a different block.
Misty:
I just snowballed a different block.
Jenny:
You just snowballed a different block. I like it.
Misty:
Exactly. So it's really simple. Again, I'm using a layer cake, because it is Christmas in July, and I think you can get at least six if not eight of this project out of one layer cake.
Jenny:
Oh, and it's so adorable. What a great project for Christmas in July. Honestly.
Misty:
Yeah. It's just a perfect little table topper.
Natalie:
It's cute.
Misty:
Thank you.
Natalie:
I love it.
Misty:
So to make this quilt, you're going to need one package of 10 inch squares. And I use Christmas Eve by Lella Boutique for Moda, and I love her fabric. It's always beautiful.
Jenny:
I love it too. Oh, yeah.
Misty:
Yes. Then you're going to need three quarters of a yard of your background fabric. I use this pretty cream. And then you'll need a half yard of your outer border and one and a quarter yards for your backing. And I use that same print. In addition to that, you're going to need the large, simple wedge template, and a square ruler of any size that's at least six inches or larger. So let me show you how to make this.
Okay, so this is the center block that we're working for, and so you can see we've got our wedges and our four corners that make our tree trunks. So let me show you how to make this. To start off, I just chose four different prints to create my trees, because I wanted some variety. So let's just go through here, and I just stacked them up.
Jenny:
I can see this as a wall hanging-
Misty:
Oh, absolutely.
Jenny:
... a topper. I mean, it's just so darling.
Misty:
So I'm just going to pick four different ones. Maybe this guy.
Natalie:
This fabric is so pretty.
Misty:
It's fun, isn't it? How about-
Jenny:
Maybe another green?
Misty:
Ooh, or this plaid. I like this plaid.
Jenny:
That's fine too.
Misty:
All right. So I'm just going to make sure they're nice and straight. And you could cut these separately if you want, but I'm always for-
Natalie:
Speeding it up,
Misty:
... speeding it up. Making it move faster. So I'm just going to adjust these and make sure-
Jenny:
This is a little off right here just want to make sure-
Misty:
Okay, I'll fix it. Yeah.
Jenny:
... that it's lined up.
Misty:
Thank you. There we go. We're only cutting one, so as long as we have one good straight side.
Natalie:
You can actually get two though of each.
Misty:
Oh, you totally can. And I was going to talk about that, but I'm just going to start by lining it up along one edge. And I like to do this long cut first. I don't know why, but same thing. I can fold that out of the way and make sure I don't cut into that.
Jenny:
That's a smart little hack, right.
Natalie:
Yeah.
Misty:
And then I come back and cut that, and then my four are ready to go. But like Natalie said, if you flip this back, then you can get your second one.
Jenny:
So if you want to make just 64 of these-
Misty:
Just like that. There you go. They're ready to go.
Jenny:
They're ready to go.
Natalie:
Yeah.
Misty:
So now we have all of our print wedges. You need four for the middle of your project.
Jenny:
Wouldn't this make a really cute quilt if you had a whole-
Misty:
Oh, totally. It just kept going and going.
Jenny:
I love it.
Natalie:
That's really cute.
Misty:
I know, I was the same as you. I wanted to keep going. And I was like, well, they wanted a tabletop, but I'll just stop here. And so, then now we need to pair that up with some background wedges. So I just cut a strip and I believe this is three, six, nine inches tall. So you can see where I've started cutting. This just fits right along here, and we're just going to flip this back and forth on our nine-inch, strip and we will get our cuts. So there's one.
Jenny:
And you've got that-
Natalie:
I've got this folded, yeah. So we're actually getting two at a time.
Jenny:
And you could probably do four.
Misty:
You totally could. There we go. And now that's all I need, so I'm going to start with that. And so then I just paired these up in sets, and did two at a time. So if you want to just start sewing down one long side.
Jenny:
Whoop. That was almost good.
Misty:
We will sew all of these.
Natalie:
It was going to take off without you.
Misty:
You're racing away. And we'll just do all four of these.
Jenny:
And I'll give these to you so you can-
Misty:
Perfect.
Jenny:
The ironing can begin.
Misty:
Can start. And then we'll press those to the dark side.
Jenny:
Yes.
Misty:
Or the print side.
Natalie:
It's a funky looking shape.
Misty:
I know, right? It all works out. Okay, there's that. And now we're going to sew two of these together. So we'll just put those right sides together, so down the middle.
Jenny:
I love it when a plan comes down. This makes a straight seam for sewing your two halves, and we're lining up these two little tiny self hold opposites of each other if you press to the dark side.
Misty:
Exactly, and you're just alternating, I mean, background, print, background, print. So we'll fold those together.
Jenny:
Love it,
Misty:
And press that, yeah. You can see how quickly these really do come together, even with the wedge shape. I know that can be a little nerve wracking for some people, but there's no need to be nervous.
Natalie:
Oops.
Jenny:
There's those.
Misty:
All right. So let's give this one a good press, and you'll see how this is starting to take shape.
Jenny:
Yeah, this is really fast.
Misty:
It is, yeah.
Jenny:
I mean, so far.
Misty:
It's pretty quick. I think you're going to like it. And so, then we'll set these just like so, and we'll fold those in half, and we'll sew down this straight long seam.
Jenny:
All right.
Misty:
Just nest up in the middle as best as you can. It's pretty forgiving, so you don't have to worry too much.
Jenny:
And if it's terrible, put a candle on there.
Misty:
Exactly. It's exactly right.
Natalie:
That's where you put the fruit bowl.
Misty:
That's right.
Jenny:
Fruit bowl.
Misty:
And no one will ever know.
Natalie:
It shouldn't be terrible though-
Misty:
No, it really shouldn't.
Natalie:
... especially if you've got your seams going in opposite directions.
Misty:
Yeah.
Natalie:
And you can always cut a little bit of that bulk away before you quilt it.
Misty:
The bulk if you need to. Exactly.
Jenny:
Well, honestly, you have the same amount of seams on either side, whether you press them open or whether you do them so.
Natalie:
Yes.
Misty:
That looks great. I think that looks beautiful. All right, so let's give that a press.
Natalie:
All right.
Jenny:
Good job, Jenny.
Misty:
Yes, you did great.
Natalie:
Well done.
Jenny:
Well done.
Misty:
Awesome.
Natalie:
It's a good time to use one of those clapper tools, I think.
Misty:
Yeah, that's true.
Natalie:
Smack it down.
Misty:
You just really hold that seam in the middle. So now we have this round snowball shape, and how in the world are we going to-
Natalie:
Which by the way, I think it would be really cute if you just cut a background and finish it just how it is.
Misty:
Exactly, you could just bind this. It's adorable.
Natalie:
So cute. It's almost like one of those platter things that you put on a charger underneath its plate.
Misty:
A charger, that's true. It would be a great charger. And it looks like a beach ball.
Natalie:
You're going to take it.
Misty:
Yeah, we're going to make it even better. We're going to turn it into little Christmas trees, so let me show you how I did that. So we'll just set this aside for now. And so, I chose another one of my 10-inch squares, and I don't know if I have another one of these prints, and I'd like it to match. So let's just imagine this was a full 10-inch square, and I've cut it into one and a half inch strips. And so that's what we have here. And then we're going to sub cut this into two and a half inch by one and a half inch rectangles. And so, we should get all four out of our one little strip, just like so. And I ended up with a little extra on that, so we'll just trim that. And there are my four tree trunks.
Jenny:
Very nice.
Misty:
And then now, to finish this off, you are going to cut some two and a half by four inch background squares, and you are going to sew... Or rectangles, I guess. You're going to sew one to either side.
Jenny:
Okay.
Misty:
So if you want to do that, and we'll just make one, because I have the rest of them ready to go.
Jenny:
Easy peasy.
Natalie:
Magic.
Misty:
Yes.
Jenny:
Magic. Magic.
Misty:
All right, Natalie, if you'll press that.
Natalie:
Always.
Misty:
And so now I'm going to take one more of my two and a half by four inch rectangles, and I'm going to go ahead and finger press, so I have a little center line on this. And then I'm going to do the same thing here in the middle of my trunk. So we're just going to fold that and finger press, and then I'm going to line this up.
Jenny:
Oh, you are clever, girl.
Misty:
And you're going to sew right along there.
Jenny:
All right.
Natalie:
No waste.
Misty:
Very little, as little as I could manage.
Natalie:
That's great.
Misty:
Yeah. All right. And then press that back.
Natalie:
Okay.
Misty:
All right. And so, this is where our square ruler comes in. Where did mine wander off to? Under fabric. There we go. And so, the measurement you're looking for is actually five and a half. And so, the six-inch ruler was easiest for my brain, because I could just come in a half inch from either side, and I just used this diagonal line right down the middle.
Jenny:
Oh, I bet you could use the clearly perfect slot of [inaudible 00:38:30].
Misty:
Oh, you probably could. I didn't even think about that. But you're looking for five and a half, and you're just going to lay it and make sure your trunk is right in the middle, and you're going to trim off this excess. Just like so.
Natalie:
That's so easy. I love it.
Misty:
And that is your corner.
Natalie:
Wow. Awesome.
Misty:
And so, I have the other three ready to go. You're going to need four of those. And then these go on each of your prints, and so they just are going to overlap.
Jenny:
That makes it square.
Misty:
And that makes it square.
Jenny:
Wow, excellent.
Misty:
And so, we're going to add that to each corner.
Natalie:
I like it.
Misty:
Thank you.
Jenny:
Did you just hang off a quarter of an inch?
Misty:
I did, and that's exactly what you need for your seam allowance, so I just hung it over just the right amount.
Natalie:
That is very cool.
Misty:
Thank you. I was pretty excited when it worked out. Well, and sometimes when you start this, you're like, "Is this going to be too hard?" And it was pretty straightforward, which is great. It's always exciting when you're working on a design and it's happy.
Jenny:
Yeah. Well, and it comes together.
Misty:
It comes together.
Jenny:
It's like, "Yay."
Misty:
It worked.
Jenny:
And sometimes when it comes together, you're like, "Oh, that wasn't what I was thinking, but I'll go with it."
Misty:
I love it. Yeah.
Natalie:
That works.
Jenny:
That often happens to me.
Misty:
Yeah. Actually on these corners, I originally tried to make it finish a square and then cut it in half, and that was way more difficult than this. So I was much happier with this outcome, but it's fun to play.
Natalie:
Yeah.
Misty:
All right.
Jenny:
Well, here's this.
Misty:
Perfect. So if you just want to press those.
Jenny:
Oh, my gosh. Instantly just cute, so it match.
Misty:
Yeah. So you've got your four little trees and your block is done. It's really, really fast to put together. And then really the rest of the magic in this quilt is the border. And so, I can talk a little bit about that. The first little inner border that I put around this block is an inch and a quarter. And I went with that measurement so that it would match up with my two and a half inch squares. I cut the rest of those out of my layer cake squares. So you can see here, I have just a bunch of random ones ready to go. And that's just from sub cutting all of these down into two and a half inch strips, and I just mixed them all up. And I think it was one, two, three, four, five, six, seven, eight, nine on each side, and 11 across the top and bottom.
Natalie:
Nice.
Misty:
And then this is-
Jenny:
So that first border, say that number again?
Misty:
One and a quarter.
Jenny:
One and a quarter, then your patchwork border.
Misty:
Yeah, your two and a half inch squares, and they meet up perfect. You don't have to trim anything off. And then this is another two inch, two and a half, two inch border. And I finished it off with a four-inch border, and I think it ends up 31 inches square, which is great. And I use that same snow winds pattern that you did.
Jenny:
Such a cute one.
Natalie:
It's a great one.
Misty:
It's really cute. And I used the same print as my border on the back, and it just turned out really cute.
Jenny:
It's just gorgeous.
Natalie:
It's so festive.
Misty:
Thank you. Thank you so much.
Natalie:
Well, I like this.
Jenny:
Happy Christmas in July.
Misty:
Absolutely.
Natalie:
Yeah.
Jenny:
Yeah.
Natalie:
Yeah, so if you're ready to get going on your Christmas projects, now's the time. You've got all kinds of inspiration.
Misty:
Wonderful gift ideas to get you making projects for all your friends.
Jenny:
So many quick, easy ideas for you, and we hope you enjoyed this Triple Play from the Missouri Star Quilt Company. Hi everybody, it's Jenny from the Missouri Star Quilt Company. We hope you enjoyed watching this video. If you aren't already part of the Missouri Star Quilt Company family, be sure to subscribe so you won't miss a thing. And if you click that bell, it'll notify you every time a new tutorial comes out. See you next Friday.



