

Triple Play: How to Make 3 NEW Spinning Star Quilts - Free Quilting Tutorial
 Jenny Doan
- Layer Cake
- Modern
- Table Runner
- Beginner
- Quilt size 71" × 71"
Triple Play is a favorite tradition here at Missouri Star Quilt Company. Once a month, Jenny, Misty, and Natalie each demonstrate their own unique spin on a favorite block, technique, or template. In this episode, the talented Doan ladies show off three fabulous new quilts made with the Spinning Star quilt block in patriotic red, white, and blue—just in time for the 4th of July!
Instructor
Jenny Doan
Jenny Doan is an American quilter, author, and YouTube personality. Jenny started Missouri Star Quilt Company in 2008 and today it is the largest quilting supply vendor in the United States.
Shop this tutorial
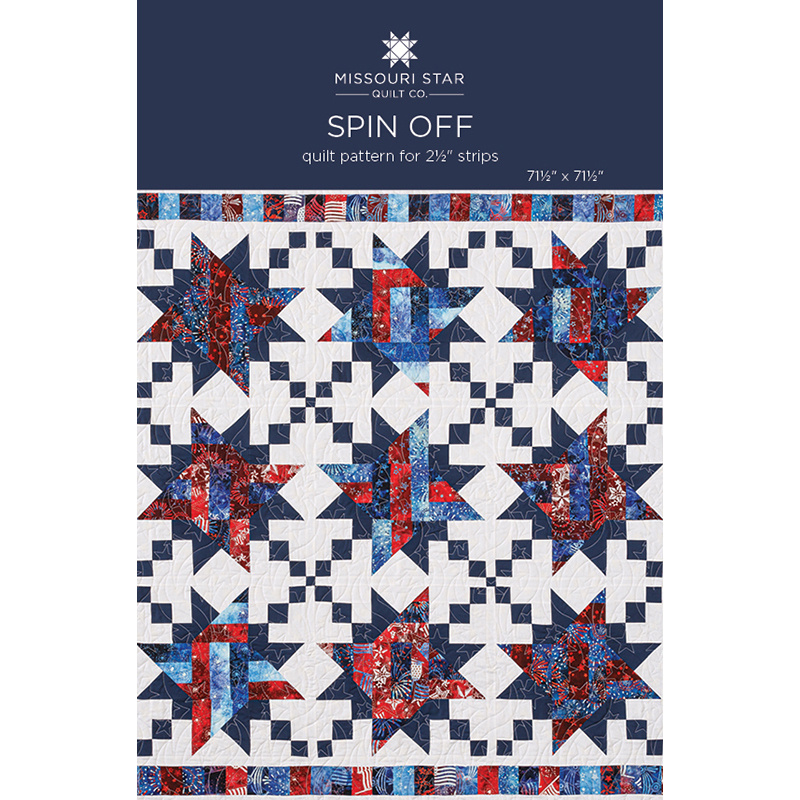 Spin Off Quilt Pattern by Missouri Star$6.95Shop →
 Digital Download - Spin Off Quilt Pattern by Missouri Star$4.95Shop →
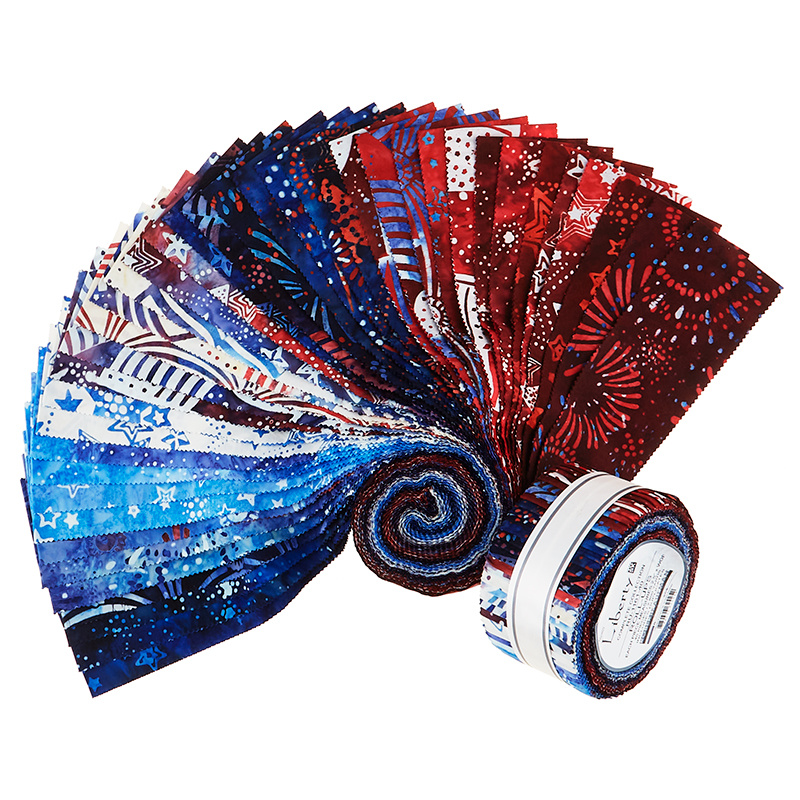 Artisan Batiks - Liberty Roll Up$41.95Shop →
 Kona Cotton - Navy Yardage$7.28Shop →
 Kona Cotton - White Yardage$7.28Shop →
 Clearly Perfect Slotted Trimmers$31.95Shop →
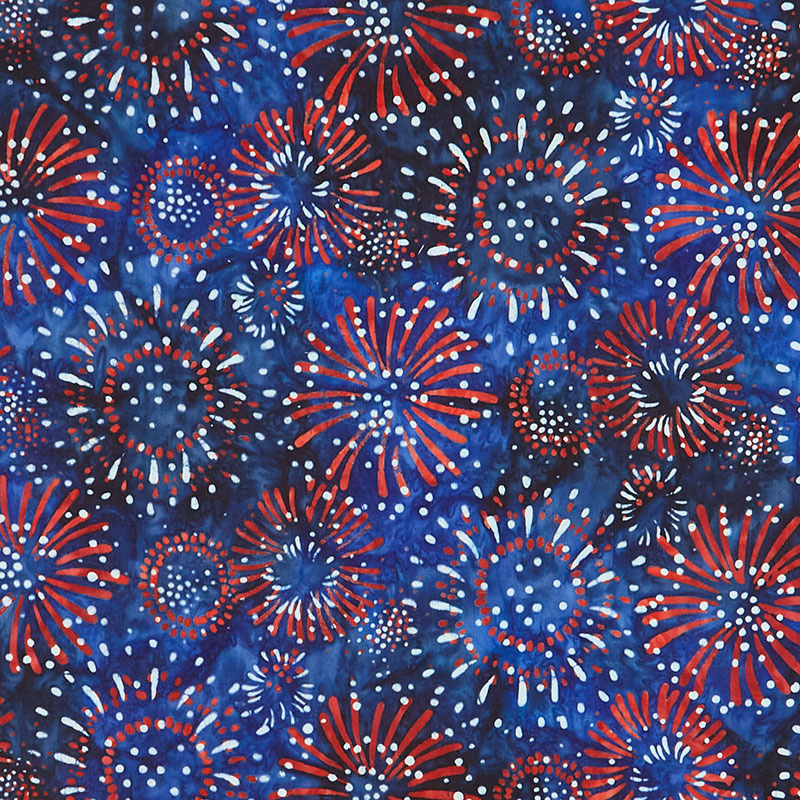 Artisan Batiks - Liberty - Fireworks Night Yardage$11.96Shop →
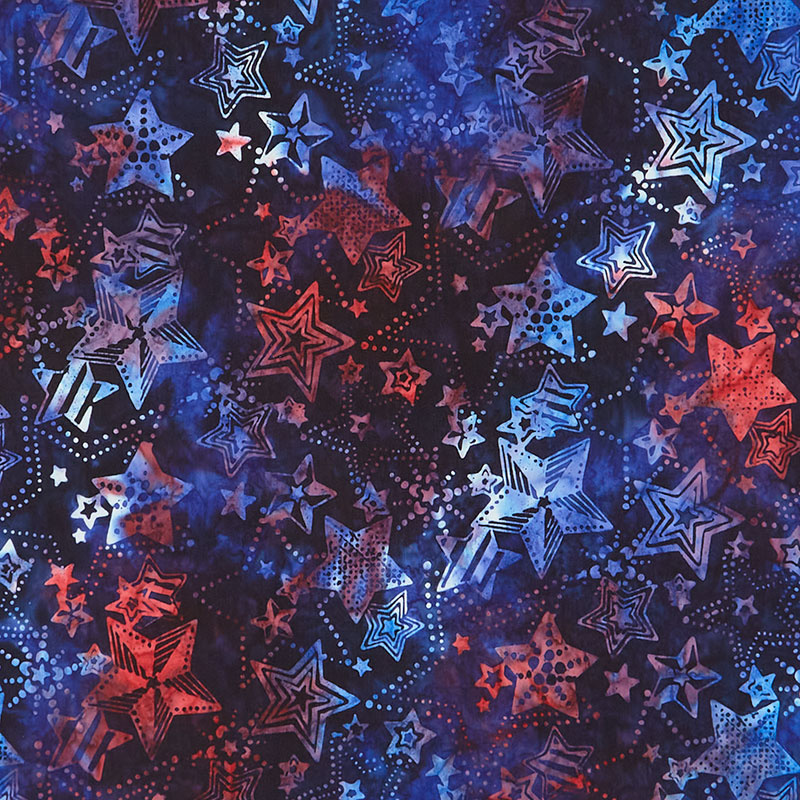 Artisan Batiks - Liberty - Stars Marine Yardage$11.96Shop →
 Missouri Star Quilter’s Best Blend Full Batting$32.45Shop →
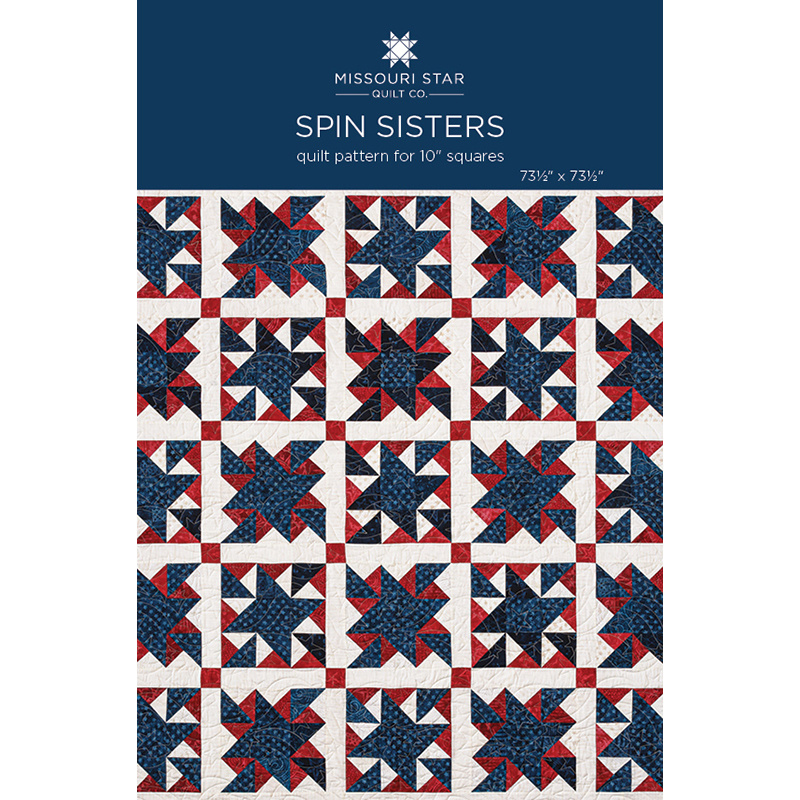 Spin Sisters Quilt Pattern by Missouri Star$6.95Shop →
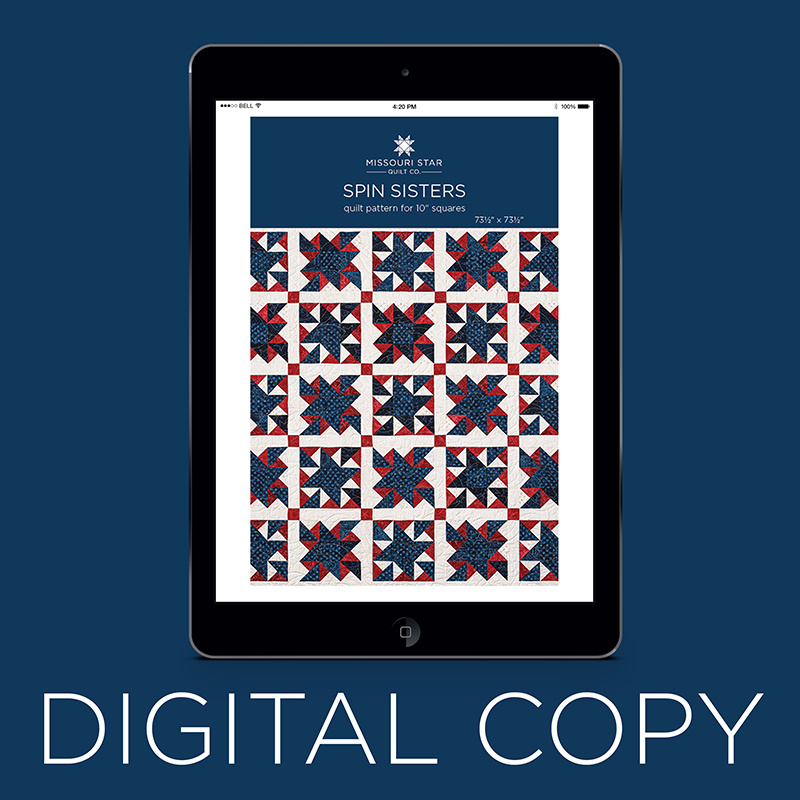 Digital Download - Spin Sisters Quilt Pattern by Missouri Star$4.95Shop →
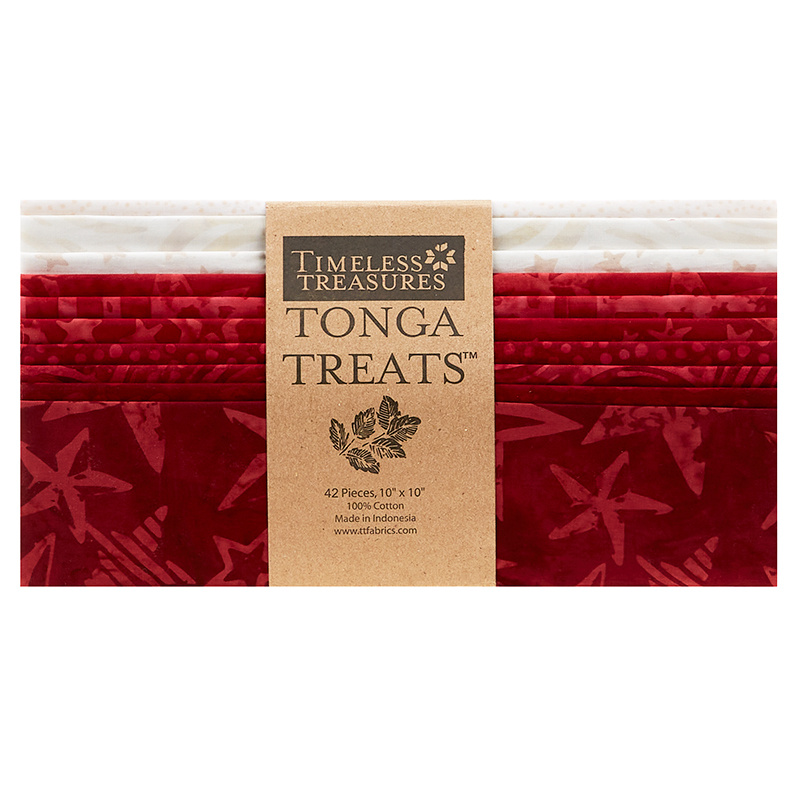 Tonga Batiks - Valor 10" Squares$42.95Shop →
- Kona Cotton - Navy Yardage$7.28Shop →
- Kona Cotton - White Yardage$7.28Shop →
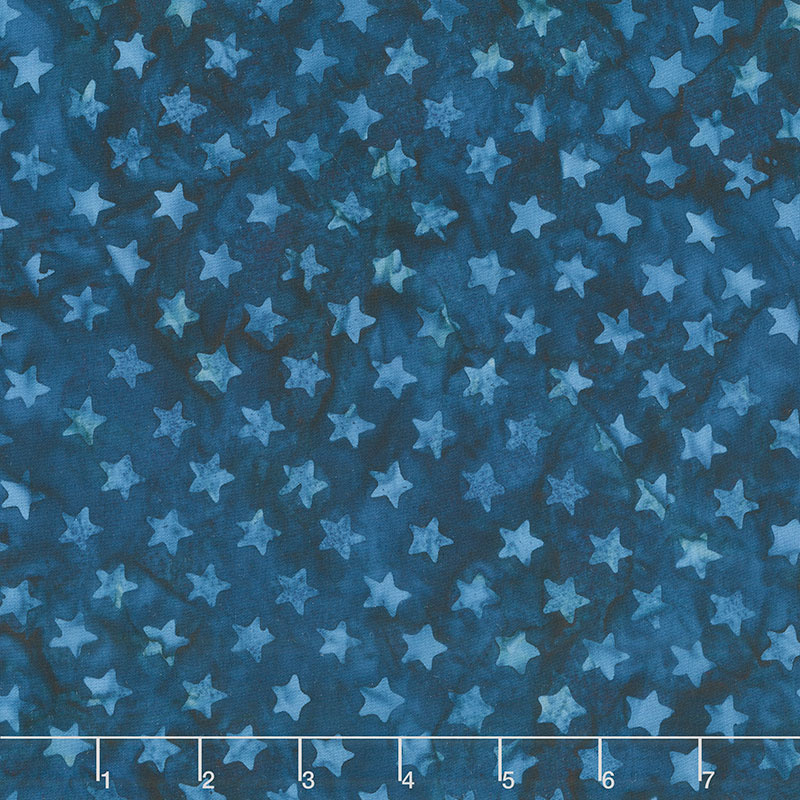 Tonga Batiks - Valor Small USA Stars Brave Yardage$11.96Shop →
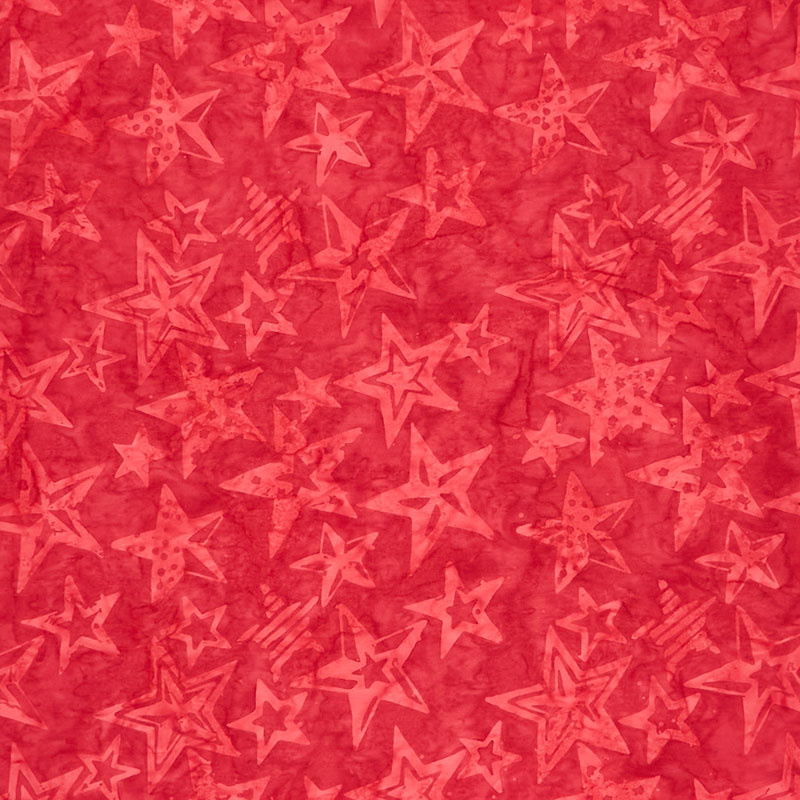 Tonga Batiks - Valor Large Stars Leader Yardage$11.96Shop →
- Missouri Star Quilter’s Best Blend Full Batting$32.45Shop →
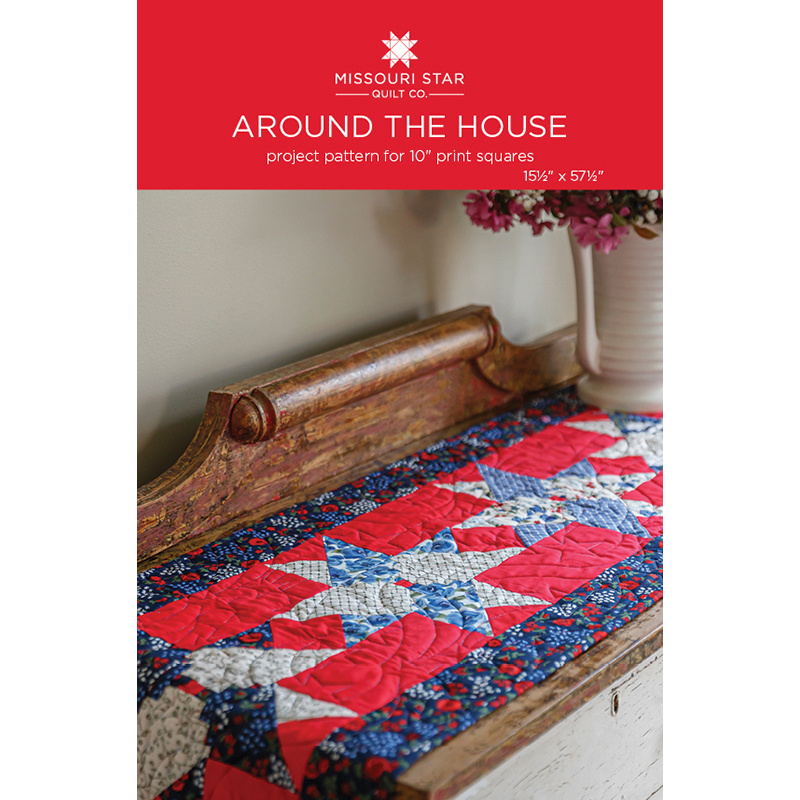 Around the House Quilt Pattern by Missouri Star$6.95Shop →
 Digital Download - Around the House Quilt Pattern by Missouri Star$4.95Shop →
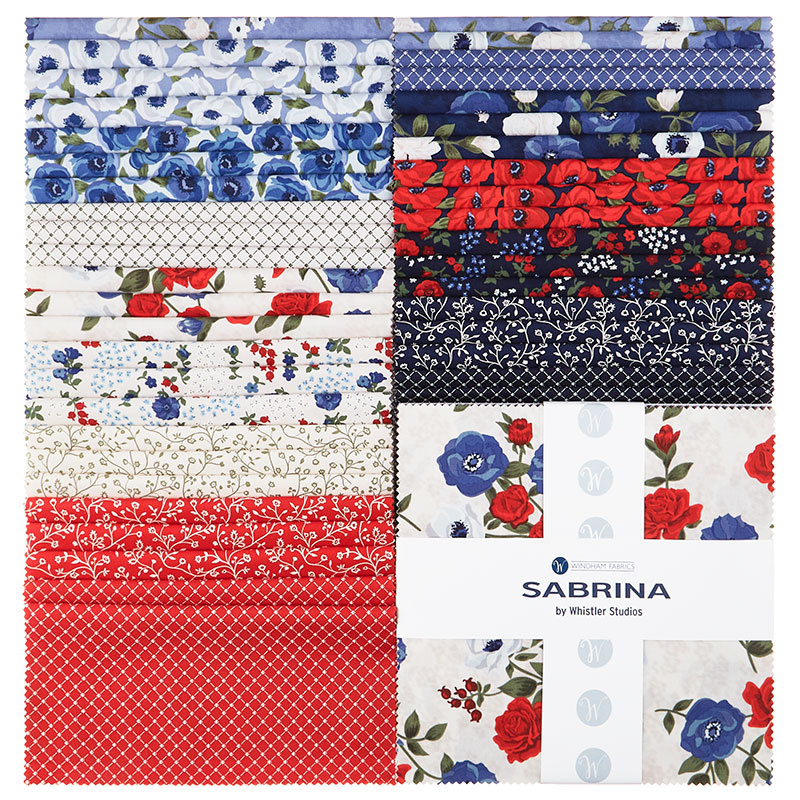 Sabrina 10" Squares$37.95Shop →
 Kona Cotton - Red Yardage$7.28Shop →
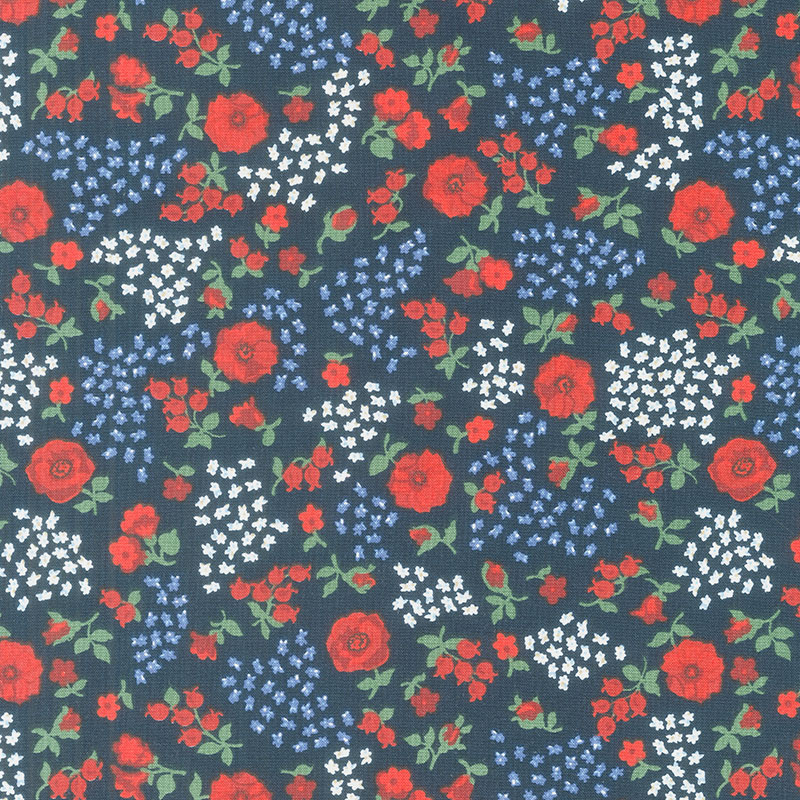 Sabrina - Flower Bed Indigo Yardage$11.96Shop →
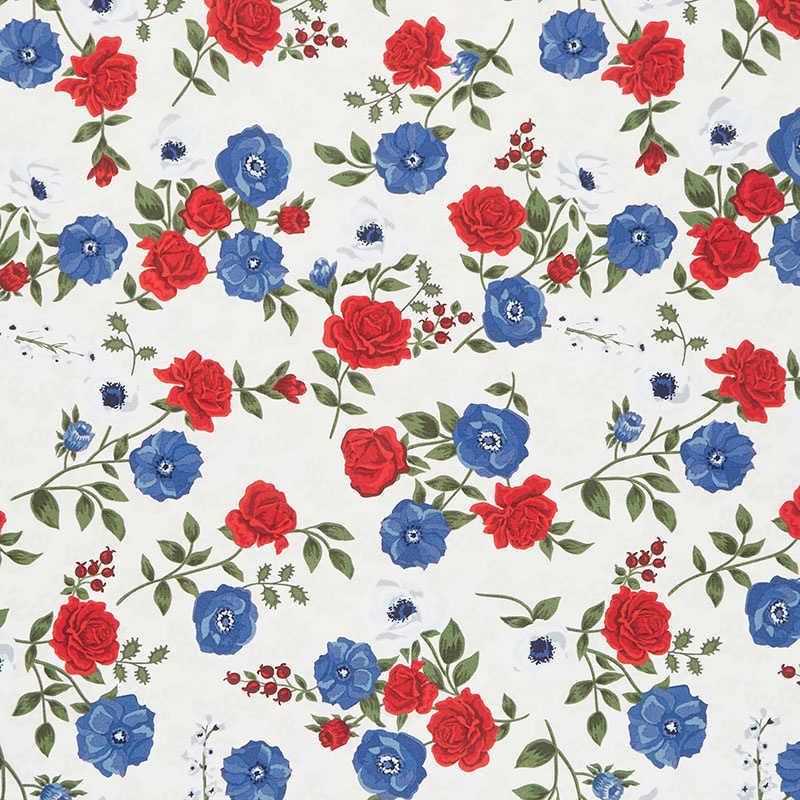 Sabrina - Fresh Cut Ivory Yardage$11.96Shop →
 Missouri Star Quilter's Best Blend Bed/Table Runner Batting$14.95Shop →
Common Questions
What is covered in Triple Play: How to Make 3 NEW Spinning Star Quilts - Free Quilting Tutorial?
Triple Play is a favorite tradition here at Missouri Star Quilt Company. Once a month, Jenny, Misty, and Natalie each demonstrate their own unique spin on a favorite block, technique, or template. In this episode, the talented Doan ladies show off three fabulous new quilts mad...
How long is the tutorial video?
The tutorial video is 00:49:24.
Are supplies listed for this tutorial?
Yes. The tutorial page includes the supplies and materials connected to this project.
Is a transcript available?
Yes. A written transcript is available on the tutorial page.
Video Transcript
Hi, everybody, it's Jenny, and it is Triple Play Day. I'm here with Natalie and Misty, and we have an awesome week for you today. So when I was very first learning how to quilt, I was quilting with my sister-in-law, and she taught me this block right here. And we're calling it the spinning star. And we are doing three variations on the spinning star. And Natalie, I think you're up first.
Natalie:
All right. All right, so my quilt is this one here behind me. I'm calling it Spin Sisters because I did the spinning star block in two different variations. So they're sisters, not twins.
Jenny:
I love that.
Misty:
That is so cute.
Natalie:
And it ended up 74 x 74. I did star-spangled for the machine quilting pattern.
Jenny:
I love that pattern.
Natalie:
And the backing is this beautiful red, it's a great line for...
Jenny:
Anything.
Natalie:
Any kind of...
Jenny:
Patriotic.
Natalie:
You got a patriotic quilt.
Jenny:
Which by the way, look at us.
Misty:
Yes.
Natalie:
Yes. We're...
Jenny:
We're just so patriotic today.
Natalie:
Just right.
Jenny:
We never know what we're going to wear.
Natalie:
We always dress appropriately.
Misty:
We try.
Jenny:
Alrighty.
Natalie:
All right, so to make my quilt, you're going to need one package of 10 inch squares. And I've used Tonga Batiks valor by Timeless Treasures. You're going to need some accent fabric, and that is because I tried to use the entire layer cake, and when I got nearer the end I ran out of blue.
Jenny:
Okay.
Natalie:
So you're going to need a yard and a quarter of the navy, and then you're stashing in inner border is this cream, and I just wanted it to be another boutique. It's beautiful.
Jenny:
I actually really love that they've finally started coming out with boutique lights. I felt like for a long time we didn't have...
Natalie:
They did have them.
Jenny:
We didn't have a lot of low lights. No.
Natalie:
Well, it's great.
Jenny:
It's perfect.
Natalie:
So, you'll need a yard and a half for your stashing and inner border, and then your outer border is a yard and a quarter. And I've done five-inch borders. So if you want your borders bigger, get more yardage.
Jenny:
There you go. There you go.
Natalie:
The backing, you'll need four and three-quarter yards, or if you're using a 108, two and a quarter yards.
Jenny:
Sure.
Natalie:
And then the other thing that's super helpful is this trimmer tool because you're going to want to square your blocks up, and this works great when you have that center seam, and we're doing quarter square triangles.
Jenny:
That's right. Quarter square triangles.
Natalie:
Yeah.
Jenny:
And it's good to line it up, have something to line it up on.
Natalie:
So those are the supplies you'll need. So let's go ahead and get started. From your navy yardage, you're going to want to cut some five inch squares and some four inch squares. And the block we're going for, is this one. And then there's one more, and we're going to make that one also.
Jenny:
Okay.
Natalie:
Okay.
Jenny:
So this, it's the same blocks...
Natalie:
The center square right here. These blocks all finish are these units all four inches.
Jenny:
Okay.
Natalie:
And so this center is the four-inch square, and then the five inch is for this color here.
Jenny:
Okay. Perfect.
Natalie:
So we're going to go through it step by step. So don't let me confuse you.
Jenny:
I'm going to get ready to sew over here.
Natalie:
All right. So the first thing we're going to do is pull a light and a red, a cream and a red, all of the blues, all the red and white, or red and cream, whatever, they get made into half square triangles. And then all of your blue squares get cut into five inch squares.
Jenny:
Misty, you probably want to iron these.
Misty:
Sure.
Natalie:
Yeah. It's easier ironed.
Jenny:
So can I say, I kind of do love how this is packaged though. It's kind of fun because you can see everything and they're folded up. Usually we see a big, flat layer cake. This is kind of fun.
Natalie:
So there's 15 of your blue squares. If your precut has a different amount, you may need different amounts of yardages.
Jenny:
Sure.
Natalie:
This is pretty specific to this line. All right, so we're going to do a make eight half square triangle. We're going to put these two together, and draw a line on both sides. Are going both directions diagonally. I don't think I need that anymore. I do need a little pencil right here, this will work.
Misty:
It's evading you.
Natalie:
It's tied up with a string.
Jenny:
When you have thread and pencils in the same draw.
Natalie:
You know, I think all sewests, all of us quilters have the same...
Jenny:
We can relate.
Natalie:
... drawer full of stuff.
Misty:
We do.
Natalie:
And the thread gets wrapped around things. All right, so if you will sow on either side, or both sides.
Jenny:
Both sides.
Natalie:
Of both lines, that would be great.
Jenny:
All right, there we go.
Natalie:
All right, excellent. So we're going to cut these vertically, and horizontally and diagonally. And we always start with our cuts vertical, and horizontal because there are no lines. And this is the easiest time to get that lined up just right. And then if your stuff gets messed up, you have those lines to go back to for the diagonals cuts.
Jenny:
Four nice cuts.
Natalie:
All right.
Misty:
Beautiful.
Natalie:
So we're going to press these open.
Misty:
Okay.
Jenny:
It looks like my tension is a little wrong down here. I'm going to check that while she's ironing.
Misty:
That sounds good.
Jenny:
Sometimes.
Natalie:
Just a tiny bit loose, I think.
Jenny:
Sometimes you just got to check that tension.
Natalie:
All right, so we're going to draw a line on the back of these because it's easier to see it on the cream and you can at least get halfway through. If you have a white pencil, that might be... You could do it on your... Draw the lines, or press the lines on your navy fabric, but I just went with the back of the cream.
Misty:
Makes sense.
Natalie:
It worked for me. You can see it on the red as well. So the cool thing about this is because you get so many half square triangles, and we're putting the blue on it, you're going to get a set for one block, and a set for another block.
Jenny:
Okay.
Natalie:
You're going to have to make two blocks out of two layer cake squares.
Jenny:
That's perfect. Do you want me to start sewing these?
Natalie:
Yeah.
Jenny:
While you're drawing?
Natalie:
So what happens is these are a little bit smaller, so you're going to want to center that up pretty much. It doesn't have to be centered. That's just how I did it.
Jenny:
Okay.
Natalie:
You could put it up into one corner if you wanted to, but it didn't make sense for me to cut them any other size.
Jenny:
Right.
Natalie:
Because I cut down...
Jenny:
The same thing happened on mine.
Natalie:
I cut down from layer cake squares, and it doesn't make sense to cut them smaller. It's so minor. I didn't want to do any extra cutting.
Misty:
That makes sense.
Natalie:
And make sure you don't bother squaring your half square triangles at this point because that again...
Jenny:
Because we'll square them all at once.
Natalie:
Just extra cuts at that point.
Jenny:
And we're sewing on both sides of this line as well.
Natalie:
Yes.
Jenny:
Okay.
Natalie:
Sewing on both sides of the line, this is going to give you some really beautiful triangles.
Jenny:
All right, let me look at this. It's a little better. All right, let me turn one more.
Natalie:
We don't have to do all of these, because I've got some already made.
Misty:
All right.
Jenny:
I'm just going to do one more.
Natalie:
Okay. You do one more, that'll be perfect.
Jenny:
There we go.
Natalie:
Excellent.
Jenny:
And I got my stitch perfect. That's what I was checking for.
Natalie:
Awesome. Okay, so we're going to cut these in half, and then we're going to take our clearly perfect, and we're going to square them to four inches.
Jenny:
And this comes in so handy, because it has the two seam lines.
Natalie:
It really does. It keeps everything lined up nice and straight, and makes these really beautiful square, quarter square triangles. And you can use the notches to cut off the little corners so they're not in your way. Will you press that open?
Misty:
Of course.
Natalie:
Okay. All right, so you're going to want to make sure that you've got your seam line on this dashed line of the trimmer, and that your straight line lines up with the seam that goes straight up and down into that corner. And we're going for four inches, and that will give you that perfect square. Trim off those corners, and then trim your little triangles off.
Jenny:
And there are two trimmers that come with this set. One is for the whole numbers and one is for the half numbers. And this is the trim trimmer...
Natalie:
That's true. This is trimmer B.
Jenny:
And so it's all 1, 2, 3, 4, 5, 6.
Natalie:
Full inch sizes.
Jenny:
And then if you have squares that are actually larger than this, they have one that goes all the way up to 12, I think. And so these are smaller ones and these are the ones we finally use the most.
Natalie:
I do. I was using a larger trimmer when I made my quilt, and I noticed that at the very top where the smaller sizes are, they don't have these little dashes.
Jenny:
They don't have the little notches.
Natalie:
So.
Jenny:
I always forget to use them.
Natalie:
Which I think it's not a big deal.
Jenny:
No. No, people always say, what are those little slips for? And I'm like, I just forget to use them.
Natalie:
Yeah.
Misty:
They are helpful to get rid of the bulk though.
Jenny:
They are.
Natalie:
Okay. So you'll notice that for each of these traff square triangles that we did, we got two separate blocks. See how they're different?
Jenny:
Opposites.
Natalie:
They're opposite. So I kept mine in little piles. I just put the ones together, and because we've done this one and I have to look because I get so easily confused by these.
Jenny:
I'm the same.
Natalie:
These ones line up like that. We're going to go ahead and make this block. We're going to put it together, so all of these blocks are set exactly the same way. And that's the toughest part of the block.
Jenny:
Sure.
Misty:
Just keeping them separate?
Natalie:
Now we're just going to lay it out. All right, so I'll start with the one in the middle, and then what I did is I put my blue to my blue, my little mantra. And these go all the way around, just like that.
Jenny:
Does this go this way, or does it turn this way?
Natalie:
It goes this way.
Jenny:
Okay.
Natalie:
And this goes that way. See how it makes a little friendship star?
Jenny:
Okay, yeah.
Natalie:
And then these ones they line up at the top with the blue and the whites touching.
Jenny:
You do need a mantra for this.
Natalie:
So this one is turned, these two are the same, and this one turns, so you're blue and your white is always going to be the parts that are touching, but I made one, wait a second, this that's right, okay. I just saw that the red was there and I was like, I'm doing this wrong. No, I'm doing the opposite. All right, so then you'll notice if you're looking at it, you always have your blue friendship star in the middle, and then the one set is going to have the red background, kind of like a little cross looking thing. And the other set will have a white background.
Jenny:
Okay.
Natalie:
Does that make sense?
Jenny:
Shall we sew it together?
Natalie:
So let's sew this together, and then you can see the difference.
Jenny:
You can show where the blocks go in the quilt.
Natalie:
Yeah. And I will say that what I did with these, is I laid them out like this, and I stacked the entire set in one tall stack, so that I didn't have to lay it out over and over and over.
Misty:
That makes sense.
Jenny:
That's a good hack.
Natalie:
So.
Jenny:
All right, so we've got this guy. That guy goes to the blue, blue to the blue.
Natalie:
Yeah. They do tend to have similar down, down, and then this side is the same, down, down, down.
Misty:
They kind of spin all the way down.
Natalie:
It does have a spin that it kind of will help you keep it.
Jenny:
Hence the spin sisters.
Misty:
Yes.
Natalie:
That's right. Sisters not twins. I did do a sash, and I felt that it looked really busy when they were all put together right next to each other.
Misty:
Well, and I love that by doing that you can really see the two different blocks. It makes them stand out.
Jenny:
One more little bit girls.
Natalie:
All right.
Misty:
All right, let's give it a press.
Natalie:
Press it, and then we're ready to show the two blocks.
Misty:
There we go.
Natalie:
So you can see them side by side, kind of.
Misty:
Want met to hold one?
Natalie:
Sure. And then here on the quilt, I just did every other one. So we have a red, and a white, and a red, and a white, and a red. There are 25 blocks, so it's five by five. And I just did a little sashing strip. These are two and a half inches by the size of the block, which I believe is 11. It's 11 inches square unfinished. So cut yourself some 11 inch strips and then two and a half inch squares out of the border fabric.
Jenny:
I was going to say that's out of the border fabric. That makes it really fun.
Natalie:
And this is all included in your fabric amounts.
Misty:
Awesome.
Jenny:
That's perfect.
Natalie:
I think it went together really easily, and I think it looks really fun. I think it'd be great for any kind of...
Jenny:
Gosh, any fabric.
Natalie:
... patriotic quilt, but it would also be really cute in other fabrics.
Misty:
Beautiful Natalie, love it.
Jenny:
Absolutely. Absolutely.
Natalie:
All right, hope you like it. So I'm thinking you're up next.
Jenny:
I'm up next. So this is my quilt and I called it spinoff. This is the block I'm talking about right here.
Misty:
So pretty.
Jenny:
And so I had a few other little challenges. I think it looks really cool. I love how it all came together, but finding those right measurements, that's not my forte. So we worked a little hard on that. So to make my quilt, you're going to need one roll of two and a half inch strips and I used artisan boutiques Liberty by Studio RK for Robert Kaufman. You're going to need some accent fabric, that's our navy right here, and you'll need a yard of that. Our background, I used the Missouri Star tone on tone, of course I did.
Misty:
That's beautiful.
Jenny:
Anyway, you'll need two and a quarter yards of that. And that includes your inner sashing, and your middle borders, and all the stuff, that's all you'll need for that. Our outer border is this one right here, is the little...
Natalie:
Fireworks.
Jenny:
...fireworks. I'm like those things.
Natalie:
Those flashy things in the sky.
Jenny:
And I have a six-inch border out here, and you'll need a yard and a quarter for that. Our backing is...
Misty:
That's so pretty.
Natalie:
That's so pretty.
Jenny:
Isn't that fun?
Natalie:
I love it.
Misty:
Has a variety of colors.
Jenny:
A little bit of a tie-dye look to it.
Natalie:
It's really nice.
Jenny:
And the quilt came out 71 x 71, I think it's a great size. And I had a jelly roll to work with, so it's a little bit different, so I don't know if I mentioned backing four and a half yards, let's make sure we get that in there. My quilting pattern is also star-spangled. We had these...
Misty:
It's a great one.
Natalie:
It really is.
Jenny:
... it's nice to work with, and I love it. It's just the stars aren't too big, and then it has these swirly lines in between it.
Misty:
Gives it some movement.
Jenny:
Yeah, I think it looks really great.
Natalie:
I think so too.
Jenny:
So, Let me show you how to make this. So to make my quilt, I had jelly roll strips to work with. So I had to create my own fabric, which means I had to sew strips together. So I sewed three together right here, and when you sew three strips together, they come out. So my rule is however tall they are, that's how wide you cut them, right?
Natalie:
Okay.
Jenny:
So this one should come out just about six and a half.
Natalie:
I think you and your strips look great.
Misty:
Beautiful.
Jenny:
I'm going to straighten up this edge right here, and then I'm going to measure it, and it says six and a half. So I'm going to come over six and a half, so my ruler is five. One more inch is six and a half, and I'm going to make sure this is on the line. And I'm just going to cut my whole strip set into six and a half inch strips. And then what we're going to do is we're going to make these outer blocks right here. And so what I did for that was I took my two layer cakes, I cut my 10-inch squares, my accent fabric into 10-inch squares, sewed all the way around it, added my Missouri star white to the other side, sewed all the way around it, cut it diagonally both directions.
What that gives me is four of these, and you can see how this will happen right here. So we just cut it both ways and you get four of these. And this actually works out to be about six and a quarter. We don't want to trim either one of these. We don't want to do any squaring yet.
Natalie:
Right, save the cuts.
Jenny:
Right, but what we're going to do is we're going to draw the line on this, and this is the same as with Natalie's quilt, we're making these quarter square triangles, and so I'm going to center this on here, and it doesn't matter which way my strips went. So this square is going to be a little bit bigger, but what we're going to do is we're going to square them up. So if you'll sew both sides on that.
Natalie:
Sure.
Jenny:
That would be awesome. And we'll get making on that star. You guys know I love blocks that look like you worked really hard, but they're pretty easy. So we're going to cut this in half on the line right here.
Natalie:
That's the fun of quilting I think.
Jenny:
Right? And then what we're going to do is we're going to square this on this side to six inches. So I'm at the very bottom of my ruler lining it up on the sew line, lining this line up on my quarter square line, cutting around both sides. And I get to very easily do these little things because it's at the very bottom of the ruler. I don't even have to go in this slot. And so we're going to do the same thing over here, line up my sew line with their sew line. And of course you can do this with a regular square ruler as well. This just makes it easy because it's got the two lines to measure with. And so we'll trim those off, and when you do this, you're going to get four of these from each 10-inch square, which means you're going to get eight blocks from each one. So if you'll press those flat, and so you're going to get four going one direction, and four going the other direction.
And I actually did not worry about, I have both on my quilt as well, but you can't really tell that one's going this way and one's going that way. And so here's our pieces and you know, just want to make sure that you're putting them in the right pile. See this one is the opposite. So I have an opposite pile down here. Let me see, just like Natalie did. So the other thing is because all of our little blocks are squared to six, our middle block, our strip block is six and a half, but it needs to be cut down to six, and so I've already done that on this one, but it's basically, I just trimmed like a quarter inch off of this side and a quarter inch off of this side to make it six inches, because that has to be the same as the block. Now we're going to set these aside for a minute because I'm going to show you these blocks out here, which I think add a great deal to the quilt.
And it's just a fun corner block. The one I showed you to begin with, there was nothing in the corners, and so I think we've all taken advantage of those fun corners and done that. So what I did was I made a four patch, and I sewed my two accent fabric and my Missouri star fabric together. Cut them at two and a half inches, and I always cut mine before I iron them, just like this. And then you're going to put them together, just like a four patch, like this. And I have one here ready for you to put together Nat.
Natalie:
Okay.
Jenny:
And so it will go just like this. And so we'll put those together, and if you press to the dark side, then these little seams right here will just nest up so tight, and there'll be nothing, no fabric in between them, and you'll have a really nice point in the center there. All right, Misty, if you'll press that.
Misty:
Of course.
Jenny:
And so on this, what we're going to do, is we're going to take a two and a half inch strip of our white background. I'm going to cut off my salvage and my fold. I've kept it folded all the way in. And then you're going to cut these little pieces at four and a half, and both of them are cut at four and a half like this. And so just go up your whole strip and do that. And then we need to cut some two and a half inch squares off of our blue. And so I'm just going to cut one because that's all I need for this block right here. So we're going to sew, and this is just a little hack. So this is how when you do something over and over again, you find out the easy ways.
And so what I did was I took this one, and I sewed it to the blue right here first, and then I sewed this one to the side of this. So then when they're together, you just open them up and they go right together.
Natalie:
It's a chain piece hack.
Jenny:
It's a chain piece hack.
Natalie:
I love it.
Jenny:
So you're going to sew the two and a half inch blue square to the four and a half inch white. And then you're going to feed this one in right behind it.
Natalie:
Okay, there it is.
Jenny:
And you're going to need four of these for your corners.
Natalie:
There we go. That seam tried to just turn on me.
Jenny:
So now let me show you how this works. So then when you open these up, they're ready to go in their right place. And so you can just put that on there and.
Misty:
I love this little hacks.
Jenny:
I know. Well, it's funny because we cut all the pieces, and we do all the things, and we are sewing and all of a sudden we're like, wait a minute, if I sew this, then this'll make it easier. So you are perfectly welcome to just take half of those and sew down the sides of your blocks, and the other half sew the little strips too and put them together. This just worked for as I got going, this worked for me really well.
Natalie:
I think it's great.
Jenny:
All right, so then we're going to iron this, press it really nice and flat. All right, now since my blocks rarely come out perfect, rarely. And this needs to be trimmed down to six. I feel like it's a little gift for me.
Misty:
Yes.
Jenny:
And so we're always going to trim this side that we added on. Always never trim your four patch, always trim this side. And so if this side over here is perfect, line it up with your line on your mat and then cut this off at six inches, because we need it to match the size of our other blocks. So then we're going to turn it, and this one is a little tiny bit wonky over here, so I'm just going to clean that up, just barely clean it up. And then I'm going to set this straight and put this one on this line and this line. And then I'm going to come over and cut this one at six too. I'm going to six also. And what that does is, one of the things I love about this is that when we set this into the quilt, it actually looks like you did some really fun small pieces. So always keep your large four patch to the center.
So let me show you how we lay out this block, so I can show you how we did this. So this is our center, and then these right here, my mantra was that my white is always on the outside. So that way it didn't matter, once I stacked up my squares with their matching partners, the white always went to the outside, and then it made the friendship star, because I kept messing up the French star and I'm like, there's got to be a mantra. So we're going to do this. And then with our four patch units that we made, the largest four patch, the four patch part goes into the center like this.
Misty:
So fun.
Natalie:
It's really pretty. I love how that chains in the background.
Jenny:
I love it too. And so let's go ahead and sew this together. So we'll lay these on here, but anyway, I mean let's take a look at it first actually. So let's just glory in this moment.
Natalie:
It's beautiful.
Jenny:
Our block is together, and I did keep my same strip set together.
Natalie:
And this one is the opposite of that one.
Jenny:
Well, it sure is, but I didn't even notice that, because I'm just all about making the block. All right, so do that one. I'll try to line these up for you.
Natalie:
All righty.
Jenny:
So you can just go from one to one.
Misty:
Well, and you get a nice big block with this too, which is always great.
Jenny:
You do.
Natalie:
Makes a big quilt quick.
Jenny:
Well, and that's actually, I was looking at all this out, and all the sashing and all the stuff, and I was like, nine blocks is good.
Misty:
It looks great.
Jenny:
But then I had some leftover strips, so that's where this part came in. So we'll talk about that in a minute. Here's this one.
Natalie:
Okay.
Jenny:
I think that's just right. And then if you want to pull that down and we'll add this guy onto the next first row.
Natalie:
All right, like that?
Jenny:
Large four patch in.
Natalie:
Okay.
Jenny:
There was a couple, the reason I say this large four patch in is generally actually the reason we bring anything up when we're teaching you is because we've made the mistake.
Misty:
We learned the hard way.
Jenny:
We've made the mistake, and so I always get this mantra, large four patch to the center, largest block, and that one print to print. And my mantra was the white right to the outside. It's interesting, we all have different brains and it's just all how it works for you is the best. And that's one of my favorite things about triple play is that, we all teach a thing a little bit differently and it works. For instance, look at my table, I'm a mess. This is actually how I create.
Misty:
It works great.
Jenny:
It works for me for sure. I'm pretty sure I'm not the only one with the messy sewing room.
Misty:
Absolutely not.
Jenny:
Or sewing table at least.
Natalie:
I don't think so. I think all of us are a little messy.
Jenny:
Now on this, when you put these together, even though they're strips, you really only have to match these two seams. And even those are not really going to show up too much, and so. I think you're going to lose your thread.
Natalie:
Did I loose it?
Jenny:
Yeah.
Natalie:
Hang on.
Jenny:
Nope, you did.
Natalie:
Bummer.
Jenny:
That's all right. I got you. Mamas can help. There we go. This is not the sewing machine Natalie regularly sews on, and so she doesn't know the thread trick. And so I'm always...
Natalie:
I'm working on it.
Jenny:
I'm really.
Natalie:
Every time I'm here I try to figure it, try to learn it.
Jenny:
I work on this machine all the time, and so I'm very, very good at the thread. And that is a cool thing to know, whatever you want to get better at, you just practice more.
Natalie:
That's true.
Jenny:
Like lining up those seams.
Natalie:
I do like my machine though.
Jenny:
We all really get used to our own machines for sure. Somebody asked me one time, what kind of machine do I need to make what you're making? And I'm like, one that runs. It just needs to run.
Misty:
A good straight stitch.
Natalie:
All right.
Jenny:
I'm just going to line those up, match those two middle seams.
Natalie:
I'm working on it.
Jenny:
And our block will be finished. And then Misty will get to iron it. Am I making you feel rushed, Natalie?
Natalie:
Just a tiny, just a tiny bit. It's okay.
Jenny:
All right. I'll stop. I'll stop.
Natalie:
I'm getting there.
Jenny:
You're good.
Natalie:
Just matching seams, trying to make it look good.
Jenny:
I do love when I get a different cut because as a jelly roll, you really are creating your own fabric pieces. And you could do that with any number of strips or pieces or whatever.
Natalie:
There you go.
Jenny:
All right. If you want to press that.
Misty:
Of course.
Natalie:
And hopefully I matched them all up well.
Jenny:
They look great.
Misty:
It looks beautiful.
Jenny:
That is one of the blessings of using a jelly roll is that everything is like, your eye doesn't land anyone's spot, particularly.
Misty:
Not so much pressure on the...
Jenny:
So here's our block, and then what we did was, let me clip this thread right here. Let's take it back to the quilt here. I have nine of these, they go here and I put this little inch and a half sashing, and a little inch and a half square. And I did that to make it draw it in...
Misty:
It's really cool.
Jenny:
... make it go in smaller.
Misty:
A small, medium, large.
Jenny:
And so I literally sewed my sashing on like this. So that's just how I did the sashing parts on this. And if you're sashing strip is an inch and a half, then your little square needs to be an inch and a half as well. And then I had a bunch of strips still left over, so I went ahead and you get a piece about this big left on the end of your strip from cutting your blocks, anyway. So I just kept those piled up, and I just sewed them together, and added a border in here on the side. And you can see I still actually have some pieces left. And I didn't worry if I had a partial block or anything like that. I just went ahead and sewed them on, I figured...
Misty:
So is that like four inches or three?
Jenny:
This is actually, let me measure, I think it's three. Three, three and a, wait for it. I'm going to measure this end. This end looks, they're three.
Misty:
Three inches?
Jenny:
Yeah, three inches.
Natalie:
Okay.
Misty:
Okay.
Jenny:
And so this little three-inch border, and then it added another inch and a half, and then finished it off with a nice big six inch border.
Misty:
It's just beautiful Jenny.
Natalie:
That's great. I love it. I think this is...
Jenny:
I think it came out really fun.
Natalie:
... this is such a lovely picnic size, it's awesome.
Jenny:
It's great. And of course, if you want...
Natalie:
I think it would make a great table topper too, just one square in the middle of a table, wouldn't that be pretty?
Jenny:
That's absolutely true. Or three, or four of these big ones for a runner, or even a bed runner when you know.
Misty:
Absolutely.
Jenny:
When you have a nice big block. It would make a great bed runner.
Natalie:
That'll be cool. That will dress it up for the holiday.
Jenny:
Right?
Misty:
Yeah.
Jenny:
Right.
Natalie:
I like it.
Jenny:
All right. Well Misty, I think you're up.
Misty:
All right. All right, so this is my project. I just did a little table runner this time. We host the 4th of July at our house, and I am always needing small things to kind of dress up the house. And so this seemed like the perfect time to make another little...
Jenny:
It's perfect.
Misty:
... runner.
Natalie:
I love it.
Misty:
Thanks. And so to make this, you will need one package of 10-inch squares. And I use Sabrina by Whistler Studios. I really only use 10 squares.
Jenny:
So you could actually make four.
Natalie:
Four tables runners.
Misty:
Absolutely. Absolutely. And then you'll also need a half yard of background. I use this beautiful red. And then for your outer border, you'll need a half yard and a yard and a half for your backing fabric. So let me show you how to make this. Okay, so this is my block that I made, and I have a little courthouse step in the center, which I had a couple of things I wanted to do. I really wanted that courthouse step in the center, and I wanted to figure out how to make all of my stars spin the same.
Jenny:
Okay.
Misty:
So if you notice, I don't have any opposites in mind.
Natalie:
That's interesting.
Misty:
I probably made myself work a little harder to get this, but it was a fun challenge. And sometimes you just need a fun challenge.
Jenny:
Well, and I love that you focused on the center instead of these outside corners. So that's fun too.
Misty:
Exactly. So to begin with, I just picked a light and a dark of my 10-inch squares. Since I went with that red background, I stuck with the white in the blue mostly. And then we are going to cut this in half, both directions. I'm going to stack them up nice and straight, because we're going to cut them both exactly the same. So I will just lay my ruler along here and I'll make a cut this way.
Jenny:
This ruler is so great for working with precut because it's five inches and most of the pre cuts are 10. And so it just, well, all the layer cakes are 10 for sure.
Misty:
All right, now that we have all of our five-inch squares cut, I'm going to cut one of these corner to corner once, and one of these corner to corner twice, just like this.
Jenny:
Just a little safety.
Misty:
Thank you. I appreciate it. And then one of these I can set aside, and then the other one. Yes. Thank you. I'm going to cut down into one inch strips.
Natalie:
Tiny, tiny.
Misty:
Tiny little strips, but so fun. Just like so.
Jenny:
The whole thing?
Misty:
The whole thing all the way across. Just like that. And the reason I did this is because I figured out that I could get the angles that I wanted. And so that I'm also going to do the same thing, and cut one five-inch square of my background both directions. So I have my little triangles.
Jenny:
I'm going to get ready to sew, because I think some sewing's coming.
Misty:
It is.
Natalie:
Some tiny sewing.
Misty:
Some little sewing, but you can do it. I know you can.
Jenny:
I can do it.
Misty:
All right.
Jenny:
That's the thing about small things. Well, it's not my go-to, it's just, it's not harder.
Misty:
It's not.
Jenny:
It's just smaller.
Misty:
Absolutely.
Jenny:
So don't get afraid of it.
Misty:
So then we are going to pair these up, and you just kind of have to lay it out to start. So let me do that to begin with. So we're going to put one of these here. And then with that we put our little light, and this. And so we're going to sew these together.
Jenny:
Now are all your blocks exactly the same?
Misty:
They're not.
Jenny:
Okay.
Misty:
So you have two like this, and two that are the opposite.
Jenny:
Okay.
Misty:
And so this one is exactly the same. You'll make two like this.
Jenny:
And I would probably just stack them.
Misty:
Absolutely. And that's what I did. I just started making my little piles. And then you'll start by sewing your red on top of your white.
Jenny:
Okay.
Misty:
And then you're blue to that.
Jenny:
Let me start that one.
Misty:
Okay. And then on your other, we are going to have our large white pieces. And then our background comes in like this. And these are exactly the same too. So you'll see we can turn them.
Jenny:
I hope I put these on here right. You're just going to check before you...
Misty:
You got to sew them so they're laying the same way.
Jenny:
I do have to sew them soo they're laying the same. Good. Let's see, we got this one and we got Wait for it, this way. All right. All right, make sure those are the same.
Misty:
Press them open.
Jenny:
Before I start.
Misty:
Make sure you got it right.
Jenny:
You guys, these little quarter squares, you got to pay attention.
Misty:
You got it though.
Jenny:
All right. So then I'm going to put them on here.
Misty:
Exactly.
Jenny:
All right. And the red at the top, right?
Misty:
Yup.
Jenny:
These aren't going to line up exactly.
Misty:
They're not exact, because it's the same kind of thing. We're going to square them once at the end, so we're just not going to worry about it until we get there.
Jenny:
Okay.
Natalie:
Are we pressing them?
Misty:
You don't need to press them yet, because I'm going to use the clearly perfect.
Natalie:
Okay.
Jenny:
It's interesting to me because you girls, that's not your go-to brain ruler.
Misty:
No, it's not.
Jenny:
But it's so perfect for these.
Misty:
So then along this side, slide in this side, then we'll do the same. Perfect. Thank you. So then just like we have seen in the past, we are going to square these to four. So I'm looking at my seam line across here, and my seam line going up and down. And then I will just trim these, just like so. And then now you can press that little bit.
Natalie:
Awesome.
Jenny:
It will make it a lot easier for you guys if you have your own Misty handing you the fabric.
Misty:
Absolutely.
Natalie:
That is true.
Jenny:
And your own Natalie who irons it.
Misty:
Team sewing. Nothing better. There we go. Let me see here. And just one more to square, and then we'll move on to our little centers. Get that to lay down so you can see it.
Jenny:
Tiny little babies.
Misty:
Just like so. All right.
Jenny:
Squaring has really become one of my favorite things. I didn't do it for so long.
Misty:
It's satisfying to me.
Jenny:
But then you have this perfect block, when your block starts off looking kind of a mess.
Natalie:
Everything goes together so nicely too.
Misty:
All right, so then now we have our little background, one inch square. And I started with my blues, and we are just going to sew on either side.
Jenny:
Okay.
Misty:
So I can cut it at one.
Jenny:
Yeah, go ahead.
Misty:
You want me to? Okay.
Jenny:
Just for that middle part.
Misty:
That might make it easier. So there's one.
Jenny:
One inch square.
Misty:
I know, they're so little, but that's, you're only making five, just to make your little runner. So it's a fun challenge.
Jenny:
And just so you know that you can eyeball that straight line because it's...
Misty:
It's really short.
Jenny:
Very small.
Misty:
But this is one because they're so little. I pressed a bunch in between and I starched my fabric so that I had a better time working with it. And so if you want to set up your iron right next to you, so you just have your little nest ready to go. It makes it go pretty quick.
Natalie:
It's great.
Misty:
You did it.
Natalie:
All right.
Misty:
We'll press that.
Natalie:
Press this tiny thing.
Misty:
And then we'll add our white. This should measure right at two inches, and it does. And so I just sewed this on either side.
Jenny:
Okay. Let's do it.
Misty:
Or you can just cut it in half, honestly. And then you'll have a little extra.
Jenny:
You'll square it up.
Misty:
Yup.
Jenny:
All right. So we'll just start here. Now, courthouse steps is a variation of the log cabin block, but it is all done, same colors, opposites.
Misty:
Opposite sides.
Jenny:
Your lights and your darks are going to go this way. So it's a fun little block. I feel like we've done a tutorial on the courthouse steps.
Misty:
I'm sure we have.
Natalie:
Probably a long time ago.
Misty:
A long time ago.
Jenny:
Maybe that would be a fun triple play.
Misty:
That would be, you want to press that and then I'll square it up?
Natalie:
Yes, I do.
Misty:
All right.
Natalie:
It's so little. I'm not sure if I've got it just right.
Misty:
It looks good.
Natalie:
Okay.
Misty:
All righty.
Natalie:
Best wishes.
Misty:
Thank you.
Jenny:
Best wishes. Good luck.
Natalie:
Hope it works out the way you wanted it too.
Jenny:
And she's squaring it, so it's going to work out great.
Misty:
Should be just about two inches again. And then we'll come back and we can add our blues.
Jenny:
Okay.
Misty:
To the other sides.
Jenny:
I can probably use this one.
Misty:
Yeah, you can, for one half and then add that to the other. Perfect. There you go.
Jenny:
It's getting so big.
Misty:
It is. It's growing. See, it's just those first little rounds that are a struggle.
Jenny:
It's so funny when you start off that tiny, that this much feels good to you all of a sudden.
Misty:
I love tiny though. I don't know. It forces me to slow down, I think and just enjoy the process.
Natalie:
That's true. You do have to. You do have to take your time.
Jenny:
Pay a little bit more attention.
Misty:
A little more attention, and just enjoy it.
Jenny:
And when you're sewing tiny, it's always a good idea to shorten up your stitch length a little bit.
Misty:
You don't want that to pop out on you. So there should be two inches. And then now we're going to add more of our white. This is going to be longer than a half now, so you'll need two for each side.
Jenny:
It's going to be so big.
Natalie:
It's getting there.
Misty:
It is, it's growing.
Jenny:
And so just out of your little charm pack cut, do you get all these pieces you need for the whole center, just out of your little one-inch strips?
Misty:
Out of your one-inch strips, yep.
Jenny:
Very cool.
Misty:
It's all in there.
Natalie:
That's great.
Jenny:
Now, did you cut any of these before you ironed? Because I would cut before I ironed.
Misty:
The little pieces. I didn't. No, just because I wanted to be able to see from the top and make sure that it was staying close to square. Sometimes when...
Natalie:
I like to use my seam lines to kind of square it as I...
Misty:
As you go.
Natalie:
... as I'm going. Yeah. So you can line that up.
Misty:
Just a little bit more accurate. And then I actually think this one that you cut off will fit.
Natalie:
Perfect.
Misty:
And then...
Jenny:
All righty then.
Natalie:
This is so cute Misty.
Misty:
Thank you. I mean, it's a little time-consuming, but I enjoyed making it. It's really fun.
Jenny:
Well, and the flip side that is that this fabric is so darling, and if you decide you didn't want to do this, it's a four-inch square.
Misty:
Exactly. Just cut a four-inch square.
Natalie:
That's true. Put that little guy in the middle and you're good to go.
Misty:
Absolutely. And then we have one more round after this, our last round of white. And then that will finish up our little block in the middle.
Jenny:
I'll be interested to see if it stays at four inches.
Misty:
I had to square mine up a few times, which is fine.
Jenny:
Sure.
Misty:
It can get a little wonky, but that's where the starch helps too, when you're working with these tiny pieces.
Jenny:
And then when I give this back to you and you get it cut up, I want you to show them how the courthouse steps works with the same colors on the same sides. Because it's a fun block.
Misty:
It is. I really like it.
Jenny:
Really old block, but a lot of fun.
Natalie:
Did you always start with your dark?
Misty:
I think so. Yes, I did.
Natalie:
All right. I was just curious because you could technically go either way.
Misty:
Totally switch it up.
Natalie:
Just didn't know.
Misty:
I just made them all the same. I wanted my blocks to be exactly the same.
Jenny:
Right.
Misty:
So.
Natalie:
Well, they're really cute.
Misty:
Thank you. So let's turn this up.
Natalie:
And turned this up beautifully.
Misty:
Yeah, it looks great. There we go. Turn this little guy. And I'm going to...
Jenny:
It's so cute.
Misty:
It's so little.
Jenny:
I'm sitting here going, I sewed that. That tiny little thing.
Natalie:
Yes you did.
Misty:
And there we go. This looks really close. Sometimes you'll need to square it up again to make sure it's exactly four inches, because that's what it should finish up. But you can see here's our little center, and the navy builds out this direction, and the white builds out that way, which is the traditional...
Natalie:
I love it.
Misty:
... Courthouse step.
Jenny:
Courthouse step, yes.
Misty:
And so then now to set our block together, we are just going to put our navy towards our navy, just like this, to make our little friendship star, and our white towards our white. And it spins around and then you'll put your background four-inch squares in those corners, and then you go just sew it together like a nine patch. And so here is our finished block, just like that.
Jenny:
That's awesome. And you just set them right together?
Misty:
I just set them right together, five across. And I used a little...
Jenny:
Three inch border.
Misty:
I think it's a three.
Jenny:
All right. Let's talk about this thread though.
Misty:
Yeah, so we have variegated thread now as an option here in our quilting department at Missouri Star. And I thought why not use that red, white, and blue.
Jenny:
I love it.
Natalie:
I love it too.
Misty:
Thank you.
Natalie:
It adds so much color and interest.
Misty:
Yeah, it was just a fun time to use it, I think.
Jenny:
And the back on this is the big floral.
Misty:
That beautiful floral.
Natalie:
That's so pretty.
Jenny:
And you can see the...
Misty:
The variegated as well.
Jenny:
... the variegated on that, yeah.
Misty:
Yeah.
Jenny:
I love that.
Misty:
So it's super fun, and it finishes up at, I think 15 x 57, so a great little runner.
Jenny:
Perfect, and this is one of those where if you have a long table like I do.
Misty:
You just make more.
Jenny:
Just make more blocks. If you have a shorter table, just make a few less.
Misty:
Exactly.
Natalie:
Very cute. I love it.
Jenny:
All righty. Well, I hope you enjoyed that. They were all three different, and beautiful, and a lot of fun. And you learned some cool corner techniques, and a really great center technique on that. And we hope you enjoyed our take on the spinning star from the Missouri Star Quilt Company.
Hi everybody, it's Jenny from the Missouri Star Quilt Company. We hope you enjoyed watching this video. If you aren't already part of the Missouri Star Quilt Company family, be sure to subscribe so you won't miss a thing. And if you click that bell, it'll notify you every time a new tutorial comes out. See you next Friday.



