

Triple Play: How to Make 3 NEW "Square in a Square" Quilts - Free Quilting Tutorial
Triple Play is a favorite tradition here at Missouri Star Quilt Company. In this episode, the talented Doan ladies share three fabulous new Square in a Square quilt patterns. Misty's Hip to Be Square quilt is MADE for pretty prints. Natalie's Scattered Squares quilt features big blocks, little blocks, and lots of fun variety. And Jenny's Surprise Square in a Square quilt is set on point, turning all those squares into diamonds. (The surprise? It's sew easy to do!)

Instructor
Jenny Doan
Jenny Doan is an American quilter, author, and YouTube personality. Jenny started Missouri Star Quilt Company in 2008 and today it is the largest quilting supply vendor in the United States.
Shop this tutorial
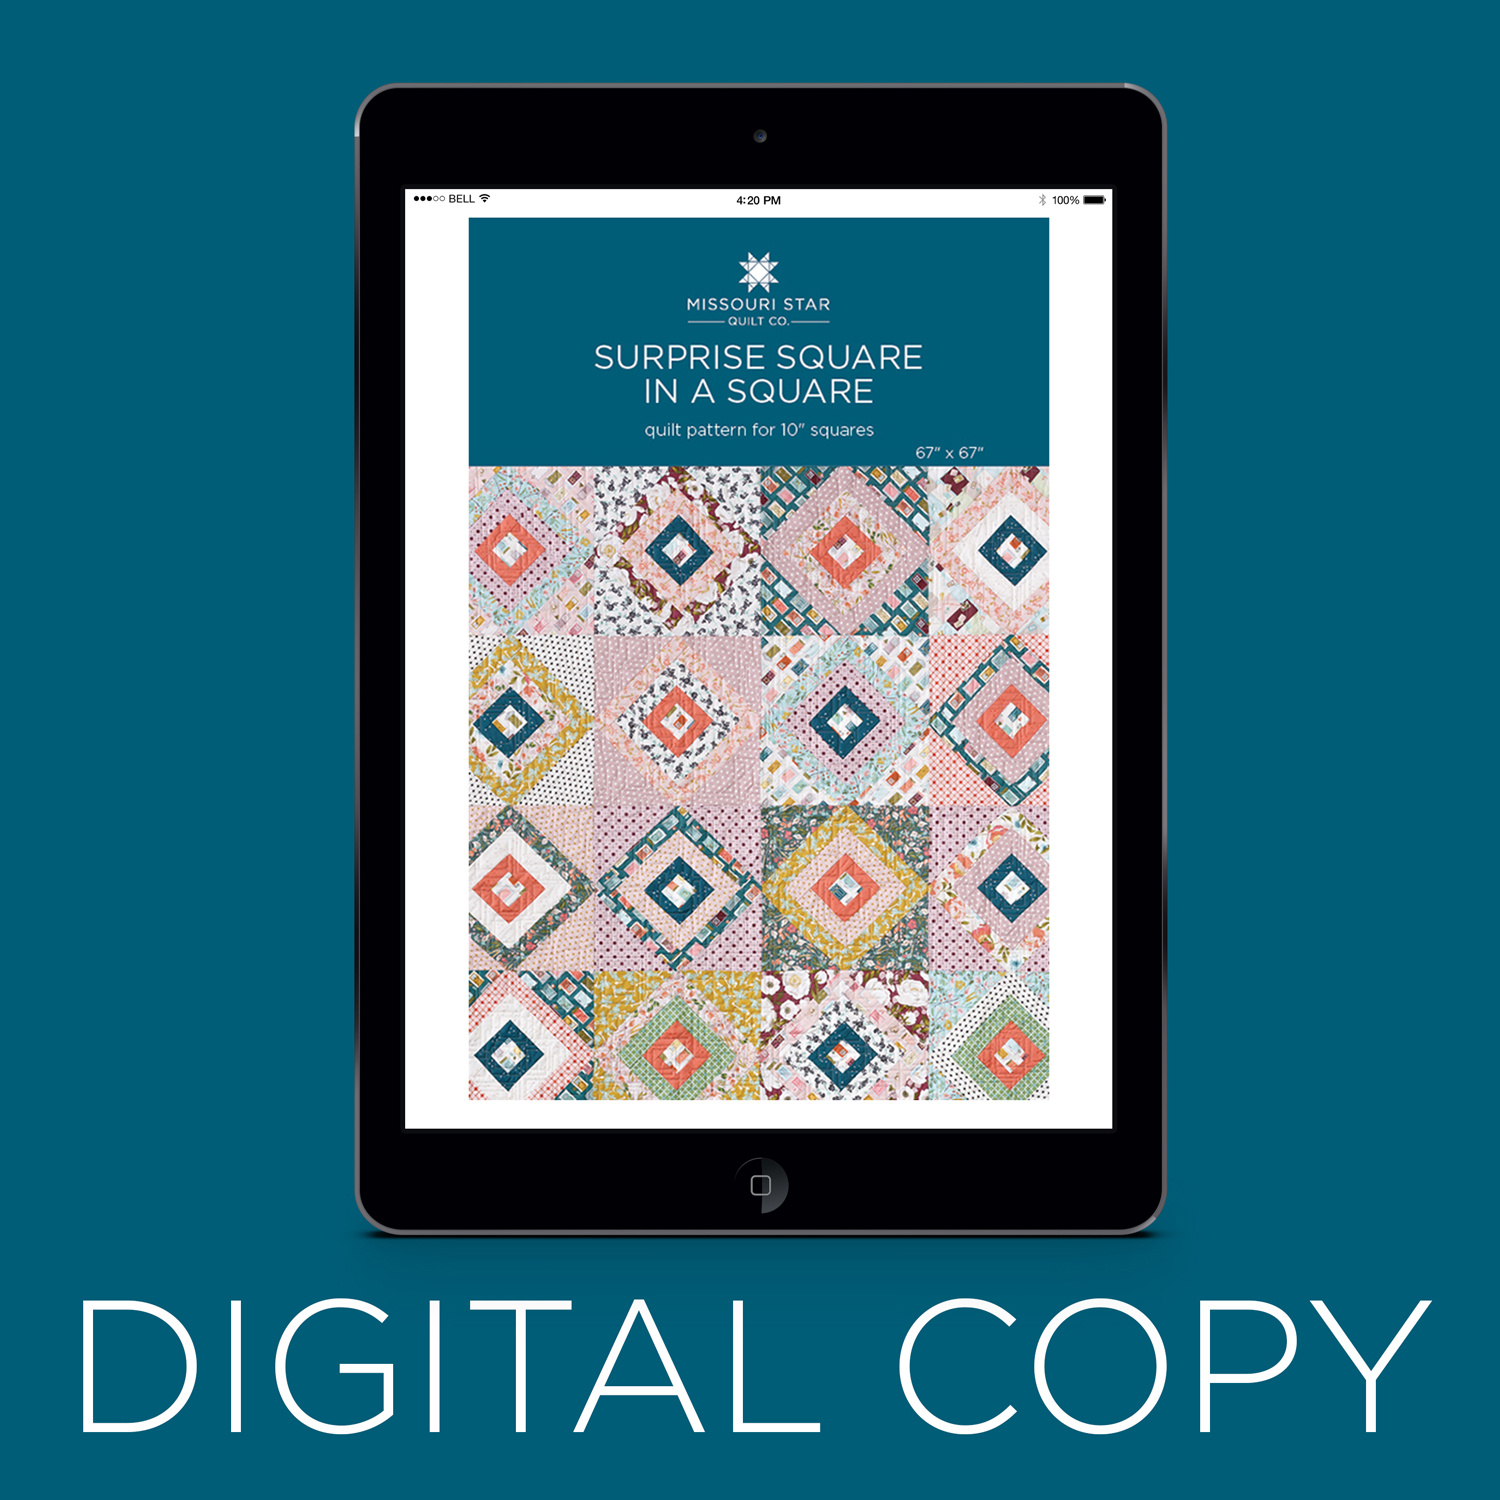 Digital Download - Surprise Square in a Square Quilt Pattern by Missouri Star$4.95Shop →
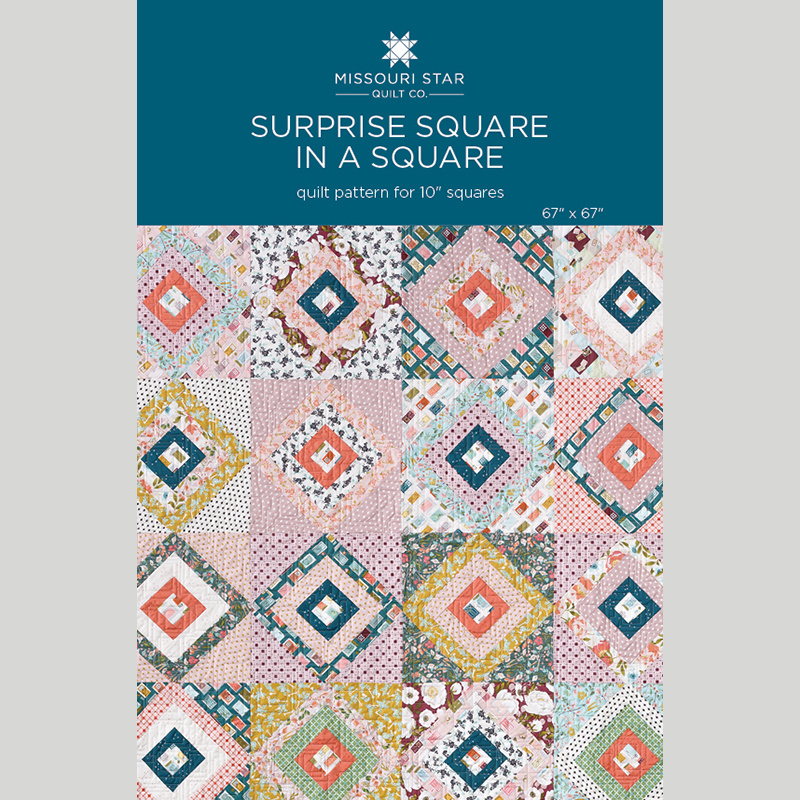 Surprise Square in a Square Quilt Pattern by Missouri Star$6.95Shop →
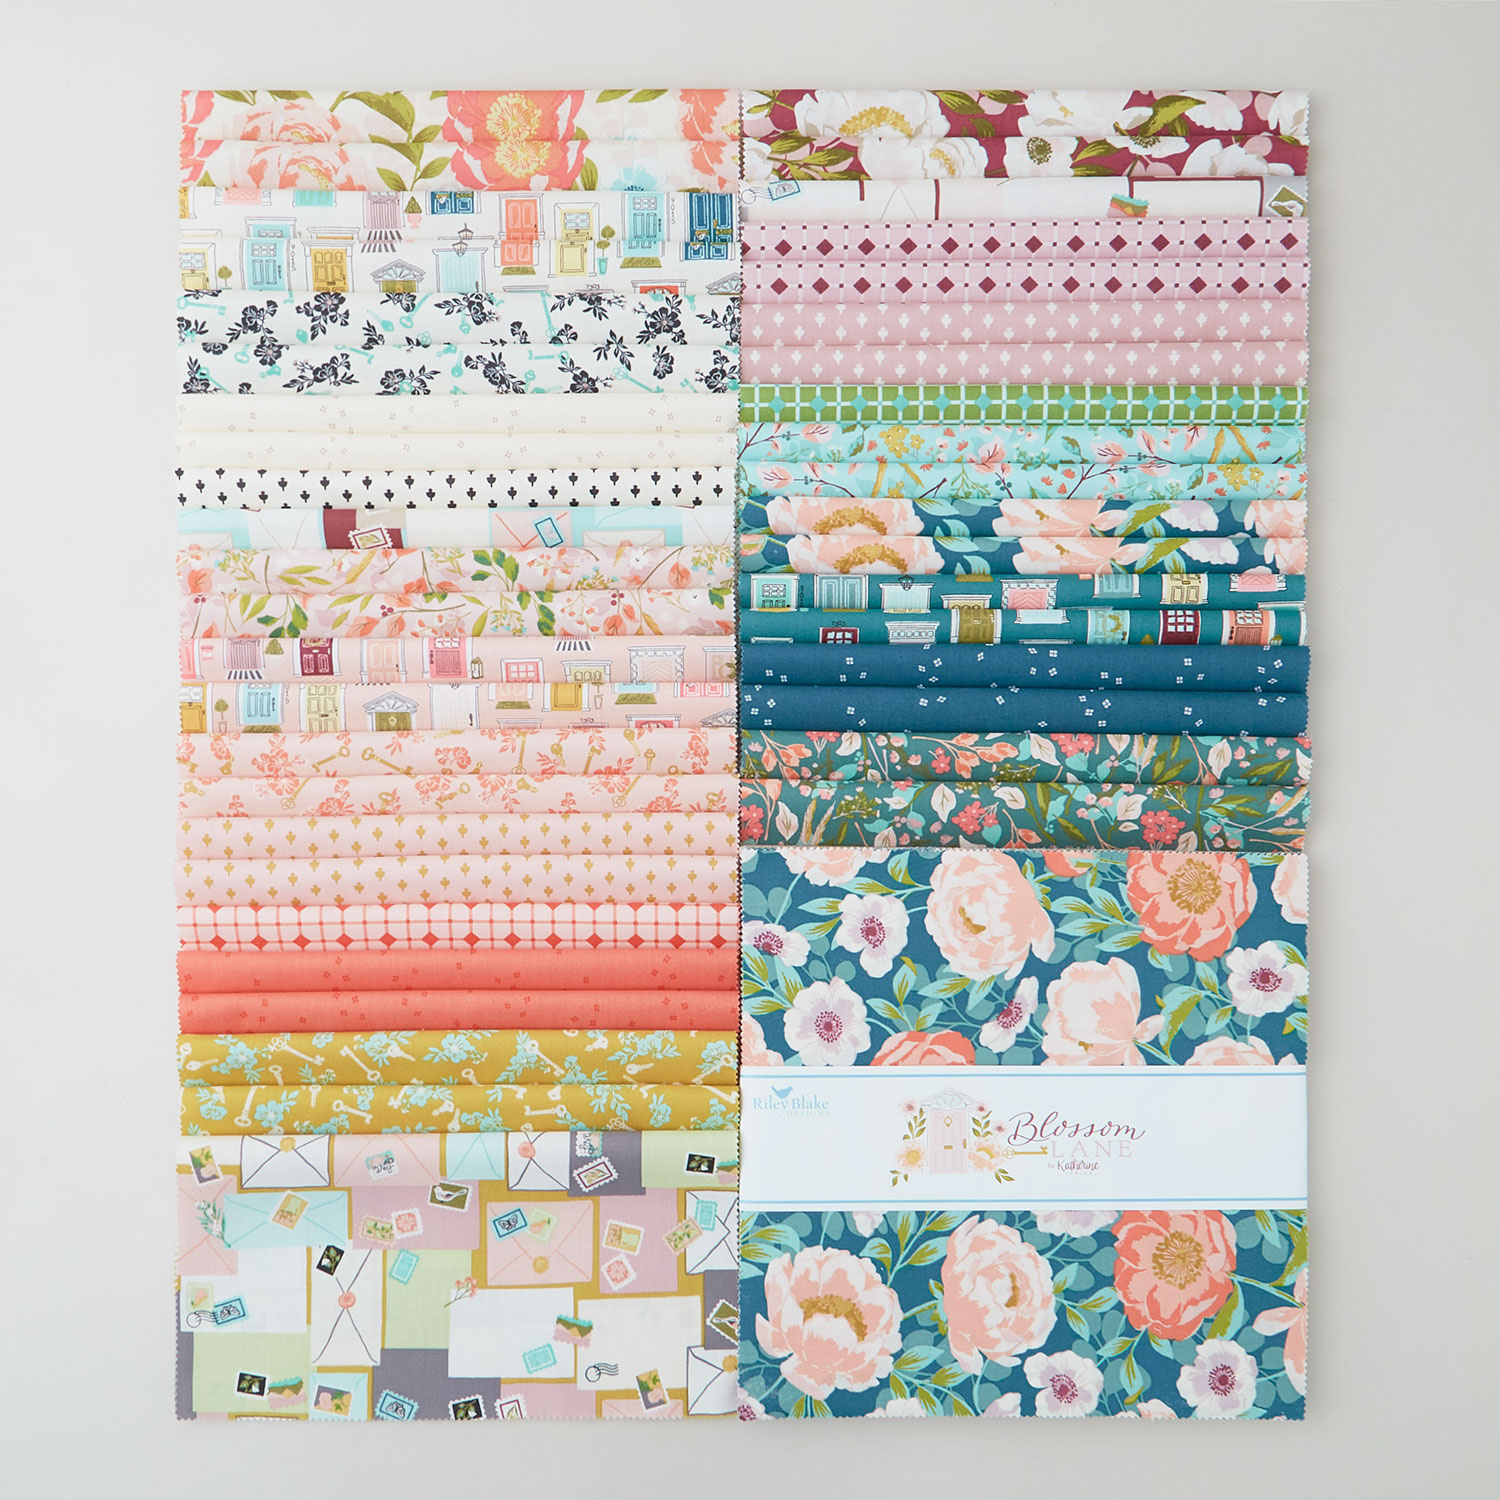 Blossom Lane 10" Stackers$39.95Shop →
 Kona Cotton - White Yardage$7.28Shop →
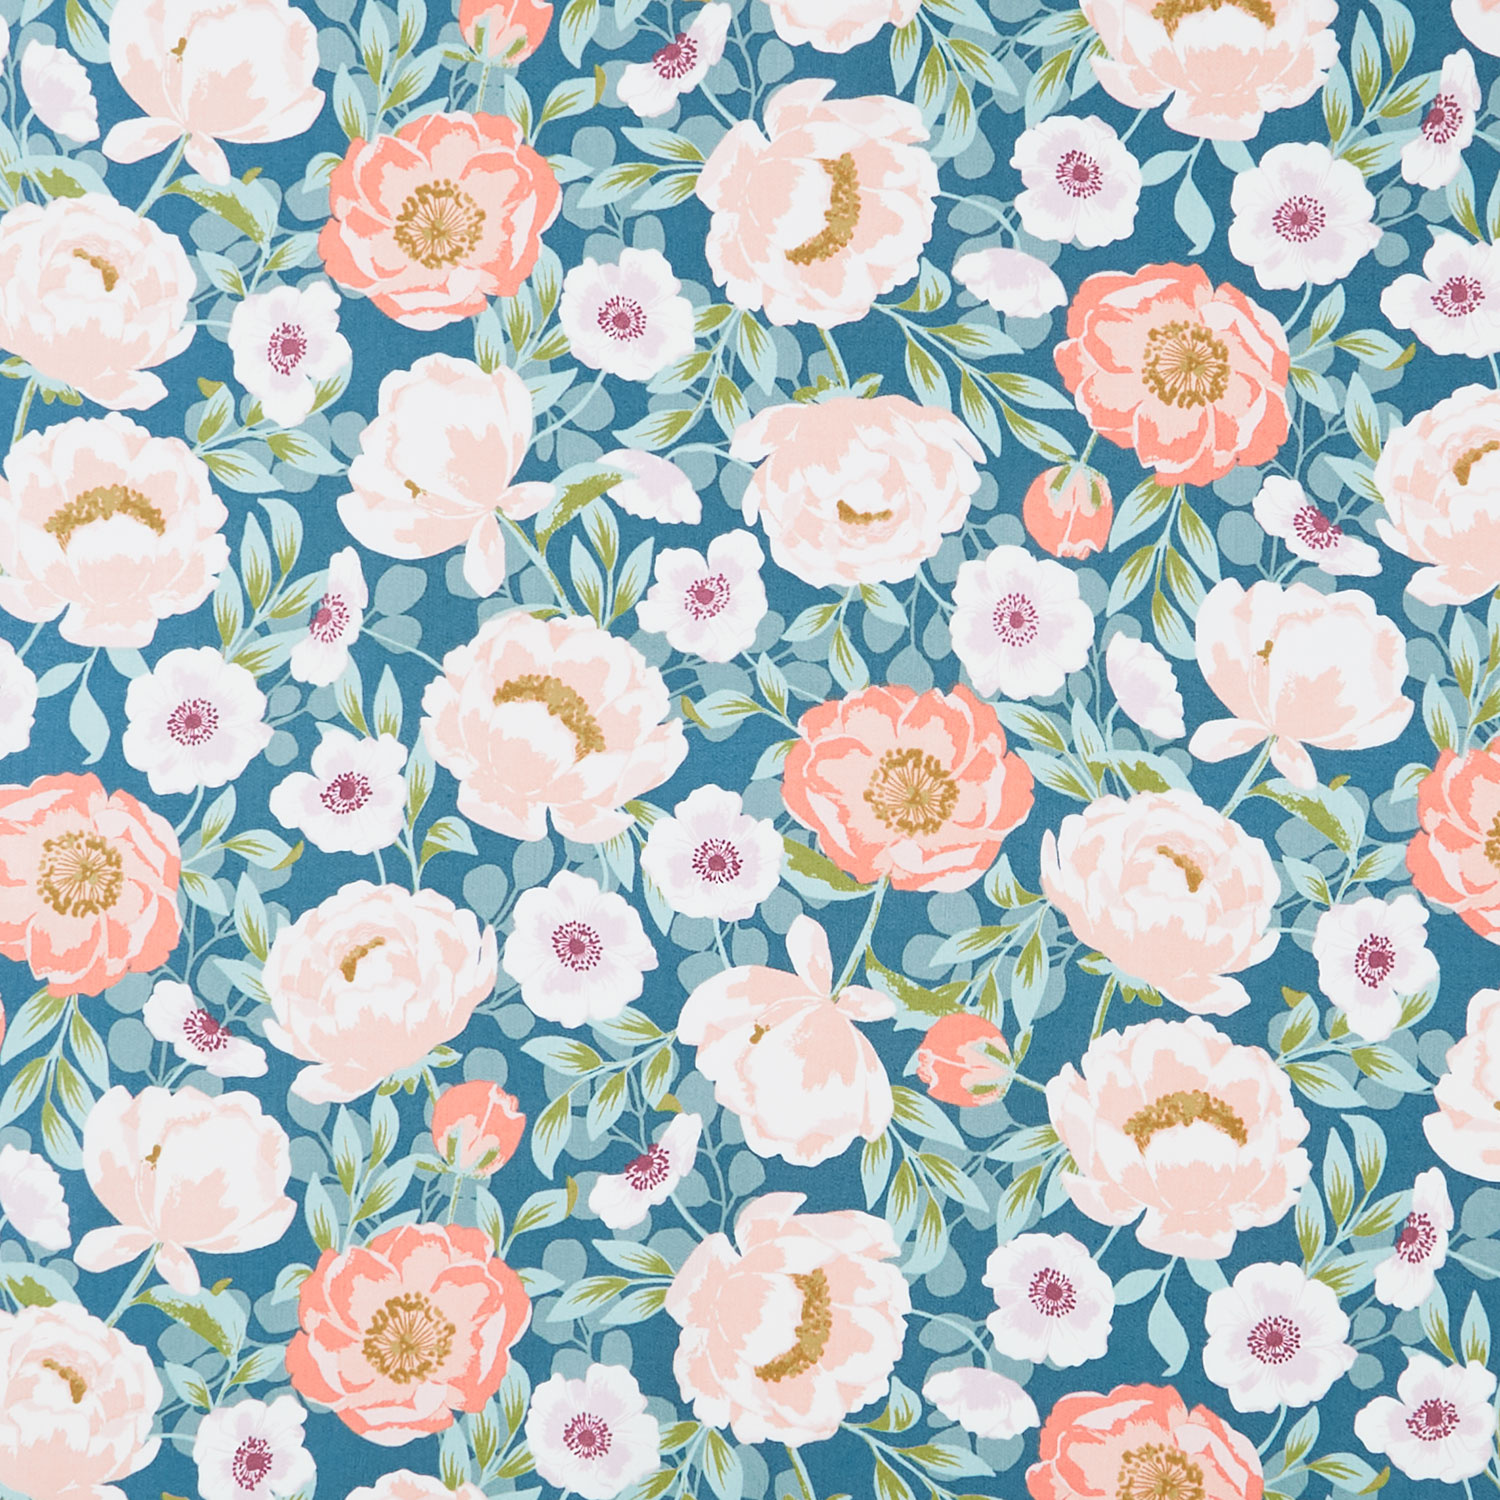 Blossom Lane - Main Ocean Yardage$11.96Shop →
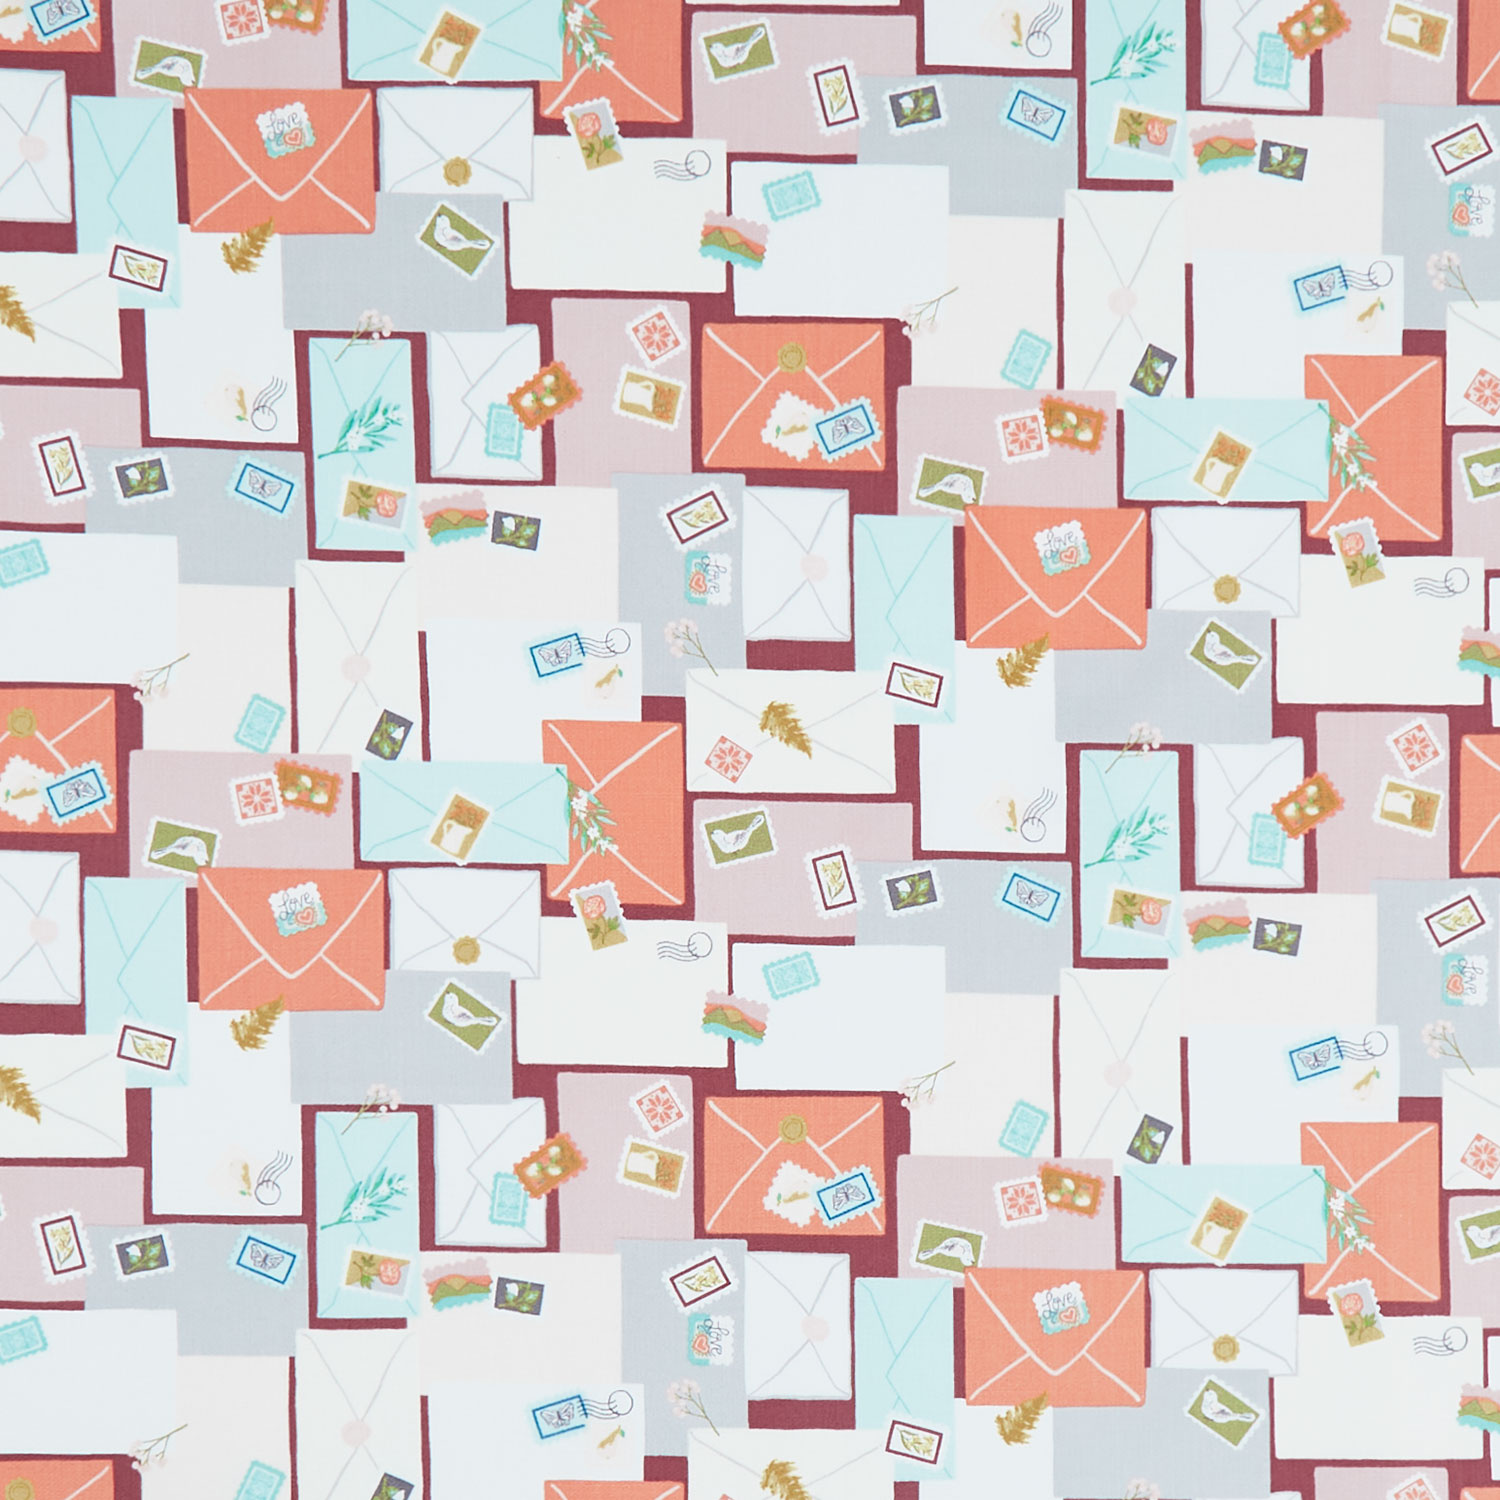 Blossom Lane - Posts Wine Yardage$11.96Shop →
 Missouri Star Quilter’s Best Blend Full Batting$32.45Shop →
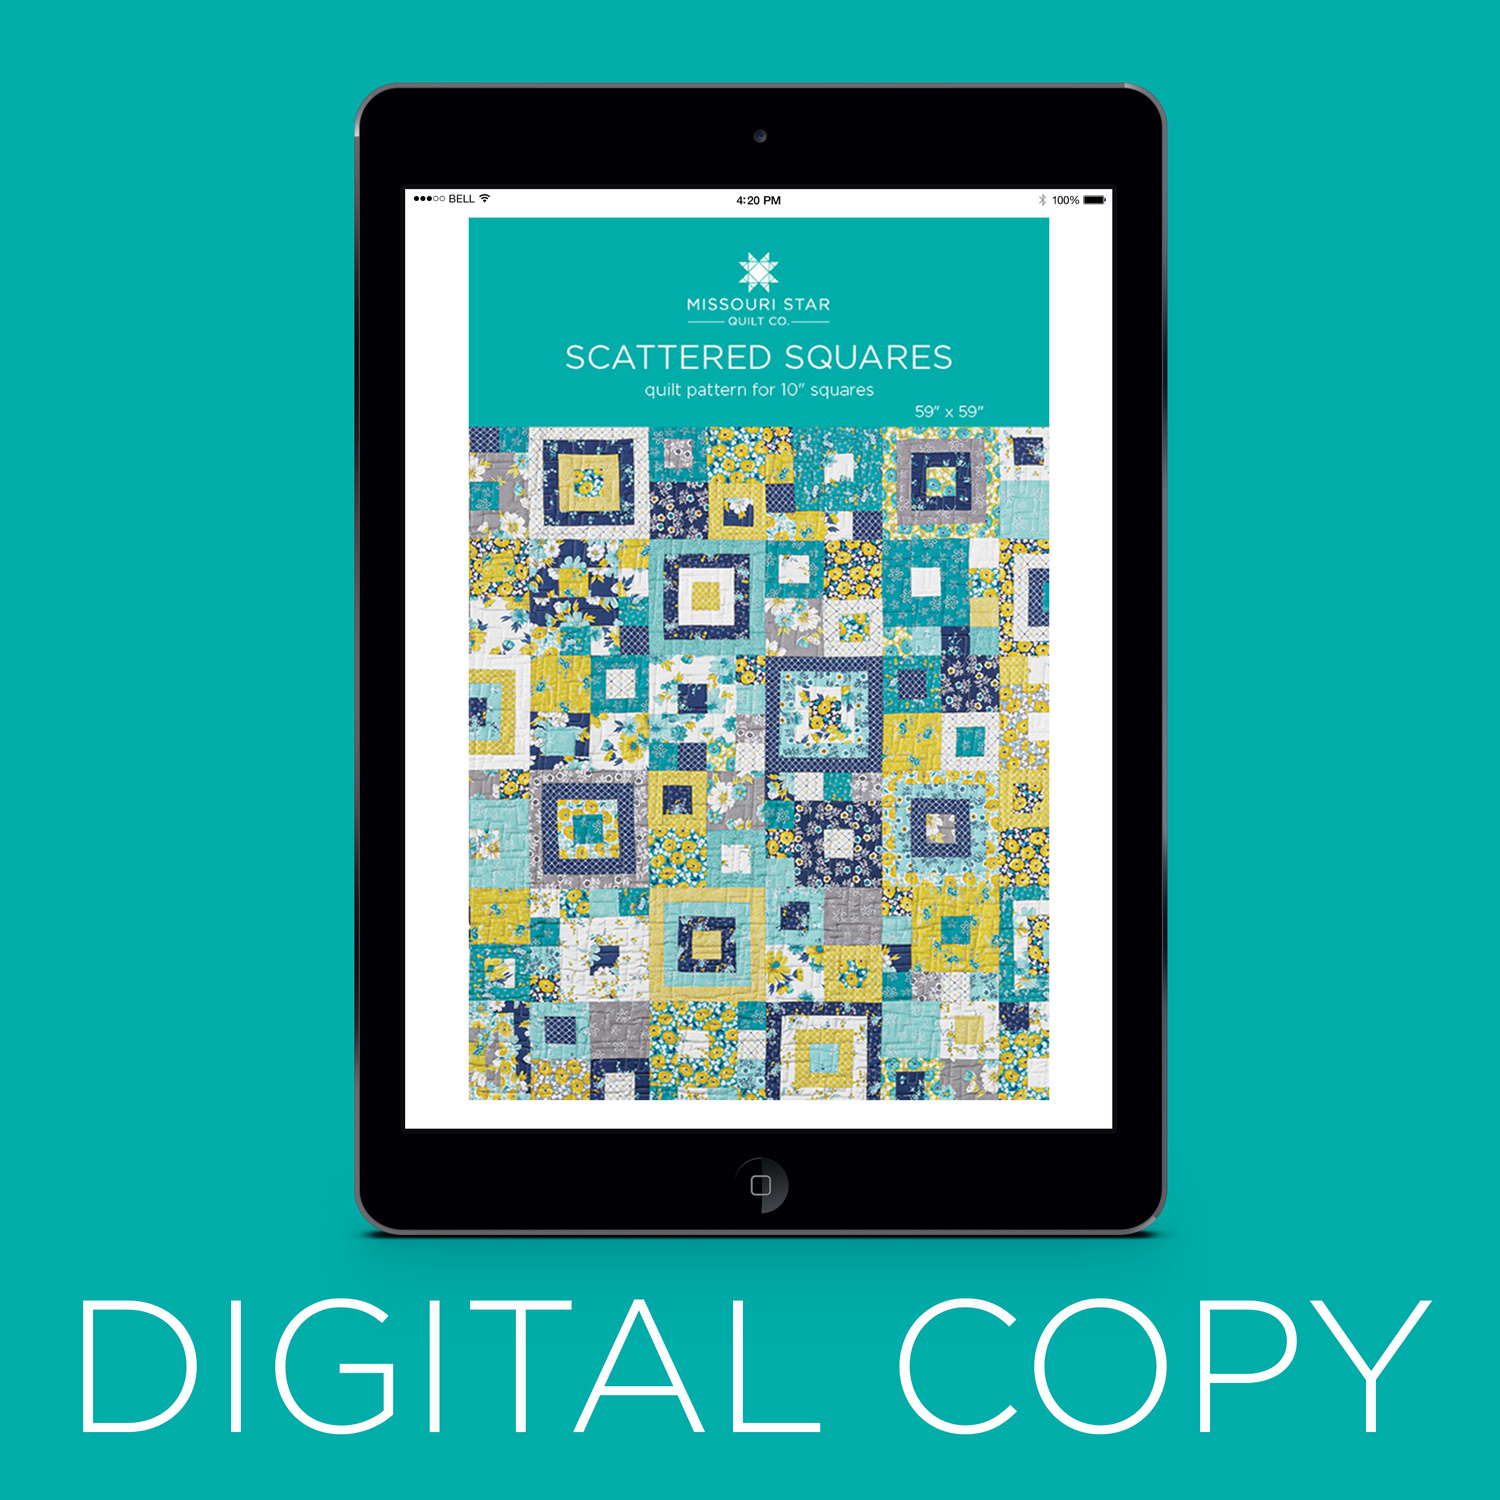 Digital Download - Scattered Squares Quilt Pattern by Missouri Star$4.95Shop →
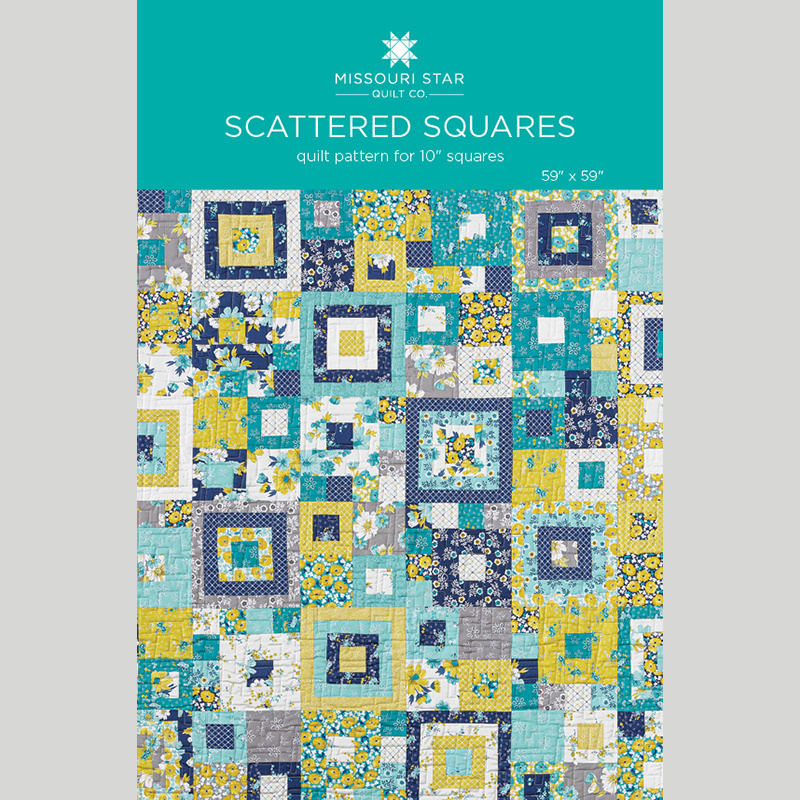 Scattered Squares Quilt Pattern by Missouri Star$6.95Shop →
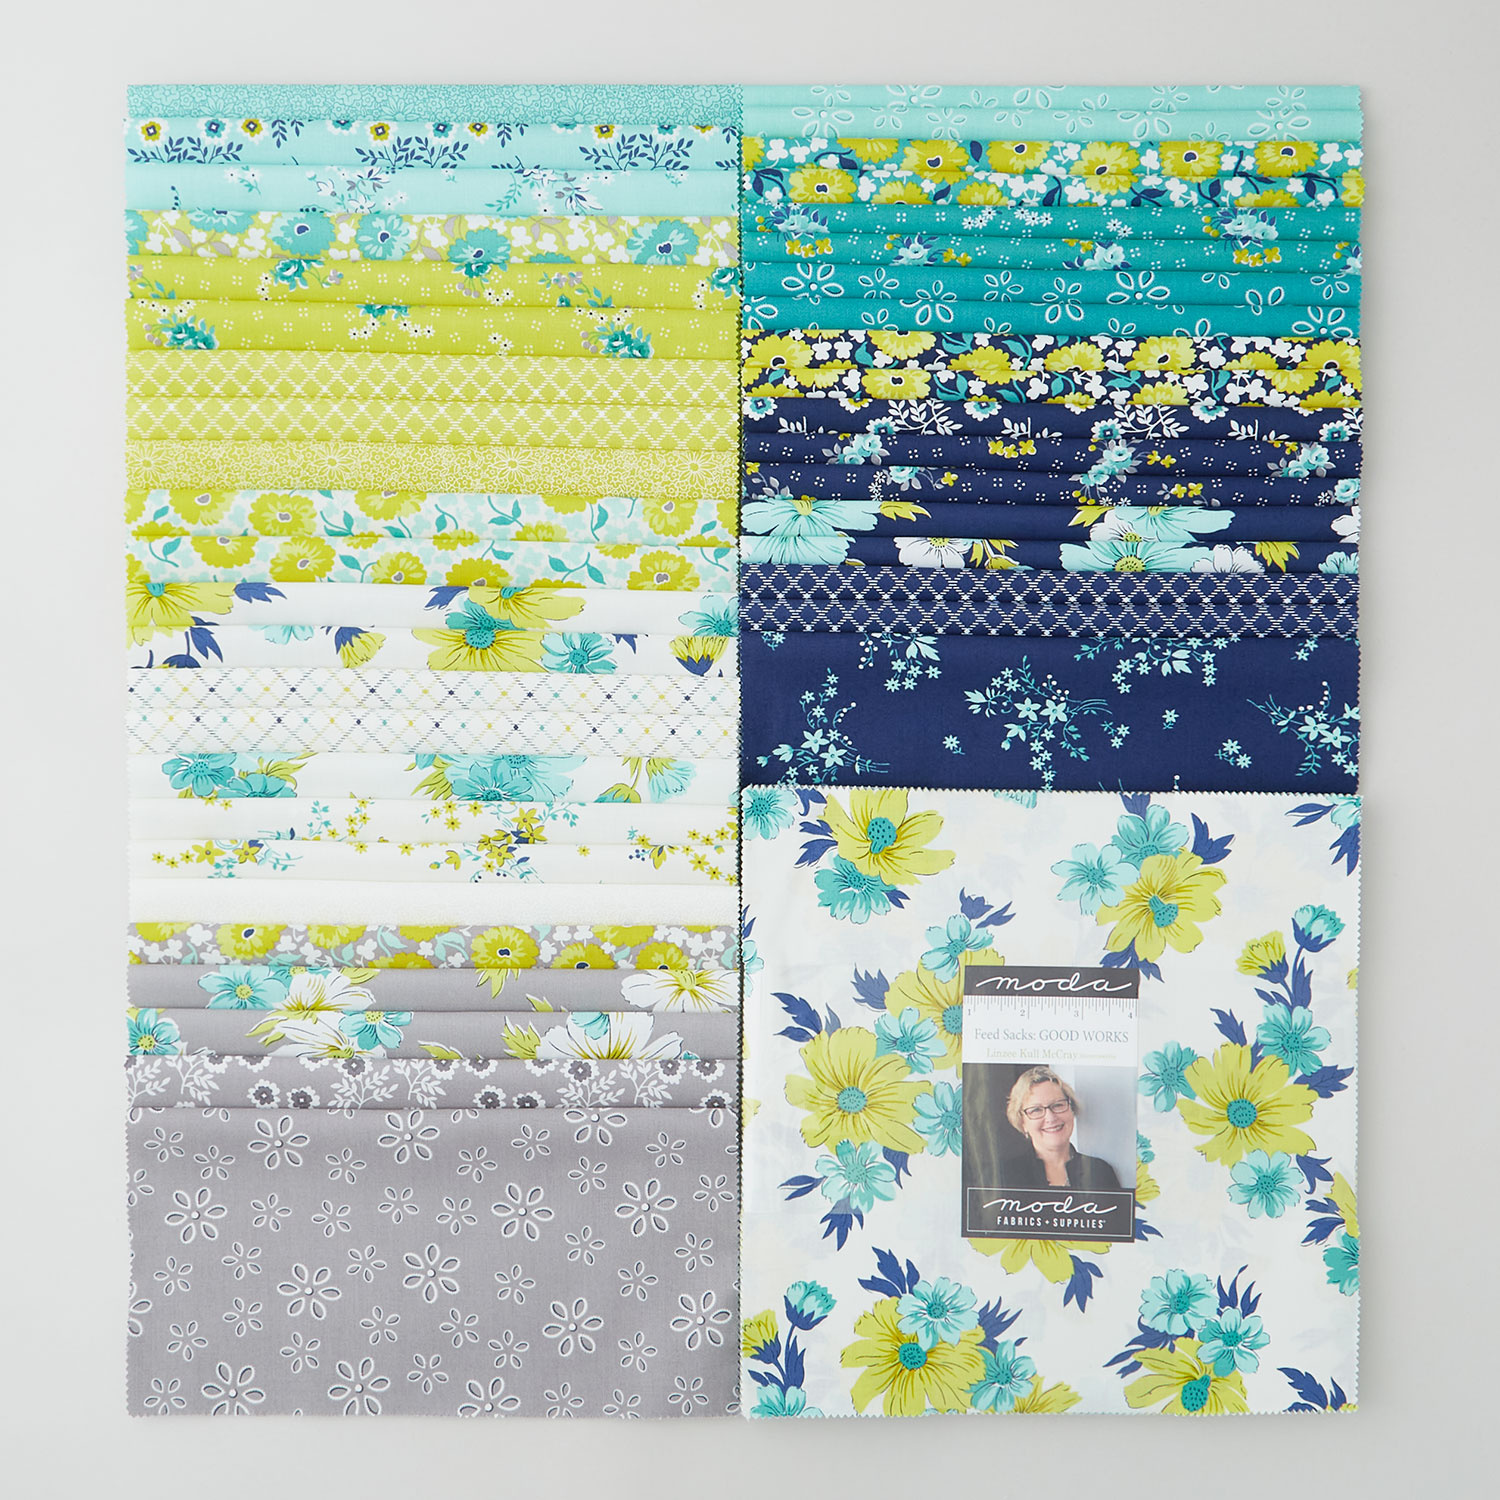 Feedsacks: Good Works Layer Cake$45.95Shop →
 Bella Solids - White Bleached Yardage$8.24Shop →
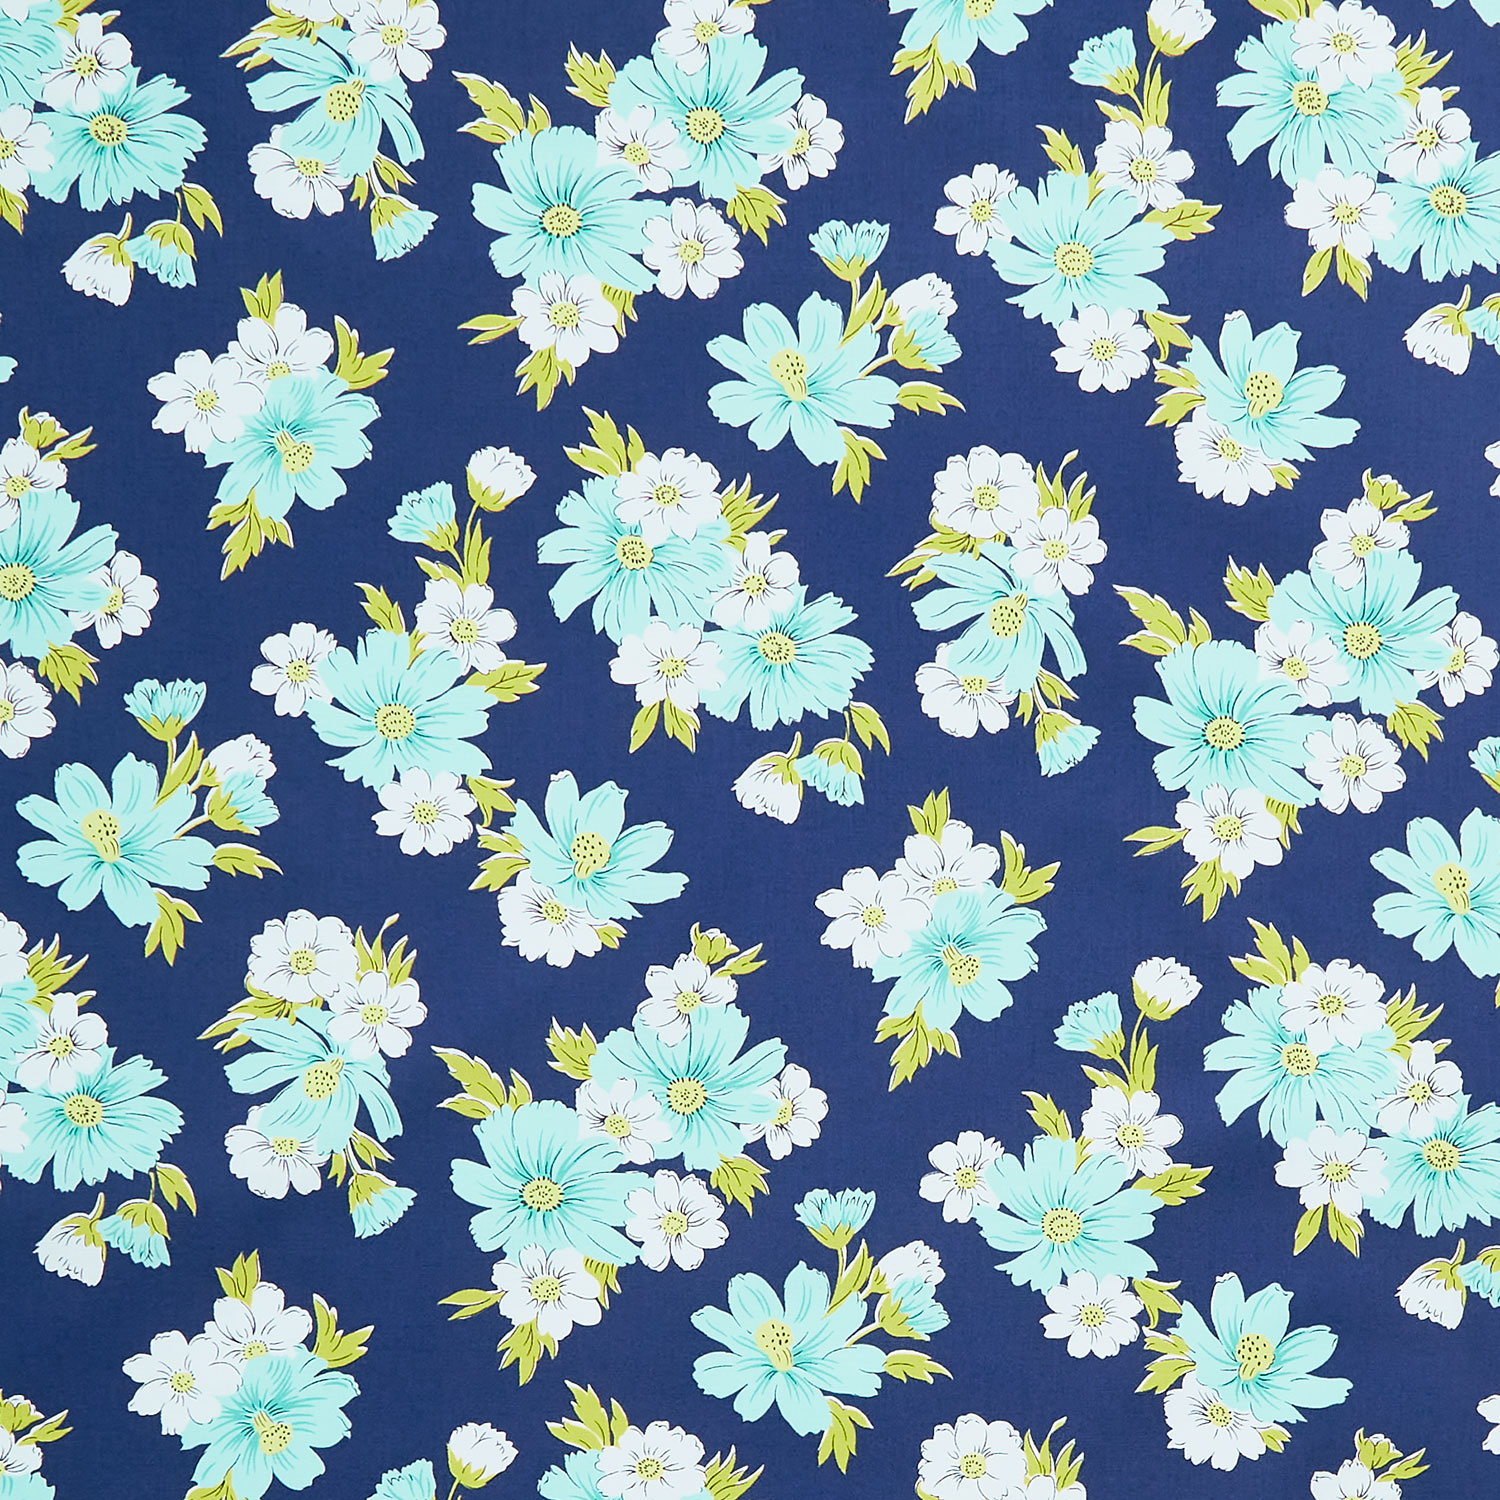 Feedsacks: Good Works - Wildflower Bluebird Yardage$11.96Shop →
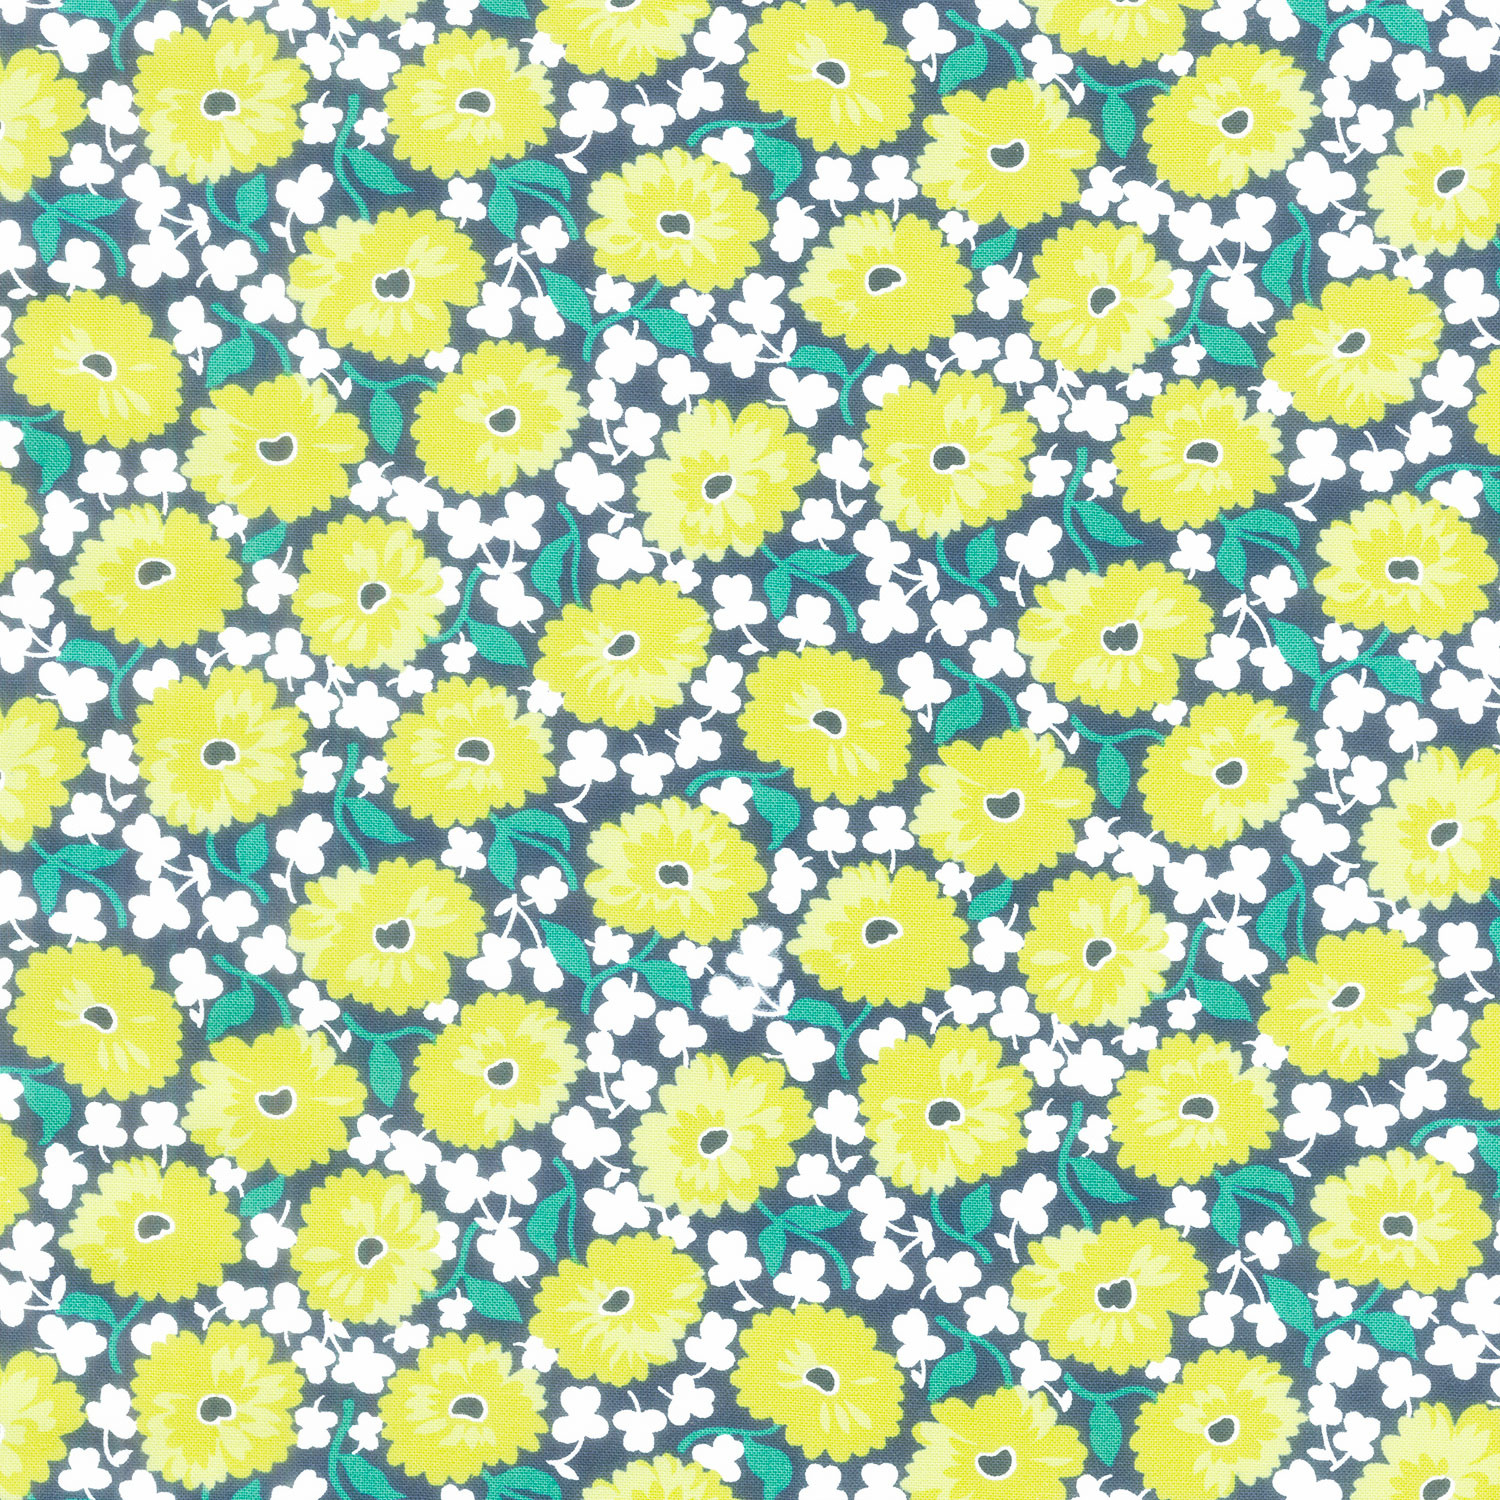 Feedsacks: Good Works - Fragrant Bluebird Yardage$11.96Shop →
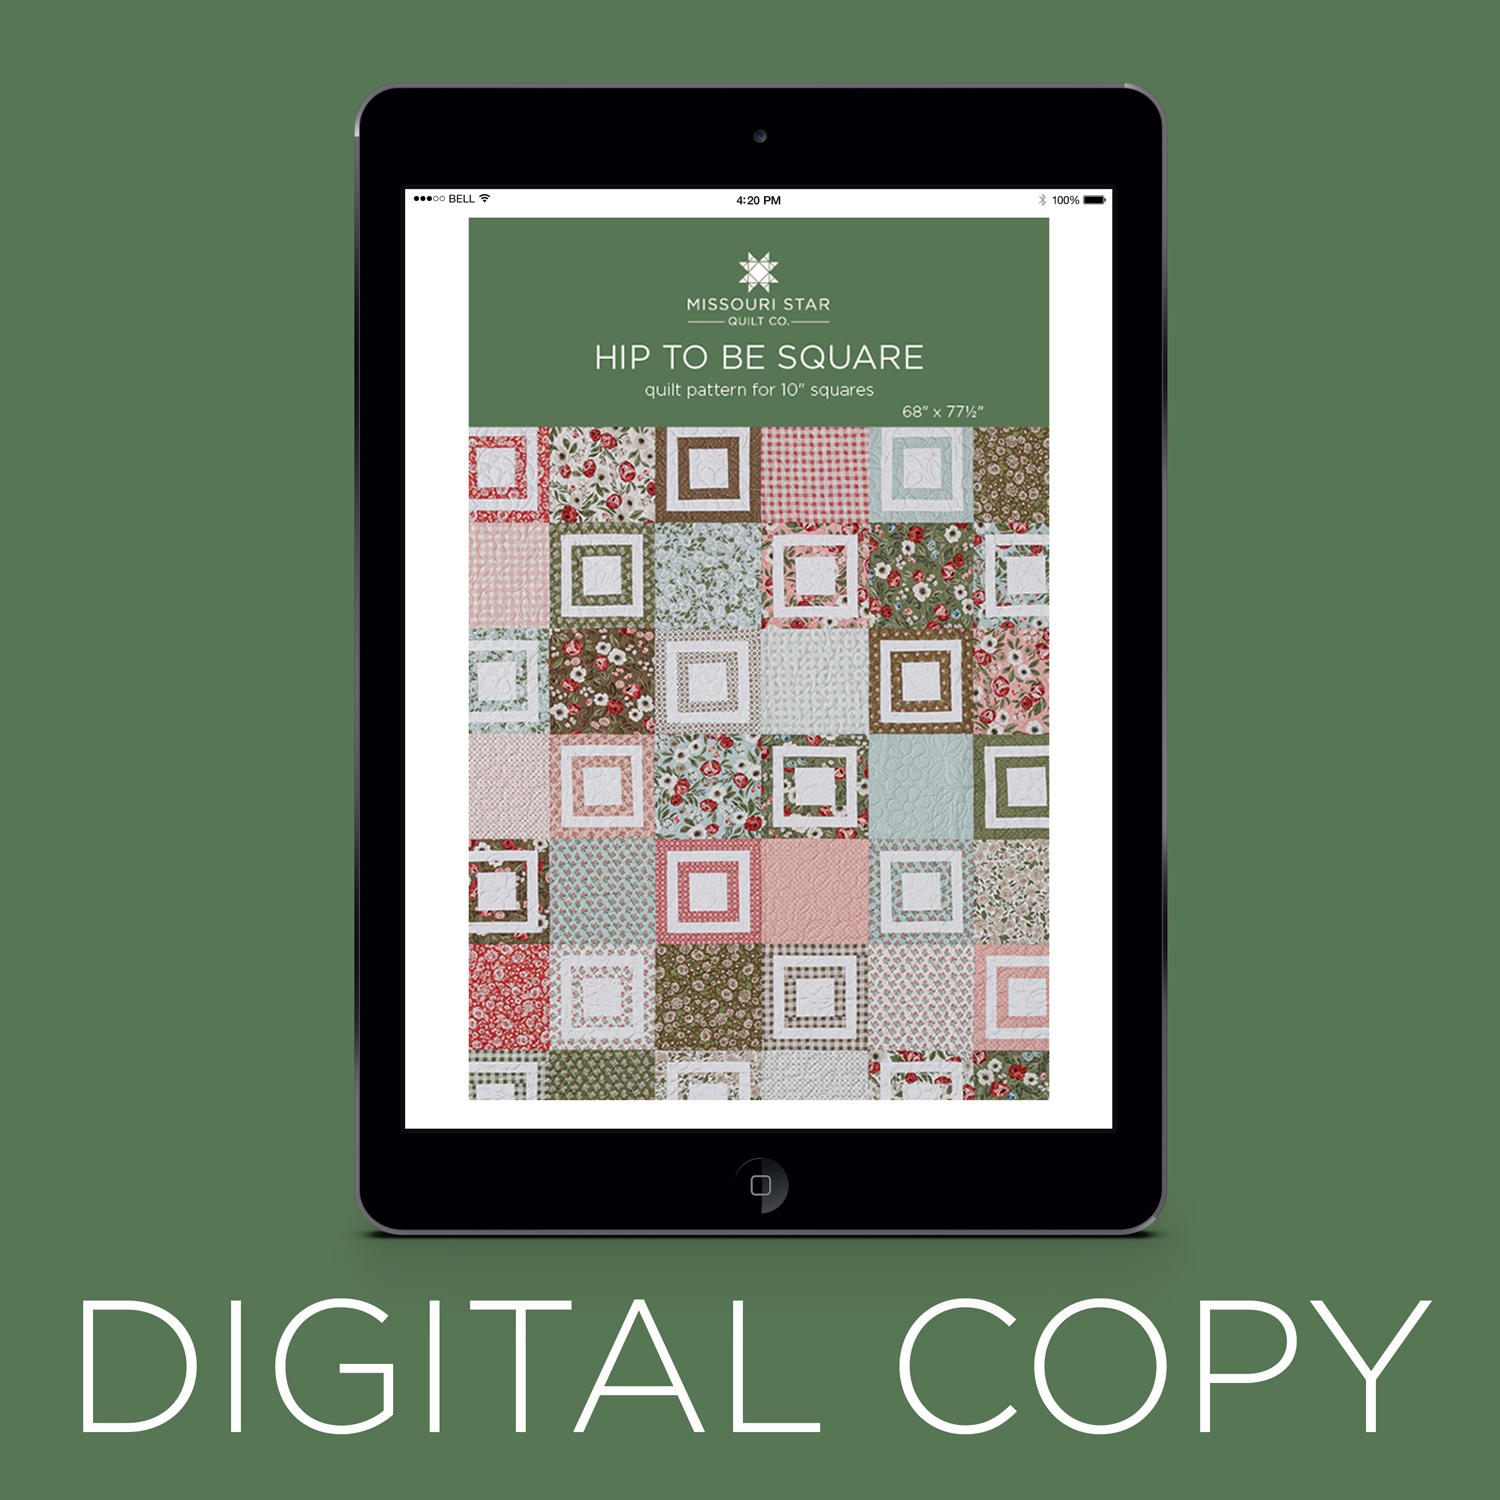 Digital Download - Hip to Be Square Quilt Pattern by Missouri Star$4.95Shop →
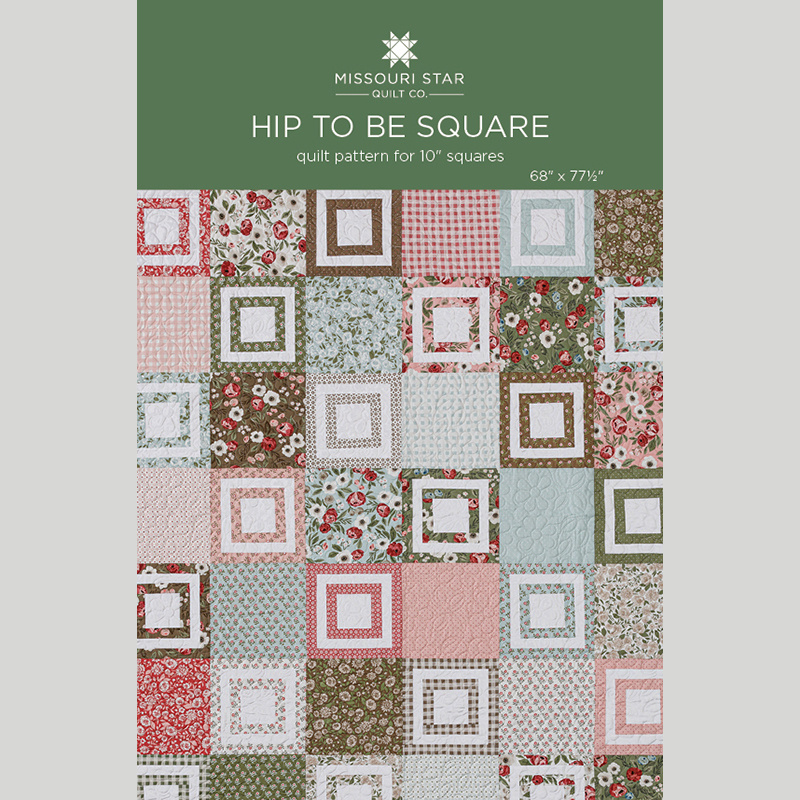 Hip to Be Square Quilt Pattern by Missouri Star$6.95Shop →
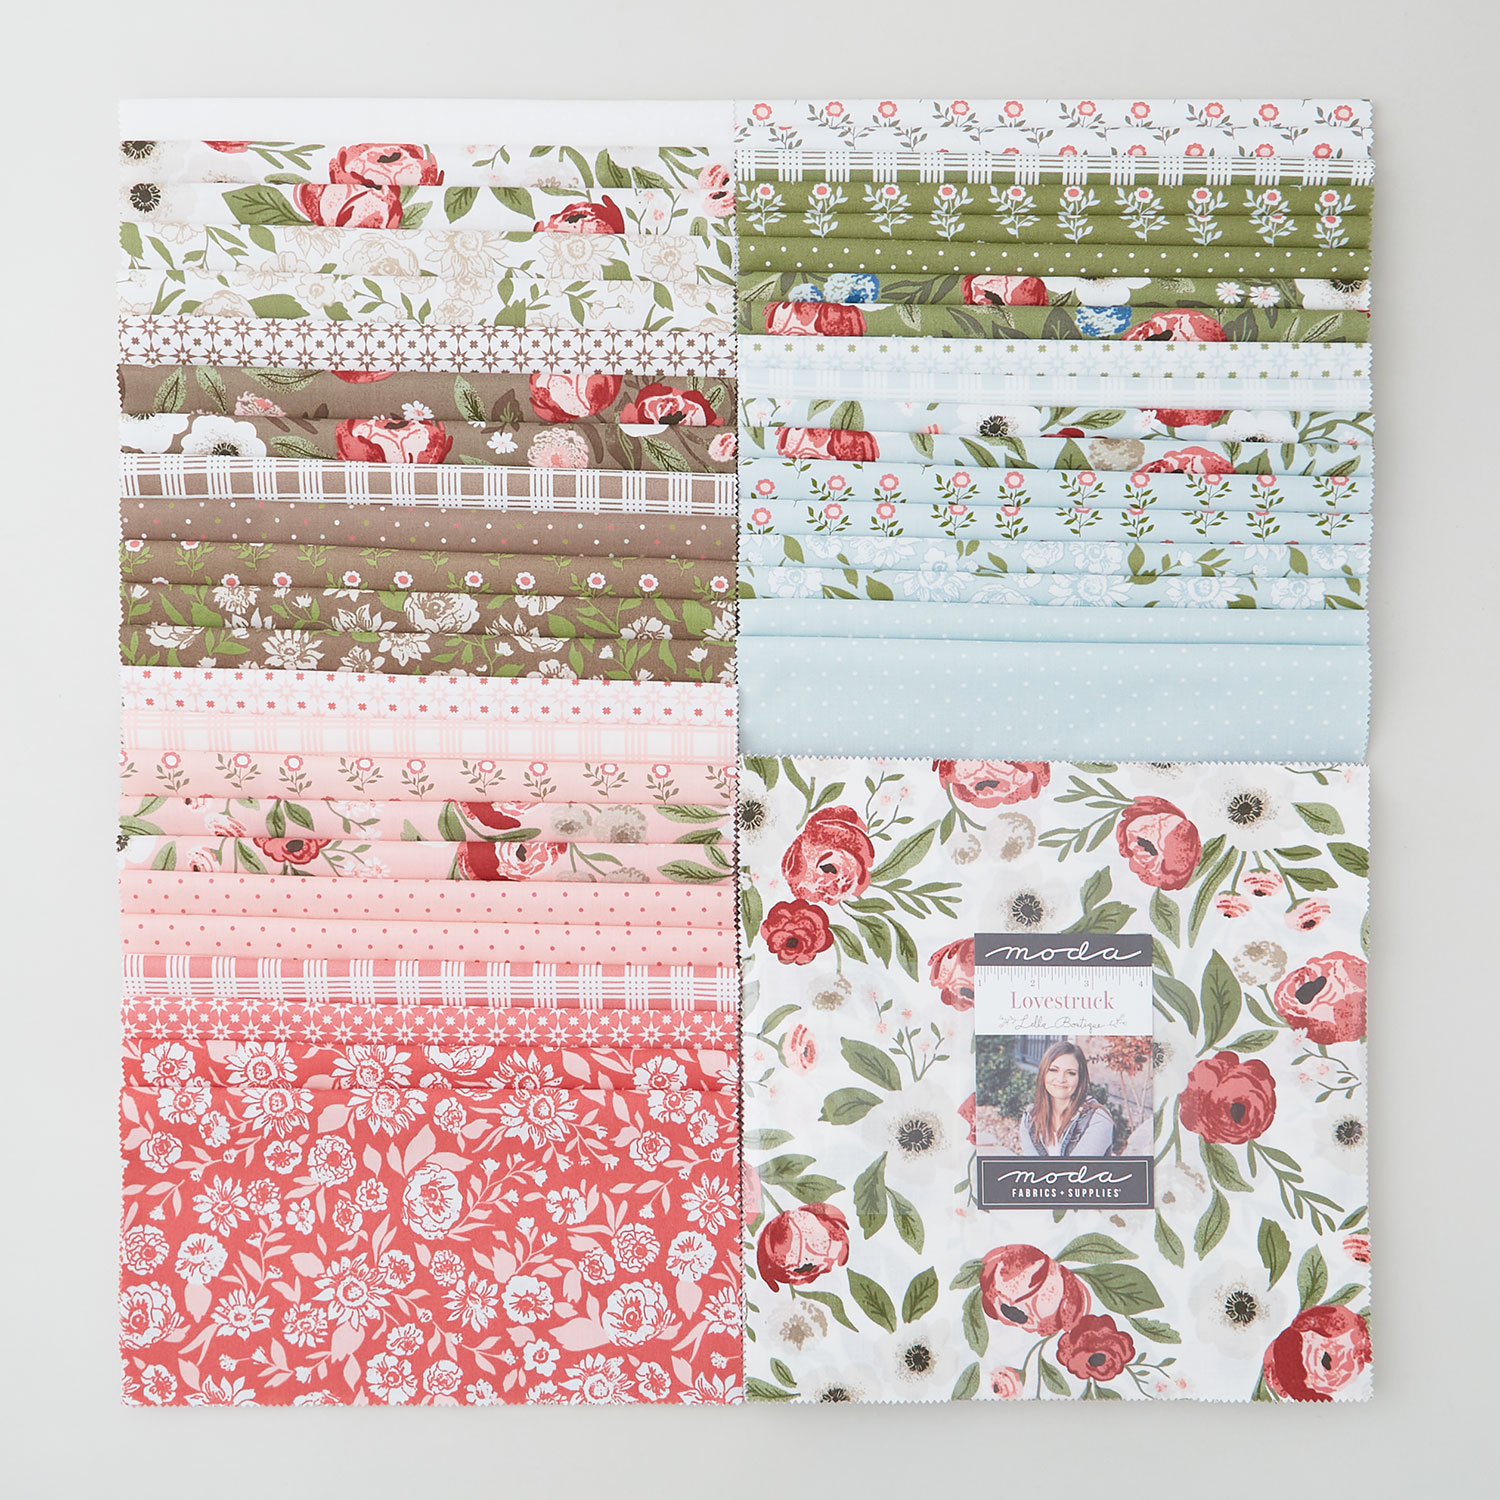 Lovestruck Layer Cake$45.95Shop →
- Kona Cotton - White Yardage$7.28Shop →
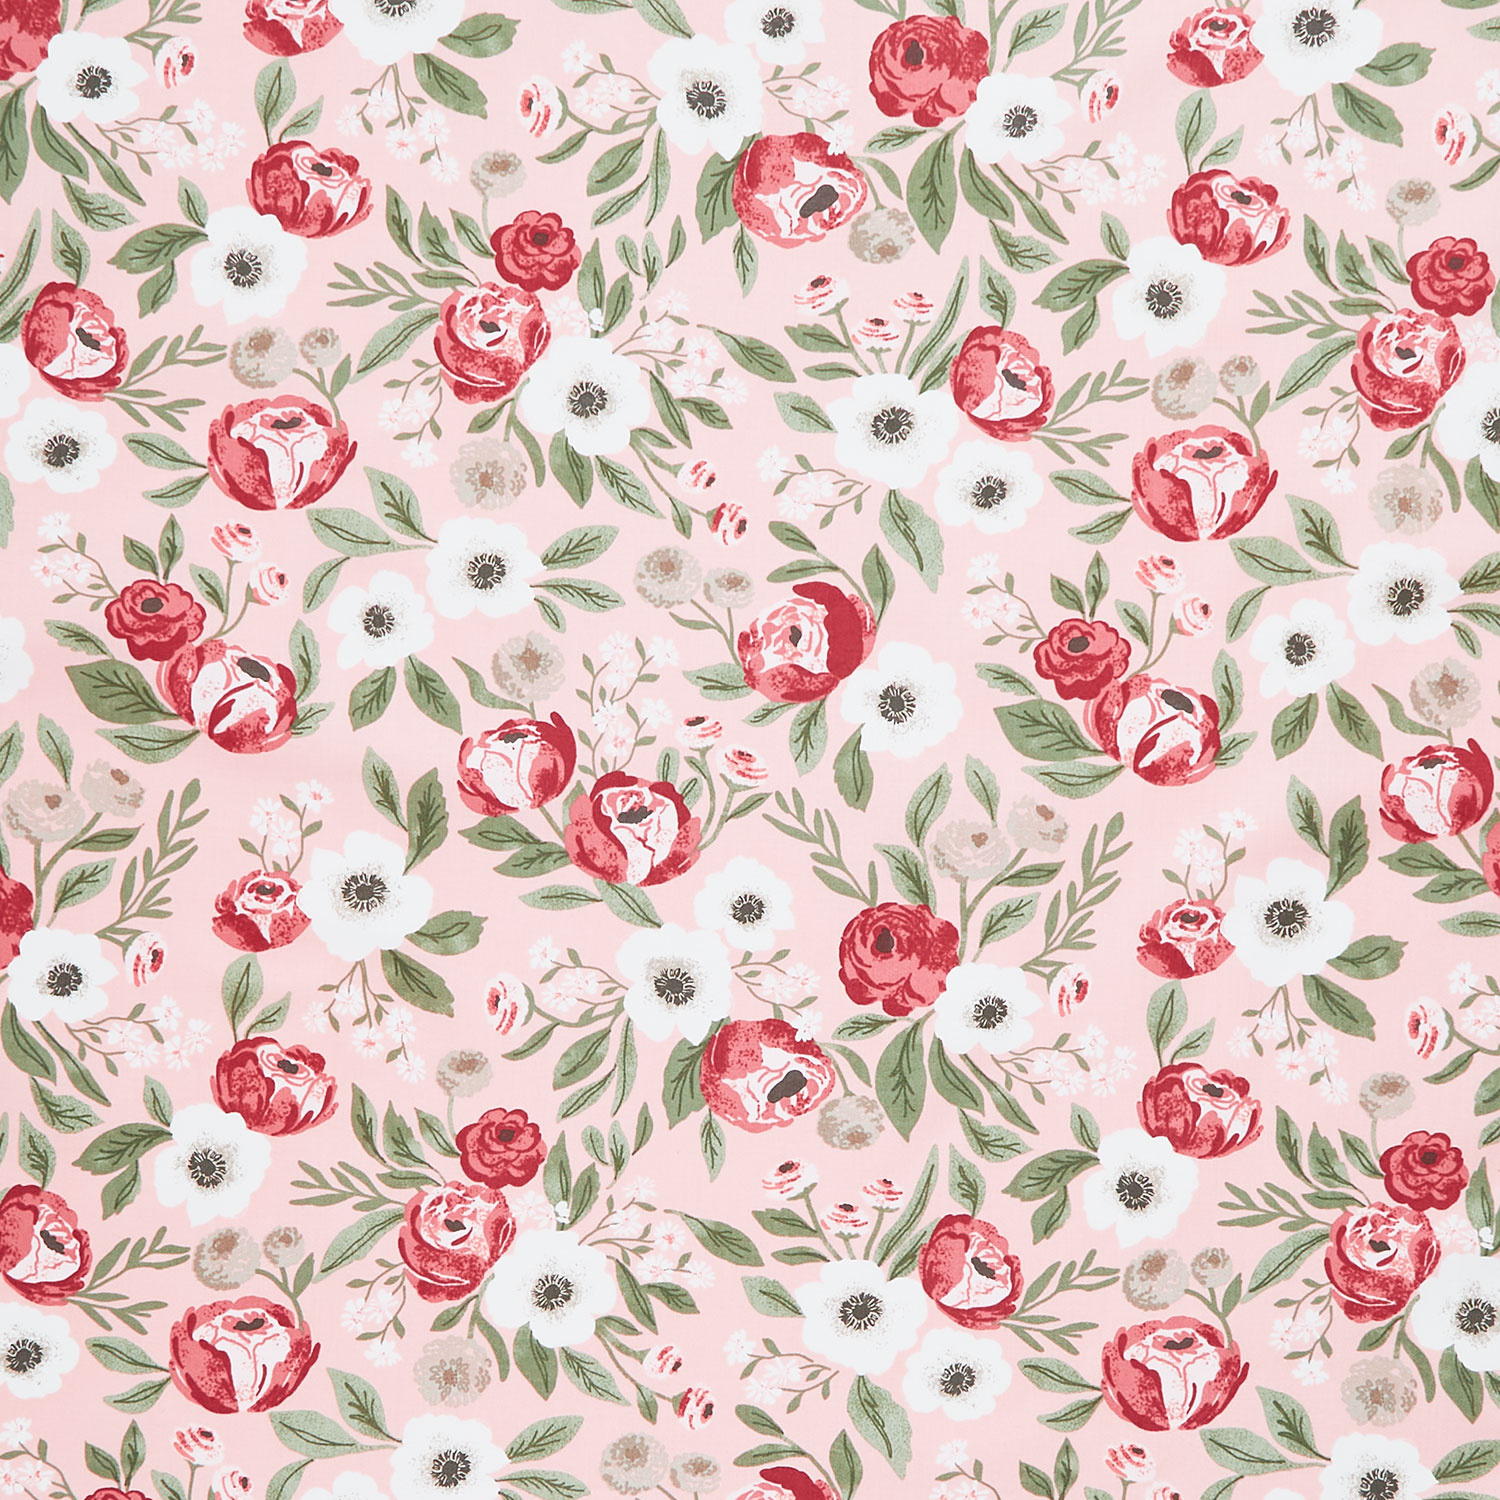 Lovestruck - Gardensweet Blush Yardage$11.96Shop →
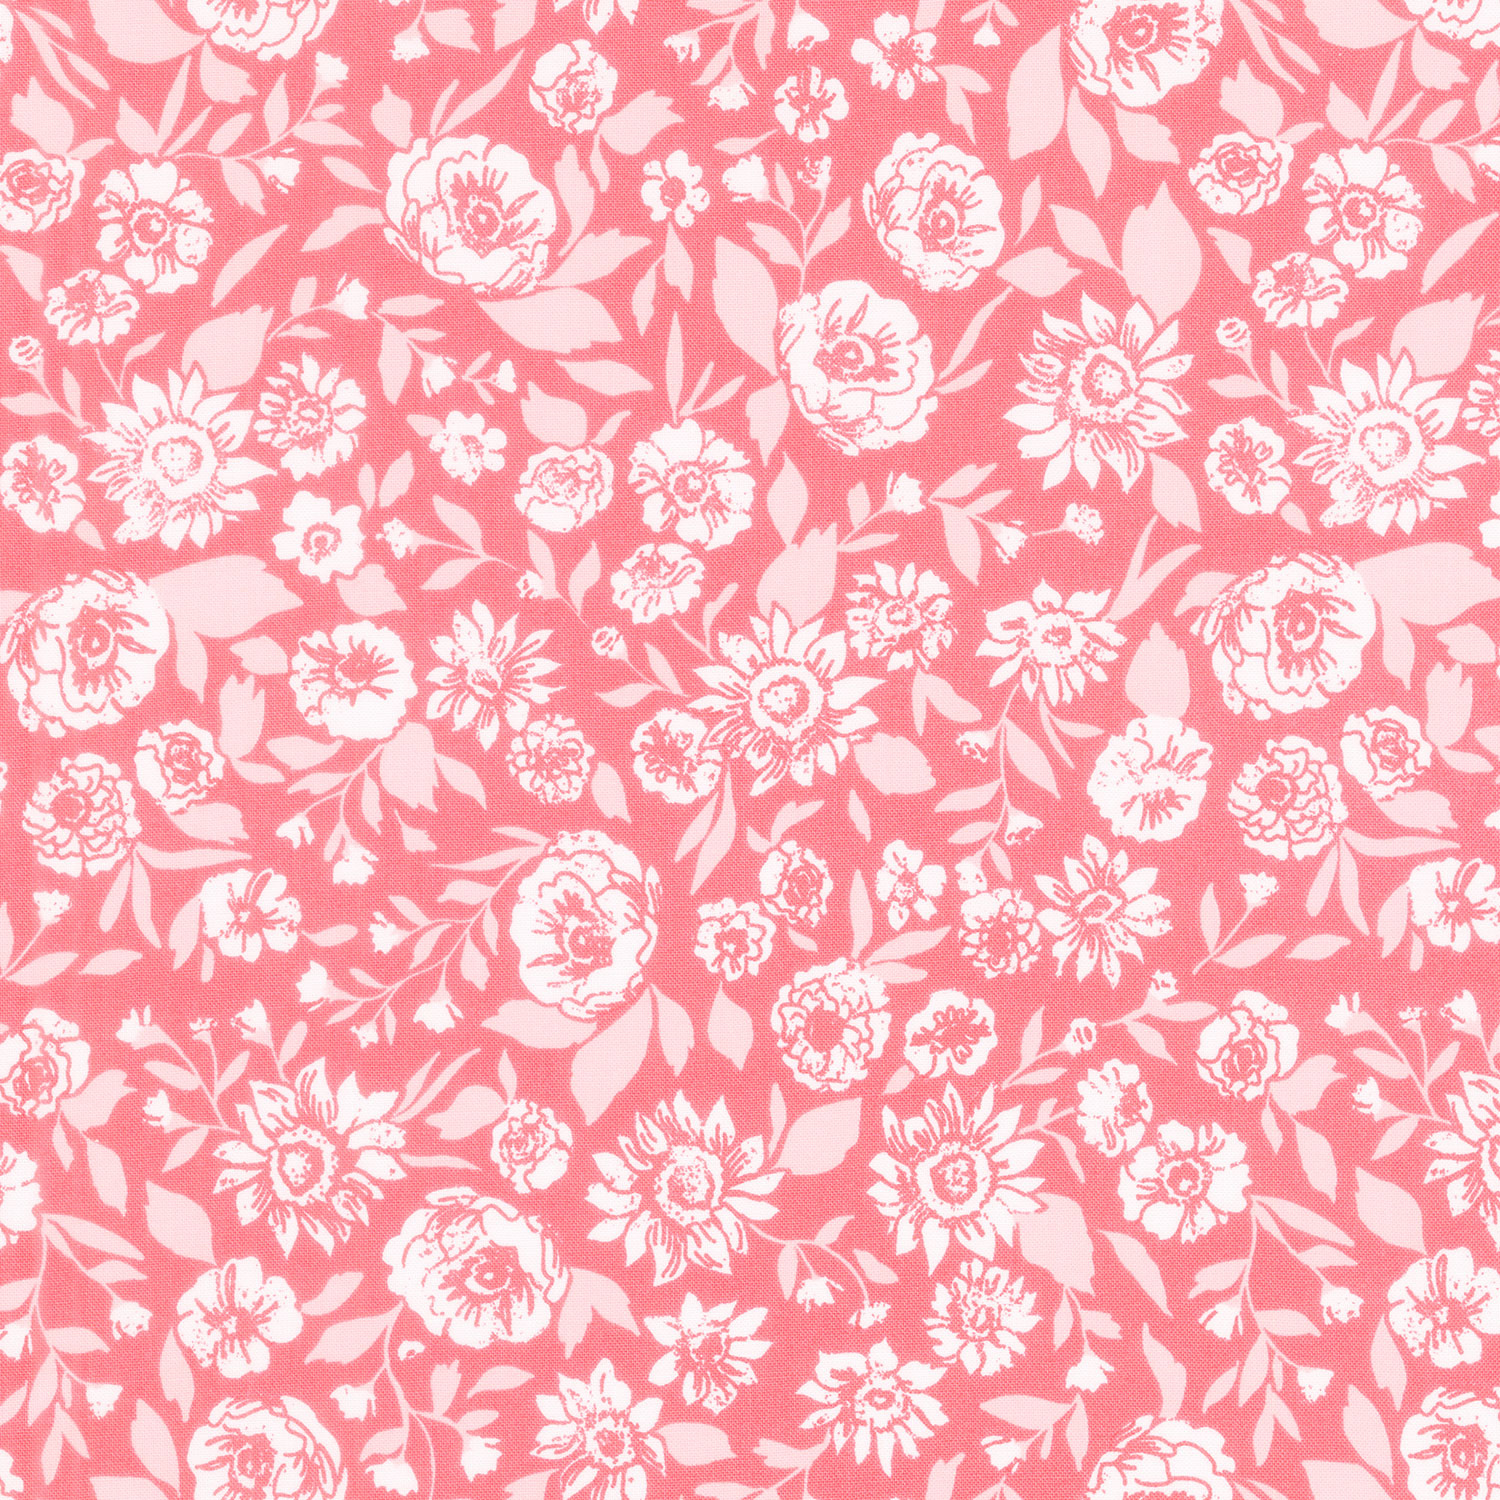 Lovestruck - Smitten Floral Rosewater Yardage$11.96Shop →
 Missouri Star 5" x 15" Ruler$15.95Shop →
 Missouri Star 2.5" X 15" Ruler$13.95Shop →
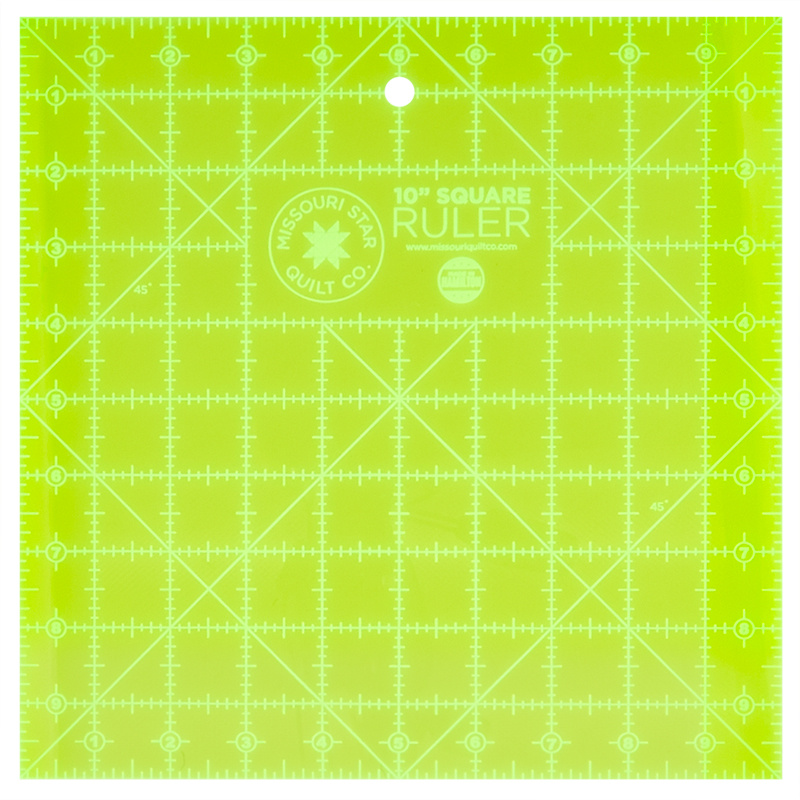 Missouri Star 10" x 10" Square Ruler$19.95Shop →
 Missouri Star 45mm Rotary Cutter$19.95Shop →
 Exclusive Missouri Star Jenny TG1600 ProPlus Oliso Smart Iron$199.99Shop →
 Missouri Star Wooly Betty Board - 17.25" x 25.5" Orange Border$98.95Shop →
 Missouri Star 50 WT Cotton Thread White$6.95Shop →
 Baby Lock Accomplish - 1500 SPM Straight Stitch Machine$999.00Shop →
Common Questions
What is covered in Triple Play: How to Make 3 NEW "Square in a Square" Quilts - Free Quilting Tutorial?
Triple Play is a favorite tradition here at Missouri Star Quilt Company. In this episode, the talented Doan ladies share three fabulous new Square in a Square quilt patterns. Misty's Hip to Be Square quilt is MADE for pretty prints. Natalie's Scattered Squares quilt features b...
How long is the tutorial video?
The tutorial video is 00:47:01.
Are supplies listed for this tutorial?
Yes. The tutorial page includes the supplies and materials connected to this project.
Is a transcript available?
Yes. A written transcript is available on the tutorial page.
Video Transcript
Hi everybody, it's Jenny from the Missouri Star Quilt Company and it's triple play time. Our last triple play of the year. This is our December triple play. I'm here with...
Misty:
Misty.
Jenny:
And.
Natalie:
Natalie.
Jenny:
And we have a wonderful project for you. The block we've chosen this month is the square in a square. And so it's exciting to see what we're going to do with such a basic block, but that's one of the challenges that we love. And I think we're going to start with you, Misty.
Misty:
All right, let's do it.
Jenny:
All righty.
Natalie:
Perfect.
Misty:
All right. So this is my quilt behind me and I kept it really simple. I called it, Hip To Be Square. And so I just made these simple square in a square blocks, that match back up with a 10" square.
Natalie:
Love it.
Jenny:
Actually, those are the perfect quilts for December, because it's just like you-
Misty:
It's quick and easy.
Jenny:
... can just sew.
Misty:
It's true.
Jenny:
Not a lot of thinking.
Misty:
So to make this, you're going to need one package of 10" squares and I use Lovestruck by Lella Boutique for Moda Fabrics. You're also going to need 1 1/2 yards of your background, that includes your inner border. Then you need 1 1/4 yards for your outer border, and 4 3/4 yards for your backing. So let me show you how to make this.
Natalie:
It's really cute.
Misty:
Thank you. It's pretty simple. So we're going to start by just grabbing... Let me pick one of these pretty prints. This pink will be fun.
Natalie:
This is a really beautiful line, and I think we all coordinate very nicely.
Misty:
We really do.
Jenny:
We really do, wow.
Natalie:
We're ready for a photo shoot, or something.
Jenny:
You'd think we-
Misty:
Somebody call the photography team.
Natalie:
That's right. Get up here, we look good today.
Jenny:
We don't plan this, by the way. We just actually show up with what we showed up with.
Misty:
And sometimes it works out.
Jenny:
Sometimes we're all in the same color.
Natalie:
Sometimes.
Misty:
It's true.
Jenny:
This is perfect.
Natalie:
It works.
Misty:
So we are going to start by taking our 10" squares and we are going to cut some inch and a half strips. So I'm going to cut all the way across.
Jenny:
And do you stack these ever?
Misty:
You absolutely can. I'm just making one at a time.
Jenny:
Sometimes it's easier, there's enough pieces involved that you go-
Natalie:
You cut the-
Jenny:
... I'm going to do this fun-
Natalie:
... entire layer cake into 1 1/2-inch strips?
Misty:
Yes, you do.
Natalie:
Very cool.
Misty:
You cut all the way across.
Jenny:
That's pretty fun. One of the things I like about cutting a layer cake into 1 1/2" strips is it has this little bit of leeway. So if you-
Misty:
It's true.
Jenny:
... happen to mess up a little bit-
Misty:
You got a little bit-
Jenny:
You got a little bit of wiggle room.
Natalie:
And you could trim your little peaks off of the edges if you wanted to.
Misty:
You totally could, if that bothers you.
Jenny:
Sure.
Misty:
And so then-
Natalie:
Because it's hard to make them feel exact.
Misty:
It's true. So from two of these, I'm just going to keep these together, and I'm going to grab my little bit wider ruler. And we are going to go over 4". And this should give us a 4" and a 6" piece. Oops. There we go. And I just stack these up, like so. And then I did not cut these. The reason that I did these first two, is because if you do this wrong, you can end up with too small of pieces left. I learned the hard way. So I just set these aside in a pile. And then from your background, you're going to cut a 4" strip, and you're going to subcut that into 4" squares. And then you're also going to cut some 1 1/2" strips, or you can cut 6" and subcut into 1 1/2. So this is 1 1/2 x 6. You'll need two of those for each block, and then 1 1/2 x 8. So this is all the bits that we need-
Natalie:
Very cool.
Misty:
... for our block. So to start off with, we're going to take our two 4" rectangles, and sew them on opposite sides of our 4" center square.
Jenny:
I'm ready for you.
Misty:
All right.
Natalie:
Nice.
Jenny:
All right, so we'll just lay this on here, line up the edges. And we're just going to sew down the side, and flip it around.
Misty:
Flip it around.
Jenny:
And sew the other side. All right.
Misty:
Here we go.
Jenny:
Press that.
Misty:
If you want to press that back?
Natalie:
Will do.
Jenny:
Now do you press every time when you do it?
Natalie:
So I just finger pressed at my sewing table. Or if you have an ironing board right next to you, that makes it handy.
Jenny:
The 1" rollers-
Misty:
Yes-
Jenny:
... as well.
Misty:
... that would work.
Natalie:
If I was assembling this quilt and I would probably do a lot of-
Misty:
Exactly.
Natalie:
... strip piecing and then I'd get up and press a bunch, and then sit back down and-
Misty:
That would work.
Natalie:
... sew some more.
Misty:
And so then our 6" from those strips that we cut, will fit on opposite sides for our center. So we'll add those.
Natalie:
Excellent.
Jenny:
Alrighty.
Natalie:
They're kind of log cabin, courthouse steps.
Misty:
Very much so. Exactly. Just bordering it around.
Natalie:
Very cool.
Jenny:
This fabric is darn-
Misty:
It's so pretty, it's really beautiful.
Natalie:
Perfect.
Jenny:
There you go.
Misty:
So then we'll press that, and then we'll do the exact same thing. But on this round we're going to start with our 6" background rectangles, and then we'll add our 8" to the top and bottom.
Jenny:
Okay.
Natalie:
I love how things come out so neat when you've precut everything. It's just-
Misty:
And so-
Natalie:
... very-
Misty:
... you don't really have to worry about this, but I did make sure that they stair stepped out. Does that make sense? So I added them to the same side, my smaller pieces.
Jenny:
Oh, I wouldn't have thought about that, but that's probably smart.
Natalie:
You have steps.
Misty:
Exactly. Just to keep everything neat. The quilt will still look beautiful if you don't worry about that.
Jenny:
Oh, here it is. I'm like, "Wait, where's the yellow?"
Misty:
You lost it.
Jenny:
The white on the white. All right. And I am going to just finger press-
Misty:
Finger press.
Jenny:
... this back.
Misty:
And then these will be your 8" rectangles.
Jenny:
Sorry Nat, took your job.
Misty:
That's all right.
Jenny:
You can have the job at the end.
Natalie:
No worries.
Jenny:
There we go. And I just did a little back stitch and I'm not sure why, but-
Misty:
Sometimes you just feel it. I do the same thing. I'm like, "I don't know why I did that."
Jenny:
Well, I know I did it do it from clothing sewing and sometimes it's just automatic.
Natalie:
Those old habits just kick back in, right?
Jenny:
I reached for it.
Misty:
There we go.
Jenny:
All right.
Misty:
So if you want to go ahead and give that a press-
Natalie:
I will press.
Misty:
... and we can go ahead and trim two of these to eight if you want. Otherwise I just hung them off and trimmed at the end. Either way is fine. But these two will need to be 8".
Jenny:
Let's trim them.
Misty:
Let's trim them. Why not?
Natalie:
Makes life pretty easy.
Misty:
It does. There we go. And so this is your little bit of waste, not too bad.
Jenny:
Not too bad at all.
Natalie:
Not bad, but perfect for a crumb quilt.
Misty:
Exactly. And so then we'll add those to the side, and then our last two 10" strips will fit on the top and bottom.
Jenny:
Wow, that's perfect.
Misty:
Thanks.
Jenny:
And I love the white in between. It makes it look so clean.
Misty:
That's very good. Gives it a little bit of negative space still. Let's these pretty fabrics kind of sing.
Jenny:
All right, I'm going to let you press that back.
Misty:
All right, press that and then we'll add those last two.
Jenny:
That's nice. This is really pretty.
Natalie:
It's so pretty. Just very sweet and soft, and feminine. All done.
Misty:
Oops, sorry.
Jenny:
All right, let's align with these two, right here. There we go.
Misty:
Last one.
Jenny:
And mine are just a hair longer. So do you just trim that?
Misty:
Sometimes those pink edges are just a little bit bigger, so we can just square it up at the end. It's no big deal.
Natalie:
All right, I'll give it a quick press and then we can-
Jenny:
Take a look at it.
Natalie:
Put a little 10" square on it or you could use your mat to line it up.
Misty:
I didn't grab the 10" square, but we can just lay it on here, because it should finish up exactly 10" square.
Natalie:
Excellent.
Misty:
Which is what we're looking for.
Natalie:
That is wonderful.
Misty:
So we've just got a little bit that's hanging over so we can trim these.
Jenny:
Well, and it could be my seam allowance.
Misty:
You never know.
Jenny:
But the point is you want it to end up 10, right?
Misty:
End up 10" square. So we'll just trim off this tiny little bit here.
Jenny:
It is super handy. I love those, where you can just set a ruler on it and look to see if it's the right size.
Misty:
It's so nice. There we go. Come over-
Natalie:
Just a little tiny bit.
Misty:
... just a tiny bit up here. There we go. And now it is 10" square. And so you can see how these just sit in the quilt and I did half like this, and then the other half are just the 10" squares from my pack.
Jenny:
Big beautiful pieces.
Natalie:
And so great for showcasing that beautiful fabric.
Misty:
Exactly.
Natalie:
You have a line where you're like, I just love this fabric so much, I don't want to cut it up.
Misty:
Exactly. And so you've got those big full squares that just lets that fabric show off a little bit.
Natalie:
That's so great.
Misty:
And then I just did an inch and a half inner border, to match the same size that we did here and finished it off with a 5" outer border. And then for my backing, we've got this pretty pink-
Jenny:
Oh, that's a beautiful print.
Natalie:
Oh, that's pretty.
Misty:
And the quilting pattern is just called, Flowers.
Natalie:
Excellent.
Jenny:
It has big daisies in the quilting.
Misty:
Yeah, it's big.
Natalie:
It's pretty and fun. It'll just-
Jenny:
Oh, I love it, it's so clean-
Natalie:
... it's a joy bringer.
Jenny:
... and pretty looking.
Misty:
Thank you. And I can't remember what size this finished up... 68 x 77. So a nice good size.
Natalie:
Perfect for picnics.
Misty:
Exactly. It's as easy as that.
Jenny:
And remember if you want it bigger, we just add another layer cake.
Misty:
Absolutely.
Natalie:
Or bigger borders?
Jenny:
All right, so who's next?
Natalie:
Whoever wants to go next is fine by me. It's you and I.
Jenny:
All right, we'll let you know. So Natalie, it looks like you're up?
Natalie:
That's right, it's my turn.
Jenny:
I'm loving this.
Misty:
I just love this so much.
Natalie:
So this was really fun for me to make. It's got a lot of different things going on. I think it looks probably harder than it is, maybe. I love it though.
Misty:
It's so cute.
Jenny:
It's just straight little seams though. But it's a square in square-
Natalie:
A square in a square, in a square.
Jenny:
... in a square, in a square.
Misty:
In all variety.
Natalie:
In many different varieties. That's right, it's super fun. So I called it, Scattered Squares, because it looks like they're just wherever you want to put it.
Jenny:
They are.
Misty:
Tossed all over.
Natalie:
And it makes a quilt that... It's 59 x 59. You use your entire layer cake for this. And if you wanted to make it bigger, one more layer cake.
Jenny:
And I like this colorway, this fabric colorway.
Misty:
So pretty.
Natalie:
Yes, this is beautiful. So I used Feed Sacks, Good Works by Linzee Kull Cole McCray, for Moda fabrics and it's so pretty.
Misty:
It's gorgeous.
Natalie:
There's a little bit of this inner border yardage that's white. The other white that you see in here, this is actually from the layer cake. So this isn't part of that fabric, just so you know-
Jenny:
Oh, okay.
Natalie:
... that it looks... It reads very white, but it's layer cake fabric. And you just need-
Jenny:
Like a tone on tone.
Natalie:
... an inner border.
Misty:
Like a quarter [inaudible 00:11:26]?
Natalie:
I wanted to separate that out from the outer border, because it can be pretty busy. Your outer border, you'll need a yard and your backing, you'll need 3 3/4 yards. And this is just... It's so pretty-
Jenny:
It's beautiful.
Natalie:
... it's one of these really busy prints-
Misty:
Oh, I love that.
Natalie:
... but it just looks so fun and happy and-
Misty:
Cheerful.
Natalie:
... it's like Summer picnic.
Jenny:
It really is.
Natalie:
Brings to mind all the-
Jenny:
I just love it.
Natalie:
... fun things we can do this Summer.
Jenny:
I love blue and white, and addition of yellow.
Misty:
If you want to make us one of these, Natalie? It's very cute.
Natalie:
All right.
Jenny:
We would like that.
Natalie:
I could do that. It is totally doable.
Misty:
All right.
Natalie:
The machine quilting pattern that I used on it, is called Abstract Skyline, and it's one of those ones that's just very modern and geometric.
Jenny:
Squares all over it.
Natalie:
I love it.
Jenny:
Love it too.
Natalie:
It's super cute. All right, so this quilt is fun to make, and I'm ready to show you. There's three different blocks in it, and the pattern is going to include all the different ways to cut. So you're going to gather so many squares and cut them into 4 1/2, and so many of these other squares. But I'm just going to go through it one square at a time, so you know what you need per square. And then if you wanted to do your whole layer cake and read the pattern, that's totally fine. It's just easy-peasy. But you can cut as you go if you want to.
Jenny:
That's awesome.
Natalie:
All right, so this is our square A, and it is a traditional square in a square. You're starting with a 2 1/2" square in the middle, and then you just build out using 1 1/2" strips.
Jenny:
Just like Misty did.
Natalie:
That's right. So we'll just cut a few pieces. I have, let's skip with... Some that are contrasty, I like to see the differences in the fabrics show up, as I did these. And I love all the different colors, they're so pretty.
Jenny:
Well the addition of this color, I'm not sure what you call it.
Misty:
Like a citron.
Natalie:
That's what I was going to say, like a citron.
Jenny:
It's just gorgeous with this navy and white.
Misty:
It's really beautiful.
Natalie:
And the teal and the gray. It's a really, really pretty one.
Jenny:
We do love our designers for sure.
Natalie:
Yes, they're brilliant. They make our lives so much fun.
Misty:
That is the truth.
Natalie:
So before we get started cutting, I'm just going to move these fabrics.
Jenny:
Hand them off to me, there we go.
Natalie:
Thank you.
Jenny:
If you need them, they're right here.
Natalie:
Perfect. I'm just going to cut one 2 1/2" strip off of this. And I'm going to keep all my fabrics ready so that I can cut as I go. So we start with this one in the middle.
Jenny:
And this is your middle square?
Natalie:
This is my middle square-
Jenny:
2 1/2" square?
Natalie:
These are built middle out, just like-
Jenny:
Perfect.
Natalie:
... with Misty's. We'll do a couple of 1 1/2" strips, and these get... Ooh, that's easier to read it the other way.
Misty:
They're so cute.
Natalie:
And these get subcut, because you need two, 2 1/2s. And then your next ones are-
Jenny:
Shall we pass these to Misty to sew half?
Natalie:
... 4 1/2. Yes. Go ahead and sew those two sides.
Misty:
Got it.
Natalie:
I believe these are 4 1/2, the next two. All right, so you can finger press those back if you like. Here's one for that one side, 4 1/2. And I'll cut you one more 4 1/2 here. We'll set that aside. And I did cut... I cut quite a bit of it ahead and just separated them into piles.
Misty:
Cut and sewed.
Jenny:
Because they're all 1 1/2?
Natalie:
Because it's a lot of 1 1/2" strips. All right, so we-
Misty:
Beautiful.
Natalie:
... need a few more 1 1/2" strips. I'm going to just stack these for a little bit of time saving, and cut a few 1 1/2" strips off of it. And then we will subcut them into the sizes we need.
Jenny:
I'll separate them.
Natalie:
Thank you. We're just going to cut as we go. Although the pattern gives great directions on getting everything done ahead of time.
Misty:
So whichever way you prefer.
Jenny:
Do you know what this-
Natalie:
That's right.
Jenny:
... this fabric right here reminds me of sheets, in my-
Misty:
I was thinking the same thing.
Natalie:
It is very, very vintage.
Jenny:
Very vintage.
Natalie:
Vintagely and beautifully... Look beautiful.
Misty:
I had teal sheets, the background was teal like that, but they were florals-
Natalie:
It's so pretty...
Misty:
... reminds me a lot of them.
Natalie:
All right, so we are going to do two, 4 1/2s for your first two. There's the one.
Jenny:
It's the block we're working on.
Natalie:
And here's the next one.
Misty:
All right.
Natalie:
Then I'll get you a couple 6 1/2s.
Jenny:
You could probably stack those.
Natalie:
You could. Good idea. And then we'll do our next row, which is 6 1/2 and 8 1/2.
Misty:
Sorry guys. This is catching on something, and it's very difficult to sew.
Natalie:
That is all we want.
Jenny:
Amen sister. I had the same problem.
Misty:
Right.
Natalie:
Just finger press these.
Jenny:
Unless you want me to iron? I am here you know.
Natalie:
We'll give you it in a minute.
Misty:
I'll give it to you in just a sec.
Jenny:
Ready when you are.
Misty:
All right.
Natalie:
Oh, I already got my 6 1/2s. I need to do 8 1/2. So if you accidentally cut 6 1/2 when you needed 8 1/2, you can sew those strips back together and cut them the length you need.
Jenny:
You sure can.
Natalie:
Totally fine. It's going to blend right in and you'll never know.
Misty:
We will never know, that's for sure.
Natalie:
We all make a cutting error once or twice in our lives, don't we?
Jenny:
Just once or twice.
Natalie:
I can't be the only one?
Misty:
You are not.
Jenny:
Here, let me iron that real quick.
Misty:
Give that, give her a press. That would be great.
Jenny:
And then, it's easier if you lie it down.
Natalie:
If you're strip piecing, you can press a bunch at once or finger press as you go, it's whatever feels comfortable.
Misty:
We'll do our last little round.
Natalie:
And that's it.
Jenny:
And so how many pieces are there in the quilt?
Natalie:
Ooh, you're asking the tough questions today. So you make 12 of each block. There's an A block, a B block, and a C block, and they all just go together. And it's fun.
Misty:
All right, I'm almost done here. You're good. Just finish this up.
Jenny:
No pressure, Misty.
Natalie:
You're totally fine. No worries at all.
Misty:
I can only go as fast as the machine.
Natalie:
You're doing a great job.
Misty:
When the fabric cooperates, you know. All right. There we go.
Natalie:
All right, so press that one and then we'll get started on our next block.
Next... We'll show this.
Jenny:
Show this one.
Natalie:
We'll do a little block presentation. So they all end up 8 1/2. All the blocks are 8 1/2. So they fit together beautifully.
Jenny:
Here's another one. Aren't they so cute?
Natalie:
They're so fun.
Jenny:
All right.
Natalie:
And you're just... Make two of the same.
Jenny:
Make two of those.
Natalie:
You make 12 of those and then you make 12 of this one. This is the next block. It's a little four patch. So you'll always have two, 4 1/2" squares and you could pick new fabric if you like.
Jenny:
You want to pick?
Natalie:
Okay.
Jenny:
Do you have some over here already cut that we could use?
Natalie:
I probably do.
Jenny:
Let's see. I don't know.
Natalie:
I have lots of cuts...
Jenny:
Let's go with a couple of these.
Natalie:
We just need one, we can use this. Well, it doesn't matter, it's not... Let's use this one.
Jenny:
Oh, there's so many to choose from.
Natalie:
There's so many-
Jenny:
We're like, "Wait, what"-
Natalie:
... so, so many.
Jenny:
... "about this? What about this?"
Natalie:
I'm just going to line these up and we'll make-
Jenny:
These two can be them-
Natalie:
... coordinates for our 4 1/2.
Jenny:
There you go.
Natalie:
Move that so I don't accidentally hit it.
Misty:
That would be something.
Jenny:
So you have two, 4 /12" squares-
Natalie:
That's right.
Jenny:
... and we're just going to set these aside?
Natalie:
That's right. That's the easiest part of this whole thing.
So those are done.
Jenny:
Here's a little...
Natalie:
And then we'll do a... Well, we don't want the same for our... Let's use a different one.
Jenny:
Is this different?
Natalie:
That one's perfect, yes.
Jenny:
Beautiful.
Natalie:
All right, so we'll do a-
Jenny:
I can't keep track of all-
Natalie:
... two 2 1/2" middles.
Jenny:
Here's another.
Misty:
Oh, so the first little round of this guy?
Jenny:
Here's one more-
Natalie:
That's right.
Misty:
That's all we're making.
Natalie:
So we're making just one little-
Jenny:
One round.
Natalie:
One round of two and a, or-
Jenny:
1 1/2.
Natalie:
So we have two of these. We need some more 1 1/2s to do our-
Jenny:
Here's these.
Natalie:
Okay, that works.
Jenny:
Oh, and we have some navy's. Oh no, this a gray.
Natalie:
I'm going to use this piece, because it is small enough to get my two, 2 1/2s. So I tried to be pretty conservative about which pieces went where. But again, all of that is figured out for you in the pattern. All right, so there's our first round of that one. And then this one... Did you want to do this blue, or this gray?
Jenny:
Whatever you'd want.
Natalie:
Okay. I might need this piece of fabric. A whole piece.
Jenny:
Okay.
Natalie:
Oh, let's use this one instead. This is one of those-
Jenny:
When I do this-
Natalie:
... creative chaos projects-
Jenny:
... I was going to say-
Natalie:
... because everything just goes everywhere.
Jenny:
... when I do this kind of thing, my whole desk is covered with pieces and then they're like, "How much did you use?" And I'm like...
Natalie:
As many as I'm using.
Jenny:
[inaudible 00:21:51]
Natalie:
As many as I could. It's pretty fun though. It's very... Well, it's not hard sewing.
Misty:
Right, that's what I was going to say.
Jenny:
It's just fun sewing. And then you do the same thing-
Natalie:
Not at all.
Jenny:
... over and over.
Misty:
Simple piecing. There's that one.
Natalie:
2 1/2, 2 1/2.
Misty:
4 1/2.
Natalie:
4 1/2 off of this strip.
Misty:
And a 4 1/2.
Natalie:
4 1/2 off of this one. And then the next block is pretty easy too.
Misty:
Awesome.
Jenny:
This math becomes probably automatic in your brain. I'm going to stack a few of these, because I know what's coming.
Natalie:
Oh, yes because you know what's coming.
Jenny:
Right? One, two, three.
Natalie:
Yay.
Misty:
Almost there.
Jenny:
Four, five.
Natalie:
Pretty fun. Pretty fun to make.
Jenny:
Six, seven, eight.
Natalie:
All right, so press this one.
Jenny:
This might be too-
Natalie:
You can sew this together.
Jenny:
This might be too thick for you.
Natalie:
We're going to assemble our four patch now.
Misty:
Our four patch. All right.
Natalie:
And it doesn't really matter if you do side to side, or top to bottom. I did the best I could, and then I just paired them all up.
Misty:
Makes sense.
Natalie:
If you're worried about it, go for it. Make them all the same.
Jenny:
Oh, you might need to save a few out for your-
Natalie:
No big deal. Well, I'll cut a square. A solid square.
Misty:
All right, now we can open these up, and stitch them together.
Natalie:
Stitch them together.
Jenny:
And it doesn't really matter which way you sew those, because you can just flip them.
Natalie:
Yep, it's a four... They're good each way.
Jenny:
You just want to match that center seam.
Natalie:
Yep.
Jenny:
Misty, make sure that's perfect.
Natalie:
Oh, she's got it.
Misty:
I'm on it.
Natalie:
She's got this.
Jenny:
On it.
Misty:
There we go.
Natalie:
All right, give that a quick press.
Jenny:
I will.
Natalie:
Perfect.
Jenny:
And then this is block-
Natalie:
So cute.
Jenny:
... two. I have one-
Natalie:
Block B.
Jenny:
Oh, block B.
Natalie:
B or two. You can call them one, two, three. A, B, C.
Jenny:
There's this one?
Misty:
And that one.
Natalie:
They're so cute. So you're going to make 12 of these. Second verse.
Jenny:
Then-
Natalie:
And our C block is this guy, which can go whichever way you want. And I twisted and turned them all over.
Jenny:
And honestly with all of these, it's just-
Natalie:
This is all 2 1/2" strips. So we have some of these already cut, because they were left over from other pieces. We'll go ahead and cut a bunch.
Jenny:
Misty can probably start sewing those together.
Natalie:
You can just lay them out. I laid mine out, because I wanted to make sure that I had things-
Misty:
Do you make this first?
Natalie:
I make that first.
Misty:
Okay.
Natalie:
Yes.
Misty:
So then these are just for around it.
Natalie:
So we need to choose one for the middle, and we'll choose a square for our outside. Let's do-
Misty:
Here's the middle if you need it.
Natalie:
Cool. Let's do this one. I like this guy. So this is all 2 1/2" sections, 2 1/2 strips, and 2 1/2" squares.
Jenny:
Now I see on yours right here, you have the matching guy over here. Is that-
Natalie:
That is not on purpose.
Jenny:
So that's just random?
Natalie:
They're not all like that. So if they match... If I ended up where the pieces that I had were the same as the fabric, I just tried to put them opposite so that they didn't touch. Although I do have a few where it's the similar shades, and they kind of go into each other. That's okay.
Jenny:
So you need two, 2 1/2s?
Natalie:
So you start with two. Ooh, this one. All right. You've been putting together the outsides.
Misty:
I just figured I could start.
Natalie:
Very nice. So this is going to be... 1, 2, 3 together, that makes this center-
Misty:
For the middle.
Natalie:
... and then your side sections are 6 1/2.
Misty:
It's huge.
Natalie:
And they are right here and they go... It's also very courthouse step style.
Jenny:
And courthouse steps, for those of you who don't know, is a block where you have a middle and you step out, and then you step up-
Natalie:
And then you turn it and step the other way.
Jenny:
... and you step out and up, and you just keep going you just keep going the same way on every single piece. And it's really a fun block, because if you play with color on it, if you put lights on the sides and darks on the top-
Misty:
You can do so much.
Jenny:
... they end up looking-
Natalie:
It's a log cabin... It's in the-
Jenny:
It's a derivative of the-
Natalie:
... log cabin family.
Jenny:
... log cabin.
Natalie:
And they're really fun.
Jenny:
And there's so many things you can do with it, because of the way it's laid out.
Misty:
There's that.
Jenny:
All right, I'll press this. You can have those.
Natalie:
Okay, so these have-
Jenny:
Because those have to next.
Natalie:
... to go on the-
Jenny:
Oops. Oh, my goodness. Oh, my goodness.
Natalie:
Around our block.
Jenny:
All right.
Natalie:
So we can put that together and see how you like it. And then just stitch this one first. And that one doesn't really line up with anything. You don't have any seams really to watch.
Misty:
There we go.
Jenny:
Let me iron that.
Natalie:
Sure, perfect.
Jenny:
It's easier because I'm right here, just waiting for something to do.
Natalie:
All right. All right, perfect.
Jenny:
All right.
Natalie:
And then this one goes on here. And I would say this is the most important point to watch... Your corner. But this gives you two... It's a couple other seams that you can watch-
Misty:
And match up.
Natalie:
... to keep everything in line.
Misty:
I like having those little spots.
Natalie:
I like them too, little checkpoints along the way. They just keep everything square and matching.
Misty:
Lined up where you want them. Works well. Oops. I might have to make one of these.
Natalie:
It's really, really fun.
Misty:
It's so cute.
Natalie:
I think it would be great. It's great in a line, but it would be so great in solids and scraps. I mean, honestly, there's just a ton of different options for it, you could pick.
Jenny:
Do you know, this is one of those quilts that would be great to take to a retreat?
Natalie:
Yes.
Jenny:
Because you're just like, "I got a layer cake, I can get all my cuts out of it," all that thing. And you wouldn't have to think about it or anything.
Natalie:
Totally.
Misty:
And you can have whatever you need.
Jenny:
Think I'm going to put that in my brain.
Natalie:
Yes, absolutely. So here's your block C.
Jenny:
And here's the other.
Natalie:
And you can see them on the quilt. If you guys will help me. Do you want to do this one?
Misty:
Absolutely.
Natalie:
And you do this one?
Jenny:
Okay.
Natalie:
So I start with an A block.
Jenny:
Right here?
Natalie:
And a B block.
Misty:
And that's me.
Jenny:
A.
Natalie:
And a C.
Misty:
B.
Natalie:
And then I just repeat the pattern. So really it is actually a pattern. It doesn't look like it is, because you can have fun with turning some of them.
Jenny:
Right. So then you start with-
Natalie:
So you have A, B, C. A, B, C. And then you do-
Misty:
B, C.
Jenny:
B, C.
Natalie:
B, C, A. B, C, A.
Misty:
B, C, A.
Jenny:
B, C, A.
Natalie:
And you can tell that they actually go in a diagonal pattern. So you have of your A blocks-
Misty:
I did not notice it until you pointed it out.
Natalie:
... here, and your B blocks. And then the C is really the most fun. So the B block you can turn, but it's a four patch. You can only do it two different ways, but this one you can turn several different ways. So it doesn't necessarily line up-
Misty:
It looks [inaudible 00:30:11].
Jenny:
It makes it look even more scrappy.
Natalie:
And you can have a good time with making sure things don't match up.
Misty:
That is so fun.
Natalie:
So it gives it a ton of movement, but it actually does have a pattern-
Misty:
I love it.
Natalie:
... that you can remember-
Jenny:
I love it.
Natalie:
... and then it's a little bit less scary for people who don't like to step away and be truly-
Misty:
Free.
Natalie:
... improv. So, it's just fun-
Misty:
It's really great.
Natalie:
... I like it, and I hope you guys like it. It's... Again 57 square, is that right?
Jenny:
Yes, I think so. Here we go. 59 x 59.
Natalie:
59" square.
Misty:
So cute.
Natalie:
Which I think is great for lap quilt. It's a great large baby crib quilt, or toddler bed size. It's just great.
Jenny:
King size?
Natalie:
You could do four-
Misty:
You keep making it.
Natalie:
I would do four layer cakes for a king-
Misty:
How cute would that be?
Natalie:
... and that would be amazing, be so pretty.
Jenny:
That would be cute.
Misty:
So fun.
Jenny:
All right, well I guess it's my turn.
Natalie:
All right, let's see what you got?
Jenny:
All right everybody. So mine is called, Surprise Square in a Square. And you'll-
Natalie:
I love it.
Jenny:
... see the surprise as we go along, but let's take a look at it.
Natalie:
Oh, it's so cute.
Jenny:
Isn't it fun... This line?
Natalie:
It's so great.
Jenny:
We've all had such great lines, and this is a beautiful line and I do think we... Again, we all blend very well-
Natalie:
We coordinate.
Jenny:
... with it. We coordinate.
Natalie:
It's so pretty.
Jenny:
And I threw my squares, on point, and we can't wait to show you how I did this. So to make my quilt, you're going to need one packet of 10" squares and we've used this adorable line called Blossom Lane by Katherine Lenius for Riley Blake Designs.
Natalie:
It is so cute.
Jenny:
It is adorable.
Misty:
It's adorable.
Jenny:
It's really, really cute.
Natalie:
There's so much fun little detail in it.
Jenny:
There are. Every little fabric, you look at it and you're just like, "Oh."
Misty:
A little surprise.
Jenny:
It's just very cute.
Natalie:
So sweet.
Jenny:
So you need one package of those 10" squares, you're going to need a coordinating print, a 1/4 of a yard. And that was my outer border right there.
Natalie:
Inner border.
Jenny:
My inner border. Thank you. My outer border is 1 1/4 yards, and we use this floral, which is gorgeous.
Misty:
That is beautiful.
Natalie:
Beautiful.
Jenny:
The backing... You guys, I love the backing. Let me show you the backing. You need 4 1/4 yards. But take a look at this-
Natalie:
Oh, that is so nice.
Jenny:
... it's all envelopes.
Misty:
Oh, there's stamps.
Natalie:
Oh, that's so pretty.
Jenny:
The stamps, the envelopes, all the little lines on them. I mean they're just-
Natalie:
It's such a beautiful colorway.
Misty:
It's really pretty.
Jenny:
It's really pretty. And I love print on fabric anyway. I love how it works and it's just gorgeous. And so for that backing, you're going to need 4 1/4 yards. And it makes a quilt that is 67 x 67. And I, like you, went with the square kind of quilting. So I did meandering square, which is just a little bit different than the-
Natalie:
It's a great pattern.
Jenny:
... one you did. It is. It's one of my favorites actually, for my bed because it's not busy. It doesn't feel busy to me. All right, so let me show you how to make this. So the first thing I did when I made mine was I chose one square for my middle squares, my center squares, they're all the same. So if you take a look at the quilt back here.
Natalie:
Oh, cool.
Misty:
Right.
Jenny:
Every single one is doors. Those are all the same.
Natalie:
And you have 16 blocks and you get 16, 2 1/2" squares from one-
Jenny:
Right.
Natalie:
... 10" square.
Misty:
Perfect.
Jenny:
You'll also notice... The next row, they're only two colors. They're also all the same. So I chose something that would really pop, and I chose this teal line, and this orange line-
Natalie:
Corally, pretty-
Jenny:
... like this.
Natalie:
... colors.
Jenny:
I just went through and did these.
Natalie:
So did you have multiples of those? Or do you get just exactly the right amount?
Jenny:
I think there's multiples of those.
Natalie:
That's great.
Jenny:
But I cut them into 1 1/2" strips, and I sewed all of my strips together. So it was one long strip, so that I could get lots out of it.
Misty:
As much as possible.
Natalie:
So then some of your squares maybe have a seam in them?
Jenny:
Yes.
Natalie:
Not like where it would-
Jenny:
No, it's not going to show, nobody's going to see it. And of course I won't be able to find one now, because I'm looking at all-
Natalie:
Right, on the spot.
Jenny:
... the quilting. Exactly. But I literally took all of my pieces, and I sewed them together in-
Misty:
One long strip.
Jenny:
... one long strip. And so it's a very long strip. And so then I can take my middle pieces and I can just chain piece them. So I took my long strip like this, and I just laid... I did-
Natalie:
Several.
Jenny:
So 16, I did eight squares out of the blue. And so I would just chain piece them down the side. A whole bunch of these.
Natalie:
Do you do that? Shall I sew?
Jenny:
You can. We've done this middle... Now we've done it three times.
Misty:
Three times.
Natalie:
That's okay.
Jenny:
I'm pretty sure people are-
Natalie:
Well I need something to do.
Jenny:
There you go. There you go.
Natalie:
We'll just do one, and I'll just cut it as I go, so I can just keep going. Because we're surrounding this whole thing?
Jenny:
We are. We're surrounding the whole thing with the blue, and it should end up a 4 1/2" square. And you can always take your little square and make sure. I'm always surprised at how, no matter how careful I am, mine never ends up-
Natalie:
They just have a mind of their own.
Jenny:
... perfect. And I'm just like, "Aah, sewing with Misty and Natalie."
Misty:
It'll depend on seam allow... No quilt police.
Jenny:
No. And so, this is good and.... Oh wait, this one has a little curve. That's the other thing that happens to me a lot is, as I get to the end-
Misty:
It veers.
Natalie:
It'll curve one way or the other, mine-
Misty:
And I do the same thing.
Natalie:
... mine does that too.
Jenny:
I'm anxious to get done or something, and so I end up with this little wing out here. And then I just trim it off-
Misty:
And it's always fine.
Jenny:
... and it's fine. It's fine. All right. So-
Natalie:
I know you don't need me to do this. You go ahead. What's next?
Jenny:
So see, just with that piece, you're able to do all four and so...
Natalie:
Oh, good. It's stitching, it sounded... I thought for a minute it came unthreaded.
Jenny:
So again, I used two of each color. So if you don't have two in your layer cake, you just pick two dominant colors that are going to frame up that center square. Either that way or do it the opposite. Put your dark color in the center and then put a light. You just want some contrast-
Natalie:
That'd be good.
Jenny:
... on that.
Misty:
Good contrast.
Jenny:
All right, so then with the next layer cakes, I cut them in 2" strips. And I sewed them together as well. So you can see this one is all sewed together, see here's my-
Natalie:
End to end. End to end.
Jenny:
... here's my seams.
Natalie:
Cool.
Jenny:
And I just sewed them together, end to end. And then you're going to put these all the way around. And I did not even look to see if they were-
Natalie:
Well because they're square, it doesn't matter.
Jenny:
I didn't even look to see if I-
Natalie:
You're going to criss-cross-
Misty:
On your sides.
Jenny:
... stepped mine out. Because I'm just busy-
Misty:
Well, it doesn't really matter.
Jenny:
I'm just busy sewing them together, and so...
Misty:
It's just funny.
Jenny:
So you need four of these, you need one for the middle. These ones I think you need 11. All right.
Natalie:
Now, did you press and square?
Jenny:
I did.
Natalie:
Or trim the sides?
Jenny:
I just pressed it, and then sewed down the other sides.
Natalie:
Okay.
Jenny:
And because I had this long strip to work with, you're able to do a small one-
Natalie:
Several.
Jenny:
... and then you can do a big one.
Natalie:
Okay.
Jenny:
And so let me just trim off this edge.
Natalie:
Thank you.
Jenny:
Right here. So again, we have one for the middle, four for the first layer, then 11 of these you're going to cut into 2" strips, for each round. And then you're going to take out 16 that you do nothing to. So you'll have a stack over here of 16 of these, that you're going to do nothing to.
Misty:
Just leave them alone.
Jenny:
Just leave them alone.
Natalie:
Yet, right?
Jenny:
Just leave them be.
Natalie:
Okay.
Jenny:
I'm going to grab a couple more things over here, that I know I'm going to need.
Natalie:
All right.
Jenny:
I'm not going to worry about these. And then we're just going to sew these other rows on, and we will be at... I'm not sure what size this is. Good golly, Miss Molly.
Natalie:
It's got to be close to-
Misty:
10, right?.
Natalie:
... 10 though, right?
Jenny:
Well the two last ones are 10.
Misty:
So then these would be... Eight?
Natalie:
Eight.
Jenny:
All right. So iron this. Where's my... Oh, there it is.
Misty:
There we go.
Jenny:
All right, so now that this is ironed, we're going to go ahead and add the last four on.
Natalie:
Now did you-
Jenny:
And let's go-
Natalie:
Do you do these end to end-
Jenny:
Let's go ahead-
Natalie:
... as well?
Jenny:
... and sew these together.
Natalie:
Okay. I wasn't... For sure.
Jenny:
No, I sewed them all together. Here's these two and it's good. I just got, I think you get five cuts out of a 10" square. So five 2" cuts, with no extras.
Natalie:
Nice.
Jenny:
And then we'll, I licked my finger for you, Natalie.
Natalie:
Thank you, thank you.
Jenny:
People always, "Don't lick your finger."
Natalie:
Do you.
Jenny:
That's true. And you can see, right here there's a seam? Nobody's going to notice that.
Misty:
No, it doesn't matter at all.
Natalie:
No big deal.
Misty:
It all blends in.
Jenny:
All right, so then what we're going to do, now that we have this all sewn together is, we're just going to add-
Misty:
One more.
Jenny:
... side-to-side, and she's going to cut them as she goes. So she'll sew down the side and then we'll trim it off.
Natalie:
Stay lined up.
Jenny:
And then you'll flip it and do the other side. And this just conserves fabric. The sewing the strips together conserves fabric, because you're really just cutting off these little pieces. But, you might need those.
Misty:
You never know.
Jenny:
You never know.
Natalie:
It's going to be a great crumb year.
Jenny:
It might be a great crumb year, it's true.
Natalie:
All right.
Jenny:
All right, then Misty's going to-
Natalie:
Press and-
Jenny:
... press that.
Misty:
[inaudible 00:40:32]
Natalie:
Get ready for the next two.
Jenny:
Right.
Misty:
There we go.
Natalie:
This fabric really is so pretty.
Misty:
It's really fun.
Jenny:
And when you're stitching these on, if your top piece is out a little bit, just remember to match it up to this sideline, as you're putting it on. And we got one more.
Natalie:
One more side to go, almost there.
Jenny:
See that uses just about all of those four.
Natalie:
Just about right.
Jenny:
Now don't cut that off, you don't even need to.
Natalie:
Okay.
Jenny:
Go ahead and iron that out.
Natalie:
Perfect.
Jenny:
Because now, because I know I'm not a perfect sewer, I'm going to square this to 10-
Natalie:
All right.
Jenny:
... so that they are exactly 10".
Natalie:
Awesome.
Jenny:
So I can cut off that extra then. And so it's a little bit-
Natalie:
You just center it up?
Jenny:
I do. So see this little square right here in the middle? It just squares up right there around my 2 1/2. And so, I'm just going to take this and I'm just going to trim... Oh, move that pin. You don't want to run over a pin with your rotary blade.
Misty:
It's danger.
Natalie:
Quick way to make a little-
Jenny:
Danger. Danger.
Natalie:
To need a new blade.
Jenny:
Quick way to need a new blade for sure. So I'm going to just flip this around, then I'm going to cut the other side. And on some of mine, if you do a big 1/4 of an inch, you'll have less to cut off. It just depends on your seam allowance. All right.
Natalie:
It's nice to have room though.
Jenny:
Yep. So now comes the surprise. And what we're going to do now is we're going to take this piece right here, and we are going to draw a line from here, to the corner to corner, on both sides.
Natalie:
Sometimes... It's easier for me, and I think it depends on the kind of pen I'm using. If I start from the middle-
Jenny:
It is.
Natalie:
... and then it won't drag that point.
Jenny:
We can do that.
Natalie:
No, it is just a thing for me, personally. And sometimes my pen or pencil will catch the fabric.
Jenny:
So can you find the lid? It's underneath your sewing machine.
Natalie:
I will look for it.
Jenny:
So then what I'm going to do is, I'm going to take my rotary cutter, and I'm just going to make a little cut here on one of these lines-
Misty:
Okay.
Jenny:
... and then I'm going to put it on here like this. And Natalie, I'm going to have you sew all the way around this.
Misty:
How fun.
Natalie:
That's exciting.
Jenny:
This is the surprise part.
Misty:
I love it.
Natalie:
Okay.
Jenny:
I'm going to need these scissors.
Natalie:
Alrighty.
Misty:
I'm just realizing that we could combine mine with yours too, because mine ends up 10.
Jenny:
Oh, yeah.
Misty:
So we could do the same thing. A new pattern.
Natalie:
Nice.
Jenny:
The ideas are overflowing.
Misty:
They always come.
Jenny:
It is interesting how we'll do these triple plays, and we'll be like, "What are we going to do? What are we going to do? And then everybody comes together and shows their stuff and we're just like, "Oh."
Misty:
Yes. It's so fun.
Natalie:
I love that.
Misty:
I do too.
Jenny:
We've actually already picked our next patterns for next year.
Misty:
Yes.
Jenny:
We have 12 blocks already picked out.
Misty:
Ready to go.
Natalie:
Triple Play Challenge is on.
Jenny:
It is.
Natalie:
All right, almost.
Jenny:
Alrighty.
Natalie:
Here you go.
Jenny:
So now what we're going to do, since we have these handy lines on here, we're going to take our scissors and we're going to cut on the line all the way out to the point, just like that. And then we'll cut this way.
Natalie:
That is so cool.
Misty:
So fun.
Natalie:
So you just cut right into the middle of that seam. Do you-
Jenny:
Right into the middle of the point-
Natalie:
[inaudible 00:44:38] of that stitches?
Jenny:
No.
Natalie:
Does it really get there?
Misty:
Just right to them?
Jenny:
Just right to it. And I just fit mine into the point. And regardless of where my line goes, I go to the point. And hopefully it's pretty close.
Natalie:
It should be.
Jenny:
With any luck, right? All right, now Misty, if you will-
Misty:
The magic, and it's set out [inaudible 00:45:03]
Jenny:
... iron this, and just like that, it's set out right.
Misty:
That is so cool.
Natalie:
That is so fun.
Jenny:
Isn't that fun?
Natalie:
Yes, I love it. You could set so many blocks on point like this.
Jenny:
Oh, my gosh, yeah.
Misty:
Yes.
Jenny:
You do lose your point on the sides-
Misty:
But the outer round.
Jenny:
... but I don't care.
Natalie:
It's so cool.
Jenny:
We had so much fun getting there. I didn't even worry about it.
Misty:
Look at that.
Natalie:
That is great.
Jenny:
So that's your surprise... Square in a square. So I have several blocks over here.
Natalie:
They're so cute.
Jenny:
And basically, you see this little piece that sticks out right here, you can just trim that off. But you're just going to sew them together. So I just put mine right together, and I have four here, by four there, 16 blocks, use this little layer cake.
Misty:
Perfect.
Natalie:
That is so great.
Jenny:
It just makes it fun. And you can choose which ones of these you want to save to the outside. Now that you know... These are going to be-
Natalie:
Pretty big.
Jenny:
... pretty big pieces. It makes a pretty good size block. Let's see. Looks like it's about 13 1/2. The point is, you-
Natalie:
So great.
Jenny:
... want all your blocks to be the same, and if you're doing the one sewing, they should be the same. So regardless of that measurement, I rarely even measure them. I just put mine together-
Natalie:
Consistency.
Misty:
Exactly.
Jenny:
... because I know it's going to work. Anyway, it was really fun to do and I hope you guys enjoy it.
Natalie:
It's so cute.
Misty:
So fun.
Natalie:
I love it.
Jenny:
So we hope you enjoyed this Triple Play on the Square in a Square. I feel like-
Natalie:
It's so fun.
Jenny:
... we gave them lots of new ideas.
Misty:
So fun.
Jenny:
Lots of things to do, and fun ways to do them. Some more things to add to your bucket list quilts.
Natalie:
Oh, for sure. Yes.
Jenny:
Anyway, we hope you enjoyed this Triple Play on the Square in a Square block, from the Missouri Star Quilt Company.
Hi everybody, it's Jenny from the Missouri Star Quilt Company. We hope you enjoyed watching this video. If you aren't already part of the Missouri Star Quilt Company family, be sure to subscribe so you won't miss a thing. And if you click that bell, it'll notify you every time a new tutorial comes out. See you next Friday.



