Skip to content

Free quilting video tutorials from Missouri Star

Quilting Tutorials
Triple Play: Pinwheel Block

Triple Play: Pinwheel Block

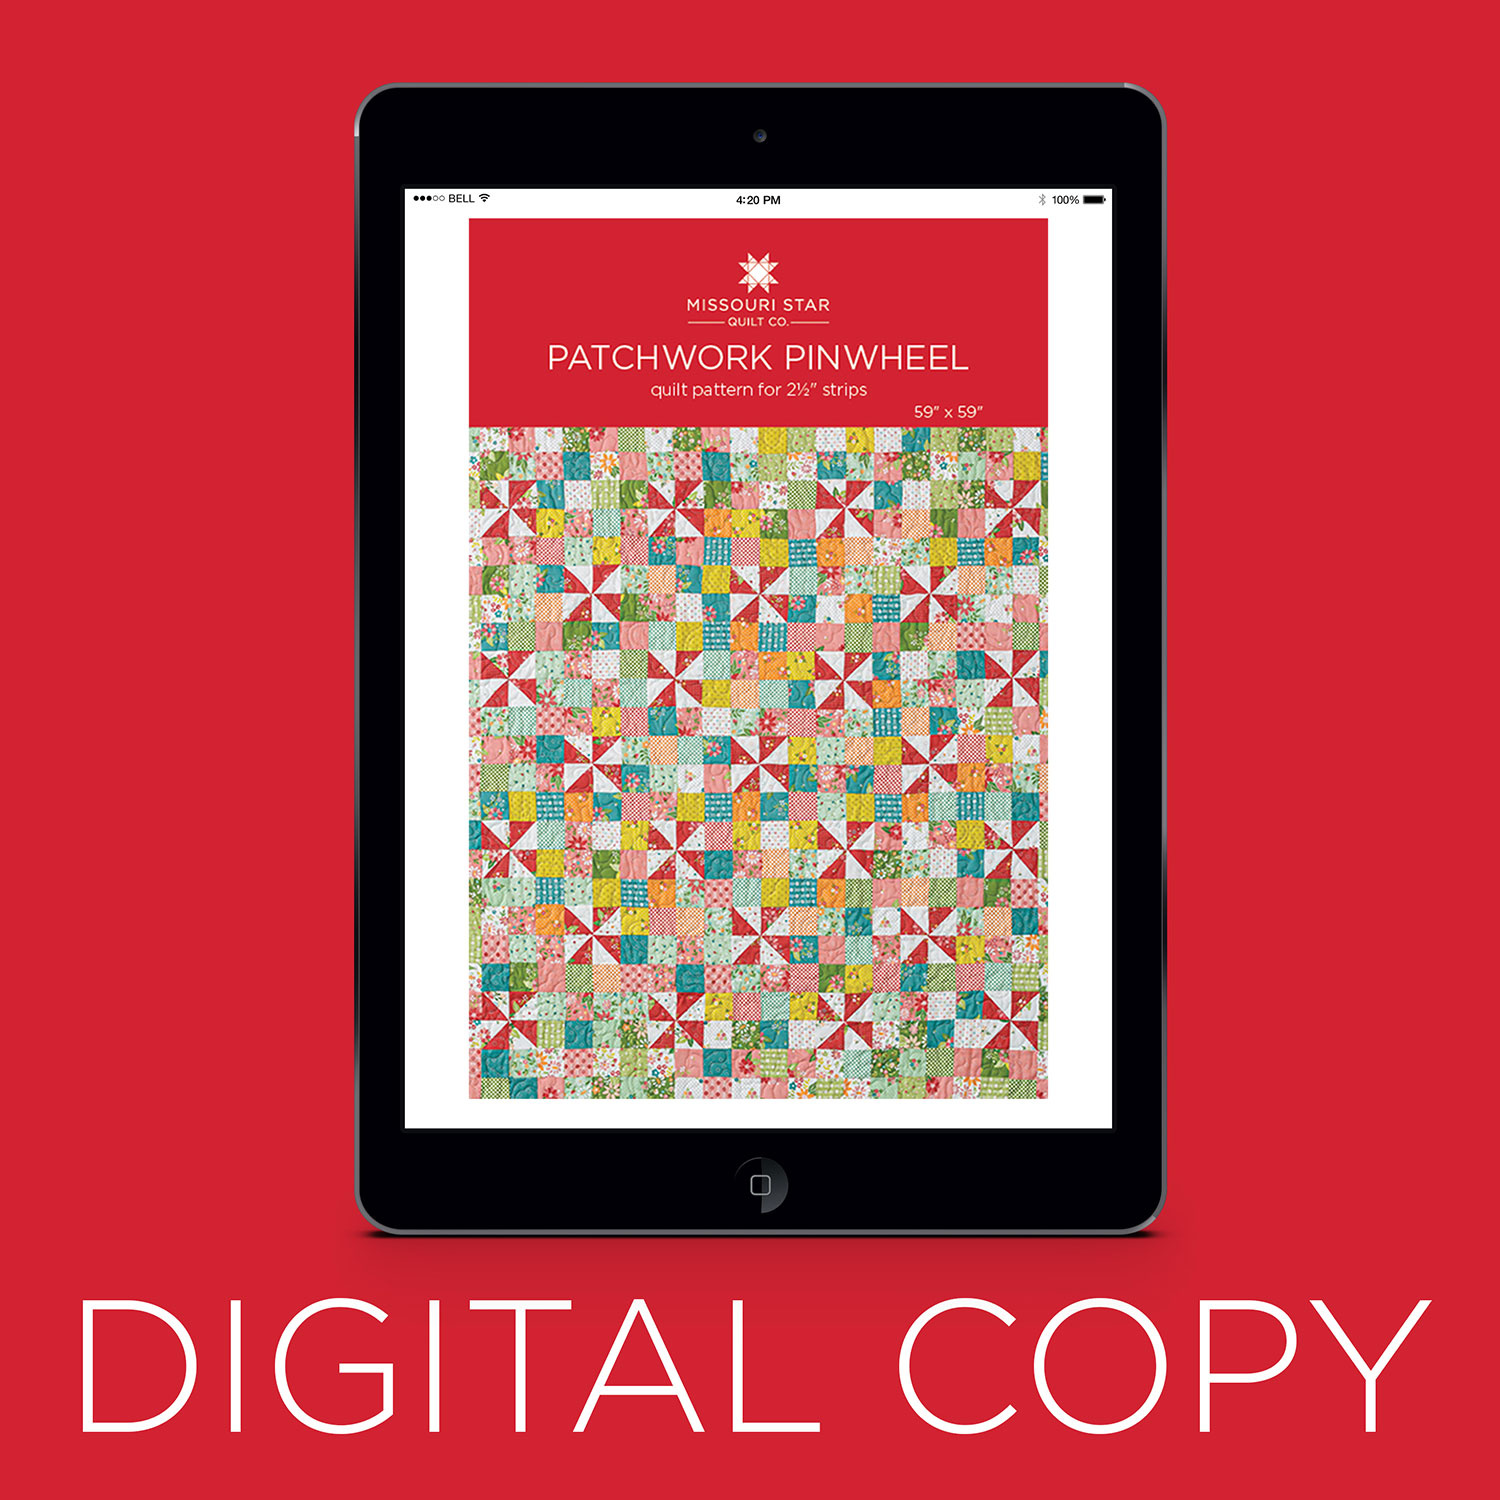
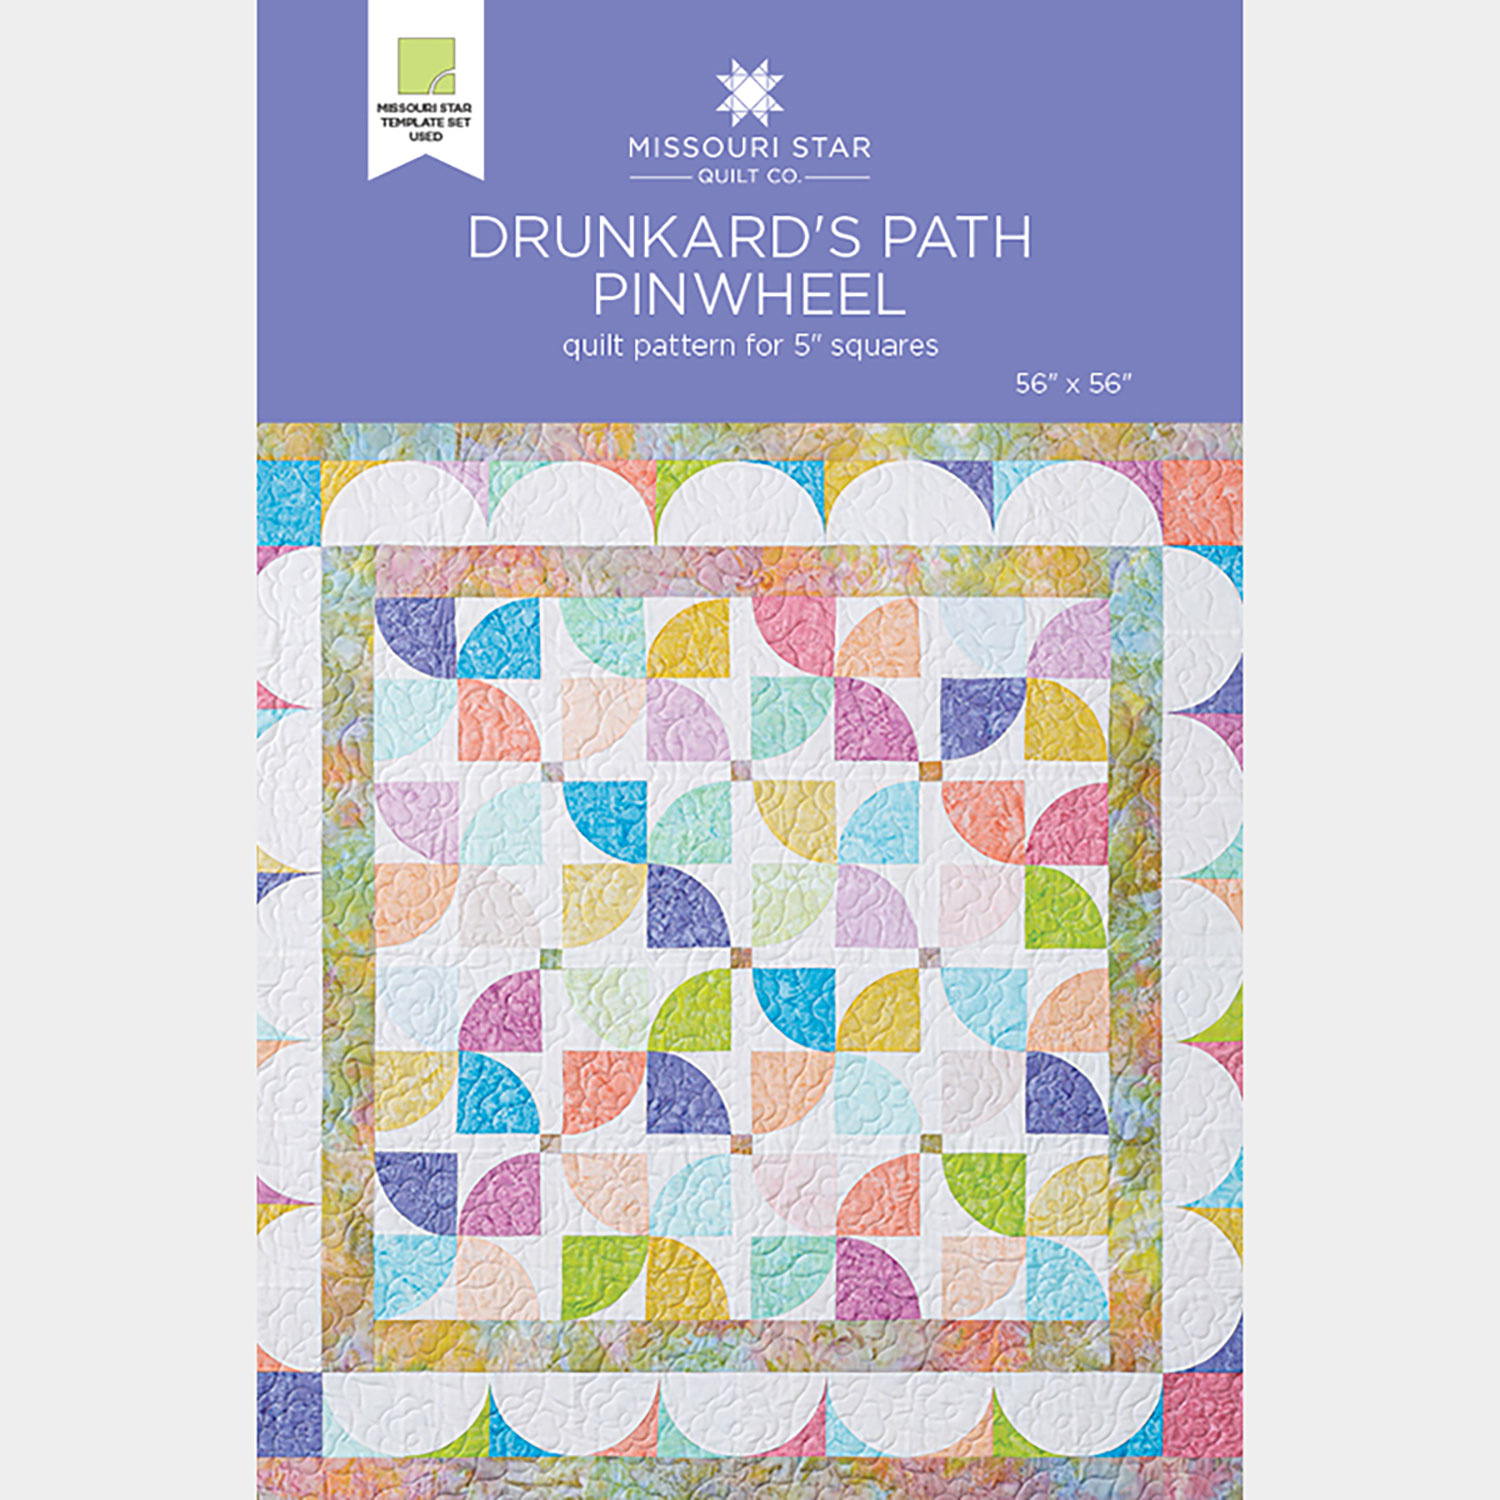
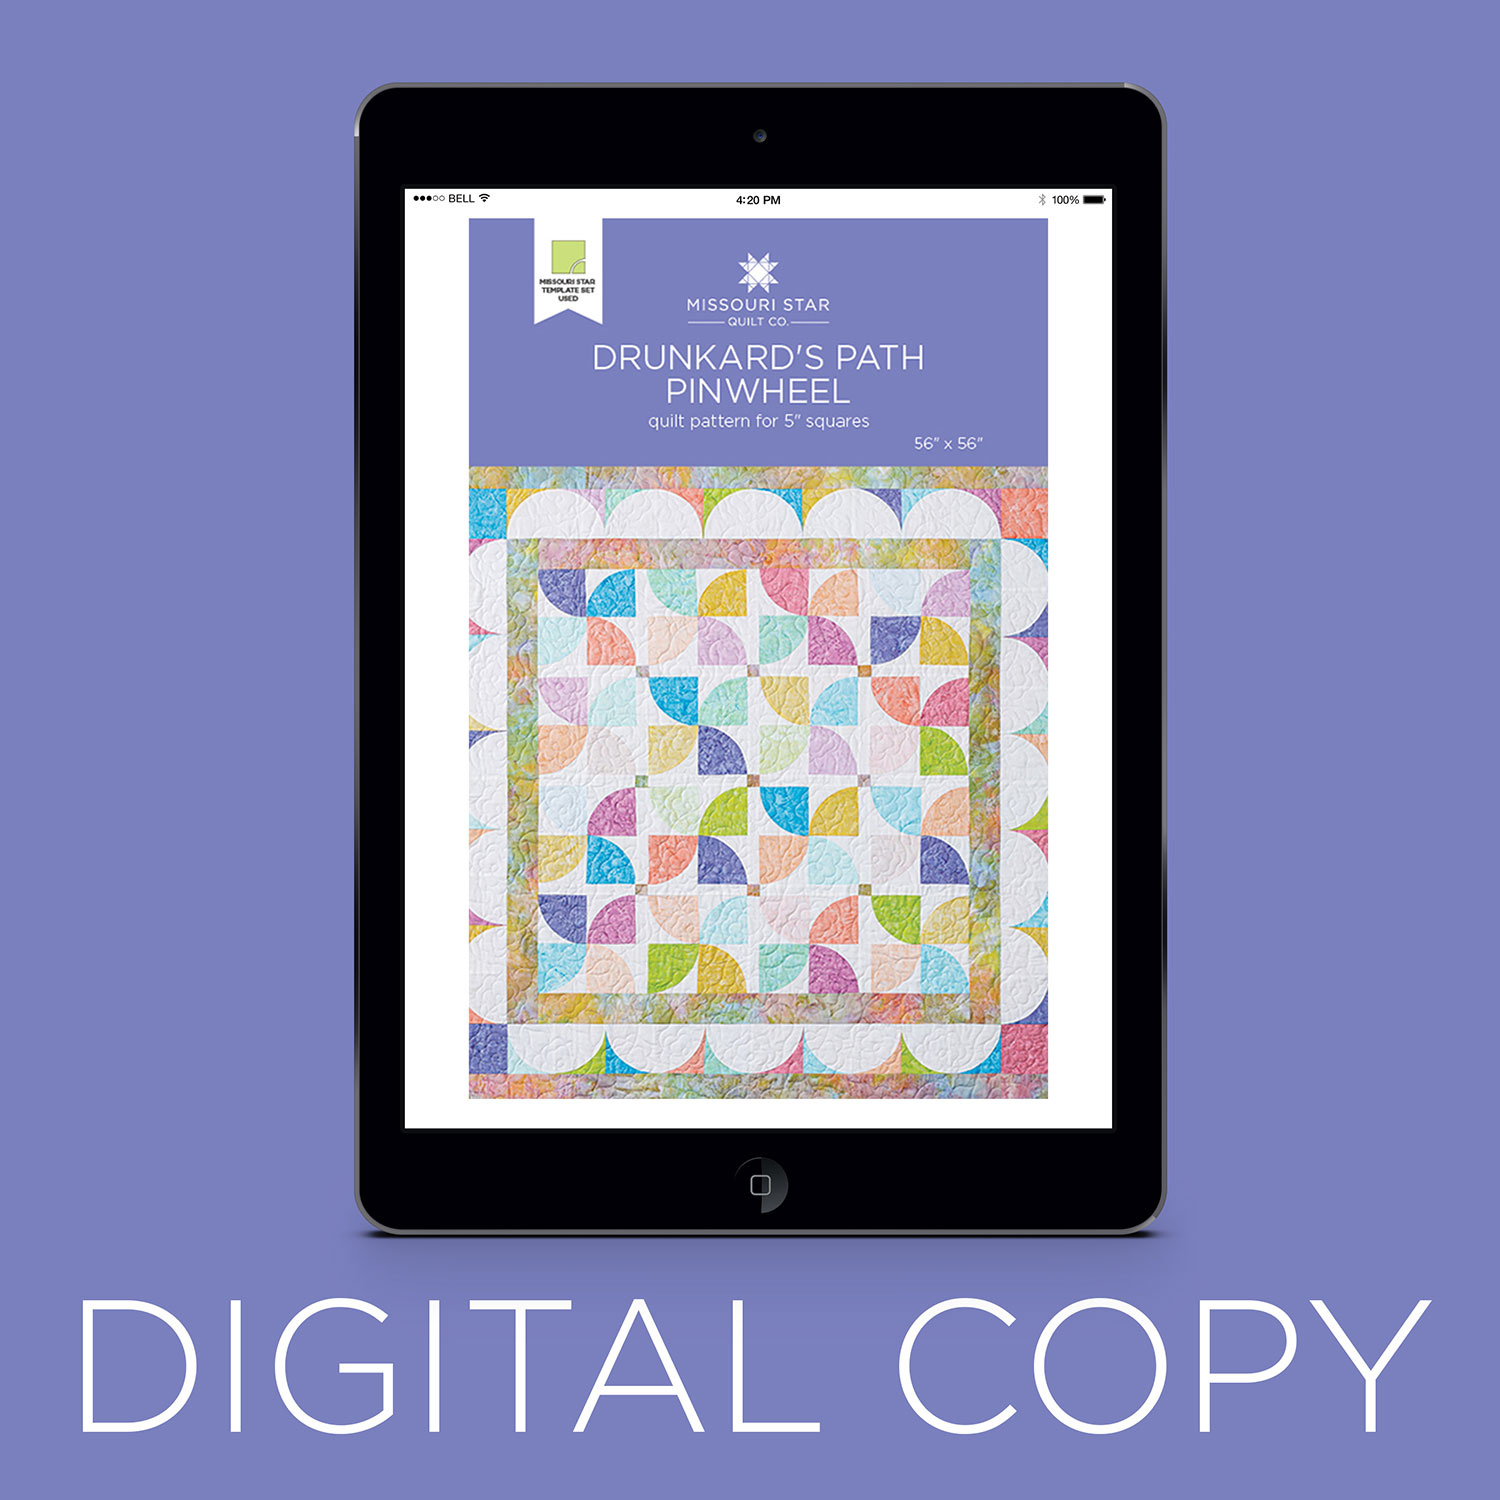
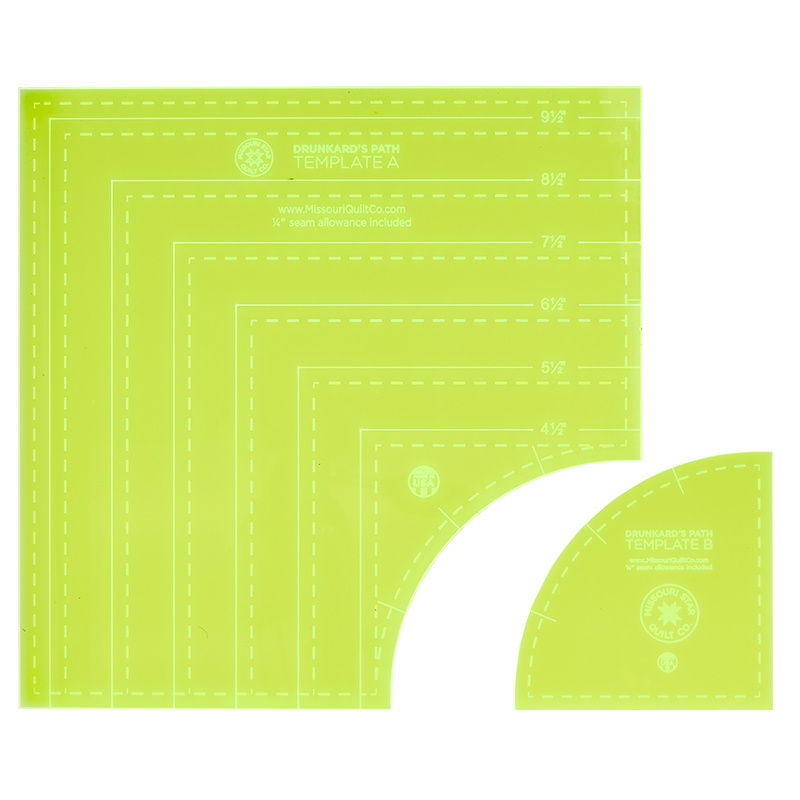
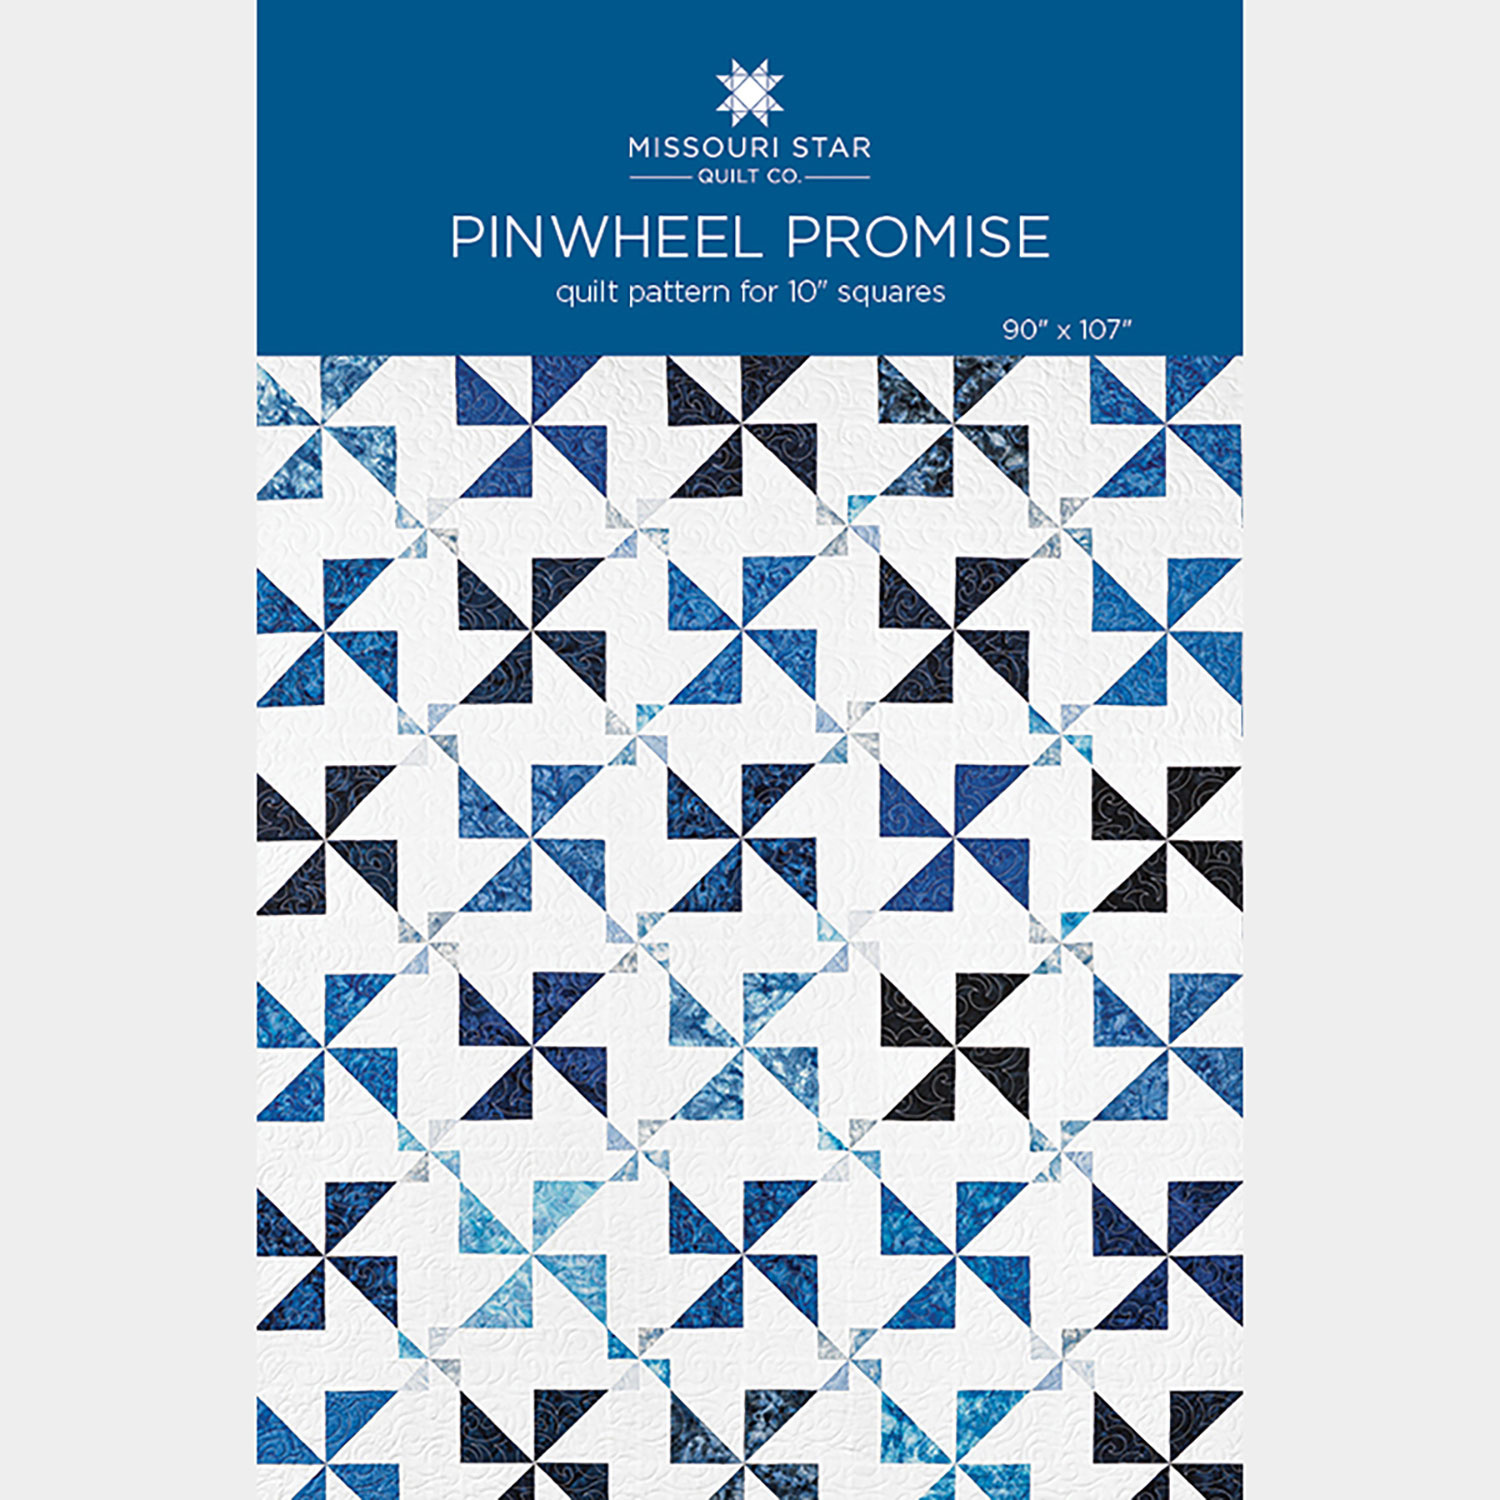
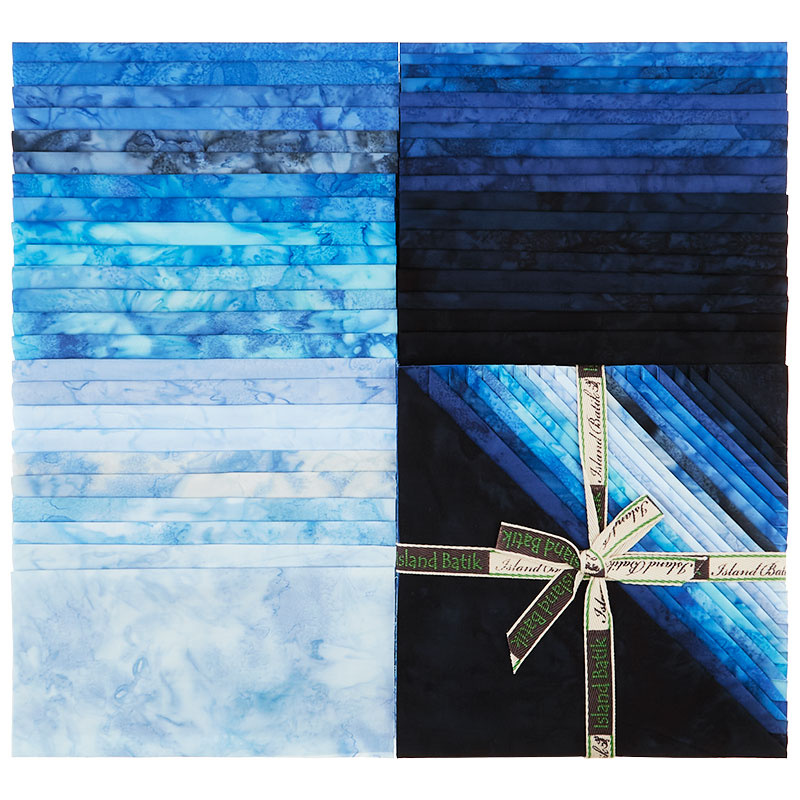
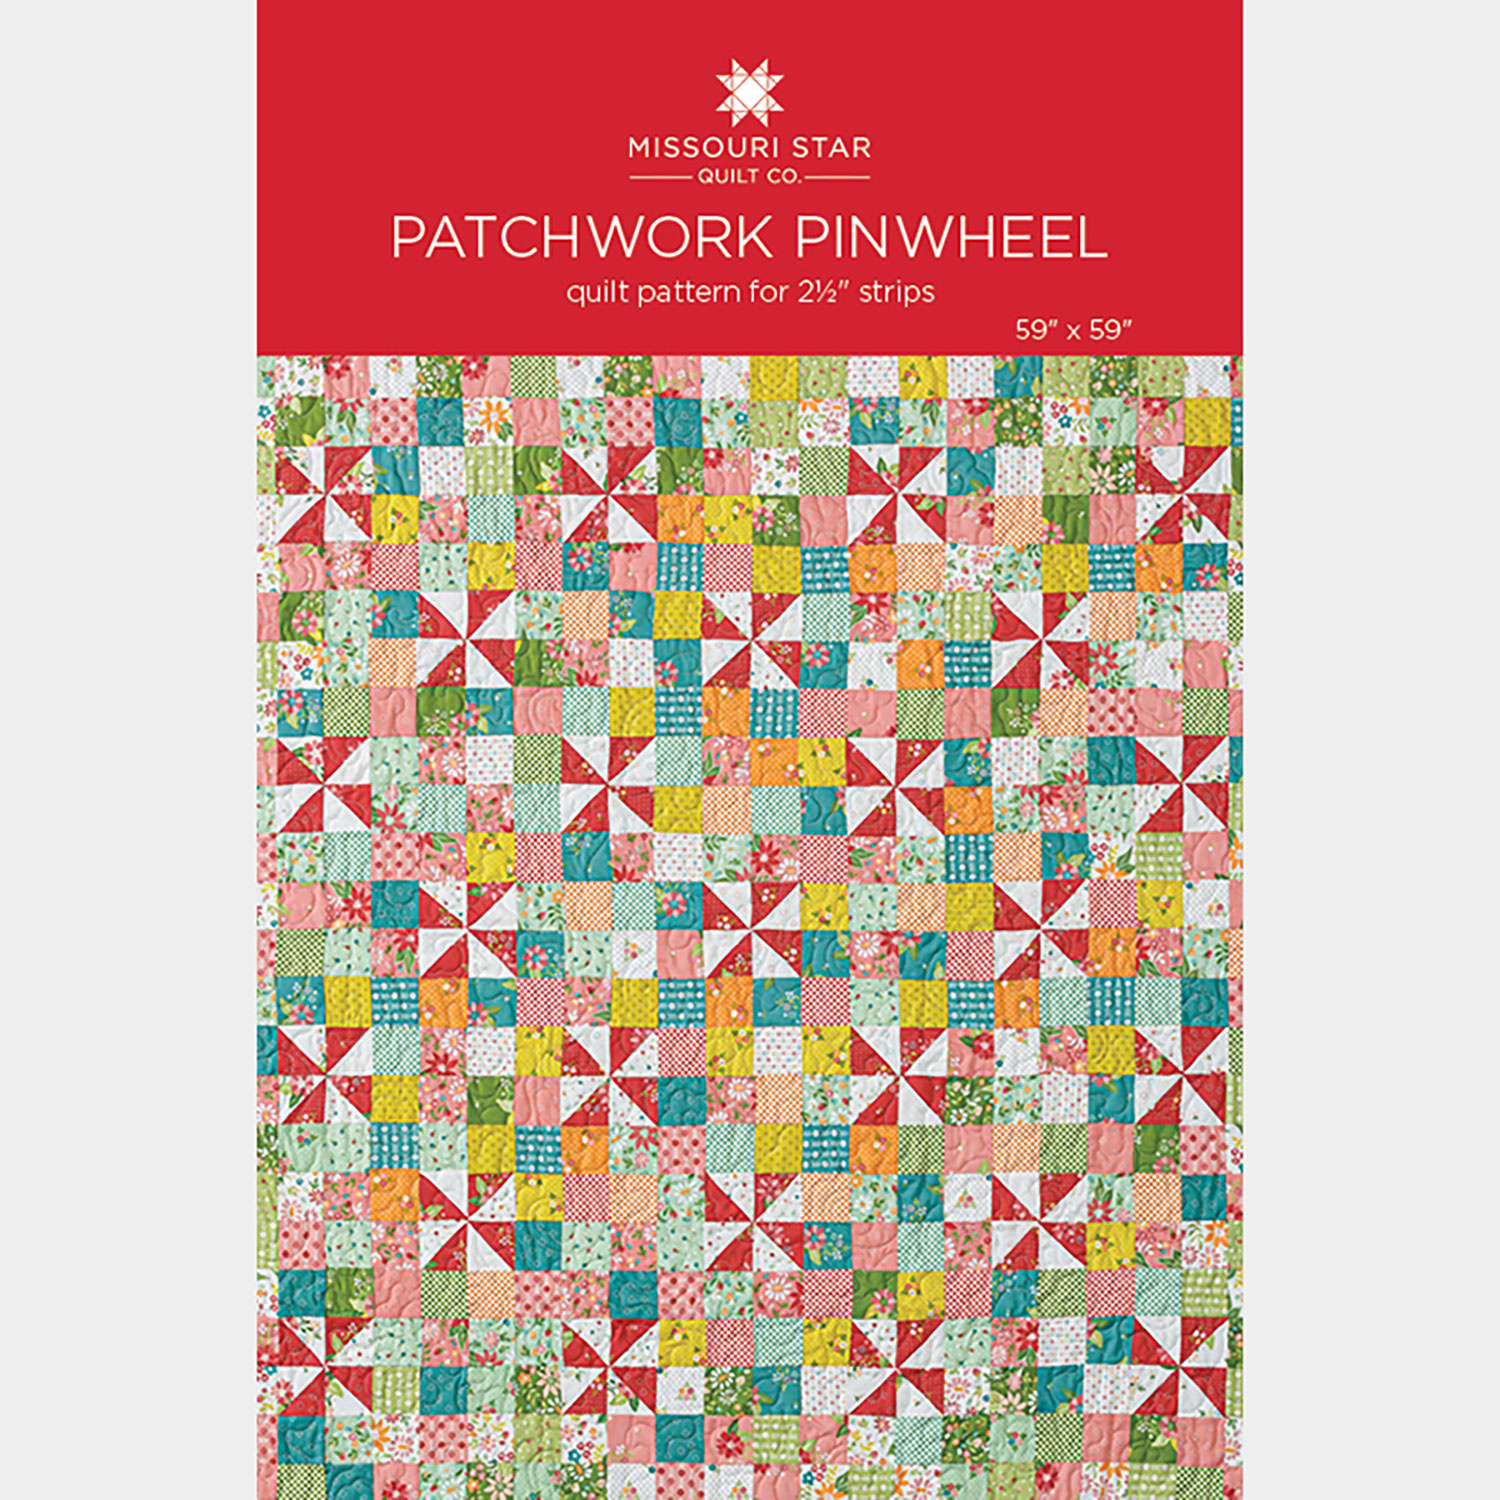
In this episode, the Doan ladies share three new projects made with the pinwheel block. Jenny's Patchwork Pinwheels dance across simple 9-patches—all made with precut jelly roll strip sets. Misty's Pinwheel Promise is a queen-size beauty that comes together in a jiffy. It's made with 10" layer cake squares from Brilliant Blue Batik by Kathy Engle for Island Batik. Natalie's Drunkard's Path Pinwheels is all about color and curves. It's made with the Drunkard's Path template and 5" charm squares.

Instructor

Jenny Doan

Jenny Doan is an American quilter, author, and YouTube personality. Jenny started Missouri Star Quilt Company in 2008 and today it is the largest quilting supply vendor in the United States.

Shop this tutorial
Common Questions

What is covered in Triple Play: Pinwheel Block?

In this episode, the Doan ladies share three new projects made with the pinwheel block. Jenny's Patchwork Pinwheels dance across simple 9-patches—all made with precut jelly roll strip sets. Misty's Pinwheel Promise is a queen-size beauty that comes together in a jiffy. It's ma...

How long is the tutorial video?

The tutorial video is 00:24:22.

Are supplies listed for this tutorial?

Yes. The tutorial page includes the supplies and materials connected to this project.

Video Transcript

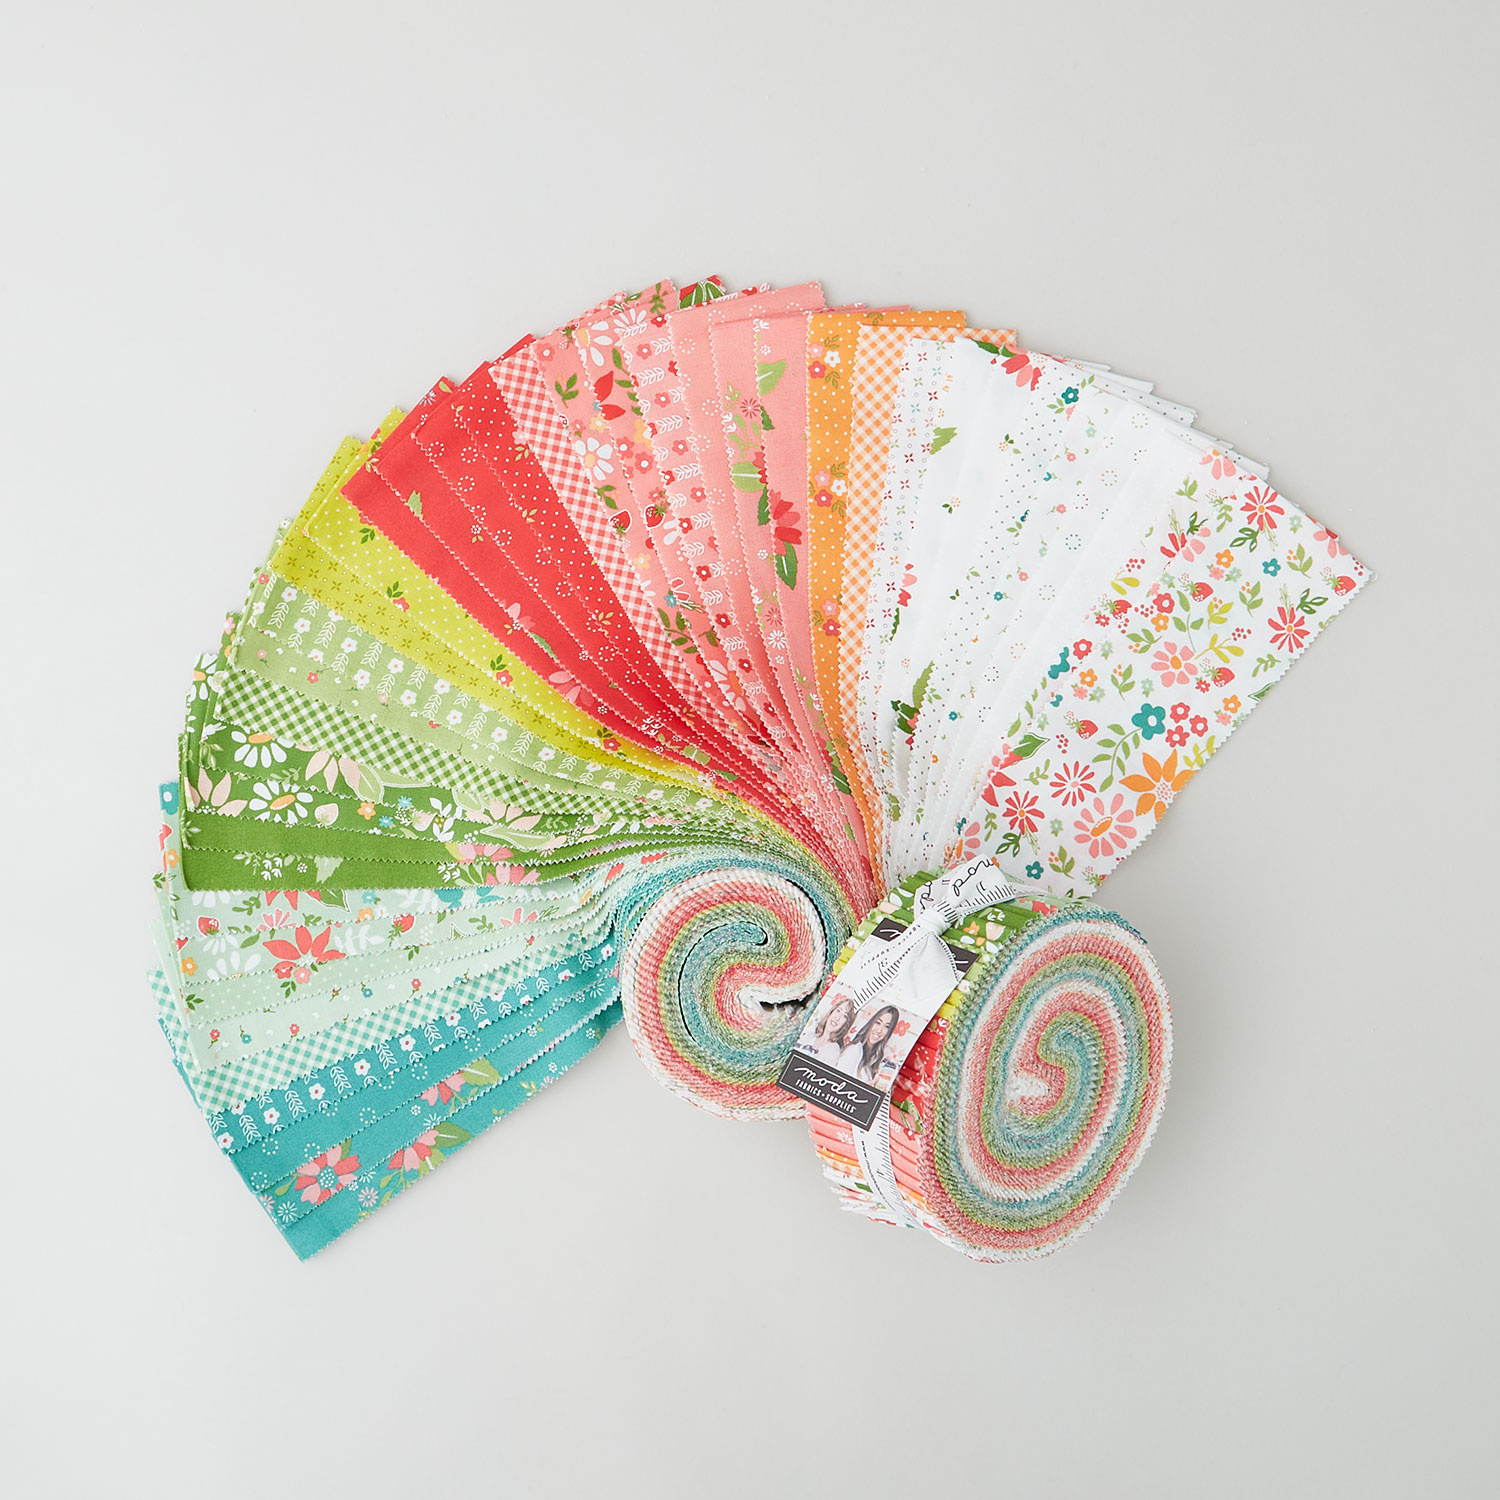
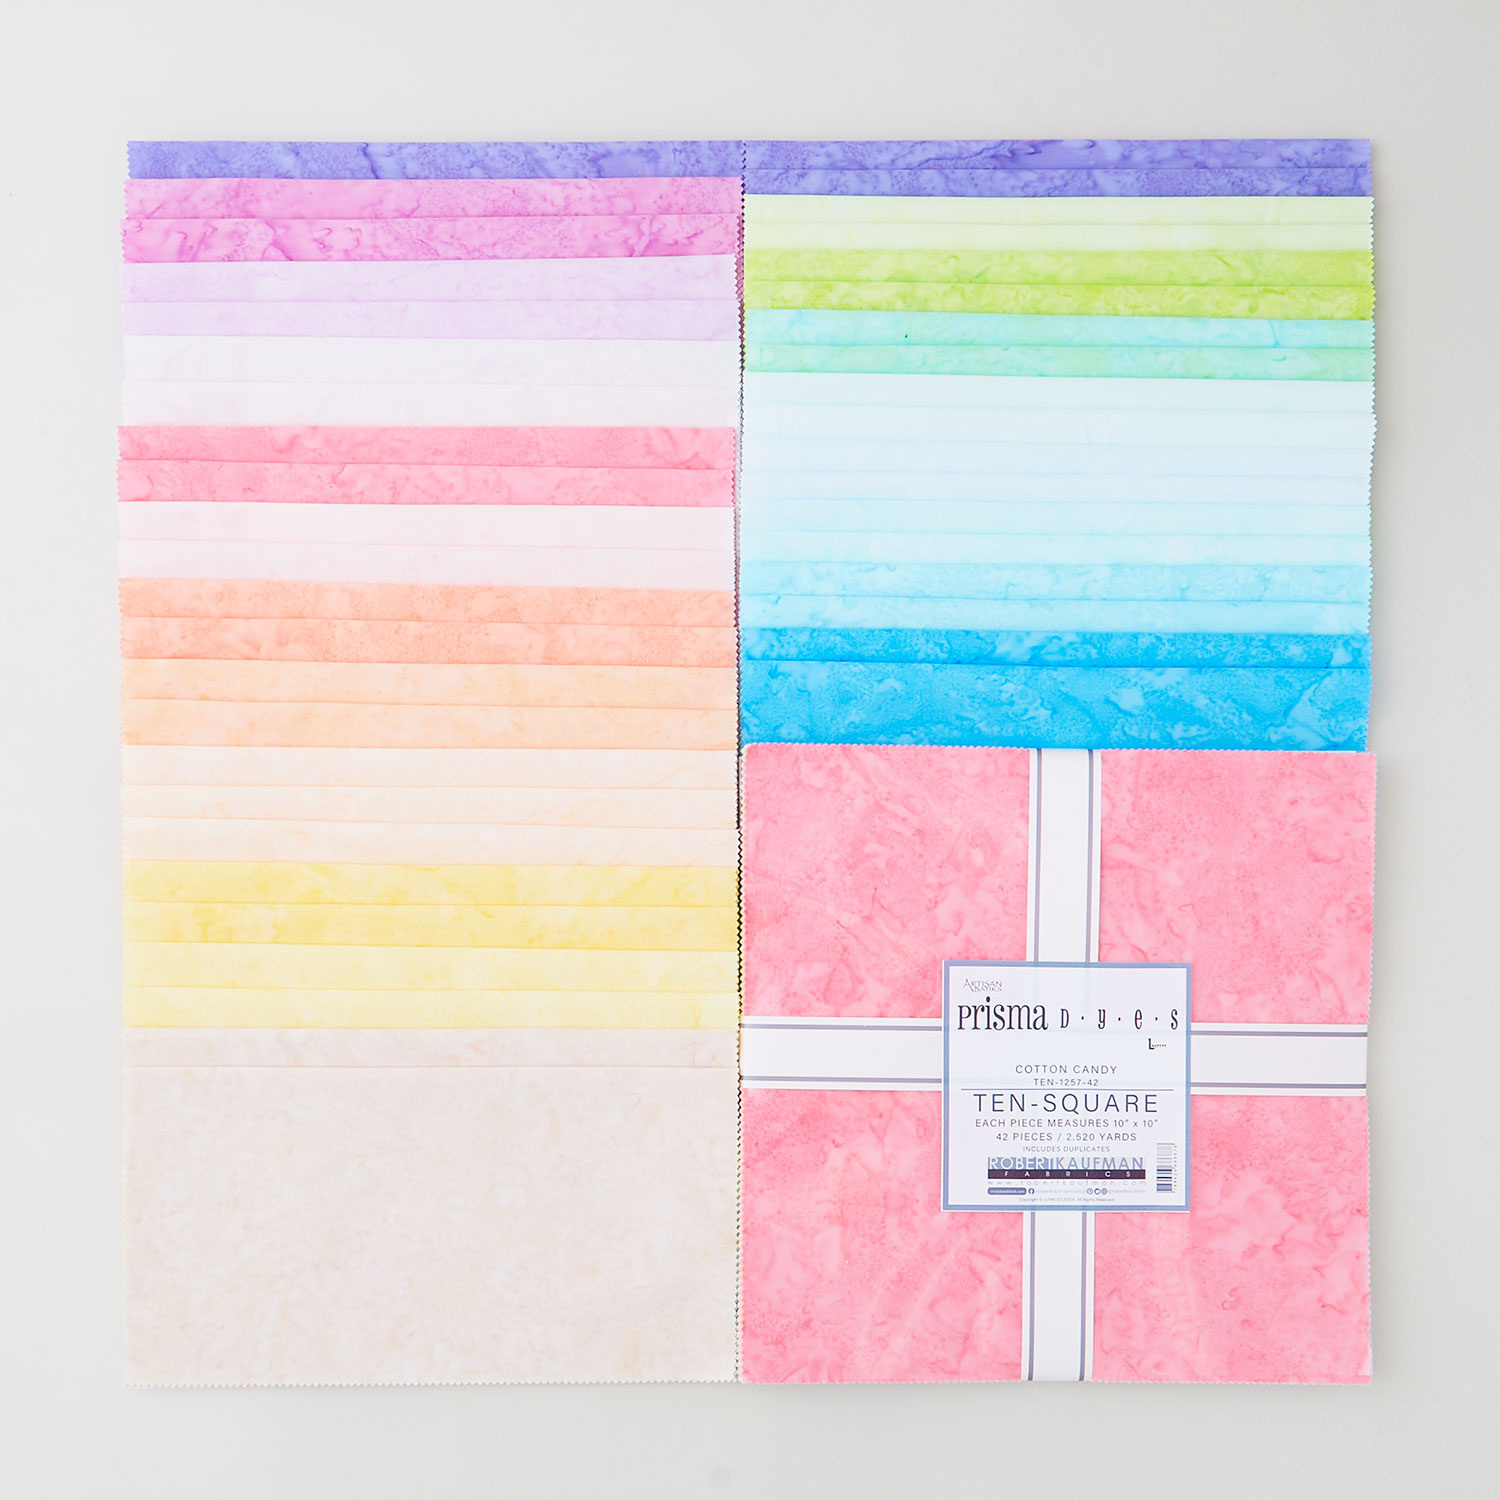
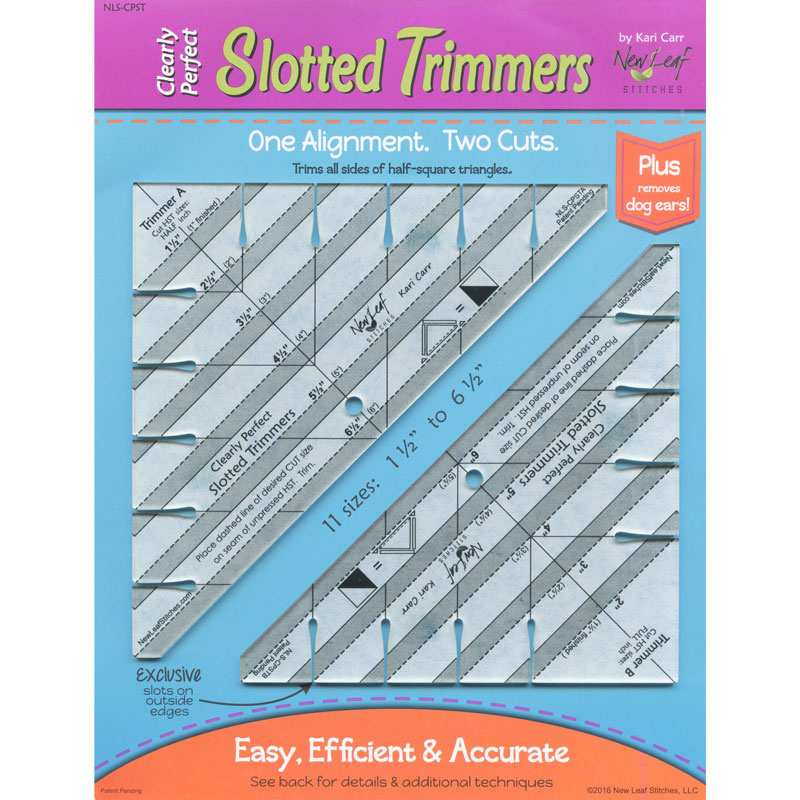
[Music] hi everybody it's Jenny from the Missouri Star Quilt Company and it is Triple Play and I'm here today with Natalie and Misty and we've got a great project for you today all based on pin Wheels pin wheels and we can't wait to show you how to do it so I get to start first all right let's get going so this is my quilt take a look at it with me isn't it darling C adorable so it looks fairly straightforward and it is but the block has a little bit of a trick to it because this is how you make that block so I'm calling my quilt Patchwork pin Wheels because it's lots of patchy squares and I love that patchy look and you're going to need one packet of 2 and 1 half inch strips and I used um strawberry lemonade by Sher and Chelsea for motive fabrics and you're also going to need some border Fabric and we have a nice big 6in border one and a/4 yards for that and the backing here is 3 and 3/ quart yards and this is what it looks like that's cute very cute really sweet Fabric and we used curls of flowers on our quilting pattern and the quilt ends up being 59 by 59 it's a kind of a good siiz lap quilt great little picnic size for sure anyway let me show you how to do this so I'm excited to show you how to make this because it's really simple this is the block we're going for and to make this you're going to need two half Square triangles per block you're going to need one set of three and two sets of two strips sewn together so the first thing we're going to do is we're going to look at what color we want our pin Wheels to be so they really Pop I chose red for mine so I pulled all my red strips out you need five strips there were only four in my roll so I went and cut a strip from the border so five strips of these and five strips of background and you're going to sew them together like a tube where's that for backr you just used the lights I did I just used the lights right out of the out of the strip so this is what it's going to look like you'll sew your whole strip like this all five of them uh together it'll have the red on one side and the white on the other and then you're going to take your clearly perfect slotted trimmer and we're going to go ahead and cut these into 2 and 1/2 inch uh half Square triangles CU that will make our pin wheel so we're going to just line up our seam line with their seam line and we're just going to cut that we'll cut off this little uh Outer Edge down here we're going to flip our strip over and cut again now not everybody flips their strip over um but I that's how my brain works so I like to do that so we're just going to cut another like this trim this side trim this little edge off right here and you'll need two of those for each block so Misty if you'll iron two of course and you're going to do that to all of your red and white strips you're going to sew them together in tubes and cut them into to 2 and 1/2 in half Square triangles all right so now we need to make all the little 2 and 1/2 in squares and we don't want to cut those individually we like to sew them in strip sets so you're going to need six strip sets where you sew three strips together and you're going to need six strip sets where you sew two strips together and let me show you how we made the block so out of each of these strip sets you're just going to go ahead and cut some 2 and 1/2 in segments like this and so you want to have all of your strip sets sewn so you can cut them all make a pile of them because you want them to look really Scrappy you don't want all the same ones in the same block so go ahead and finish those up and then we'll just show you how to put a block together so once you get all of your pieces cut put them in piles we've got our groups of three our groups of two and our half Square triangles and we're ready to assemble the block now this is what our block looks like and I highly recommend that you keep one of these blocks once you finish it keep it close by because it's really important that these half Square triangles go the same direction on every block and so what we're going to do is we're going to sew a half square triangle to a group of two and those are going to look identical just like this but then we're going to flip them when we put them together so let's we're going to put this apart put our three strip in the middle and we're just going to flip this one and that's going to make our block right there and so Natalie if you want to sew this together that would be awesome okay and we'll get that ready to go now the really fun thing about this is that as I'm sewing these together I realize that at every top there's only a partial pin wheel so I actually made a finishing block like a border Patchwork block that finishes the pin wheel and we'll do that next it's it's much easier actually because it's only one half square triangle in the corner and then really you just sew these together in room Rose you're doing great Nat and that one remember yep the red colored of the color which is a my little Mantra as I'm putting these together that's so helpful to have little cues for your brain oh my gosh I do it for just about everything I have a little Mantra and then I really do have a block yes that I sit right here and every time I put it together I look at it sometimes when I lay them out I even stack you know I'll stack these that's true like this you know going the right way so I know that I have this one you know I just I just make a stack and then I sew them from there so that they're all going the right way all right Misty if you want to press that absolutely I flipped a couple of those seams that's all right okay you know what I say if anybody looks inside to see which way your seam go they are not your friends that's right well I just I did it so they would Nest better all right so now you can see we have two identical blocks but when you turn them and put them together see there's a half of your pin wheel that comes together so on the quilt right here for every block you're going to you're going to it's going to be here and then you're going to turn it this way you know and then you're going to turn it this way you know you're just going to go back and forth and turn that so they line up but like I said as you line these up then you have this whole half a pin wheel and I didn't love the look of the half a pin wheel so I decided to make a border block right here so that we would actually finish our pin wheel out and it would Patchwork all the way around the pin wheels so this one is just really simple it's two strips of the three like this and then one strip of two like this and one in the corner just like that and so it's just these two blocks it goes together so cute this one you just again you rotate it as you turn it put it around but it gives it this whole Scrappy finished outside and I just think it looks so cute I think it came together so well so uh whose turn is it next I think me well let's see what you got M all right all right all right so this is my quilt and it is a big one I am calling it pin wheel promise and I think you guys are really going to like how it comes together it's a fun little trick very cool thank you so to make this quilt you are going to need one package of 10-in squares and I use the brilliant blue boutiques from Island boutiques you're also going to need 7 and A4 yards of background Fabric and if you have the clearly perfect slotted trimmers I used both A and B and so those are handy to have as well so let me show you how I did this this is a great pattern for if you need a big quilt fast fast it would come together really quick and I forgot to show you the backing on this is really pretty and we did free Swirls and so I think it's like nine almost 10 yards n and yard for this backing so um only like very close to so what size is it it's like 90 by 107 that's a nice big qu a good size quilt nice big quilt all right so let's dive into [Music] this first up we're going to make our large half Square triangles and so we're going to do that by pairing a 10in square of our print with our back ground square if I can get a hold of these here and we are going to line those up and we're going to sew all the way around all four sides and I have already done that here so you can see perfect just like so and we are going to cut this in half corner to corner both directions so let's go ahead and do that and what size do these half Square triangles end up so we are going to square them to six 6 and a half perfect there we go and so then we need trimmer a for the half inch and so that's all the way down at the bottom of the ruler nice big great use of fabric yep very little waste so we'll just trim this a little bit off yeah I love it when one side is straight enough you can slide the r is so nice oops missed that little bit that cut I got it all right and if you want to press that you're going to go ahead and square all of them but I have some other ones ready so we'll just start with that and then let's move on to our small half Square triangles all right that's ready to go we'll set it aside you guys this is so so cool how she did this great trick so this is the easy 16 is how we're going to do that so if there's a pencil would you mind hand handing me that and I'll show how I marked it right there perfect perfect and so we are going to draw a a line down the middle both directions just like so and then for the 16 we are going to sew all the way around the outside and then on both sides of both of the lines that we drew oh very cool and so that is how this looks here and so you can see EX exactly what I've done all the way around all the way around and then on both sides of the lines of vertical and horizontal yes perfect and so now we can cut these apart and I like to just cut back on those Drawn Lines and now this basically is a mini version of the larger one that we made because now we have four 5 in squares that are sewed all the way around and we can just cut these corn corner to corner both directions just like so and then we are going to square these to 3 in okay and so that is our other trimmer so you're using both in your pack and that's just going to lay on there again not a whole lot that we have to trim off perfect and then we'll get these little notches because it'll make our life easier there we go all right if you want to press that all right so now the real trick with this is you do need to make sure that you make all of them the same and I learned that the hard way and so I should have a finished block here and I'm just going to make sure that I make this to match that's right and so here is our large half square triangle and I actually have a different color of our small here and then we're going going to use a sashing strip that measures 3x 6 and2 and we're going to set those in like so so first we'll sew one to this block and then we'll sew our little half square triangle to the other all right this is such a cool technique I was really excited Jake actually helped me with this and so it was pretty fun to see it come together I love that so we've got these are 3x 6 and 1/2 yep exactly and then this little one here that's right there we go all right and then we're going to sew these two together you just open that up and you'll sew them together all right so the big one is going One Direction and the small one is going the other pointing opposite ways from just checking to make sure so that I don't do it wrong it's true and you really do want to keep kind of the the block there and just watch that you've got them right those pin Wheels can get a mind of their own if they're going a different way yeah no kidding all right all right there perfect one to press if you will press that Nat oh I'd love to okay so then now these are the blocks that I made and I just started setting them together into big pin wheels and so you can see when you start to put them together you get this large pin wheel in the middle I love it and then so we'll sew those together like a four looks like it's bordered but then it does and so kind of like yours Jenny I had these little half pin Wheels oh yeah on the outside and I was like well I can't end with just a half a pin wheel so I did finish it off by making these sashing blocks so this is a 12 and 1 half inch sashing strip that you'll need and then I had those little guys here we go and so then you just need to make sure that the pin Wheels continue and so this goes just around like this becomes your outer border that goes all the way around all of your block as you put this block next to another block it automatically atically does these in the middle but then we just have these half on the end so this is just what makes your outer border it I think it turned out so good so it is 1 2 3 four five Big Blocks across by one two three four five six down and then 30 Big Blocks 30 Big Blocks and then that last border on the outside and that is it that's very cool awesome I love it all right Natalie you're out all right my turn all right so my quilt is called drunkard's path pin Wheels I love and we've we've said many times in the past a drunkard's path is the same as a half square triangle it's half half square triangle on a curve right right so I made pin Wheels using my drunkard's path template and I think it turned out really great it's super cute it's 56 in square and I used simple roses for the machine quilting pattern I think that it's very soft and subtle pretty pretty fabric I used um Prisma diiz cotton candy by Robert Kaufman you'll need two packages of print Square for your background you'll need a yard and a half and that includes your sashing your inner this little 1 and 1/2 in in between the blocks you will need some border Fabric and I've used this border Fabric in two places and that is going to be um a yard and a quarter okay okay and I actually used that fabric for my binding and my backing as well and I think it turned out really great I love it isn't that pretty it's beautiful really pretty just kind of a it's so soft multicolored but also very subtle and beautiful all right so for your backing you'll need three and 3/4 it's a smaller quilt 56 square and I think it turned out great it's really cute you will also need your drunkard's path template which is so easy to use as you will see [Music] yep all right so we're just going to make a few sets of drunkard's path blocks to make our pin wheel we'll start out with um some dark the darker squares show up best but we did use all of them and you can see how they blend in um let's see we'll select four let's do a yellow couple purples and these boutiques are great to stack they're very thin and they stay together pretty well so I usually cut as many as I can at a time kind of a live on the edge type deal there you go living on the edge all right so we'll start by cutting our inner curve first and what we'll do is we're going to use these pieces in the border and then these pieces for the middle blocks so we we do use them all we'll get there all right so we are cutting the same pieces from both our print and our white squares so we're going to cut these and set them aside we're going to do one block at a time here and I'm going to flip these around and get the little outside edges cut we line this up with the 4 and A2 and you can see that that curve is just slightly different and these hang off so we want to do all this cutting before we start to sew now could you just use 5in squares for that you could yes but because we had because we had the little sashing strips out of the F sorry out of the same fabric that makes sense and then I'm going to go ahead and also cut my print outside edges it's it's always interesting to me that when you cut these they're not exact you don't use the same two exact it just makes it easier to piece together I think if you wanted to you could sew them together but then you'd end up squaring later so it's kind of the template is designed to work this way and it does really come together beautifully so all right let me just get rid of that so what we're going to do first is stitch together our drunkard's path with the white on the outside and the print in the middle you'll want to find your middles on both of these and Rel easy to sew together which surprises me every time I do it yeah so you just fold this in half and finger press your Center and then that goes like that all right then do you when I started sewing these I actually started from that you want to but it's usually it's easier for me not to have pins because they kind of get in the way okay so I find the same thing I just didn't know if you had a preference yeah and I think everybody's different I've also seen people put a dab of glue at the ends and in the middle and that that can work really well too yeah I actually when I first started doing this I was so afraid of those ends that I started in the middle and worked my way out and then start in the middle and work that is a really great way to do it too I and it when you then when you get to a point you can just really sew it on you know you've done them enough you kind of just have to do what works best and be patient it is pretty forgiving though because you have that that bias it just it works itself out my favorite part of these is pressing them oh yeah yeah cuz they just lay down so nice especially with the boutique but it's just it just lays down so nice very cool so just like mist's doing take your time yep all right there go okay so let's press this back it's so fun to see this too it's just like I know you just think there's no way this will lay flat right and then it works so you're going to make you're going to make little drunkard's path blocks several with the print in the middle and several with the white in the middle and the print on the outside you have some more here we'll do all of that I've got some put together so to make our pin wheel block yours are ironed in I'm going to try ironing them in sorry interesting well you can do this whichever way is comfortable for you makes no difference at all oh look at that comes together really nicely so satisfying yes I love it all right will you pull out my uh my finished block because I want to make sure that all of my pin wheels are going the same direction cuz really I mean you can do it either way but you just want to make sure that they are all consistent in your quilt right so we are going to turn these up and then this one goes like this one of the things I love about the pin wheel or the drunkard's path Block in particular is that this little section gets caught in the seam so then it looks like they're really connected and you don't have to worry about that point it just looks great so if you'll sew this together here and then this one together these should all end up being 4 and 1/2 so you can check them against your Square ruler if you want to but if you've lined this up with the corner they should be 4 and 1/2 Square do you check them um I do sometimes yeah cuz I cuz sometimes when you're pressing or stitching because you have bias it could stretch a little bit and so it you know it's always a good idea to just kind of see where you're at and if you want to trim them down this is so fun with the drunkard's path you know most people wouldn't put a pin wheel and drunkard's path in the same sentence now we open that make sure we got it right yep looks good fold it over okay and Nest those seams in the middle okay there's that all right if you'll press that oh I'd be delighted so these are what makes up the middle of your quilt so we're putting all these little pin wheel blocks and it's 4x4 and then the sashing is an inch and a half all right so then then we have our borders we have an inner border which is 3 in then we have our middle border of these really cute little um clamshells it's like a scalloped Edge which I think comes together really it's really cute so that is what you make with your with your inside back background and your print on the other side and you're just showing the so you're just stitching them together just like this and it makes a little that little clamshell look and then your outer border is 4 and 1/2 in so you've got three 4 and 1 half and 4 and 1/2 perfect and that's it it's as simple as that it comes together so cute don't forget you'll need a solid Block in your Corners that's a 4 and 1/2 in square and that can be cut down from some of your charm squares and did you cut your um your little corner blocks out of the Border um yes that is border fabric so that's your your little cornerstones which your one and a half one and A2 one and A2 inch squares I love that really so that's it I mean it it really is super simple it's a great way to practice your curved piecing nice quilt that comes together really quick I love it yeah super good it's a great idea with the drunkard's path I think that's really fun well thank you I I hope everybody enjoys it so we hope you enjoyed this triple play on the pin wheel block from the Missouri Star Quilt Company hi everybody it's Jenny from the Missouri Star Quilt Company we hope you enjoyed watching this video if you aren't already part of the Missouri Star Quilt Company family be sure to subscribe so you won't miss a thing and if you click that Bell it'll notify you every time a new tutorial comes out see you next [Music] Friday

More Layer Cake tutorials

See all