Beautiful flowers climb and intertwine in the gorgeous Tuscan Trellis set! Jemima Flendt of Tied with a Ribbon joins Misty to demonstrate Jemima's quilt, pillow and table runner. Made with vibrant Kaffe Fassett fabrics, the appliquéd flowers and vines create a striking summery scene.
Misty Doan grew up surrounded by sewing and quilting. She loves spending time sharing tutorials each week each week, and when she’s not stitching up one of her fun sewing projects for home decor, most likely you’ll find her hanging out with her husband and three awesome kids or working on a house project.
What is covered in Tuscan Trellis with Jemima Flendt?
Beautiful flowers climb and intertwine in the gorgeous Tuscan Trellis set! Jemima Flendt of Tied with a Ribbon joins Misty to demonstrate Jemima's quilt, pillow and table runner. Made with vibrant Kaffe Fassett fabrics, the appliquéd flowers and vines create a striking summery...
How long is the tutorial video?
The tutorial video is 00:37:00.
Are supplies listed for this tutorial?
Yes. The tutorial page includes the supplies and materials connected to this project.
Video Transcript
Hello everyone. Welcome to At Home with Misty. I'm so excited to be joined by Jamaima Flint again from Tied with a Ribbon all the way from Australia. Yes. So excited to be back here with you. I know. I'm so glad it worked out. Today we're making your beautiful Tuscan trellis quilt and you're going to walk us through the whole thing. That's right. I'm going to show you how to make this quilt so that you'll be able to make yours at home. All right, let's do it. Here is my Tuscan trellis quilt misty and I'm excited to share it today. So, it's made up of two blocks. You've got in there A and B blocks and each of those blocks give you that beautiful look. So, that it's just that fluid Tuscan trellis bias. It's beautiful. It reminds me so much of a lot of the quilts my grandma made when I was a little girl. She loved to do applique. Yes. and she and she was always working on some sort of flower and vine. And so I'm excited to see this kind of modern take on that. Yeah, you can really make this one your own. It's gorgeous. Yeah, this um here are the supplies that you're going to need for the Tuscan trellis quilt. Okay, so we've got our pattern and we've got the template set. You're going to need um some other supplies with your equipment. So we're using a lightboard today. Wonderful. Uh we've got a binding spool just to help us keep our bias tape all nice and neat and tidy. You are going to need a bias tape maker. Okay. Um a pencil. Um some glue stick to uh stick down your bias tape um in the first place. We've got this absolutely beautiful cafe um collection that we've been using to make this um version that we've done here. Gorgeous. You're going to need some fusible web. uh your fabrics for your backgrounds, your bias uh trellising. Okay. As well as some thread for your applique. Perfect. All right, let's do it. The first part we need to do, Misty, is we need to set up our blocks. So, from your background fabric, what you're going to do is you're going to trim the dimensions so that you can work block by block. Okay. With this quilt, it really just means that you're able to take it on the move if you're going to do some hand sewing with it if you choose or it just makes it a lot easier to be able to do that with the um block. What you need to do is you need to set up the dimensions onto your um fabric. I've used a red pen to show that, but you want to do that with a really light pencil. Okay, makes sense. So that it can come off later. And the reason that we're doing that is one of the important parts in the quilt is actually where the bias trellising all lines up so that it makes a beautiful fluid um pass. You want to make sure that each time with the block you're setting it up in the same position. Exactly. And then it looks like that beautiful continuous string. That's it. Yes. Lovely. So you're going to set up your first block and then now we're ready to show you how to make the bias tape. All right, let's do it. To make your continuous bias tape, what you're going to need to do is you're going to take one of your green fat quarters, you're going to cut out an 18 in square from that. Perfect. And to make bias tape that is one continuous line, you need quite a bit of bias tape for this particular pattern. So, the most efficient way to do that is through the continuous bias tape method. Okay. So once you have cut out your 18in square, what you're going to do is you're going to cut that on the diagonal. And then that will give you the um dimensions for these two pieces to be placed right sides together on the top. And you're just sewing that one seam to start. Then you Yes, you're going to sew the one seam. And it's just important that you have a quarter inch before and a quarter inch after on your actual um bias tape piece that you're going to make just so that it's offset correctly as well. Once you have got that um seam line sewn, we now need to press that open. All right, perfect. This is one of those times when pressing open is the right thing to do. It is. Yes. Now, once you have pressed that seam open, I've already gone ahead and marked it out, but you can see that I've got here 1 in lines. And that is so that we can make those um continuous strips and cut on that line once we get to the next step. Perfect. So, go ahead and you're going to mark out your bias tape um fabric with that one in increments. Okay, that's right. Great. to make your continuous bias tape. What you're going to do then is you're going to take the two ends and you're going to line up the lines that you have drawn. So, at the moment, you can see here, Misty, how those actually are all in line with each other. The important part with continuous bias tape is that you actually need to offset those by one line. Okay? And then that gives you the start to be able to cut in a continuous loop. That makes sense. If you forget to offset them, you just end up cutting rings. A bunch of rings. Yes. So, what we're going to do is we're going to make sure that we offset this line by one row. Okay. And then we're going to need pins and we're going to start to put that together. Okay. Great. So, we'll just line all of these. Line them up. Yeah. And the important thing with this is that you're actually lining it up at one/4 of an inch. Yeah. They kind of make a little X, right? They do. Yes, they'll intersect. So, we're going to pin that line. And then you want to make sure that you line up the rest of that line with all of your pins. Okay. Perfect. So, we will go ahead and do that and then we'll have it ready to stitch. All right. So, you've got this all pinned in place. That's right. So, it's all ready now um to sew. So, what you're going to do is you're going to sew from the top here on that line, making sure that you take out those pins as you go. Yeah. And I think it's important to point out here that it looks kind of like we've done it wrong, right? Sometimes when things are rumply like this, our brain is like, "No, no." But this is correct. That's right. Yes. You want to make sure that it's offset. Otherwise, you're going to not have the start to your continuous bias tape. Perfect. And we're just sewing this with a quarter inch seam. Okay. So, I'm just going to bring this over here so I can pull these out as I go. And we will just make our way down this straight side. So we have our continuous loop. Okay. All right. There we go. Now that you finished sewing that, what we're going to do is we need to press that seam open as well. Perfect. It's a little bit tricky as well because you've got that cylinder shape. But press that seam open and we'll be ready for our scissors. Yes. You want to make sure that you haven't used a pen that would iron off either. Good call. [laughter] After all that work, that would be disappointing. So, just make sure you use a pencil or some sort of fabric marker that won't press off once with the heat of the iron. Very good tip. All right. All right. So, now you basically have a a circle or a cylinder. And what we're going to do is you're going to start to cut a on the line. So on those lines and what will happen is we will start to get our continuous bias tone. Perfect. All right, let's go ahead and just begin with this little starting place here and we'll just make our way around. Nice long scissors make it really easy to be able to get some good um cuts on there. Just trying to make sure I don't accidentally cut through the second side. There we go. All right. So, we're going to continue to cut that so that we have the entire length of that strip cut. All right. All right. So, we've got this all cut now. That's right. And we're ready to make our bias tape. Yes. So, from that, it made more than eight yards of bias tape. So, it does make a lot. You'll also need to repeat that process or actually making your bias tape for the other fabrics as well because you did four different greens. Four different greens. Okay, perfect. So, with the length of our bias tape, we're now going to use our bias tape maker. And what we need to do is you need to feed through. It always helps to cut that at an angle to get started. Okay, you're going to feed your bias tape into the bias tape maker. And sometimes it'll pop out the other end. Sometimes if you're having a bit of trouble, you can actually there's a groove in the front of the bias tape maker. Okay. And that's so that you can use a pin that's nice and long to actually have that already Yeah. started for you. This little handle here is so that you don't have, you know, you're not too close to the iron as you're pressing it. So, we're going to now press our bias tape through the bias tape maker. All right, let's do that. So, I'm using the iron to gently press my bias tape. And you're going to need to make the entire length of tape. I mean, you can tell you need quite a lot for this because you're using it on every block. But it is so lovely. So once you've pressed your bias tape for that length, you'll end up with your tape that looks like this. And I've used a binding spool to actually keep that all because you've got quite a lot of it. Makes it really easy for you to do that. So we're now ready to take our bias tape to place that down onto our background fabric. All right. Perfect. Now in the pattern, you will find that you've got A and B block paper templates. Okay. Now, this is so that you're able to really get that accurate bias tape every time that you place that down. That makes sense. So, you've also there got the positioning for all your leaves and your blossoms and flowers so that you can get that beautiful continuous look to your blocks as well. Wonderful. So, we've got this lightboard that we're using which is really helpful when you're working with this design. So you can place your pattern template page down first and then this is where it comes in where you've made that first that guideline for your block. So you can line that up remembering that the most important thing that we're looking for is to have those positions on your bias tape the same every time that you lay a block down. Got it? So we're going to take our bias tape. Okay. And then we actually cut, you can cut um it will tell you in the pattern the length to cut those as well. Okay. But what you need to do is you're going to take your bias tape and you're going to place it. And with the lightboard, you can see how it you don't have to guess where the position of it is. Exactly. So you can place it down. You do need to make sure that you add some seam allowance to your um bias tape as well because with the blocks, you are going to add a seam allowance to each of these outside of your markings. outside of your markings. Okay. So, we place this down. And I like to sort of put it down first and then we can trim some of that up. Lovely. So, we want Yeah. a little bit past that line. Like there. Beautiful. And then we're going to use some pins or you can also use a glue stick to hold that down in place as well. I love to do a glue stick when I use my glue stick all the time. Yeah. So, what we can do is we can run some glue on the back of that. Just means then that you don't have pins in the way. The important thing with these blocks is you need to set up the bias trellising down first. Okay. So, now that it's nice and sticky, we can place that down. You can use pins if you don't have a glue pen, of course, but it just makes it a lot easier. One of the things that you want to make sure too is that you don't stretch your bias tape when you're placing it. Otherwise, you'll find that you um after you sew that, your blocks can start to buckle a little bit. Okay. Once you've placed one side down, what we're going to do, you can see we've got that side down first. We're now going to do the same for the other side. All right. Yeah. So, another little stretch. Another stretch. And in the pattern, it gives you instructions. You can trim them all to start with as well. that exact measurement. Yeah, it doesn't matter which way you place your bias tape down, but I generally um for my blocks, I sort of either do the left always first or Oh, just consistent. Just consistent. So, that makes sense. And then we're going to glue these. I find with applique, especially whether you're using f fusible or needle turn, sometimes a little bit of glue is just really helpful because then you're not fighting those pins when you go to stitch it down. That's right. Yes. It hasn't shifted or moved everything either because the pins you have to to move. So, Exactly. All right. So, now we're ready to stick down our second side of our And you can see how I'm just following that guideline that I can see through the lightboard to make sure that I've got the correct positioning. Yeah, that makes it so easy. And of course, if you didn't have a lightboard, you could use a window or something. That's right. You could um also just um mark it on your lines as well because remembering it's this part that we're really looking for that to be in the same position. Yeah. If this has gone off a little bit in the middle, it doesn't matter so much, but this is where you want it to be really placed in the correct position. And so, would you go ahead and add the bias tape to all of your blocks first thing? Yes. So, I prep all of my blocks first and then I have my um bias tape down. I then set up the machine with some thread in the matching color to your bias tape and then you're able to sew all of those down. Perfect. Yeah. So, let's get go ahead and we'll sew those down. All right, let's do it. So, what you're going to need to do is you're going to stitch the lines. And I've used a green thread here to stitch down the lines for your bias trim. And you've just done a straight stitch here. Just done a straight stitch. You don't want it to be a fancy stitch either. Um, just because of the thickness of the bias tape. Um, and again, you just want to make sure that you didn't have any puckering. So, just really lay that bias tape down gently because otherwise, yeah, it'll start to start to move. All right. And now we get to add our flowers and leaves. Yes. So once you've got your background block, we are going to set that to the side because we're now up to doing our applique. Wonderful. So the quilt that I have made um is done with machine applique. Okay. In the um pattern, you could certainly do this however you chose as well. So if you prefer needle turn applique, you can do that because the templates are set up for machine applique or for needle turn or whichever is your preferred method. Wonderful. So, yeah, but we're going to show you how to set it up for machine applique today. Sounds good. All right. You're going to need your fusible web, which is a paper sided glue. Mhm. So, what we do is we take that. We're going to need a pencil. And I like to use a mechanical one. It just means that you're not having to um sharpen it all the time, and it keeps that line nice and fine. So, with your shapes and in the pattern, it gives you all the instructions for how to cut out how many of each of the um pattern uh sorry, each of the templates. Okay? So, what you want to do if you're going to do machine applique, you'll be tracing around the solid shapes. And you can see here, this would be the um what you would use for needle turn. So, you've got that window. Yes. So, we're not you we're not using that for machine applique today, but we're going to use our solid shapes. Perfect. So, onto your temp onto your applique um fusible web, what you're going to do is you're going to trace the shapes in the required number. And I've, as I said, I've worked all that out for you so that you don't have to add or count or anything like that. You can check the tables. It's all written down there for you. So, with your applique, once you have traced your shape, what you need to do now is you need to um cut around the shape. Just a rough cut though, right? That's right. So, if you want to give that a rough cut, I will do that. We don't need it to be accurate and you don't want to cut on the line. Otherwise, it actually makes it tricky at the next stage. All right. There we go. All right. So, we have the paper side of our fusible web and on the back here we have glue. So, for this ne next step, it's just important that you make sure that you're aware of which side that you're placing down onto your fabric. Of course. So, we have used today and for the one we have in the background, we've used this beautiful cafe spectrum bundle of fabric. It's pretty absolutely gorgeous. Now, in there, there is enough to make the quilt. Um, in the pattern it asks for fat eights, but with a layer cake, you've got more than enough and some choice there in the colors that you want to use. That's really fun to have all that variety. That's it. So, what you're going to do, we're going to just take this first one today to um make our first applique shape. Okay? And what we do is we take it over to our pressing station. And what we're going to do is we're going to place it with the wrong side of the fabric up. Okay? We fuse our shapes to the back side of the fabric or to the wrong side. You can be fussy if you like, if you're looking for a certain color within your fabric, or you can just place it down on here. In the um pattern, I also give you instructions for how many you can um actually draw out all in one entire space. Perfect. Yes. So, that will save a lot of time rather than individually cutting them out. So, you need to make sure that it's glue side down to the back of the fabric. It's always important to double check that. Yes. And then we're going to use a applique pressing sheet on top of your work. That's so that you don't transfer any of that pencil onto the iron or if you've accidentally put the glue side. Yes. Keeps your iron plate safe and clean. And what you're going to do is you're just going to press it down for about six or seven seconds. You always want to check which brand you're using for the instructions on that. And then what you'll find is that that now should be fused fused to your fabric. Okay. What we're going to do now is we're going to cut that out on the line. All right. Let's do it. Just cut right on that pencil line. Some nice sharp scissors makes it really easy. Yeah. So, it's just important to cut on the line when you're doing this. Once you get to this point, so fun. All right, we are almost there. Nearly done. There we go. There's our flower. Now, one of the other important little tips that I like to give with fusible web is when you have cut out your shape, what I always tell um anyone to do is you need to cut that piece out so that it doesn't end up back in your scrap box with that paper having fallen off. That's a great tip because then it could accidentally stick to one. You're going to have glue somewhere that you didn't want it to be. Such a forward thinker, Jamaima. There we go. Perfect. All right. So you're going to make the required number of um your blossoms, your flowers, and your leaves. You can also see that I haven't gone with traditional green for my leaves. You can see here that I've used all those colors within the layer cake to make those. Um and I wanted them to be different from the bias trellising to make it stand out. Beautiful. So I've got all sorts of colors. So here are some that we've got ready to go. And what we need to do now is with your fusible web shapes, you need to peel off the paper from the back of your flower. So, we're going to go ahead and take off all the okay all the paper. Sometimes it can be a little bit tricky. Um you can use a pin to score the back of the fusible web. That's really um a great way if you have trouble. If you've got nails, it makes it a little bit easier. But you essentially don't want to start to fray near the edge. Yes. I'm trying to get a hold of this one. I'm used to having longer nails and I've got short nails right now. There we go. And I usually just sort of fold it almost so that it makes a little crease and usually unlocks that. Um that's my favorite as well. Those ones are are ready. Done. Yep. Okay. There we go. Now, this project's a great scrap buster as well. So, um we've used this beautiful um bundle that we've got, but certainly um a great one to to just use up all your all your scraps, use your stash. Yeah. Perfect. All right. So, what we're going to do now is we're going to bring back the lightboard and we're going to use our template page to lay down our flowers and all of those pieces. All right. We don't have to guess then. It's all all done. We know exactly where to put it. this. All right. So, we'll slide that under for you. And then this. And again, with the positioning, you just want to make sure that you're lining everything back up. And this is why we've put that first line down. Yeah. It keeps it consistent through the whole thing. All right. So, what we're going to do now is we're going to just very carefully. And the other thing that I like to do is I like to set it up next to my um Oops. next to my ironing surface as well because we need to press these shapes down in the next step. But if you have it too far away, the um the positioning of them will shift. Yeah. Or it could accidentally sort of tip. So, what we're going to do now is we're going to place the shapes and the leaves down that we've got here. Um ready to go. All right. Wonderful. Yeah, let's do that. With the leaves that you've got here as well, they will they tuck under. I was just about to ask that. So, like so. Yeah. Okay. And you've got enough variety within the shapes that you've made that you can change up some of the colors if you're So, here we can sort of go, well, maybe that's a little too close to the red. You can change out something just so that it's a little more obvious that you've got there. Perfect. We can switch to this blue blossom as well. And that's I like to sort of, you know, prepare all my shapes and then I've got the ability to to change them up. Yeah. As you go. Y, that makes sense. Oops, I have that backwards. But the lightboard is just so handy because it means that you don't have to guess where the shapes go, right? I love that. Yeah, we've got some more up here. That is so fun. Oh, you've got that one. Yeah, we need another little one down here and a couple more up there. This one still has the paper. All right, stick that one down. But these fabrics are just beautiful. They're really They really are. We must be one leaf short. There's another little dot. There we go. All right, we are So, okay, that's okay. We can just trace one. Trace one off. Something different maybe to that first one. Yeah, let's do this one here. Fuse this on there. We'll just come around. I thought I got them all. That's okay. No worries. It's so simple to to just add another. So, no big deal. If you prepare them all at the beginning, too, you'll have a big big stash to be able to have the whole. Yeah. Now, with this as well, at this point, if some of these are in slightly different positions for your flowers and your leaves, that doesn't really matter. Um, you can change up, you know, in terms of, you know, which one goes where if you really wanted to or if they're slightly different to my template page. That also really isn't crucial with the actual block design. It's again just this point here that we're looking at. Pretty much that's the most crucial Yeah. element. That makes sense. All right. There we go. There's our last little green leaf. Looks great. All right. Now, what we're going to do is, and I'll give get you to give me a hand. We're going to slide this over onto our mat. Oops, I turned it off. Here we go. Oh, look. Our leaf has turned up. Oh, did it? [laughter] Oh, where was it hiding? It was just sitting in the middle. How funny. So, now what we're going to do is we're going to fuse down our shapes. So, you just want to gently press with your iron. You don't want to sl across or slide it because otherwise you'll shift the pieces that you have placed down. So cute. The colors just look Yeah. Just so vibrant. So pretty. Yes. Sometimes people ask, do they need their pressing sheet for this part? As long as you've it's particularly obvious that you've got those fabrics in the correct position, then you really don't need it at this stage. It's more at that stage where you've got the pencil line that you don't want it to accidentally transfer to your iron and then on your white background. Exactly. All right. So, what we're going to do now is we're going to iron our Sorry, not iron. [laughter] Uh now what we're going to do is we are going to stitch our shapes. So I thought we could have a bit of a talk about how we would do that or how I've done it and what your options are for that. That sounds great. So here is a block that we've already sewn Misty. And what we have here is this is a blanket stitch. Okay. To achieve that machine applique look. Oh, that's beautiful. Every machine will be just so different in regard to what your stitches look like, but this is very much about how you love to do your machine applique, right? So, you can also see here I've actually changed out the threads um to go with each of the colors. Perfect. Yeah, we have these great different thread bundles that you know your different tones of pinks and purples and so you can switch. I also often will use an invisible thread in my top and so if you don't want to switch. So there's all kinds of different quite often you can see that you get a really nice color when you're using sort of something that's a little bit different from you can see here I've got a really light pink on this one even though it's a much darker um pink. Yeah, it's beautiful. So with your machine applique, you can choose whichever stitch you like. It could be a blanket stitch, it could be a triple stitch. you might only have a zigzag on your machine. So, you could do that um whichever way you like. Well, and truly, even if you don't mind a little bit of fraying eventually, you could straight stitch and you'll just have a little bit of raw edge. Yeah. Look to it. The other option, of course, with this pattern is if you prefer to do needle turn, you can set up all of these blocks to actually do that by hand. So, that's so fun. You can also blanket stitch these by hand as well. So, really, every option is open to you with this pattern. Um the templates are set up for you to to be able to do any of those that you like. And with them being block by block, it also means that you can take it and travel with it as well. Yeah. You can toss this in your bag and just work on one at a time. That's right. I love that. You've really thought of everything with this. Well, everyone has a different style of applique that they love. So, definitely I like to explain that there really are different ways that you can still achieve this absolutely beautiful. I love that. And so then these are our two blocks, right? So, we've got here our A blocks and our B blocks. And the quilt is made up of just those two blocks. So once you have gone ahead and done all of your applique with whichever method you like, what we're going to do now is you need to trim your blocks for um the setting up to be able to sew them into your rows. Okay. Because with this design, we actually sew our long rows first. Oh, like the columns. That's right. Yes. We're not actually doing what we would traditionally do, sewing them across, because we want these points to line up. That makes sense. Okay. So, what we'll do is we'll trim up these blocks so that we can sew these together to show how we actually achieve that really nice clean uh line to our bias trellising. All right, sounds good. Yeah. What we're going to do is you need to now cut one quart of an inch. So, you need to add a seam allowance essentially. So, you make need to make sure that you remember that you're adding a seam allowance. Okay. To that so that when you trim them up, you have that that extra quart. You're not cut you're not trimming on that line. Okay, let's do it. All right. So, I'm just following that pencil line. Making sure I have a quarter inch all the way. There's that first. And then do you just kind of spin it around? Just keep turning it around. Yep. Just making sure that you always add that seam allowance. And that's written in the pattern. Um, but just make sure that you double check as you go, that you've always done it as you go. And this is where you don't want your lines to be very heavy. So using that light pencil, make sure that you don't have any lines that are really difficult to remove later. Yeah, essentially those lines become your actual sewing stitching line. That makes sense. All right, here's the last one for this block. Looks good. Okay, it does look good. All right. So, what we're going to do is we're going to just quickly um cut up our second block here so that we're ready to stitch two of these together. All right. I will keep trimming. Yes. I like that you've given us um so many guidelines to have success in the end here. Right. Once you've got those on there, it really just means that everything's going to be lined up. Everything's going to be exactly where you want it. Exactly. Really foolproof to have this beautiful finished result. One more here. Okay, there we go. All right. So, as I mentioned earlier, when we are stitching our blocks together, you're going to be stitching them together first in columns. So you can see even by us just lining this up already, you can see that that care that we have taken really now pays off because we're going to get that beautiful fluid line to our trellising. So the part where I start when it comes to sewing those is actually looking at this point here. So once you have all of your blocks prepared, you're going to place these right sides together. And what we want to do is we want to actually check where at the at the seam allowance those bias tape strips run so that you can see here how I've got Yeah. Sit this down. I want to make sure they can see how you're doing that. So she's just folding this back to that quarter inch and making sure that those are lining up perfectly. You want to do that first. So once you've got that lined up, we're going to put some pins in that. Okay. Perfect. So we'll bring that in. Just double check one more time and then we'll pin that in place. That's right. Because that's the point that you want that to be really Yeah. And on this side now we're going to do exactly the same thing. So we want to line those up. Just checking. And you can see because you've got your pencil line as well. So you've got those markers and you're going to place a pin across here. And then of course you can add a if you want to you can add a pin in either side. But now what we're going to do is with a um regular stitch lengths, we're going to stitch along this seam line to join that A and that B block together. All right. I'm so excited. Yeah, let's do it. Move these. And I tried to keep the pins far enough out of the way that they can stay. Okay, there we go. All right. So, what you want to do is um also just check them before and you can shift or adjust anything if you needed to, but I think you've you've done really well. You've done this before. Well, well, you honestly, like I said, this is really foolproof. you've given us all these checkpoints to follow as we're assembling these to really have success, which is wonderful. So now what we're going to do is we're going to press that seam open. Okay. That probably helps a lot because of that bulk from the bias. From the bias, tape. Yeah. Your quilter will thank you. Beautiful. So, when you've got your all the blocks for your row, you're going to continue to add them. You can press them all at um at the end of sewing all of those together um or you can press them as you go. But you can see here how now we've got that beautiful continuous line to our bias. It's just wonderful. And so then let's go back to the quilt. And so like you said, you're assembling it in columns. And so how many of the blocks do we have in each? So we've got 1 2 3 4 5 down. And is it six across? Yes, it's six across. Yes. Oh, it's so beautiful. And so about how big does this end up? So it's 65 and 1/2 by 75 and 1/2. Okay. Wonderful. Yeah. Um and with the rows, you then just um sew each of the rows, right, together in those those long columns. It's just beautiful. Jamaima, thank you so much for sharing this with us. Oh, it's been fantastic to be able to come and um share it with you. I absolutely love it and I hope you guys enjoyed this wonderful tutorial from Jamaima at Tied with a Ribbon on the Tuscan Trellis quilt and hopefully you'll be back to visit again. Yeah, I can't wait. That would be fantastic. Wonderful. We'll see you all next time. Bye. Hey everyone, thank you so much for watching at home. We're so excited to be almost a million quilters strong here at Missouri Star. And so if you haven't already joined our family, be sure to subscribe and hit that notification bell so you can be notified of all of our future tutorials. And we'll see you [music] soon.

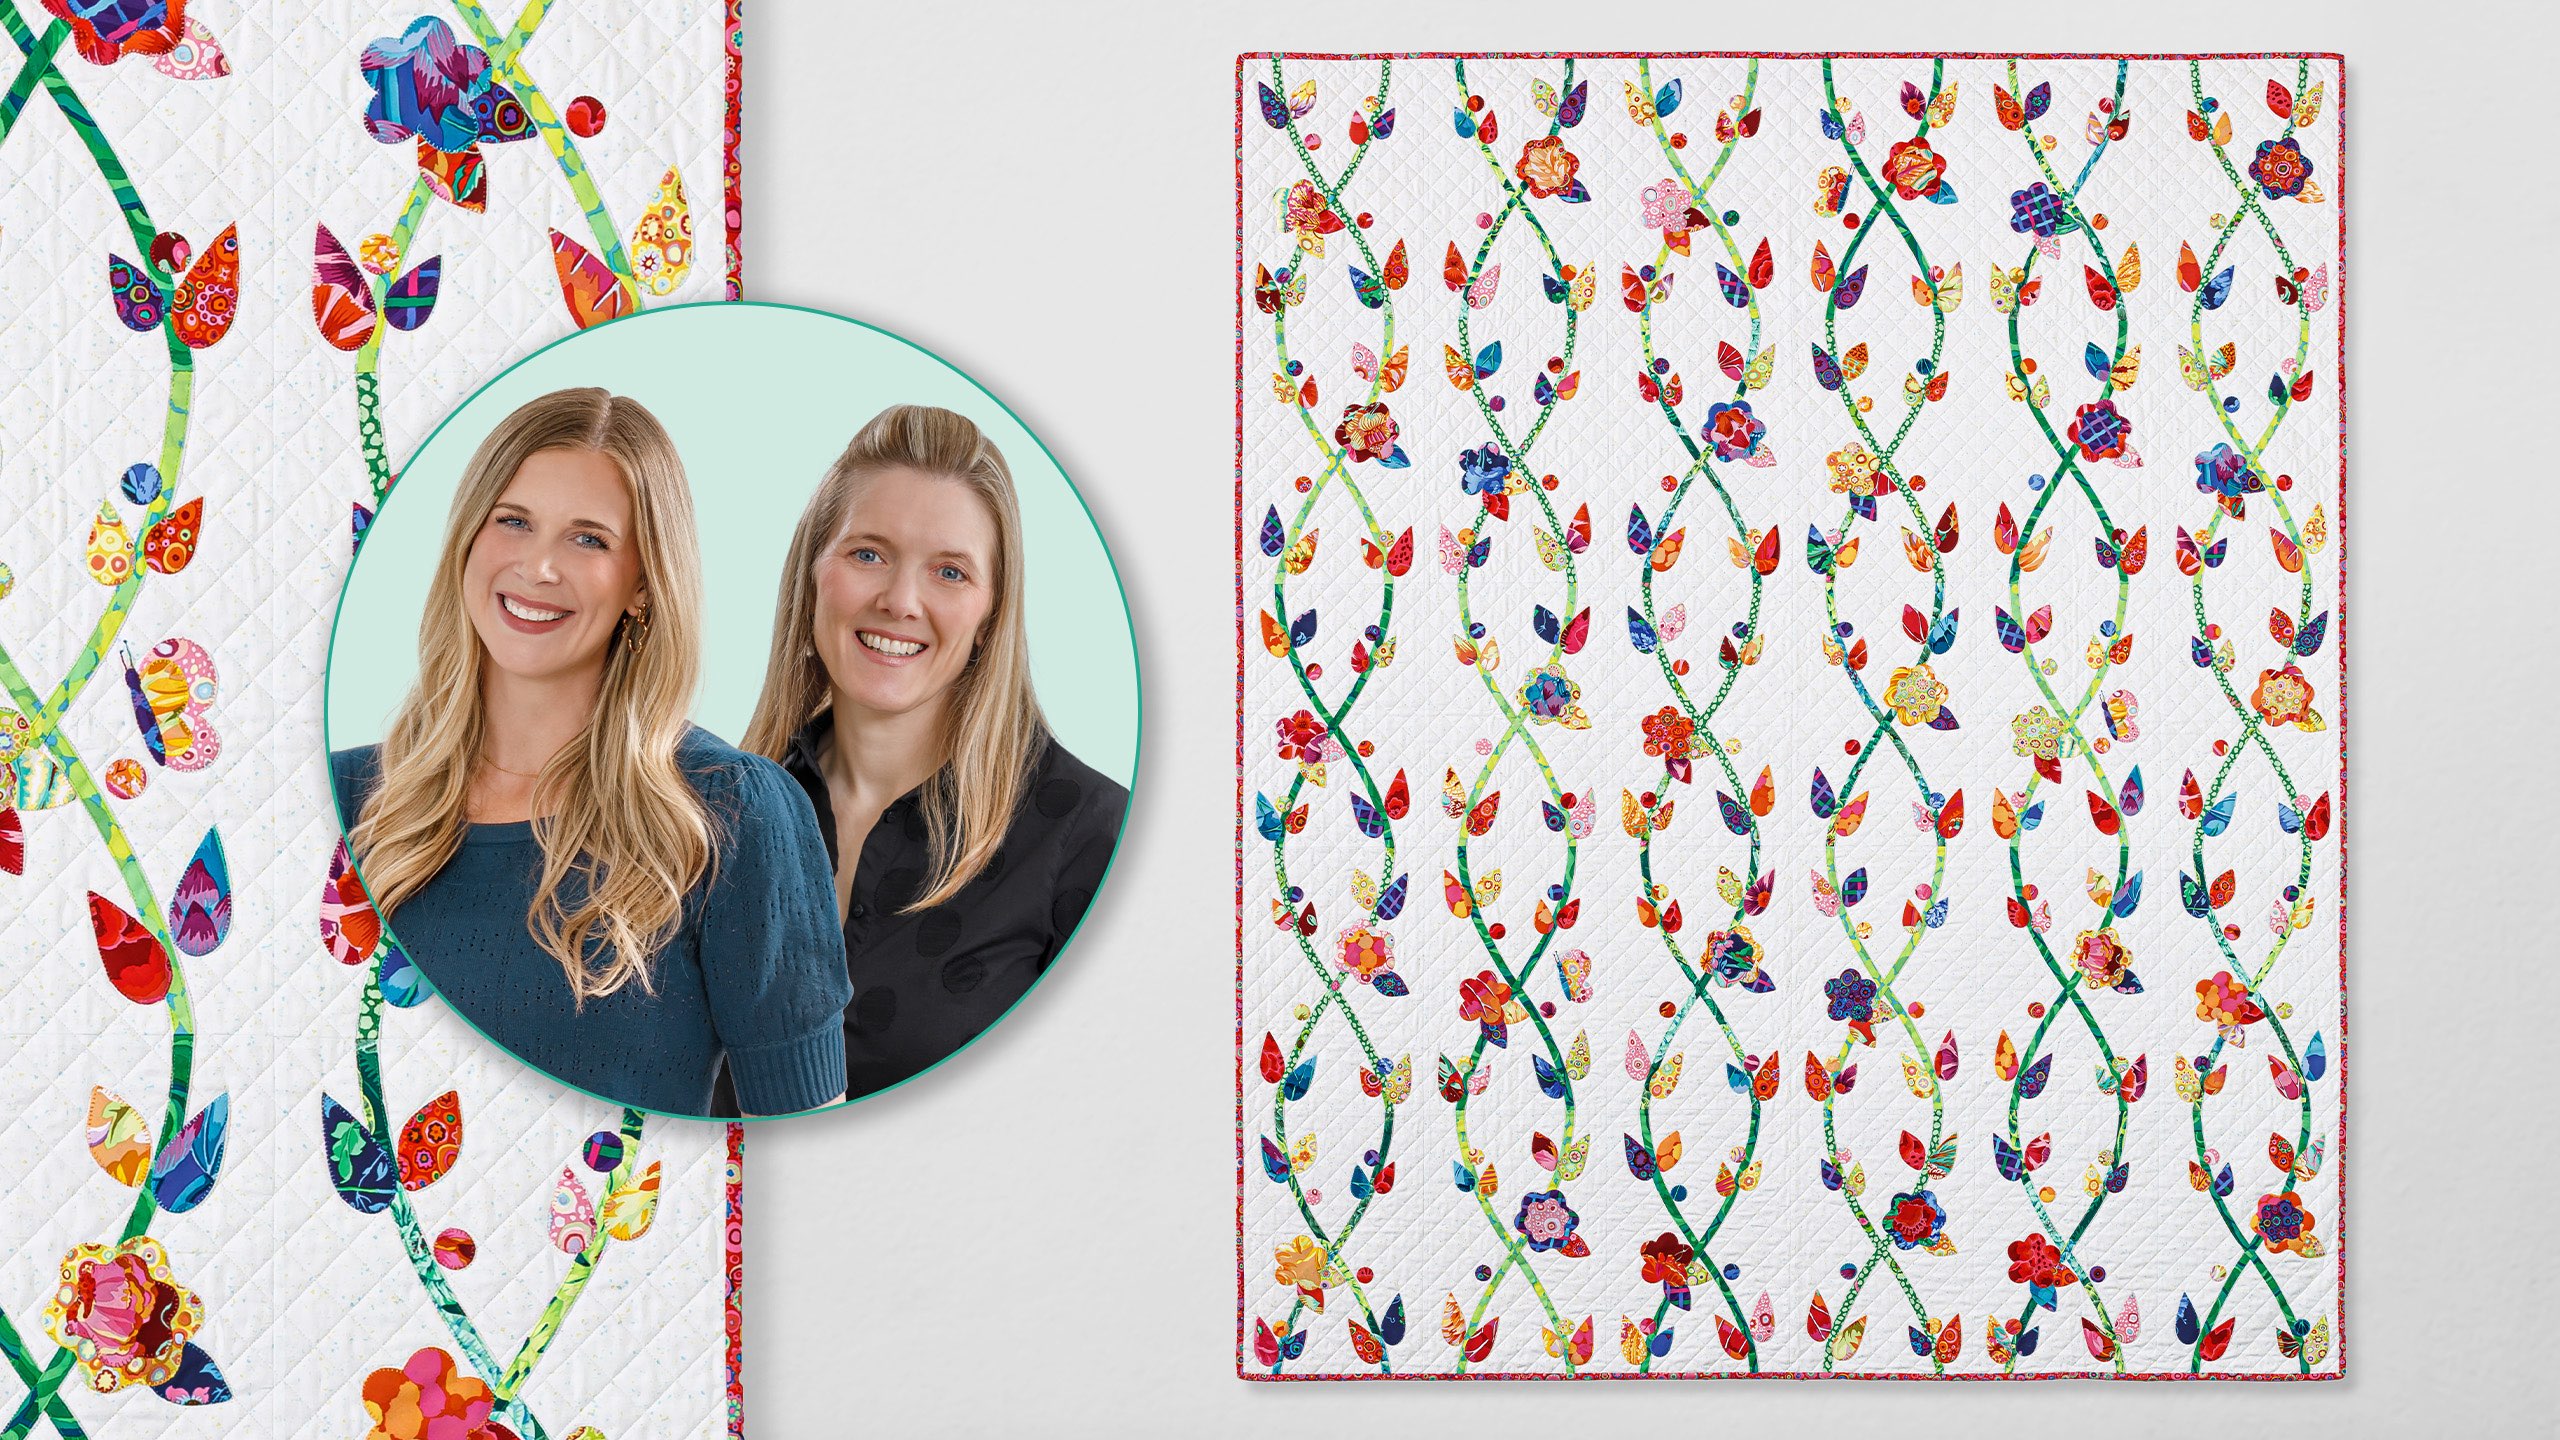
 Misty Doan
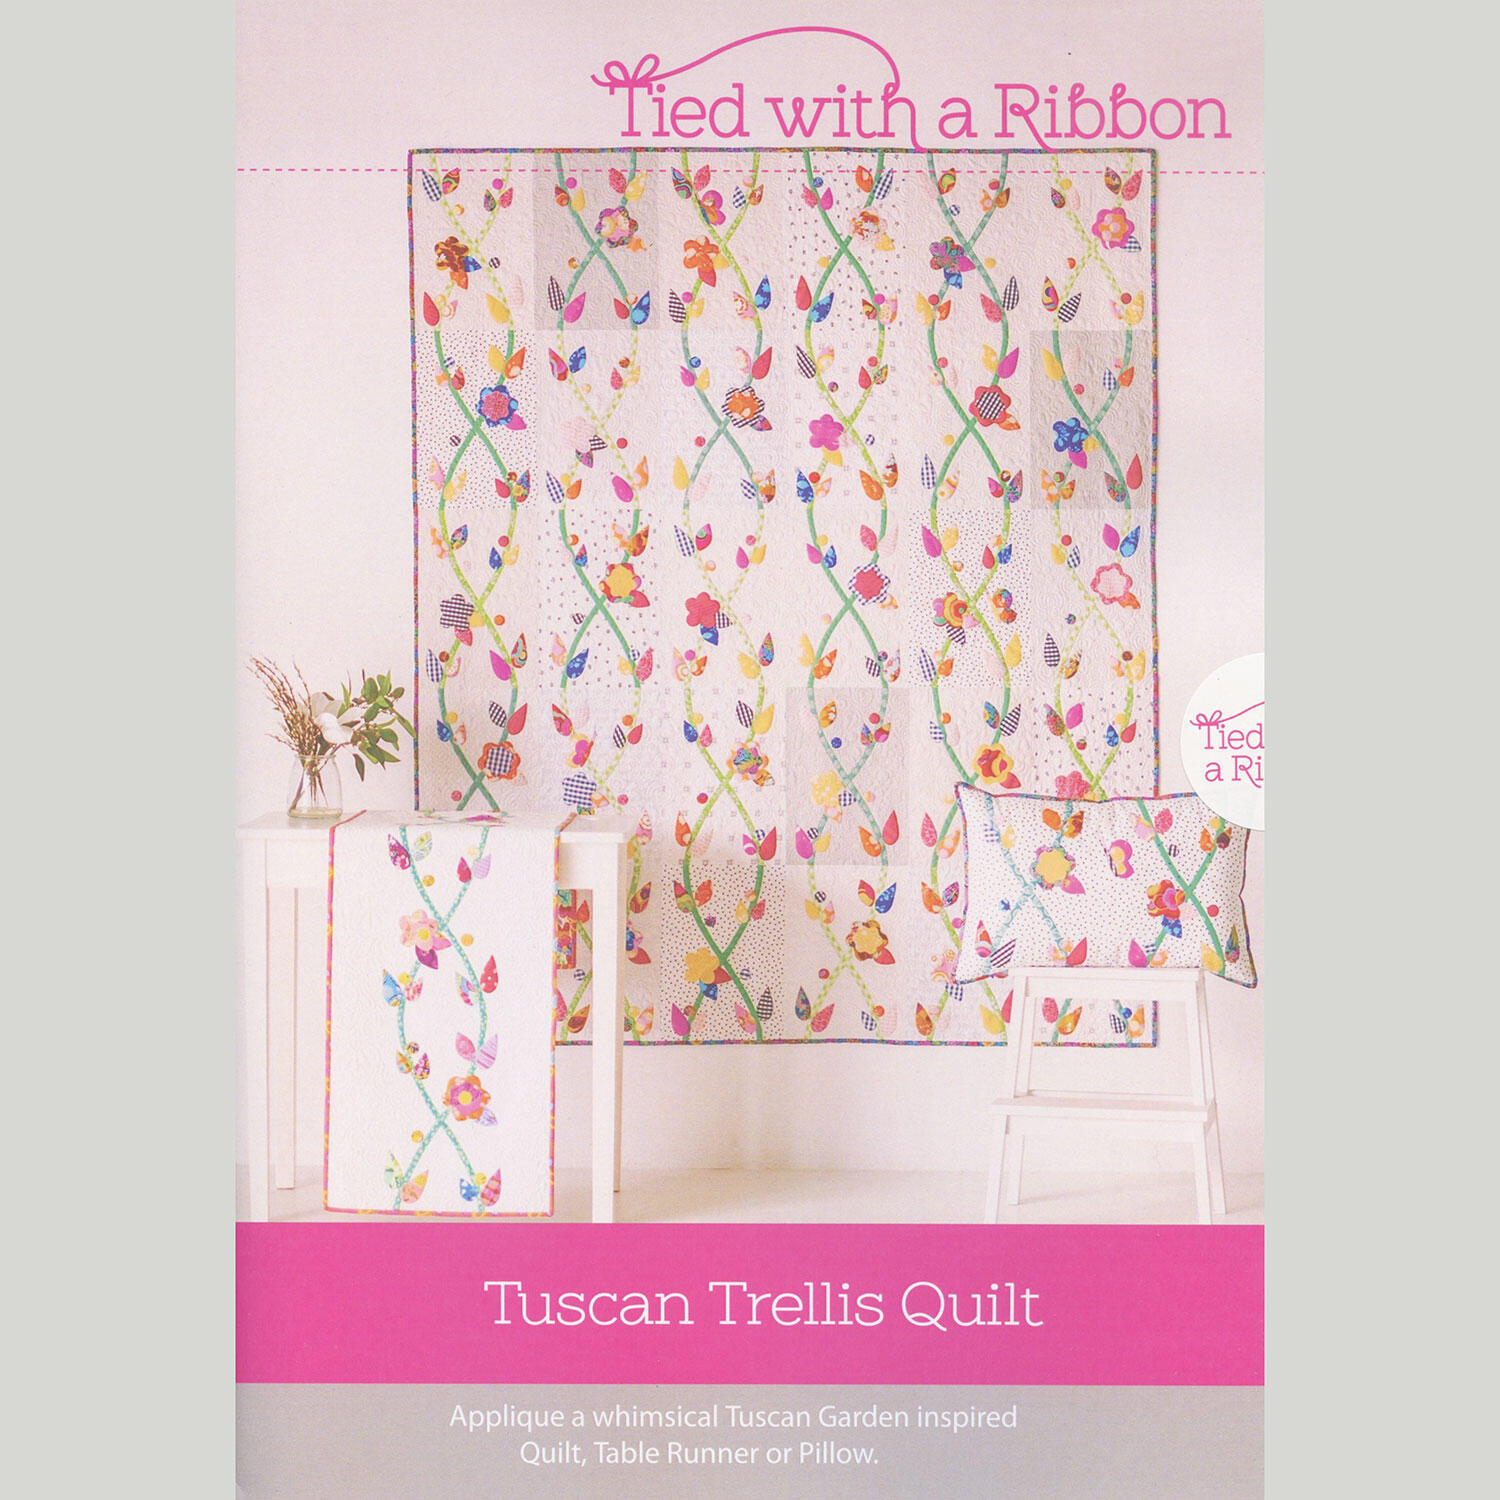 Tuscan Trellis Quilt Pattern$23.75Shop →
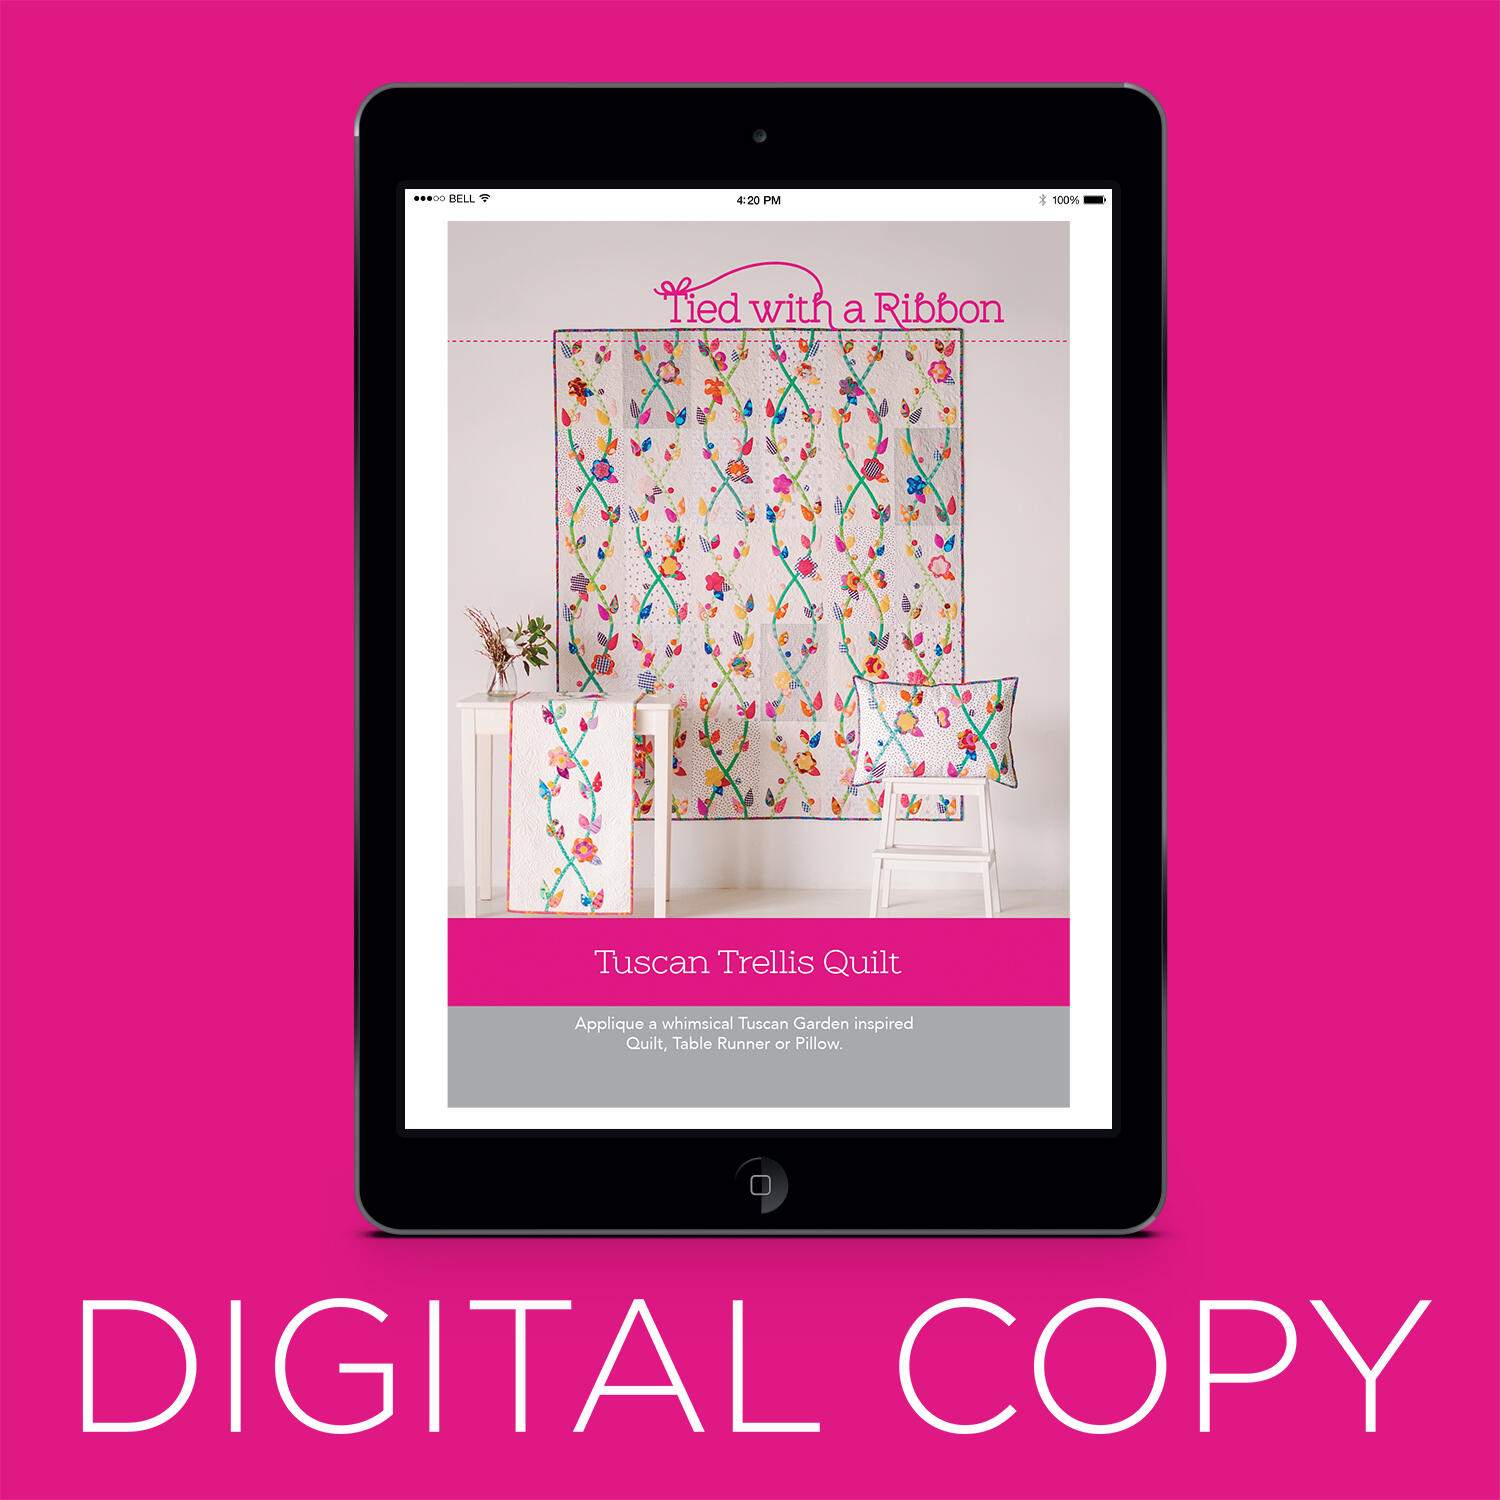 Digital Download - Tuscan Trellis Quilt Pattern$19.00Shop →
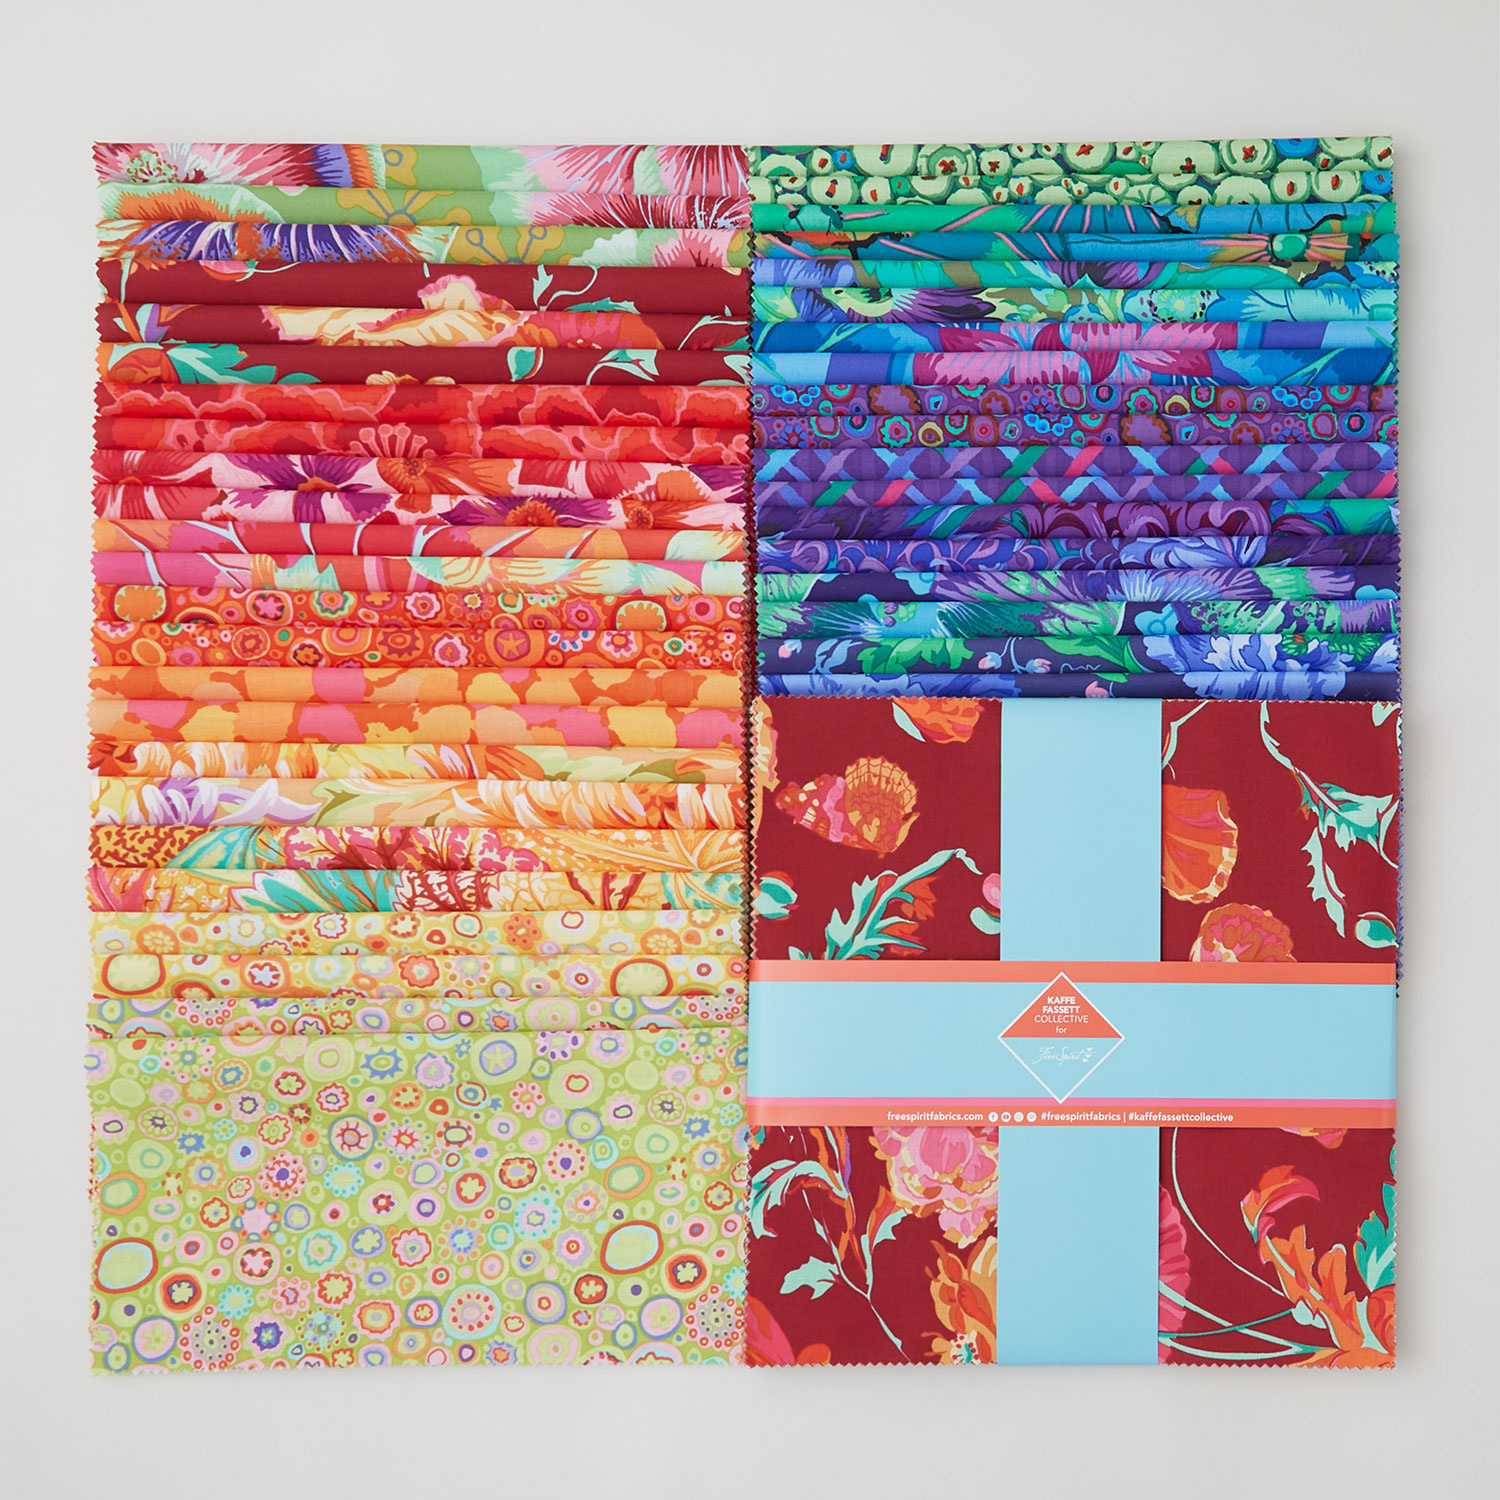 Kaffe Classics Spectrum Colorway 10" Squares$51.10Shop →
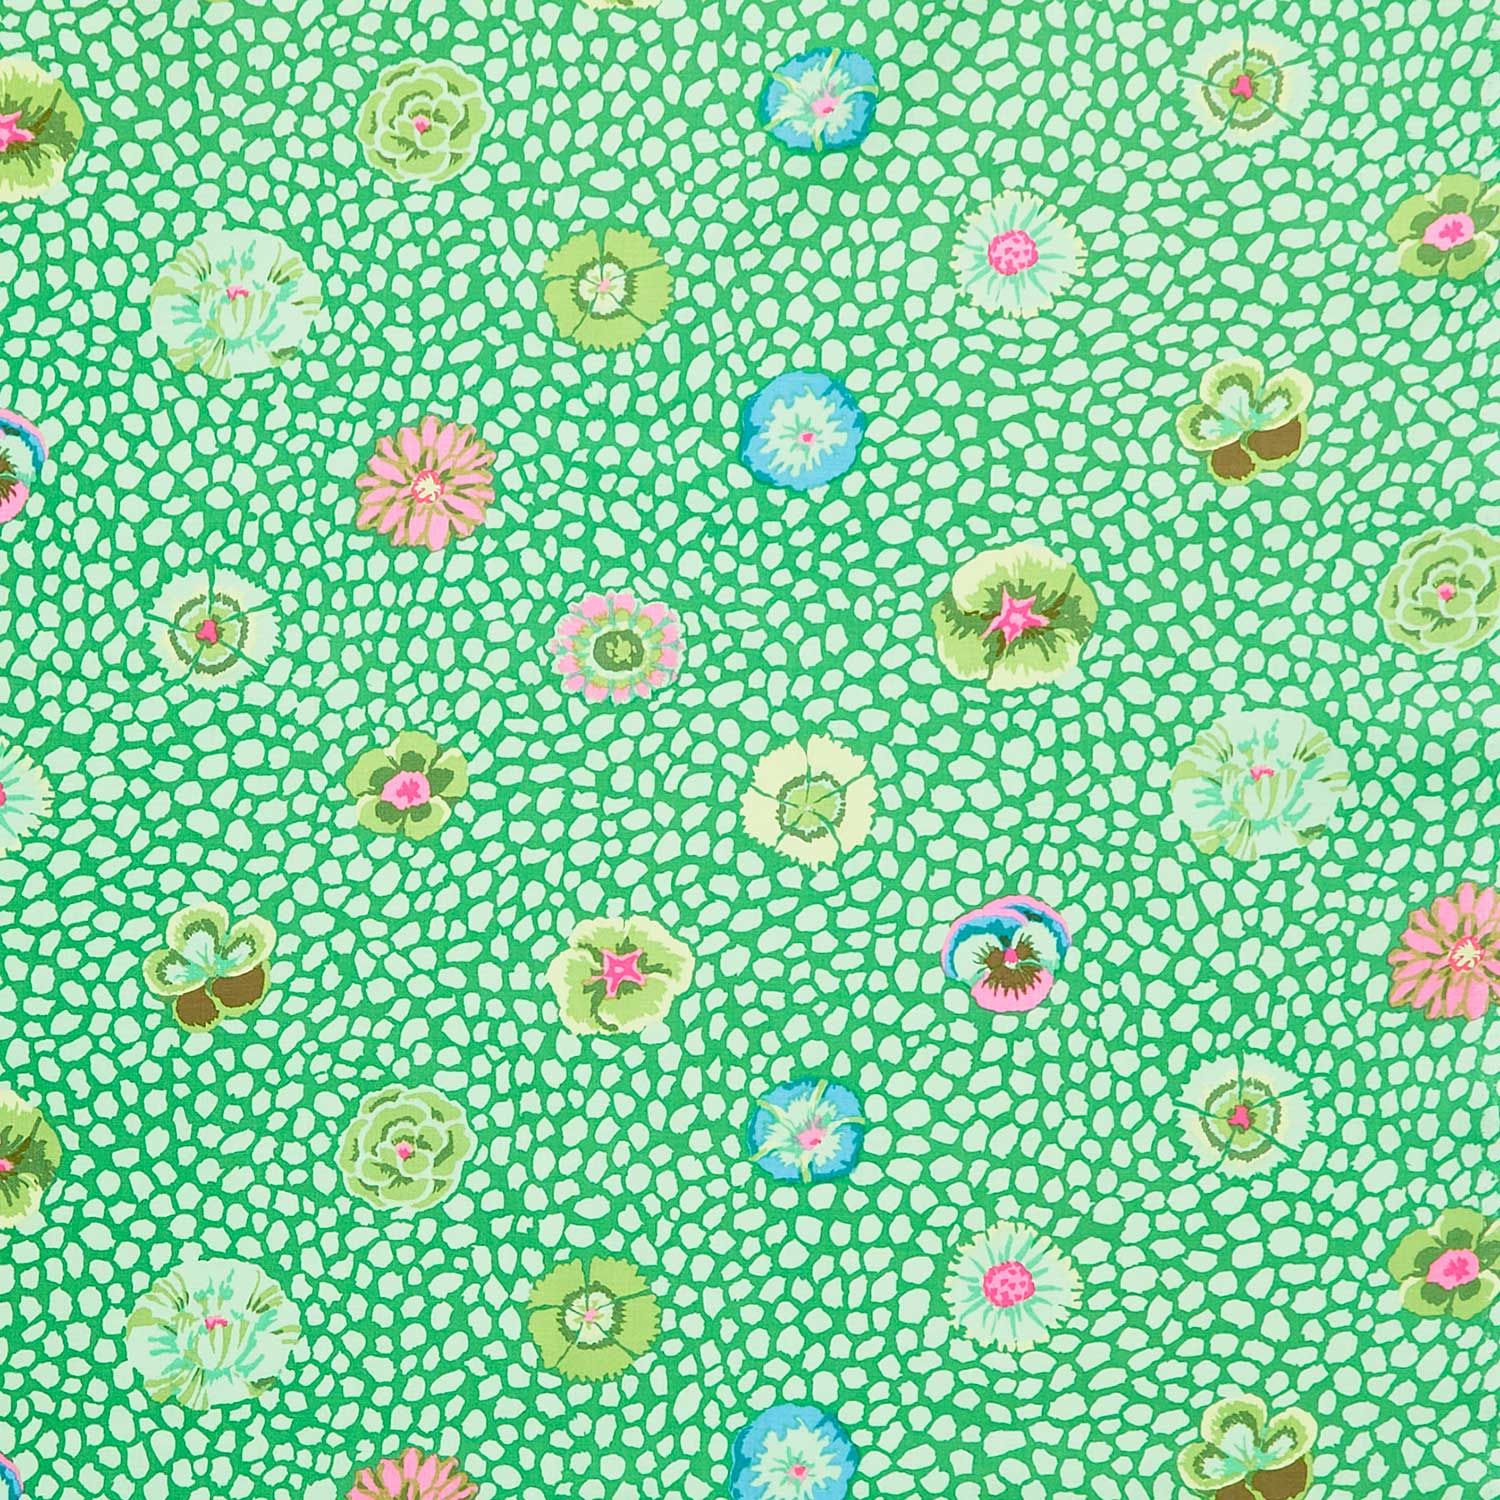 Kaffe Fassett Collective - August 2024 Guinea Flower Moss Yardage$14.00Shop →
 Kaffe Fassett Collective - August 2024 Wobble Green Yardage$14.00Shop →
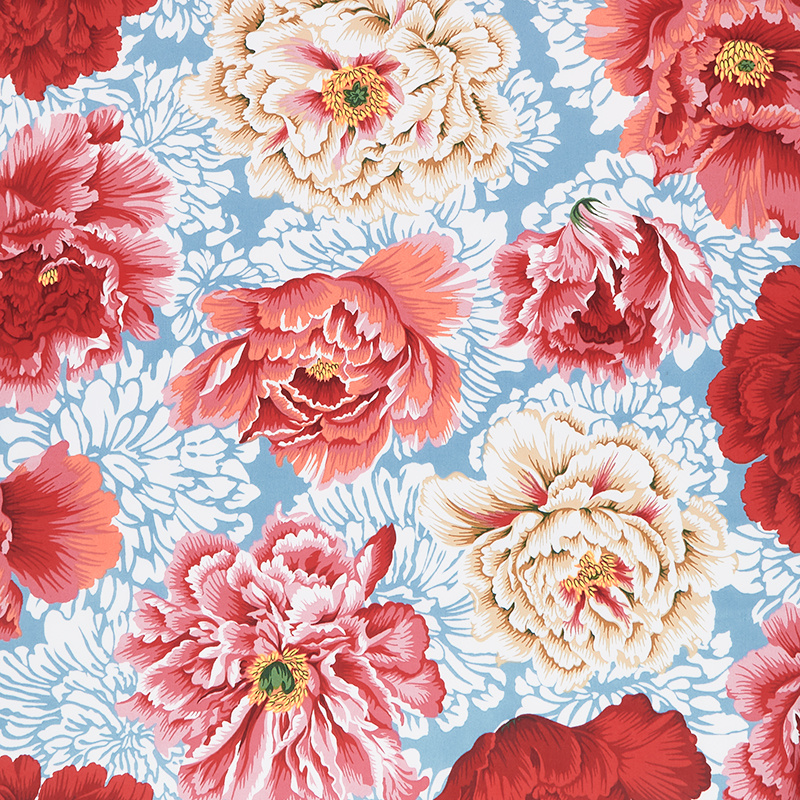 Kaffe Collective - Brocade Peony Natural 108" Wide Backing Yardage$27.76Shop →
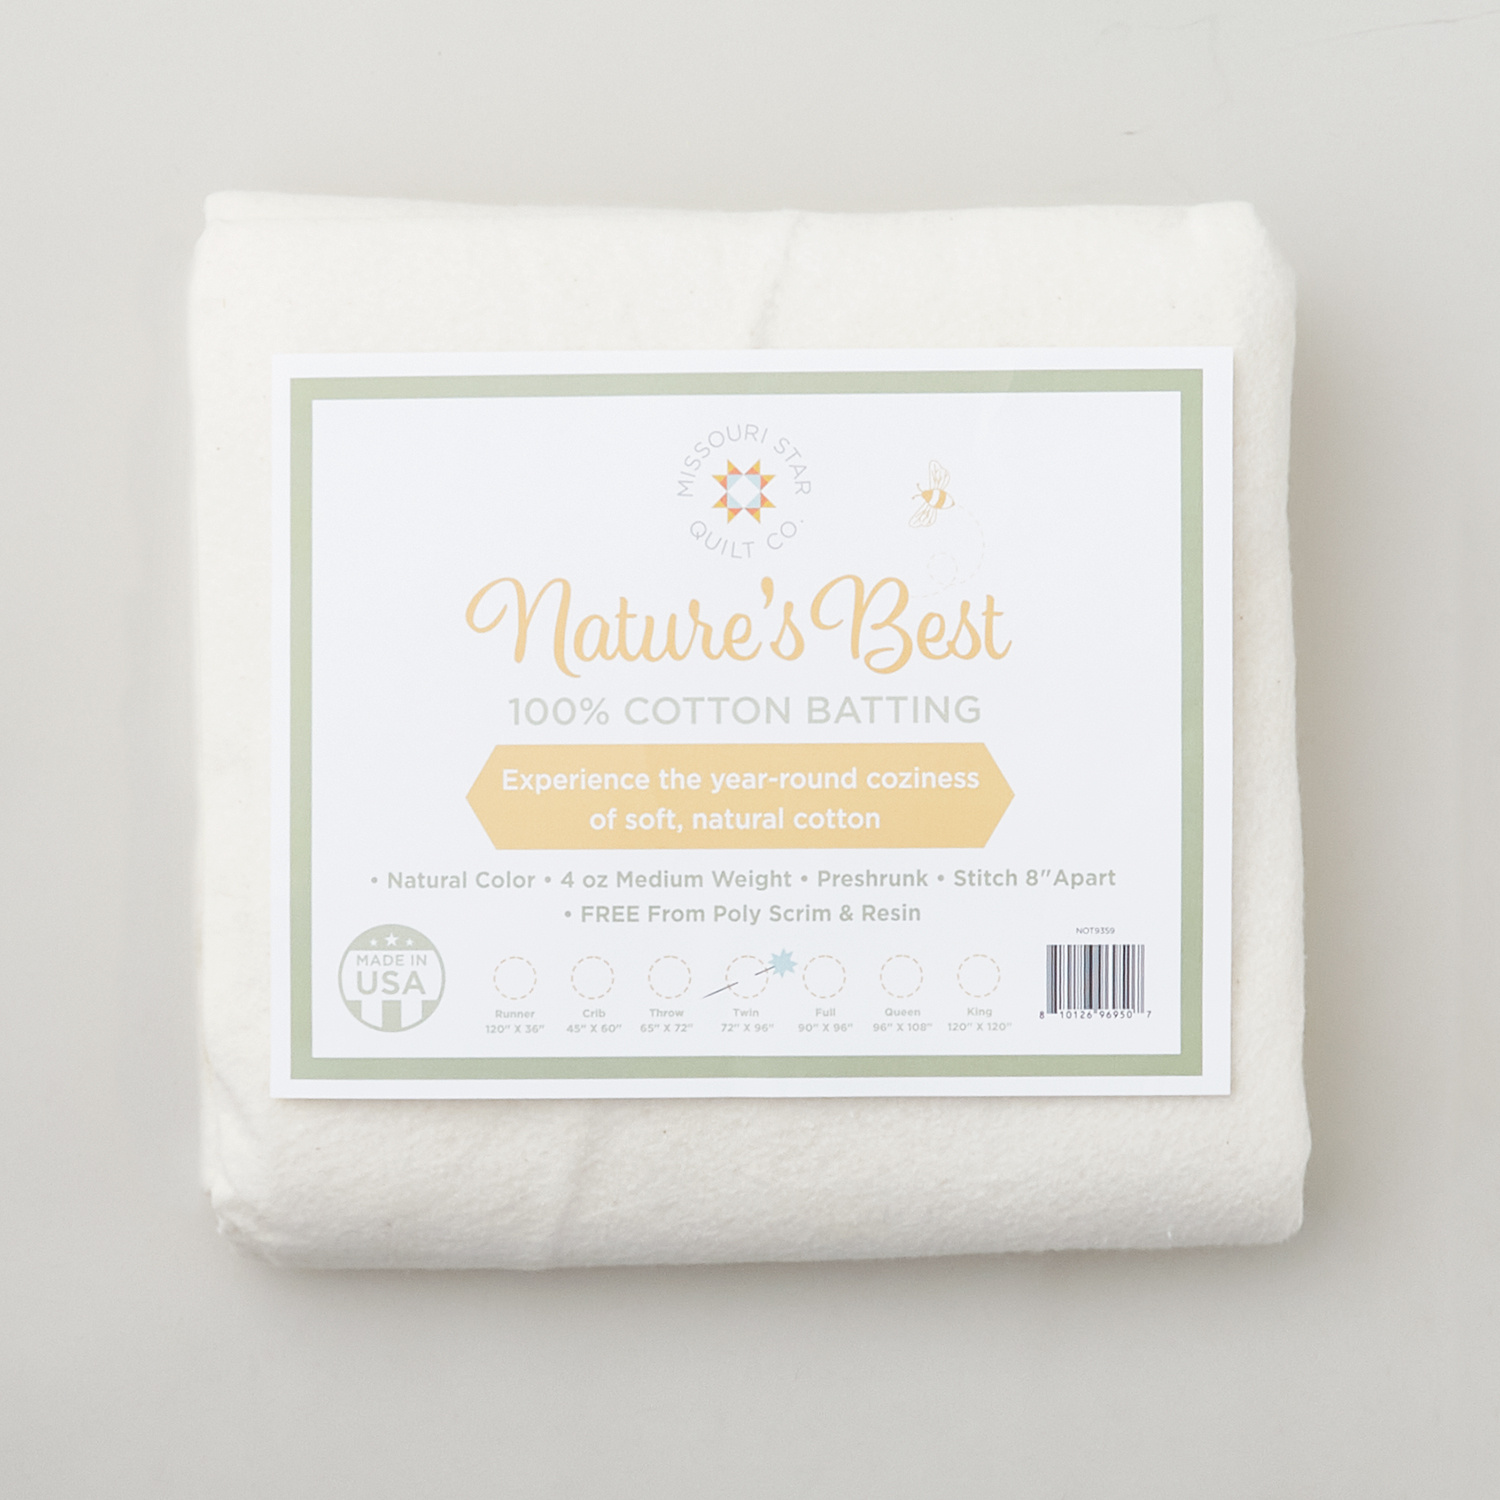 Missouri Star Nature's Best 100% Cotton Twin Batting - Natural$29.95Shop →
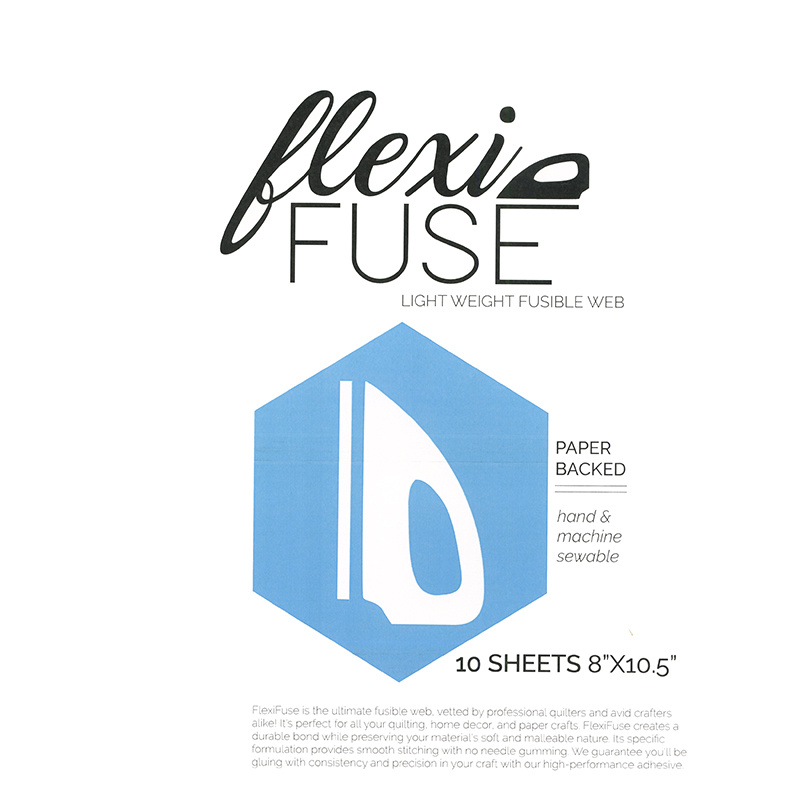 FlexiFuse - Ten 8" x 10.5" Sheets$12.75Shop →
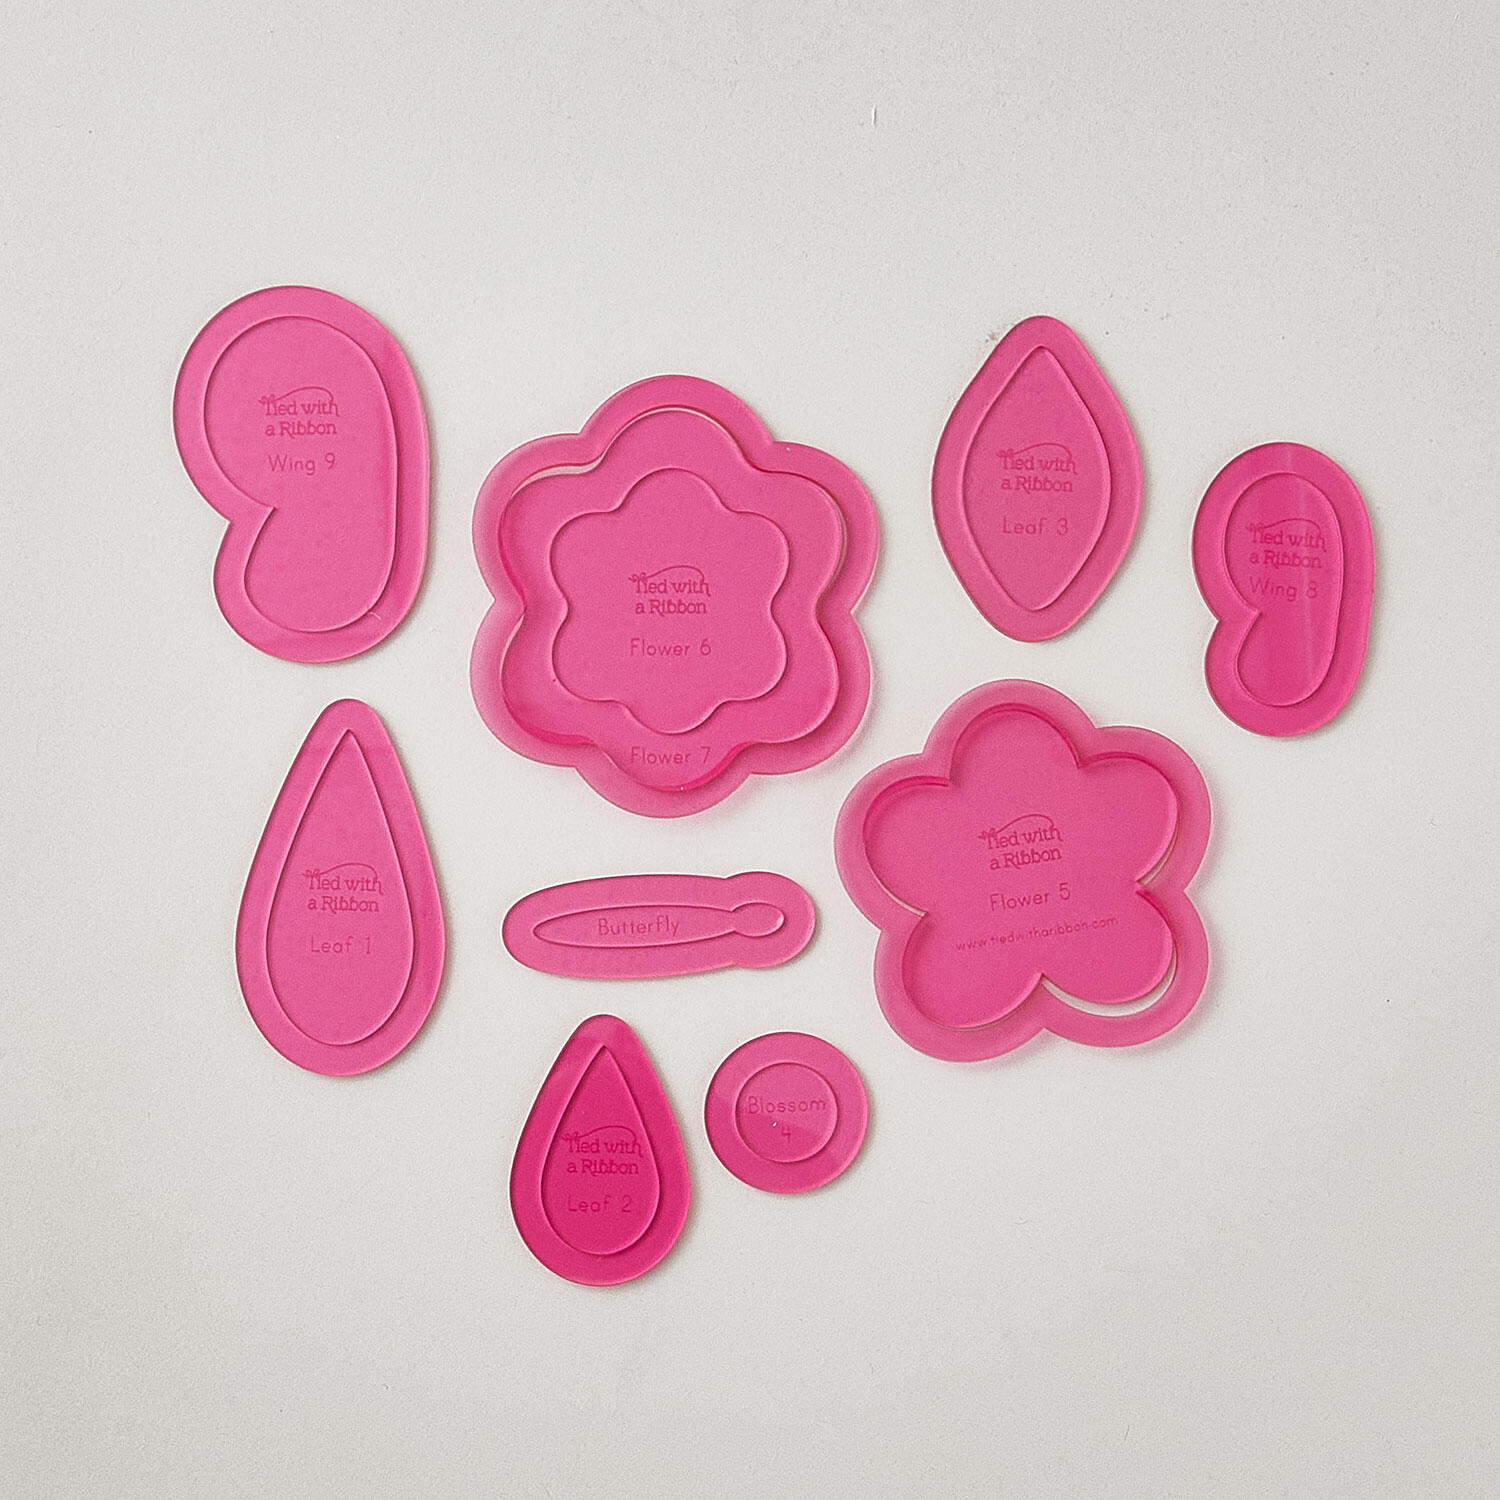 Tuscan Trellis - Template Set$33.35Shop →
 Olfa Splash Aqua 45mm Rotary Cutter$20.95Shop →
 Roxanne Glue Stick$8.25Shop →
 Missouri Star Warm 40 WT Polyester Thread Stash Builder 3 Pack$26.50Shop →
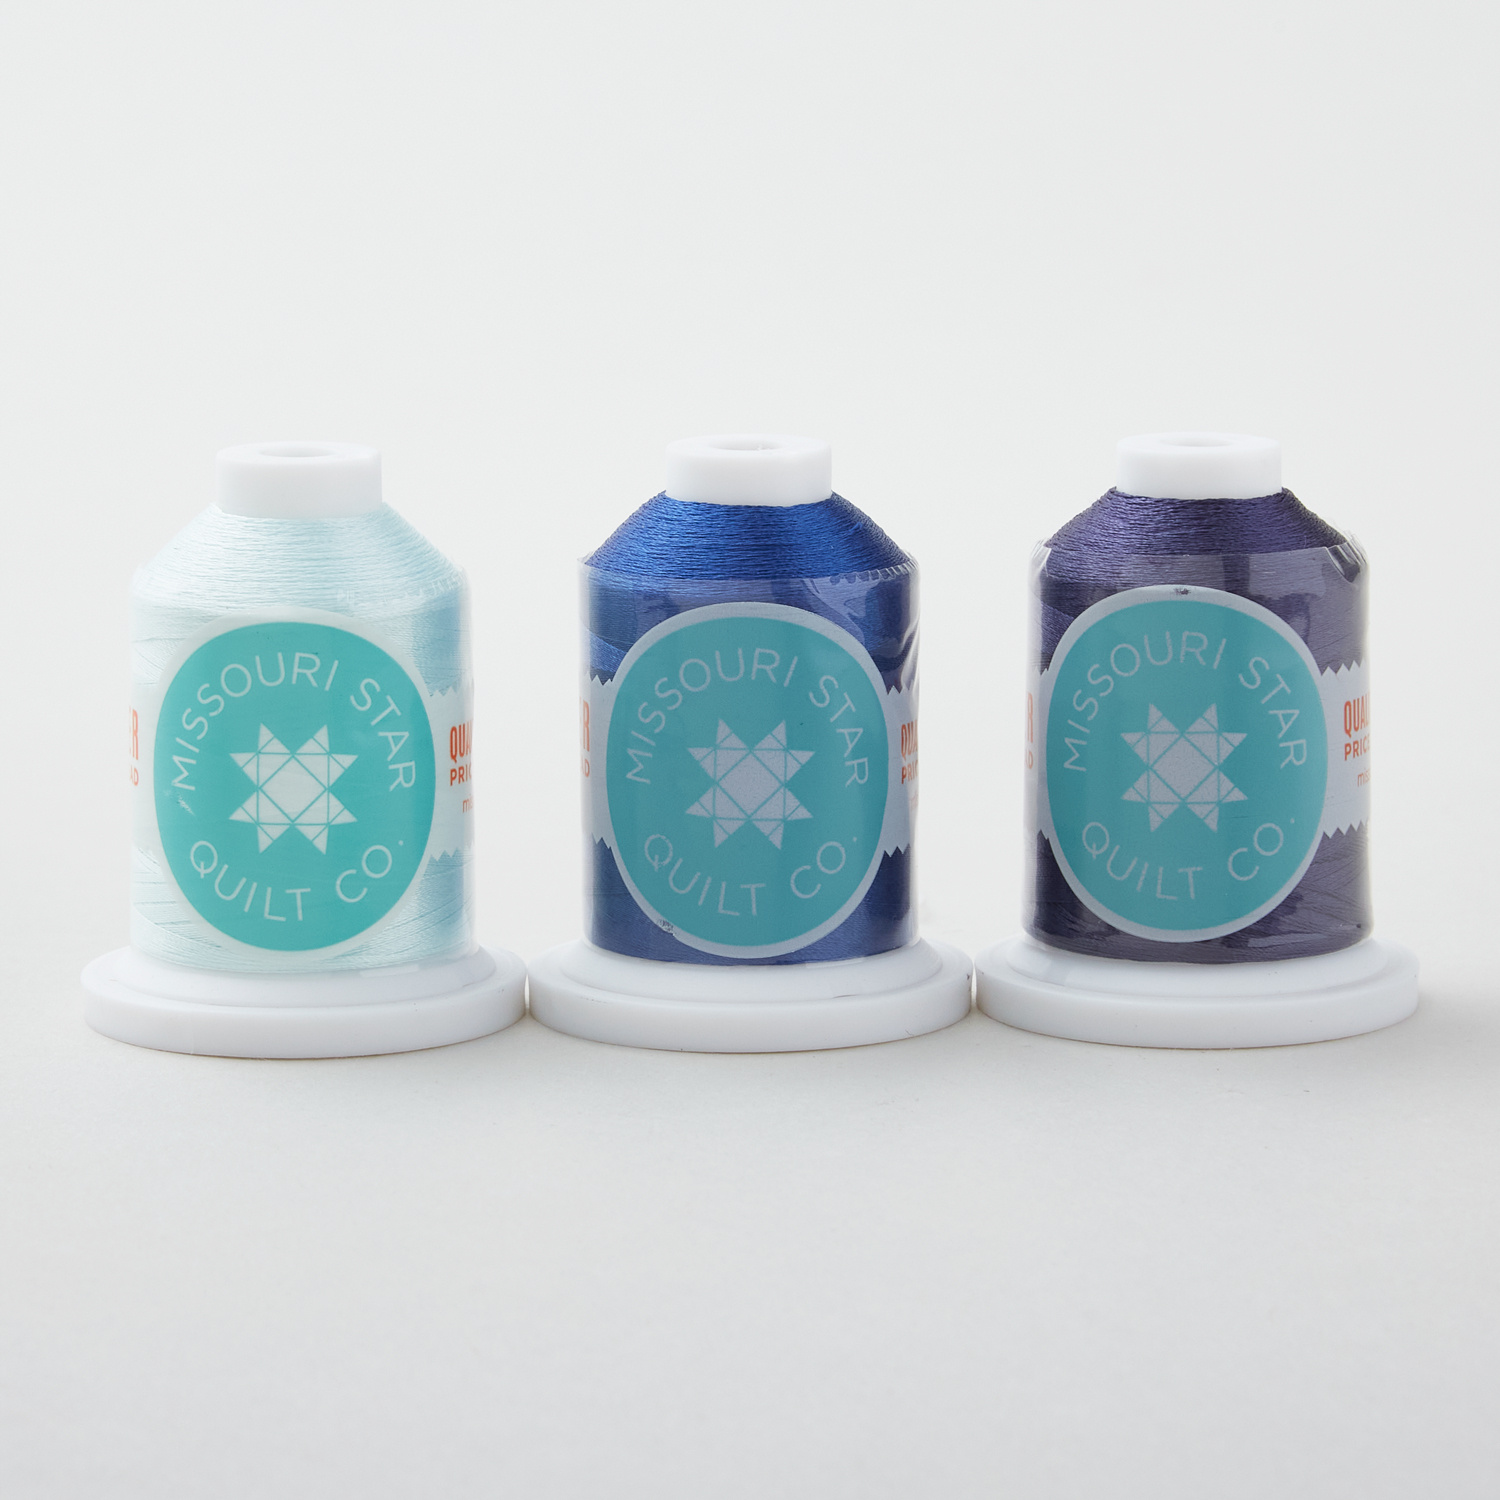 Missouri Star Blues 40 Wt Polyester Thread Stash Builder 3 Pack$26.50Shop →
 CutterPillar & Missouri Star Glow Premium Light Board$169.99Shop →
 Missouri Star + Oliso TG1600 ProPlus Iron$209.95Shop →
 Bernette 77 Sewing and Quilting Machine$1699.00Shop →
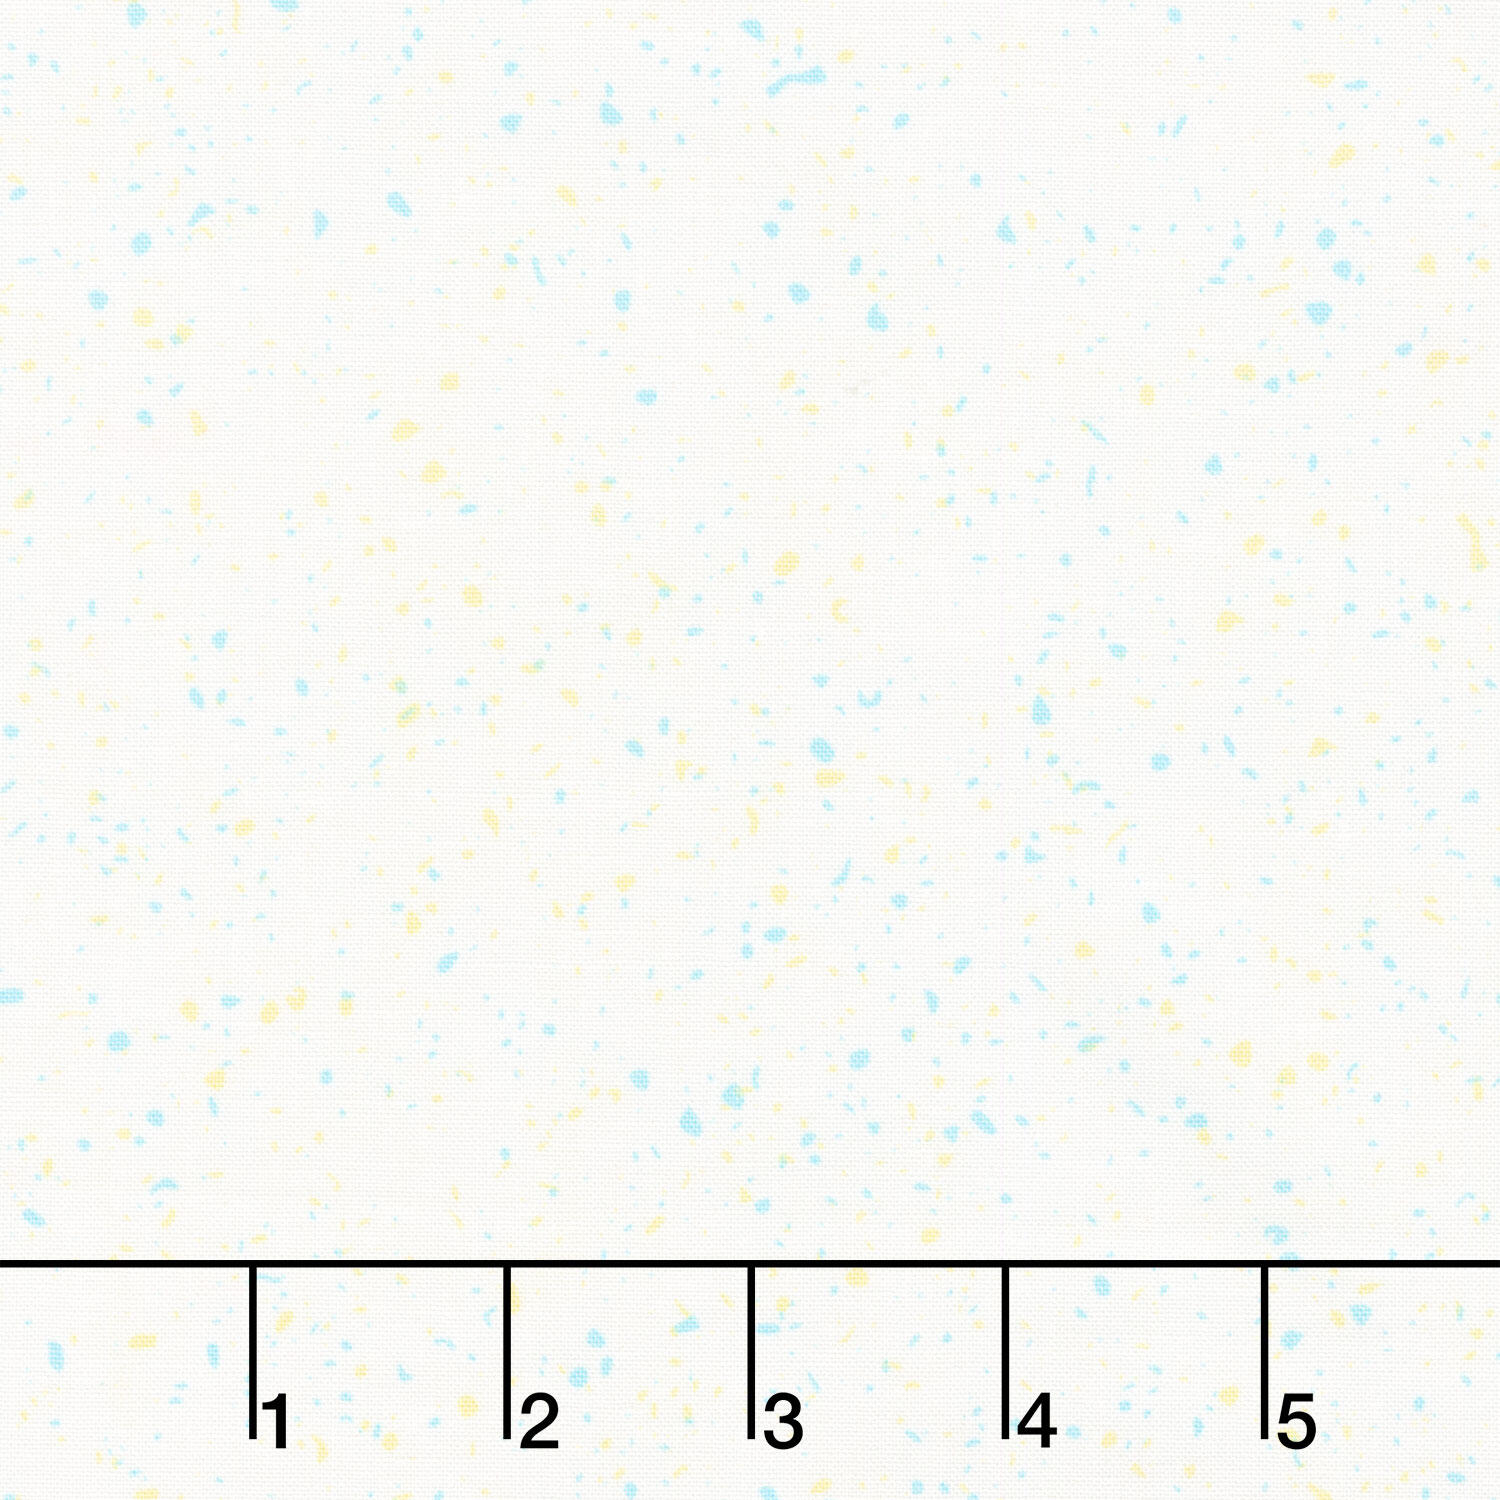 Complements - Vibe Mellow Yardage$13.16Shop →
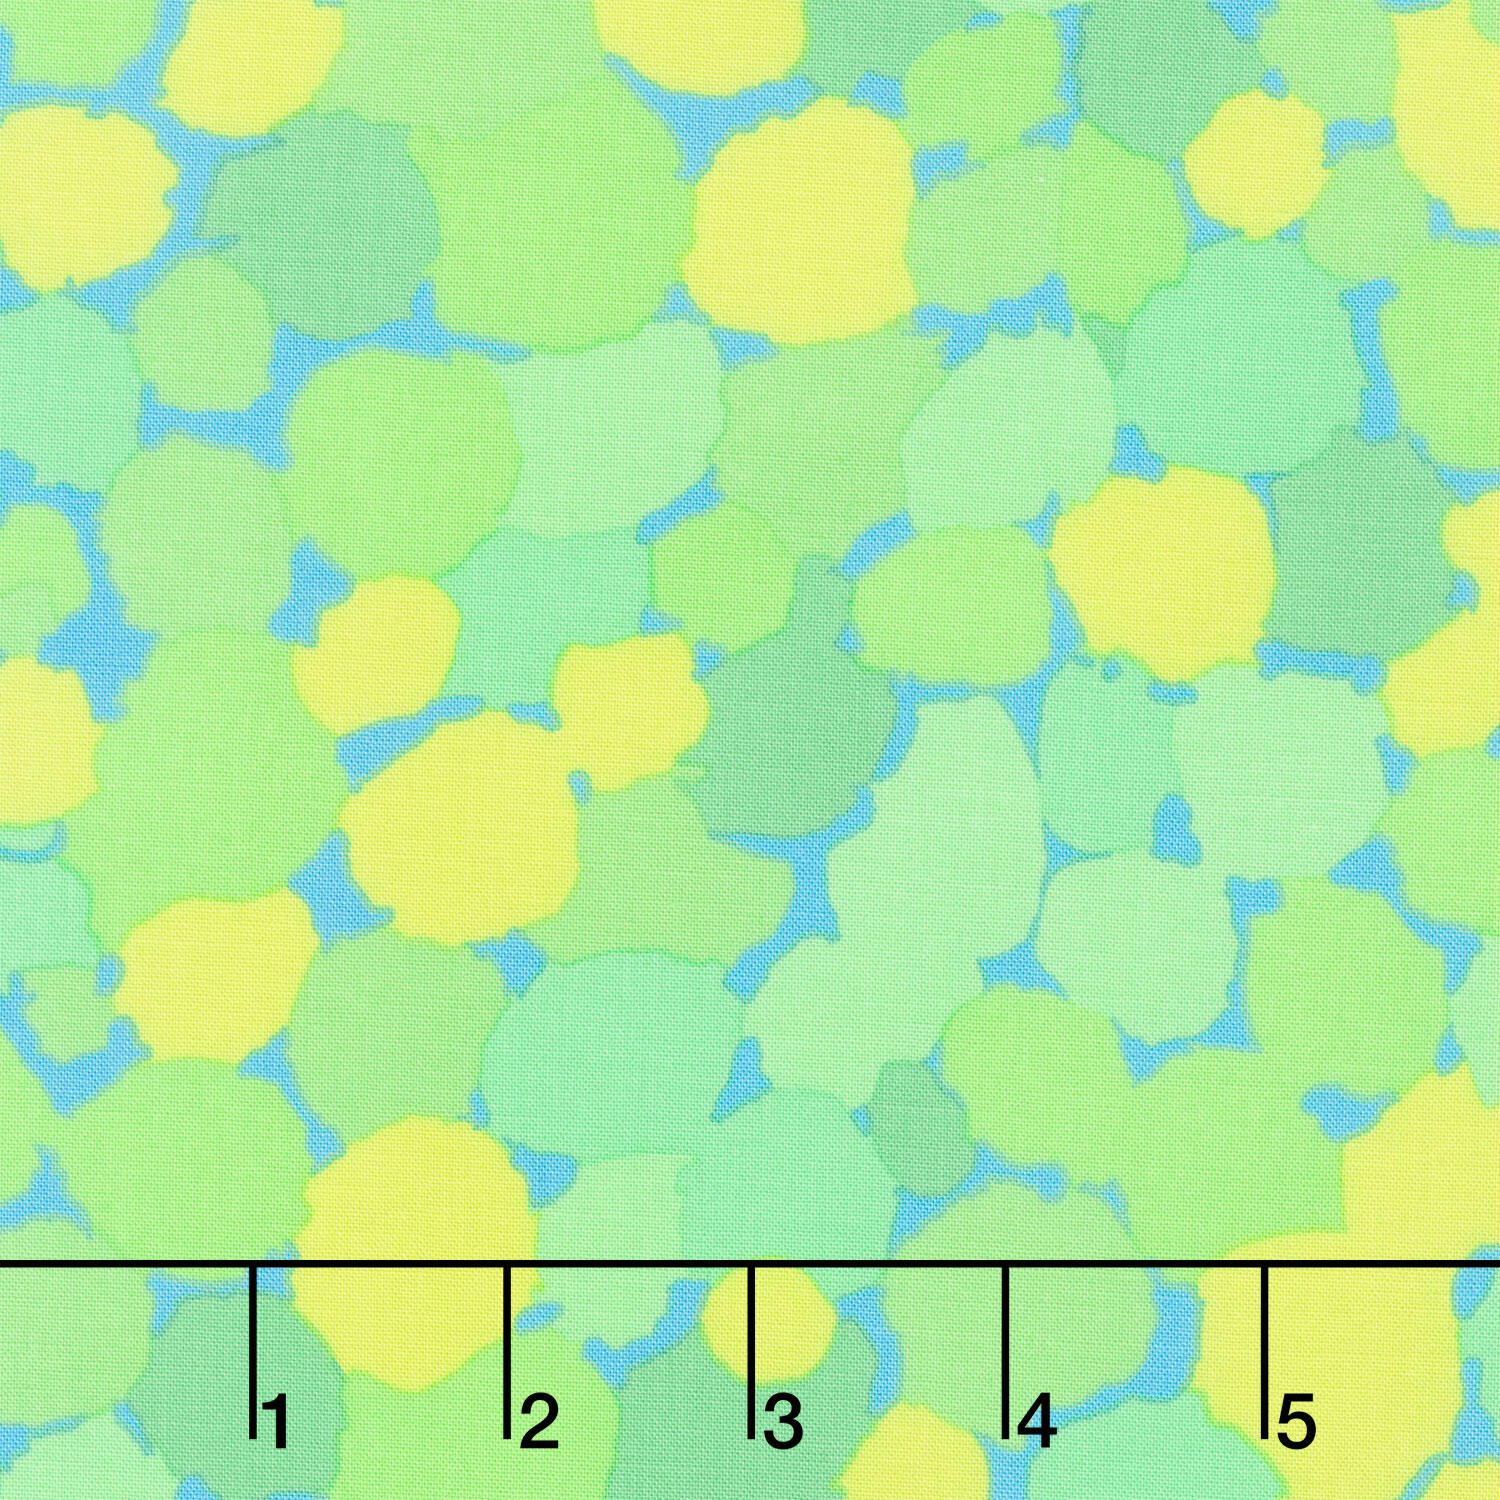 Kaffe Classics - Reflections Lime Yardage$13.92Shop →
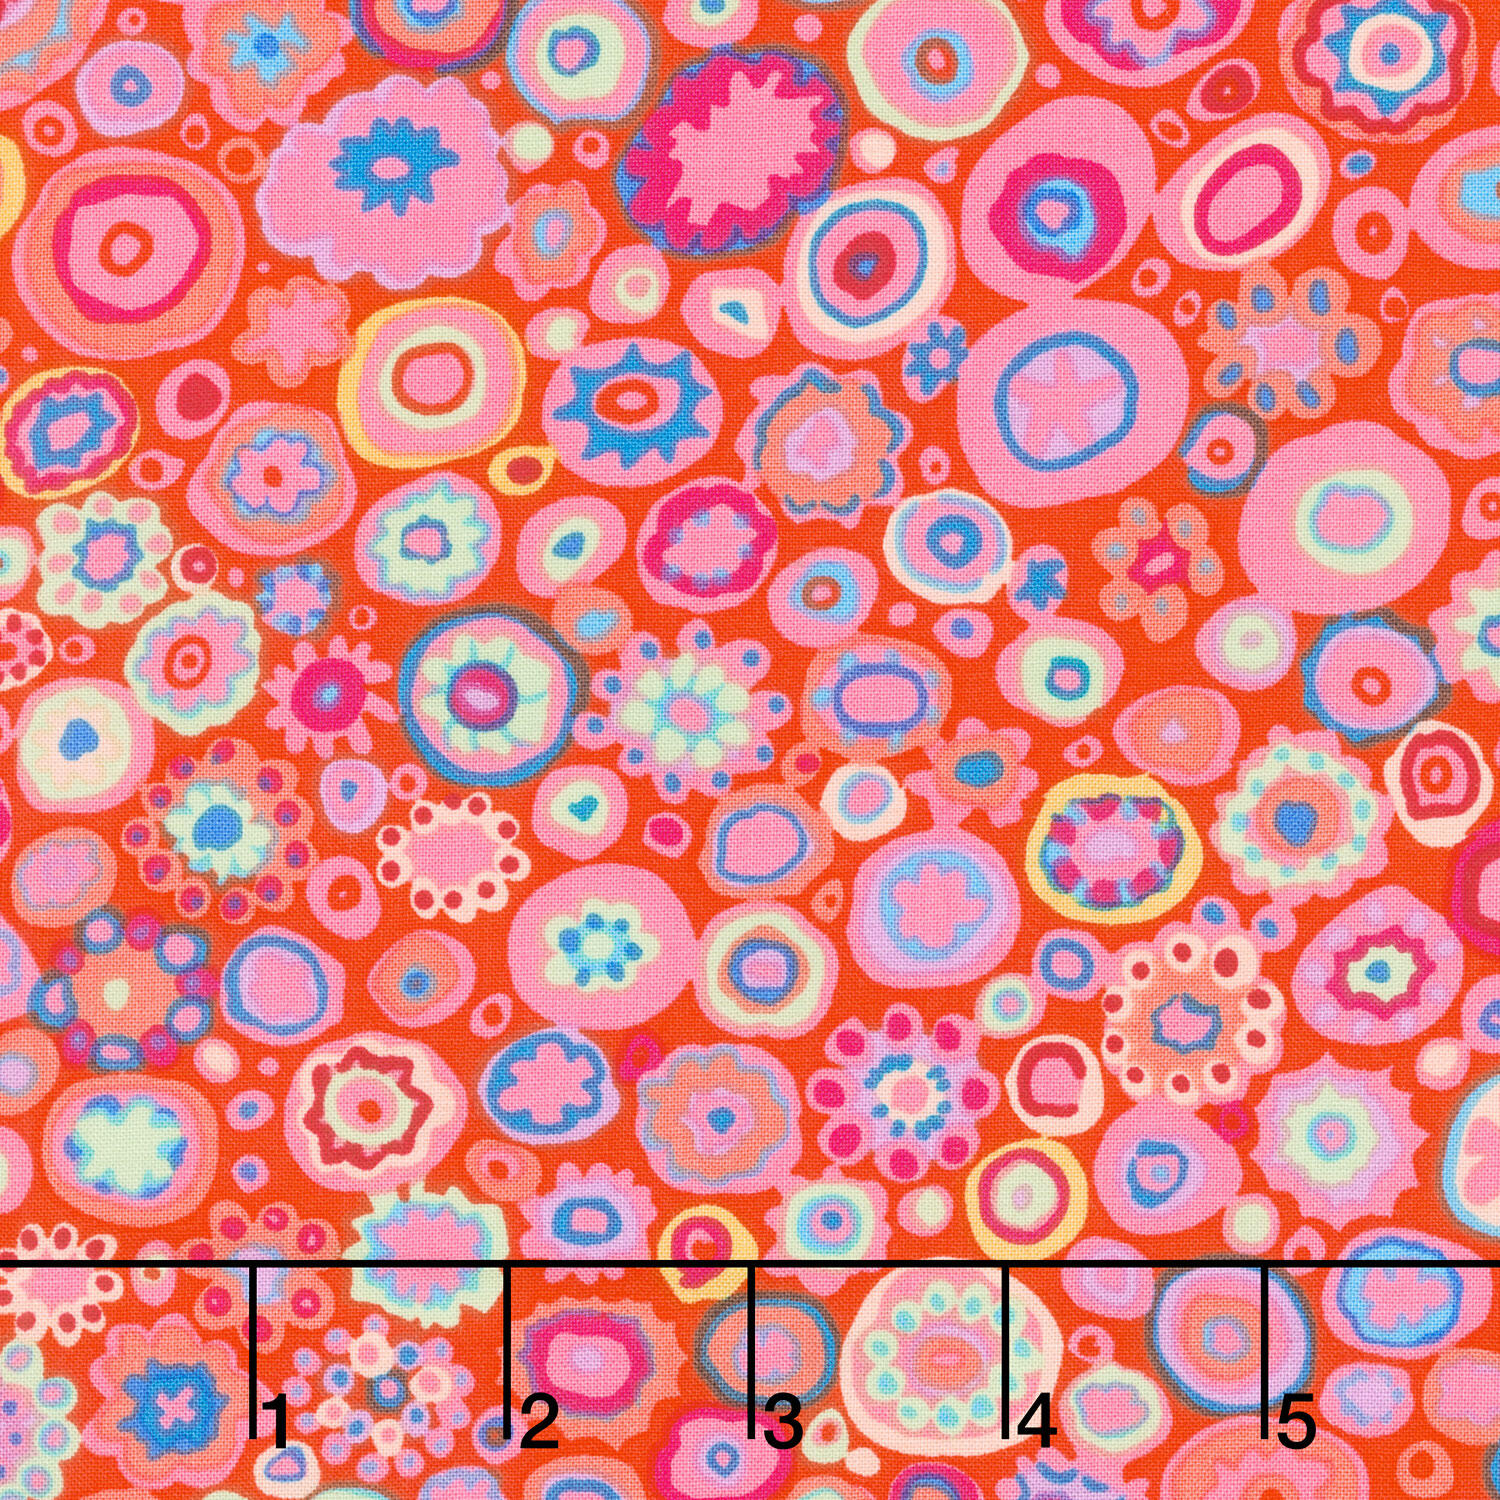 Kaffe Classics - Paperweight Pink Yardage$13.92Shop →
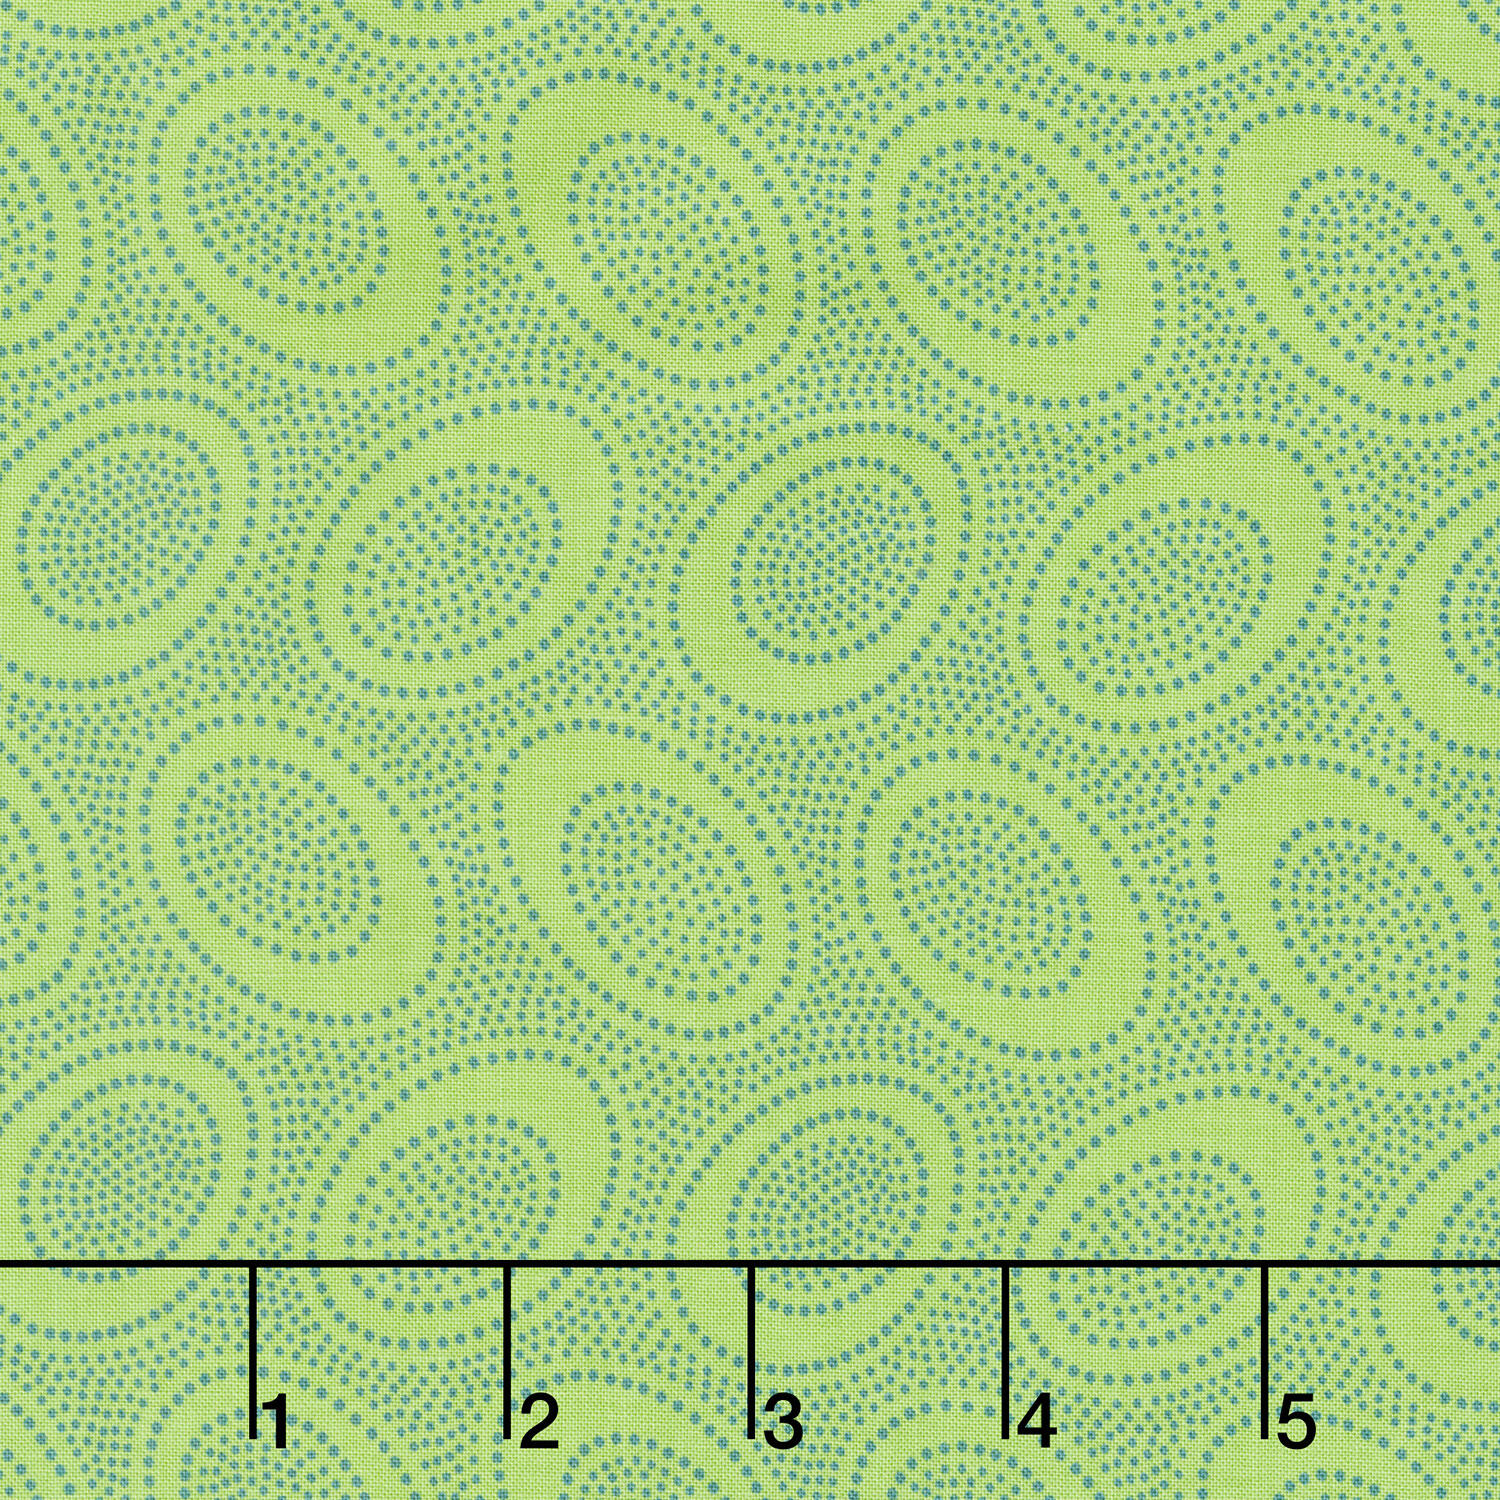 Kaffe Classics - Aboriginal Dot Leaf Yardage$13.92Shop →



