Welcome to a garden full of the stunning darker colors of twilight. Sew along with us to create Twilight Garden. Designed by Edyta Sitar using the Lighthouse layer cake precuts, this quilt blossoms with beauty! The Clearly Perfect Slotted Trimmers helps make the construction of this quilt a breeze.
Natalie is the host of Quilting 101, Embroidery 101 and the Creative Strategist and Editor of Block Magazine at Missouri Star Quilt Company. She was taught how to sew by her mom, of course, and began quilting when she grew up.
Welcome to a garden full of the stunning darker colors of twilight. Sew along with us to create Twilight Garden. Designed by Edyta Sitar using the Lighthouse layer cake precuts, this quilt blossoms with beauty! The Clearly Perfect Slotted Trimmers helps make the construction o...
How long is the tutorial video?
The tutorial video is 00:46:30.
Are supplies listed for this tutorial?
Yes. The tutorial page includes the supplies and materials connected to this project.
Video Transcript
Hi everybody. I'm Natalie with Missouri Star Quilt Company and today I have a fun quilt to show you. This quilt behind me, I'm calling it Twilight Garden. It's 57 in square and it's a lot easier to make than it looks. So, it's made up using this block and this block. So, it's a twob block quilt and I think you're going to love it. So, let's get started. [Music] So, to make this quilt, you're going to need a package of 10-in pre-cut squares. And I've used Lighthouse Sundays by Edida Satar of Laundry Basket Quilts for Andover Fabrics. So, you're going to need some background fabric. And I've used this Essex Linen yarn dyed in flax. And you'll need a yard of that. You'll need about a yard for your outer border. And it's a good 5- in border. I've used this really lovely paisley pink color. And then your backing, you're going to need three and 5/8 of a yard if you're using regular 45 or just a little under two yards of 108. This quilt is lovely. It's a 57x 57, which is great for hanging on a wall, but also a good picnic size. You could make it bigger or smaller if you wanted to add fabric. That's completely up to you. But I think it turned out really great. Um, we're doing a lot of half square triangles, so you might want a squaring tool. And I've used the Clearly Perfect Trimmer A. Or you can square your half square triangles with any ruler that you have. A square ruler with a 45 degree angle is perfect for that. All right, so let's get started. [Music] All right, so the first thing we're going to do is cut down some of our background fabric. So, you're going to need a 10-in strip, a 5- in strip, and a 4 and 1/2 in strip. So, these are then going to get cut down into squares. So, we'll cut several and the numbers of all of these are in your pattern, but you'll need several different piles of fabric. And then when once we have all of our little pieces cut and our piles laid out, then we can get to assembling. So, I'm going to cut some 4 and 1/2 in squares here out of this one. and we'll get all of this stuff prepped. This quilt was really fun for me to make. I had quite the challenge with the fabric and the colors that were included in the pack. And we'll talk about that kind of as we go along because it was a progressive design. It was one of those things that came about because of what I had to work with. And I think it's fun to talk through how how I dealt with those challenges to put things together in this quilt. because we all have those pre-cut packs that have certain numbers of lights and darks or reds and blues as this one is. It's got the red red pink color and then the dark blue light blue and then that beautiful cream with all the um really light fabrics as well. So, it can be fun to fun to talk through those challenges and and see like how we got here. All right, that piece just we can get a few more cuts. One more. So, you'll go through and cut all the all of the numbers that you need and get them stacked up. That's this makes the whole rest of the quilting process much easier. Because then you just grab from your piles. I enjoy that. I like to have everything prepped and ready. All right. So, the these are 5 in squares. And you'll see um further along in the quilt as we make things what these all go to. All right. I'm one of those people that does the um the harder cuts first because I I want to get them out of the way before I forget what I'm doing and get in autopilot mode. The 5 in squares are always easy. So, I did the four and 1 halfs first and now I'm going to do my 10in squares. I leave my strips folded in half because you can just make two cuts and you've got all your squares. So, I'm going to make sure I cut my salvage off and that that is at the starting point. And then I'll go 10 over. So, I've got the 24 to 34 cuz that math is super easy. And we'll just cut this one here. And we'll slide over and cut our other line. Making sure we're 10 inches across. And that's that. All righty. So, these are all set aside. Okay. So, now we're going to grab our print squares and we're going to do a little bit of sorting. Um, not too terribly much. We're only going to need 36 squares. So, you'll choose the ones you want to use. And then, uh, the majority of these get cut down into 5 in squares. So, I'm going to pull these up. I will sort mine into lights and reds and blues. And then I select about I think three light blue squares. and three of my 10-in uh Essex linen squares and set those aside. So, those get made into half square triangles. So, we'll we'll select a few of those. So, this is one set and they stay 10 in. The rest of these we're going to go ahead and stack up and cut down into 5 in squares and then we will um organize those as well as we go. So once you've got all that stuff uh cut and organized, sorted, then the assembly begins. So let me just pull a few more of these and I will cut them down. And again, all the numbers for these are in the pattern, but I'm just going to teach you how to make the units that you need to make the quilt. And I'll show you those in just a minute. I do I do like to cut these down um andover cuts are very close to the 10-in like exact mark, but sometimes your little PKD edges will be just a tiny bit bigger because they measure on the inside of the outside, which I appreciate. But it gives me a chance to kind of make sure everything is just the right size. All righty. So, we'll stack these up. Oh, and then you'll need some of your cream some of your cream um squares are going to get cut down into 2 and 1/2 in squares. So, you'll just need to be aware of those. We'll cut these down. All righty. Let me do the rest of this pile and then we will move on to assembly. All right. So, you'll go through and get all that stuff sorted and cut ahead of time and then we're going to begin. So, the first let first let me show you the blocks we're working for work we're working towards. All righty. So, the entire quilt behind us here is made up of this unit here. And you'll see that this is the one that makes this beautiful medallion in the middle. And then it also goes around here. And we're gonna bring it and turn it and turn it this way, you know. So this block is where all of this little piecing comes in. And it looks super complicated, but it's much easier than it looks. I promise. It's just half square triangles. And then this is our secondary block. So, it's essentially the pieces that make up like a traditional Le Moine star block, but we use them in a way that creates little little like starburst flower things. I don't know. I think it's pretty cool. I like how it looks and hopefully you do, too. It's fun to put together. So, the first thing we're going to do is create all of our little light blue and linen half square triangles to make this block. This is our first our first unit that we're going to work on. So, we will take our light blue or medium blue, whichever ones you ended up with. And then we're going to put them right sides together and draw a line corner to corner. Oh, I'm not going to use this particular block for this one because it's a little off cut. So, I'm going to use this one. I could trim that up, but I'll do that later. All right. And you'll see the the squares that I cut. I don't know if you guys can see this really well. Maybe I need a higher contrast. The squares that I cut are just slightly under the size of this. So, you can see really, really well here. I don't know if you guys can see that really well, but you can see how the little PKD edges, they show because the inside measurement where that inner peak is is 10 in. So, that's what we mean when we say measuring on the inside of the peak. This is just a really clear illustration of how that looks. All right, let's grab a pencil. We'll mark our lines. We're going to sew on both sides of both lines. And we'll do this to all three of our sets. And then we'll have all of those half square triangles that go in the middles of that unit. All righty. And we've done this lots of times. So, you guys are professional half square triangle makers now, or you will be by the end of this quilt. All righty. Sometimes my my foot speed, my pedal to the metal gets a little bit aggressive. All righty. Okay, so this is where it gets fun. We can do all of our squaring. Now, we're going to cut these apart horizontally and vertically first because there's no lines there, and it's just easier to do it. Cut them into fourths, and then we'll start cutting apart and squaring up. And yeah, you could use your Clearly Perfect to cut these apart, but I just find this to be easier. All right. So, we're going to show I'm going to show you both ways to square. So, we'll do our Clearly Perfect. These are going to be four and a half. So, you've got very little waste here. And your three squares are going to give you everything you need. All right. So, that's the clearly perfect. We'll use these little notches to cut that extra dog ear fabric, the little corners off. And there you go. perfect half square triangle. Now, if you wanted to use a regular ruler, we're going to press these open first. We'll set our seam and we'll press it open with the dark fabric laying back. Essex linen is nice in that it's thick enough that you won't see the fabric through on the other side. So, if you wanted to press whichever direction, it's going to end up being just fine. The trick to squaring with a regular tool is using that 45° angle and making sure that your seam is lined up with it. It's easier for me to work with the side that starts with the one in the corner. So, if I've got that backwards, I'll just flip it. And then I look for my 4 and 1/2 line. This is kind of tight, but that's okay. So, I've got it all lined up, and I make sure that it's within 4 and 1/2 in on the inside as well. So, this one side is right on the money. I'm going to line that up. And then we're going to just trim this tiny little bit here. This gives us a nice straight corner. That's our first corner. And then what we'll do is we'll flip this around so it settles right into the 4 and 1/2. We keep that 45° angle on our seam line. And that keeps our points nice and straight. So then now you can see that it's lined up with the 4 and 1/2 mark here. And I've just got a little bit of PKD edges to cut off there. This side is good. And that's that. So that works whether it's 4 and 1/2, 2 and 1/2, or whatever size you decide you want your half square triangles to be. All right. So I've got a bunch of those made already. So the next thing we're going to do once we've got these made, we'll set those aside. And now we need to make the rest of the components for our block. So we need to gather some of our pieces need to be pink and the cream from the background. So we'll need we'll need a set that looks like this. Then we'll need a set that's the red and the blue. And we'll need a set of the blue and the cream. All right. Well, let me see. I should probably make that match. It's easier for me if they are matching because then I know kind of like what all goes back together. So, you'll see that these are the pieces that we need to make this section right here. So, we have the the blue white that makes the blue white. And then we have the pink and white, which is this color. And then we'll have this one here that makes this one, this little half square triangle that uses both colors. Then we have our squares here that go out in the corner that we cut the last time that we were working on it. So, we're working on this section right here. So, all of these are going to get paired up um right sides facing, and we're going to stitch all the way around the outside edges of all three. And this is going to make our little 2 and 1/2 inch half square triangles. [Music] So, I typically sew off the edge on these half square triangles. And um but you could pivot if you wanted to when you get to the corner. It just depends on what you're comfortable with and how your machine works. All right. So, now that we have these stitched all the way around, we can cut them apart into four half square triangles. And these will be squared using a a traditional um ruler or a block lock. But if you have the clearly perfect, you can also cut them like this where you don't have to even cut them apart. You can just square them right out of the square. So, I'm going to do that here just to show you how it's done. I'm lining up my seam line with the 2 and 1/2 in dashed mark. And there's lots of room um because these little two and a half inch half square triangles give us plenty of space. We could cut them a little bit larger, but this goes into like some of the thinking in how we design these quilts. So, I will pick different methods based on the sizes and the numbers that I need. And so, that's why there's there's quite a bit of not a not a lot, but a little bit of waste in this method. But, it's because I needed four of everything to make the block look the way I wanted it to. And um I find that that is just it's kind of helpful sometimes to know why we're doing it a certain way. So this makes sense for the the quilt that we're making. It makes life easy. And there you go. You've got a perfect little 2 and 1/2 in half square triangle. And we'll go all the way around and get all four. And that's your little piece of waste at the end. So, it it's significant enough that you have room for making these cuts, but it's not so much that it it's okay. It's fine with me to have that amount of waste. It's not a big deal. All right. So, these ones that are cut apart, you can continue to square using your uh trimmer, your Clearly Perfect slotted trimmer. See the little extra that you've got there? Just like so. Or we can press these open. And I will show you how to use the how to use your regular tool to get these squared to 2 and 1/2. Any old trimmer will do. All right. So again, I prefer to stick with the ones because that math makes sense to me. I have plenty of room, so I'm not worried about keeping it any certain distance away. My 2 and 1/2 line is right here. So that's what I'm looking at. And I'm also making sure that my seam line and my 45° are lined up perfectly on this. That keeps that seam right in the corners, which is where your points need to be. um lined up. That's where you end up losing a point if that's not in that corner. All right. So, I'm gonna make my first cut. That gives me a nice square edge. And then I line that little square edge up with my 2 and 1/2 marks. And you'll notice that it lines up right here on this 2 and 1/2. That point should be going right into the corner. Another two and 1/2 here. And then we'll we'll keep our seam line lined up with our 45 and just trim off this extra. And just like that, you've got your perfect little 2 and 1/2 in half square triangles. You have plenty of space here so you don't have to stress. We'll flip it around. scoot it down into that two and a half square and just trim our edges. There we go. So, I think I dropped one down here. I'm sure that never happens to anyone else. Things fall off my sewing table all the time. In fact, I am sure that I've been making a quilt and lost a piece and ended up making another piece to replace that piece and then found that piece by the time I finished the quilt hiding underneath the sewing table or back behind something. Classic classic quilter problems. All righty, get these squared up and then we will be on our way to assembling our first block. goes together really, really nicely. Okay. Whoops. I've got one more set that I need to square. And I think I'm going to use the Clearly Perfect for this one. set all those seams real quick before I forget. Sometimes I get ahead of myself and forget to set seams, but when you're working with pieces this tiny, it helps to have really good pressing methods and um and pressing habits and setting the seam makes your half square triangles stay in shape a little bit better. The other thing you could do if you are worried is use a little bit of starch. Not a big deal, but that does it. It can be helpful for keeping smaller pieces in shape. All righty. Let me go ahead and square these up. This is the the quickest way to do it. Whoops. All right. And go ahead and trim that. gets a little sometimes my ruler slides and um that's when I think I need to put some of that sticky tape on it to keep it in place. But as long as you reposition it, line it back up with your seam line, you should be okay. There's plenty of room here. Goodness, you're slippery today. Why? Sometimes that just happens, too. I feel like we can do do a thing over and over and over and then one day it just feels a little bit different. I appreciate having the extra space here too because sometimes my seams can get a little wavy especially near the corners and this way I can just use the really good straight part in the middle. I don't know if anybody else struggles. I think we all experience some pretty universal issues in quilting. Not really issues, just things that come up for everybody as we're going along. All right. Sweep it off and clean it up later. Okay. All right. So, now we're going to build our little corners. We'll take our midpiece that has the the red and the blue or the pink and blue, whichever your color combination is. We're going to line up our red and cream half square triangles up here with our red to red. Then we'll do blue to blue. Whoops. Just like that. And then we'll put our little cream square out here in the corner. Just like so. So, we'll go ahead and stitch this together in a little for patch. And we've got this section of our block made. W. [Music] All right. So, once we've sewn these together, then we're going to put them together in a little four patch. again matching up that pink and then the the cream in the corner. And I like to just do this at the machine. That way I can press my or finger finger press the seams the direction I want them to go. And we'll go ahead and stitch that. And this part will be all done. Nice consistent quarter inch seams. All right, there we have it. Cute little block. Let me go press this and then we'll do a little assembly. We've got to make one more component for this piece. All right. So, we've got this guy ready. Now, we'll set him over here with him. And we've got another one. Now, we're going to make this piece in the block that has the Essex linen and the light background. So, what I'm going to do is grab a 5 in square of the yarn dyed linen and a 5 in square of the cream. We're going to put these together, right sides facing, and we're going to sew all the way around the outside edge. Make a couple more half square triangles. Same method as the first. And we could, as you make your quilt, you could make these at the same time as the other ones. All righty. I'm going to do some 2 and 1/2 in half square triangles. And I could have used a darker color, but I really wanted the the Essex linen. I thought it complements the line really well. the shade and the tone is very similar, but it's subtle and it's also got just enough contrast that you can see these pretty little linen bow ties in the corner. So, I I went with that. I thought it was really pretty. Um, you can make whatever fun design decisions you'd like with your background and your additional colors. It's almost like an accent piece rather than background because the background could be considered the cream tonal prints that are in the line. So, that's just something to think about. Just a little extra info. I like to uh overstate sometimes. Sorry about that. Okay. All right, I'm going to press these open. And this is going to give you enough to make two blocks. So you don't have to make quite as many as the other ones. Going to set that seam. All right. Now, we're going to take these two. We're going to put them together sort of like a little bow tie. So these two linen squares meet in the middle. And then we're going to add a couple of our half square or our two and a half inch background squares. And these can all be mix and match. You'll notice in my quilt that a lot of the backgrounds are from different different pieces. They don't have to all be the same. So, we're going to stitch this together just like a little four patch. Um take that over to the sewing machine and then we'll be ready to put this whole unit together because we've got all the pieces now. So, these two I chain pieced, so they're still connected. And when I open them up, I can finger press. I'm going to finger press towards the side that doesn't have a seam in it. The fabric lays down pretty nicely that way. Even though it's a light background, it doesn't show. And then this one will go that way as well. And they'll nest together just perfectly. I don't know if you can see that. So, I'm going to flip that over and stitch these up. All righty. And there you've got a perfect cute little bow tie almost. It's kind of more of an hourglass. Either way, you get the idea. All right, I'm going to set that seam. We'll press him open. Trying hard not to stretch it too much. Keep it in shape. Okay. So, now we have this cute little guy and we are ready to put this block together. So, I'm going to take these components. We're going to start with our little linen and blue block. Then, we're going to add this one. So, it's a little little bow tie out here. A little half square triangle here. And then these guys, you'll notice um I do keep my reds on top and my blues on the bottom. And this this uh assembly makes all of the all of the different red and blue or pink and blue um patterns match up. And you'll do the same layout for your larger blocks later, which I'll explain then. But just so you know, it's always going to be red up, blue down. And if you choose blue up and red down, that's fine. Just make them all consistent. All right. So then these going to are going to face opposite each other. All right. So that's it. This block when sewn together will look just like this. You're going to make 24 of them. And that is really the most complicated part of this whole quilt. The rest is much easier, I promise. All right, so we've got these made. We're going to set this aside and we are going to get into our next uh our next block, which looks just like this. So, it is the same as this tiny one, but much bigger, which means it's going to go faster and it's easier. I promise it's a breeze compared to the littleer ones that were more tedious and take a little bit more time because there's so many more small seams. All right. So, we are going to then combine our the rest of our pinks and our blues and we're going to put together um sets of fabric that match again. So, it's kind of that whole Le Moine star idea, right? So, you're going to have your reds and your blues. You're going to need two of these. So, one is going to go with a background and one is going to go with the blue. And the same with the blue. You'll have a blue with a background and a blue whoop. Yes, blue with the red. So, if that makes sense, hopefully I'm explaining it properly. We're going to put this guy here, this guy here. These are all um 5 in squares. And so, what we're going to do, because we don't need quite as many, we're going to sew, we're going to draw one line diagonally and sew on both sides of those lines. So, I'm going to line all of these up just like this. These two are going to go right sides facing. These are also right sides facing, but the Essex linen doesn't really have a right side. So, you just want to make sure your print is on the inside of the seam. All right. Now, I'm going to go ahead and draw a line. We're going to sew on both sides of this line. to get two half square triangles of each set. And I will go ahead and chain piece these because it's just much faster. So, what I'm going to do is I'm going to sew down one side of all three, flip the whole thing around, and sew back up the other side of all three. All right, I've got that one side done. I'm going to add in this next one. And I am starting sewing on the left side of the line, just so you know. That's just what's easiest for me. And I'm going to put this one in next. Continuing. And I'll go ahead and cut that thread. And then we'll flip it around. All right. So, you can see how I've got them all. Whoops. Just sewn on one side. Now, I'm going to stitch the other side. And I have done this with more than three, just so you know. Experiment as you will. All right, now I'm getting back down to where I'm going to line up the second one. Keep stitching next to that line. This one flipped over, so I'm going to flip it back and stitch on the left side of this line as well. All righty. I'm going to go ahead and clip these apart. There we go. And I know you could use your your Clearly Perfect, but I'm going to go ahead and cut them apart with my ruler here. I don't feel like that actually saves me any steps because I still have to cut that line. And I still have to cut them apart. Okay, so these end up being 4 and 1/2. And we're kind of tight on the trimming. So just make sure your seams are quarter of an inch and that you're try to be as consistent as you can. Oops. There we go. I'm going to do a couple of them like this and then I'll show you the others with the regular square so that we have both methods. Although with this many half square triangles, you're going to be an expert by the end of this quilt. Whatever method you choose. Whoops. We are sliding today again. All right. It's easier for me to see the seam line if I flip it over and look at the dark fabric instead of the light fabric where the the cream thread just blends right into that linen. So, you might need to flip your fabric when you're trimming just so you can see the seam. Something to think about. Okay, these are ready. And then these ones we're going to trim up with our square. I'm a bit of a mess over here. So, we'll set our seams and press them open. Not You can press your seams open if you want to. I think I meant to say press them back though. Press towards the dark side. Okay. Now, I'm going to grab my large tool. We're going to use the one as our starting point. And we are going to line that up with our line. Making sure not to cut too much. I want this all to be within the 4 and 1/2 so that um even on my straight line I make sure that I have left a little bit of edge over here to trim that second side. Got a nice straight edge there. So now I'm lining up Now I'm lining up the 4 and 1/2 these little dash marks. Making sure I've got four and a half on both sides and that my 45 goes right down the middle on that seam. And I try to keep my block right underneath the mark. So I I I put that mark right on top of the cut line of the edge of the fabric. Alrighty. Whoops. And there you have it. We'll do one more. Going to line up that seam line with the 45. And it's it's such a small amount of trimming, but it's worth it. Makes your fabric feel like it fits together perfectly. All righty. Press these guys open. They've already been trimmed up by their clearly perfect trimming. All right. So now you'll see I've got two of each. I've got two with the light background in red, two with the light background in blue, and then two that come together. So again, we're going to put them together with the blue facing us and the red facing up. Our red print fabric, just like this one, is going to go right here in this corner facing out. This one will face in. And then we'll pull in one of our 4 and 1/2 in uh squares for this upper corner. And sew it together like a four patch. And you've got this block right here. And that's it. So now we just need to kind of look at how this goes together. So when I originally started designing this quilt, I wanted to make just a bunch of blocks that looked like this one in the middle because I think it looks so pretty, but I didn't quite have enough fabric to get that. So then I went ahead with the smaller prints or the smaller selection of fabric that I had, I could make an even number of these larger blocks. So that's when I incorporated those blocks into the design. And so now you'll see that this block here is here. And then it rotates. And then we have two of these in the middle. Whoops. I need a I need to use a pin, I think. Let me try that. So I've got a couple extras here. So this one would pin up right here. And then this one, this guy goes here. And really, because we have this whole diagram laid out, it's going to be easier for you to lay out the whole quilt in rows and just stitch your rows together. So, I would do, you know, once you've got all your blocks made, and these can be I like them scrappy. I like to mix and match and use lots of different backgrounds and prints. The only thing I kept together on these were the little sets of the pink and red and blue. And that's because you need those numbers to make the design look like that. But all of your background fabrics can be kind of mixed and matched. All right. So then this guy goes here. And this guy goes over here. And then we'll have another one of these. And these I liked I like to mix up these ones because it's a it's a bit of a challenge to get everything to match just perfectly. So I kind of like to mismatch it purposefully. And so you'll notice on my quilt I have these ones all together and then I have these guys all together. So, these are like the numbers of the things that you can match, I made match, and the things that I couldn't match, I went scrappy. And I think it turned out really good. I like it. So, there's a lot of um a lot of flexibility in where you put your fabrics and then how it looks, but I think it's one of those quilts that looks harder than it really is. It looks more complicated. So, I I I like it. I think it's kind of fun. I went ahead after added a 5-in border. Now, you can add another layer cake and make your entire quilt bigger. It would get to be queen or king size with the addition of one more set of fabrics. Um, but this is great for me. I think it's really cute. So, we got a 5-in border and this is our backing. It's lovely. Edida just has such beautiful fabrics. They're very traditional and classic and I think they look really good in homes. And you can see the machine quilting here. It's machine quilted in drop of paisley which is another one of those elegant traditional patterns that I just love. Again, it's 57 square and I really enjoyed making it. I think it turned out beautiful and I hope you enjoyed this video on Twilight Garden from the Missouri Star Quilt Company. Bye. Hi everybody. I hope you enjoyed today's video. We're trying super hard to get to a million subscribers. So, if you enjoyed it and you want to see more, just hit subscribe and share with your friends and encourage them to do the same. and I will see you next Friday with a brand new tutorial.


 Natalie Doan
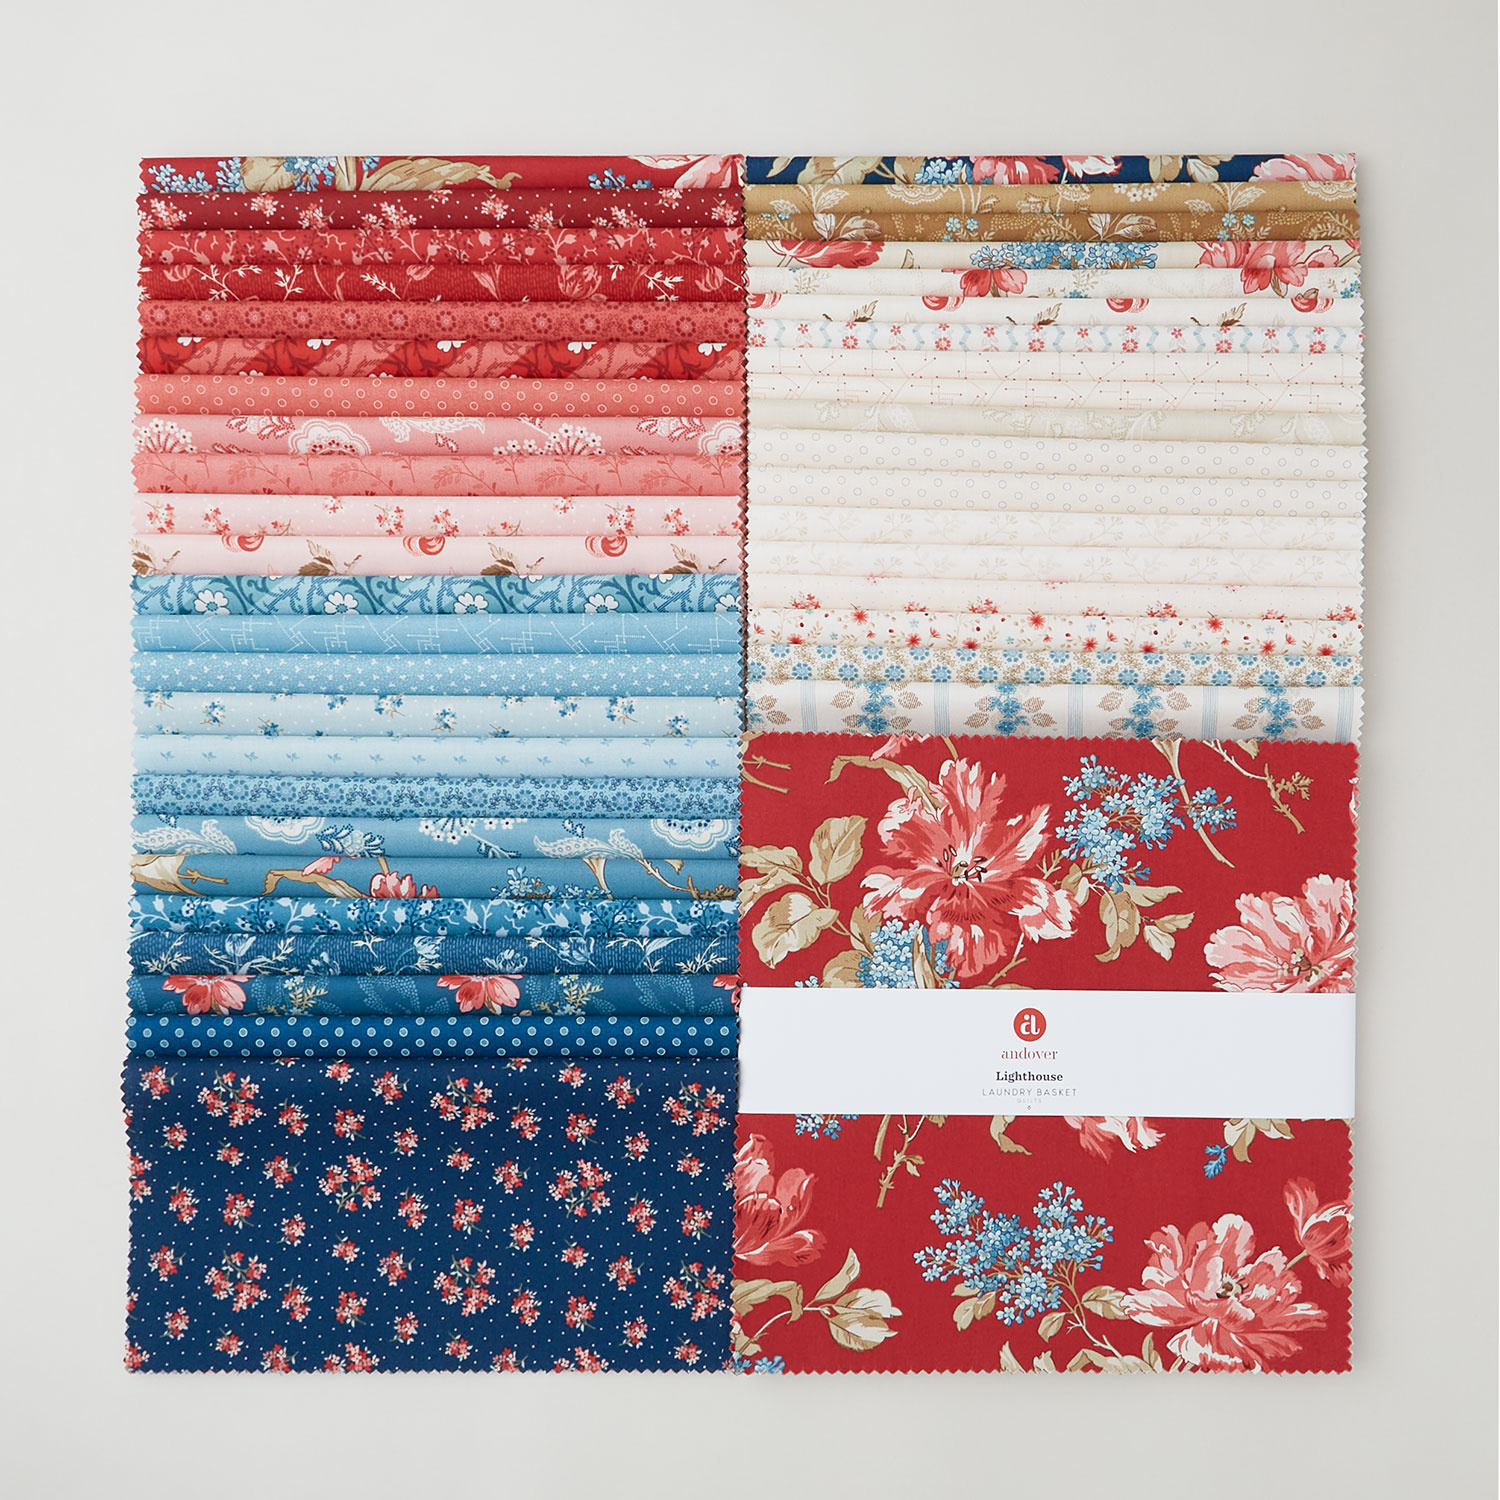 Lighthouse Sundaes$44.50Shop →
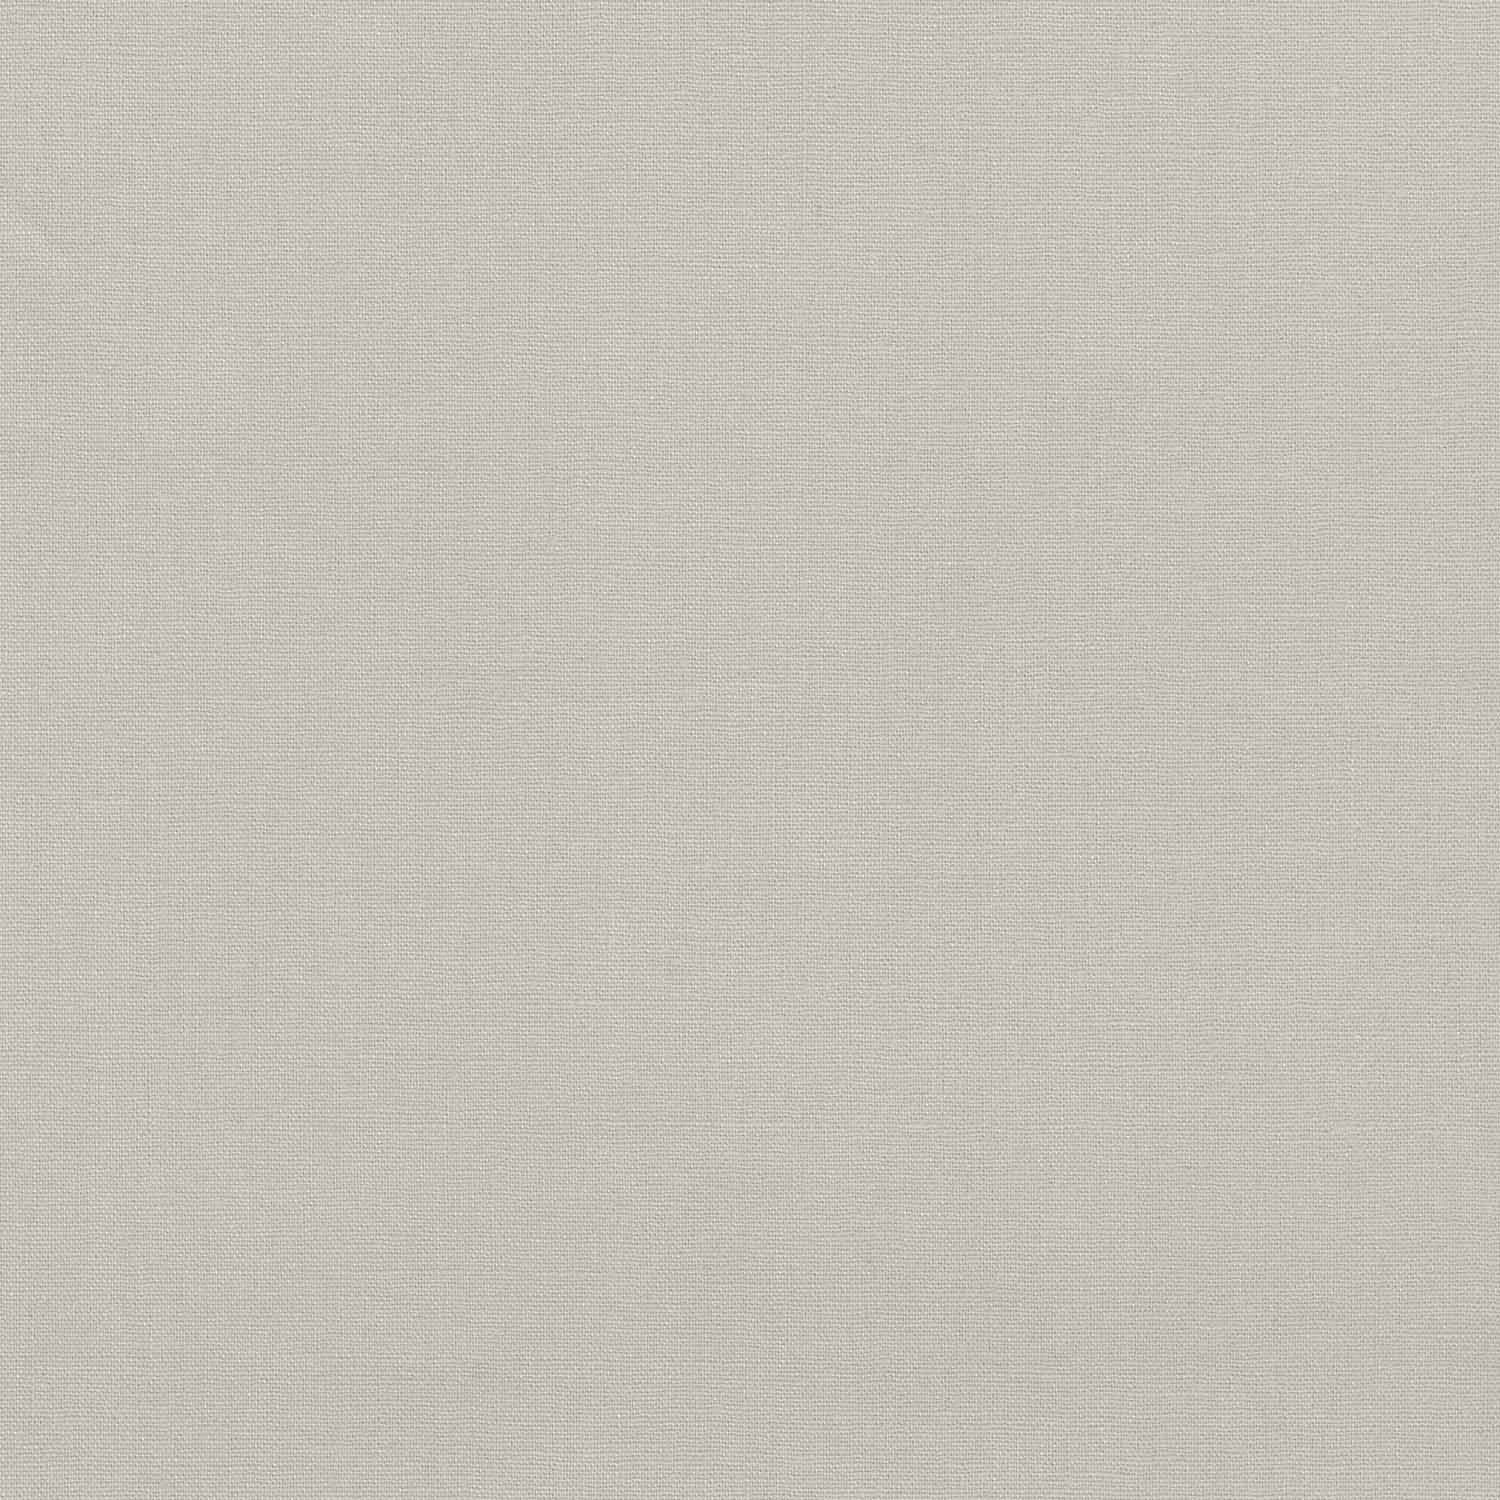 Essex Linen - Flax Yardage$11.96Shop →
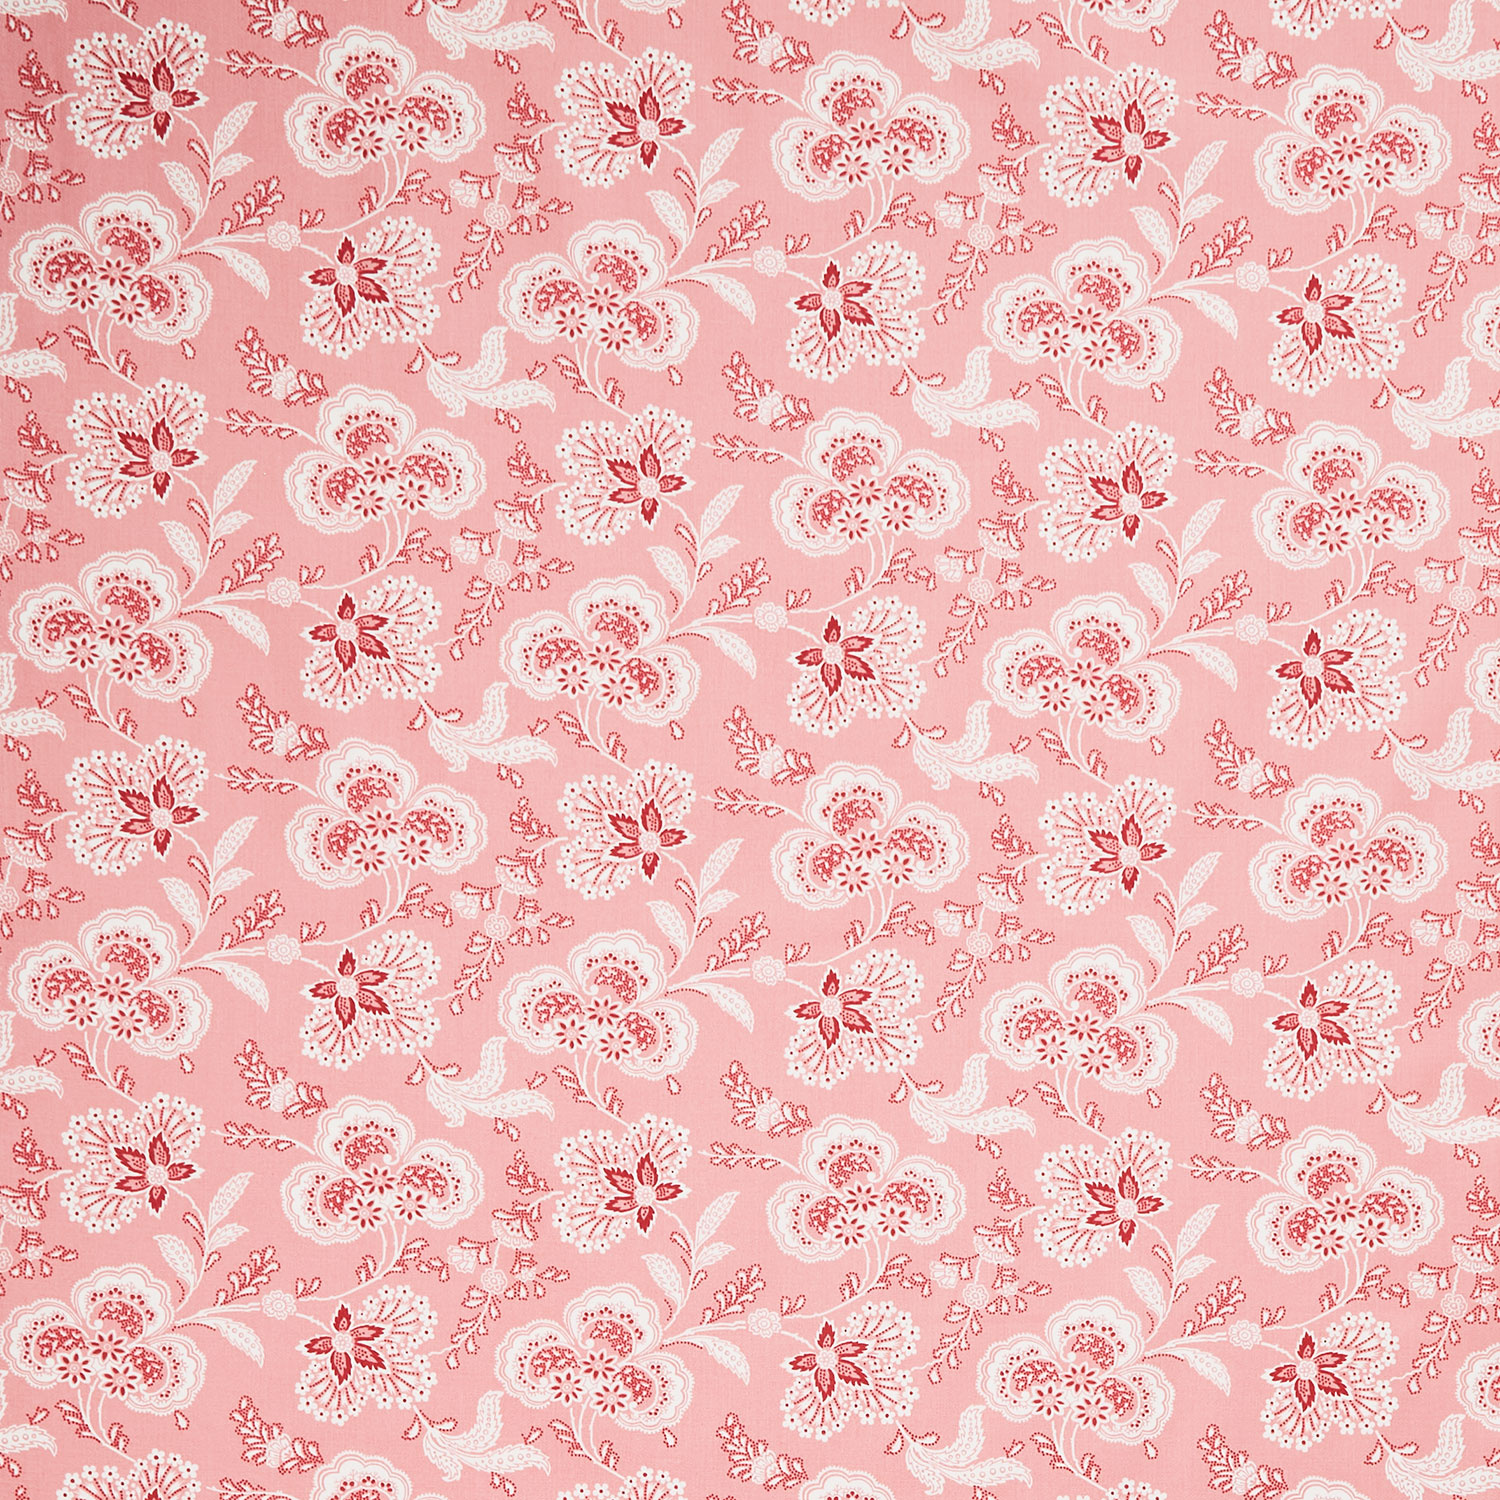 Lighthouse - Allium Pink Lemonade Yardage$12.44Shop →
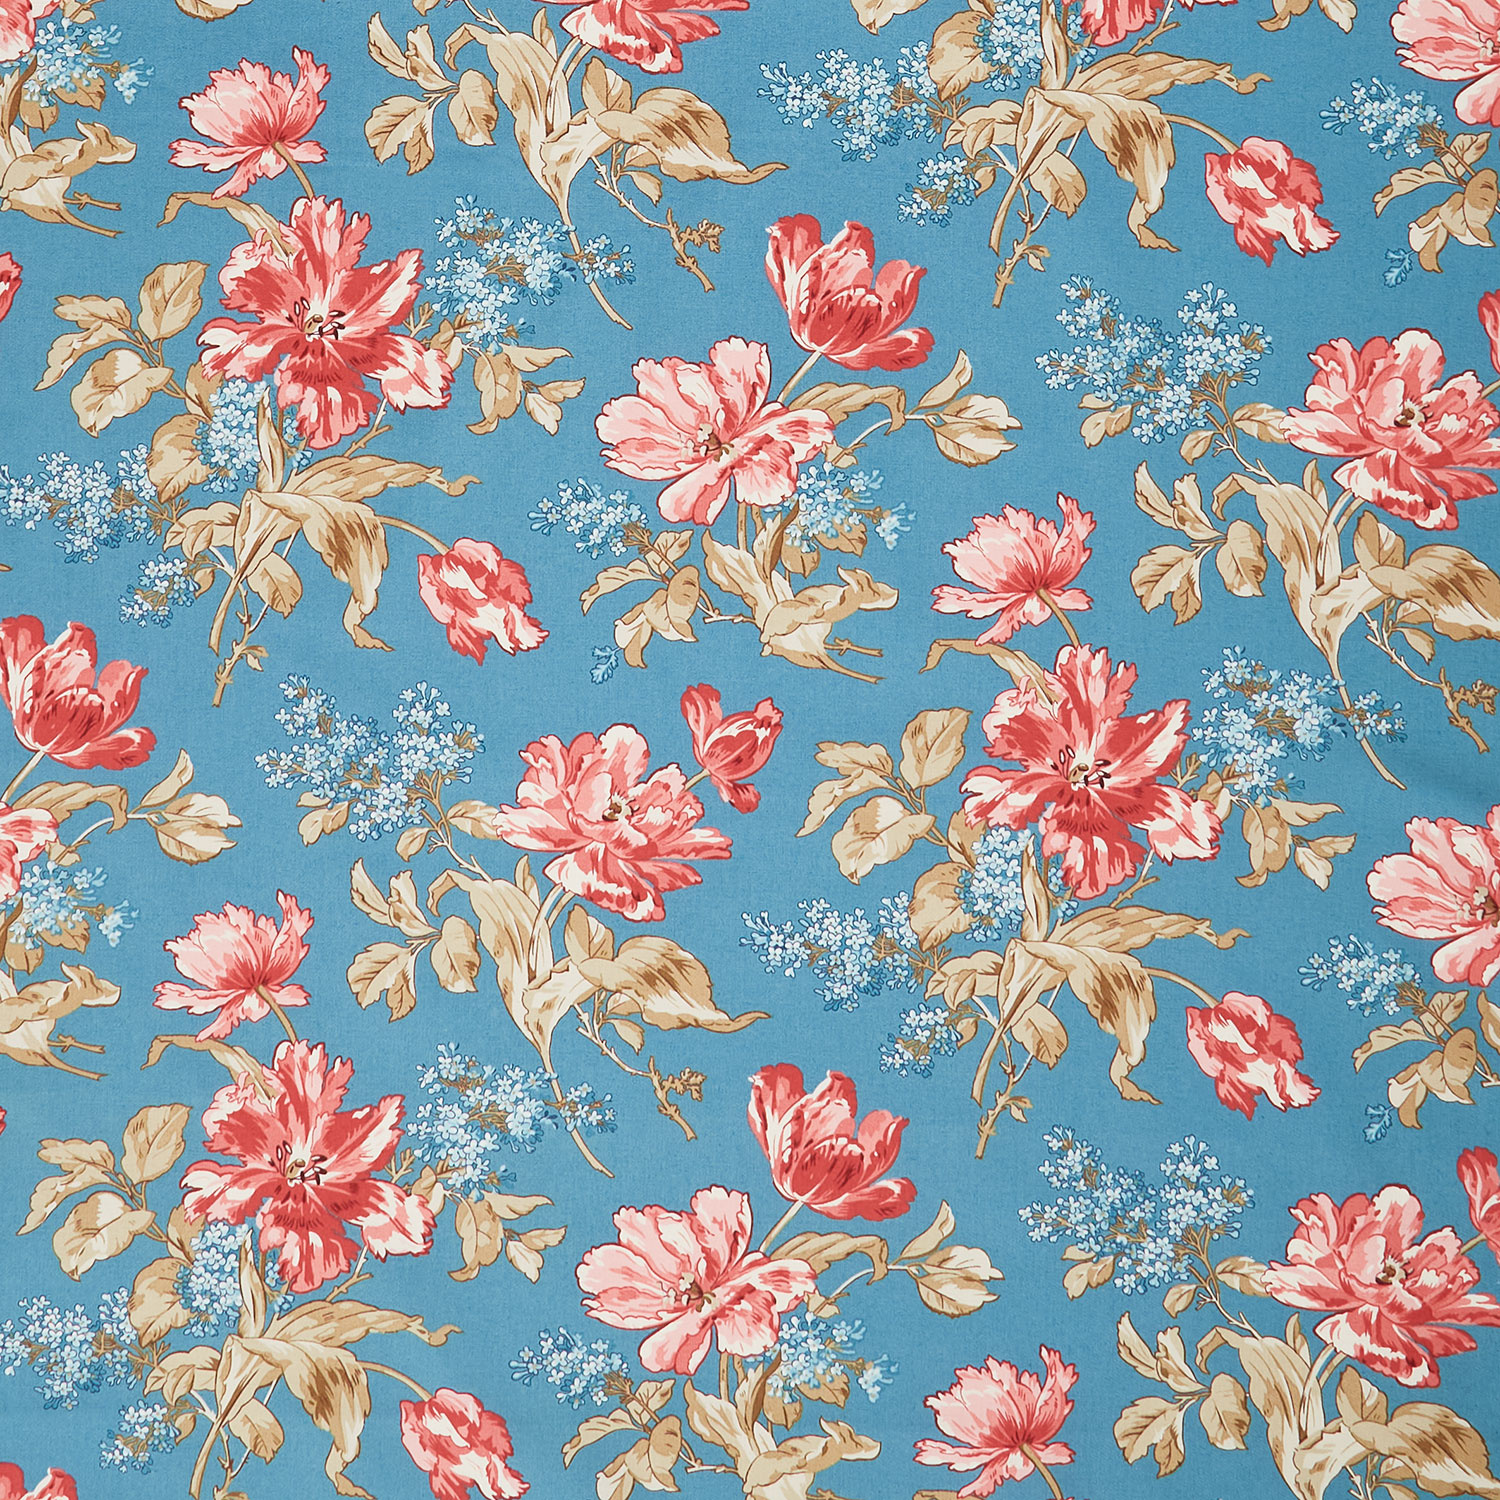 Lighthouse - Front Porch Bouquet Summer Breeze Yardage$12.44Shop →
 Missouri Star Quilter's Best Blend Throw Batting$21.95Shop →
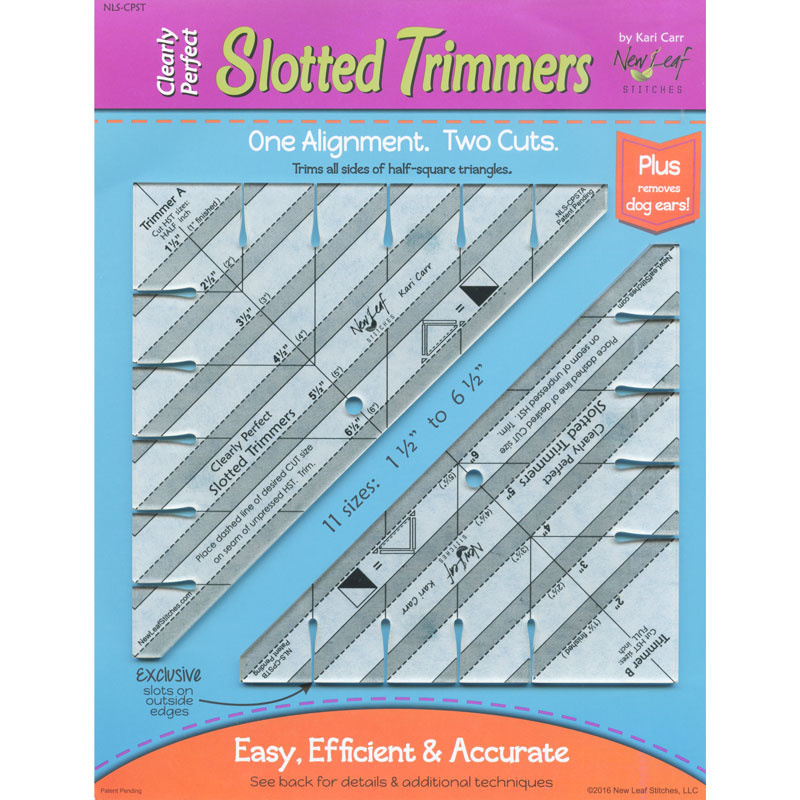 Clearly Perfect Slotted Trimmers$33.95Shop →
 Missouri Star 5" x 15" Ruler$19.95Shop →
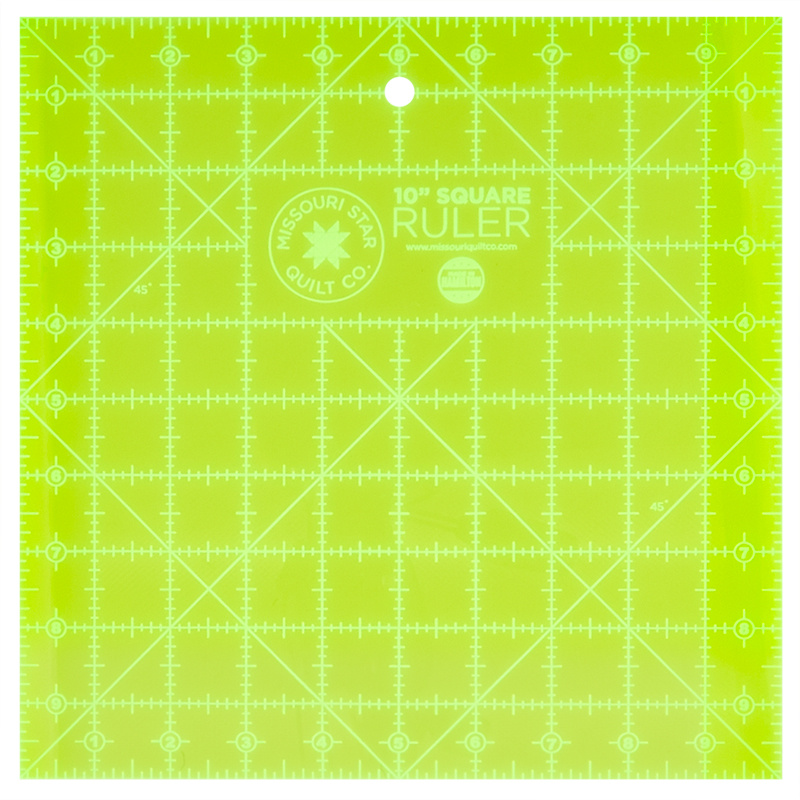 Missouri Star 10" x 10" Square Ruler$19.95Shop →
 Missouri Star + Oliso TG1600 ProPlus Iron$209.95Shop →
 Missouri Star Wooly Betty Board - 17.25" x 25.5" Orange Border$99.95Shop →
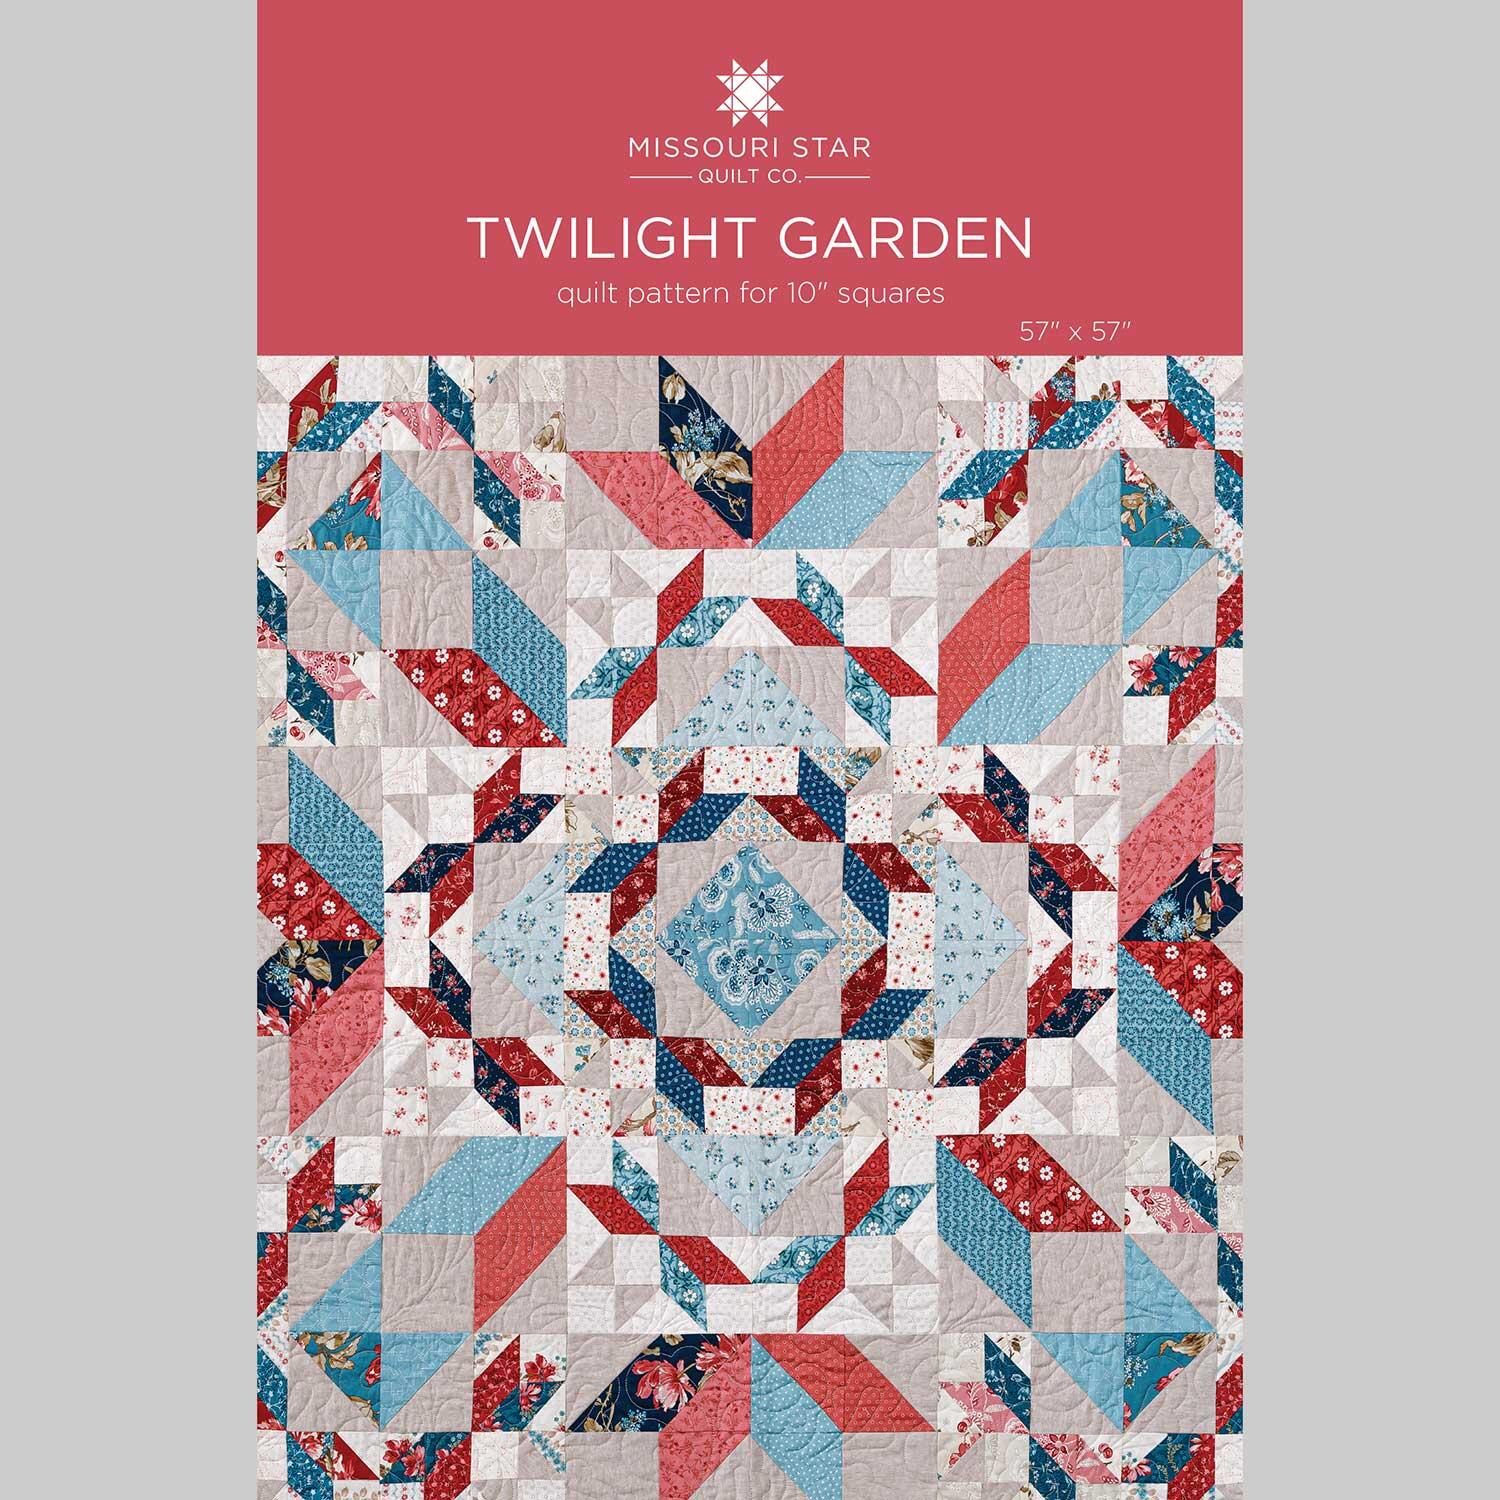 Twilight Garden Quilt Pattern by Missouri Star$8.50Shop →
 Digital Download - Twilight Garden Quilt Pattern by Missouri Star$6.95Shop →



