Skip to content

Free quilting video tutorials from Missouri Star

Quilting Tutorials
Twirling Threads Quilt

Twirling Threads Quilt

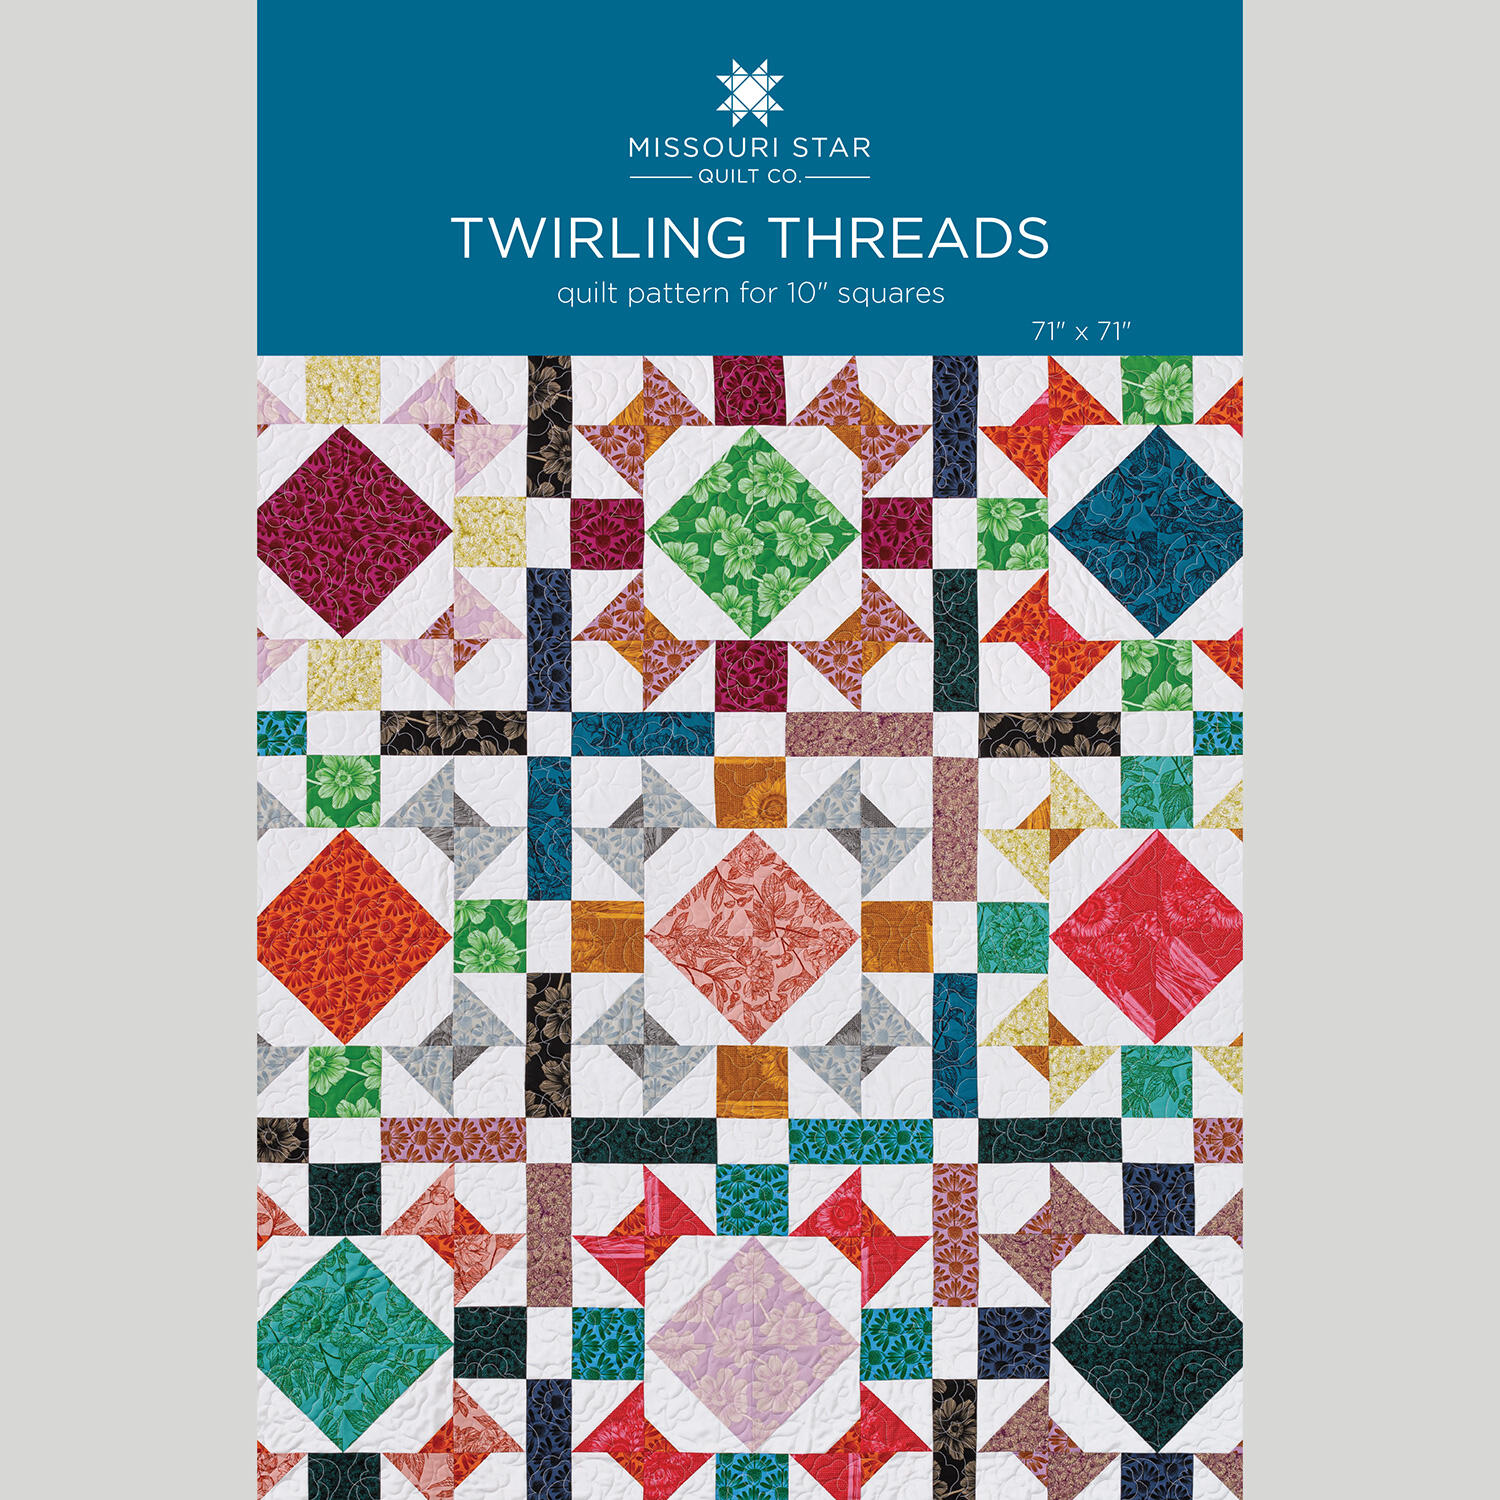
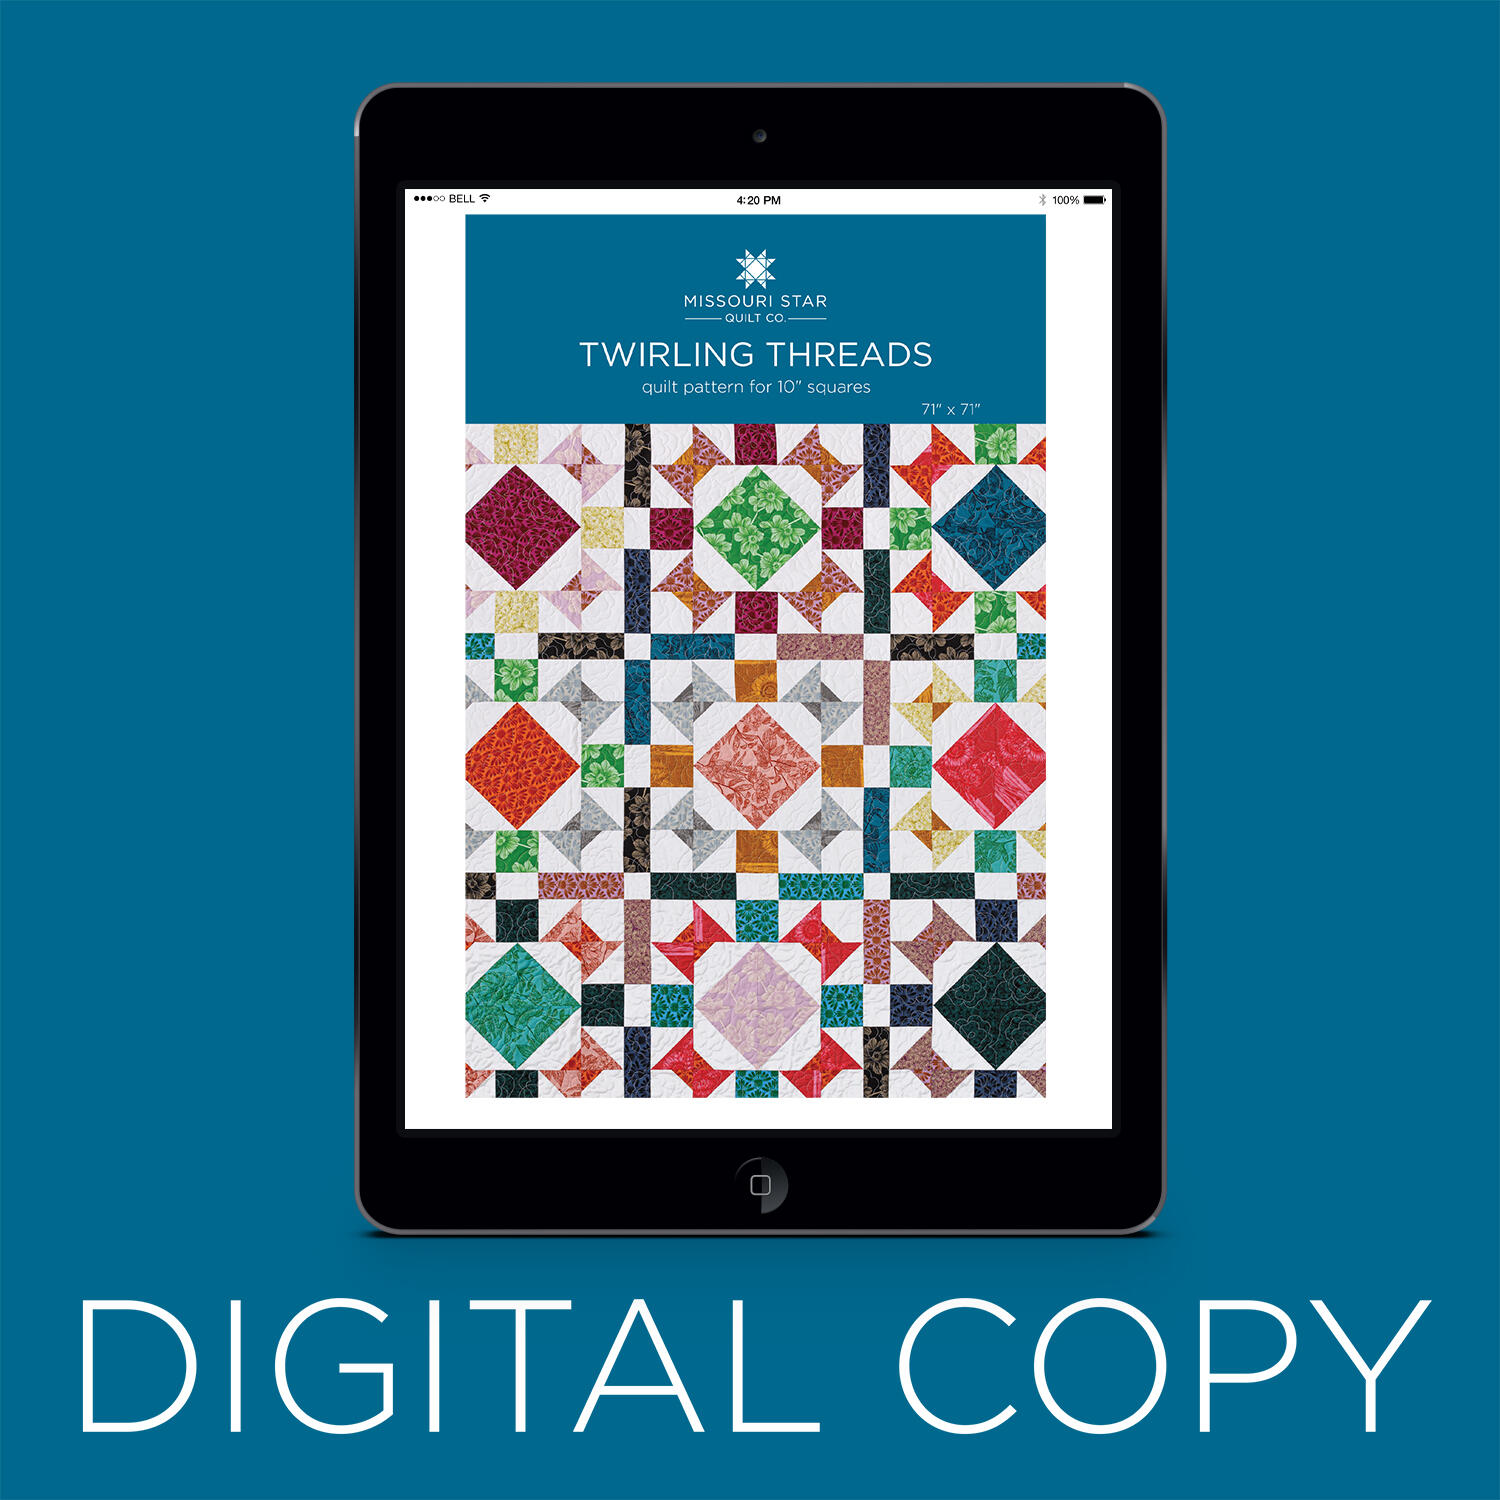
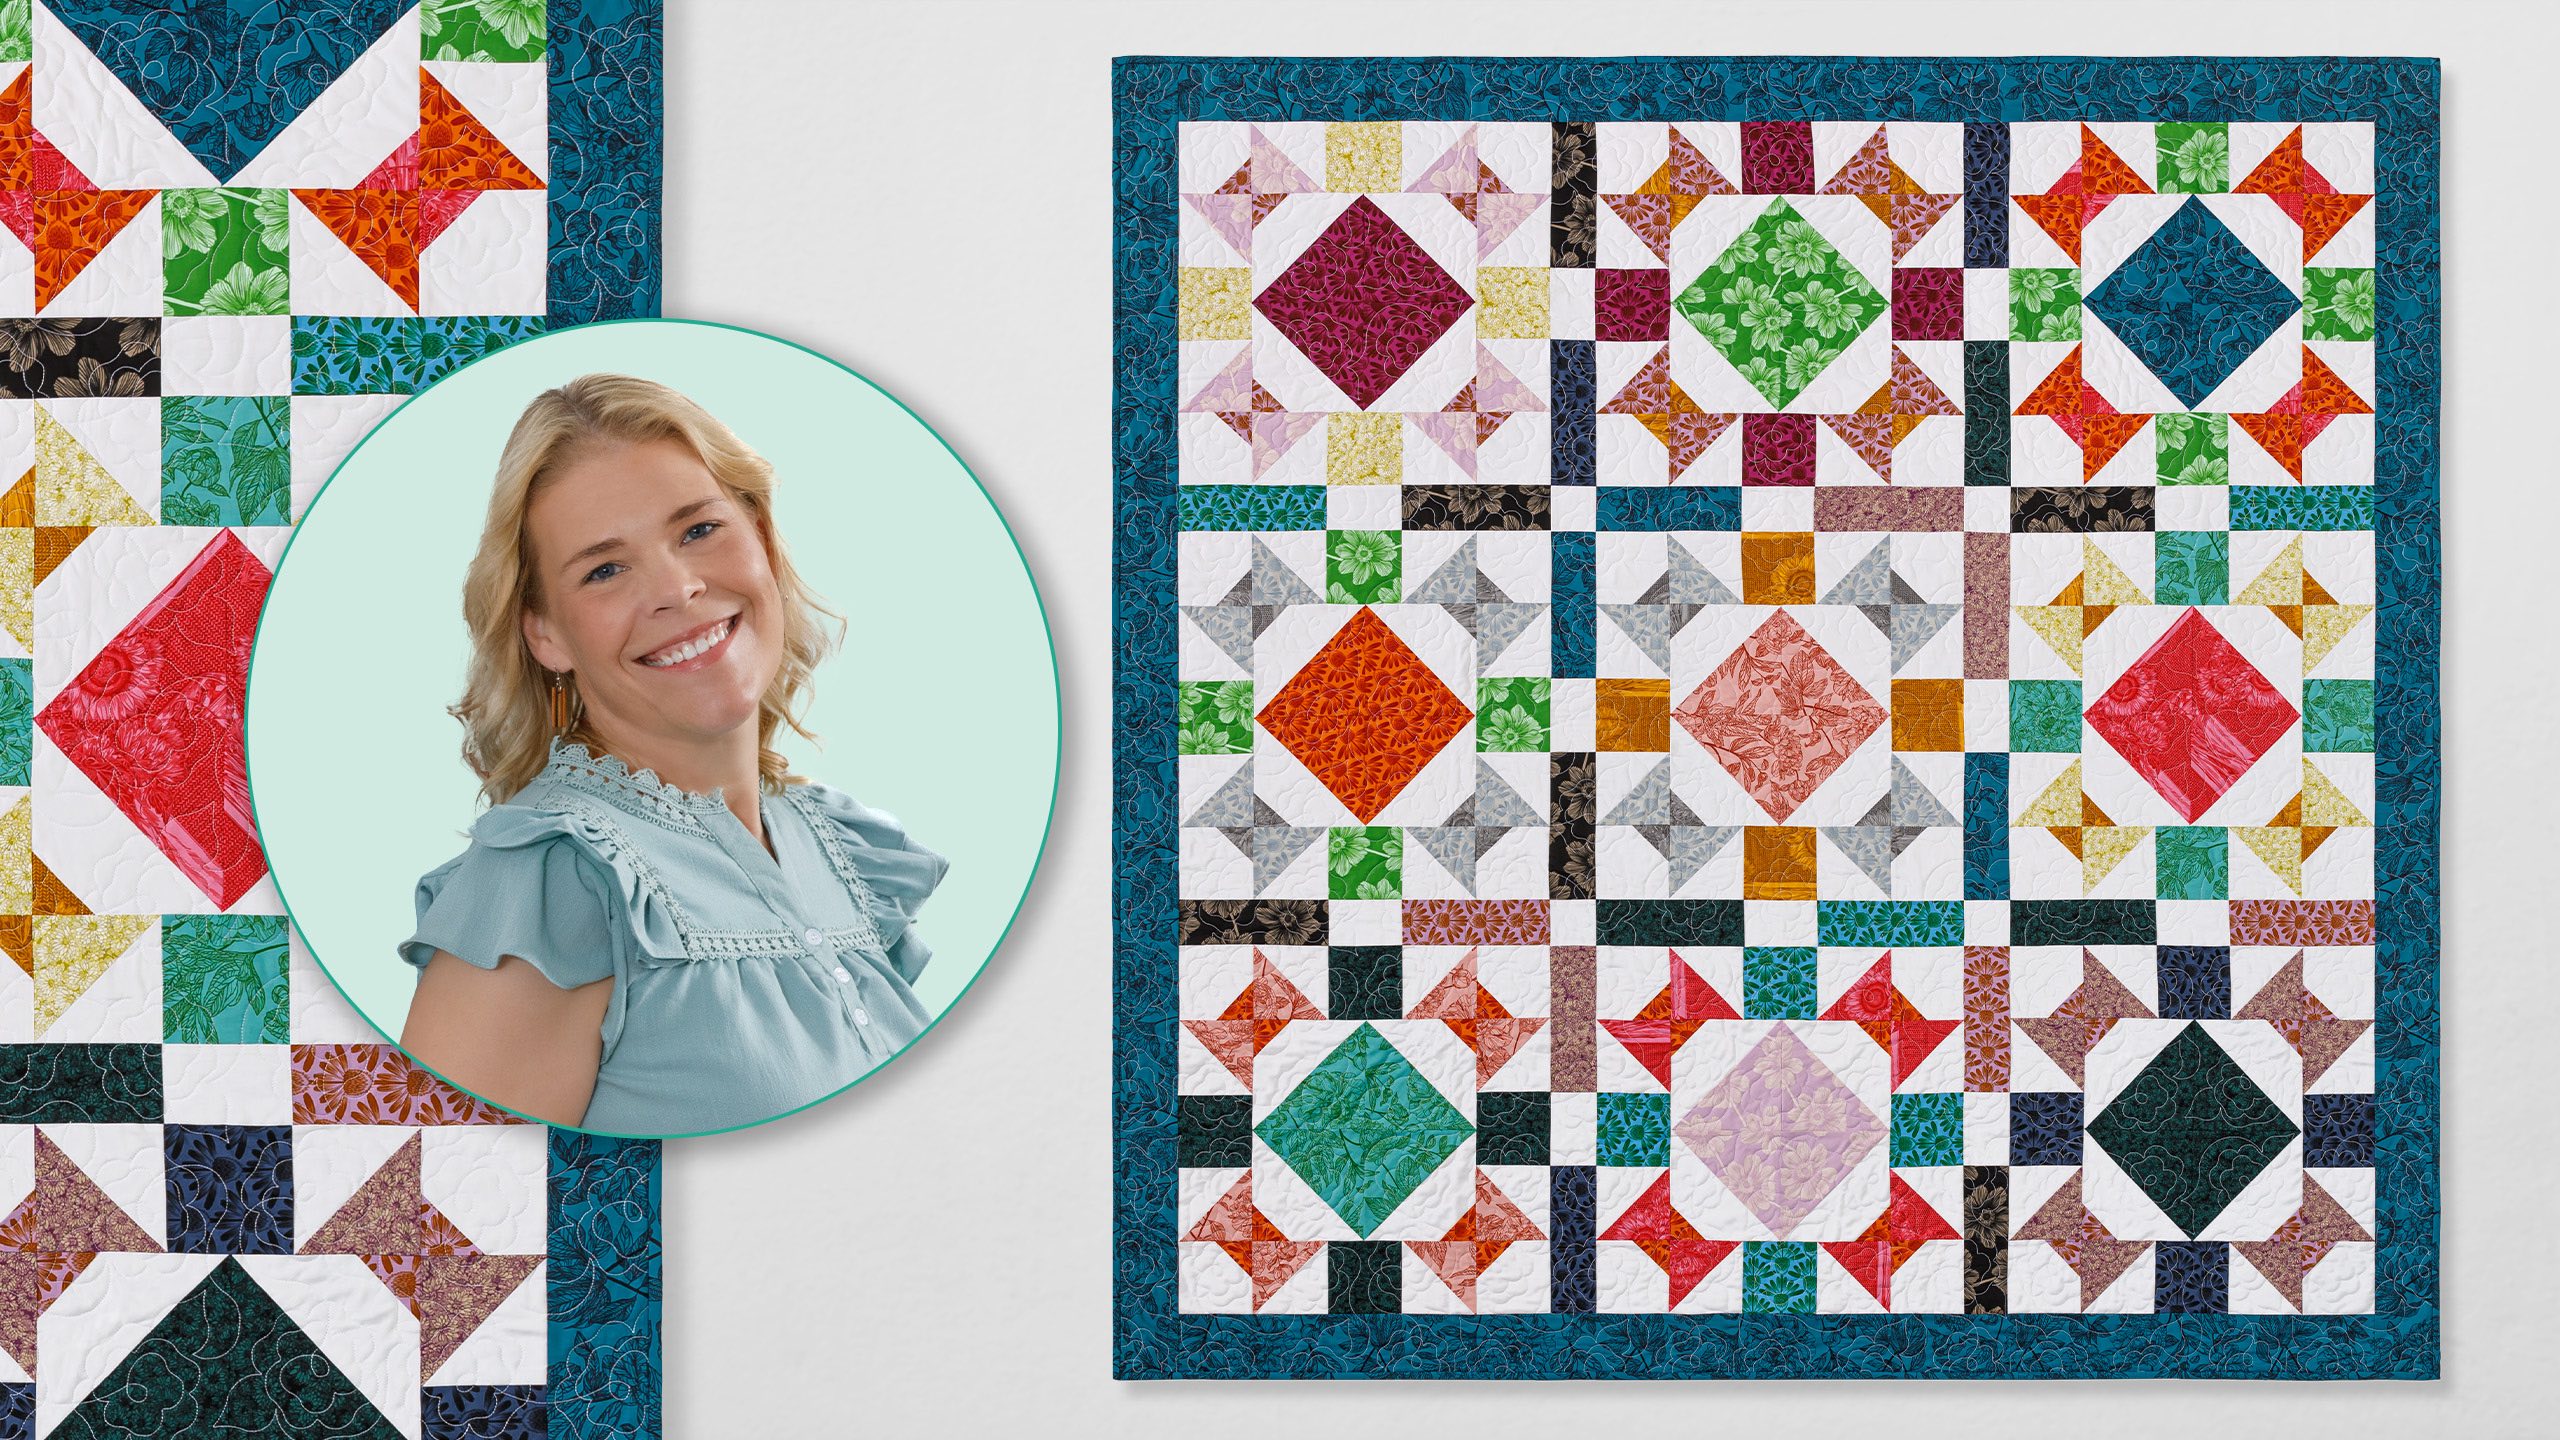
To be indelible is to be unforgettable—and Twisting Threads certainly fits the bill. Made with the Indelible layer cake by Anna Marie Textiles, this pattern combines all our quick n’ easy favorites: Half-square triangles, snowballed corners, and a vibrant decorative sashing. Put ‘em all together, and a happy set of tiny spools appear in every block!

Instructor

Natalie Doan

Natalie is the host of Quilting 101, Embroidery 101 and the Creative Strategist and Editor of Block Magazine at Missouri Star Quilt Company. She was taught how to sew by her mom, of course, and began quilting when she grew up.

Common Questions

What is covered in Twirling Threads Quilt?

To be indelible is to be unforgettable—and Twisting Threads certainly fits the bill. Made with the Indelible layer cake by Anna Marie Textiles, this pattern combines all our quick n’ easy favorites: Half-square triangles, snowballed corners, and a vibrant decorative sashing. P...

How long is the tutorial video?

The tutorial video is 00:38:21.

Are supplies listed for this tutorial?

Yes. The tutorial page includes the supplies and materials connected to this project.

Video Transcript

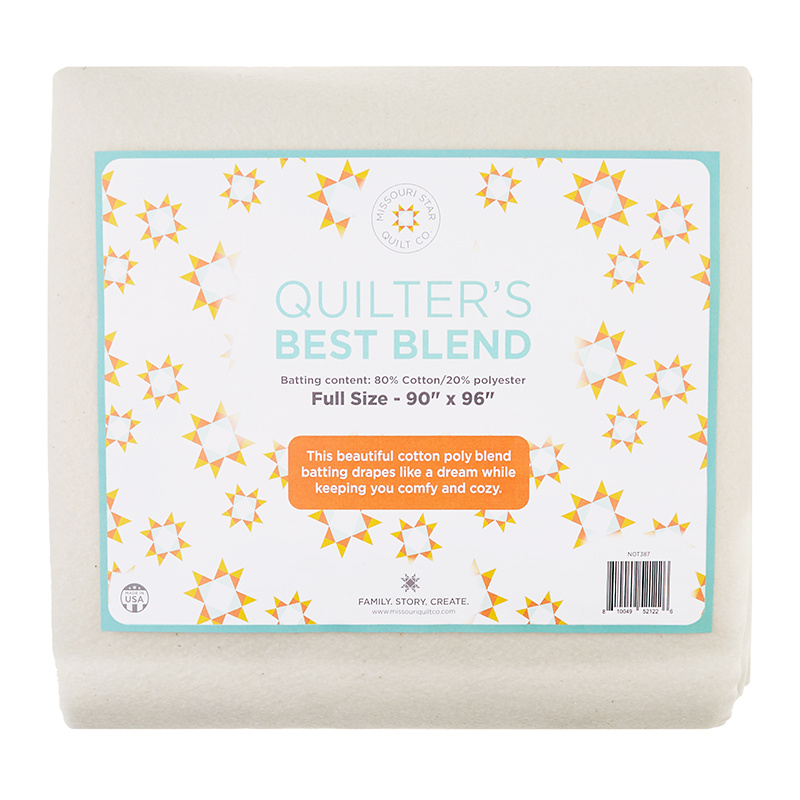
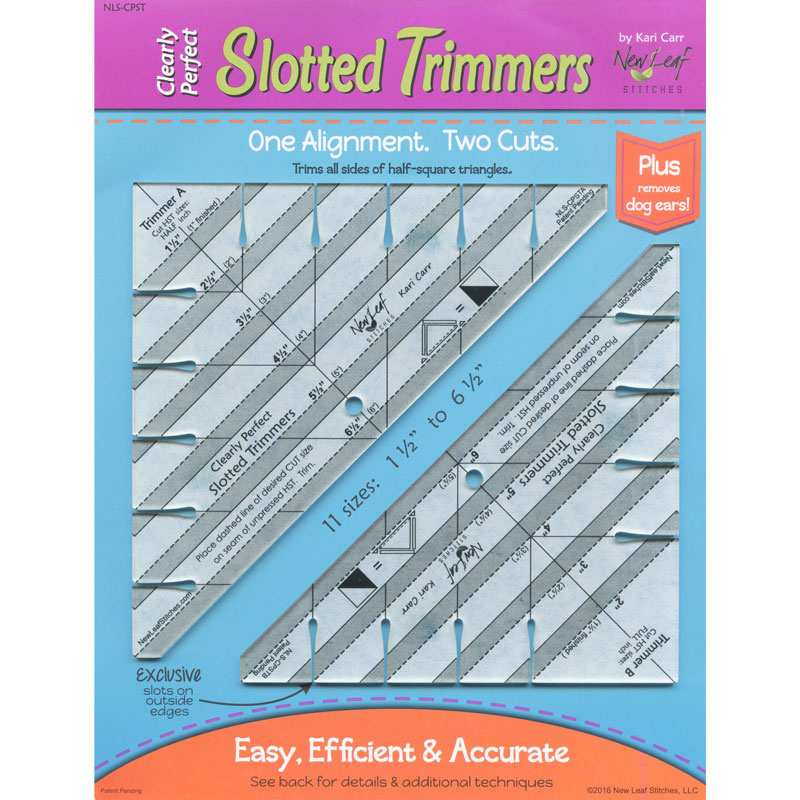
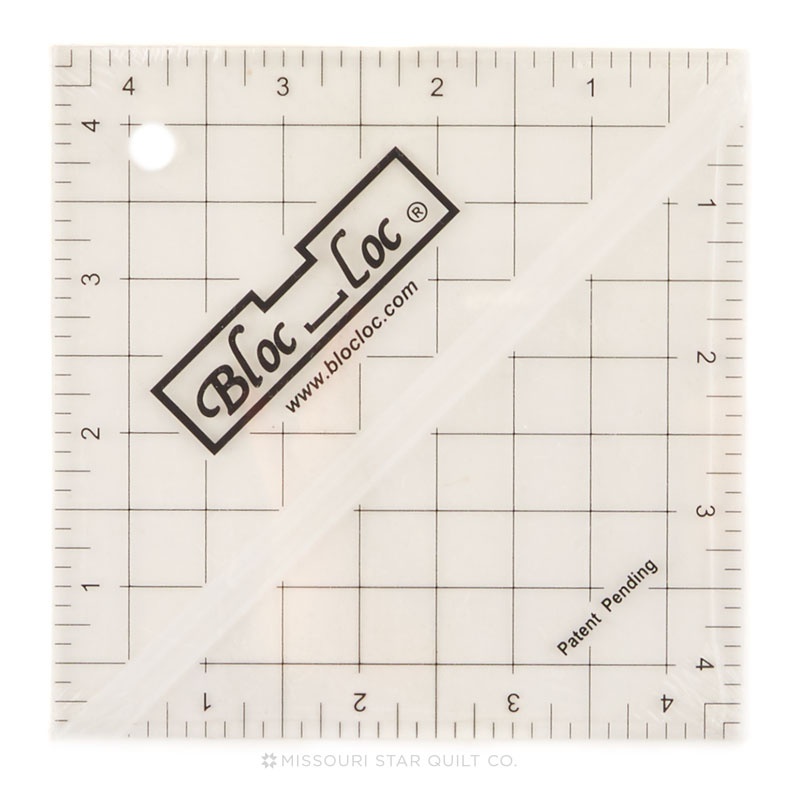
hi everybody I'm Natalie with Missouri Star Quilt Company and today I'm going to teach you how to make the twirling threads quilt So it's this quilt behind me and it's made up using some half square triangles and some beautiful matching prints and I thought these looked a little bit like spools of thread So that's where the name comes from and I think you're going to love it So let's get started Okay so to make this quilt you're going to need one package of 10in print squares And I'm using Indelible by Anna Maria Perry for Anna Maria Textiles Her fabric is just beautiful I love her artwork Um you're also going to need some background fabric You'll need 2 and 1/4 yards of background You will need a yard and a quarter for your outer border And for your backing it's 4 and 1/2 yards if you're using traditional um 45 in wide fabric with a vertical seam Or you'll need 2 and 1/4 yards of 108 And I've used this beautiful 108 It's one of Anamaria's prints and they blow it up So it just looks gorgeous So let me show you that Isn't that beautiful i absolutely love it Um you'll also need a squaring tool cuz we've got some half square triangles going on here And you can use the tool of your choice My two preferences are the clearly perfect slotted trimmer or the block lock But um whatever tool you like to use for squaring is completely up to you We're doing 4 and 1/2s and 6 and 1 halfs today So keep that in mind And I think that's about it Just the rest of the stuff is standard So let's get going All right So this block is pretty simple and I think you're going to like how it's done What you're going to do to start out is divide your fabric up You'll need four pieces per block and we have nine blocks So you want to select um two squares that are very similar and those are going to make up these blocks right here that you want these to kind of blend together so it looks like a little spool of thread So you want to be conscious of the color choice that you choose for those pieces Two need to sort of blend The other two are these and they can just be whatever colors you think look good together So I am picking out I've got these set up already I like this blue and this green These are my contrasty ones And then this hot pink and this orange are going to blend together to make my thread spools So for these and then um from our background we're going to need some 4 and 1/2 in strips subcut into 4 and 1/2 in squares And we'll need a 10-in strip subcut into 10in squares for some of the for some of the background pieces So I've got those set aside I'm going to go ahead and cut them down because I'm I will need them So we'll do our background first And I typically do these all um all folded just because it's easier to cut I don't have any trouble cutting through four layers at a time and it saves me a lot of extra cuts And I found that um you know you're not going to get that You won't get a fourth piece out of that fold in these scenarios which is fine Doesn't bother me at all Same with the 10in squares If unfolding it doesn't give you a full um a full extra piece don't bother That's what I'm getting at It's not worth the work But also it's a preference thing You know we all have little ways little hacks we like to use And if my hacks don't work for you that's okay Use your own Figure out what makes you the most comfortable and what gets you the results that you want and go for it Okay So just want to make sure I've got what do I have here 10 that way 10 that way Okay I counted my little squares on the mat correctly Just checking you know Measure twice cut once Isn't that the the wives tail all right So I've got my 10in squares my 4 and 1/2 in squares from my background and I have my four prints So now what we're going to do we're going to subcut a couple of these So one of these gets to be the um the large half squares half square triangles that come together to make up the center And so I'm going to hold that one for a minute This block gets cut into 4 and 1/2 in squares So I'm actually going to fold it in half because this will save me cuts And I'm going to cut um I'm going to use the cut side to measure So we're going to cut four and a half from that And I'm just going to cut off the fold here As long as you keep your fabric nice and and lined up if it doesn't as long as it doesn't move around on you you're good to go And then I'm going to subcut two more 4 and 1/2 in squares We need four for each block It all works out really nicely actually which I think is kind of fun I like that you can take apart a layer cake and rearrange it so that everything is just ready to go All right so we're going to set those aside We'll put them up here We'll put our four background squares with it cuz those are ready This one we're going to make half square triangles with it So I'm not going to do anything there And then this one I'm going to cut into several 2 and 1/2 in squares and some 8 and 1/2 in strips So I'm going to start with my two strips of two and a halfs And you will do this same arrangement for each of your sets of four blocks All the same cuts All righty And then these turn into 8 and 1/2 inch strips Okay So these last two strips are for our sashings and they all go in these little sections to create this scrappy pieced sashing Um so you will only get nine 18 pieces from your sets of four So you'll need to cut the last two or three pieces that you have into additional 2 and 1 half by 8 and 1/2 in strips so that you have enough variety and plenty of strips to make all of your sashings You only need I believe it's about 24 pieces All of the measurements are actually in the pattern if if you want to look at that But let me finish these So we've got 8 and 1/2 by 2 and 1/2 We're just going to subcut these and set them aside They go in the sashing And then these guys I'm going to stack up because we are going to need all of these half uh 2 and 1/2 in squares Every one Okay And I always just double check make sure that's right Okay good So I'm going to set these aside right here Now I'm going to take these two squares that I've got Let me take these off so you can see a little better Move our supplies out of the way Okay So this one we're going to start by making the half square triangles and we're going to use the make eight method So what we're going to do is um you can draw on whichever fabric you like It's going to be on the inside We're going to draw two diagonal lines corner to corner And then we're going to stitch right on those lines There's my pencil Sorry I think I misspoke just there We're going to sew on both sides of both lines not on them So sewing on both sides of both lines and then cutting them apart will give us eight half square triangles And it's just quick and efficient I love it Okay All righty So when you're quilting and making using the make eight method um a lot of times if you're squaring anything smaller than 4 and 1/2 you don't need to worry about your seam allowance at all But if you're wanting to get a 4 and 1/2 in square you do kind of have to stick to a/4 of an inch away from the line because these come out pretty close to 4 and 1/2 in um before squaring And so there will be some that you're just shaving off a little tiny bit Some may actually end up a tiny bit too small in one section If it's within a quarter of an inch you can still use it Don't worry Um but if you stick with a quarter inch seam you should be you should have a enough room to make all of your half half square triangle cuts match So just keep that in mind as you're sewing All right So we're going to cut and I'm sorry if you've seen this a million times but uh we're going to do it again So we're going to cut vertically and horizontally first because those are the spots where there is no particular line drawn on the fabric for us to use as a guide if our fabrics get scooted or messed up So now I'm going to do the cutting on the lines in between those two seams And this is what gives you that seam allowance which is it really only matters because we need um we need as much room on these as we can get All right so it's time for our squaring tool I'm going to use the block lock today Or sorry not the block lock the clearly perfect slotted trimmer that I have in my hand I get all these names mixed up All right So we're going to set our 4 and 1/2 in line on the stitched line So the dashed line goes on the stitching And you can see that this one is just fine I have plenty of room Um I think because my seams were so scant today So you just trim Whoops Try and keep that so it doesn't slide around on you You can always put um some of those little stickies that hold it hold it in place on the back of your ruler if you want to or medical tape or anything grippy There's some little sprays you can use too But that that tool squares it and then cuts off those little pointy triangles things that like to stick out So we will do that to all eight of these Um but I've already done some of them So I'm gonna move on to the large set of half square triangles So these need to come out at 6 and 1/2 So what we're going to do is pair it with a background square And we're going to go ahead and stitch all the way around the outside edge Just following the outside edge of the square We're going to enclose the whole thing So and I think we have we have plenty of room I believe with this to get our six and a half inch squares So seam allowance isn't quite as important here You know stick to your practice but don't stress And I always sew off the edge and then pick up my feet flip the fabric around and keep going I don't cut the thread in [Applause] between You can pivot if you want to but I find that that is just hard for me It's hard to know exactly the right moment to stop and make the needle go exactly where I want it to So sewing off the edge works for me All right [Applause] Okay Now we're going to take this I like to turn turn it away from me Kind of a little bit cockeyed but not too much Um it gives me the ability to cut both directions without having to twist my arms So I'm going to cut that way And then I'm going to turn a little bit and cut this way And don't worry at all if things look a little funky at this point You're going to go ahead and cut these down We're going to use our perfect our Clearly Perfect slotted trimmer The largest size is 6 and 1/2 So for this one we're using this bottom line Lining that up with our seam line So the stitch stitches go on the dashed line And this one I'm just going to push all the way to the edge because that line is straight and clean And then you just follow the notch at the bottom We'll cut off this side and then notch this corner and we're done So that was a real quick and easy um half square triangle to make All right So I'm going to go ahead and press these press them open because next we have some snowballing I know how I love to add a snowball to things It was really It always just makes things look so different A snowball or a sashing And depending on which corners you snowball and what they meet up with like it just looks so cool All right so these squares all get a snowalled corner right up here And also your 4 and 1/2 in background squares get a snowball And the reason I'm saying this at the same time is because they all are snowballed with the same color And you can just stack up four of these and four of these and do them all at once So I'm going to go ahead and do these for you so you can see Now you can draw the line if you want or you can use your clearly perfect but we are stitching on these Before I forget we're going to stitch from corner to corner So if you wanted to draw the line I would go ahead and do that all at Whoops All at once And then on these like you could also do a little iron or a finger press and draw on the press line as well So that works too just to give you some options some different ideas If you don't have a pencil handy use your iron If you don't have an iron handy use your fingers and just pull on that fabric a little bit It makes a little crease real quick And if you want to eyeball it I salute you Go for it And if your if your snowballs when you add them if they tend to come out a little bit short where you feel like when you fold the fabric back you don't have enough fabric to cover your original corner what you want to do is sew a little bit farther towards that open corner So on the right side of your seam you're just going to sew on that side of it instead of on the middle or on the edge because it's it'll give you just a little bit of extra space It's like making your 1/4 in scant instead of regular You're just going to slide over like a the width of a thread And that should help to get that fabric to cover it And you can always square them up if there's a little bit too much As long as the blocks are all consistent on your quilt your triangles and diamonds they're going to match up because you are the one doing the quilt It's your quilt So you just want to look for things that match in consistency You don't have to worry about anything else unless you want to That's up to you All right So I've got both of these sewn and you can chain piece your way through them I'm going to go ahead and trim these off Then we'll press them after that And then let's see All right Okay So now we have these pieces These pieces Let me press this guy back and these ones And I've got these other ones all done So what we're going to do I like to start by um putting together my middles because that just makes sense to me So we're going to put these these four together in the middle And they create this beautiful diamond Scooch you up a bit And then we're going to add our pieces that go around So we're looking at this section right here And we can make all of these exactly the same So chain piecing is a great idea for this part if you wanted to do that So we're going to take our half square triangles We're going to put them with the color at the bottom here so that they make those little star legs And you'll see that as they come together they create a little spool because we're going to be matching them up with these uh these corner blocks just like so So let me move this baby over here So these guys go in this corner There we go Is that right that's not right There it is I looking at it it's not matching the way I want it to Help Okay those guys go like that And then we put in our pretty focal fabric the the fun bright accent color And that makes that cute little square that little pop of color that connects us to our other friendly neighborhood blocks Okay So what I'm going to do first is put together the center and then I'm going to do these these middle sets and then we'll line it all back up and we'll sew our rows Okay All righty And I like to chain piece That's just um become one of my habits So I'm going to stitch this first section and then without Taking it off the sewing machine I'm going to add the next one Do this one just like this All right So they're still connected just like that Now I'm going to open them both up and fold this over to the left and stitch down that seam Making sure that my middle seam is nested and my edges of my fabric line up at the edges That'll keep my points pretty neat But I'm not super worried about it because they're they're easy points to keep So don't don't stress on that I try to practice my perfectionism with moderation I feel like it's it's made me a little bit of a healthier person So if you know that something's not that big of a deal you can just relax and enjoy it instead of worrying about it being perfect Ask me how I know Okay let's give this a quick press I'm going to move these guys out of the way They're all done Do a little quick little seam set Try to be gentle with these because I don't want to stretch them out And there are bias edges on these So just press and try not to pull All right So our middle is done So now I'm going to do all of these And what I'm going to do is line them up I'm going to stack them in the order that they need to be sewn So I can just work from this pile and they're all going to come out looking the same All right And then I can set these right over here and make my little sets I'm going to do these two first and then I will add these ones on the end So that's how I approach you know lot lots of things that are the same I just like to stack them up and it makes everything go really smoothly All right I'm going to keep on grabbing these two for now We're going to go with consistent quarter inch seams not perfect ones Okay Now I'm going to pull this chain all the way back to the beginning And at the end of each of these I'm going to add their matcher their matching leg So it'll look just like that And I'm going to put them right sides together and sew a quarter of an inch seam And these will be good to go This block comes together really fast in my opinion And I think it's just cute It's got fun bright fabrics and looks like a little spinning spool I thought it was fun All right we're all done with our little chain of happy little bordery fabrics that go on this block Call them whatever you want I do All right I'm going to take these and press them and then we'll get going And you can really press these whichever direction you like The um these seams don't line up with the other seams in the middle because we've got two 6 and 1/2 in blocks matching up with three 4 and 1/2 in blocks So your seams are off um off uh I can't think of the right word for that Offset There we go It came Thank you brain All righty So now I'm ready What I'm going to do is stitch this together as a row And then I'm going to stitch these together as a row Just like that I'm going to clip these threads because there's kind of a lot of them Got that one All right And then this one is going to flip up like this And this will be our last row So we'll stitch these up And I am going to go ahead and chain piece this block to keep it together So that means I'm going to line these up but the the big side of the block will be on top But I'm not worried because I don't have I don't have seams that I'm too worried about If I'm worried about keeping those points I can look right here at this seam on the back side And everything else matches up just [Applause] lovely And our last one All right bringing it back to the beginning I'm going to open this guy up and we're going to add the last block on the end here And then this one we're going to put this guy on And you want to make sure that your your the long color side of your half square triangle is touching the inside of the block That is the direction that your star legs want to go or spool ends [Applause] This is where I try to make sure that if I have like some seams that are wanting to lay a certain way that I make sure they're all laid down how I want them And this piece gets its final guy here Final little snowalled unit All right Now I'm going to open up these folded pieces And I'm just going to go ahead and flip this over and stitch it together Now I am nesting seams So checking to be sure The nice thing about doing this before you press is you can push them the direction they need to go and then press them after So for me that gets to be a lot easier Sometimes I have a habit of pressing it one way and then when I get back to the sewing machine realizing I really prefer it pressed the other way and I didn't do myself a favor So it it sometimes makes it easier for me just to go ahead and stitch it the way I want it and then press it after So the only things that you have to worry about um matching up is just at these corners of the uh the corner seams of the block The mid part doesn't really have a lot to pay attention to You know even if you lose a point here it's not really going to show All right Now I'm just going to flip this around and stitch this final seam Then we'll press and have a big block to show you It just comes together so quick I love it And I love that it displays the fabric so well It's just really fun All righty Here we go It's looking pretty good so far but let me press it and then I'll show you the the nice pretty reveal and then we'll talk about our sashing a bit and do a little bit of seam setting here because it makes it press out so much nicer It's just easier Oh I've got some threads in there to clip That's okay Alrighty Here is the big reveal This is the block You're going to want to make nine of them So that uses 36 of your prints in sets of four And then um you're going to want to worry about your sashing in just a minute So let me show you So you can see this fits right up here in the middle And they just go together One two three So we are going to work on our sashing now We're going to grab these 8 and 1/2 in strips that we had cut before and some 8 and 1/2 or sorry some 2 and 1/2 x 4 and 1/2 in strips that are going to go in between So it's this piece right here This is 8 and 1/2 4 and 1/2 and 8 and 1/2 And we're going to make um 12 of those sets So just this piece And then what you'll do is you'll sew together three of them for this long strip and three of them for this long strip So you're making two long sets and then um the rest of them are just going to stay and go in between your blocks of three So let's stitch together one of those so you can see how that works And these are just you just want to have a variety of different colors and you can mix and match put them together You can try to plan a little better than I did I have some that are like like these two are the same and these two are the same and it just happened to come out that way But I think I think it looks great I'm not too worried about it So I'm going to put together first I'll just go ahead and stitch half of them um just with a 4 and 1/2 and a strip and then the other half will be for that other side So I will do these two and then I'll put them together with these These two Yeah that'll be great All righty It's a pretty fun sashing um idea because it uses up the rest of the fabric that we have left over Makes the quilt a little bigger and a little more interesting And if you ever wanted to just add sashing to a quilt that you're making um it just needs to be the same size as the block And so like I knew that this section measures 8 and 1/2 this is 4 and 1/2 and this is 8 and 1/2 So that's how I came up with that number for my sashing So keep that in mind if you ever decide that you want to do something a little bit different with whatever quilt you're making or a block you found you can use that same formula to come up with some really cool stuff And and uh also just for just for ideas sake you know what if you put little star legs and snowalled this piece then you have these little stars that are going to come together in the in the sashing and it'll look really cute So just creative thoughts All right So I've got these two stitched I'm going to add the other half to the other side And we will go ahead and do this one here And this one here All righty So we have that guy is going to line right up just like that All righty So this sashing strip fits into the quilt just like so And then you're going to sew three of them together with a 2 and 1/2 inch square here and a two and a half inch square here to make our little corners So this will be your lengthwise sashing Your short sashings are going to go in between So you'll sew your sets of blocks together with sashing in between Then you'll sew this sashing row and then attach the next row All right So once I've got all of my blocks pieced and my sashings are together I added an outer border that's 4 in And I went ahead and quilted it I used Simply Roses And it measures 73 in square And again this backing is gorgeous I just love it I love this fabric Well I really enjoyed making this quilt and I hope you enjoy making it too And thanks for joining me today I hope you enjoyed this tutorial on the Twirling Threads Quilt from the Missouri Star Quilt Company See you next time Hi everybody I hope you enjoyed today's video We're trying super hard to get to a million subscribers So if you enjoyed it and you want to see more just hit subscribe and share with your friends and encourage them to do the same And I will see you next Friday with a brand new tutorial

More Layer Cake tutorials

See all