
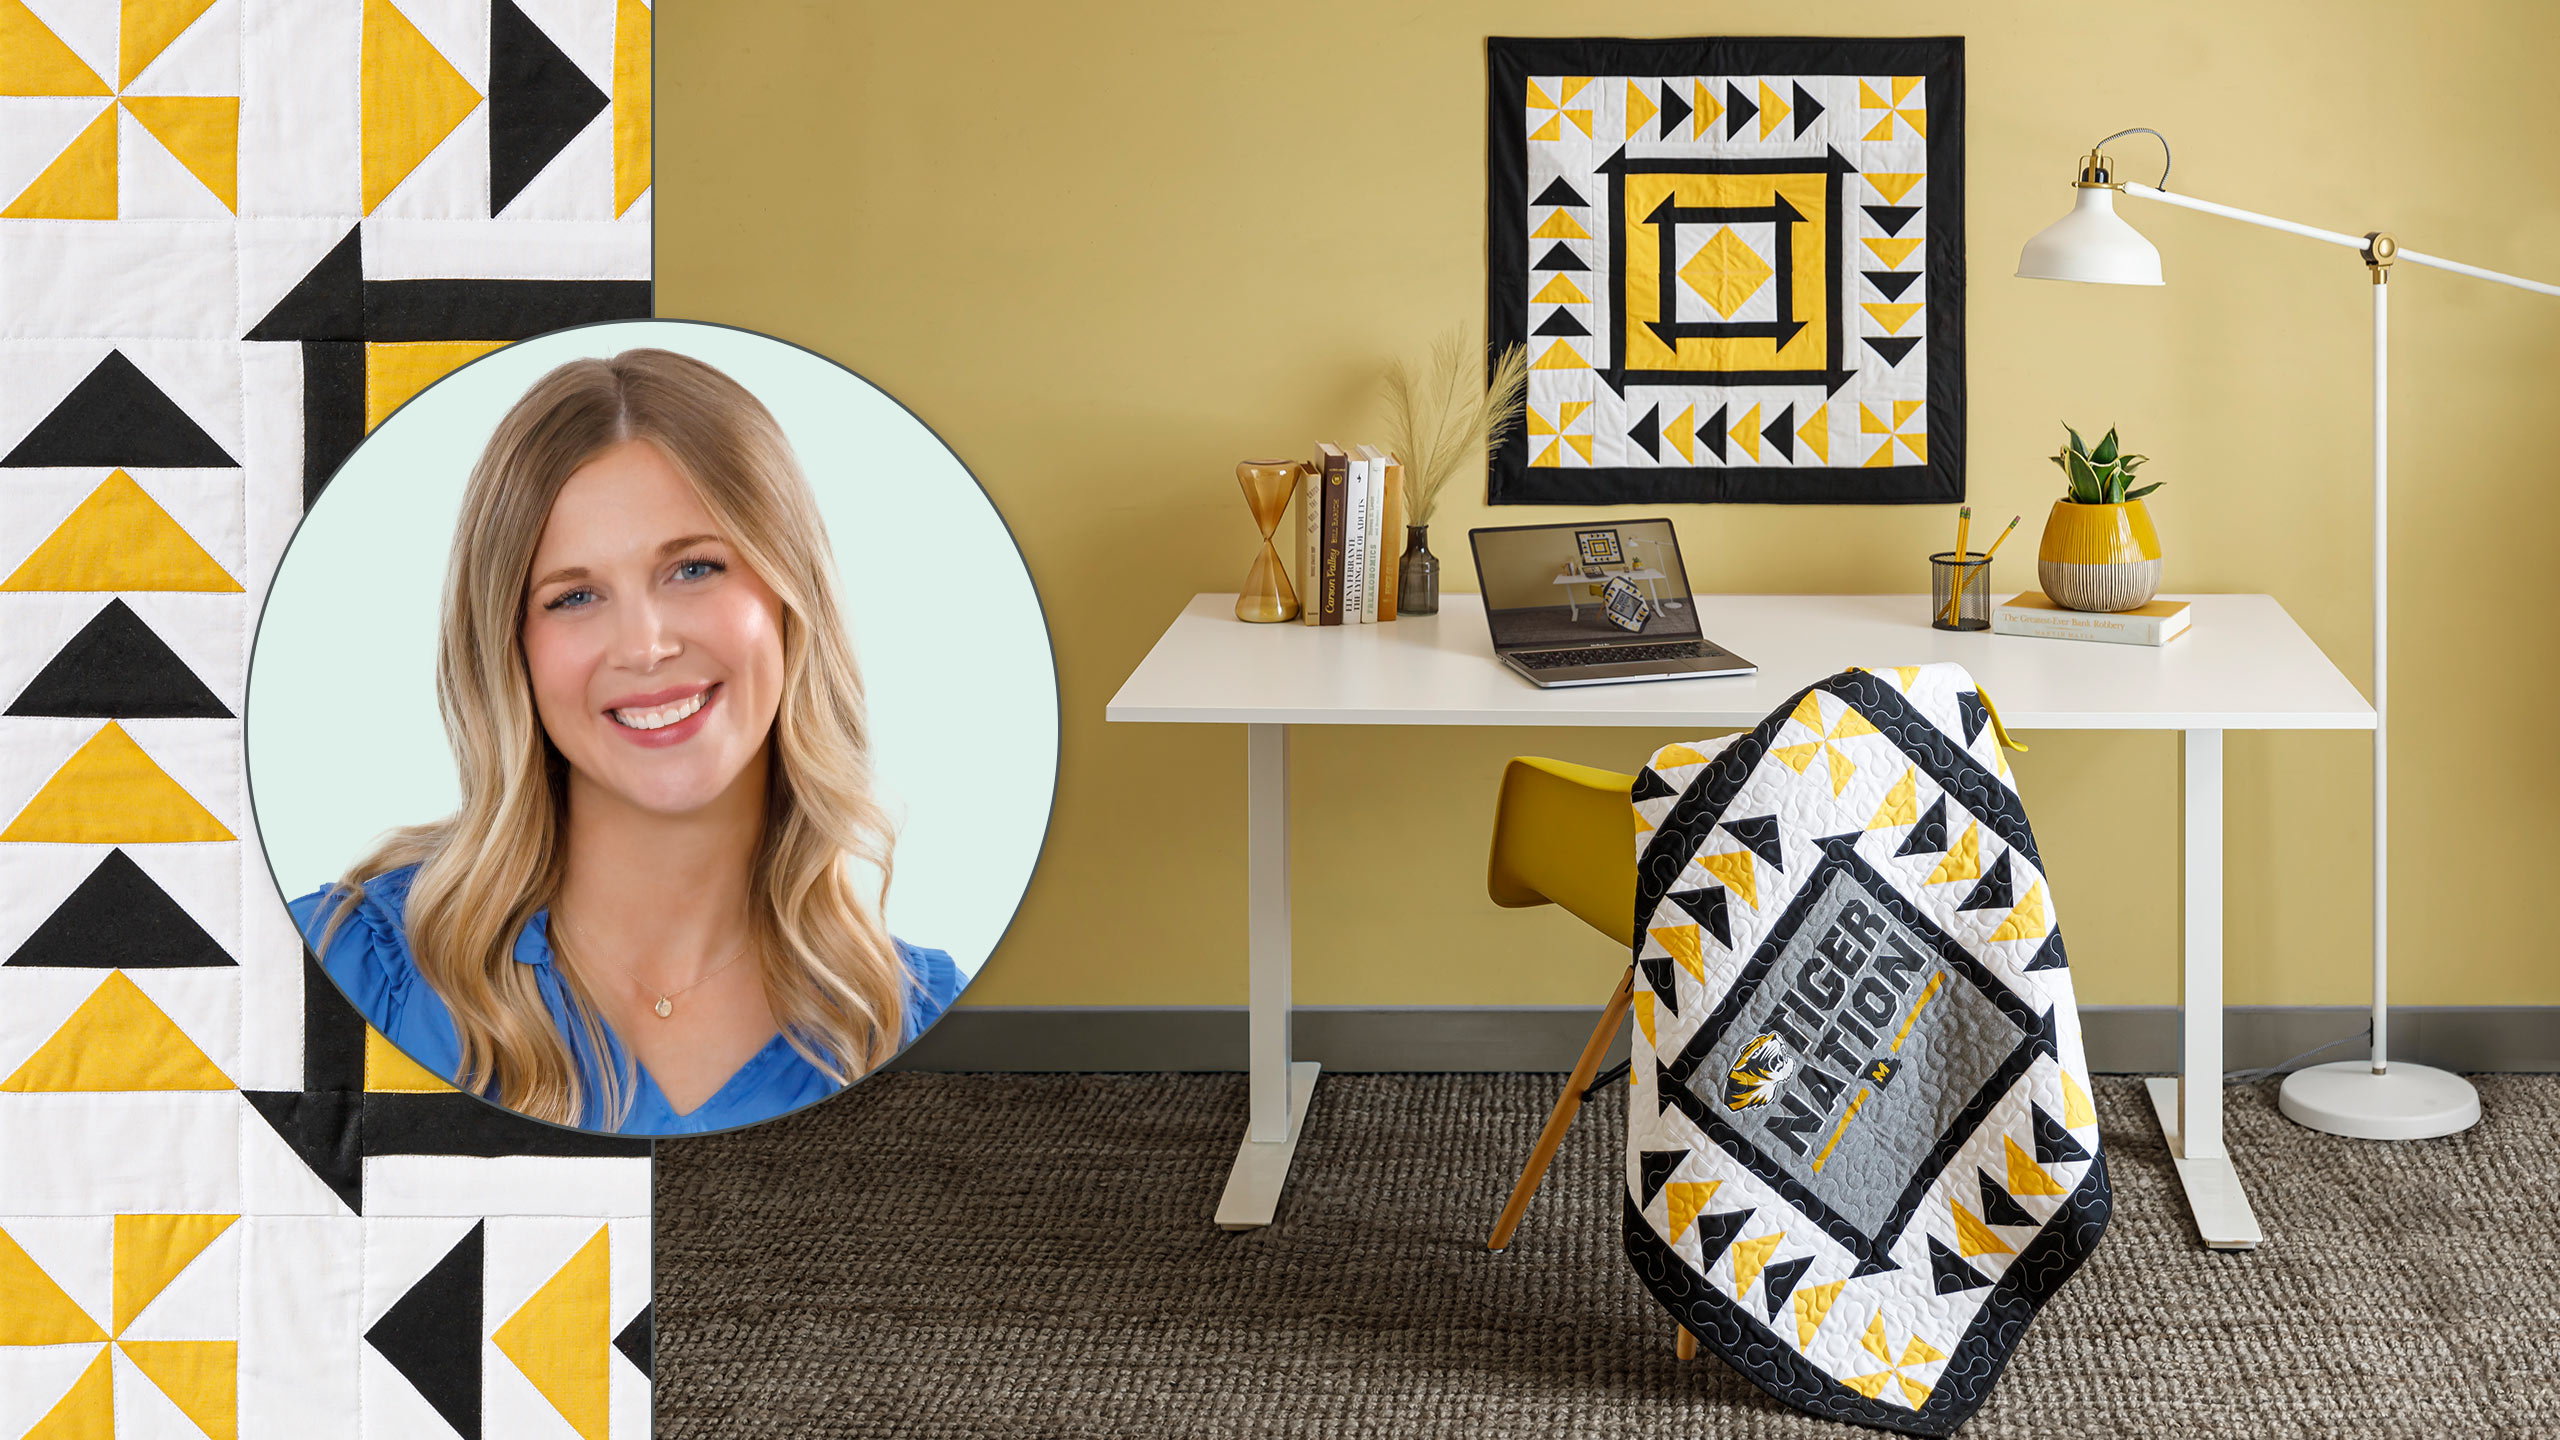
Two Color Collegiate Quilts
 Misty Doan
- Fabric by Yard
- College
- Wall Hanging
- Beginner
- Quilt size 54" × 54"
Send your college student off to school with a quilt featuring their favorite collegiate team! Four large, fussy-cut team images are surrounded by flying geese and pinwheels to create an energetic quilt perfect for any fan. Give it the old college try!
Instructor
Misty Doan
Misty Doan grew up surrounded by sewing and quilting. She loves spending time sharing tutorials each week each week, and when she’s not stitching up one of her fun sewing projects for home decor, most likely you’ll find her hanging out with her husband and three awesome kids or working on a house project.
Shop this tutorial
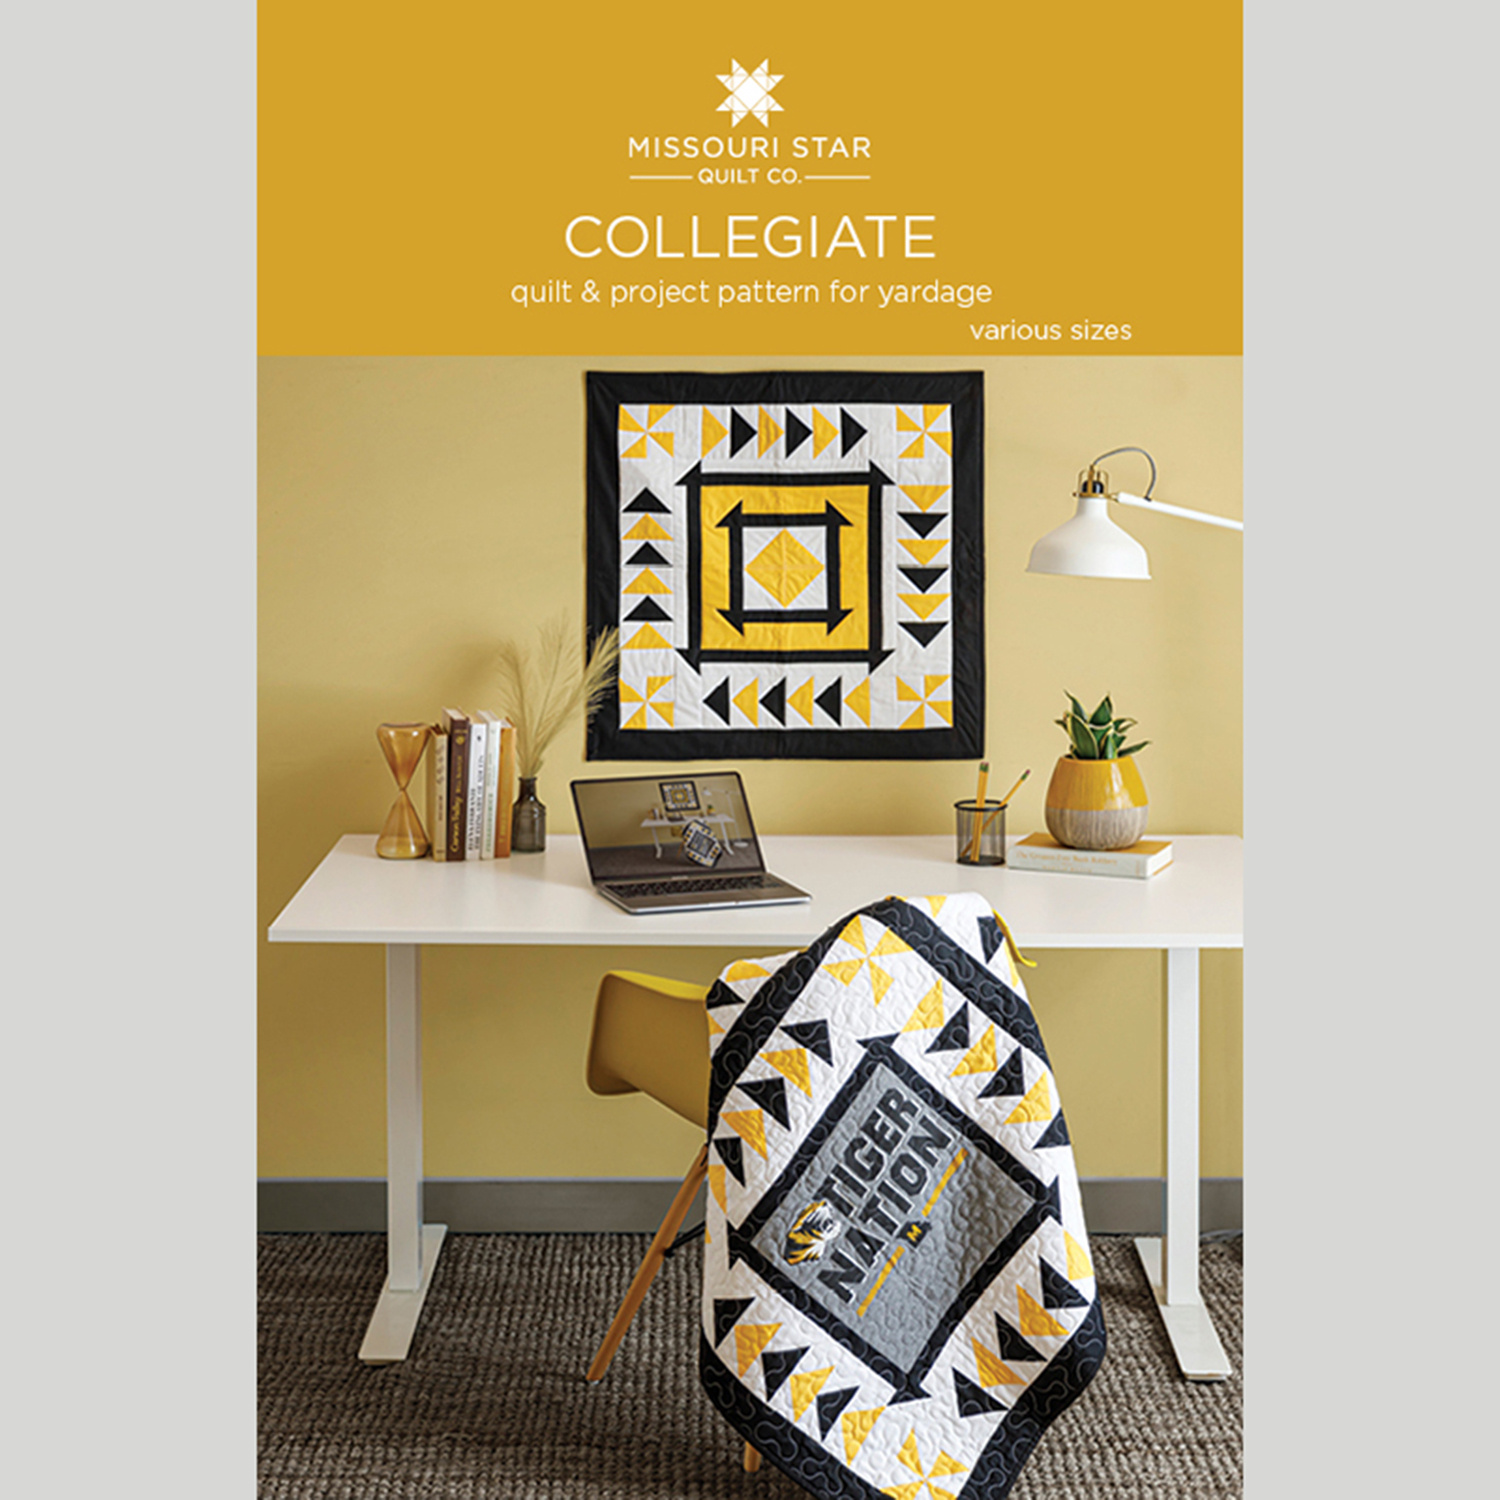 Collegiate Quilt Pattern by Missouri Star$8.50Shop →
 Digital Download - Collegiate Quilt Pattern by Missouri Star$6.95Shop →
 Kona Cotton - Corn Yellow Yardage$7.48Shop →
 Kona Cotton - Black Yardage$7.48Shop →
 Kona Cotton - Marine Yardage$7.48Shop →
 Kona Cotton - Cardinal Yardage$7.48Shop →
 Kona Cotton - White Yardage$7.48Shop →
 Pellon Shape-Flex Fusible Interfacing White Yardage$6.00Shop →
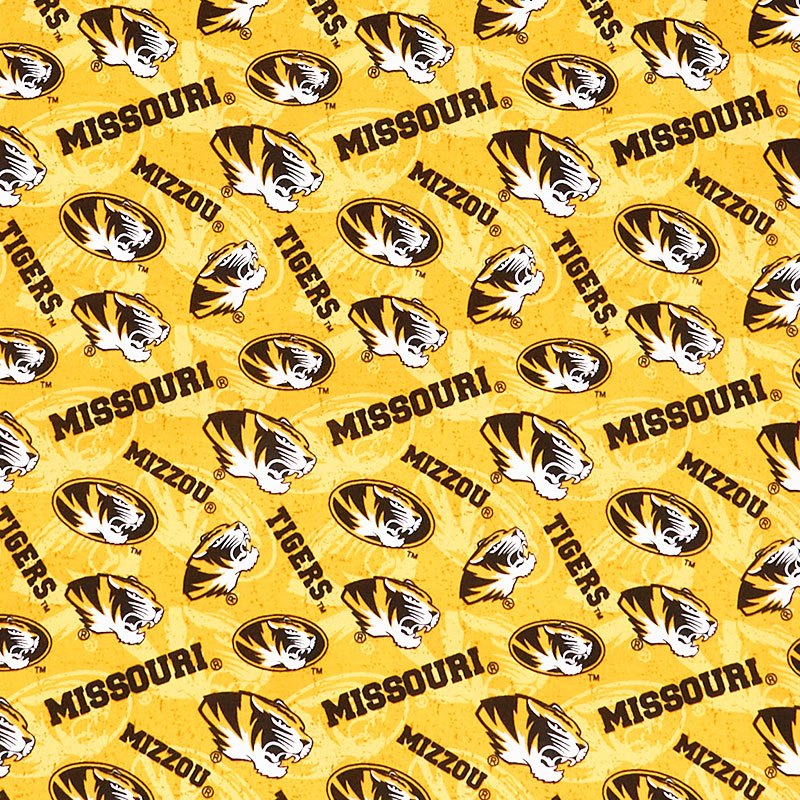 NCAA - Missouri Tone on Tone Yellow Yardage$11.44Shop →
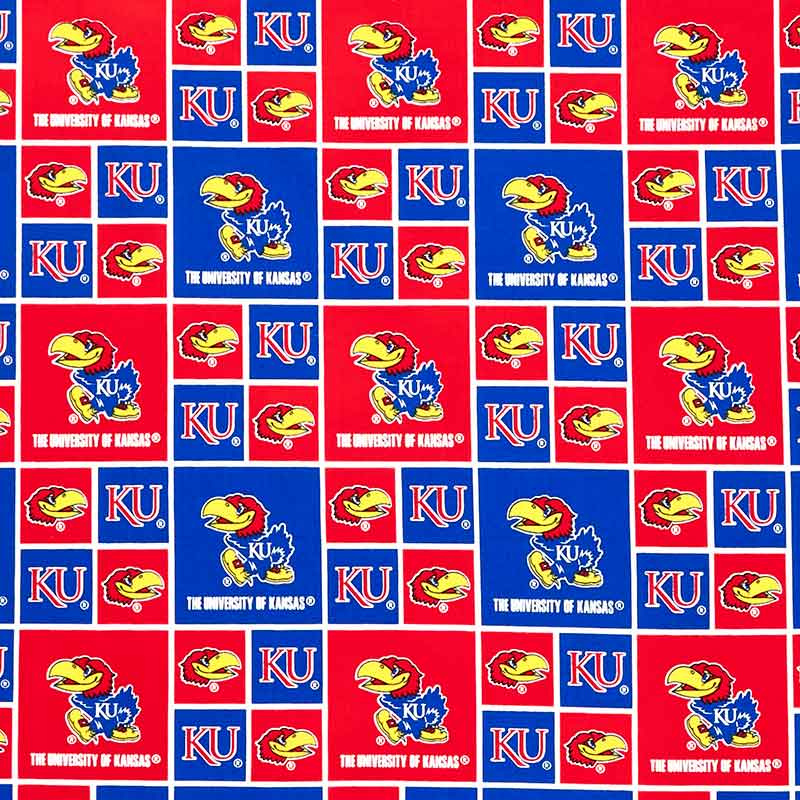 College - University of Kansas Allover Yardage$10.96Shop →
 Missouri Star Quilter's Best Blend Throw Batting$21.95Shop →
 Clearly Perfect Slotted Trimmers$31.95Shop →
 Missouri Star 2.5" x 8" Ruler$11.95Shop →
 Missouri Star 5" x 15" Ruler$19.95Shop →
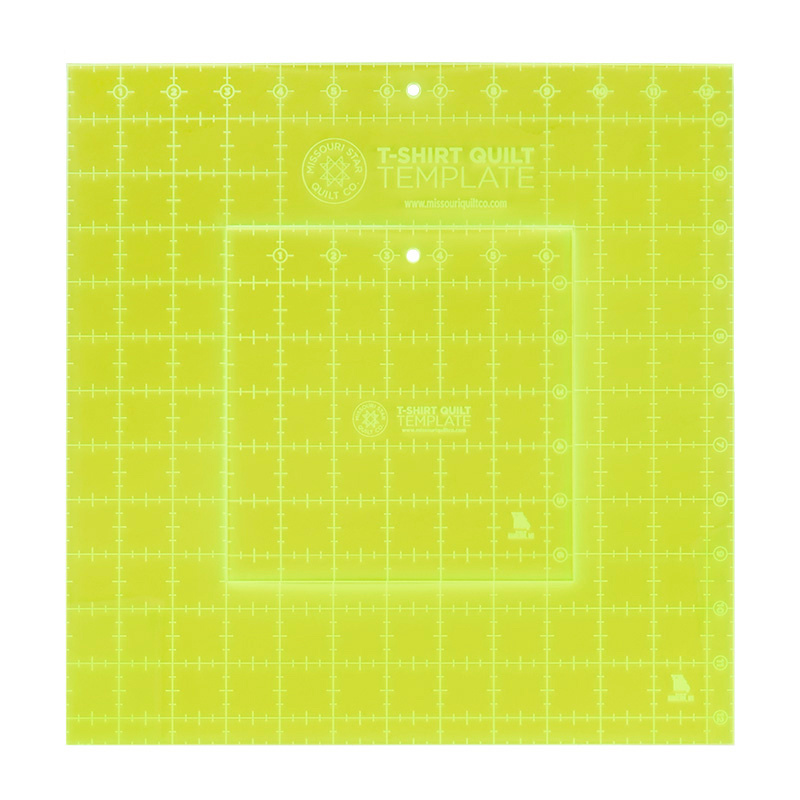 Missouri Star T-Shirt Quilt Template Set$29.95Shop →
 Missouri Star 45mm Rotary Cutter$19.95Shop →
 Missouri Star Seam Ripper$9.95Shop →
 Missouri Star 50 WT Cotton Thread White$7.95Shop →
 Exclusive Missouri Star Jenny TG1600 ProPlus Oliso Smart Iron$199.99Shop →
 Missouri Star Wooly Betty Board - 17.25" x 25.5" Orange Border$99.95Shop →
 Bernette 77 Sewing and Quilting Machine$1499.00Shop →
Common Questions
What is covered in Two Color Collegiate Quilts?
Send your college student off to school with a quilt featuring their favorite collegiate team! Four large, fussy-cut team images are surrounded by flying geese and pinwheels to create an energetic quilt perfect for any fan. Give it the old college try!
How long is the tutorial video?
The tutorial video is 00:16:45.
Are supplies listed for this tutorial?
Yes. The tutorial page includes the supplies and materials connected to this project.
Is a transcript available?
Yes. A written transcript is available on the tutorial page.
Video Transcript
So this quilt is super fun and I've designed it in a way that you can either
use t-shirts that you have lying around or there is a block included to finish off your centers. So if you don't have an even number and you want to make a big project it gives you a lot of versatility and it's super fun.
So the fabric requirements I'm going to give you today are for this project that you see hanging behind me. So you'll be able to make one just like this. So the first thing you're going to want to do is gather up your favorite college t-shirts and if you've never made a t-shirt quilt before be sure to tune into Natalie's great tutorial that'll walk you through how to prep all those shirts and get them ready.
So I've gone ahead and done that and put Shape Flex on the back of this one. And so if you're going to use t-shirts you're going to need 1 ⅔ yards
of that Pellon Shape Flex, which is right here. And because we love a good rivalry I've included both of the fabric options that we've used both KU and Mizzou. So for fabric on the KU quilt, that's the blue and you're going to need ⅞ yard then you'll need 1 ⅔ yard of the red and two yards of your background. I also picked this really fun kind of licensed print for the backing and you'll need 3 ½ yards of that. And so then just to reiterate on the MU side here. So this is actually fabric, so that's ⅞ yard, 1 ⅔ yard and then same this is your backing. So super fun! Also if you have the Missouri Star t-shirt template, that makes it really easy to cut out and prep all of your t-shirts, so that's super helpful as well.
So let's get started! All right so up first we have got our t-shirt with the
Shape Flex on the back and I have just cut it exactly to the size of our template which measures 12 ½ inches. So this is good to go and we can just set this aside for now. Then now we can move on to making our blocks that go around that t-shirt in the middle. So up first, we're going to take a 6 inch background square and a 6 inch square of our red and blue (you're actually going to make the same method for both colors). I've just got one here, and I've gone ahead and drawn an X and we're going to sew on both sides of each of those lines. So let's go ahead and take this to the machine.
This is that easy 8 method. You usually see us use a layer cake when we're making that but you can use the same method on different size squares to just get different size half square triangles, so that's super fun to keep in
mind. So we'll go down one side and I can flip this around and go down the other. Cut that thread, and then we'll do the same thing on our other line that we marked. Flip that around, all right so that is good to go. That's what you're looking for.
So I'm going to grab my ruler here and we are going to cut this in half. So it should measure 3 inches since we've started with a 6 inch square, and I always like to cut this way first because I can go back and cut through my drawn line easier later. So now we'll cut corner to corner in both directions as well. There we go, and now we have eight individual half square triangles. I'm going to go ahead and press these and then I'm going to square them to 2 ½ inches and I'll meet you back here.
All right so like I said I have squared these all to 2 ½ inches. You can
see right there, and then pressed them open, so that we're ready to move on. So then the next thing we're going to do is we're going to make a strip set using 1 ½ inch strips of both our background and the red. I've cut
them to 12 ½ in which is the exact same size as our t-shirt. And so we're
going to build this block from the center out. So here is our shirt and you can see this is going to match up exactly. Then we can use those half square triangles to create this first little churn dash. So here we go! These will come in on the side and then I have these ones already sewn onto the top. So let's go ahead and sew these on here and then I'm going to add these strips around my t-shirt and I'll meet you back here.
So one thing to keep in mind - I've just added these two strips on either
side so when you come back to press these you do not want to press on top of the print of your t-shirt. That will stick to your iron and it will be a sad day and it will smudge this design. So you're going to use either just a finger press along this edge or a pressing cloth to protect the design from your iron. Then you'll be ready to go. So I'm going to go ahead and keep adding the other sides. All right, so we have that all added. So now I'm going to carefully press this - remember avoiding that t-shirt ink like I said, and then we can add our next round. So let's go ahead and give this a
press. So if you were worried about stitching regular quilting cotton against that t-shirt that's where that Shape Flex comes in and makes it so easy. It provides stability so you don't have all that stretch. I'm just going to carefully iron around that design, I do not want to get that ink on my iron.
All right, there we go. This is our first round.
So now we can move on to the flying geese portion of our blocks and that's super simple. We are going to cut some 2 ½ by 4 ½ inch rectangles of both of our colors and we're just going to alternate between them. And then I've got 2 ½ inch background squares. and so we can draw a line or you can press a line or just use the tape on your machine. But we are going to use these to make our flying geese. So I'm just going to go ahead and mark them so you can see what we're doing here. So then I'll start by placing this one here. We'll stitch right on this line and trim it off, and then we'll add the other one. So let's go ahead and do that. Make sure it's lined up with our edge, because we want this to stay 2 ½ by 4 ½ and using this method allows for that.
Okay, so there's that first side. So then we can just trim this part
off and we'll press it back. Now that is ready to go and we can use our other 2 ½ inch square. We want to make sure that that's going to intersect at the top and we'll have that overlap to keep our seam allowance and not lose our point. So again, we're going to stitch right on that line. All right, just like that. Again we're going to give this a good press. we want all of this to lay really nice, there we go. There's our little flying geese - super easy!
So I have a stack of them ready to go here and you'll notice in the quilt behind me each of these flying geese sections starts with just a background rectangle and then our flying geese alternate and then it ends with the background rectangle. So I have that ready here. So here's our little 2 ½ by 4 ½ inch rectangle and then our flying geese can alternate just like so. And then we'll finish it off with that rectangle. So let's go ahead and sew these one after the other and we'll get this done.
So I'm just going to stack them back up so that I can add them at the machine and save me a little bit of time, and I can just open them up. I do want to make sure that my fly geese are all going in the same direction. Other than that, I can just quickly sew one after the other. All right, so here's a good little tip if you're worried about losing this point. You can actually flip this over and what you're looking for is where these threads intersect. As long as you're stitching on this side of those seams then you won't lose your point. So keep that in mind as well when you're sewing all of these flying geese.
All right we finished the last of our six flying geese, so we're just going to
add one more of those background rectangles to the end and this little unit will be done. You're going to make four of these that are going to go on each side of our center square. There we go. All right, I'm just going to press this. And I am rolling those seams so that they're pointed towards the flying geese to help kind of hide some of that fabric behind the dark
color. All right, there we go. That unit is ready to go. And so the last thing that we have to do, we've got our flying geese and they'll just sit around just like so. Bring these in and the last thing we're going to do is we're going to make those pinwheels for the corner. And so those are made in the exact same way that we made our half square triangles for that first churn dash. We've squared our little half square triangles to 2 ½ and then we're just going to set those into a pinwheel and those will fit in each corner.
So it looks like I need to sew one more for you here. So let's just make our pinwheel so that it's ready to go, just like so. Then we can add all of this around our block. So we'll just put these together like a four patch to
finish out that last corner. All right we can just open those up, finish up our pinwheel, and you always want to make sure that you nest that center seam really nicely. So I take a few stitches and then just make sure that those are going in opposite directions so they sort of lock in place, and we can sew across. Perfect! There's our cute little pinwheel. So we'll just give that a press. All right, now we have that nice and flat and you can see it's just going to sit in here just like that. So just like we did on this round, we're going to add our sides, we'll sew this and we'll just attach this all together in rows and continue to build out from the center of that t-shirt block.
So let's go ahead and look at the quilt behind me. So you can see we've done four of these large blocks and we sashed in between. And this just comes together so quickly, because we've got such big blocks. I love this pattern because we've included lots of other fun projects that you can
use as inspiration. And we also included this little bonus block that will finish up the middle of your quilts. Say you don't have an even number of t-shirts and you want to make a larger project. This gives you some options.
So I hope you enjoyed this tutorial. I can't wait to see the versions of this quilt that you make for your sports team and I'll see you next time on At Home!


