Skip to content

Free quilting video tutorials from Missouri Star

Quilting Tutorials
Vintage Notions Quilt

Vintage Notions Quilt

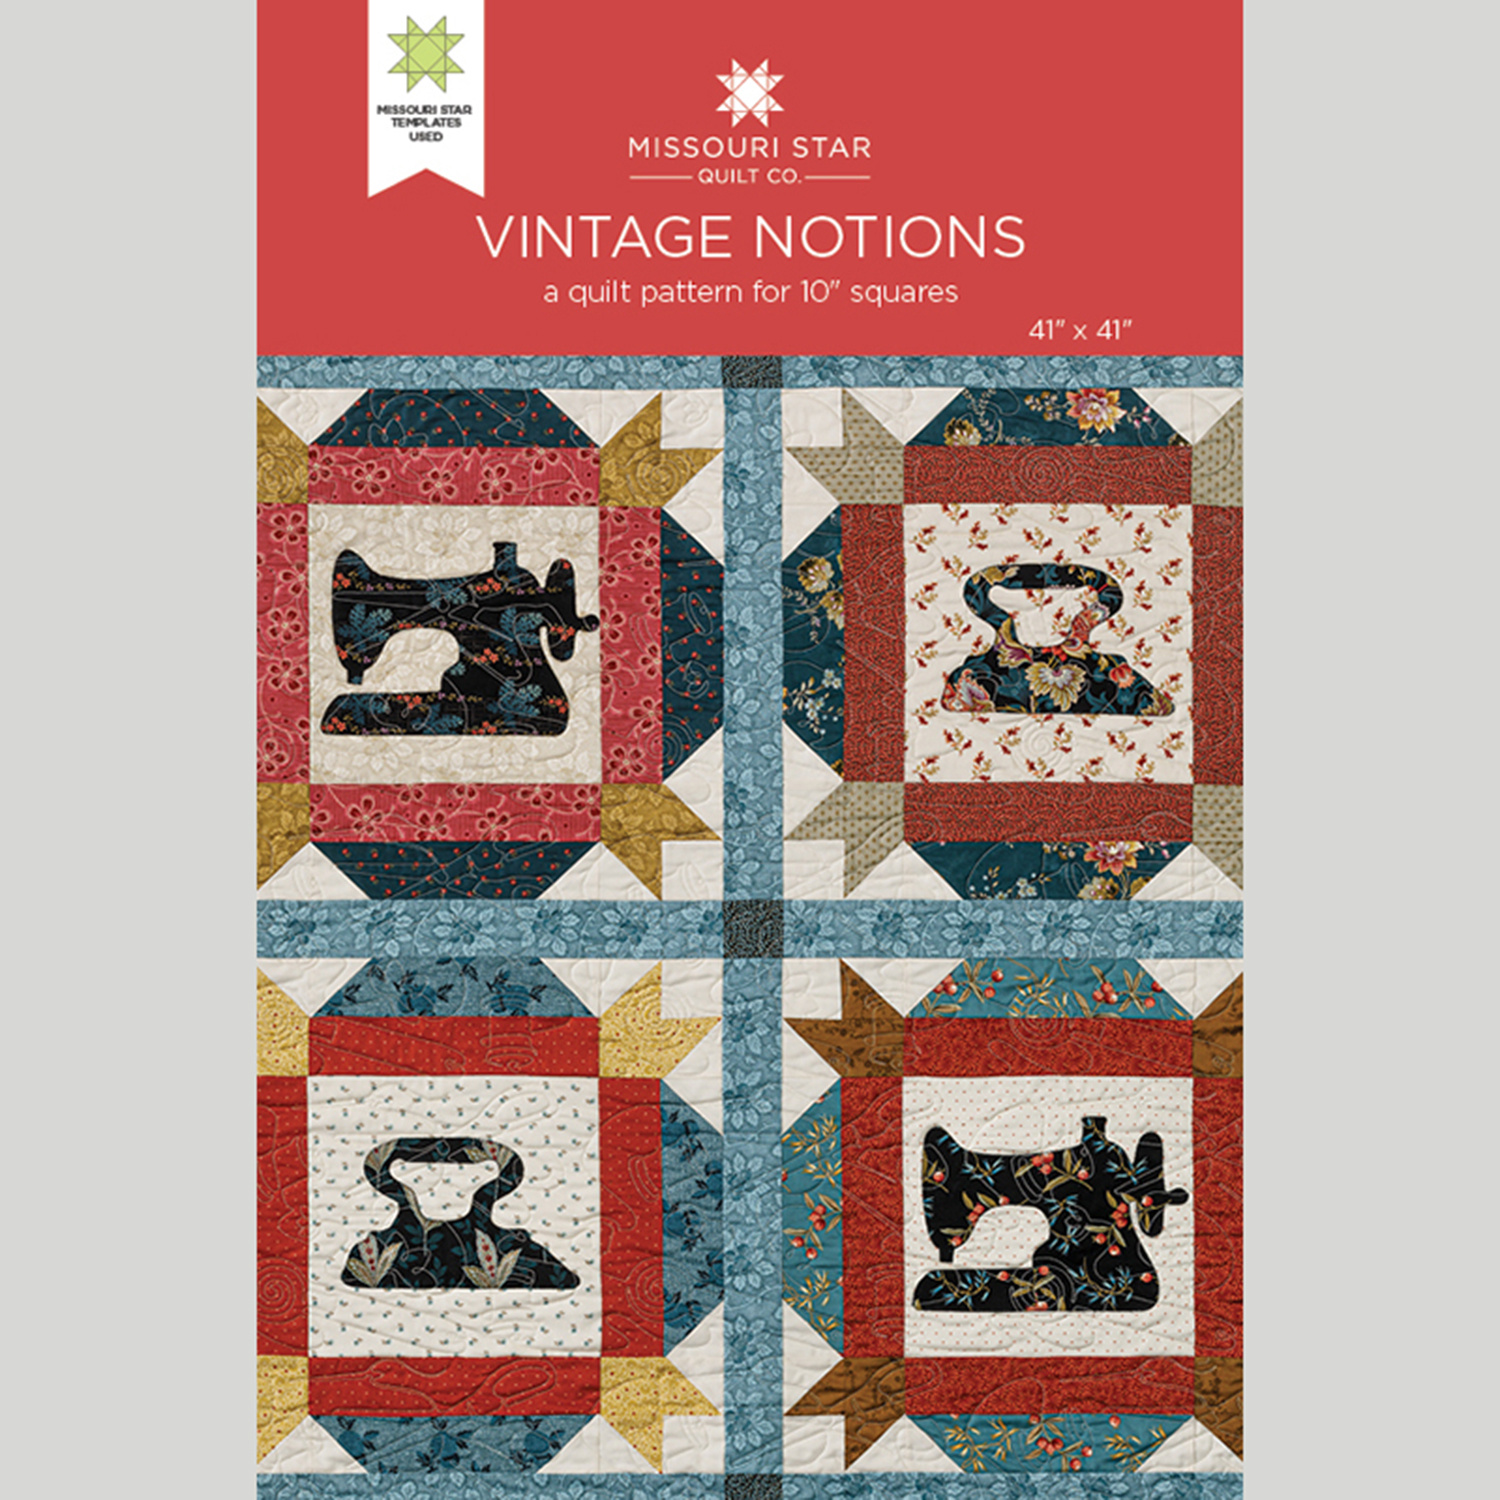
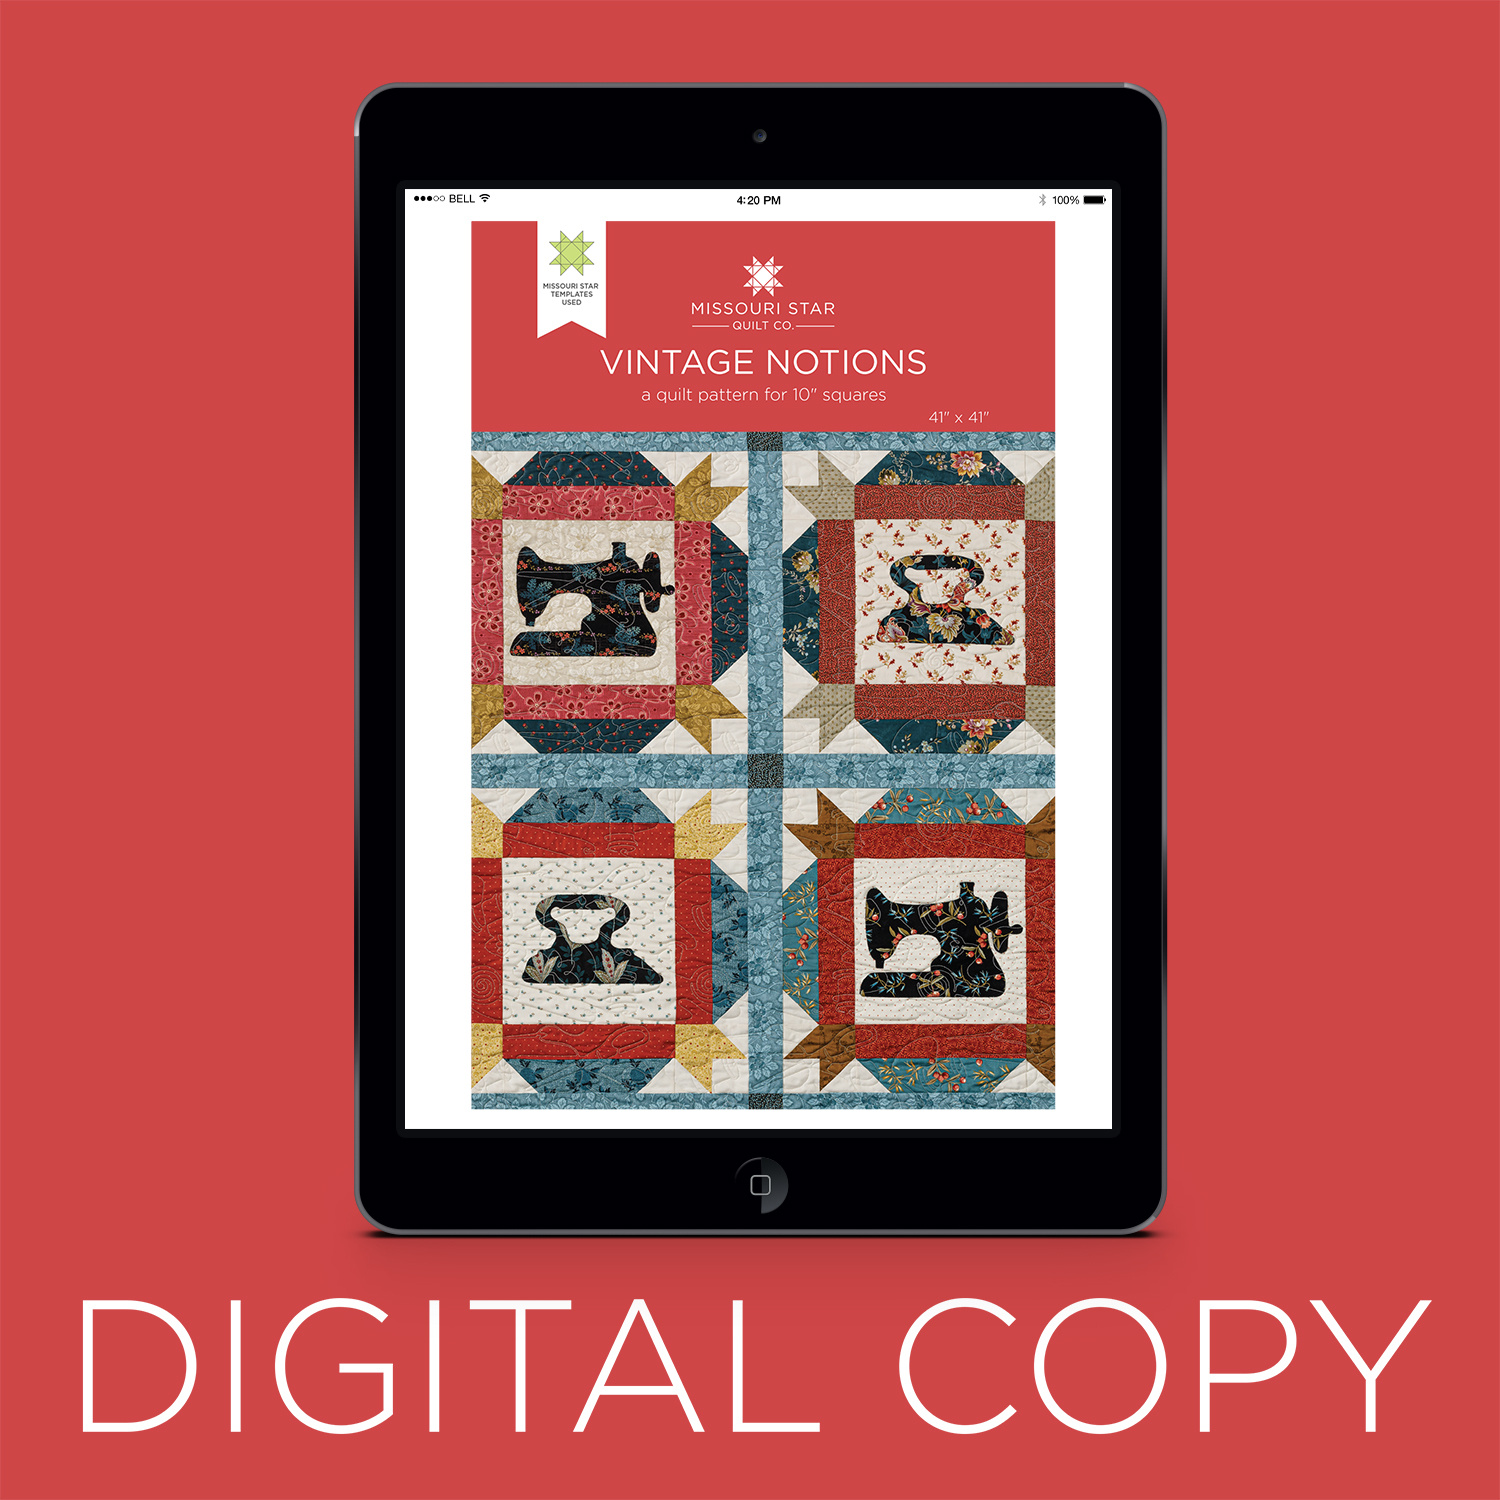
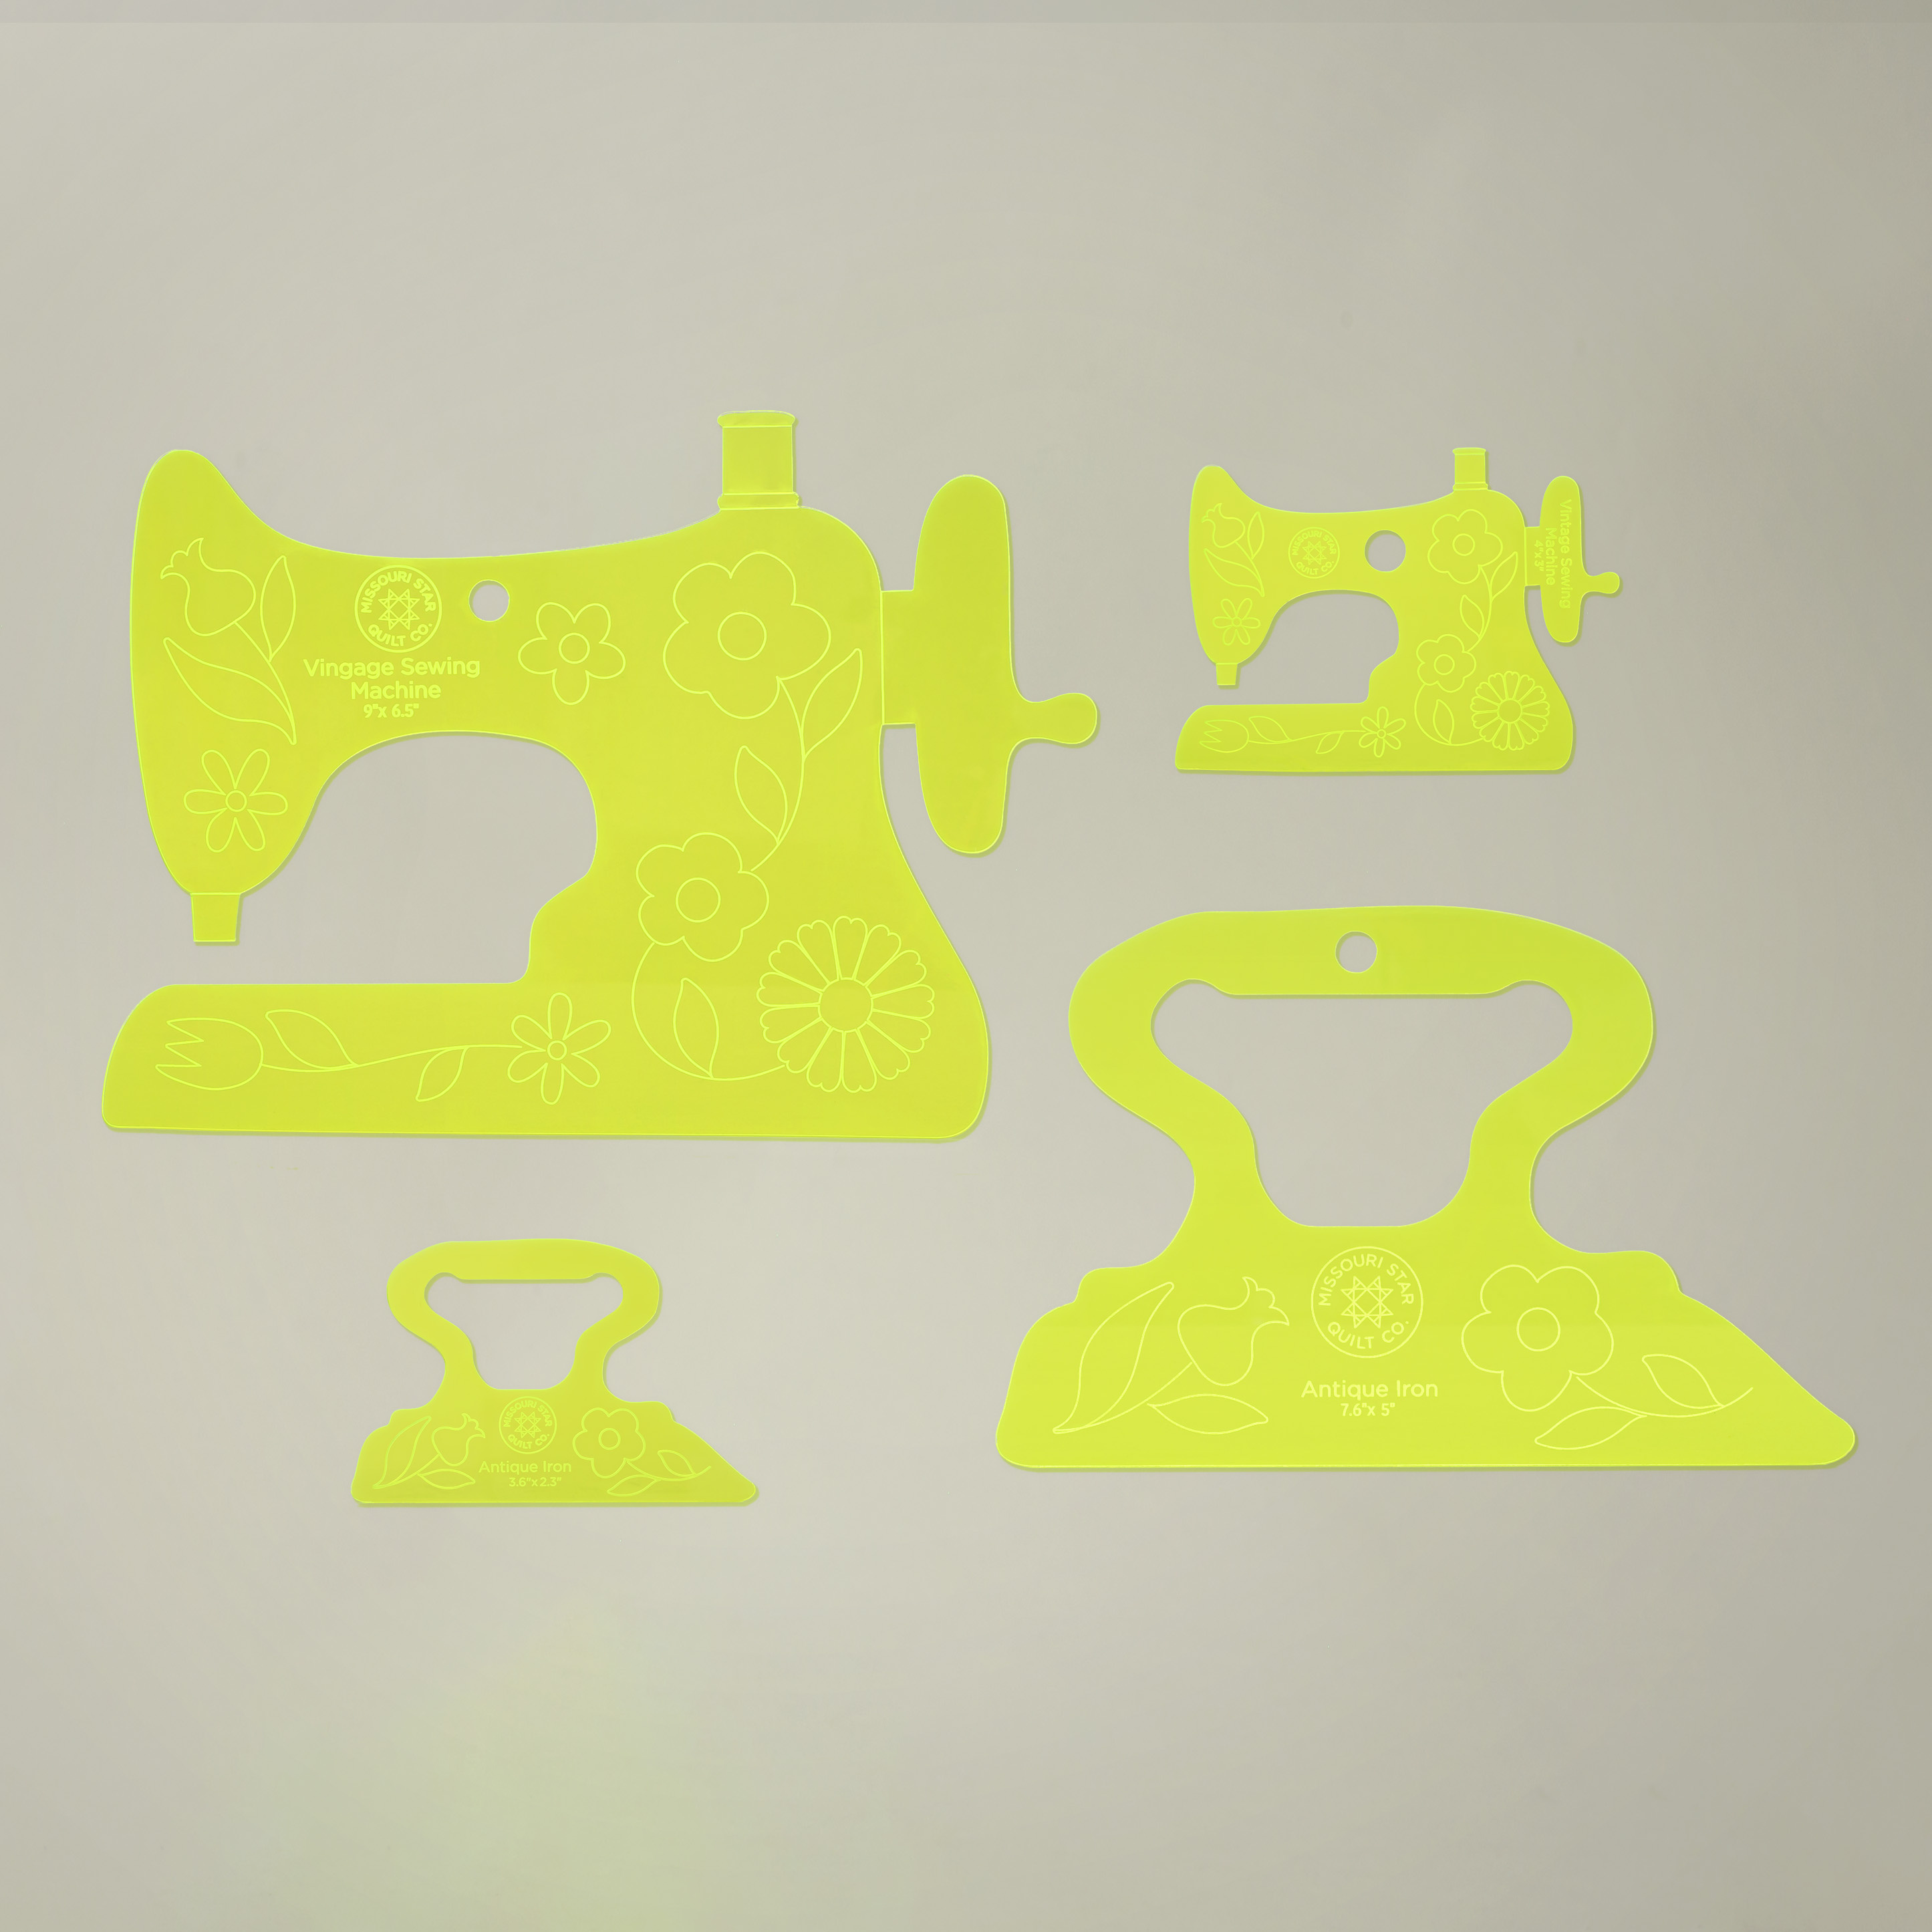
This quilt is SEW cute! Using MSQC templates of antique sewing machines and irons, you can make a quilt that highlights the workhorses of the sewing and quilting world! This pieced and appliquéd quilt is the perfect addition to your sewing space!

Instructor

Misty Doan

Misty Doan grew up surrounded by sewing and quilting. She loves spending time sharing tutorials each week each week, and when she’s not stitching up one of her fun sewing projects for home decor, most likely you’ll find her hanging out with her husband and three awesome kids or working on a house project.

Common Questions

What is covered in Vintage Notions Quilt?

This quilt is SEW cute! Using MSQC templates of antique sewing machines and irons, you can make a quilt that highlights the workhorses of the sewing and quilting world! This pieced and appliquéd quilt is the perfect addition to your sewing space!

How long is the tutorial video?

The tutorial video is 00:13:43.

Are supplies listed for this tutorial?

Yes. The tutorial page includes the supplies and materials connected to this project.

Video Transcript

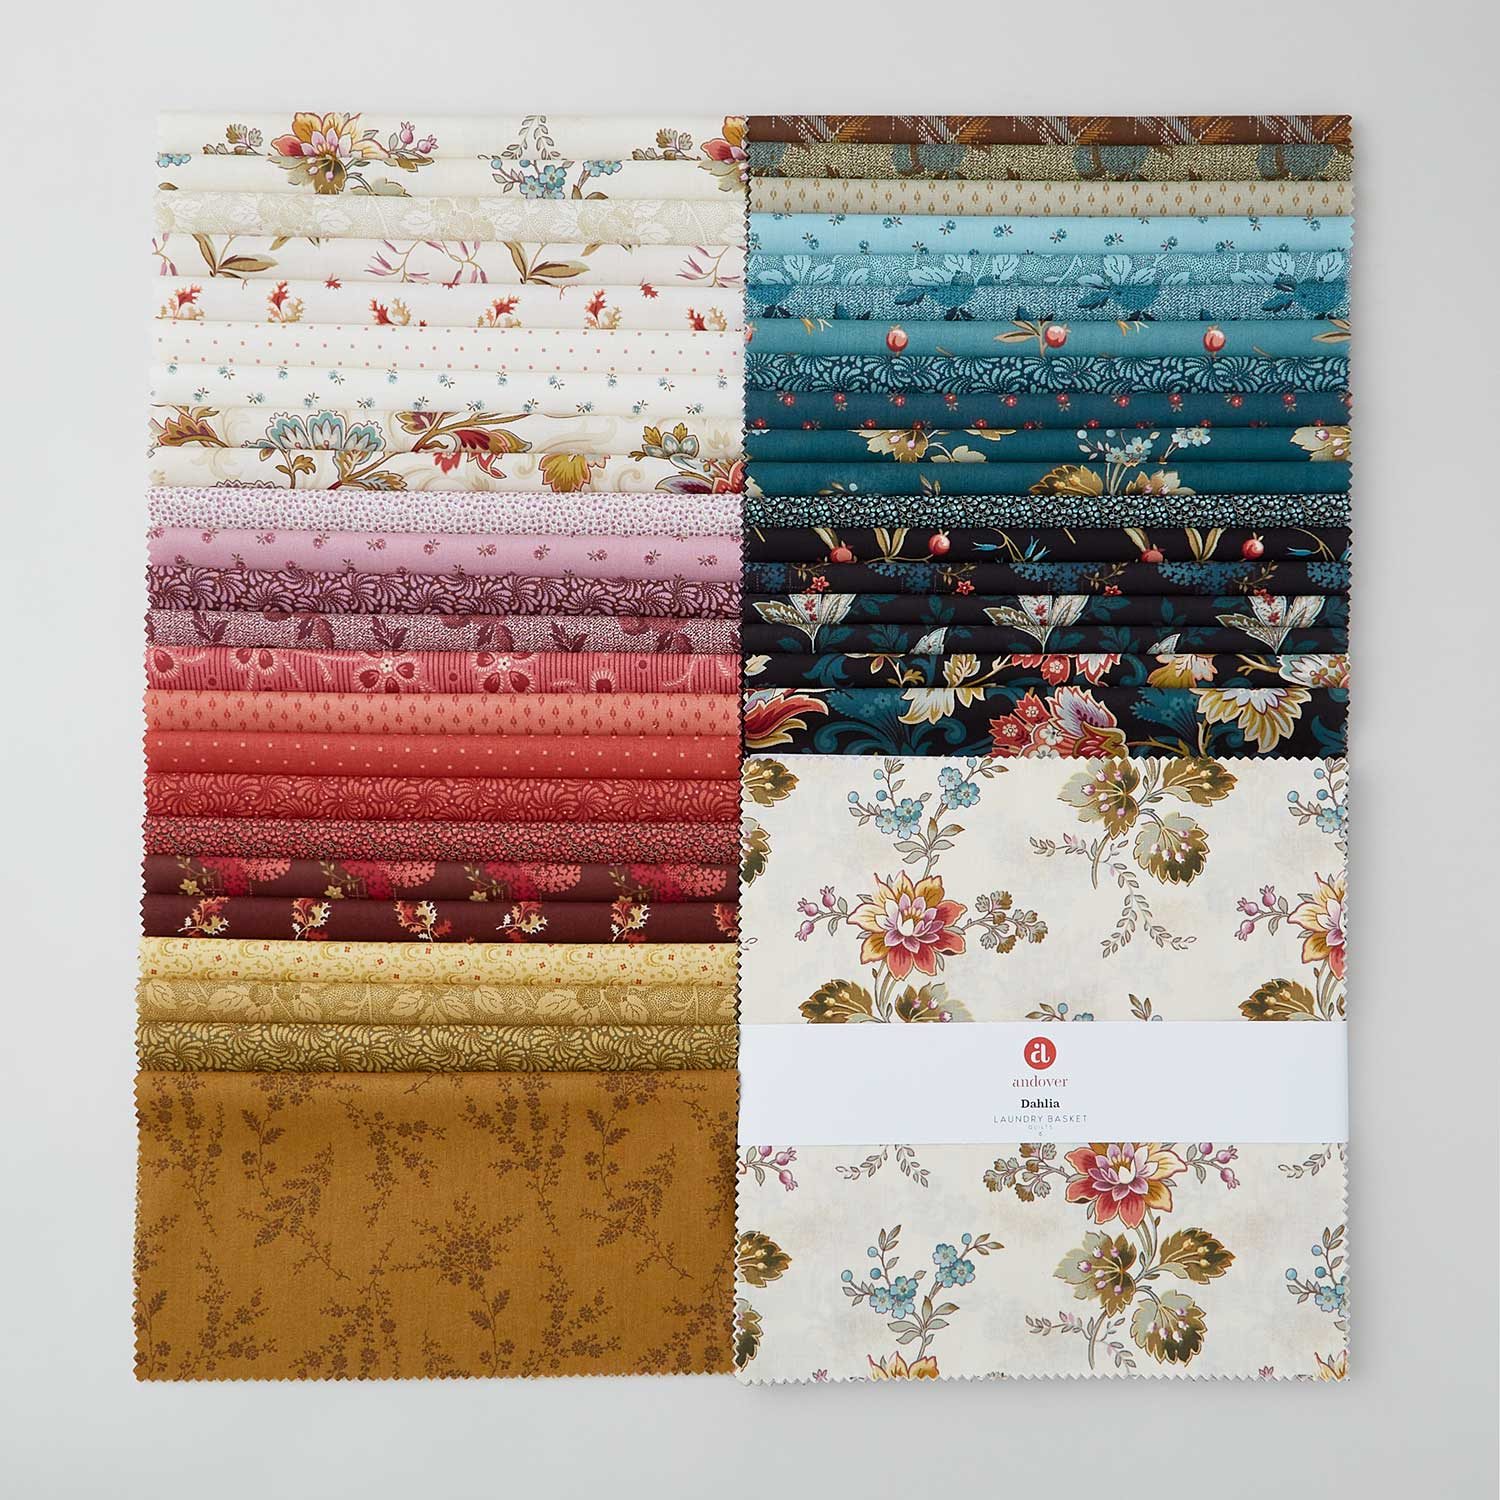
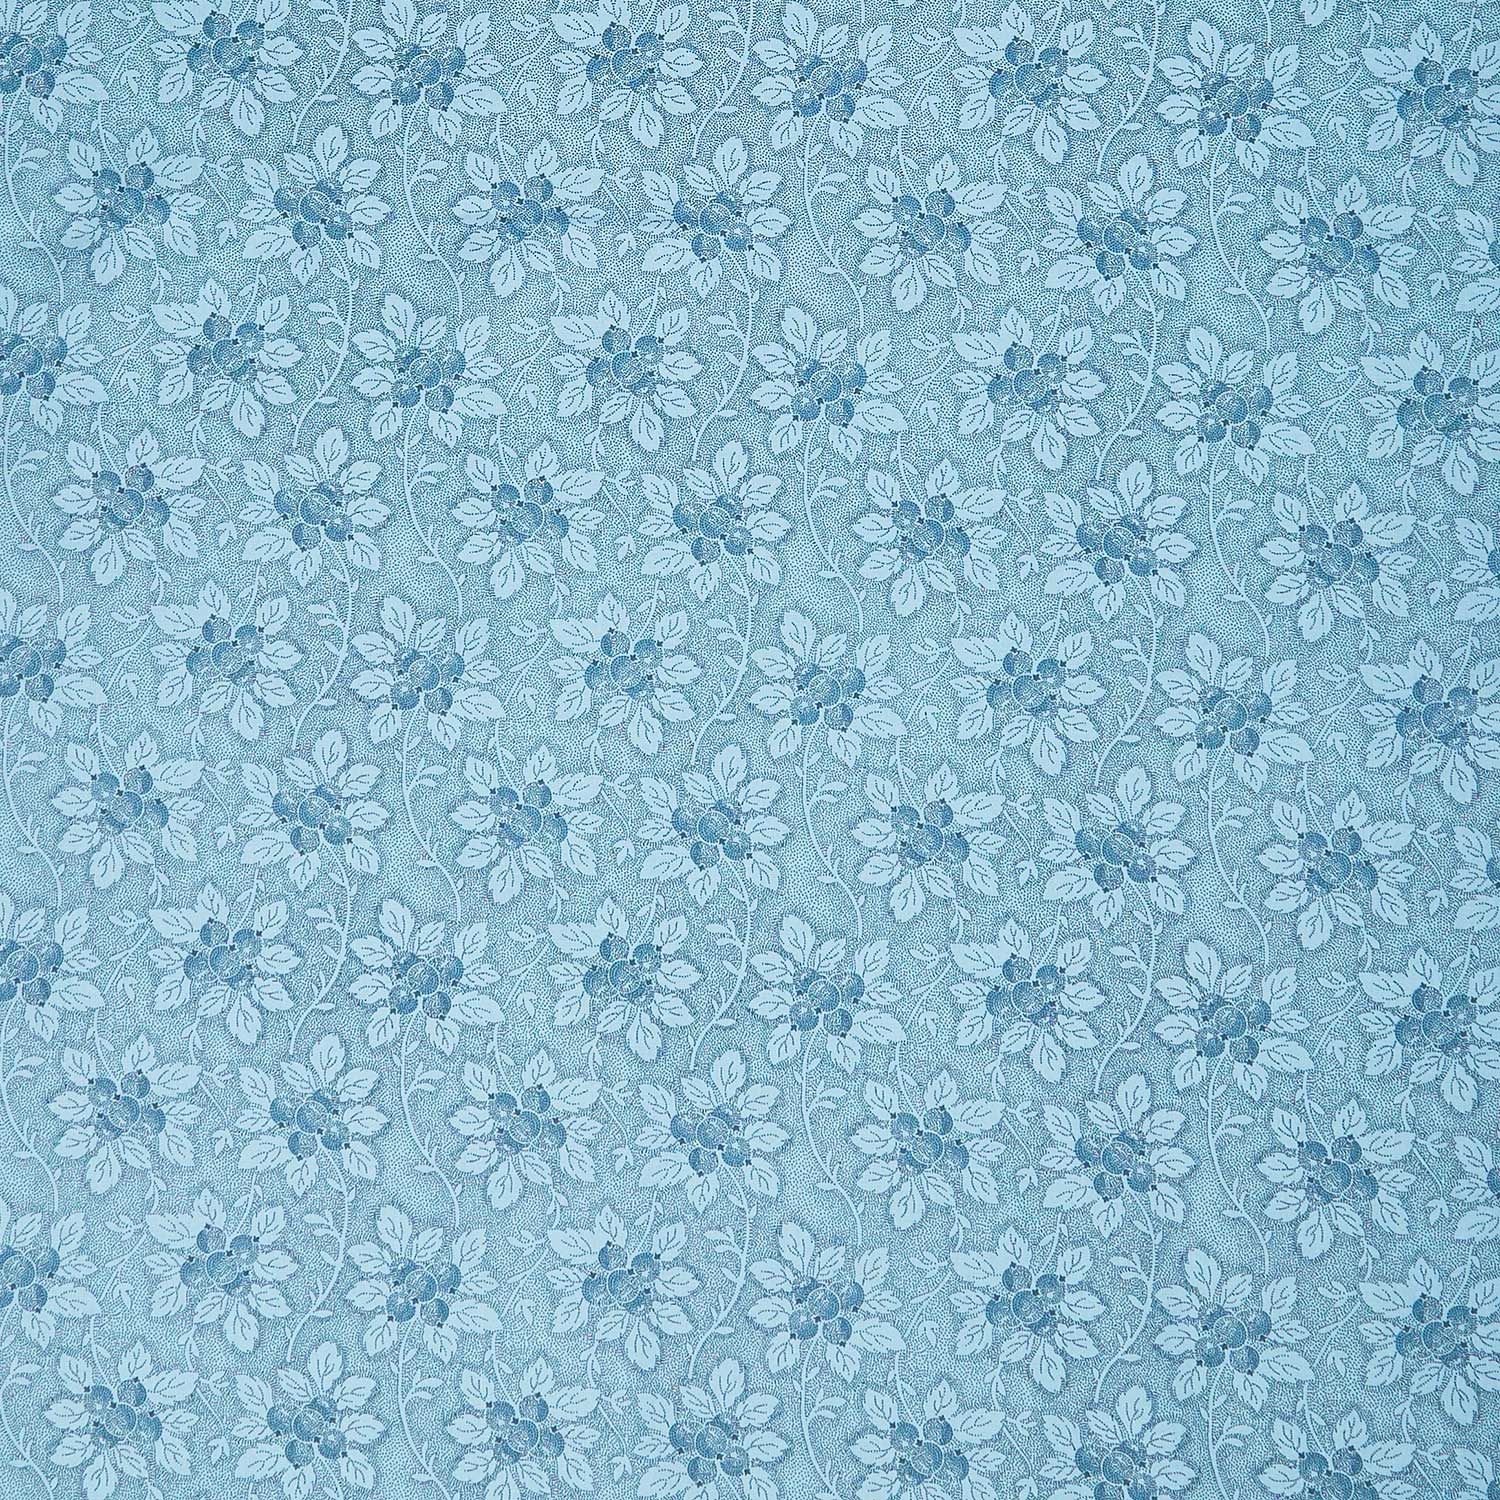
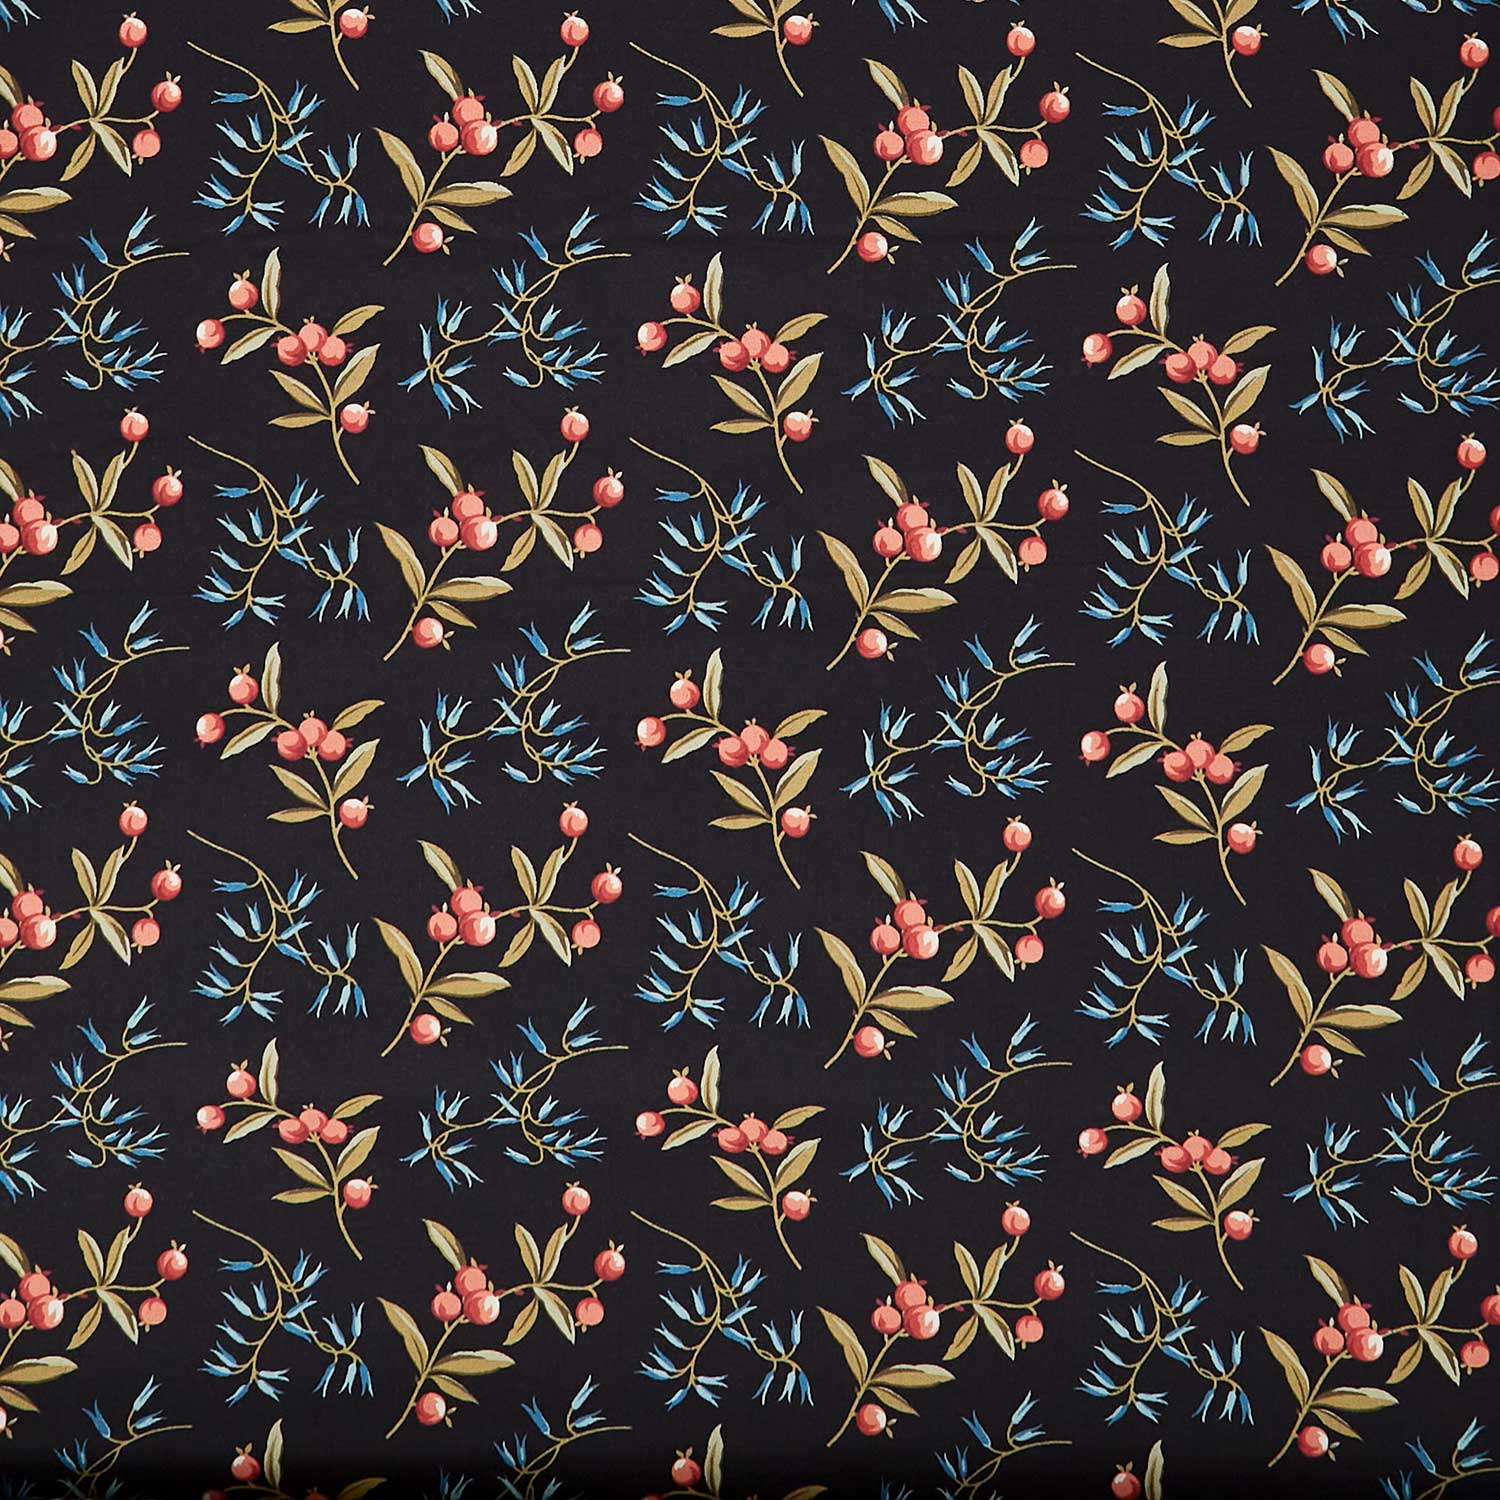
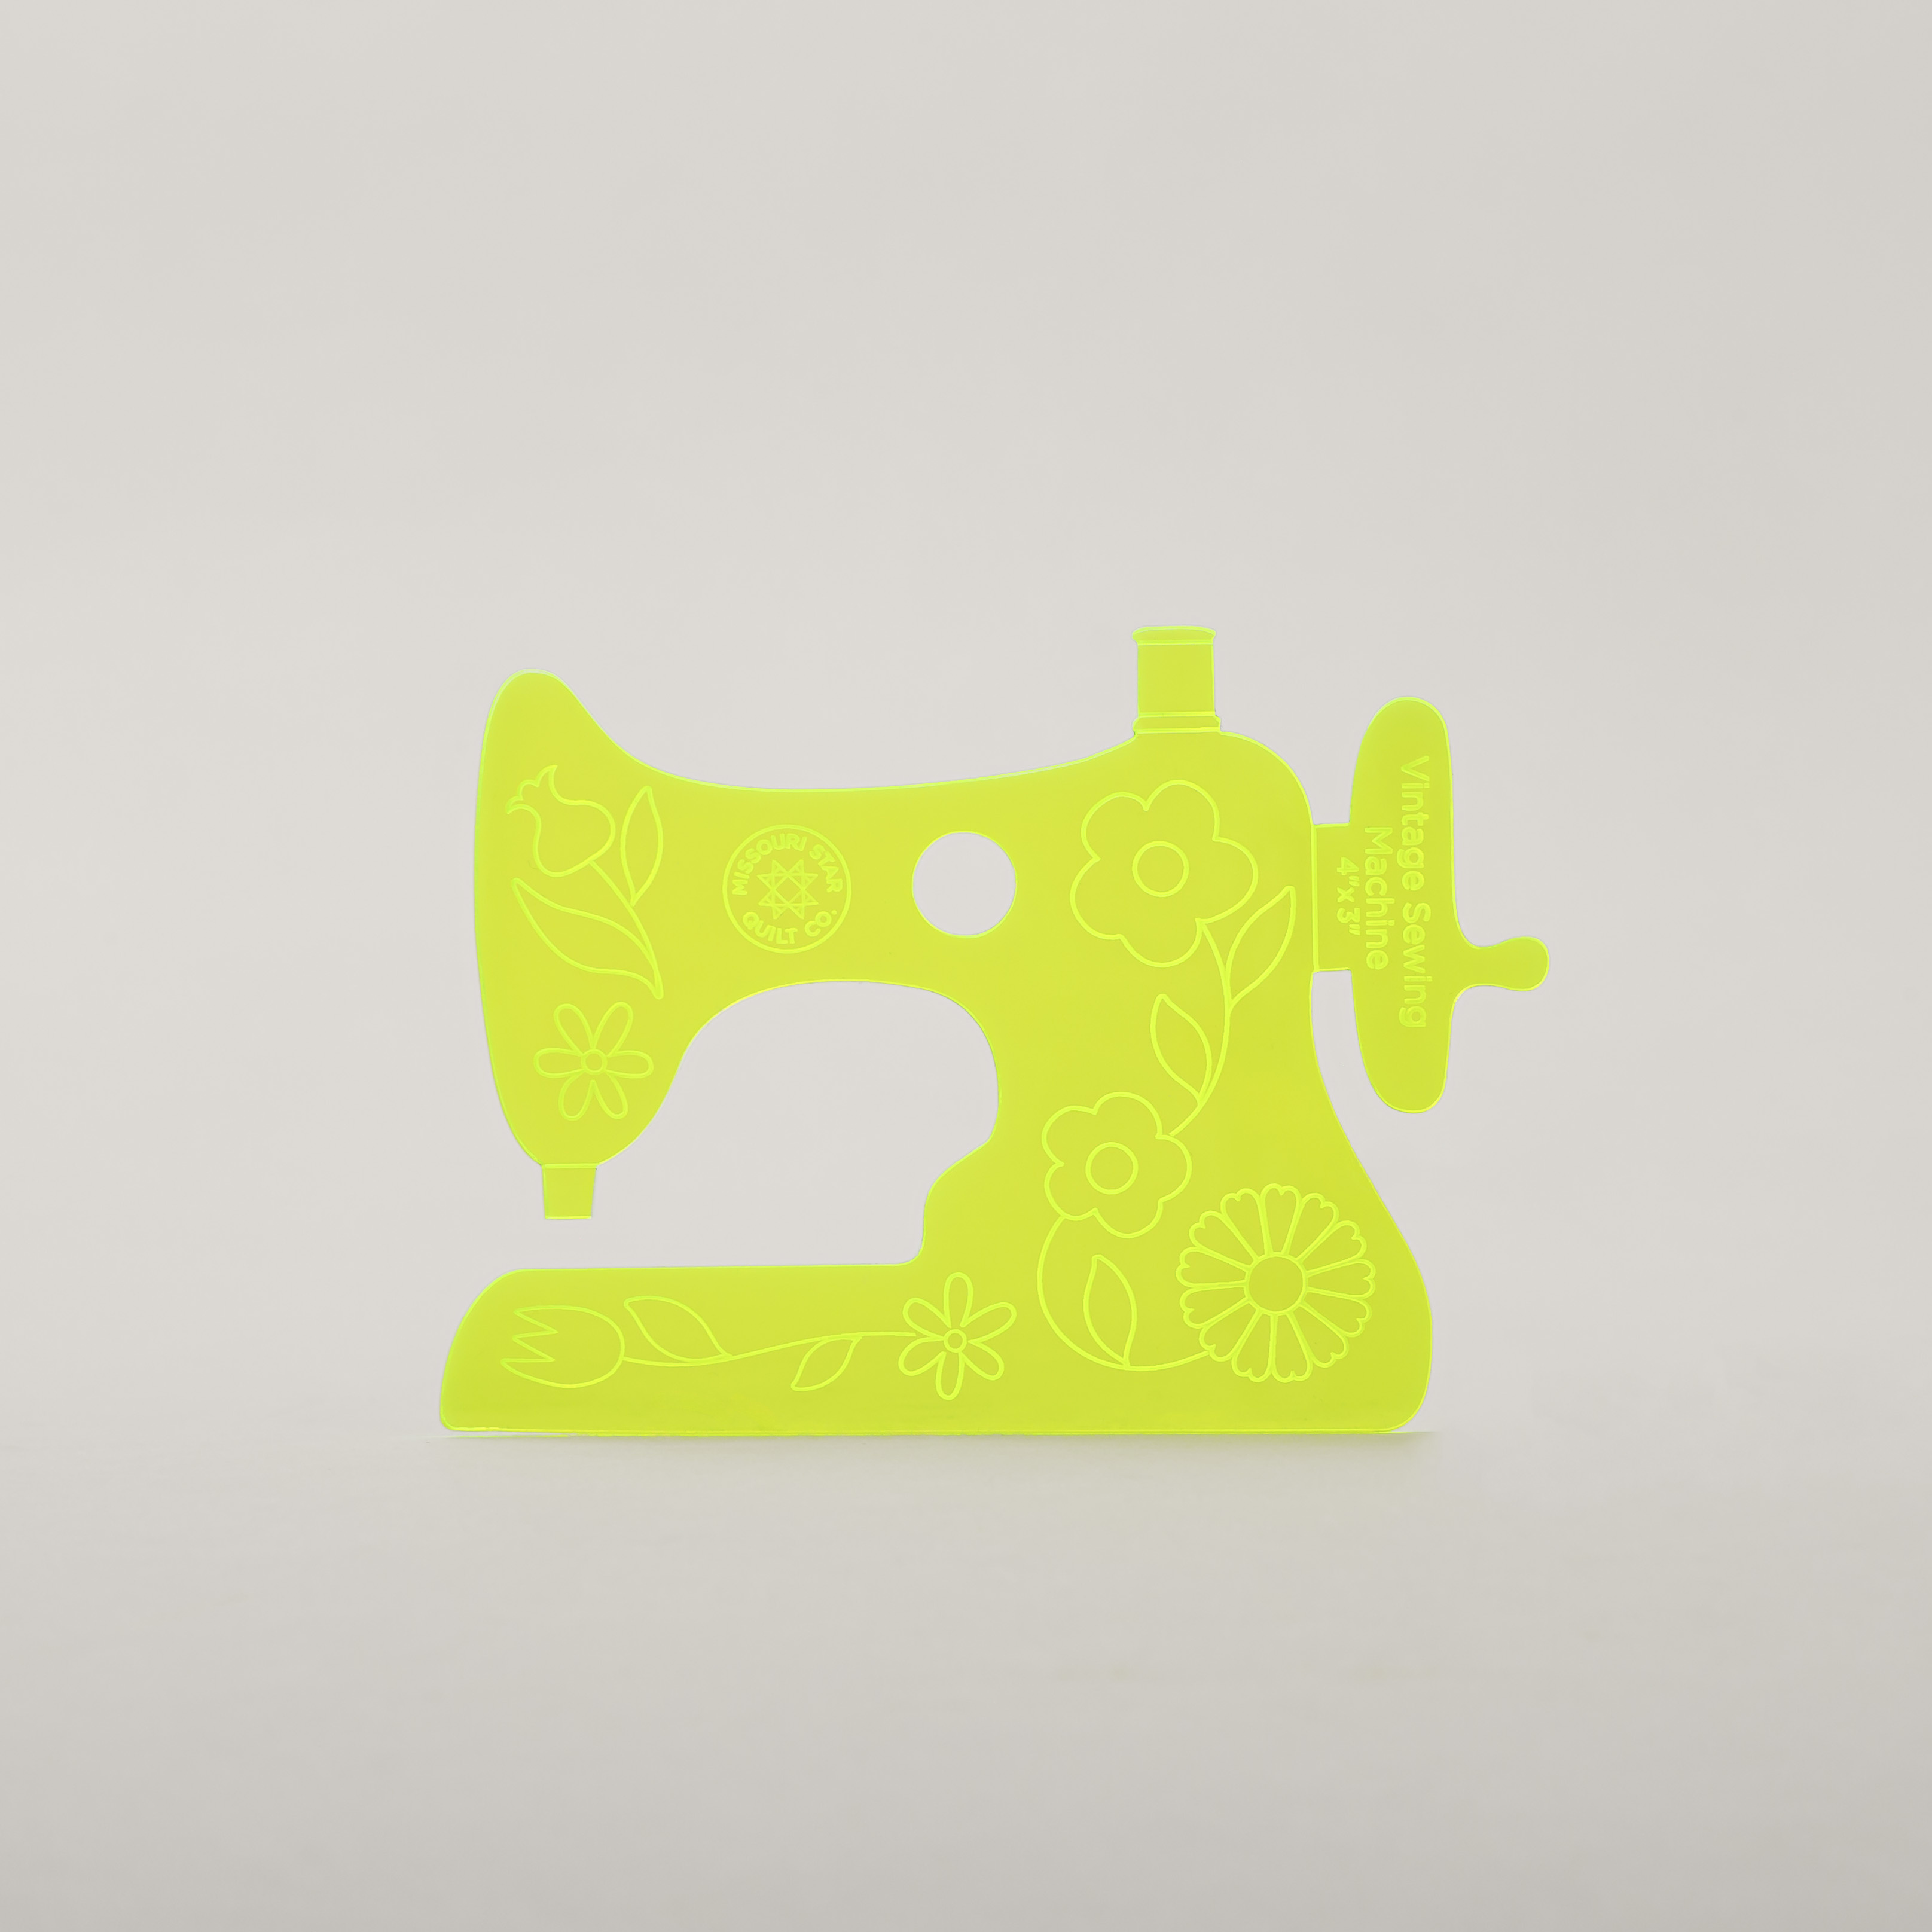
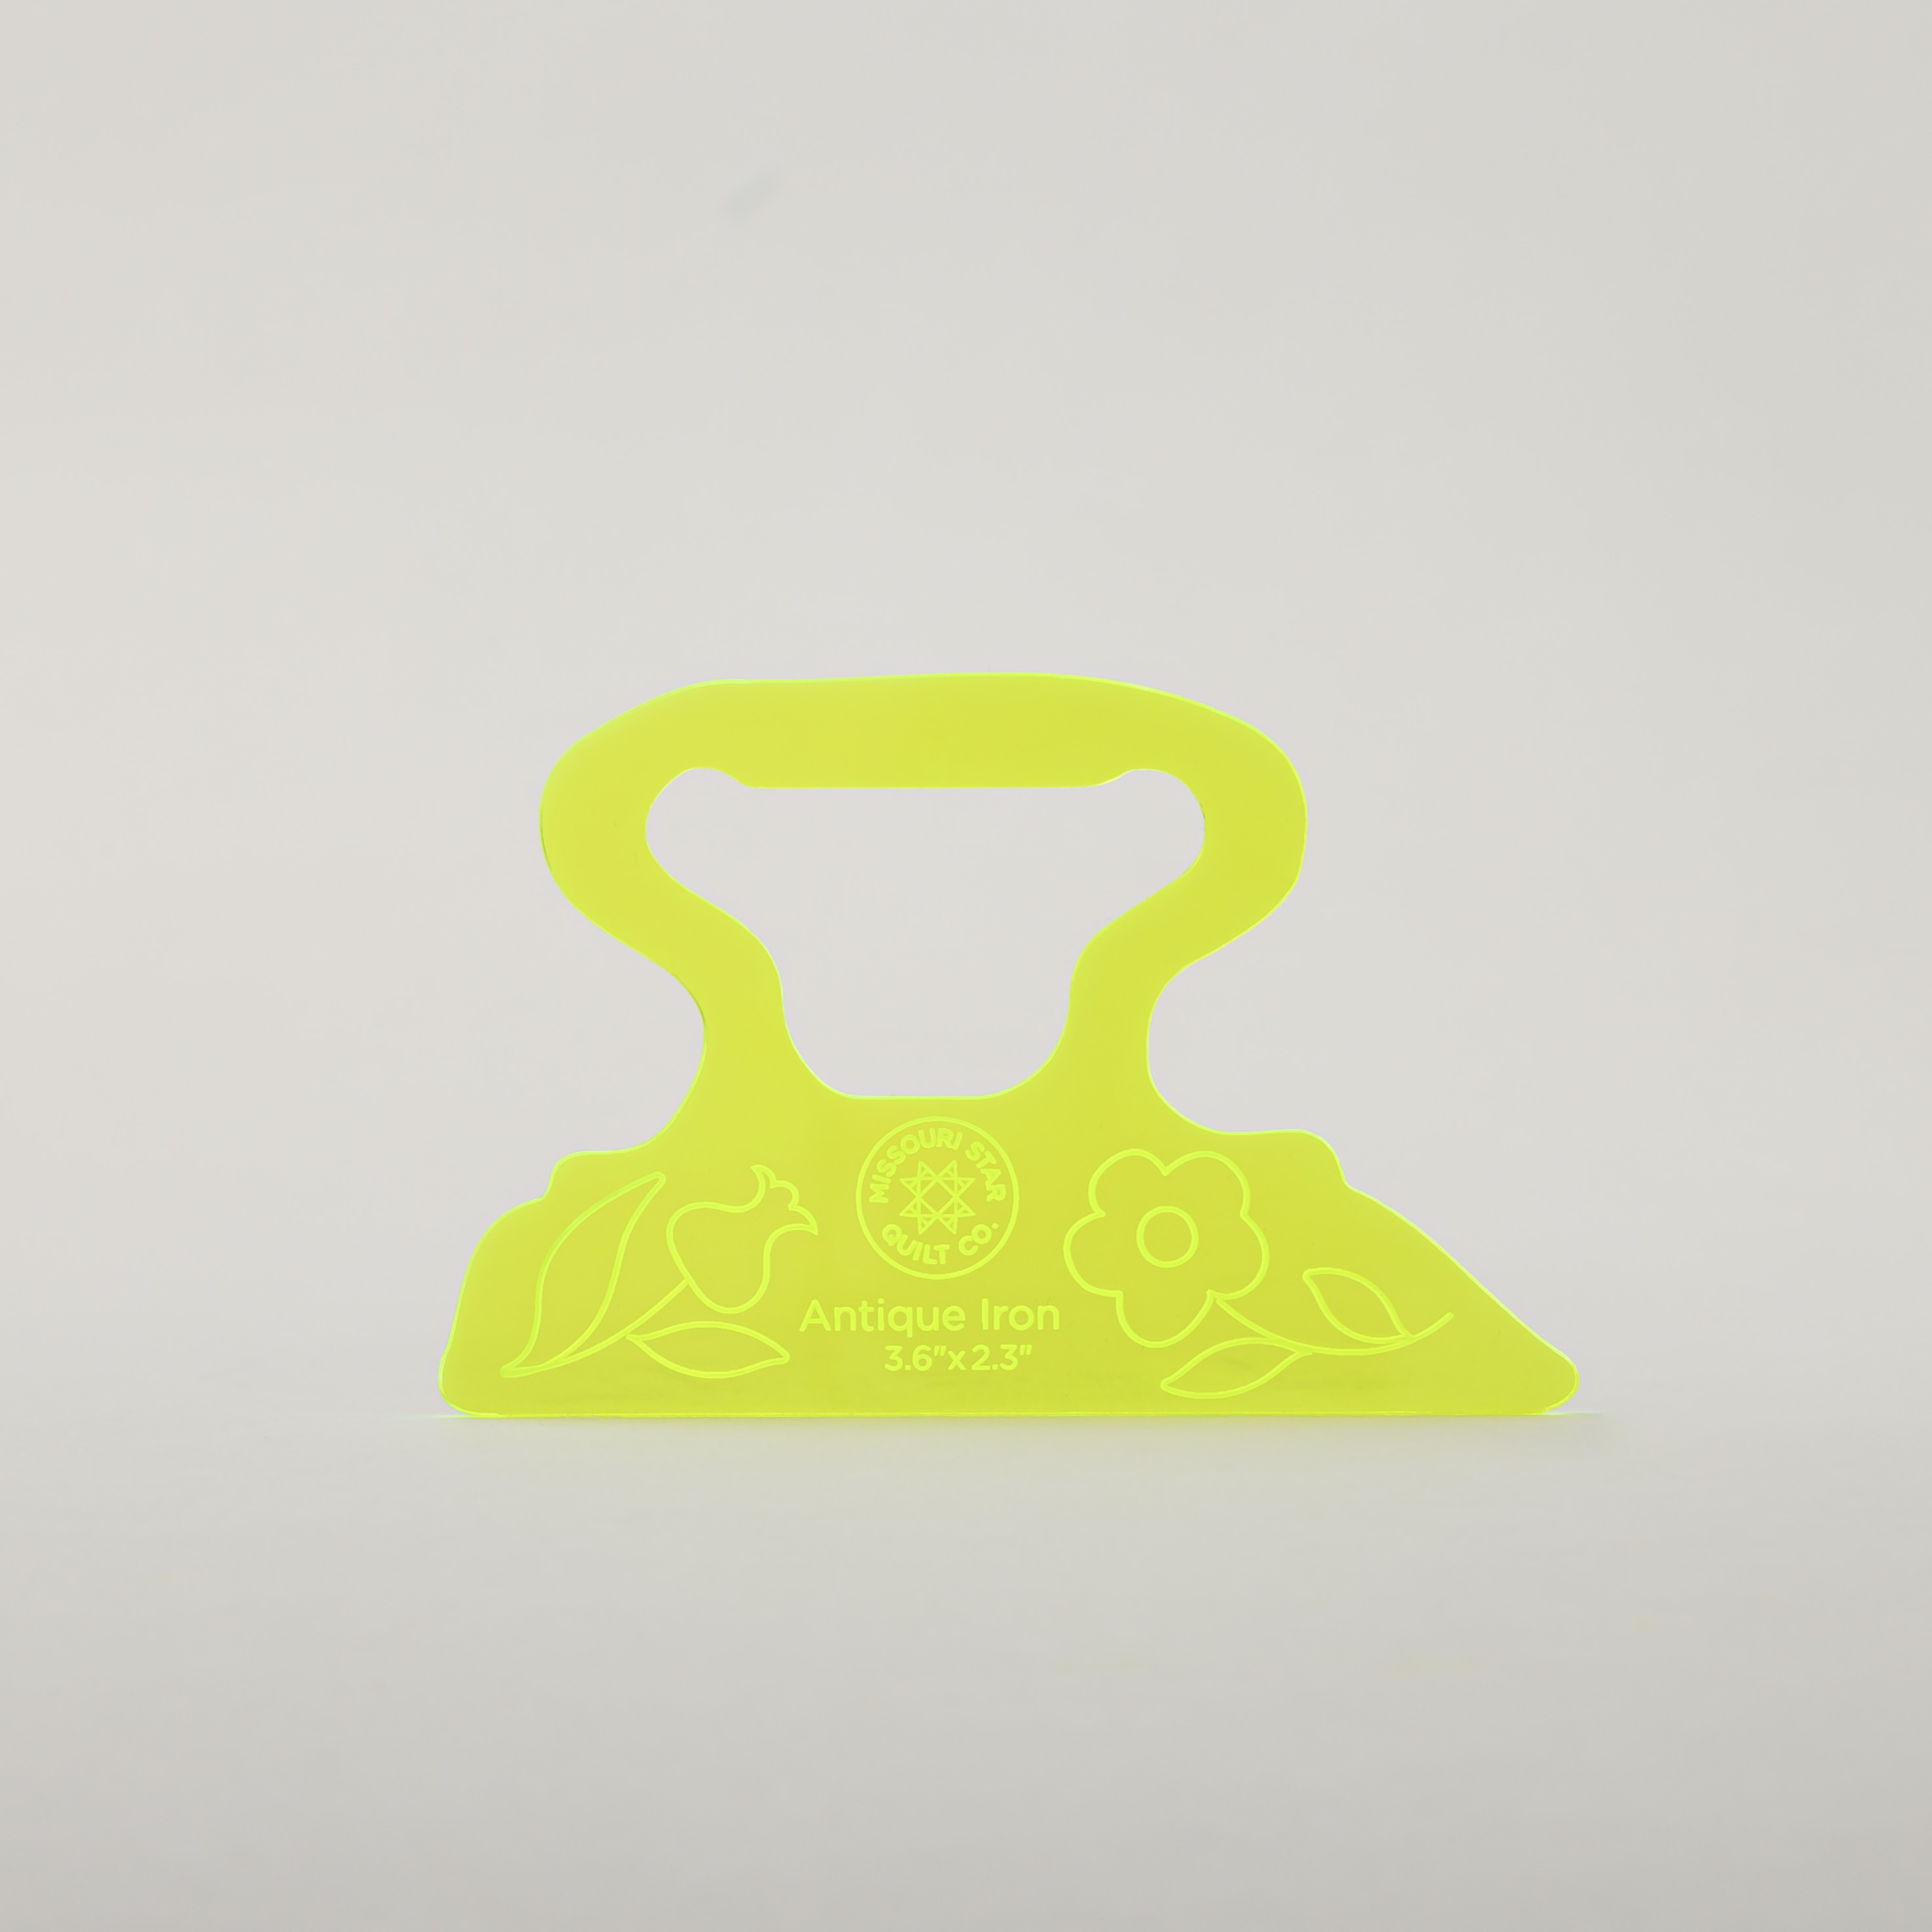
hey everyone today I have this great applique project for you it's called vintage Notions let me show you how to make [Music] [Music] it today's project is quick and easy and I designed it using our vintage sewing machine and antique iron applique template but you could use any applique you want in the middle it's a really versatile block so let me show you how to make it up first you're going to need one package of 10in squares and I have used Dalia by laundry basket quilts for Andover it's a really beautiful floral line you're also going to need a half yard of background fabric as well as a half yard for your border which includes your sashing and for your backing you need two and 3/4 yards you'll need some soite fusible and of course whatever applique shapes you decide to use so let's get started so this is the block we're making today you can see it has this applique in the center and then we build out around it and so to begin with let's start on this applique Block in the middle and so I just chose four of the lights from my pack of 10in squares so I have one here and then I also chose four darks so that I would have some good contrast between the applique and the background and so I have a 10in square of my dark here I went ahead and used our prefused 10in squares of our soite fusible and fuse that to the back and so then now we can just Trace our applique shape one thing you want to keep in mind when you're doing fusible applique like this especially if it has a direction which our sewing machine does is you actually want to reverse it when you trace it so I'm going to flip this over and then I can trace it out with my pen we are just going to make our way all the way around here there we go now we have traced our cute little sewing machine and we can grab our scissors and we will just cut this out and the reason that we want to reverse it when we trace it is because after cut this out it will be facing the right direction so I am just going to take my time cut this out and I'll meet you back here when I'm all done all right so this is all cut out now so we can go ahead and peel off that paper backing and just leave the glue behind there we go and our our cute little sewing machine is facing the right way and I just always eyeball this to make sure it's kind of in the middle there you are welcome to measure if you'd like but it's good to live on the edge a little bit and then we're going to take this over to the ironing board and give this a quick press with a nice hot dry iron and remember when you're working with fusible applique like this you want to press and lift you don't want to slide your iron all around so just long enough for it to have a good fuse perfect okay and then once it's all fused in place you can go ahead and do whatever sort of stitching you like to secure this down so whether that's a straight Stitch or a blanket stitch just something to hold this on for the long term as you wash and use it you can see here on this little iron I just did a little tiny blanket stitch you can kind of see it over here on this side but it mostly just Blends right in with that Fab fabric so again use whatever Stitch is easiest for you A lot of people like a tiny zigzag um just something to secure it in place and so now let's move on to the rest of our block for this part these bordering strips We're going to pick two more 10in squares and so I have those here and I'm just going to stack them up can see I have one kind of orange one blue and we are just going to cut these into two and 1 half inch strips so let me grab my ruler here and we will make our Cuts all the way across there's one two and four and I like to keep them in their little sets because we're going to sew these together we're also going to need some 2 and 1/2 in background strips which I have here and so to begin with I am going to sew on my blue a 2 and 1/2 inch background strip on each side and I've gone ahead and drawn a line because we're going to snow ball this way and then so let's go ahead and take this to the machine and then once I've done that we can add this strip as well now if you don't want to draw the line remember you can press the line or use the diagonal seam tape but I just want to to make sure you guys saw what I was doing and then again we're going to make sure this is going in the opposite direction so I have this way and this way we'll snowball this other side as well now I am just going to go ahead and trim off the excess here of those little snowball units there we go and now we can press those back so I just like to roll those back away from that Center fabric on both sides all right and now we're going to add our orange strip just like this so I'll put those right sides together and we'll sew down with a quarter inch seam allowance and you're going to repeat this four times so that you have four units that look just like this take a few stitches line everything up and then we can just cruise down this side okay now I'll go ahead and press this back as well beautiful and like I said you're going to do this exact same thing four times I have the other ones ready to go here so we'll have four little units that look exactly the same and then now we can work on these little kind of star legs for the outside corners of our block so in order to do that we are going to take another 10in square and to begin with we're going to cut a 2 and 1/2 in strip just like so and we'll subcut this into 2 and 1 half inch squares go ahead and turn that there we go and for each Corner you're going to need one of those little 2 and 1 half inch squares and then for our next cut we are looking for 4 and 1/2 in there we go make sure we're nice and straight this you can save in your scrap bin for another project we can turn this and cut our two and A2 by 4 and 1/2 inch strips there we go now you would just continue cutting until you have four of those 2 and 1/2x 4 and 1/2 in rectangles I have some already done and so I'm just going to show you one of these Corners so to begin with we are going to need some background 2 and 1/2 in squares as well I went ahead and drew a line corner to corner on a couple of them and then we'll need a solid one to round out our block so to begin with I am going to pair up my 2 and 1/2 in uh print Square with my background square and we're going to sew right on that line so let's do that first so we're just sewing exactly corner to corner and then I am going to trim off the excess here while I'm sitting you can use a rotary cutter if you prefer it and then we are just going to roll back our little half square triangle perfect and so then now this I can pair up with my solid square and we need to snowball this strip I always like to kind of lay it out to make sure I'm doing it right the first time and then I know I'll be good to go going forward so I need to snowball this this direction so that it will complete my little star leg so let's go ahead and do that again sewing right right on that line that we drew make sure I'm all straight and we are good to go now we'll trim this off as well and then we can just press this back all right beautiful and now we should be able to assemble our cute little quadrant here so we'll start by sewing these together and then we'll add them to this other side I'm just going to finger press this really quick and then we can put these together and we'll sew one last quarter inch seam here and this little unit will be all ready to go all right let's give this a press beautiful now I always like to point out if you are new to quilting and you see this little Gap here and here that is correct those are your quarter inch seams and you're looking for that I see a lot of comments where people think that they've done something wrong and they'll go and trim that off and then when you sew these together you lose your points so you don't want that to happen this is exactly what you're looking for so you're going to have four of these little guys as well and now we can assemble our block so let's bring all of our units back out here and our Center we use the iron and so then we are going to start by placing these kind of bar units all the way around just like so and then our cute little star legs are going to come there in the corners and then to assemble this I would just sew this row then this row and this row and when it's all done your block looks just like this it turns out so cute and remember you can use whatever applique shapes you want so play with it I think it'll be really fun let's take a look in this little quilt behind me I just used four blocks so here and here and I went ahead and added a sashing so you just measure the size of your block it's a two and a half inch sashing with a Cornerstone and the backing is this beautiful floral and since the whole quilt is kind of sewing themed I uh quilted it in the pattern called a notion to sew so I think it turned out really good I can't wait to see the version that you make so give it a try and I'll see you next time on at home hey everyone thank you so much for watching at home we're so excited to be almost a million Quilters strong here at Missouri Star and so if you have haven't already joined our family be sure to subscribe and hit that notification Bell so you can be notified of all of our future tutorials and we'll see you soon [Music]

More Layer Cake tutorials

See all