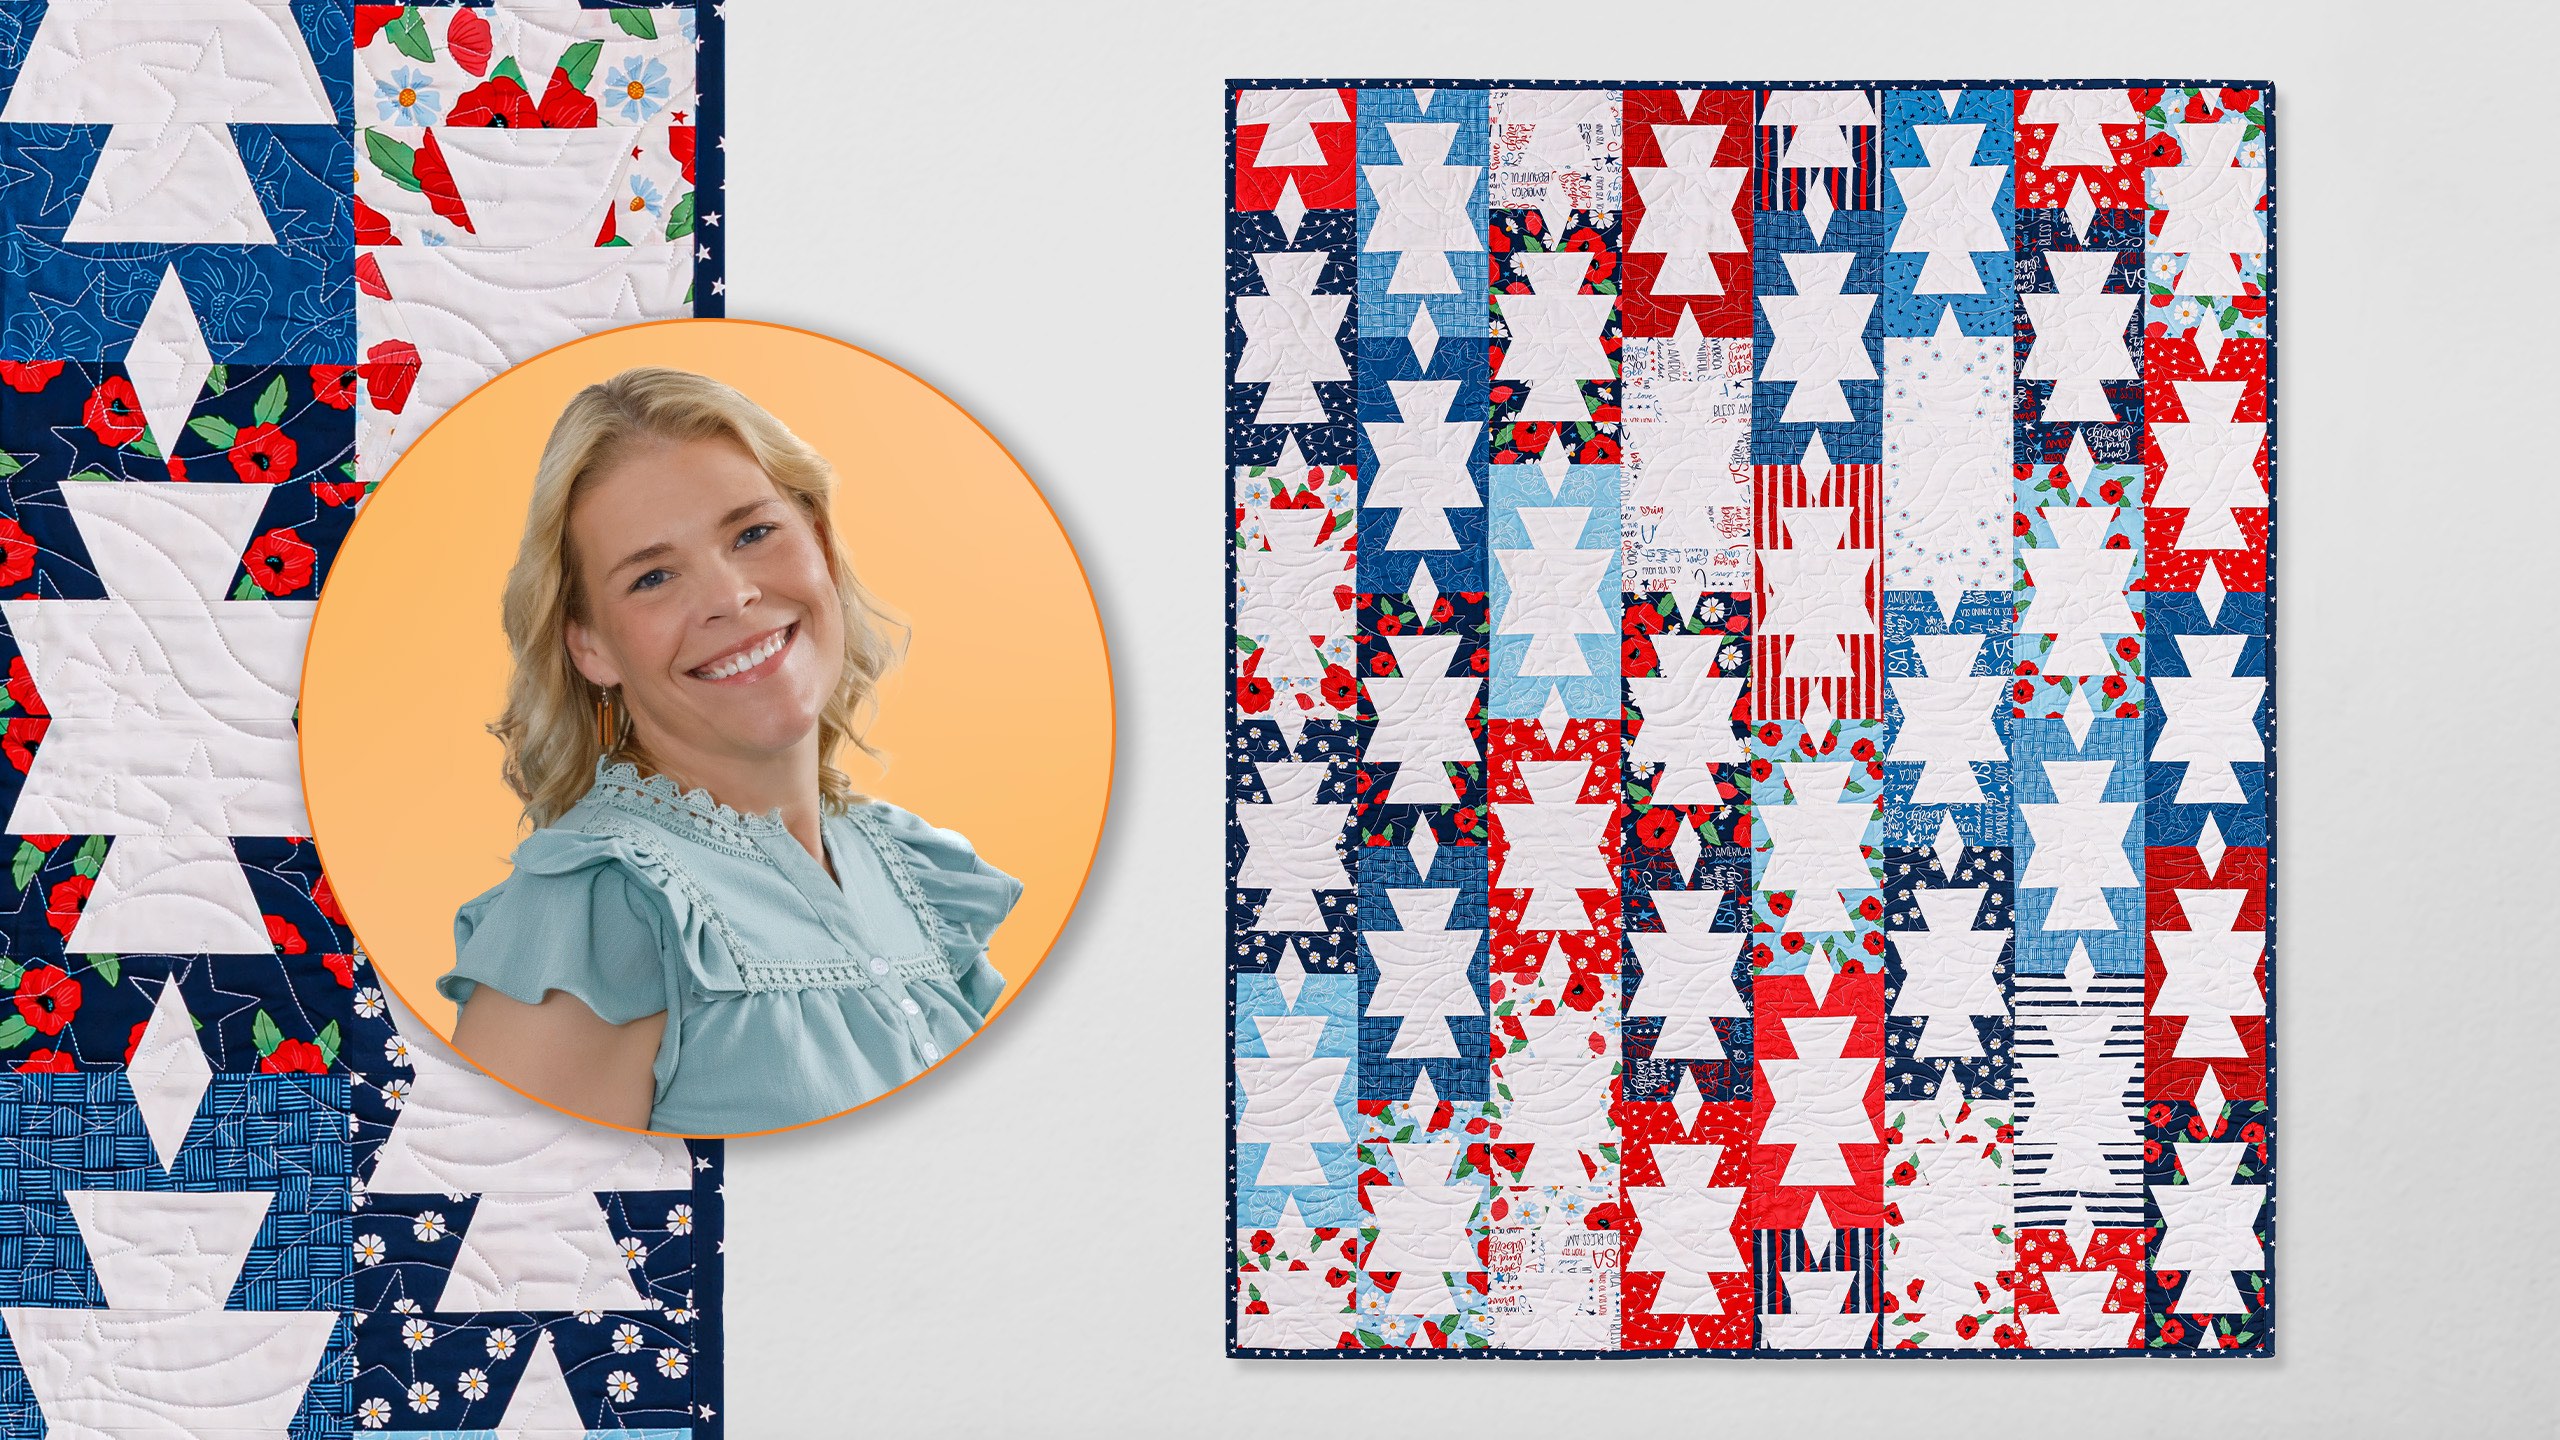
Natalie is in the studio this week with a fresh spin on the Briar Patch Quilt Pattern! With this fun project, Natalie plays with both the block direction and the role of solids and prints, swapping the original white background for multicolored designs. The result is a totally new look from the same beloved block. Expect red, white, and blue in all the right places—she is using Amy Latta’s patriotic collection, Oh Say Can You Sew, paired with Colorworks Premium Solids.
Natalie is the host of Quilting 101, Embroidery 101 and the Creative Strategist and Editor of Block Magazine at Missouri Star Quilt Company. She was taught how to sew by her mom, of course, and began quilting when she grew up.
Natalie is in the studio this week with a fresh spin on the Briar Patch Quilt Pattern! With this fun project, Natalie plays with both the block direction and the role of solids and prints, swapping the original white background for multicolored designs. The result is a totally...
How long is the tutorial video?
The tutorial video is 00:09:44.
Are supplies listed for this tutorial?
Yes. The tutorial page includes the supplies and materials connected to this project.
Video Transcript
Hi everybody. I'm Natalie and today is what if week and I'm really excited about this one. It's called Brier Patch. It's one of my favorites. So, let's get into it. All right. So, the original quilt was made using a pre-cut and the the printed fabric was on the inside of the block. They come together really quick and I love this block. So, for this new quilt, we went ahead and swapped out our print and our background. So now our background fabric is the main part of the block and our print is where our background used to be. We also switched the blocks from uh horizontal to vertical. So the quilt just looks a little bit different, but it comes together in a very quick and easy way and I think you're going to like it. So to make this quilt, you're going to need a package of precut 10in squares. And I have used Oay Can You Sew by Amy Lada Creations for Andover. You're going to need some background fabric about 2 and 1/4 yards. Our backing is this beautiful floral print and you'll need three and 58 yards with a horizontal seam or if you use a 108 you'll need a yard and 78. Some other things that you'll need are our simple wedge, the large template and the wing template also in large. So let's do this. So this is our block and it's really easy to make. I think you're going to like it. So, the first thing we're going to do is cut some 9-in strips from our background. And we are going to use our simple wedge template to cut out some triangles. So, we're going to line this up right down here on the bottom. And we are just going to flip this around and cut a bunch of wedge templates. We're only going to need a couple for now. So, I'm just going to demo this going back and forth along that 9in strip. Okay. And we'll set those aside. That got a little bit rumply. All right. So, now we're going to cut the wing part of this block. And that is where our little 10-in pre-cut comes in. And we need mirror images. So, what we're going to do is fold it in half. And you can press these if it feels it feels a little bit easier to press them so that the fabric doesn't slide around. All right. So, we're going to press this in half. And now we're going to go ahead and place our wing template right up in that corner for our first cut. I do like to kind of back cut that to start rather than cutting into the other piece just so that I don't end up miscutting a little bit. And then I'm going to cut these little notches. So, we'll set these aside. And then we're going to cut our second cut. And you'll see you have plenty of room. So, I like to line that up along the edge there so I can use that cut. Then we'll cut our the rest of our sides here. We'll cut off the fold. Cut the little notch at the top and then this notch at the bottom. And then you can see here, let me get rid of that. You can see here that because we folded them together, we've got both pieces that mirror perfectly. Super simple. So, let's get started on assembling this block. So, we're going to take our background wedge and we're going to line it up with our wings on the outside and we're going to stitch these together. The [snorts] way I like to line it up is I match up the base piece down here with the point. And that gives me that perfect little quarter inch overlap here at the top. We're going to stitch down one side and then we'll press it back and do the other side. And I'm going to do two of these. So, we'll get this one here ready to go as well. We'll take this to the machine and we're going to use a nice quarter inch and just stitch one side on at a time. All righty. Go ahead and press these back cuz we want that seam to overlap. Lining up that bottom point with the top gives us that exact right seam allowance. Um, and the other thing to remember to keep in mind is that your your wing pieces are going to have their wide end at the top and the wedge is going to have its wide end at the bottom. Sometimes we get hung up and put them together a little bit backwards, but that's just something to keep in mind. So now, as you're lining it up again, you'll line up that point down there. And this lines up perfectly with the piece next to it. And we'll stitch the other side of both of these. Okay, time to press these back. All right, so now comes the fun part. I like to be efficient, so I'm going to stack mine up. They should measure about 7 and 1/2 across, which these do. Um, and if you want to, if your top is a little bit crooked, now is a good time to go ahead and square that. And you're not wanting to take off a lot, just make it straight so that you can line your ruler up in a nice little straight line. So, just the tiniest little bit. And if yours are nice and straight, you don't have to do that. Now, I'm going to flip it around, and we are going to make three cuts. And they're all going to be 2 and 3/4 in. The reason for this is it maximizes our use of this length of fabric or the block that we have. All right. So then we're going to slide that over. We're going to do three two and 3/4 inch strips. [snorts] And for our last one here, so then this little piece is our waist. So now it's time to build that block. So, we're going to rotate these strips, swap their places, and then put this one at the end. Then, we're going to start sewing our strips together to build out the block. I'm just going to do these and chain piece them. I'm going to open this up and add my little point on the end. And then we'll do the same thing with the other half. and add that last piece down here. All right. So, let's go press these. Going to roll that back. I just love how quick and easy this comes together. And it looks like you did something really complicated, but it was actually very simple. All right, so we've got these pressed. So, now we have two halves of our block. So, for most of the quilt, you're going to sew these blocks together to make full-size blocks that look just like this one. But for some of the rows, as you'll see here, you're going to start with a half block and then end with a half block. And then your next row is fulls size blocks and then again a half block and another half block. And that gives you that offset sort of brick look. And it's really fun. I love this quilt so much. Here is our backing. I love Amy Lada's fabrics. They're just so fun and beautiful. We've got these really cute little tags that we stitched into the binding that just make your quilt so unique and special. Our machine quilting is star spangled banner and this quilt ends up being 56x 67 and a half. I think it's really fun. I hope you'll give it a shot and I hope you enjoyed this tutorial on the What If Brier Patch from the Missouri Star Quilt Company. Bye. Hi everybody. I hope you enjoyed today's video. We're trying super hard to get to a million subscribers. So, if you enjoyed it and [music] you want to see more, just hit subscribe and share with your friends and encourage them to do the same. And I will see you next Friday with a brand new tutorial.

 Natalie Doan
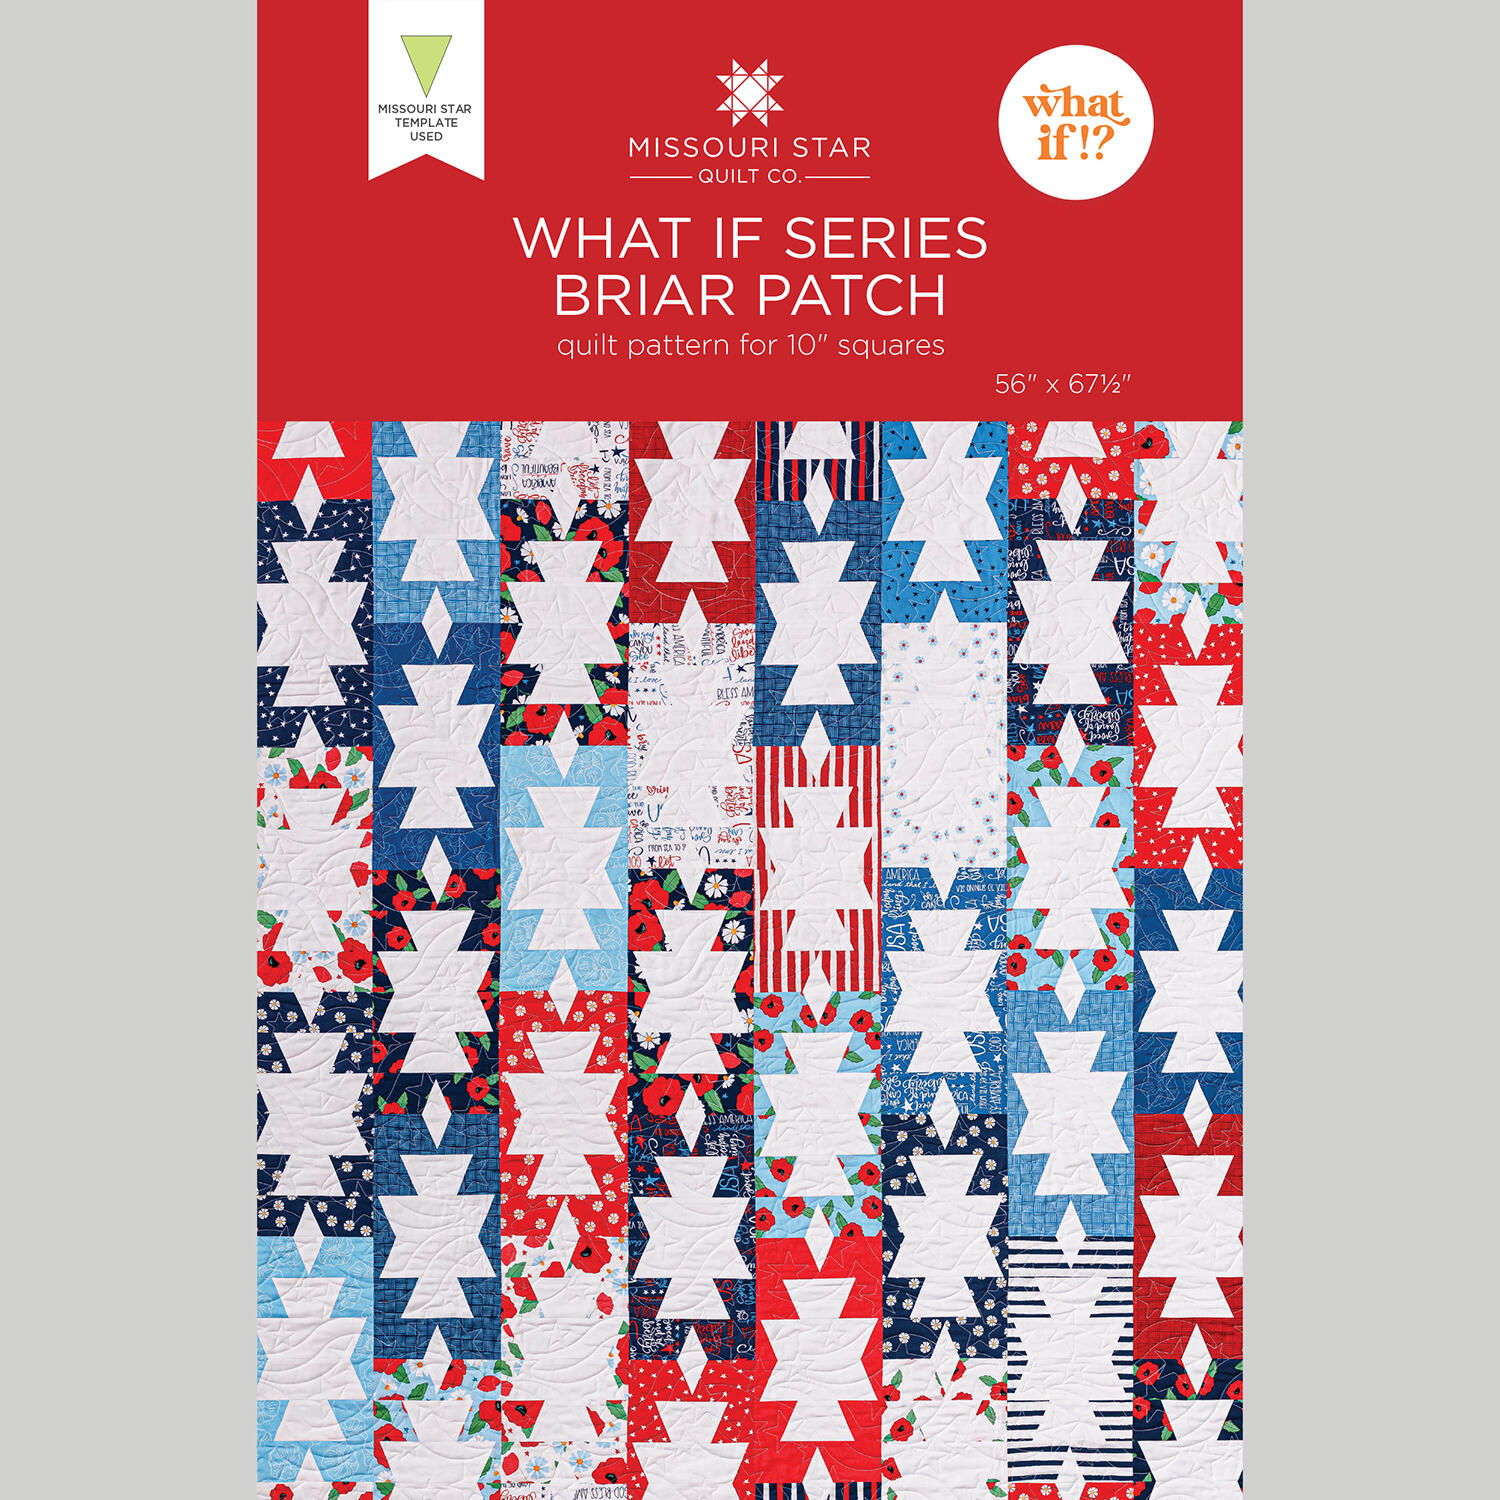 What If Series - Briarpatch Quilt Pattern by Missouri Star$8.50Shop →
 Digital Download - What If Series Briarpatch Quilt Pattern by Missouri Star$6.95Shop →
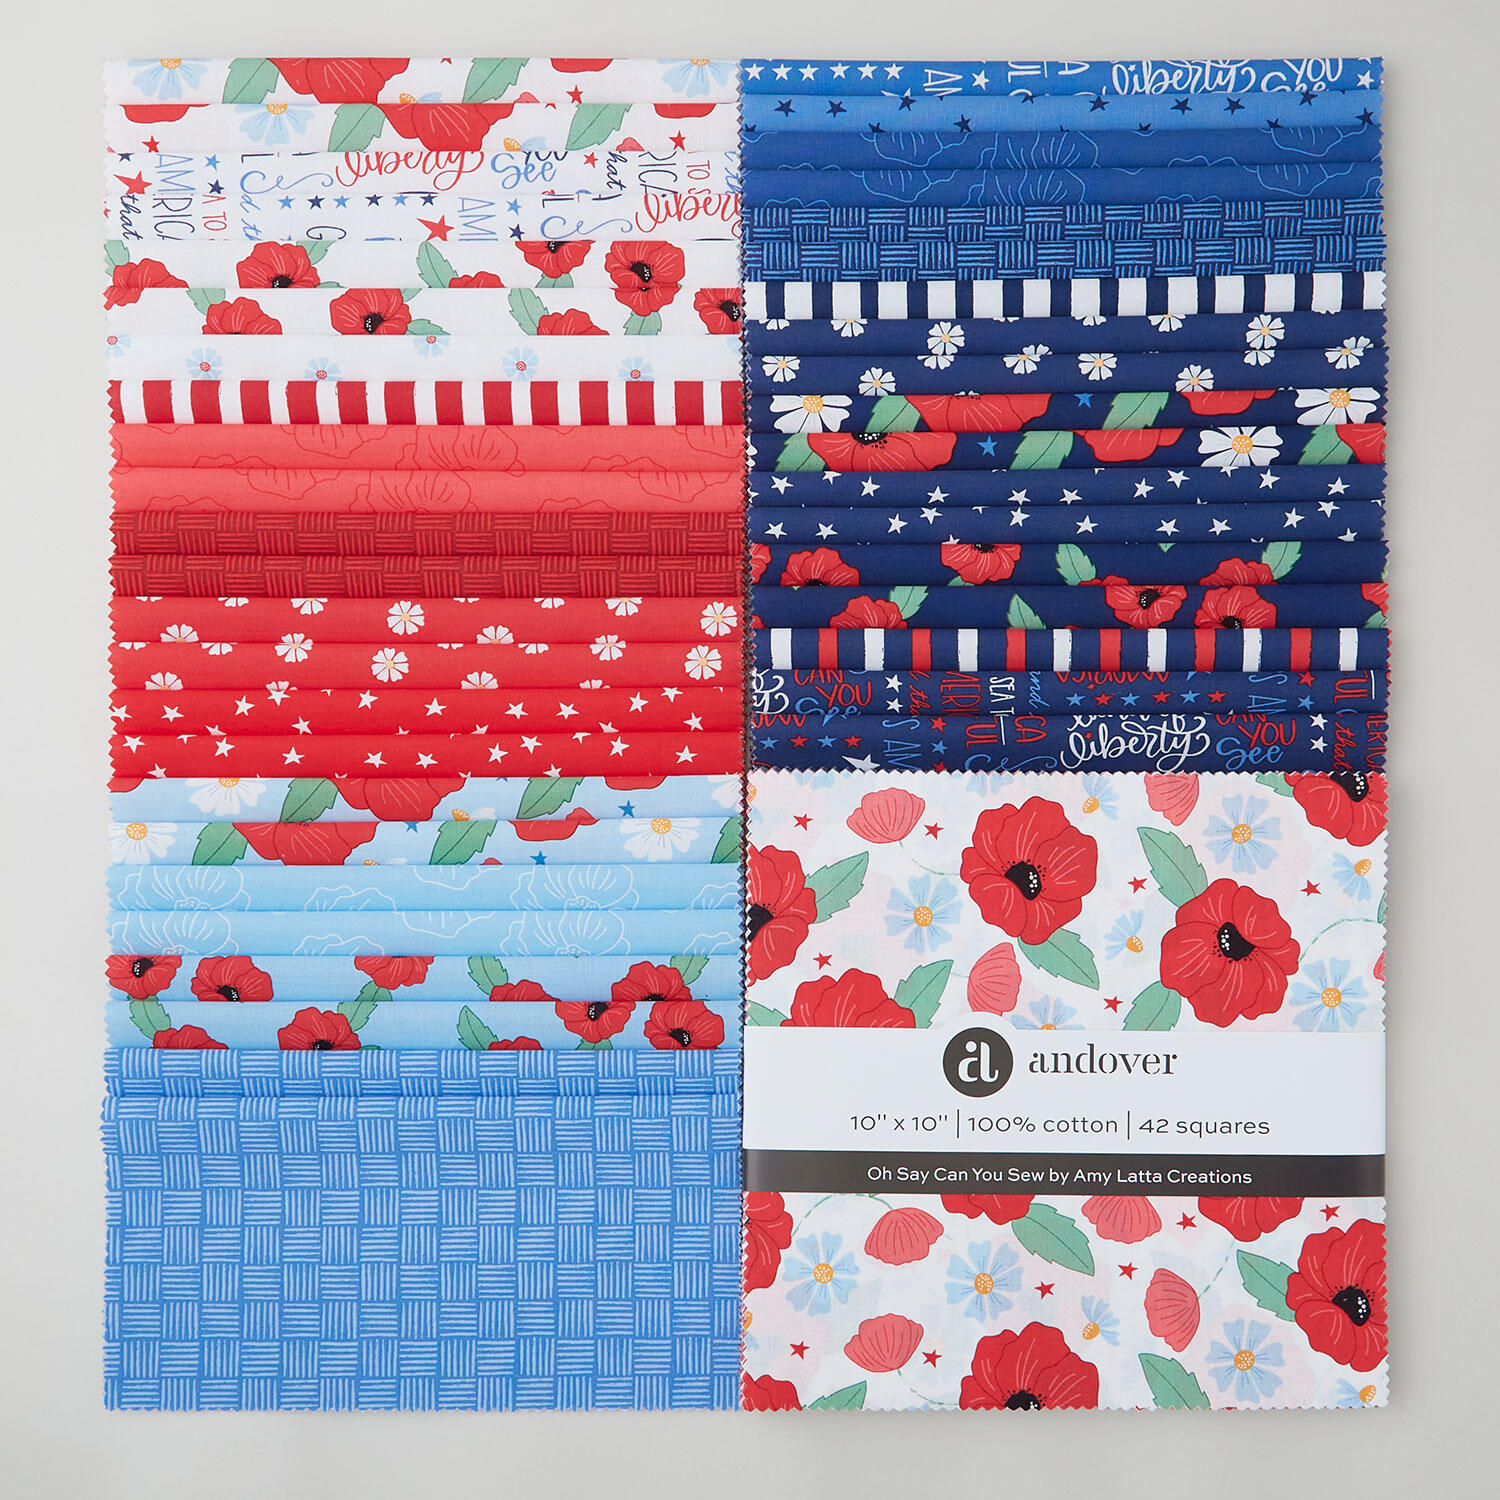 Oh Say Can You Sew Sundaes$47.75Shop →
 Colorworks Premium Solids - Superwhite Yardage$8.96Shop →
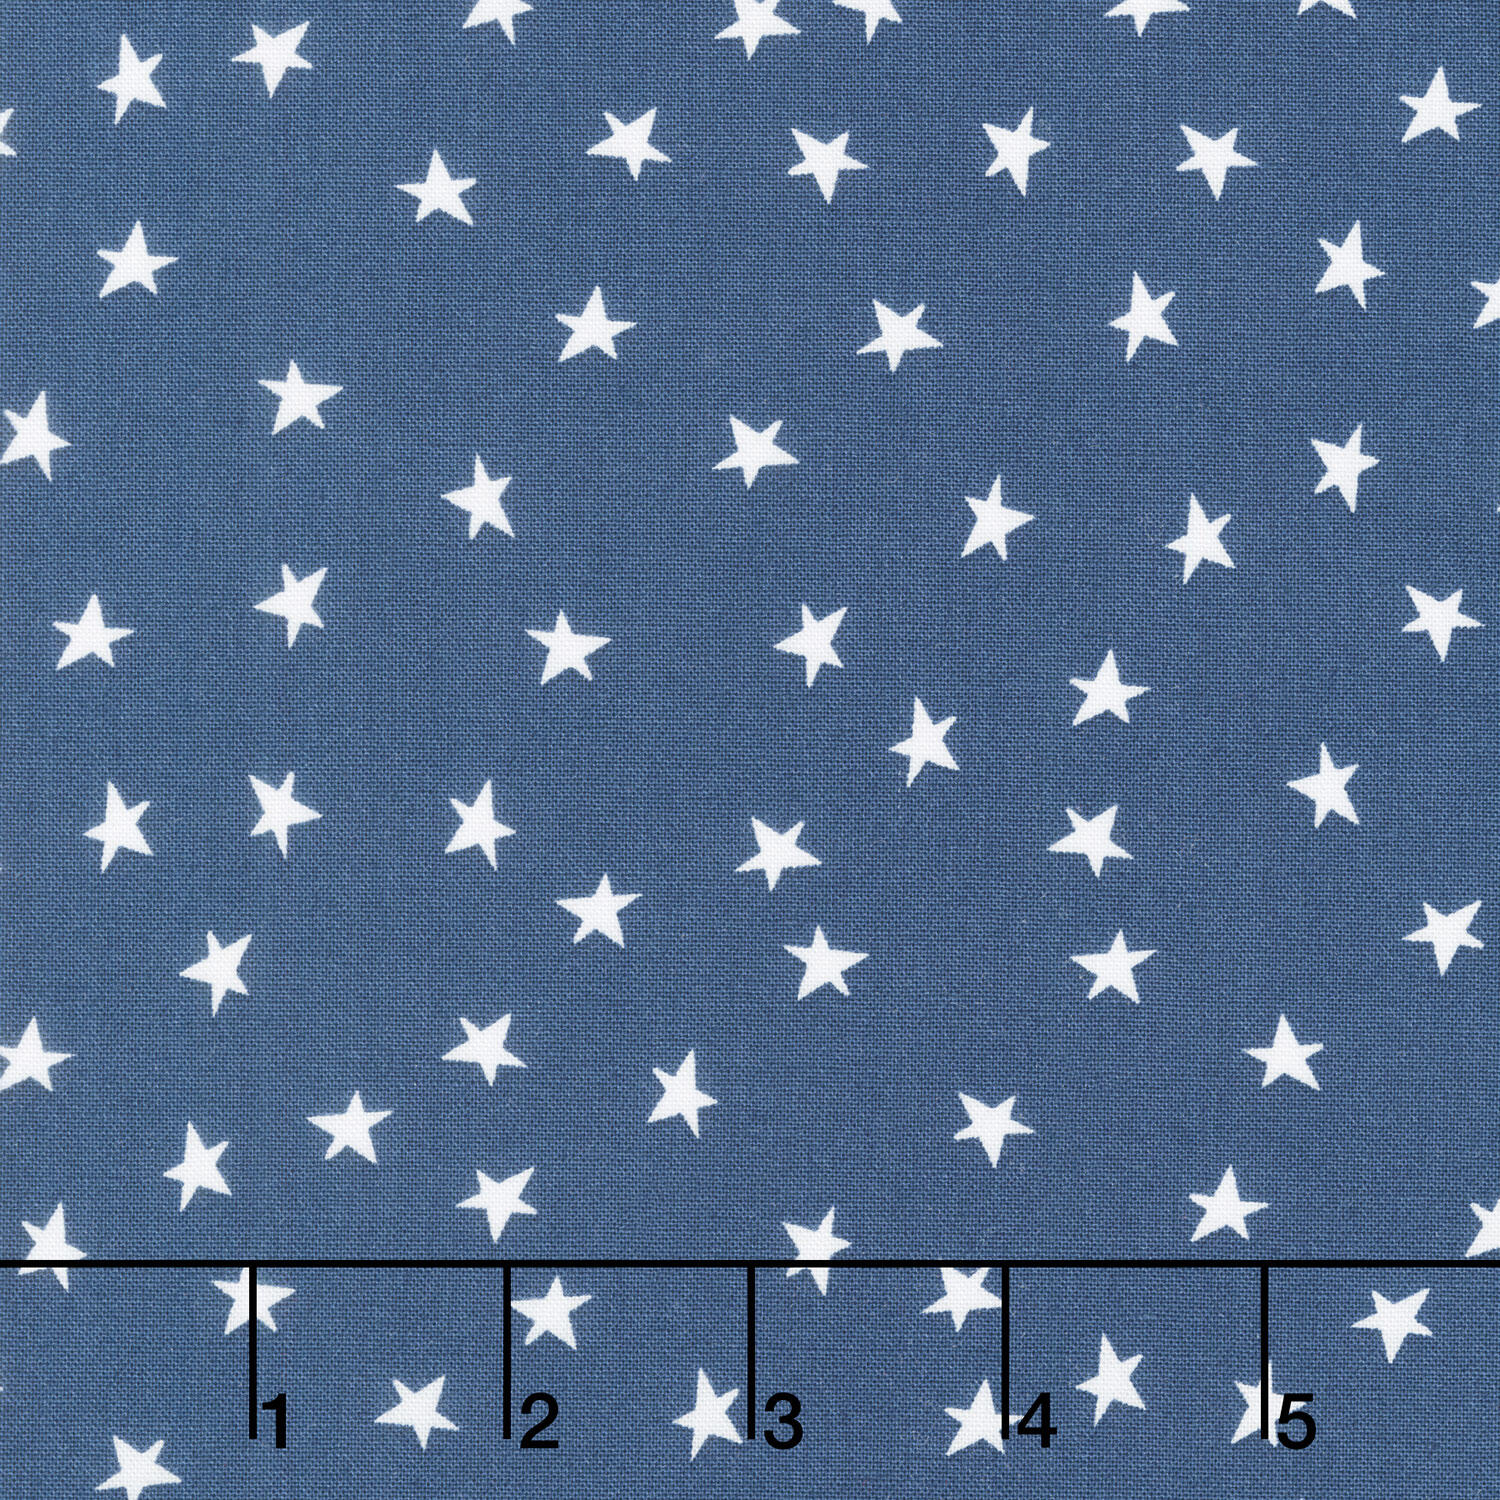 Oh Say Can You Sew - Bright Stars Navy Yardage$11.24Shop →
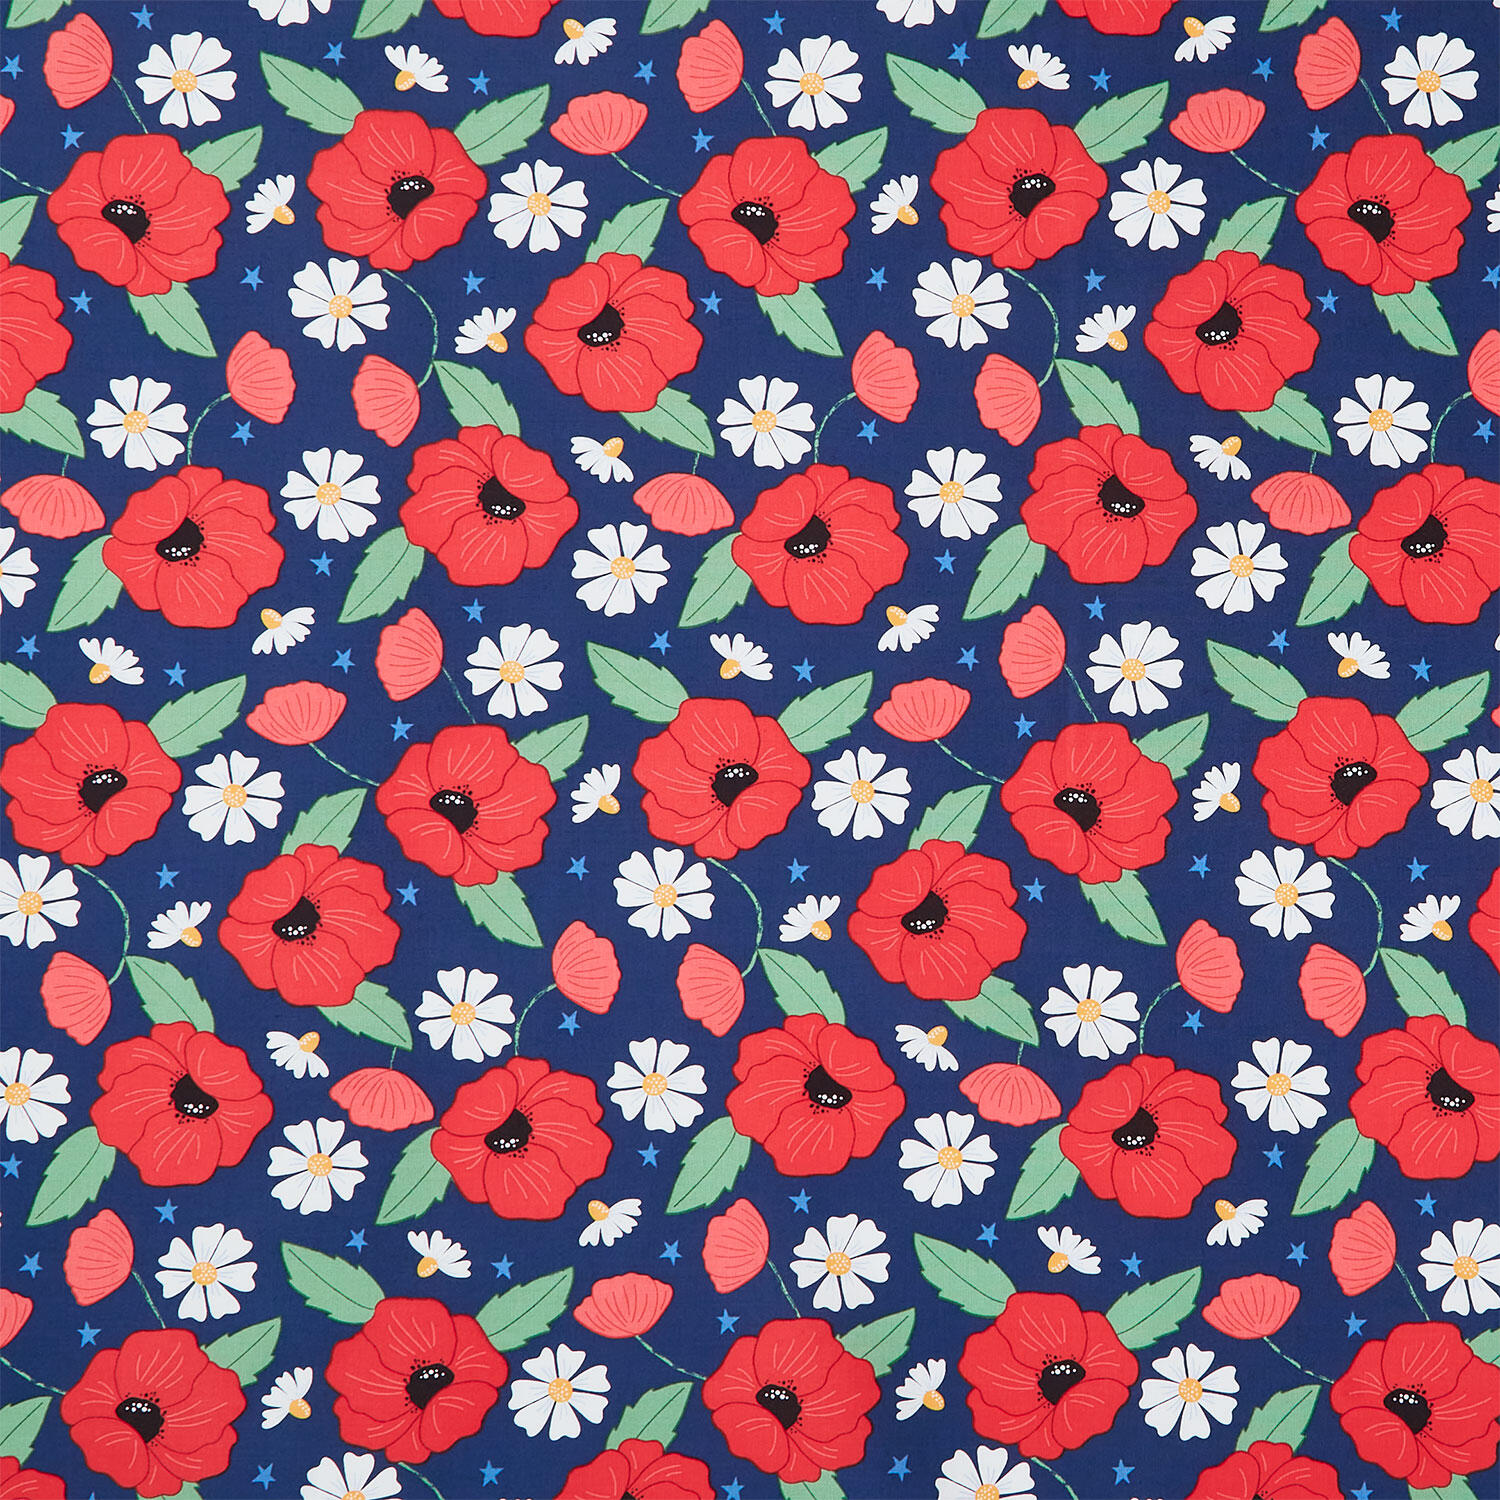 Oh Say Can You Sew - Home of the Brave Navy Yardage$11.24Shop →
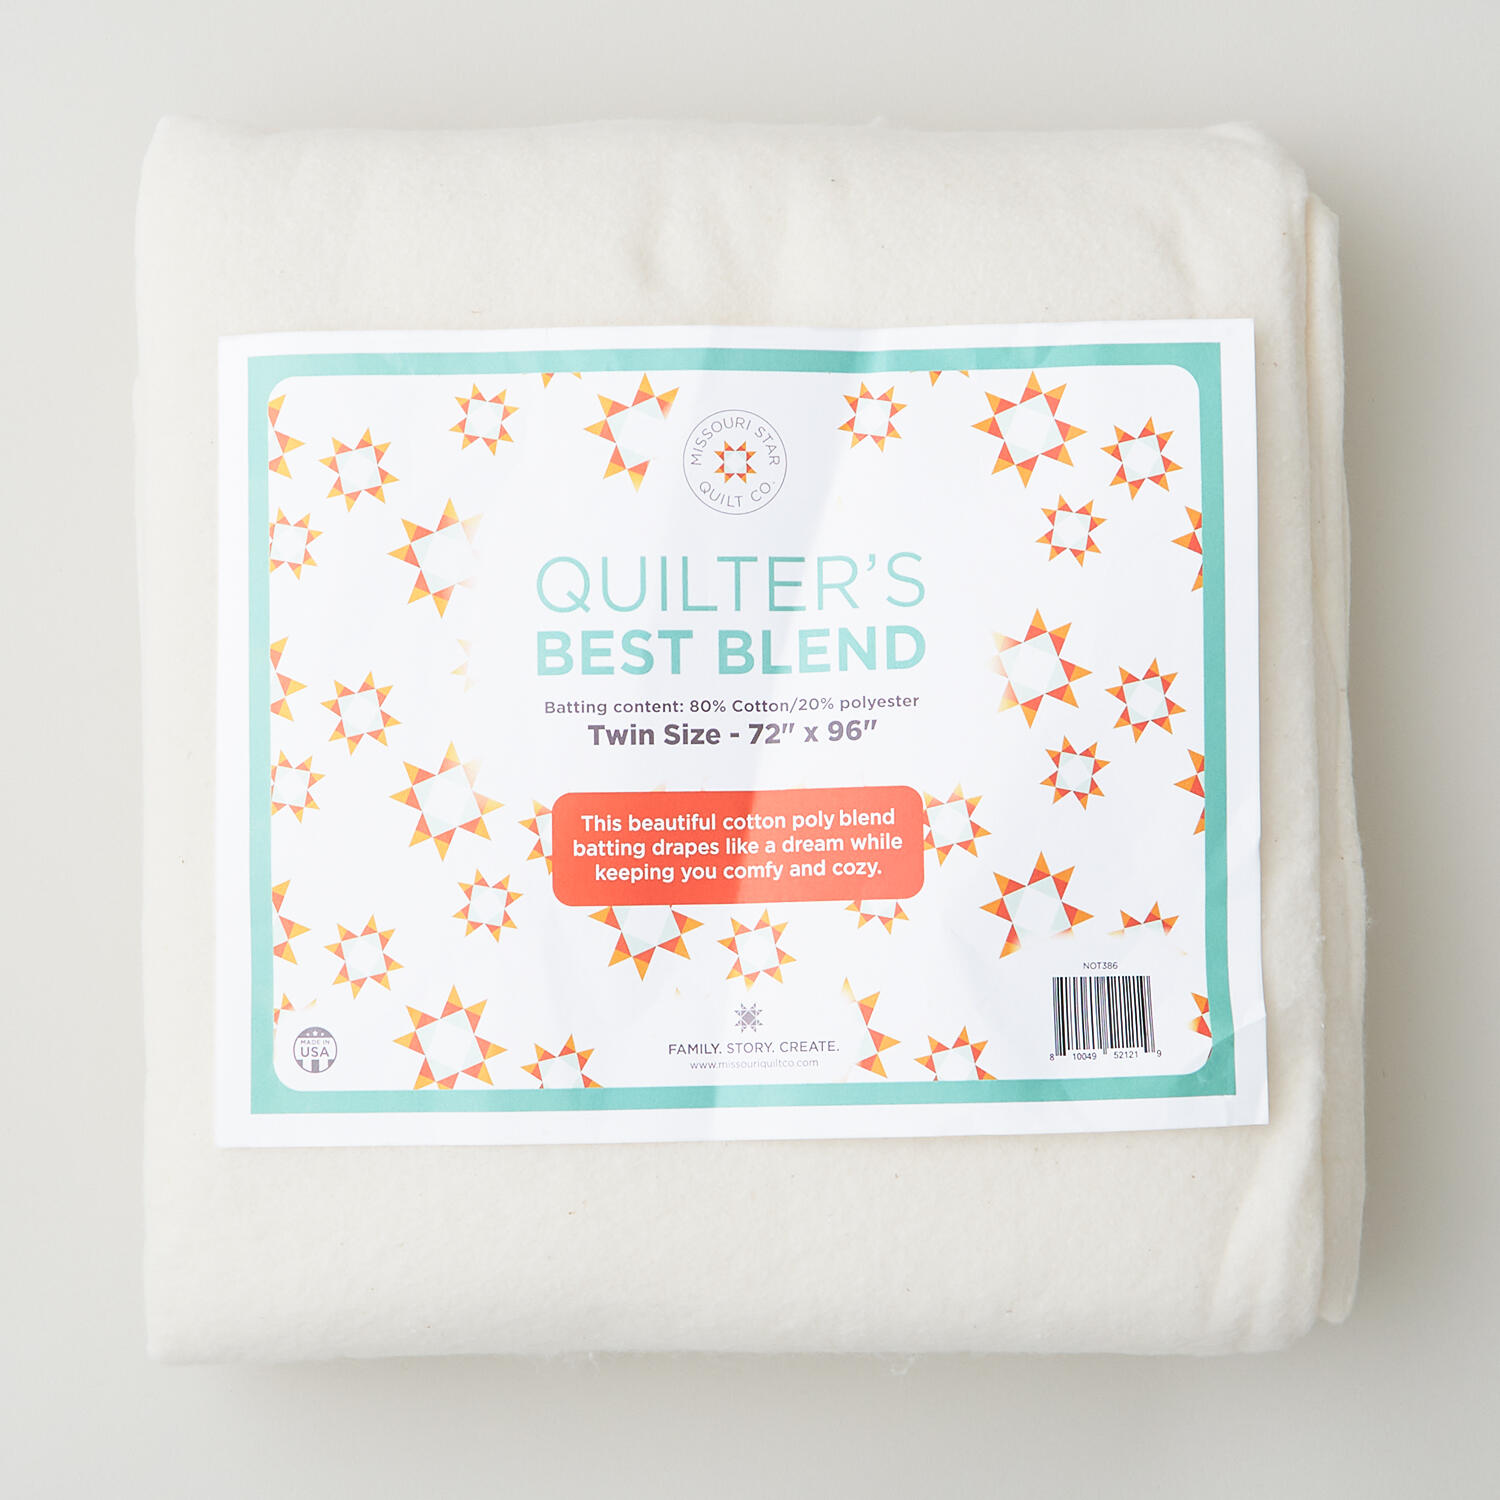 Missouri Star Quilter’s Best Blend Twin Batting$26.95Shop →
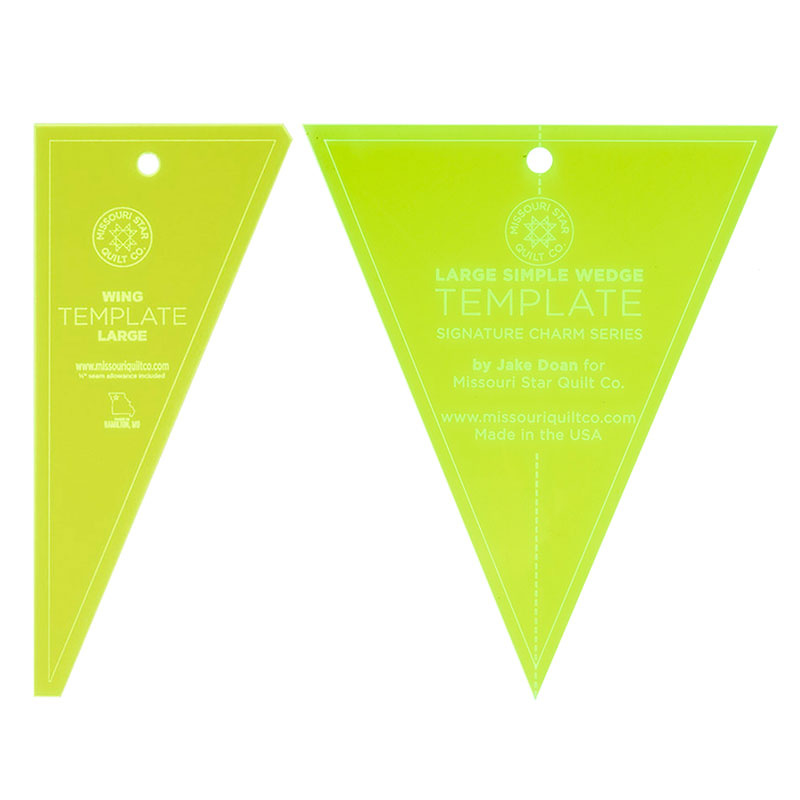 Missouri Star Large Wedge and Wing Template Bundle$23.45Shop →
 Missouri Star 5" x 15" Ruler$19.95Shop →
 Missouri Star 45mm Rotary Cutter - Olga$19.95Shop →
 Missouri Star + Oliso TG1600 ProPlus Iron$209.95Shop →
 The Gypsy Quilter Felted Wool Pressing Mat - 14 1/3"x 18 7/8"$35.99Shop →



