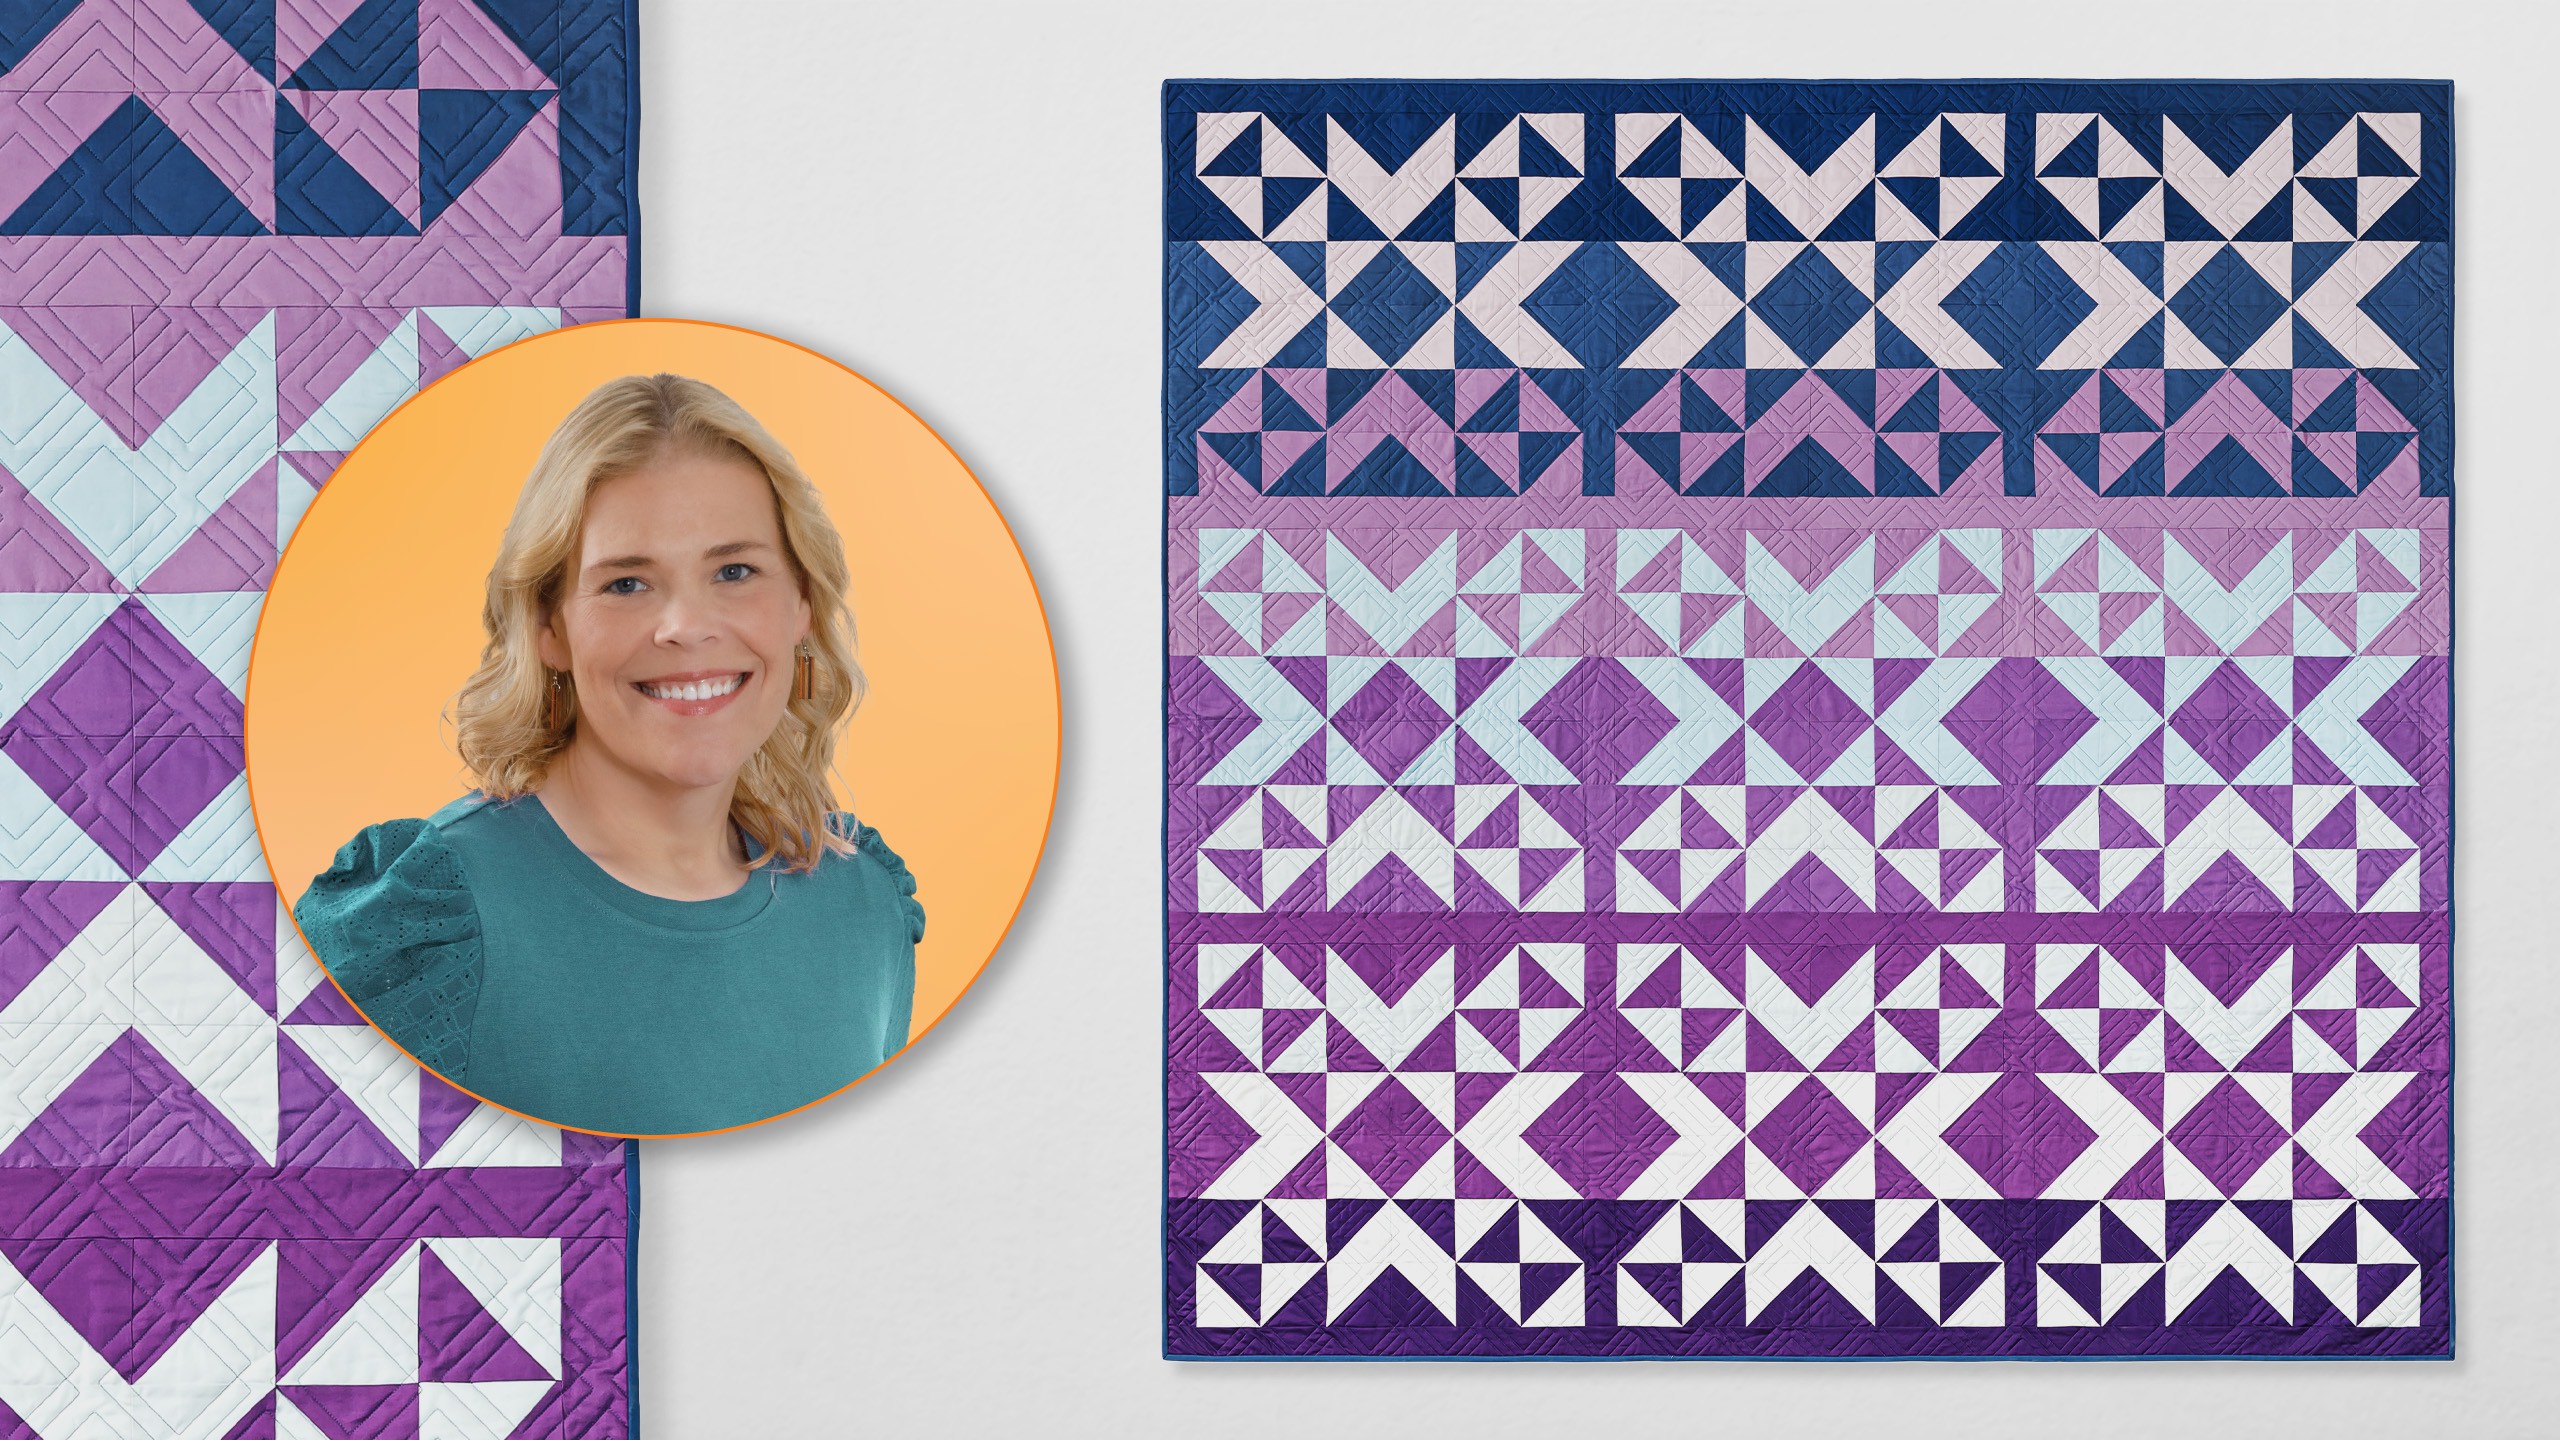
When Jenny debuted the Calico Star, it was an instant favorite. (Scrappy. Floral. Adorable!) Six years later, we’re making it again—this time with a solid gradient.
We’re using ten shades of Kona Cotton that blend beautifully from light to dark. Pick up the kit and enjoy each quick n’ easy stitch.
This is the first episode of Natalie’s new series: What If? We’ll transform classic blocks with simple tweaks, fresh colors, and new layouts—and we hope you’ll feel inspired to experiment, too!
Natalie is the host of Quilting 101, Embroidery 101 and the Creative Strategist and Editor of Block Magazine at Missouri Star Quilt Company. She was taught how to sew by her mom, of course, and began quilting when she grew up.
When Jenny debuted the Calico Star, it was an instant favorite. (Scrappy. Floral. Adorable!) Six years later, we’re making it again—this time with a solid gradient. We’re using ten shades of Kona Cotton that blend beautifully from light to dark. Pick up the kit and enjoy each...
How long is the tutorial video?
The tutorial video is 00:15:54.
Are supplies listed for this tutorial?
Yes. The tutorial page includes the supplies and materials connected to this project.
Video Transcript
[Music] Hi everybody. I'm Natalie with Missouri Star Quilt Company and today I have a fun new series to introduce. We're calling this the what if series. So we decided that it would be great to take one of our classic quilts that we all love and just ask ourselves what if. What if we played with color and did something just a little bit different? And I am so excited to show you the quilts that I've got for you today. All right. So, we're ready for the big reveal. The quilt that I'm going to show you next was featured in block. And are you ready for it? Here it comes. Woo! Look at that. So, we decided for this one to play with color and we did a light to dark gradient. So, it has like several colors of purple and we kept the background the same, but it turned out really great. I just love it. You can find the pattern for this one in block, but I have one that takes it a step further. So, let's show you the next one. All right, so I think I'm ready. Are you ready for the big reveal? I think it's going to be great. Here we go. Boom. So, this is the quilt that we're going to teach today. And what we decided on this one is what if our background and our accent color gradiate in opposite directions. So you'll see that we've got blue that goes from very dark to very light. And then we've got purple going in the opposite direction. Very dark at the bottom to very light at the top. So you guys are going to love this. It's easier than it looks. And I can't wait to show you. So let's get started. Okay. So, to make this quilt, you're going to need to choose two colors. And we've chosen purple and blue. And you'll need five shades from very light to very dark. Now, I do recommend getting the pattern for this because in the pattern, we have listed um the very light, light, medium dark, and very dark. And you're going to need those in both sets. And so you're going to want to make sure that everything that you do is labeled because you'll need different varieties of color combinations throughout the pattern. The other thing we have that I think is really cool is this little coloring sheet. So you can go ahead and go through and put your own colors on and see what you like. You can pick whatever colors you want. As long as you stick to like a very light to very dark, it should be super simple to transfer those colors onto the pattern. All right. So, we're going to go ahead and put up a little chart that tells you exactly how much you need of each fabric because they all vary. They're within 2/3 of a yard to 1 and a quarter. Um, but I'll I'll chart that so you can see it. Your backing or back Yeah, your backing you're going to need 2 and 1/2 yards of a 108. And we've used this beautiful Stratosphere in denim. Denim blue, I think, is the color. And then you're going to need a squaring tool because I don't know if you remember, but this entire quilt is made up of 4 and 1/2 in half square triangles. So super simple, but you will want whichever squaring tool you're the most comfortable with. So that is it. And I think it's time for us to get started. Okay. So, we have all of these beautiful colors and in the pattern you'll find that they are labeled very light, light, medium, dark, and very dark. So, you'll have those for both your blues and your purples. And you'll want to make sure and keep everything super well labeled because we're making different combinations of all of these colors to create the quilt. But the quilt itself is super easy. So, it's just half square triangles. Um, the first thing you're going to want to do is cut a bunch of 10in squares. And the the numbers are listed in the pattern, so don't be nervous about that. But once we've got our 10in squares cut from all of our fabrics, then we'll start making our combinations. And the cool thing about the quilt is that each row is essentially the same. So you'll make three identical blocks for row one and then three identical blocks for row two and three identical blocks for row three. So let's get started making um half square triangles. We're going to use our make eight method and I'll walk you through that just so that we can have our our half square triangle refresher and then we'll get to laying things out. It's going to be fun. The nice thing about having all of these pre-cut is or cut by hand is you don't have to deal with those PKD edges. And because we're using solids, it's not too big of a worry about which side is which. You'll just put them both together. And I prefer to mark on my light fabrics just because I have a hard time finding one of those pens that really shows up on the dark fabrics. All right, so we're going to mark an X drawing lines both directions. And then we're going to sew a seam on both sides of both lines. Classic half square triangles. I always flip that around and keep going. Okay. So, now that I've got these lines sewn on both sides, I'm going to go ahead and cut them apart. And I like to cut horizontally and vertically first. That way, if something gets um if it slides around a bit, I can cut on the lines after cuz those will still exist. All right. So we cut horizontally, vertically, and then diagonally in both directions to get eight half square triangles. And remember, you're going to be making several different combinations of color. So keep everything labeled really well. Um, but now it's time for squaring. These all get squared to 4 and 1/2 in. And you can choose to use your clearly perfect trimmer tool or your block lock. And I'll show both. I'll start with the clearly perfect because these ones get trimmed before they get pressed open. So, this is a super easy way to square blocks. If uh if you're new to it, it's a great tool. Uh makes it so much easier. It was the first way that made sense to my mom and so it may be that way for you as well. So, you just line it up. You're going to put your seam line on the dashed line for whichever size you're going for. And then you cut on the outside edges. And you also have the option to cut these little grooves. Um, this takes off the excess fabric from the seam and it creates like a little uh dogeared appearance. It takes out the bulk so that when you're joining your half square triangles together, you don't have that extra fabric hanging around in the corners. So then you would square these or not, sorry, not square them, you will press them after you're done squaring them. So let me show you the block lock next. We're going to go ahead and press these ones open before we square. And I do typically um press to the dark side. And when you press to the dark side, almost always the light side is where this label is going to be. And you can feel the groove in here. That's going to push up against the seam. So you want to whichever direction you press, the groove sits against the seam. And then this one is great because it comes in three sizes. This is a 4 and 1/2 in square. So we're just going to cut all the way around it. Unless one of our sides is really straight. And then you can push it into the corner and just cut two sides. So, that is how this one works. It's pretty it's a pretty great tool. I like that it's um it's all nice and flat and then you don't get any stretching and everything is perfect. It stays right in line with the seam which stays right in the corner which is exactly how you want your half square triangles to end up. So, both tools are great. Use whichever tool you're most comfortable with for squaring half square triangles. And uh once all of that is done, then we can start putting together our blocks. So I've pre-squared most of my blocks. I'm going to grab four of them. So we can start putting together the units because this block is made up of three units. Um and they're they're half square triangle blocks. So still very simple, but you're going to make um different numbers of each one. Okay. So, I'm going to start with the center because we only have to make one of these. So, this is made um it's a square and a square. And so, for this quilt, we're going to be putting our darks all to the middle and creating this little diamond square and a square block. And you will need one of these per square. It goes right in the center. It looks just like that. And then here it is all stitched together. So, I'm going to set this one aside. We'll put it right over here. And then we're going to turn these around. So the next block is going to be a chevron. And that goes in the middles. So these two stay the same. And these get flipped up just like this. So our chevron blocks are going to go in the middle of our nine patch to make up those uh those cute little chevron points. And those look like this. Looks like I need to flip my colors. So, we'll just do it like this. And really, the color placement and all of that, it can vary based on which block you're making and where they go, cuz this quilt has lights and darks in all different ways. So, here is our chevron block. And then the last one is in our corners, and that is kind of a broken dishes block. So, it's going to go like this. And these are going to go in opposite directions. It's a little bit of a Oops. Got that angle going. And so that looks just like that. So here is this one finished. All right. So these are the units that make up the block. So once you've got everything that you need and you're going to make one of these and then four chevrons and four of your little broken dishes block. So, let's go ahead and start building that block. So, I've got the top three ready to go. So, like I said before, we're going to put um one of these in our top corner, this little broken dishes block, and then our chevron. And then we have another broken dishes. And I need to make sure these are headed in the right direction. I think they are. All right. And then I've already sewn together the next three rows just to try and keep it straight because because honestly the layout and the colors and where everything goes is pretty tricky. So make sure and keep them labeled. I would recommend doing one row at a time cuz you you're going to make three identical blocks per row. So this is block one of row one. So this is our chevrons point. All of our chevrons point to the center and then this is our middle um square and a square or diamond block, whatever you want to call it. And then our bottom block. So, see this is where the gradient comes in because we're using lights. This is our lightest and our darkest. And then we have some lighter and medium and then darker tones here. And it's going to continue to gradate all the way down the quilt. So what we what we have if is our our backgrounds and our accent colors go in opposite directions. So we started with a light on the top and a dark on the bottom and then swapped those um those two colors. And I think it looks really cool. We've got this one for our first row. And then our second row looks just like this one right here. Just like that. And I think I have a I think I'm gonna use this pin to pin that there. And then grab one more pin. Oopsie. We know how this goes, right? Stick that one up. And then our final row block looks just like this. And so you can see how the fabric changes. It shifts from light to dark and then dark to light and purple to blue and blue to purple. And that is how we're going to make these blocks. And we're going to stitch the rows together. And I'm going to bring the quilt back up so that I can talk to you more about color placement, sashing, and borders. So, hold please while I grab that quilt. All right. So, you can see here that these three blocks are identical. So this is our row one, our row two, and our row three. And then you can see how the blue and the purple gradiate in opposite directions. Um the cool thing about this is where the sashing comes in. So we have 2 and 1/2 in sashing, but you'll notice here that it's matches the blocks. So this is a 2 and 1/2 by 8 and 1/2 in strip. And then these two are as well. This is going to be 2 and 1/2 that goes all the way across. So, it's um it's a continuous piece, but the ones that go vertically, they match the blocks to the background. And so, that is a little bit tricky, but it creates this really beautiful effect. I think that it's going to be one of these quilts that pushes you a little bit out of your box, but it has like such a great reward at the end. It's so fun. So, we quilted it with diagonal plaid, and this is another one of our newer patterns. I just love it. I think it's beautiful. So, our backing is this lovely stripe. It's kind of watercolor and also has a little bit of a gradient effect, which I think is very fun. And uh I had a lot of fun playing what if with color. So, with any luck, I've been able to inspire you a little bit to think outside the box and try something new. And I hope you enjoyed this tutorial on the Calico Stars What If series from Missouri Star Quilt Company. Hi everybody. I hope you enjoyed today's video. We're trying super hard to get to a million subscribers. So, if you enjoyed it and you want to see more, just hit subscribe and share with your friends and encourage them to do the same. And I will see you next Friday with a brand new tutorial.

 Natalie Doan
 Missouri Star Calico Star Quilt Kit$96.95Shop →
 Kona Cotton - Prussian Yardage$7.48Shop →
 Kona Cotton - Cadet Yardage$7.48Shop →
 Kona Cotton - Lake Yardage$7.48Shop →
 Kona Cotton - Blue Yardage$7.48Shop →
 Kona Cotton - Morning Glory Yardage$7.48Shop →
 Kona Cotton - Sky Yardage$7.48Shop →
 Kona Cotton - Tulip Yardage$7.48Shop →
 Kona Cotton - Orchid Yardage$7.48Shop →
 Kona Cotton - Wisteria Yardage$7.48Shop →
 Kona Cotton - Crocus Yardage$7.48Shop →
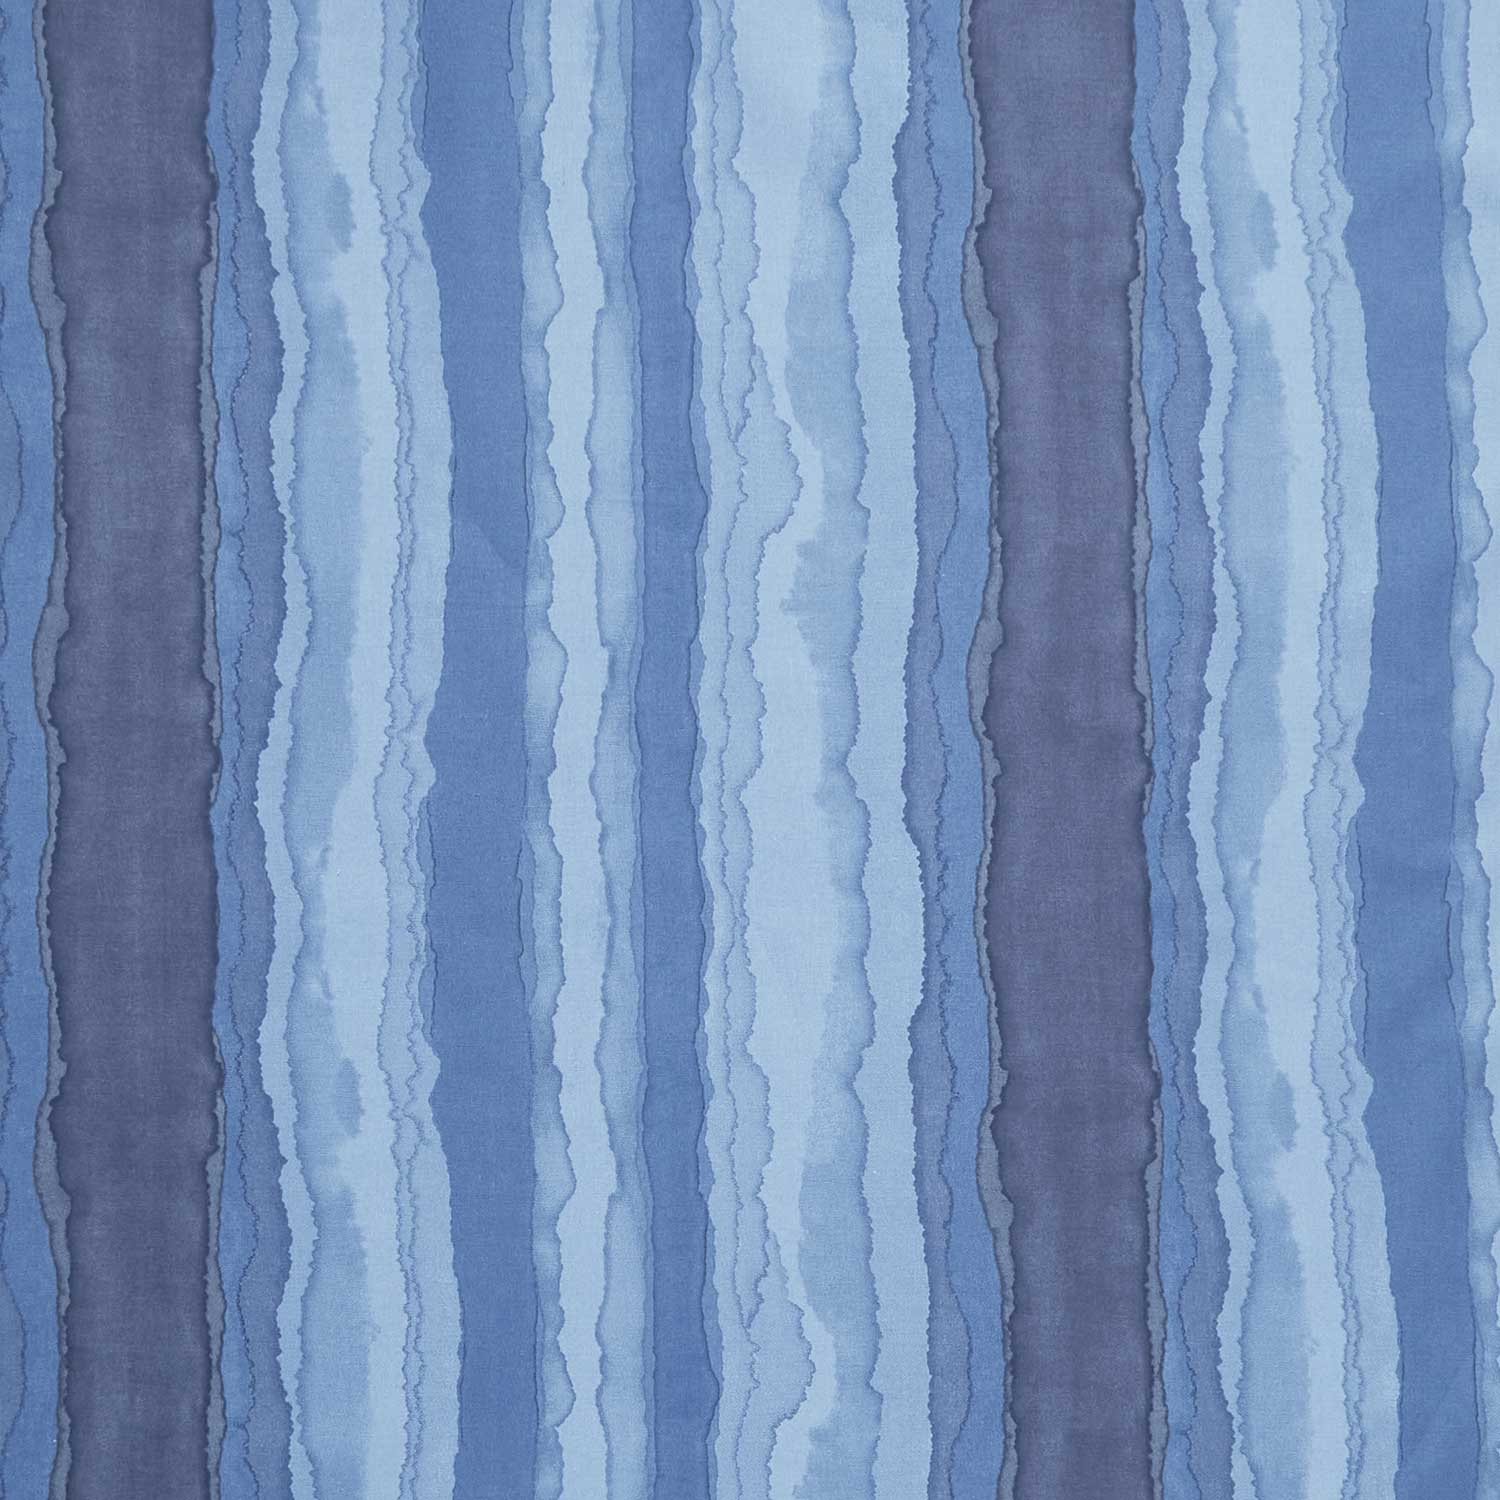 Stratosphere - Denim 108" Wide Backing Yardage$18.76Shop →
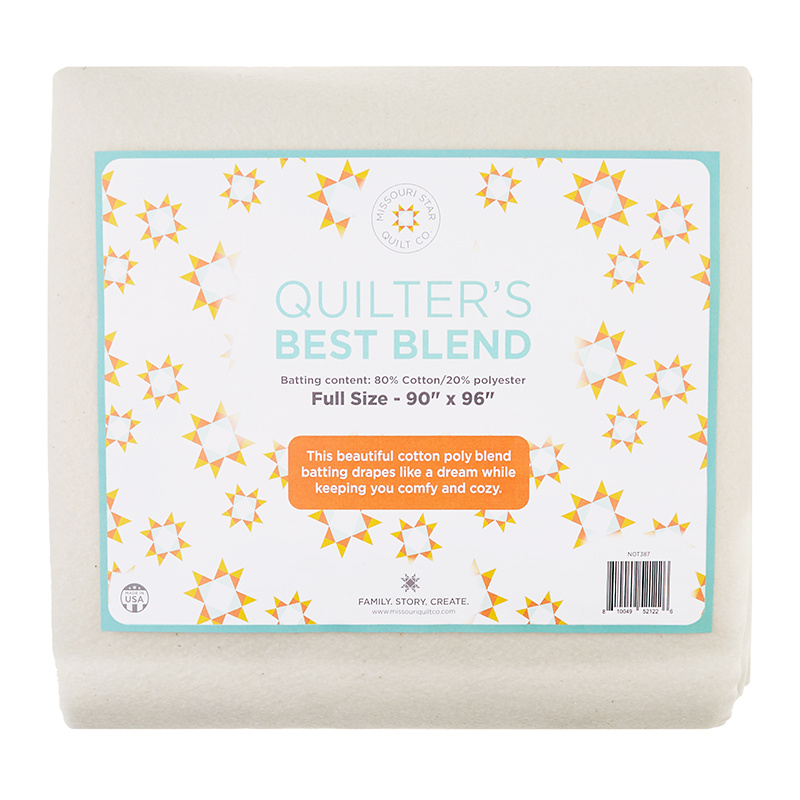 Missouri Star Quilter’s Best Blend Full Batting$32.95Shop →
 Missouri Star 5" x 15" Ruler$19.95Shop →
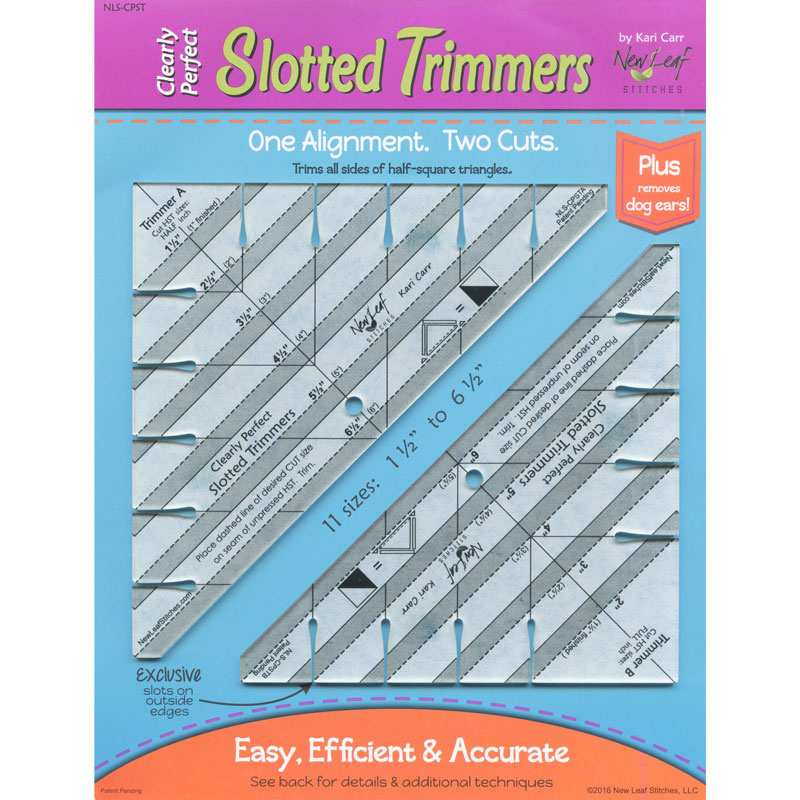 Clearly Perfect Slotted Trimmers$33.95Shop →
 Bernette 77 Sewing and Quilting Machine$1499.00Shop →
 What If Series - Calico Star Quilt Pattern by Missouri Star$8.50Shop →
 Digital Download - What If Series - Calico Star Quilt Pattern by Missouri Star$6.95Shop →



