What if… the Carpenter Square quilt got a hot new color scheme! Sew along as we add a new twist on an old favorite using the Gelato Ombre and Shadow Play collections by Maywood Studio. This reimagining is full of hot toned colors like red, yellow, and pink to bring a fiery flair to the beloved Carpenter Square.
Natalie is the host of Quilting 101, Embroidery 101 and the Creative Strategist and Editor of Block Magazine at Missouri Star Quilt Company. She was taught how to sew by her mom, of course, and began quilting when she grew up.
What if… the Carpenter Square quilt got a hot new color scheme! Sew along as we add a new twist on an old favorite using the Gelato Ombre and Shadow Play collections by Maywood Studio. This reimagining is full of hot toned colors like red, yellow, and pink to bring a fiery fla...
How long is the tutorial video?
The tutorial video is 00:14:23.
Are supplies listed for this tutorial?
Yes. The tutorial page includes the supplies and materials connected to this project.
Video Transcript
Hi everybody. I'm Natalie with Missouri Star Quilt Company and today I'm excited to show the WhatIf quilt. We're doing What If carpenters square and this is one of my favorites. We did it way back for um a triple play on crumb piecing and I think you're going to like the differences that we've made. So the original quilt, like I said before, it was made using um crumb piecing. We had a a fat quarter bundle and so I separated out some of the colors and made a bunch of crumb squares and then I had a dark gray background and I think it came together really great. It was beautiful. It was fun to make. Um and since then I've taught some classes and seen a bunch of different color palettes and types of fabrics that are put together and combined with solids that just make some really beautiful designs. So this one I think offers a lot of room for creativity and um you can just play with your fabrics and do lots of different things to make it unique to yourself. Uh so the quilt that we have designed our what if we decided to make the background out of half square triangles and combined that with an ombre fabric. So it gives a lot of depth to the color. And you can see that we have this really beautiful like pink, orange, purple on the outside and then it kind of fades into the yellow in the middle. The other thing that I think is beautiful is these the way that we've combined the pinks to create that that really um specific square. That's the woven lines of color that creates that carpenter square pattern that we're going for. All right, so if you're ready, I'm ready. Let's get started. Okay, so to make this quilt, you're going to need some background fabric, and this is where our ombre fabric comes in. You'll need 3 and 1/4 yards of that. You'll need some accents for those woven lines, and you'll need a yard of fabric A, 7/8 of fabric B, and 5/8 of fabric C. For your outer border, you're going to need two yards. And our outer border is a nice 8 and 1/2 in outer border. So, that's a great great size. Um, for your backing, you'll need 5 and 1/4 yards, unless you go with a 108. And then you'll only need 2 and a3 yards for that. Um, another helpful tool is your trimmer B. Um, because we're doing whole sizes, B is the one that we use today, but any tool that you like to use for squaring half square triangles will work. Okay, so we are going to start by cutting some of our fabric to get going. So, from each of your accent fabrics, we're going to cut 5 in squares. And that is the size square that is used in the entire quilt. So, I'm going to start with my strips. And I've already got these precut because that's pretty straightforward. And we're going to go ahead and subcut some 5 in squares. Now, these are stacked up. So, I could probably cut through all the layers. That actually works out really well. And I would recommend that you go ahead and get your fabric cut and then set in into your different piles. And then we will move on and start on our background. The background is really the part that is going to be the most piecing because we're making half square triangles there. All righty. This is also a great quilt for all of those um packs of 5 in squares that you may have around with your love of precuts. Okay, so those are ready to go for layout and we're going to set those aside. So now we have our ombre fabric and you can see the different color in this fabric. They're very cool. So it goes from light to dark pink or pink to orange to yellow and then back to pink. It's ombre gelato by Maywood Studios. It's beautiful. So what I'm going to do is get this ready to cut. And I'm going to be cutting 8 and 3/4 in strips. So, I'm going to line that up. I'm going to start by trimming this edge just to make sure that it's very, very straight. So, now we've got three, four, six, seven, eight, and 3/4. And these are going to be subcut into eight and 3/4 inch squares. And I don't I don't worry too much about the um the pattern. I'm not trying to fussy cut anything here with the ombres, but when we go to put them together, we try and keep some similar colors together just so that we can maintain that gradient background. So one, two, three, four, five, six, seven, eight, and 3/4. But again, you can move your move your fabric around and use whatever parts of it make you happy. Okay. So, what we're going to do here is we are going to then pair these right sides together. And you can turn them or not turn them, however you want. We're going to stitch all the way around the outside edge. And this is just an easy way to make a bunch of half square triangles. It's one of my favorite methods. So, we're going to stitch all the way around all four sides. I still remember the first time we learned how to do this type of half square triangle back in the day, and it was just life-changing. Oh, I got my got my thread caught there. That's okay. That happens sometimes. These are very forgiving. All righty. So, now I'm going to go ahead and use my Clearly Perfect trimmer to just cut out my 5 in half square triangles. And this saves us a little bit of a step here because then you're getting it cut out and squared at the same time, which I think is kind of great. Oh, I forgot to do my little my little notches. You can do those in here with the little notched edges if you like, or you can eyeball it. I'll show you that in a minute. And there's plenty of room, so you don't have to worry too much about your your cuts or if you wanted to slide it one way or the other, you definitely can do that. So, if I forget to um to cut my notches out using the ruler or if I don't want to stick my blade in that slot, cuz sometimes, you know, it's not an exact science, I'll just come back and trim these off just like that, kind of at an angle. And if you face in like a uh towards the seam, then you know they're not going to show when you open them out. So that's just a little little hack. Not a big deal. You can also cut them with your scissors. I'm going to slide this one over. And I know that I can slide all the way into the corner and still have enough room for my other half square triangles. And one more. All righty. So, now we can press these open and they're ready to use in the quilt. Whoop. I do want to press or set my seams cuz that's a that's good practice. It makes your blocks lay just a little bit flatter and makes your pressing a little bit more accurate. I love using ombre fabrics. It always turns out so so cool and interesting looking. All right, I've got quite a few made here in the yellows as well. So, we've got pink and yellow. And you can see that they all come out just a little bit different. And so, really then you get to decide where these go and how you lay them out. You can put lighter and darker ones in different piles. Um, but going through here, you'll see that this quilt really is now now that we've got our 5 in half square triangles and then all of our background 5in squares cut. We're all about the layout. So, you'll want to keep your diagram close. And this is a quilt I'd say you can either, if you look at it row by row, you could set them up one at a time, or you could lay the whole thing out and then stitch them one row at a time. So, in this quilt, we notice up here that there's some half square triangles, and it kind of looks like they're all going the same direction, but I just want to point out that they don't necessarily do that throughout the whole quilt. This is where you get to have a lot of fun with your color and play around with what you think looks good. Because if you notice, like down here, we've got an orange that's going this way. And then over on this side, we've got one that's going this direction here. And so they can they can twist and turn. Like this one here is a a pink and peach, and it goes this way instead of that way. So you can decide how you want them to lay based on which colors that you think look good together and uh really just have fun with it and play with it and decide where you want your light and darks to go, which things you think look nice. You know, they they twist and turn throughout the quilt. There's no real rhyme or reason. And if your lines don't go the same direction ours do, that's totally okay because this is a part for you to play and figure out what you like best. So, really just lay it out. Um, you know, the the colored lines are probably where you get your patterns, but you can decide too like how you want them to overlap and underlap. And that just depends on whether you want this pink line to be on top or to look like it's going under the lighter pink line. So, those are also places where you can pick and choose where you put those fabrics because you can make it look as interwoven as you want it to just by the way that you overlap those colors and how you lay it out. So, I think it's fun. I think, you know, it's it's a great quilt to try out color play and, you know, use your imagination and and just do something a little bit different. Um, you'll notice we use this really beautiful pattern. It's called diamond loops. And you can see it really well here on our big 8 and 1/2 in border, which I think is fun. It's a great way to make um a smaller quilt a little bit bigger. You can make your border size any size you want, but this one is really beautiful. And you can see this lovely diamond loops machine quilting pattern, which we used yellow for the thread. And I normally like something that blends in, but I love the way this one stands out. Another thing that I think is super interesting that I want to show you. Um, this is our back backing fabric and the backing is beautiful. It's just one of those really fun ones. But if I flip this down a bit, you can see that we've used a flange binding. And flange bindings are really fun way to add a little pop of color. It's almost like a like a piped edge to the inside of the quilt. And we have great tutorials that will demonstrate how to do that that you can you can look them up. So, that's also a fun way to do a machine stitch on your binding. All right, so this quilt really is all about the diagram. So, we're going to put one up so that you can pause or take a screenshot and keep that handy as you're starting to lay your quilt out. And keep in mind that when you're working with ombre fabrics, you're going to end up with different color combinations than what we have. They're not all going to be exactly alike, just based on where your cuts are and where your stitches are and how you square up those blocks. So, don't be worried if it doesn't come out exact. Um, be inspired, be excited, be creative, and have fun with it. This is a great quilt to put whatever your personal spin on it is, and make it completely and uniquely yours. So, I hope you enjoyed this video on the What If Carpenter Square Quilt from the Missouri Star Quilt Company. Bye. Hi, everybody. I hope you enjoyed today's video. We're trying super hard to get to a million subscribers. So, if you enjoyed it and you want to see more, just hit subscribe and share with your friends and encourage them to do the same. And I will see you next Friday with a brand new tutorial.


 Natalie Doan
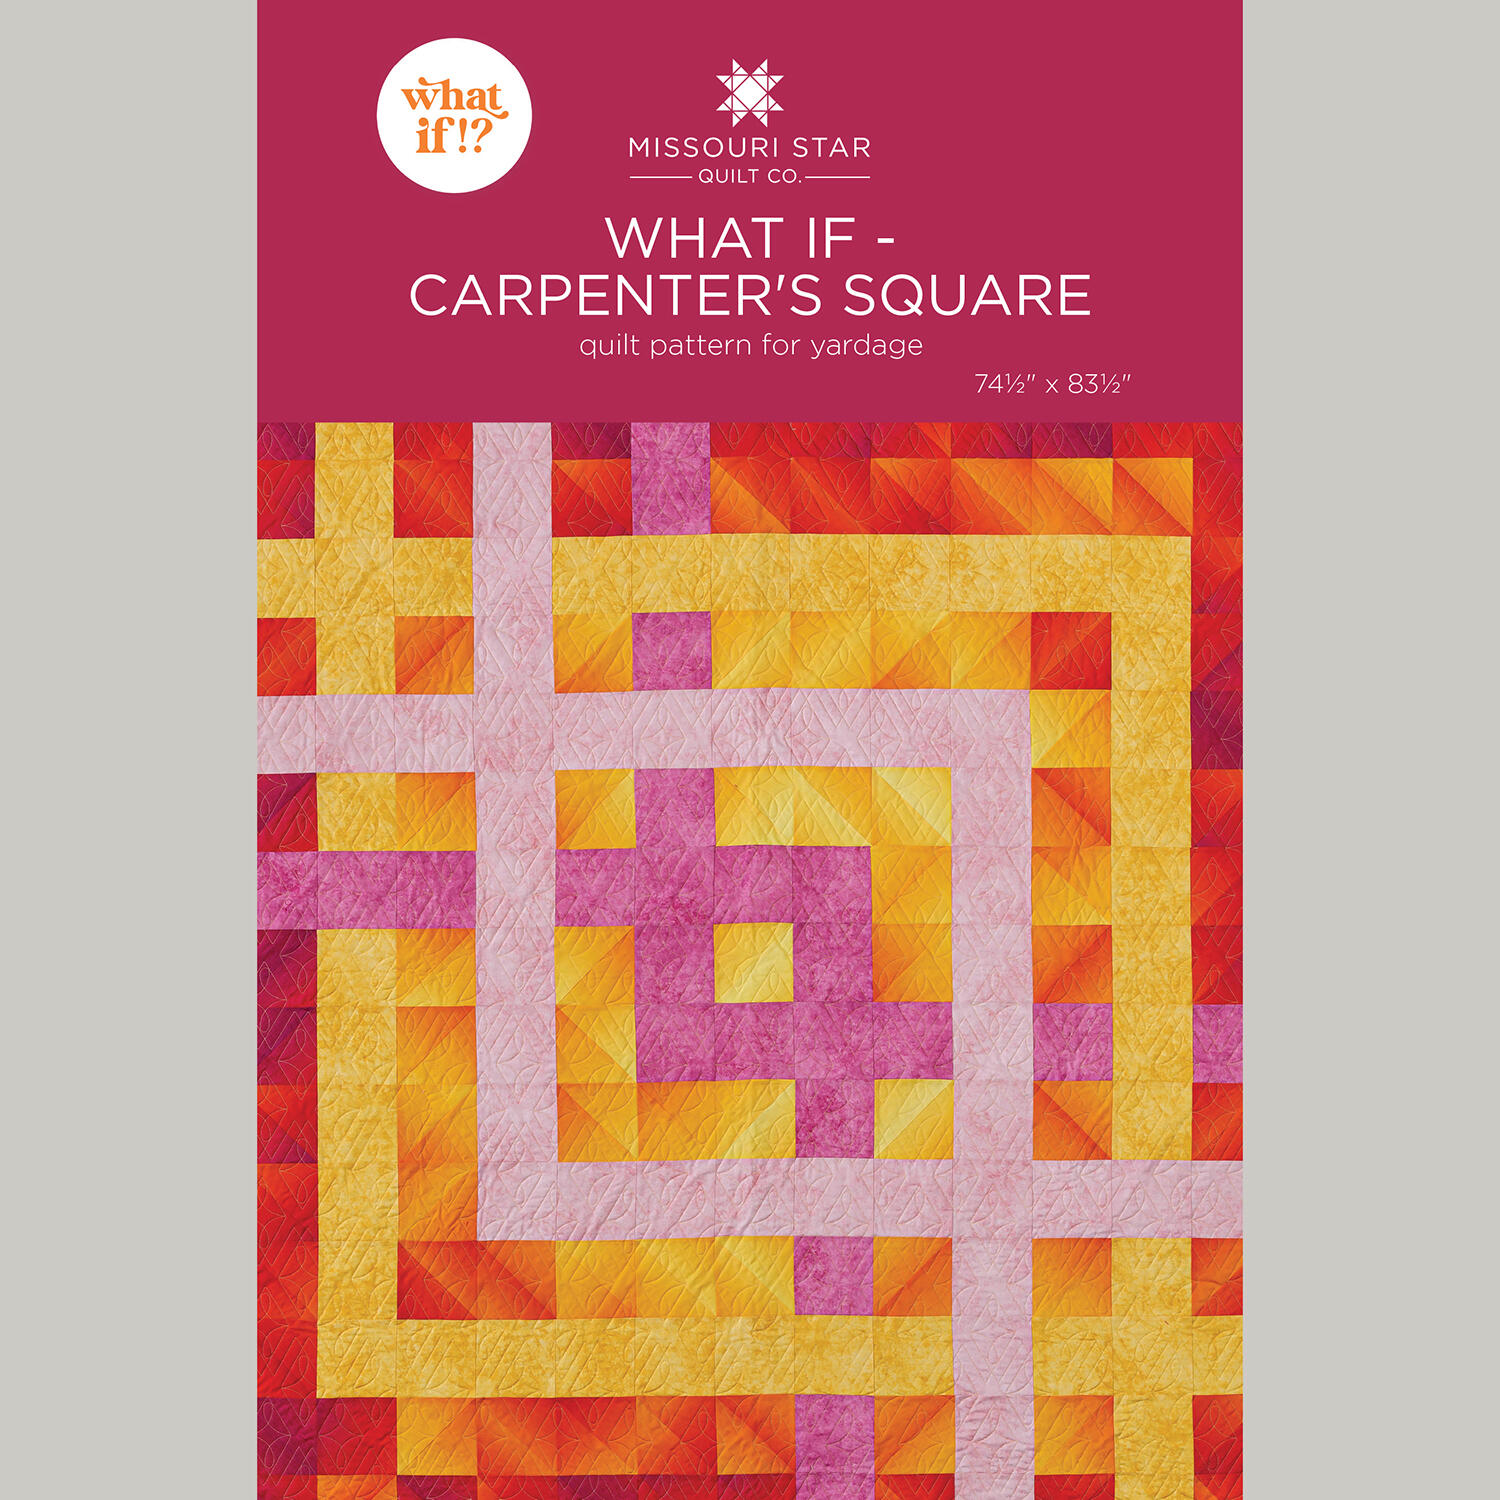 What if - Carpenter's Square Quilt Pattern by Missouri Star$8.50Shop →
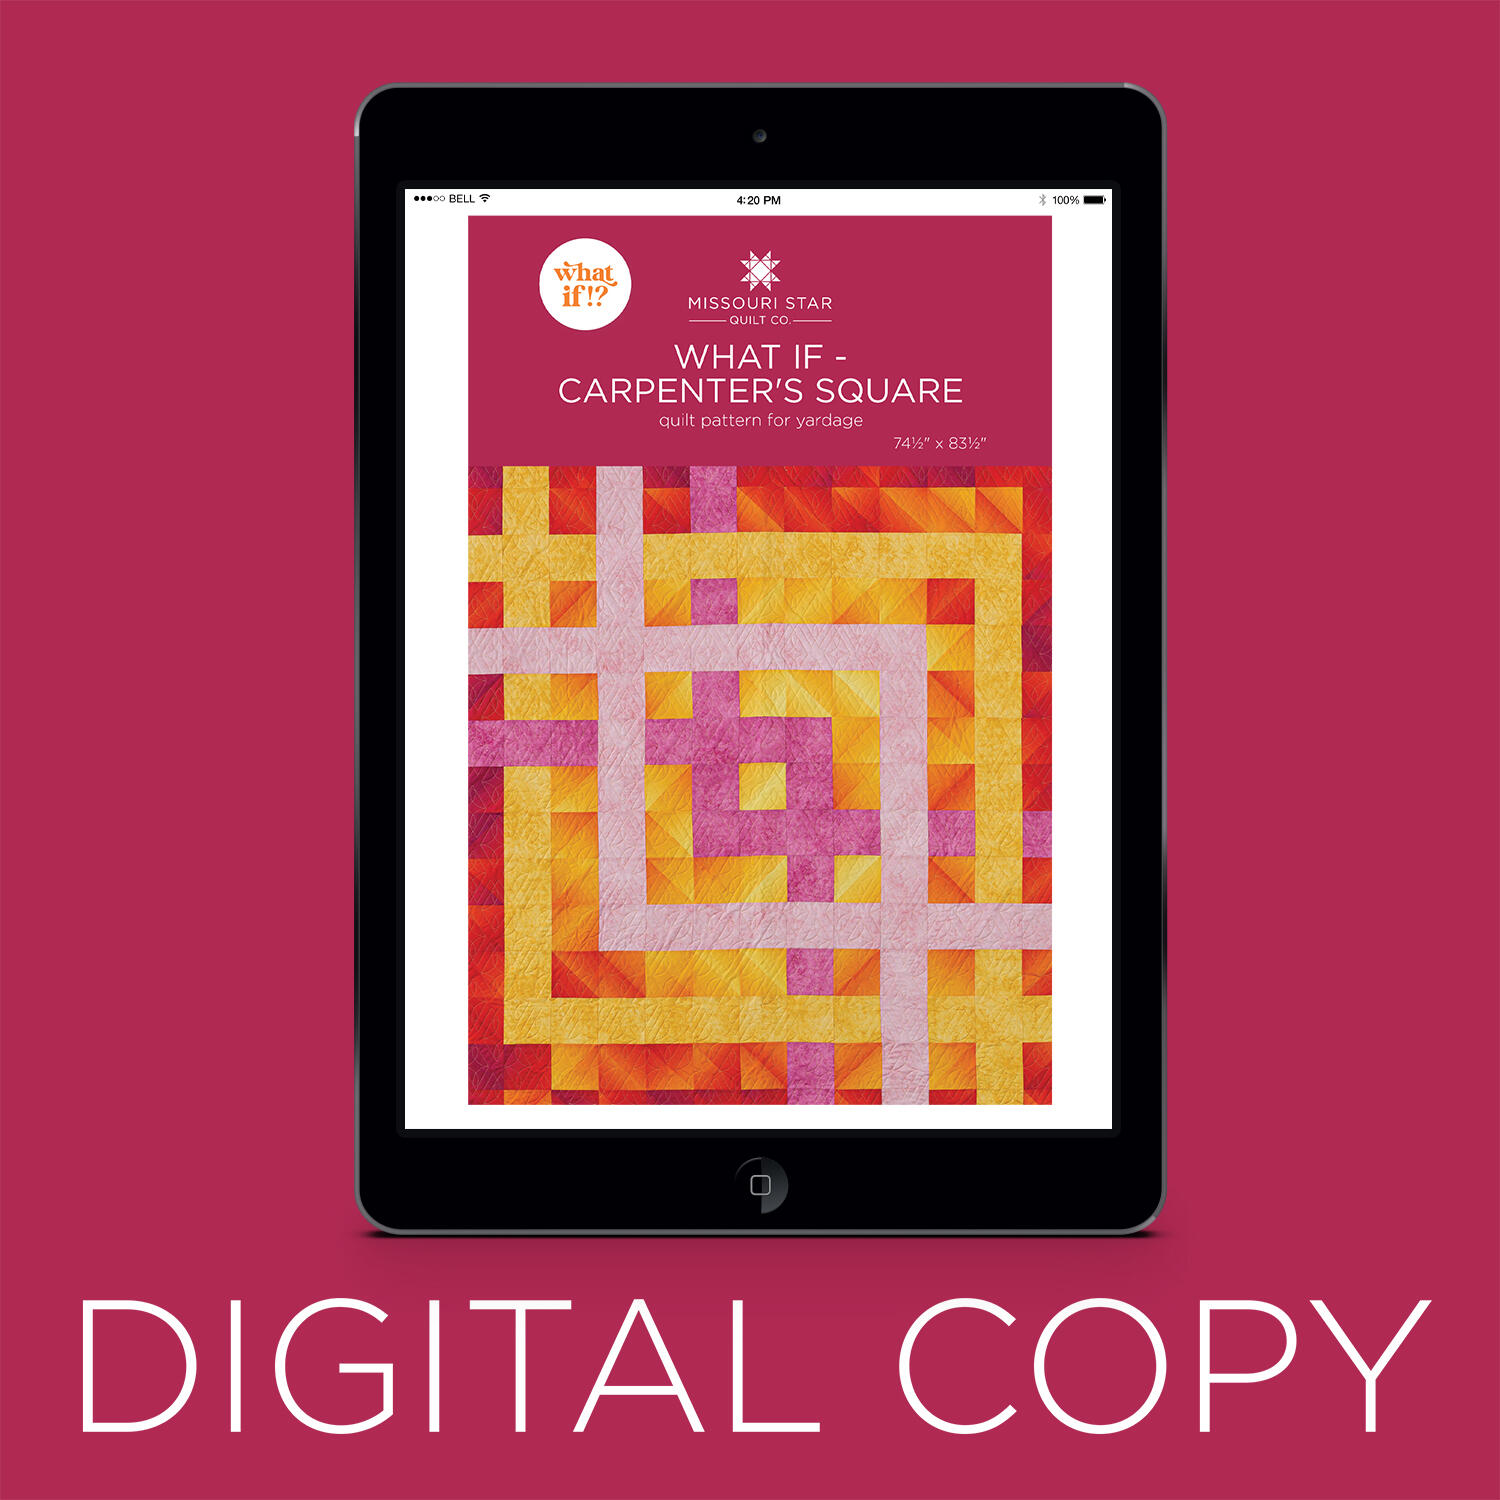 Digital Download - What if - Carpenter's Square Quilt Pattern by Missouri Star$6.95Shop →
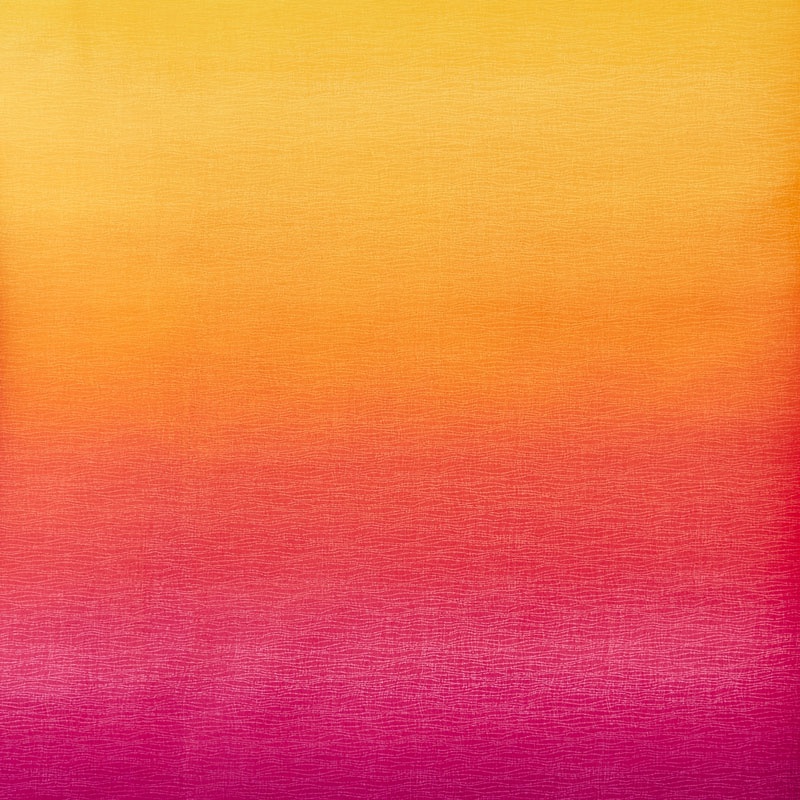 Gelato - Ombre Sunrise Multi Yardage$13.10Shop →
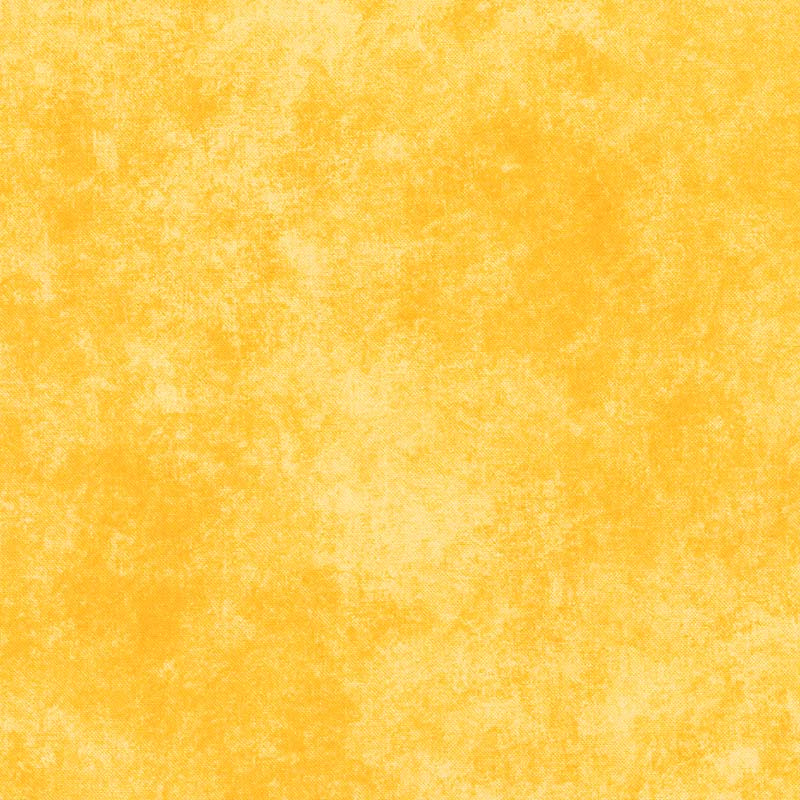 Shadow Play - Daffodil Yardage$11.28Shop →
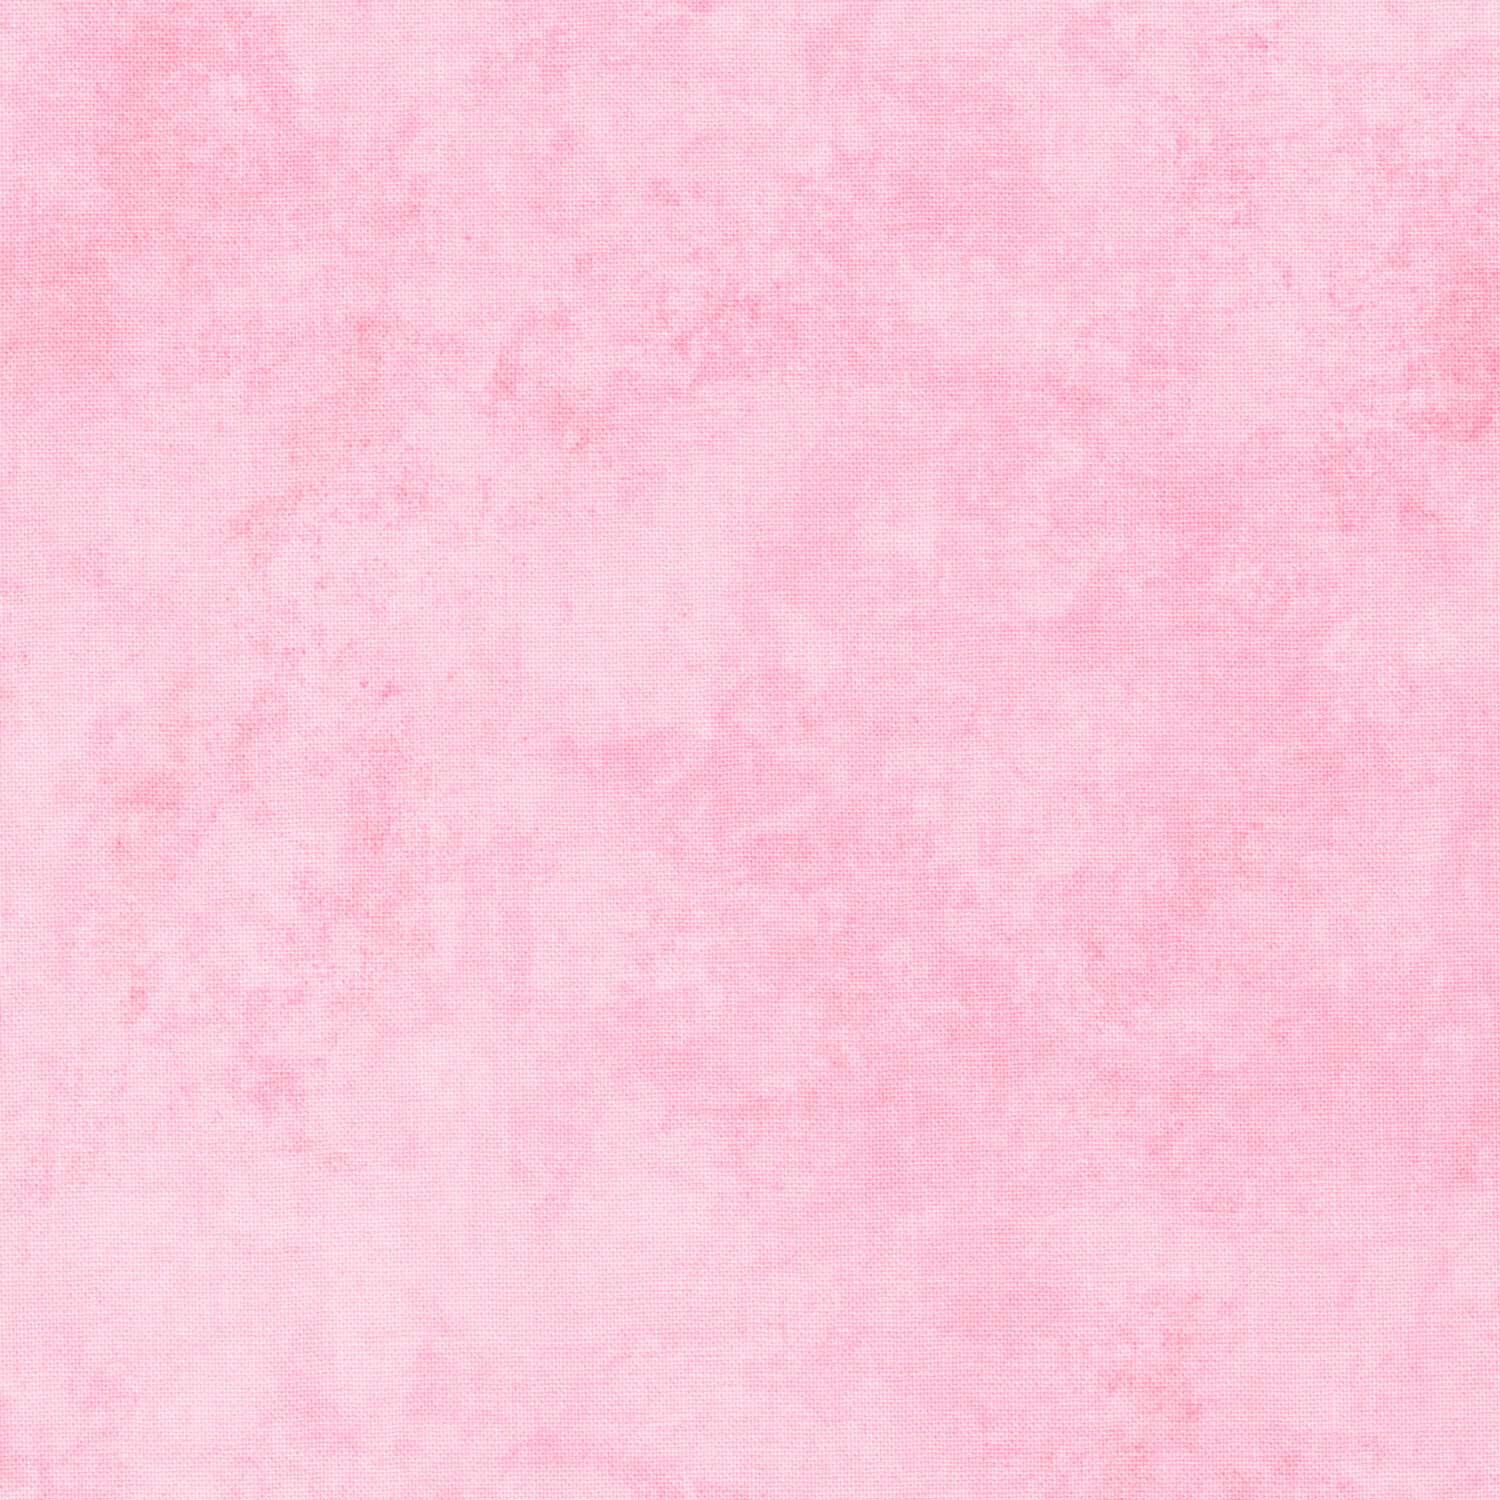 Shadow Play - French Pink Yardage$11.28Shop →
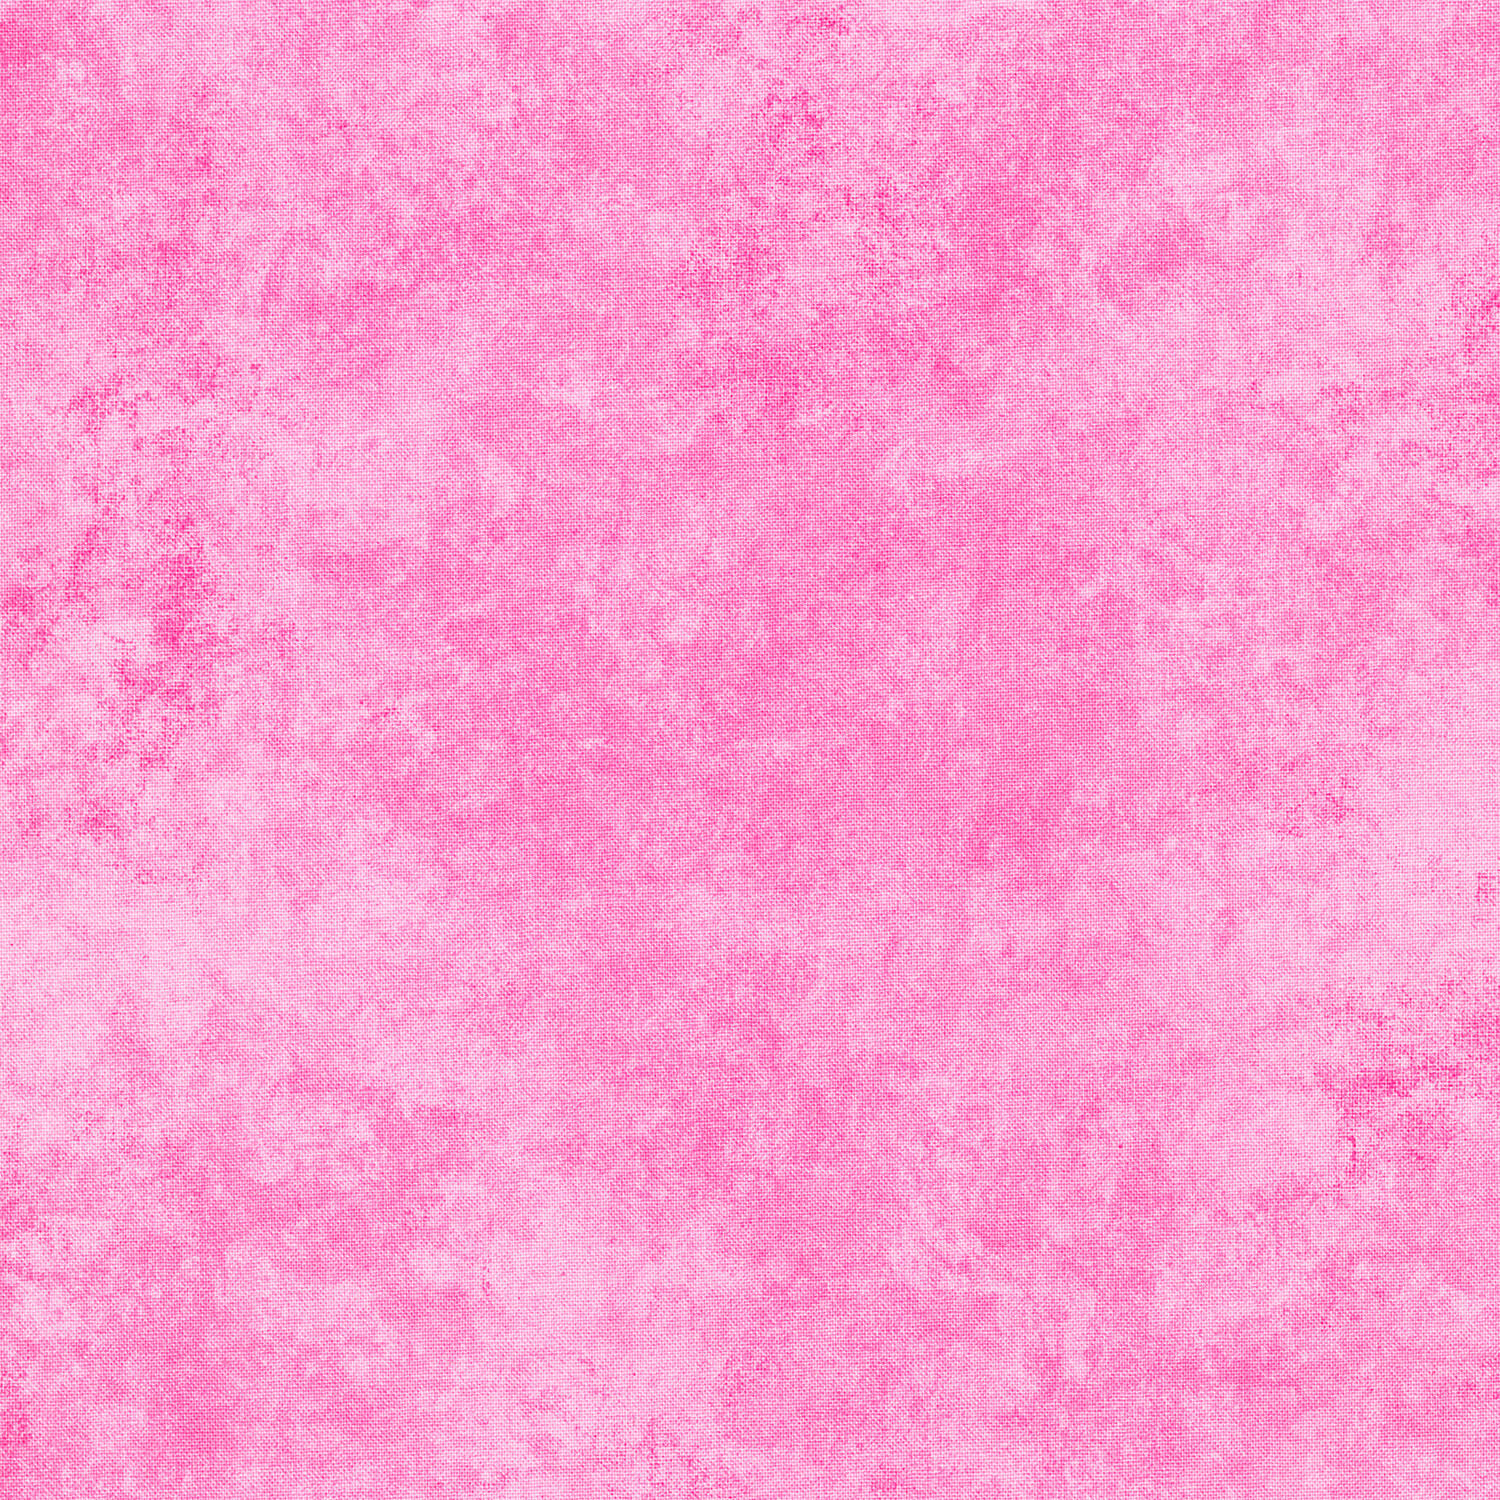 Shadow Play - Fuchsia Yardage$11.28Shop →
 Colorworks Premium Solids - Morning Glory Yardage$8.12Shop →
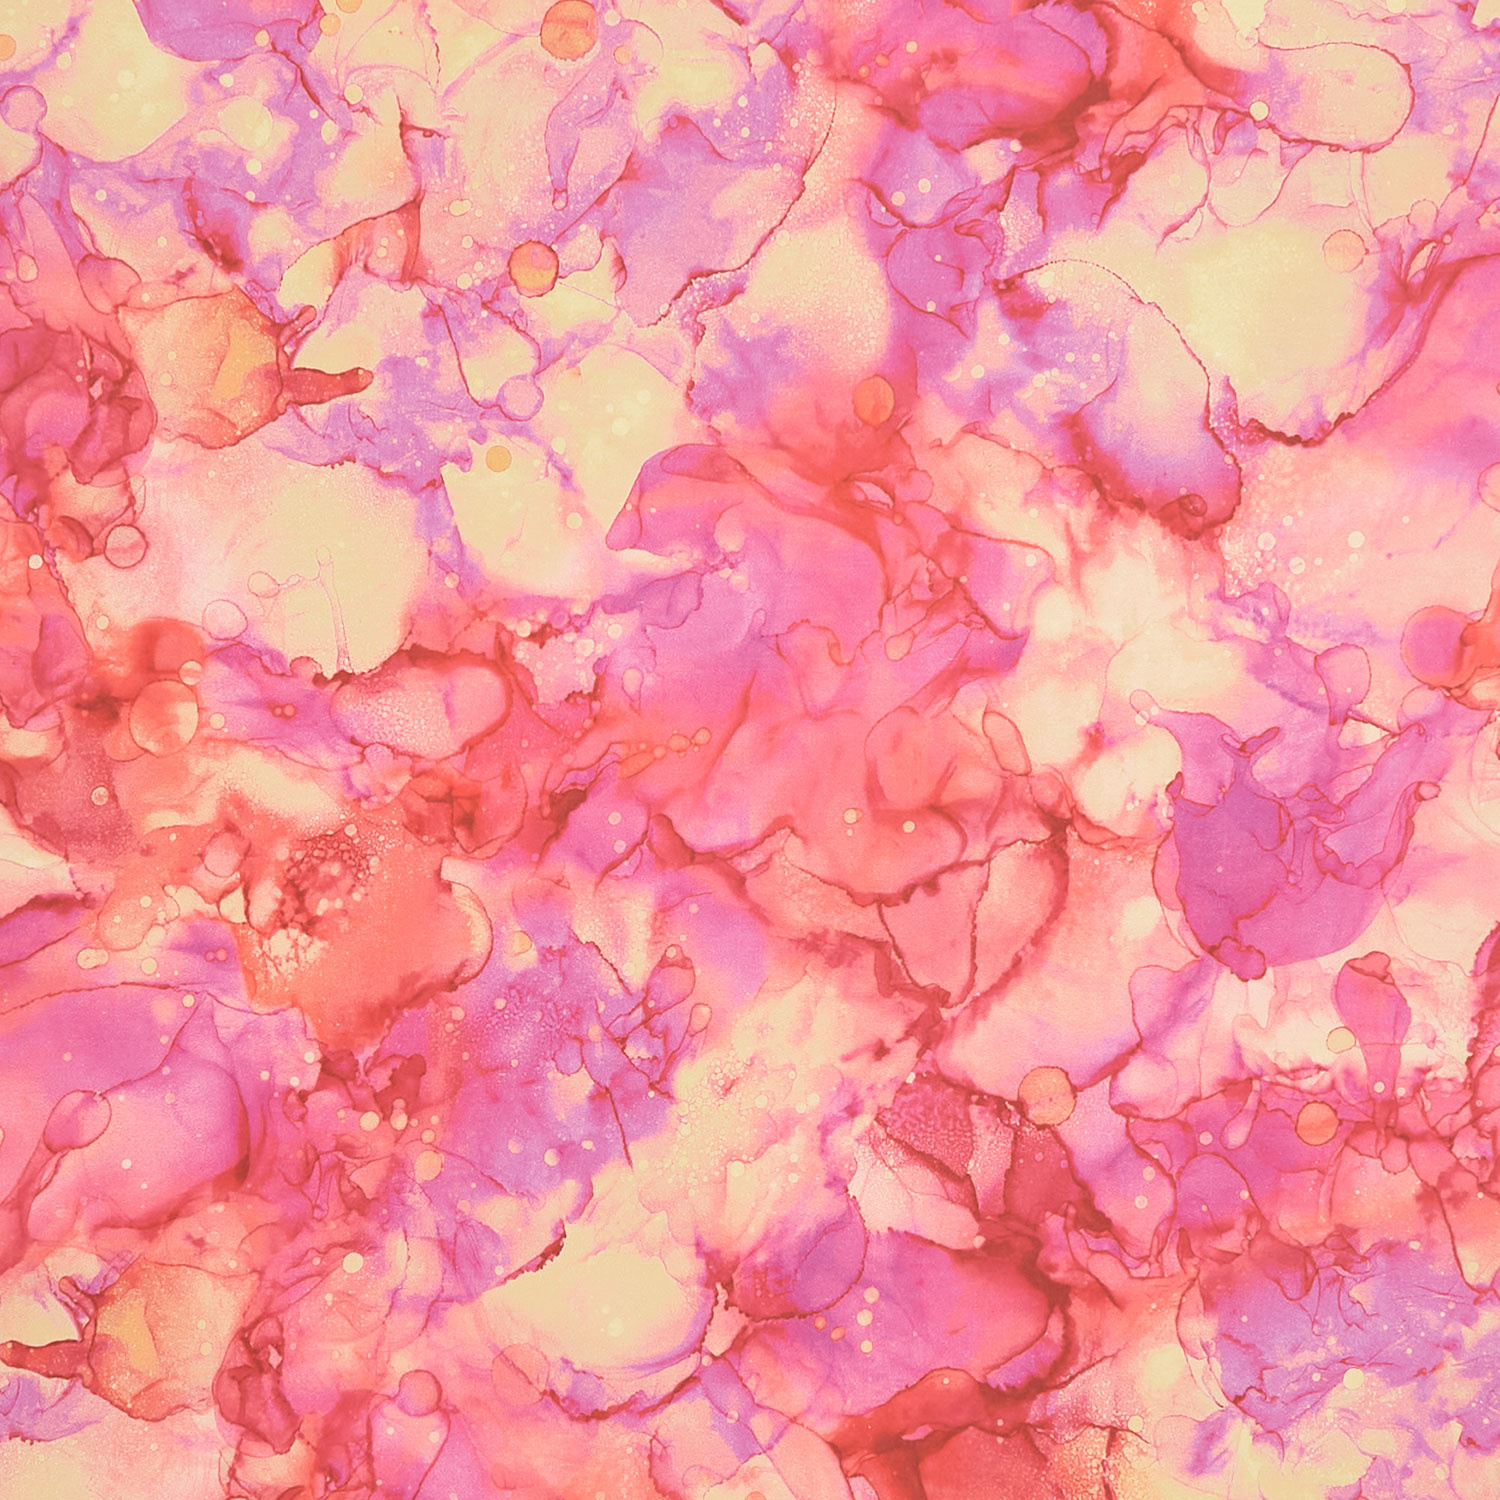 Fluidity - Hibiscus Digitally Printed Yardage$12.44Shop →
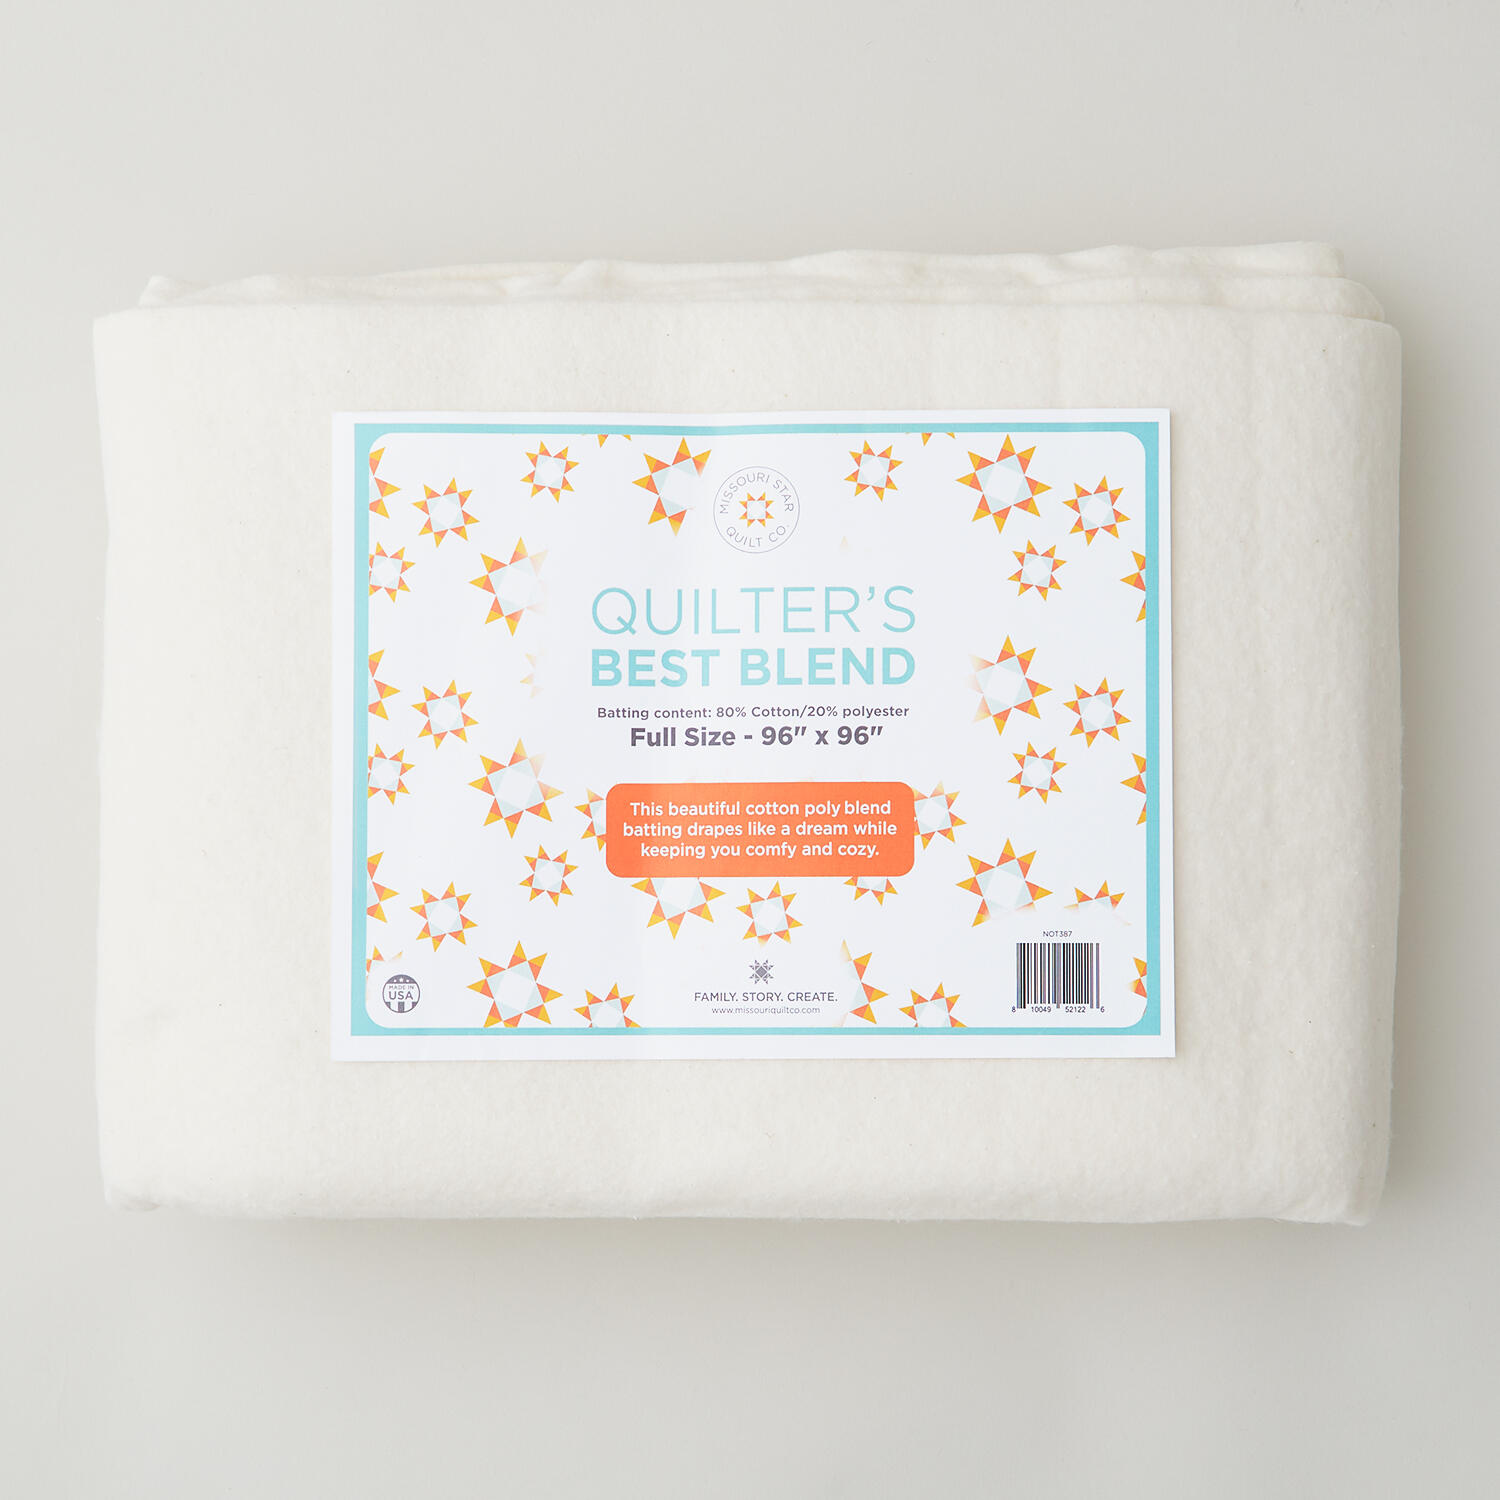 Missouri Star Quilter’s Best Blend Full Batting$32.95Shop →
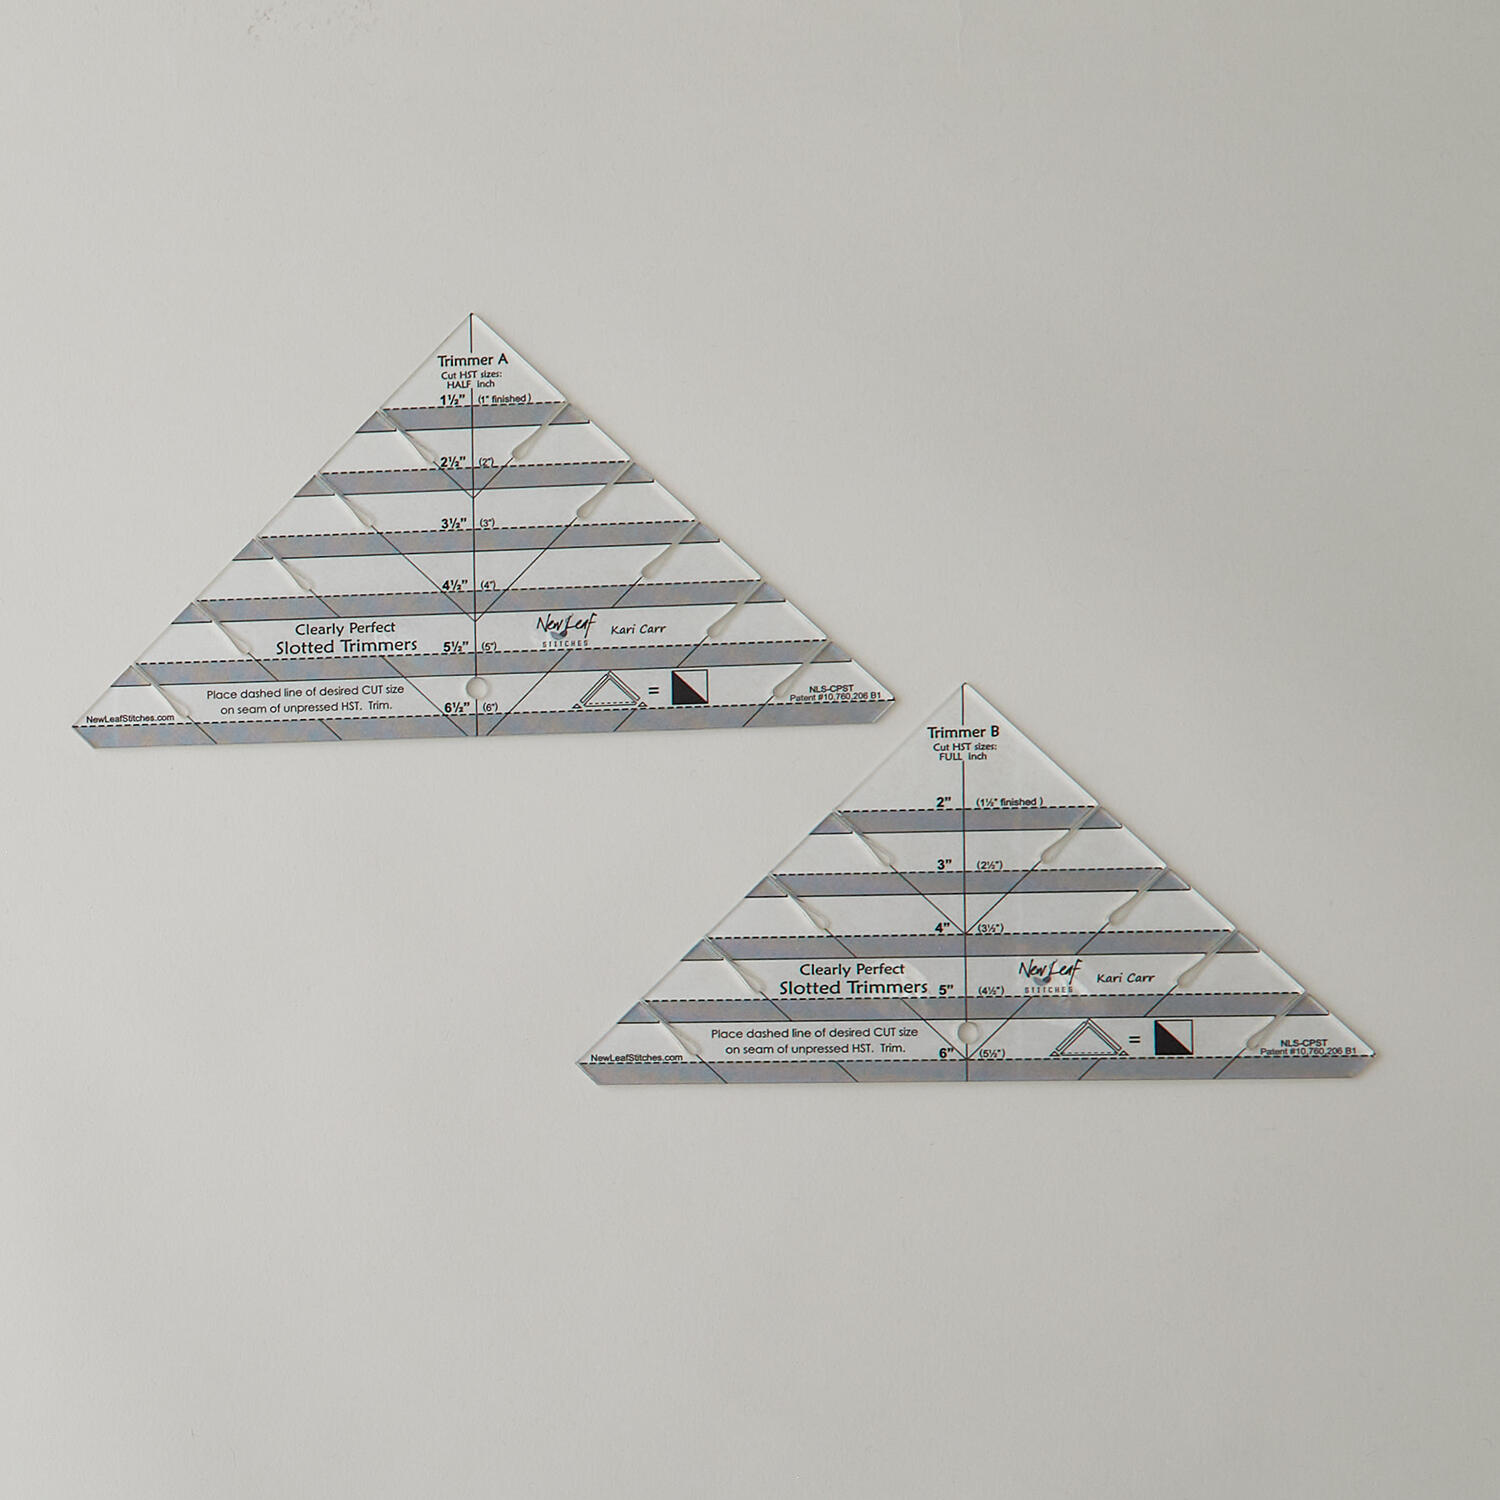 Clearly Perfect Slotted Trimmers$33.95Shop →
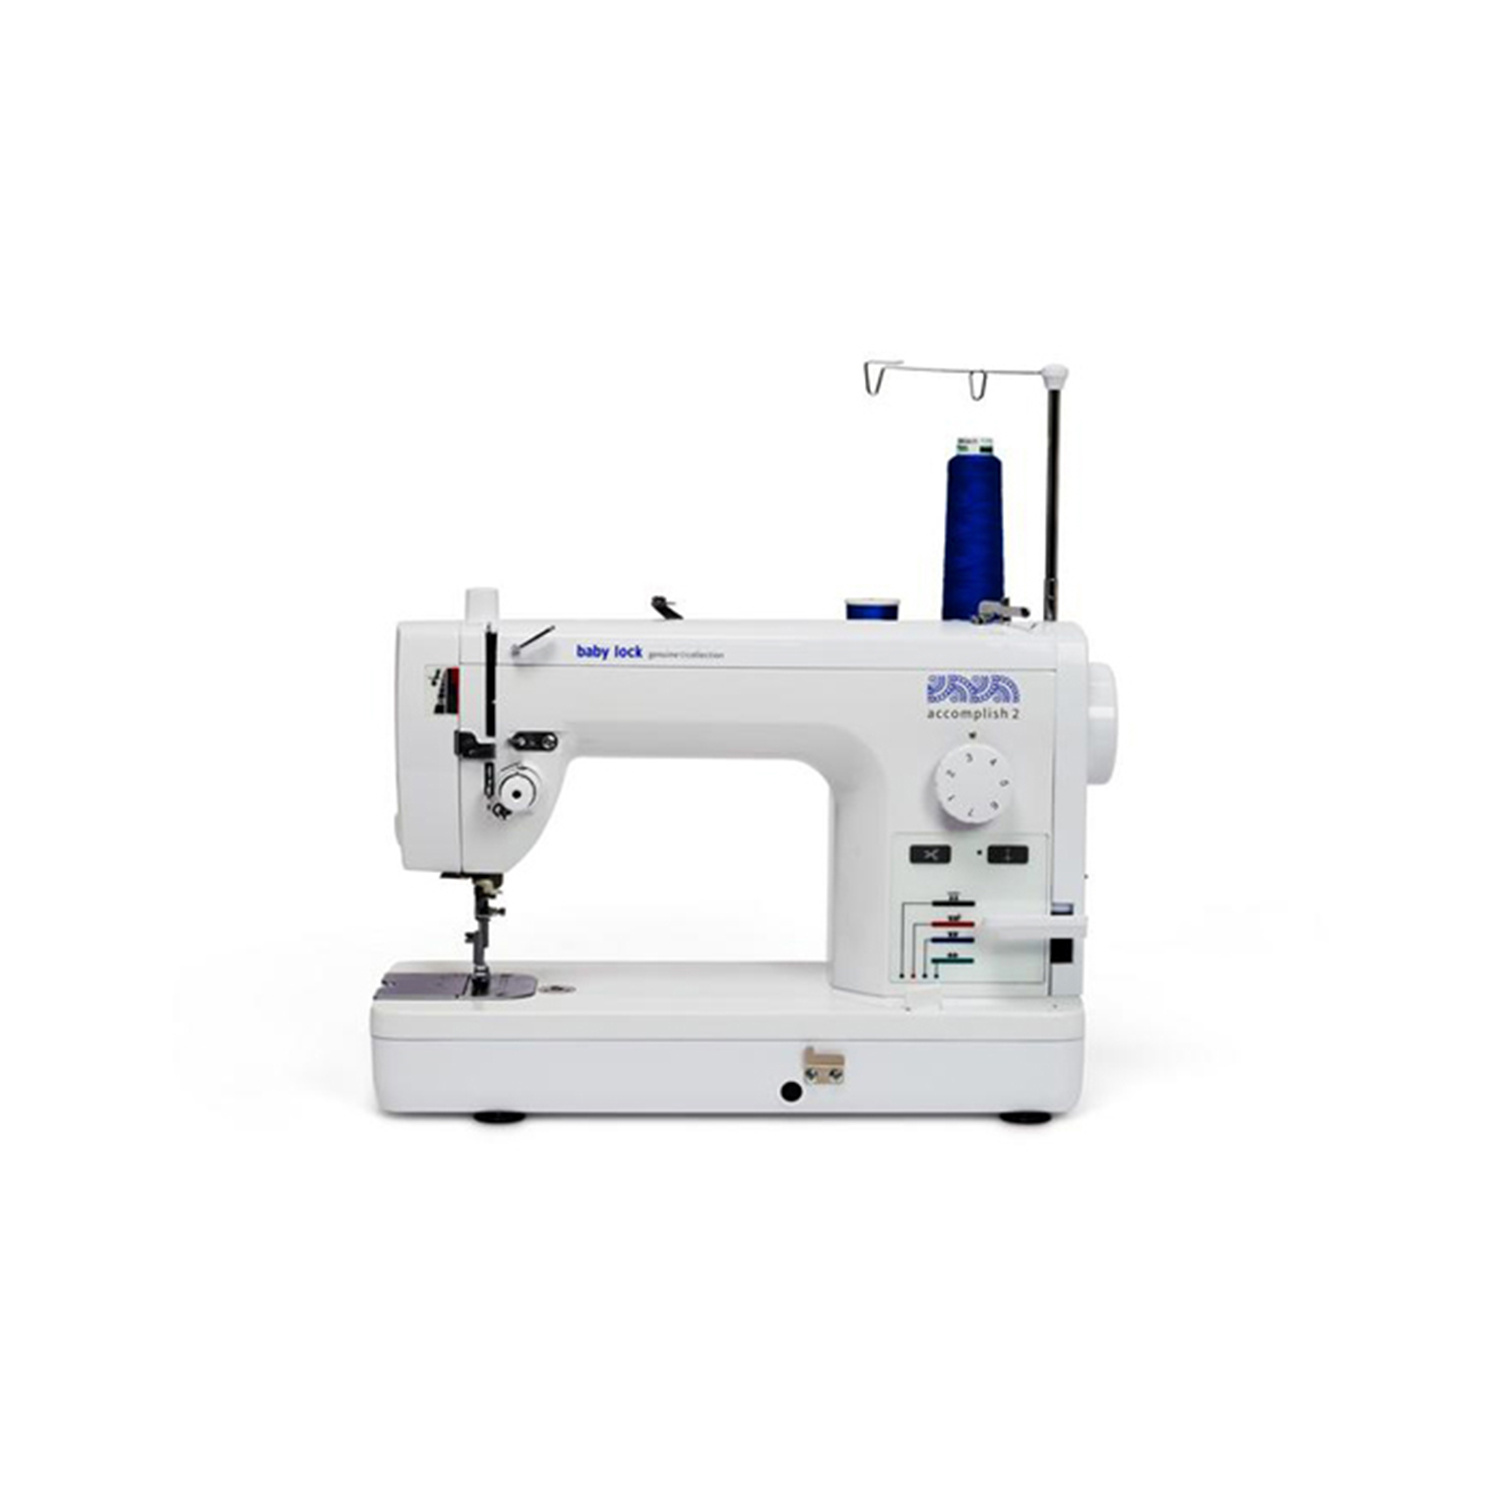 Baby Lock Accomplish 2 - 1500 SPM Straight Stitch Machine$1199.00Shop →
 Missouri Star 45mm Rotary Cutter - Olga$19.95Shop →
 Missouri Star + Oliso TG1600 ProPlus Iron$209.95Shop →
 Missouri Star Wooly Betty Board - 17.25" x 25.5" Orange Border$99.95Shop →


