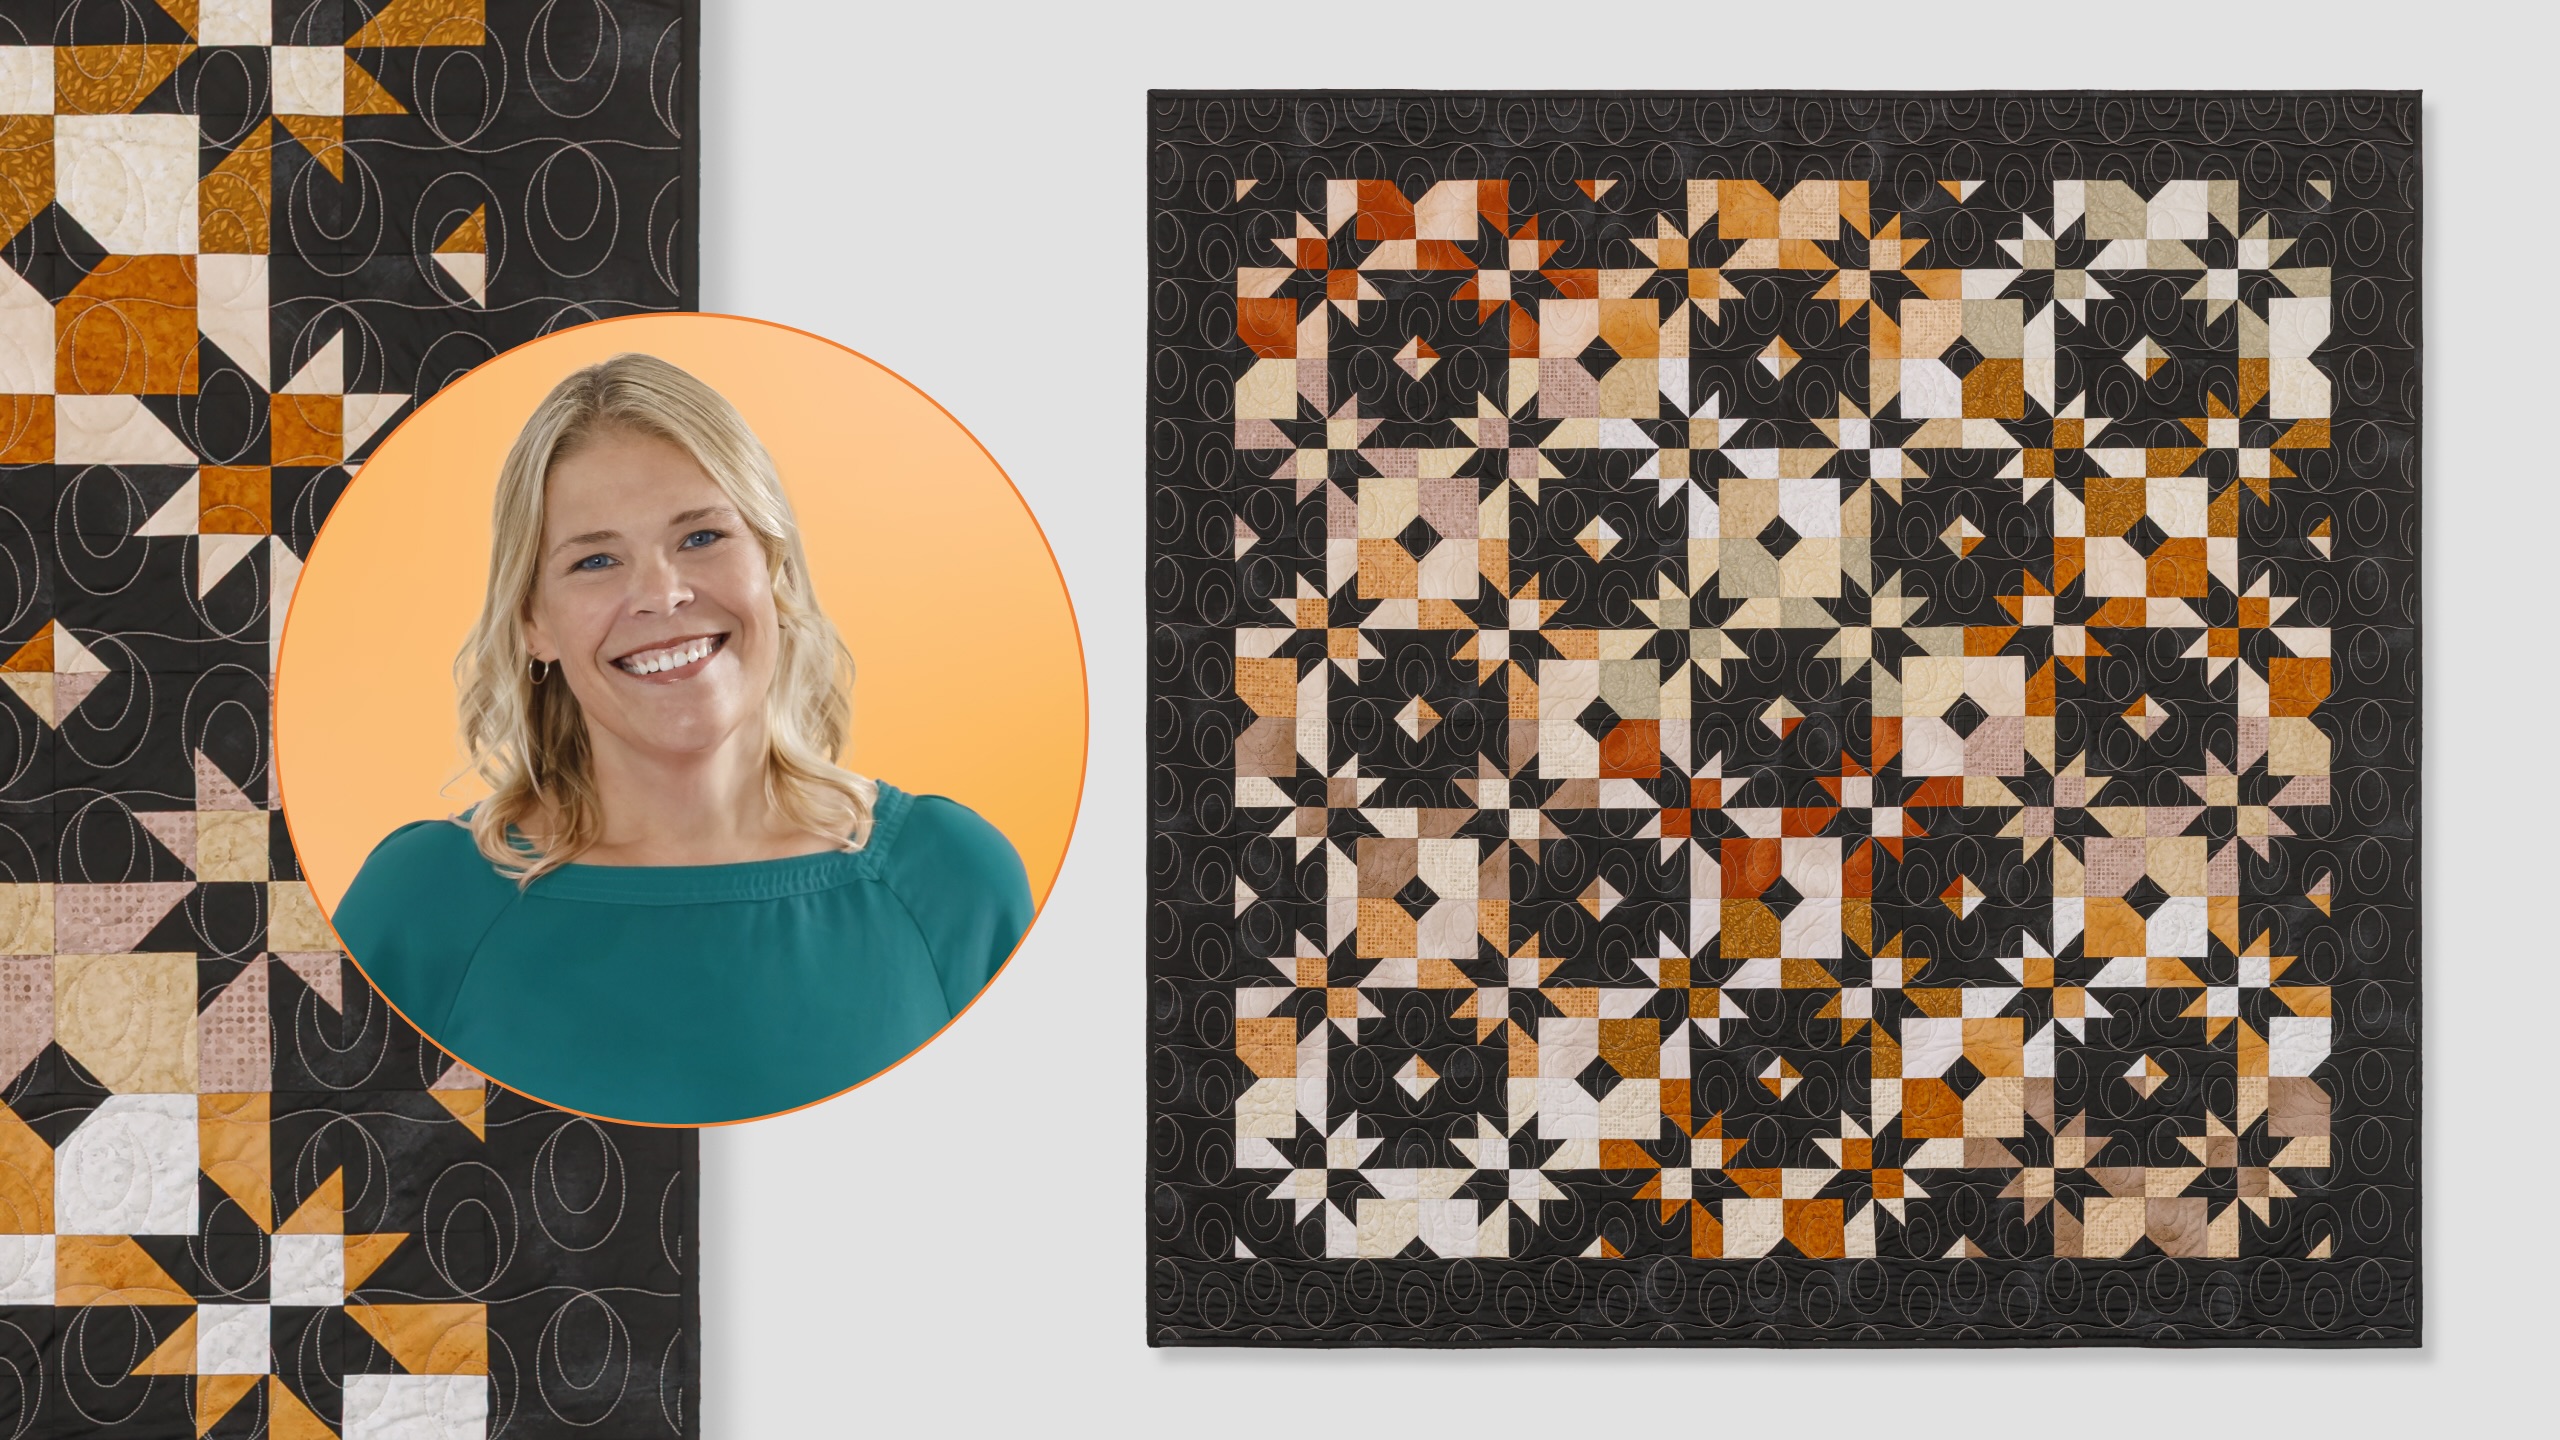
Sew up this stunning quilt and watch the time disappear! For this instalment of the What If series, Natalie is stitching the Disappearing Hourglass 3 pattern by Missouri Star. This stunning quilt is a kaleidoscope of squares and stars that are sure to dazzle! You’ll have a blast creating these disappearing blocks!
Natalie is the host of Quilting 101, Embroidery 101 and the Creative Strategist and Editor of Block Magazine at Missouri Star Quilt Company. She was taught how to sew by her mom, of course, and began quilting when she grew up.
What is covered in What If - Disappearing Hourglass 3?
Sew up this stunning quilt and watch the time disappear! For this instalment of the What If series, Natalie is stitching the Disappearing Hourglass 3 pattern by Missouri Star. This stunning quilt is a kaleidoscope of squares and stars that are sure to dazzle! You’ll have a bla...
How long is the tutorial video?
The tutorial video is 00:15:04.
Are supplies listed for this tutorial?
Yes. The tutorial page includes the supplies and materials connected to this project.
Video Transcript
Hey everybody, I'm Natalie with Missouri Star Quilt Company and today is What If Week and we are doing a twist on the disappearing hourglass and I think you're going to love it. [music] So, the original disappearing blocks came about years ago when we were first a brand new company and mom was just experimenting with taking bigger blocks and cutting them down and seeing what happens with those pieces as you rearrange and put them back together. and she had loved the disappearing pin wheel. And one time she was at this class and this woman came and said, "I can't make my block look like yours." She, it turned out that she had sewn together the opposite sides and created an hourglass instead of a pin wheel. And mom said, "You did not make a mistake. You made a brand new pattern." And we've made several quilts since then using that disappearing hourglass block. And so this is just another version of that. So, what we did here is we actually took two blocks that one is a light or one's a light block and one's a dark block and then we swapped some of the fabrics between the two blocks, which is a little bit unusual for our disappearing hourglass. Most of the time, we're just rearranging the squares within that block. So, this is kind of fun. I love the idea of changing up our colors and creating different patterns. So, I think you'll like it. Let me show you what you need to make this quilt. All right, so we have used one package of 10in squares. We've used Fundamentals Head to Taupe by um White Owl Textiles. We've also used this gesso black for our background fabric, and you'll need four yards of that. Um this includes your 6-in border. So, it's kind of nice that all of that is included. And then your for your backing fabric, you'll need four and 5/8 yards if you're using um regular width fabric with a vertical seam or 2 and a3 yards if you have a 108. All right, let's get started. Okay. So, the first thing you're going to want to do is cut up your background yardage into 10in squares. And we are going to make several half square triangles for this quilt. That's basically what the foundation of it is. So, the next thing is to make a bunch of pairs. So, each set of blocks is going to need a dark and a light. And we're going to make half square triangles with both of these, pairing up with our background. We're going to put them right sides together. And then we're going to sew a quarter of an inch all the way around the outside edge. [music] All right. So the next thing we're going to do, we are going to cut diagonally in both directions to get four half square triangles. When mom first came up with this idea, we were kind of working with um a time in her quilting life when she didn't like to square blocks. So, some of the things that I'm going to teach you today are going to give you better math and better numbers and more precision. So, that will be a little bit different than some of the videos that you've watched on disappearing hourglass blocks in the past, but I think this will be really helpful. So, we're going to go ahead and square these up now to six and a quarter. As soon as I'm done pressing them, set our seams and press to the dark side. Helps everything nest and lay flat. All right, I'm going to use my square ruler. You can use whatever your favorite squaring tool is, but we're going for six and a quarter. Whoops. Let me turn that. There we go. So, I'm going to line it up so that I'm well within the measurement that I need. And you've got just enough room to cut both sides. Now I'm going to flip this around. And remember, we're always going to keep our 45° angle line lined up with our seam line. That keeps our points. And then we're looking for the 6 and 1/4 to create that perfect square. Just like that. All right. Squaring is one of those things that does help to make your sewing a little bit easier. It's more precise and your blocks are going to fit together better when they're all the same size. So, if you don't love it right now, maybe find a tool that makes it easier. A lot of people love block lock or clearly perfect. There's some really great things out there that help to make squaring up a lot more pleasant. And then I promise it's going to make your whole quilting journey feel better when things fit. Um, and you don't have to do as much adjusting. It just makes our blocks lay flat and life is so much easier. And mom squares everything now, just so you know. [laughter] She's gotten really good at it and and loves it. [snorts] All right, one more to go and then we'll sew up our hourglass block. I think it's like everything in life. When you first start out, it seems hard and intimidating, but the more you do it, the better you get at it, which makes it easier. Those muscles grow and your your precision gets better and all of that just helps. You know, it's just practice. Practice makes progress. [snorts] Okay. So to create our little hourglass, I'm going to scoot this up, we are going to sew these together like this. So we're going to match up and sort of create almost a little bit of a checkerboard. And that is our hourglass block. So I'm going to stitch these together in a four patch. You do want to kind of make sure that your quarter inch is pretty exact because we're looking for an unfinished measurement of 12 in for this block. All right. So, if you're um Yeah, just use your seam tape and go slow. Alrighty. All right. So, now I'm going to open these up. They're still stitched together because of that chain. I'm going to go ahead and flip them over and nest those seams and sew that last seam. Then I will press. I prefer not to press these while I'm in the middle of sewing because um they do have a little bit of bias and I feel like this helps me to get a more exact block. All right. So, now we'll take this over to the ironing mat and set our seams. We're going to be pressing and not pushing because we don't want to stretch this out of shape. [snorts] So, just be gentle. And then we'll press that back. Just like that. Okay. So, like I said before, this should measure 12 in, which is great. That's exactly the size we need. And I've got my light one fixed up already here. And I'm going to make sure these are both going the same direction. And now we have this great ruler. This is 4 in wide. And it's perfect for this particular quilt because what we're going to do is we're going to lay this right on the middle, lining up the center line with our seam line. And we are just going to cut on both sides. Then we'll turn the ruler and cut the um horizontal lines as well. And this is going to give us those nine pieces that we can then flip and move around. So we will do that to both of these blocks. And if you have a spinning mat, it might make this a little easier. I find that I can pretty much just move my body and get the cuts that I need. All right. Just try to keep everything together so they stay really nicely. Okay. And then I'm coming over to this side. Give myself a good angle. Okay, that one's cut. I'm going to do the same thing with my light block. Scoot that a bit. Give myself some more room here. Okay, [snorts] there we go. So, that is all you're going to do. Now, you should have nine pieces that all measure 4 in. And now comes the fun part of really flipping everything around. So, the first thing we're going to do is turn our middle pieces in to create those cute little star legs. So, these all face the center. And we'll do the same thing over here. And you can see how cool these little patterns start to appear. It's super fun. There's so many different ways you can put together these disappearing blocks. All right, the next thing we're going to do is flip our corners to the outside. So these flip out. And so now you can see that we've got these going just like that. I'm going to do this one too all the way to the outside. There we go. And so now what we're going to do is we're going to take this section here diagonally and swap it with this section here. So we will swap these two and we will swap our four patches. And then we will swap this corner. So now you can see that we've got this really cool dark diagonal and this light diagonal swapped between the two blocks. So these finished blocks then look just like this. I will put these down so you can see them because they're very cool. So there's that one. You just sew it up like a standard nine patch. And here's this one. And then these two blocks are going to stay together in the entire quilt. So I'm going to take these two finished blocks and I'm going to sew them together, but I'm going to turn it so that I make almost like a chevron pattern with my lights and darks. So my dark is going to go this way. My light is going to go this way. And that's going to create kind of like a little diamond as we put these sets of two together in the quilt. [snorts] All right. So let's put these right sides. Line them up and try and make sure all of our little points stay matching. Here we go. You've got a few little intersections to watch, so it should be pretty pretty quick and easy to get this to stitch together. And I would put together all of my sets of two before I started um laying out my quilt. It'll just make assembly easier. Okay, we'll give it a little press so it lays nice. Set that seam and flip that back. Nice and easy. Gentle. Okay, so that is our little two block section. And let me show you how it fits into the quilt. So this quilt is 6x6, which means there are three sets of two all across the top and then all the way down. So these are going to go in um it's kind of an AB pattern. So you've got your first row where these all go up and then the next row they flip and go down across like this. So you can see that then the that creates this really beautiful little diamond here. And that's it. There's just six rows by six rows. We've got a beautiful 6 in border, nice and wide, and frames it up really well. Our backing is this beautiful North Cot uh gradient backing. I absolutely love it. And I think this little exo tag is so cute. Hugs and kisses. [snorts] The machine quilting pattern is Darling's overall texture. And this quilt ends up being 74 by 74, which is just a great size for about anything. I love that. Well, I had a lot of fun with this whatif week. The disappearing hourglass is one of my favorites. I love playing with the color combinations and swapping up these two blocks was really cool. I can't wait to see what color combinations you guys come up with. And I hope you enjoyed this tutorial on the What If Disappearing Hourglass from the Missouri Star Quilt Company. See you next time.

 Natalie Doan
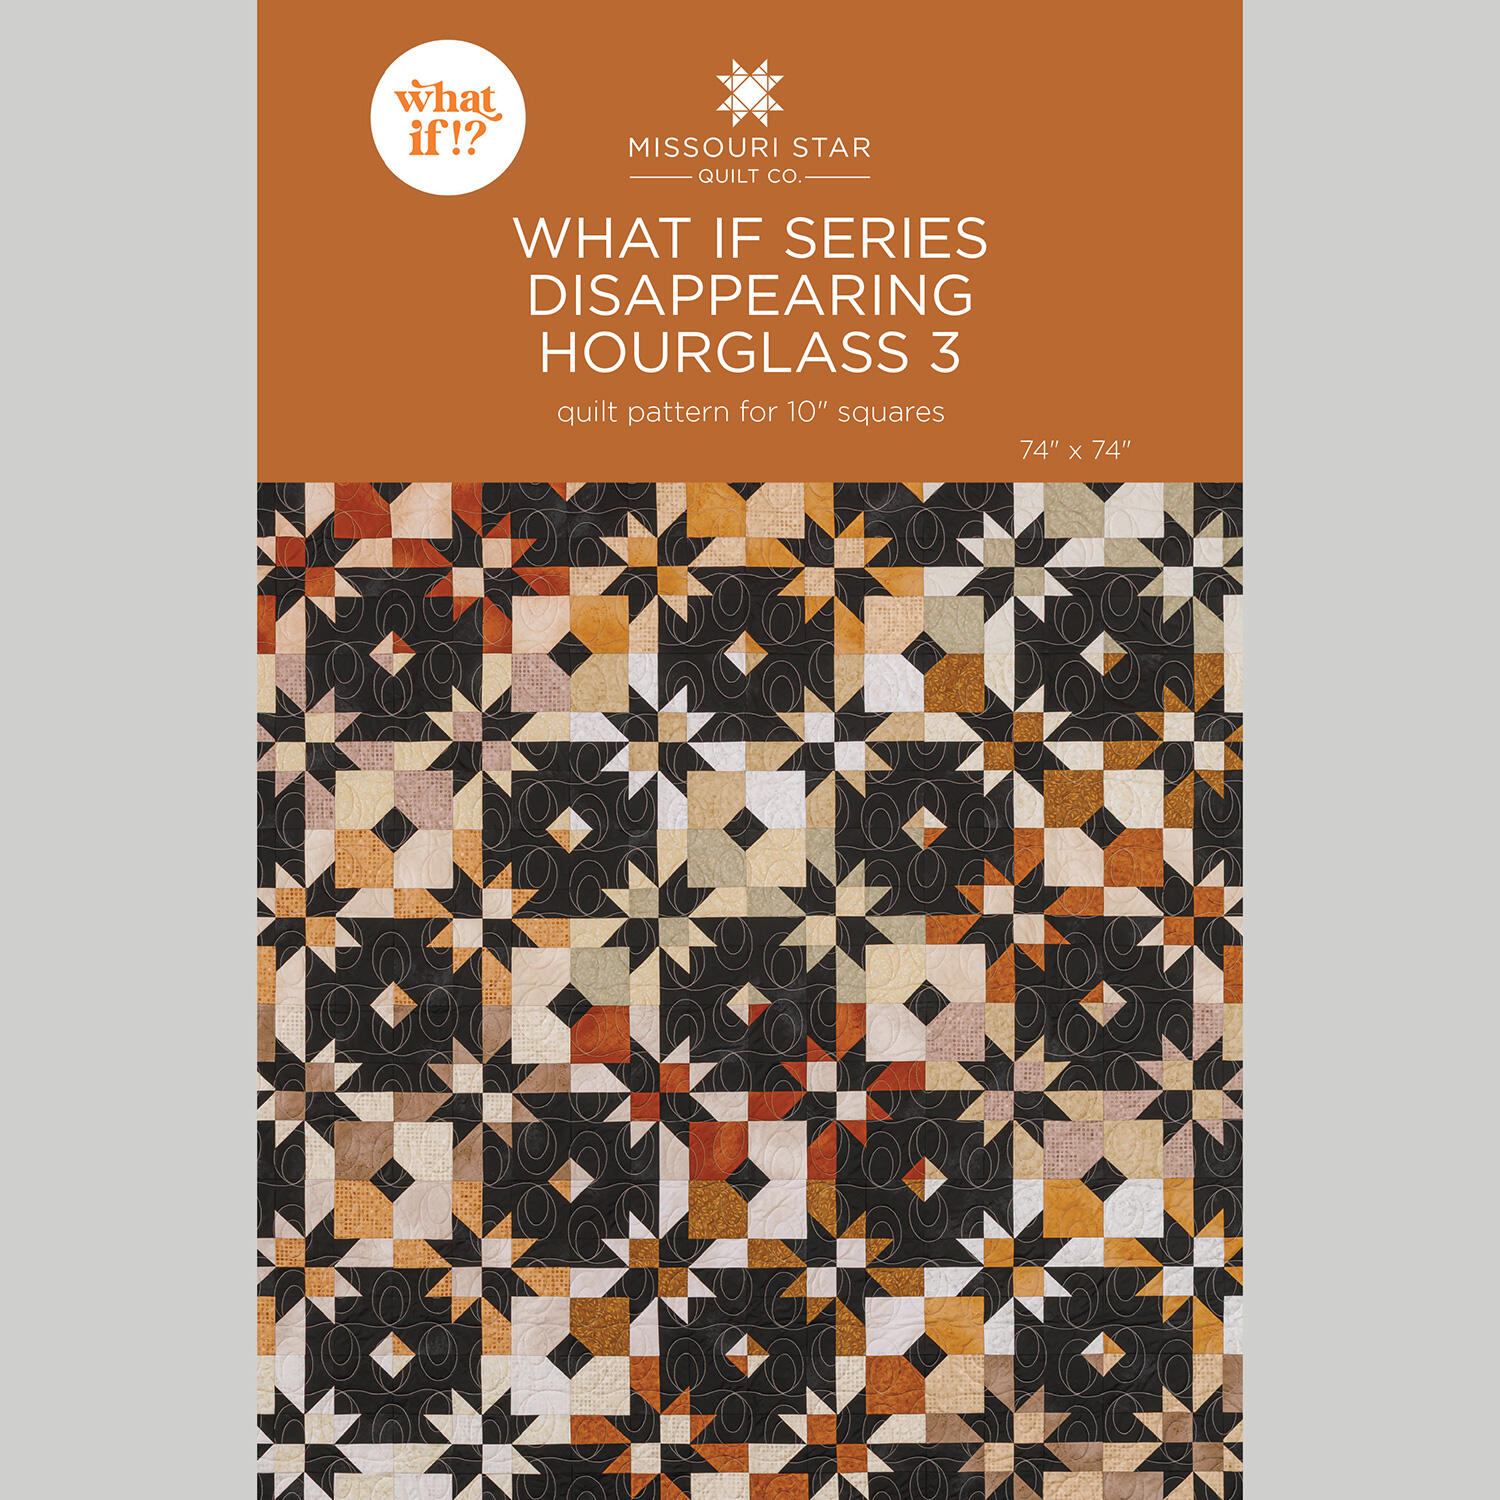 What If Series - Disappearing Hourglass 3 Quilt Pattern by Missouri Star$8.50Shop →
 Digital Download - What If Series - Disappearing Hourglass 3 Quilt Pattern by Missouri Star$6.95Shop →
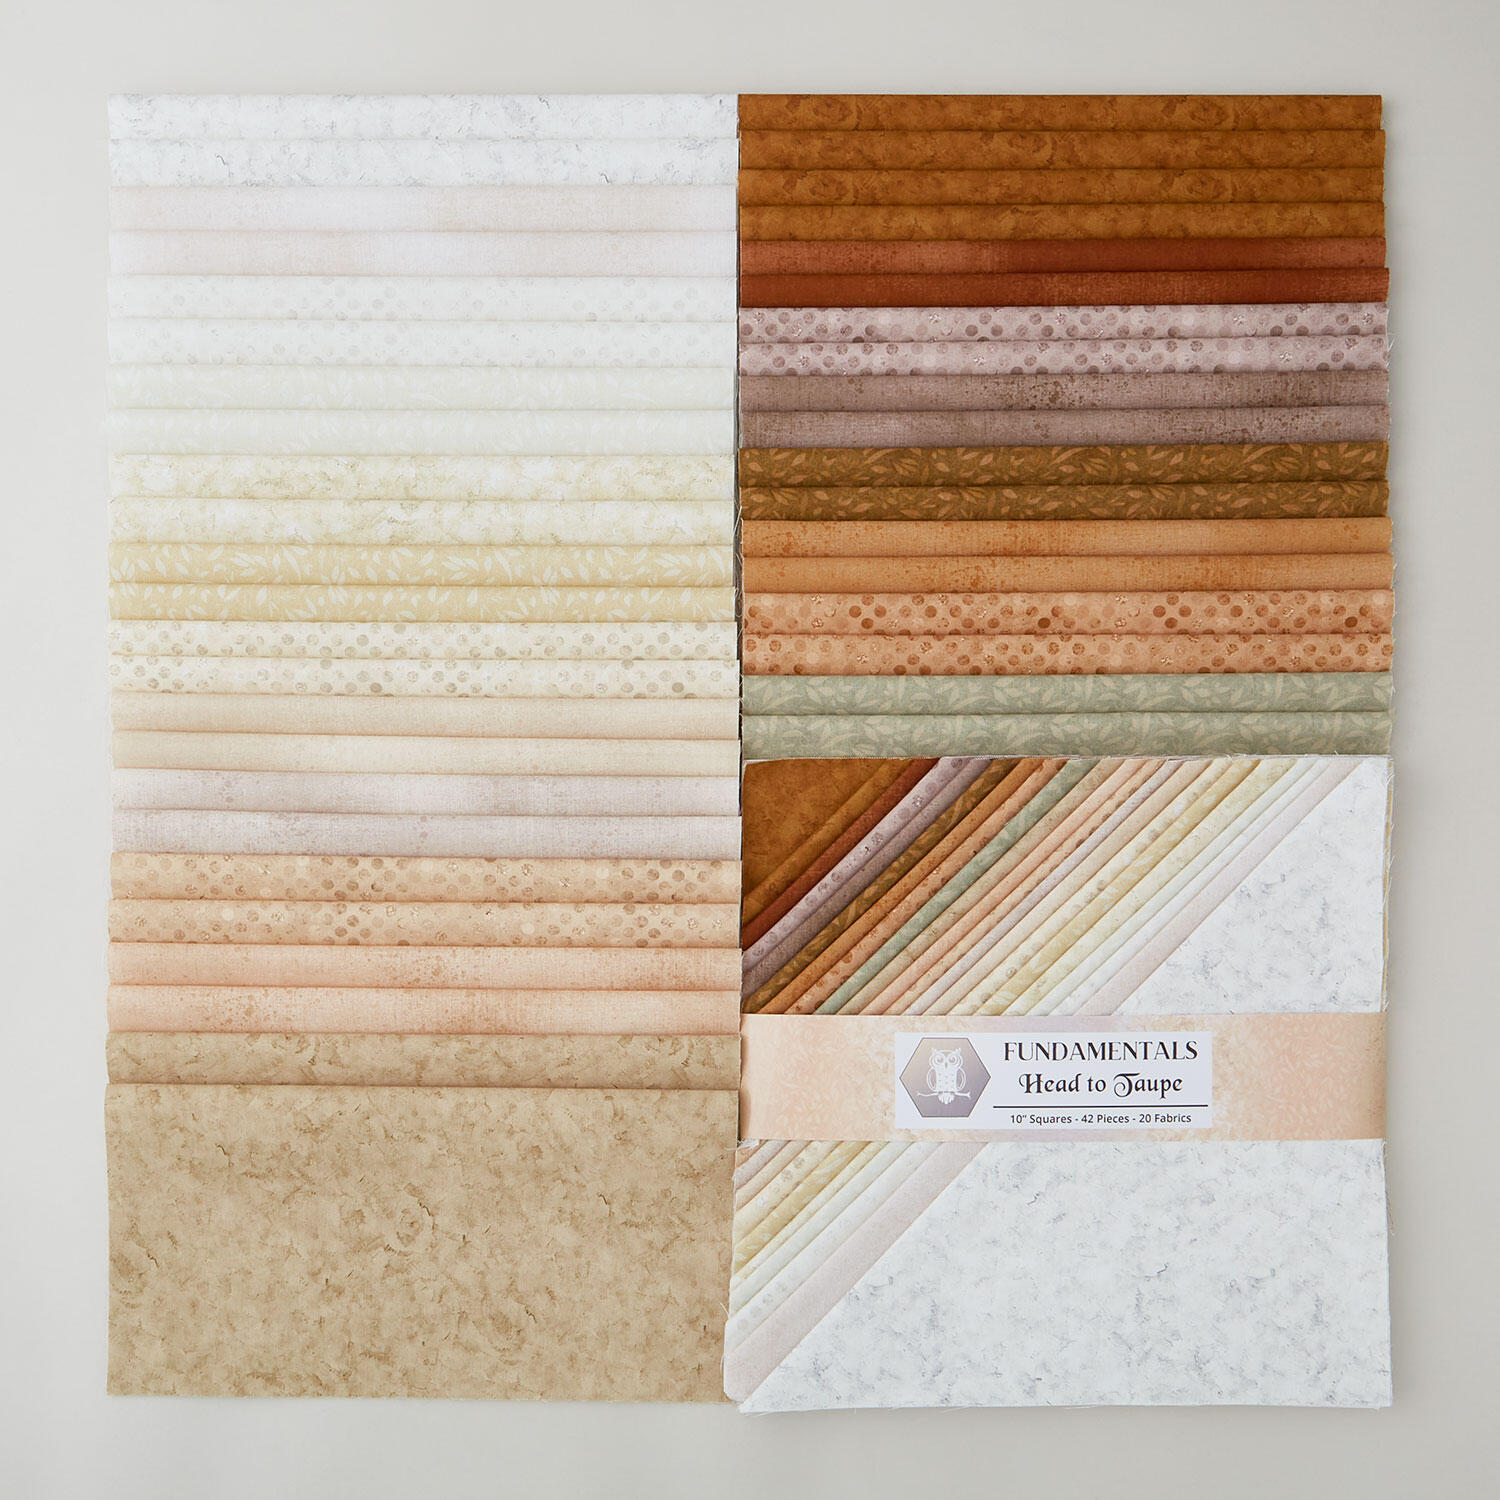 Fundamentals Head to Taupe 10" Squares$47.65Shop →
 Fundamentals - Gesso Black Yardage$11.48Shop →
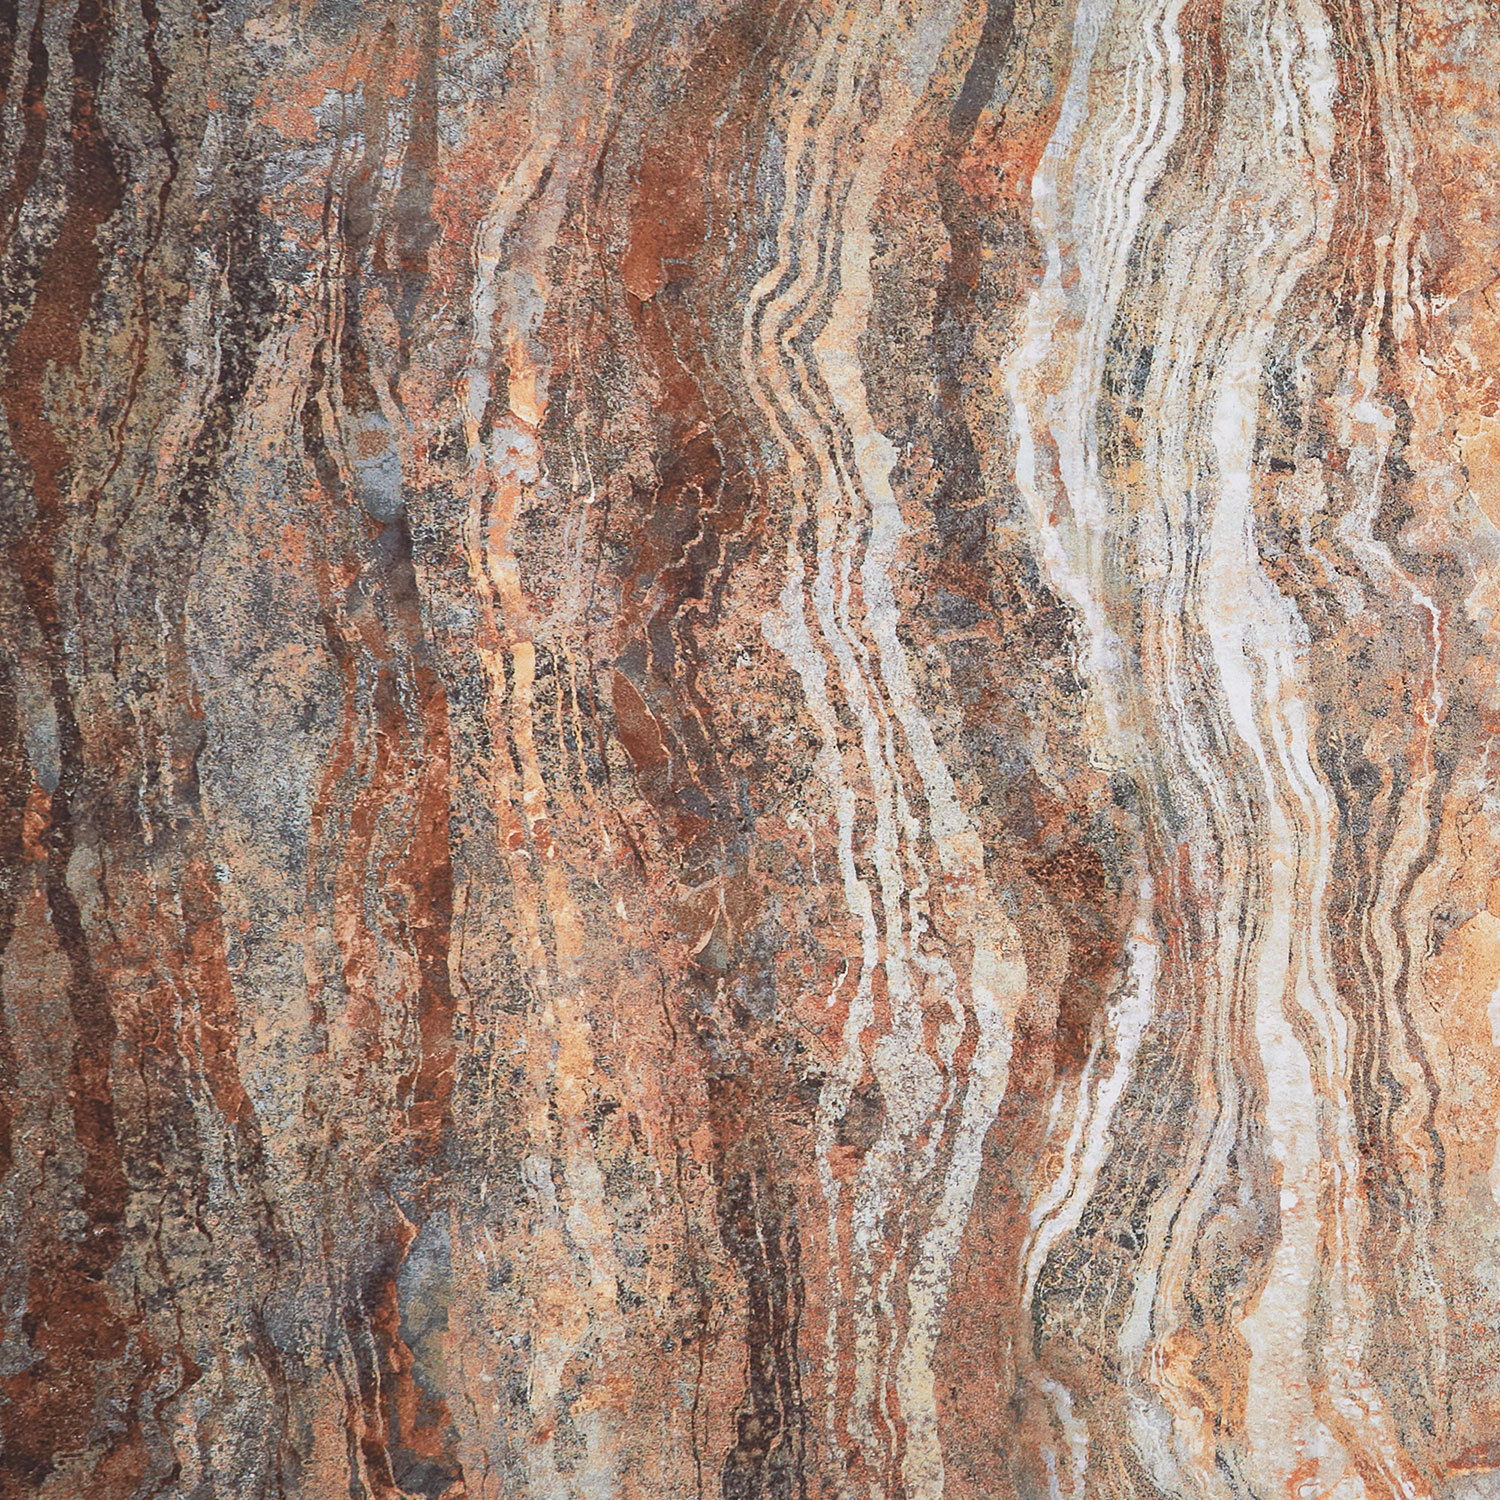 Stonehenge Gradations Ombre Wide Backing - Ombre Iron Ore 108" Wide Backing$20.32Shop →
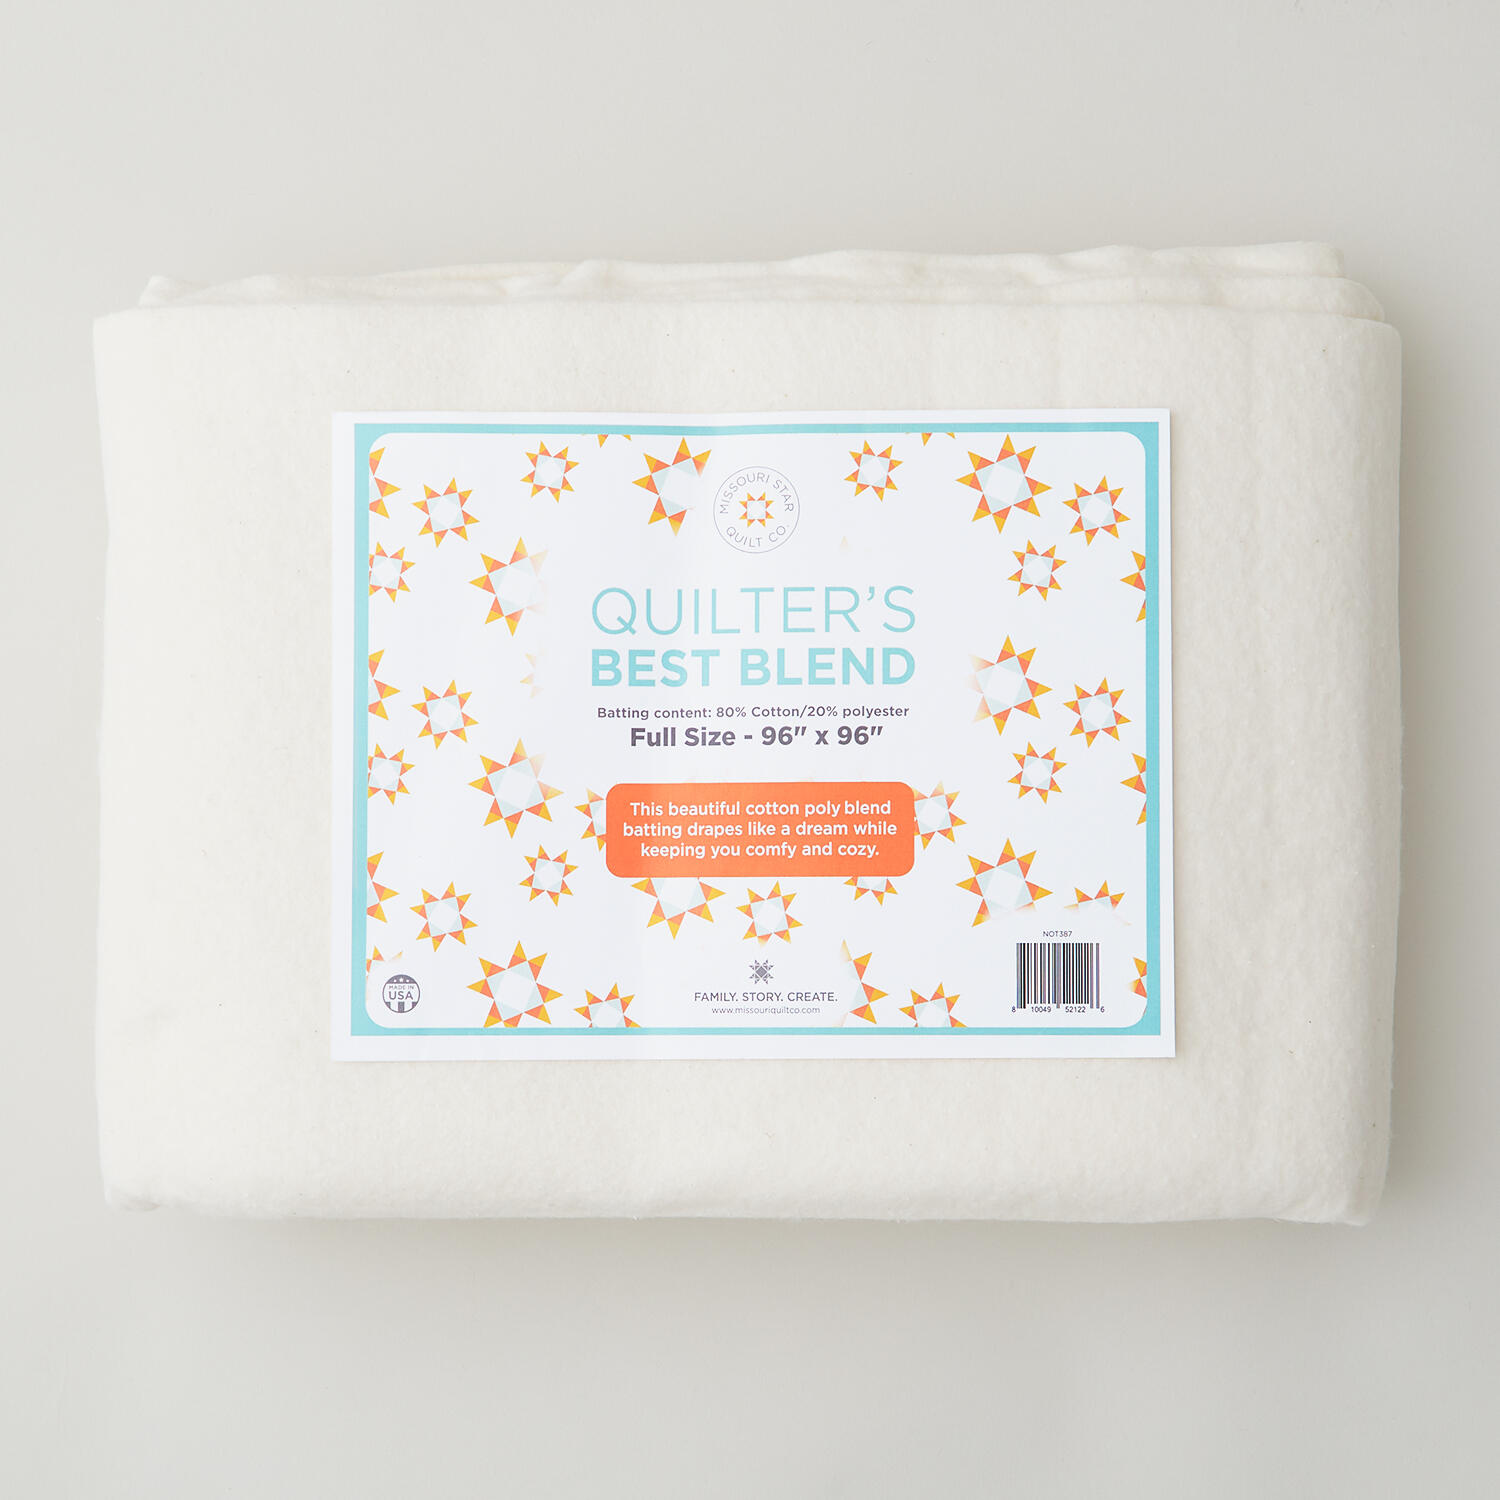 Missouri Star Quilter’s Best Blend Full Batting$32.95Shop →
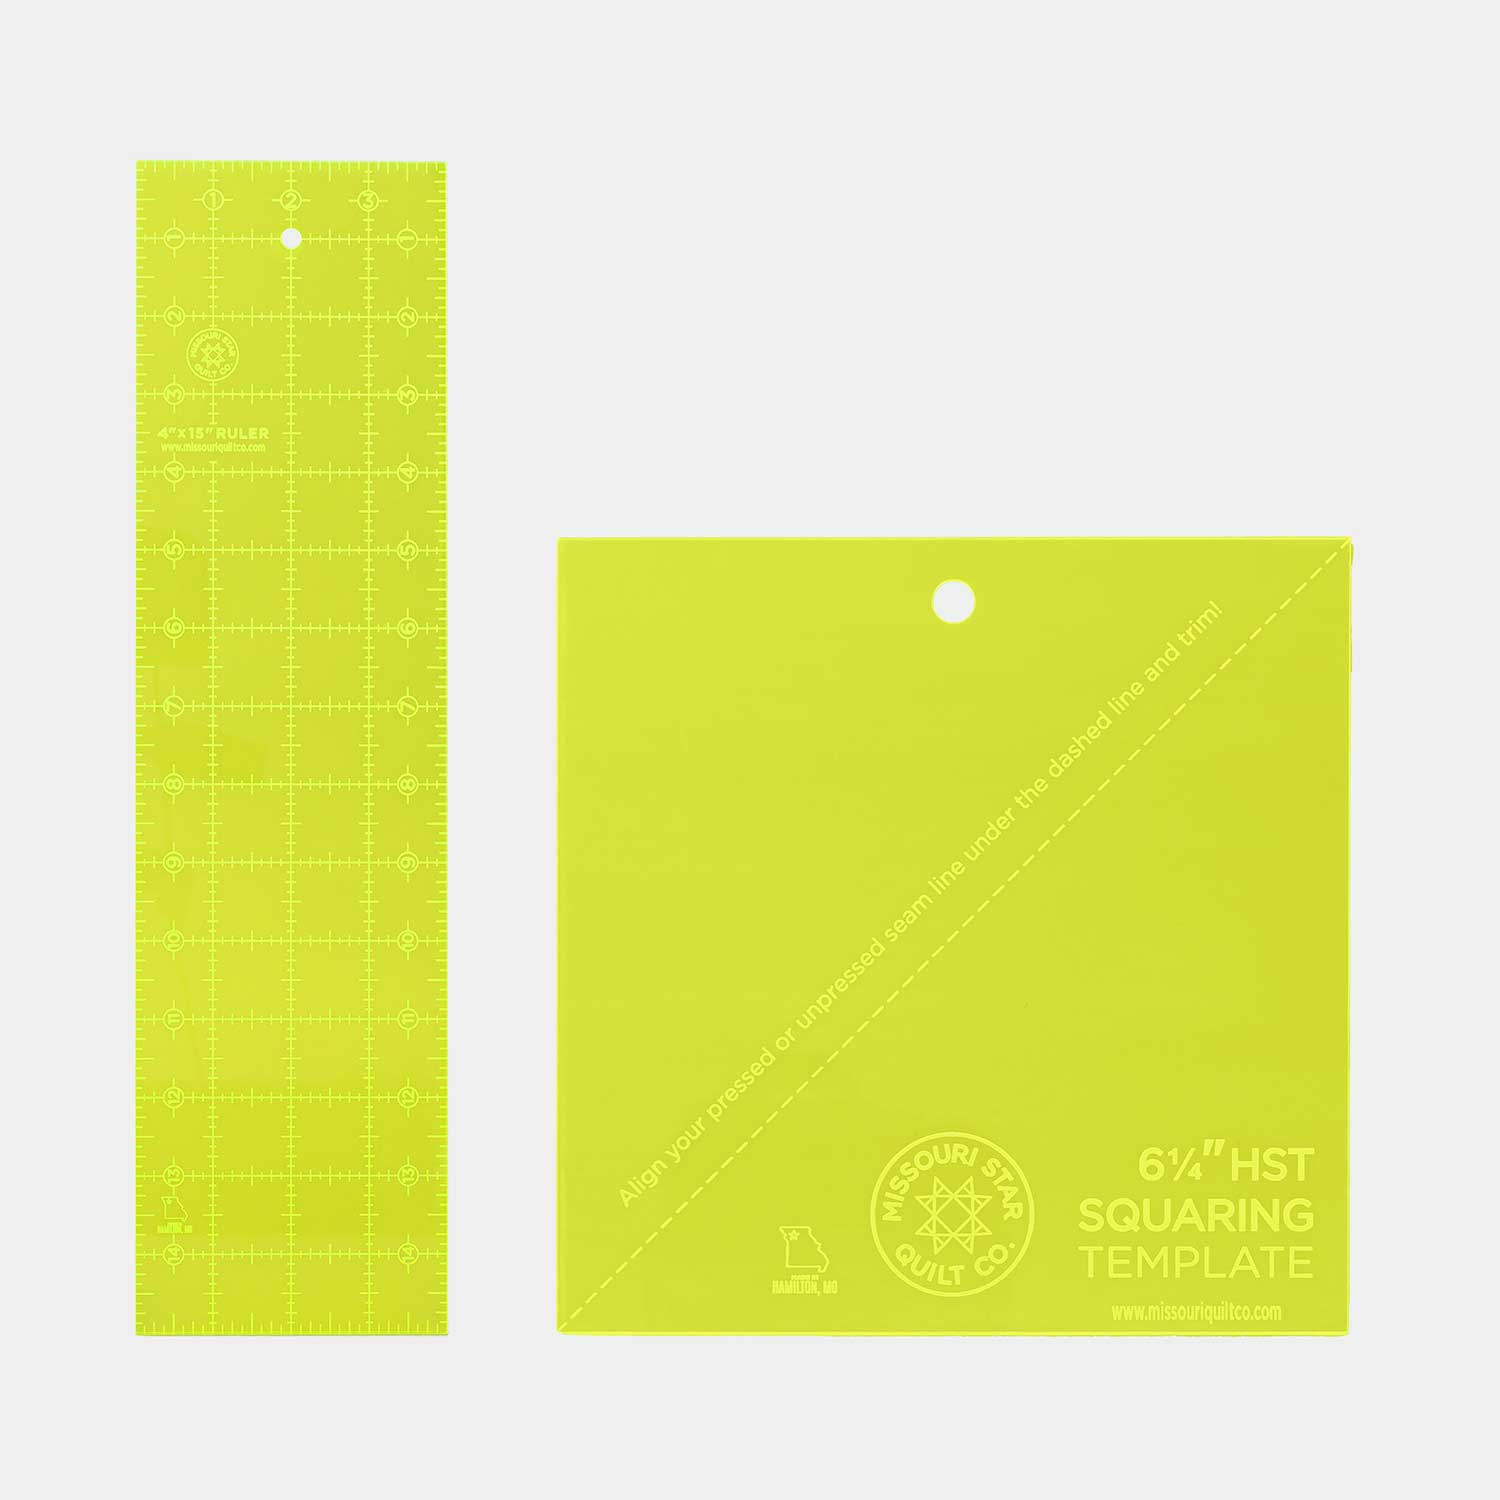 Missouri Star Disappearing Block Duo$26.95Shop →
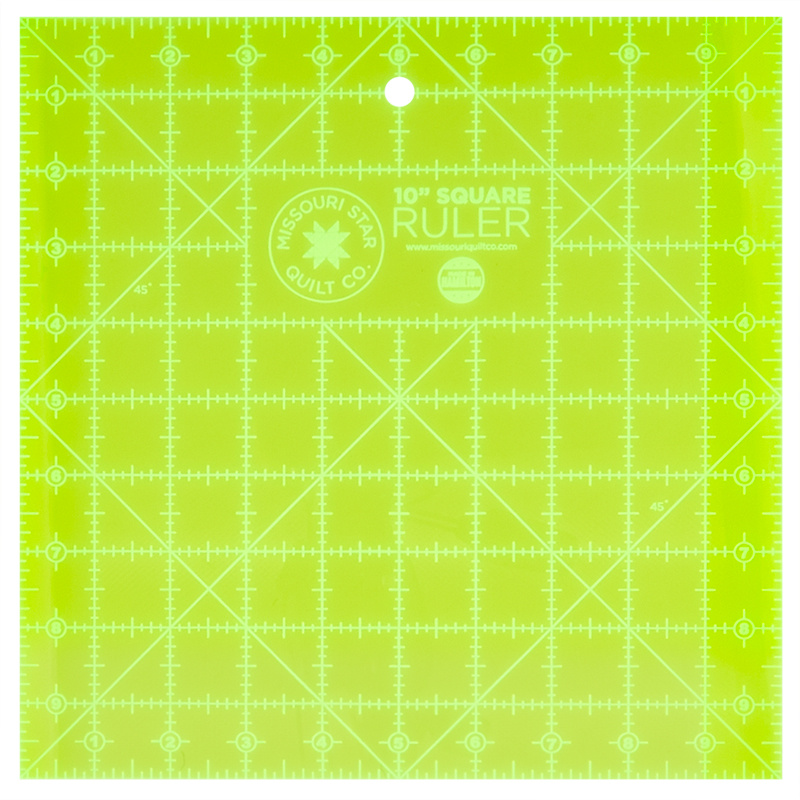 Missouri Star 10" x 10" Square Ruler$19.95Shop →
 Missouri Star 45mm Rotary Cutter - Olga$19.95Shop →
 Missouri Star Seam Ripper - Frida$9.95Shop →
 Missouri Star 8" Everyday Scissors - Amelia$19.95Shop →
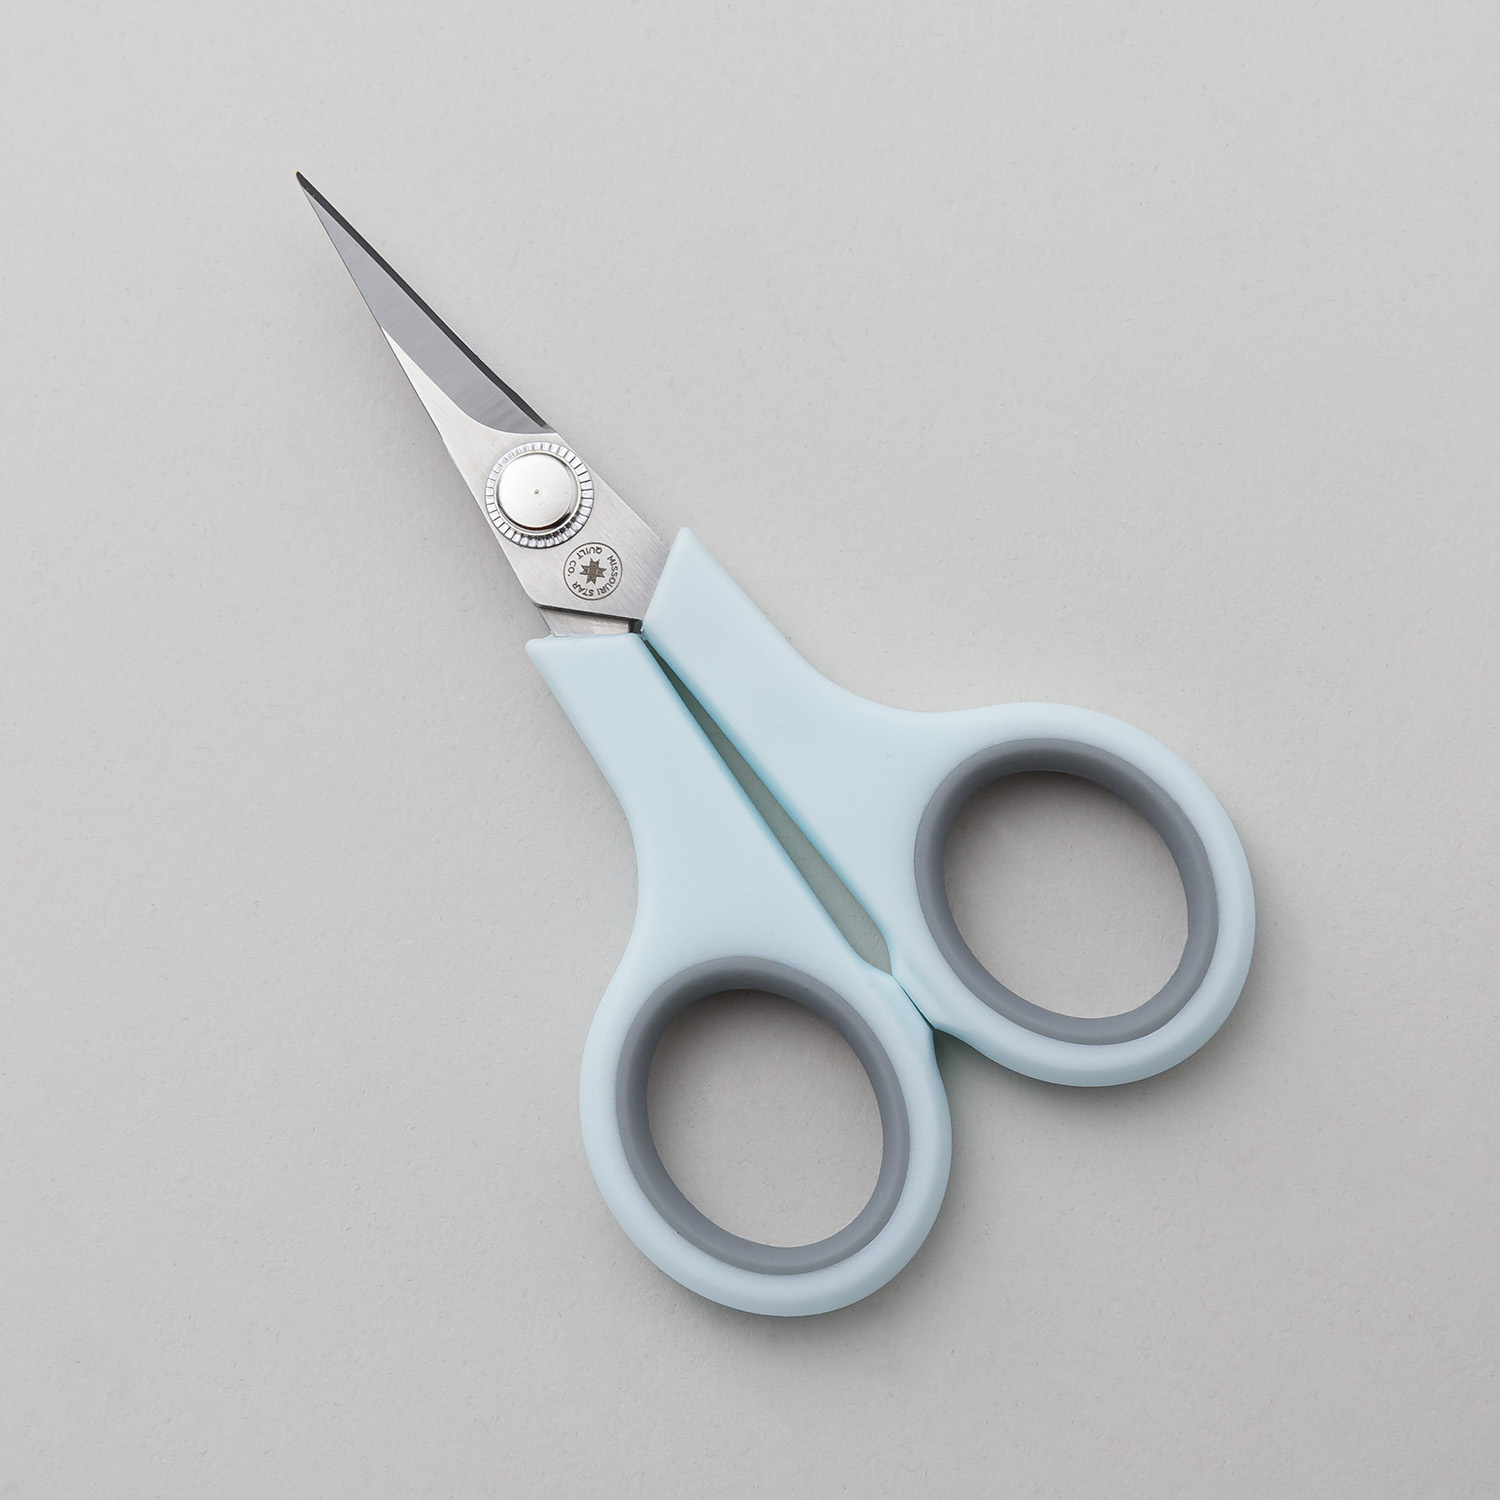 Missouri Star 4.5" Everyday Scissors - Elna$9.95Shop →



