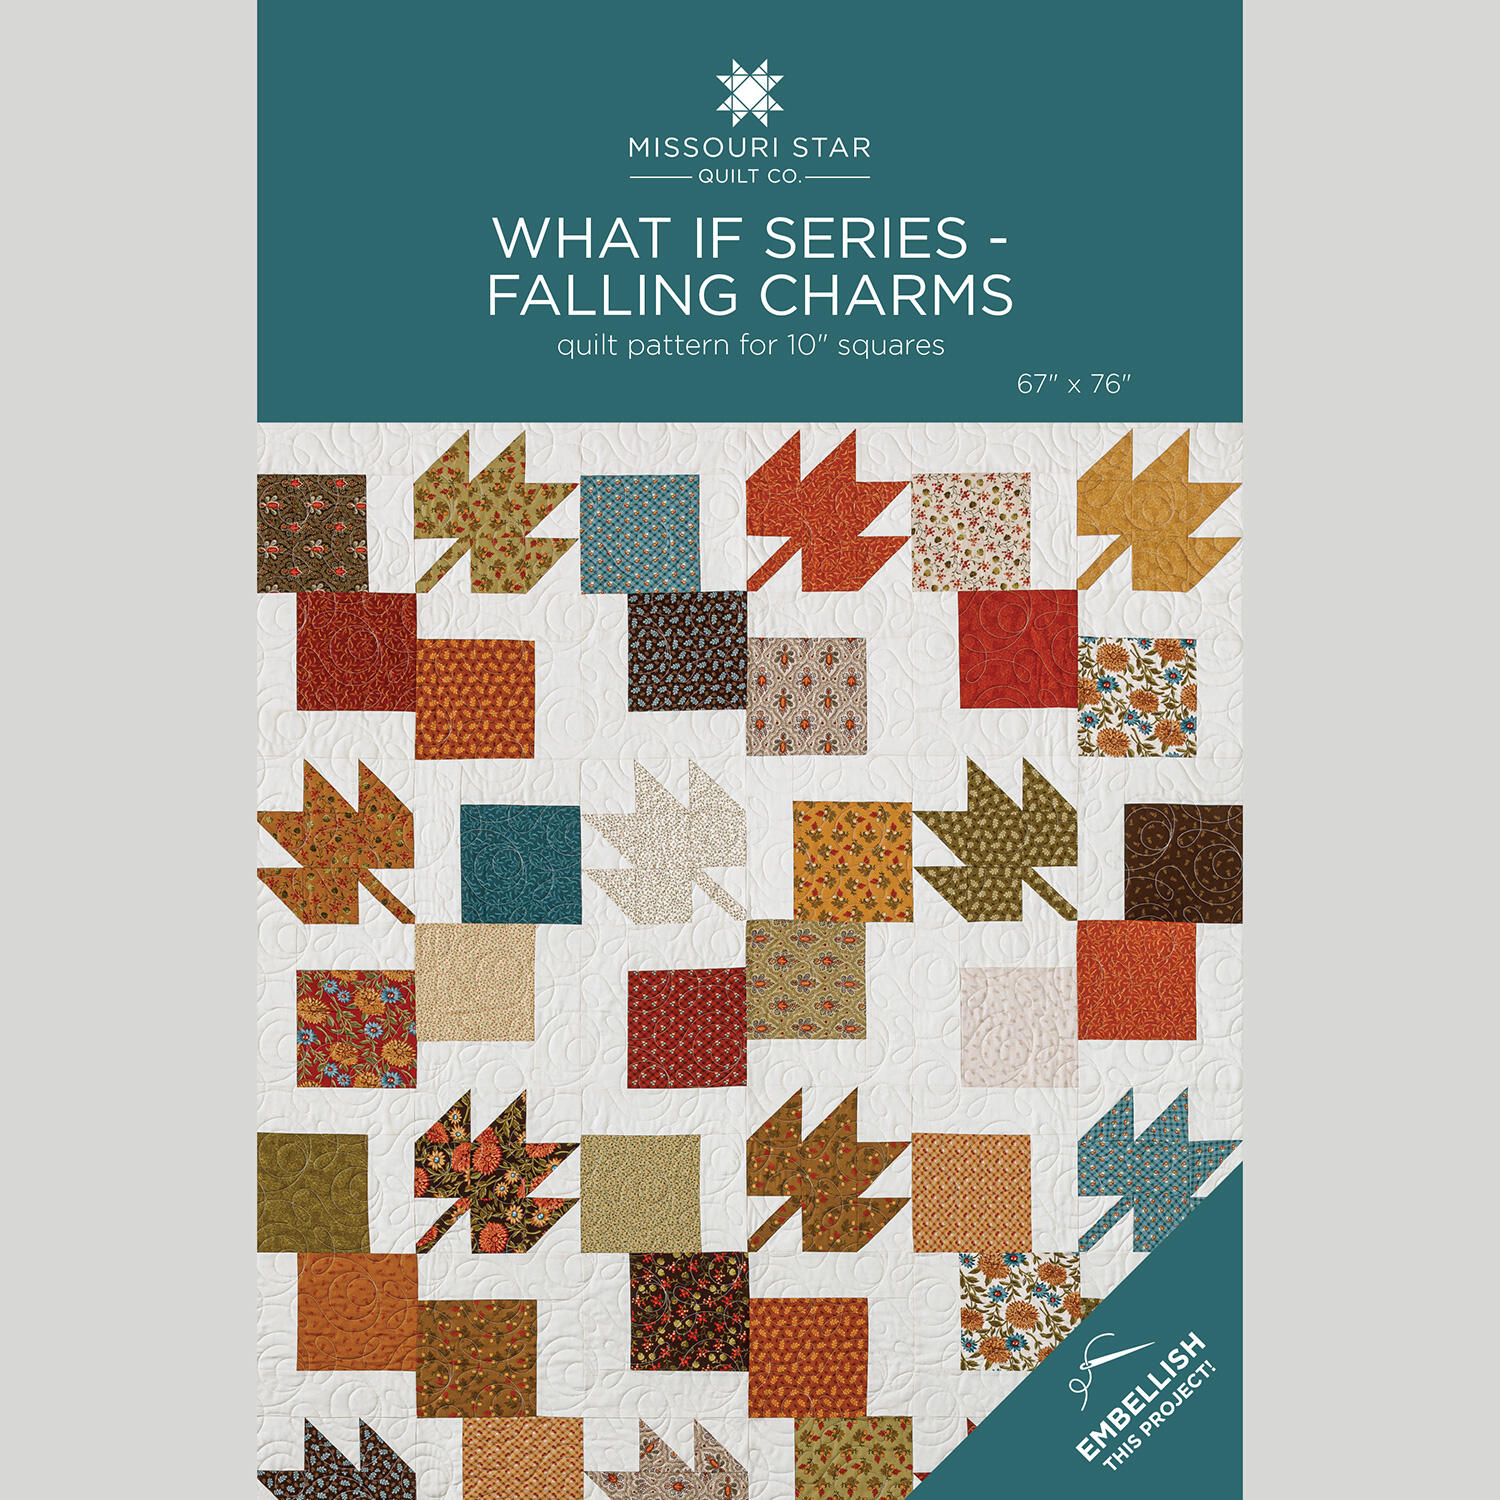
The dog days of summer seem to stretch out forever. But soon—much sooner than you think—the world will be dressed in the colors of autumn. And we have just the quilt.
You see, we’ve loved the Falling Charms quilt since 2013. But a sprinkling of leaves transforms this pattern into a falltime beauty.
Natalie is using Autumn Woods by Renee Nanneman to piece her leaf blocks. Pick up the kit or choose your own fabrics. (Note: The pattern offers a winter snowflake option, too!)
Natalie is the host of Quilting 101, Embroidery 101 and the Creative Strategist and Editor of Block Magazine at Missouri Star Quilt Company. She was taught how to sew by her mom, of course, and began quilting when she grew up.
The dog days of summer seem to stretch out forever. But soon—much sooner than you think—the world will be dressed in the colors of autumn. And we have just the quilt. You see, we’ve loved the Falling Charms quilt since 2013. But a sprinkling of leaves transforms this pattern i...
How long is the tutorial video?
The tutorial video is 00:13:05.
Are supplies listed for this tutorial?
Yes. The tutorial page includes the supplies and materials connected to this project.
Video Transcript
Hi everybody. I'm Natalie with Missouri Star Quilt Company and I am so excited to show you this whatif quilt for this week. We've gone with falling charms and this looks a little bit different from our original. The original was made with 5 in squares and it was in our first edition of Block Magazine, so it goes way back and we had a lot of fun with that quilt. I absolutely love it. But for our what if today we decided to add a secondary block and we did three different designs. So, the pattern comes with instructions for all three, and I think you're going to love it. We we're demoing the leaf block today because that one has a pieced block. The other two have some applique options and other fun ideas you could embellish with embroidery or whatever you feel like. But, I think it's going to be a lot of fun and I can't wait to show you what we did. So, let's get started. [Music] Okay, so to make this quilt, you're going to need a package of 10in squares. And I've used Autumn Woods by Renee Nanaman for Andover Fabrics. You're going to need some background fabric. And you'll need about 2 and a/4 yards for that. And that includes your inner border. For your outer border, you'll need a yard and a quarter. And then for your backing, you'll need about 4 and 2/3 yards if you use um 44in wide fabric, but if you use a 108, it's 2 and 1 eighth. You'll also need the squaring tool of your choice cuz there are some half square triangles in here, but that's about it. So, let's get started. [Music] All right. So, this quilt is made up of two blocks. We have our maple leaf block and we have our falling charms block, which is super simple. When we originally did this quilt, we used charm squares. So, this was a 5 in square. So, we're going to start with this one today. It's a little bit different. We're going to grab a layer cake square from our uh package of 10in squares. And then from our background fabric, we will have cut um a 9 and 1/2 in strip and a 7in strip. And those are for these side pieces. So we can cut a couple of those to go on our block. And actually I have a couple cut already. So, what we're going to do, I'm going to grab this square ruler and I'm going to line it up and cut off 7 in. We're going to set that aside. So all this is is a 3inx 7 in rectangle on one side and a 3 in by 9 and 1/2 in rectangle on the other side. So let's go ahead and stitch that together and we will be all done with our first block. Super easy and satisfying. I've always loved the movement in this quilt. I just think it's so pretty. All right. [Applause] All righty. I'm going to go ahead and give this a press. And you guys, our first block is done already. It's so simple. Let's see. This one wanted to go the other way. So, I'm going to do that. And then I'm going to flip this one and roll it back. All righty. All right. So, the next block is our maple leaf. And you'll be surprised how easy this comes together. So, we're going to grab two 10in squares, one of our print and one of our background. I'm going to layer them together because the first cut is that 6in square that we need to make our half square triangles. And this is a fun little little trick that I like to use. So, we'll do six inches here and get both of those. And then there's a few other cuts out of this. And uh let's see. Okay. So, first is our 6 in print and background. And then we're going to cut two 3 in three and 1/2 inch squares from this side. Make sure that's all squared up on that side. And then one more. Three and a half. One more here. All right. And then from this piece, we need a 2x6. And that is for our stem. So, we'll cut that off. And then cut that to 6 in long. There we go. So, now we have all the pieces we need to make our maple leaf. So, what we're going to do for our half square triangles, we're going to put these right sides together, and we're going to sew all the way around the outside edge. I am always I always sew off the end on these ones, but you can pivot if you like. Okay. So, we need four half square triangles and they are going to be squared to 3 and 1/2. So you could cut them both directions and get four. Or if you have your clearly perfect slotted trimmer, you can line them up right here on this edge and cut them out as you go. So I'm going to do that. So there's one. And flip that. Line up my seam line on the dotted line at the three and a half. And cut that one and continue around. Saves a couple of cuts. And there you go. All squared and ready to go. Um, I'm going to go ahead and press these open and then we will make our stem block and we'll be all set. All right, our half square triangles are ready. We're going to take this um two and a 2 by 6 in piece and we're going to fold it in half and press it. And then we're going to take one of our 3in um 3 and 1/2 inch Yeah, three and a half inch squares. We're going to draw a line right down the middle. And that way we can use that as a spacer for putting our stem on. So, we're going to do right like this and just line it up and stitch right next to that line. All right. We're going to go ahead and stitch this down right next to that line. And then we're going to take it and press it um the opposite direction so it encloses that open seam. Well, go ahead and give it a press first that way. Then we're going to press this down. And then what we're going to do is just top stitch that open side. And that should be fairly easy to do. Just going to stitch right along the edge. And then I'm going to come back around and top stitch the other side so that both sides are top stitched evenly. I think it looks a little bit more decorative that way. [Music] There we go. And now we'll take our little square ruler here and we will line that back up and cut off the little stem edge. There we go. That's mostly in the middle. Okay. So, now we are going to build our little maple leaf block. We're going to start with a background square up in the top. And then we'll line up our little half square triangles. One after another. Couple more. We'll do like this. And then we've got our back or our sorry our three and a half inch print squares that fill out the middle of this block. Another half square triangle here. Another print square here. And our stem which goes right into the corner. You assemble this just like a nine patch and you've got your maple leaf. And it looks so great. So this quilt really is that simple. It's just two blocks and they're put together in a really fun way. I mean, I can show you here where these ones go here, the little maple leaf blocks, and then the next row, they they alternate. And the same with these um with these falling charms blocks. You'll see how this one starts facing up this way. And so all the all of your top row goes one direction, and then your second row is falling charms blocks, but they rotate. So you'll see how the the little bordered edge is down here and then it flips up and flips down and back up and down and back up and then you repeat going in opposite direction. So you'll want to look at your diagram, make sure you have all your blocks going the way you want them to before you start sewing them together. But other than that, this quilt is super simple and I think it's really fun. So, we did add a 2 and 1/2 inch inner border, and I think that helps everything to just sort of appear like it's floating with the background because it all blends together. And then our outer border is 5 in. And this makes a quilt that is 67 by 76. Look at our backing. Isn't that beautiful? I just love this floral print. And we machine quilted it with ginger snap, which is one of our brand new patterns that I love. It's got it's very whimsical and curly and I think it looks so great with all of these little pointy leaf edges. And that's about it. That's all you need to know. So, I hope you enjoyed this tutorial on what if falling charms from the Missouri Star Quilt Company. Hi everybody. I hope you enjoyed today's video. We're trying super hard to get to a million subscribers. So, if you enjoyed it and you want to see more, just hit subscribe and share with your friends and encourage them to do the same. and I will see you next Friday with a brand new tutorial.

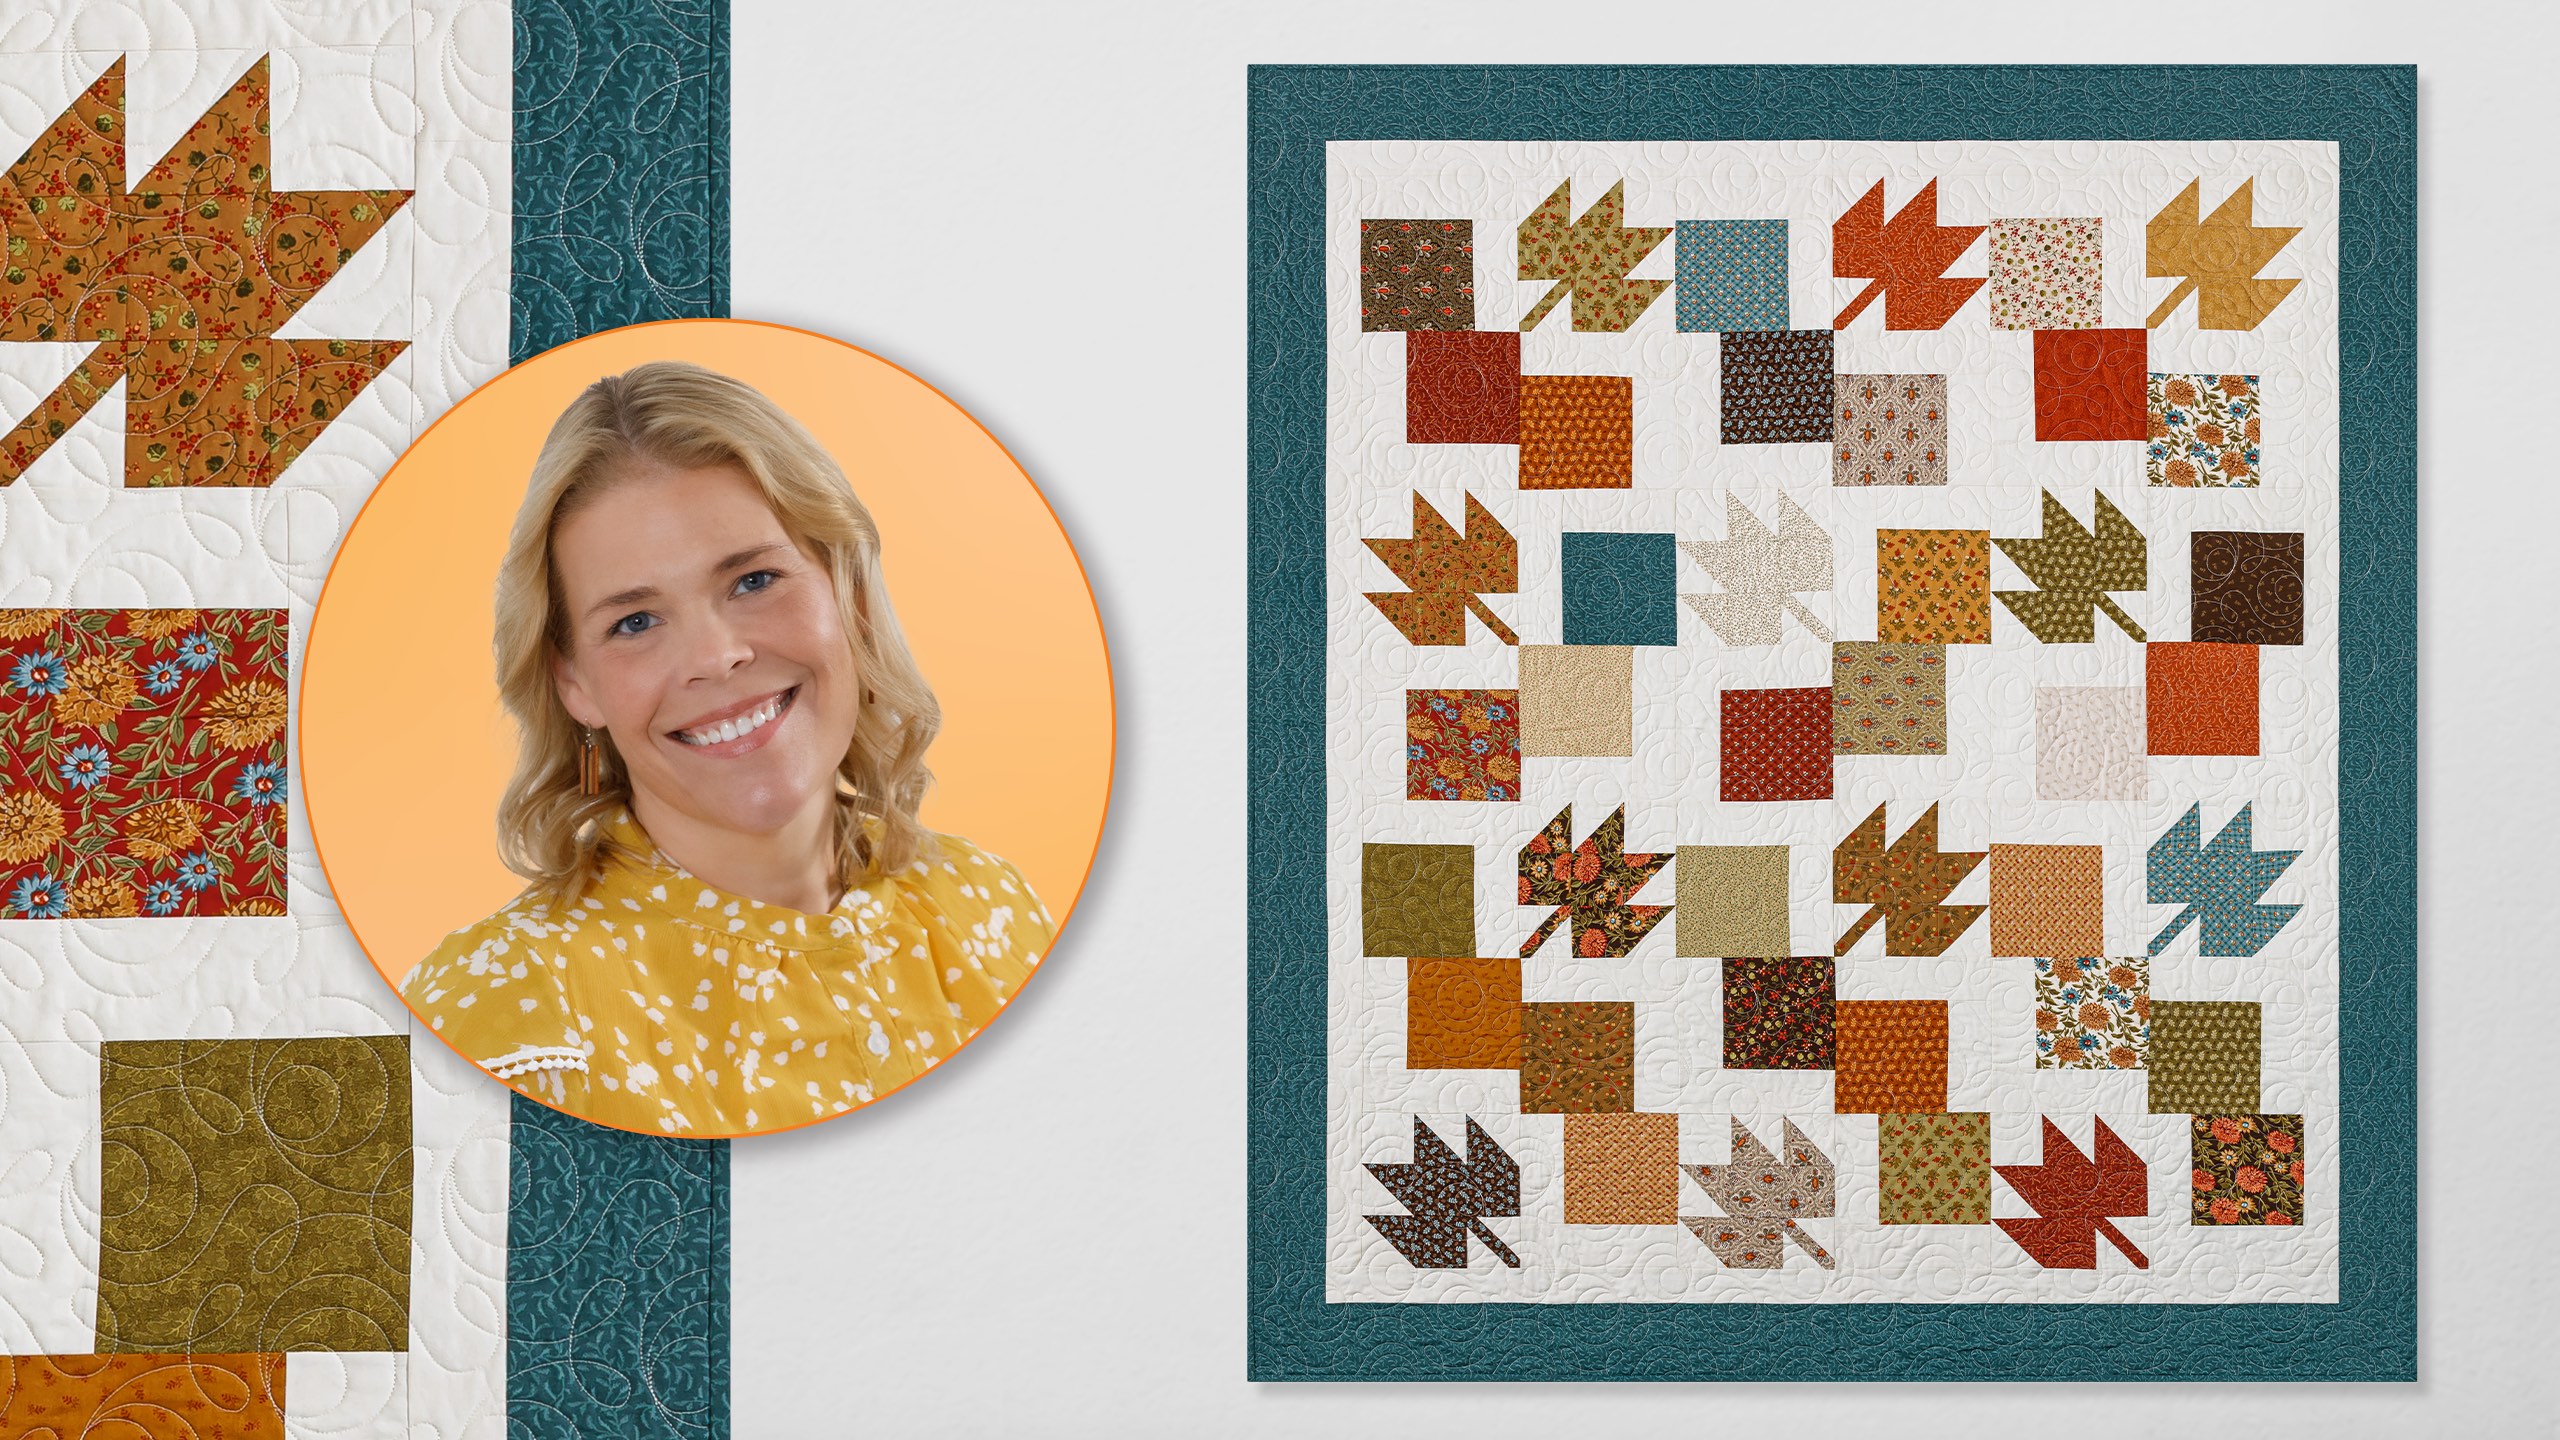
 Natalie Doan
 Missouri Star Falling Charms Quilt KitShop →
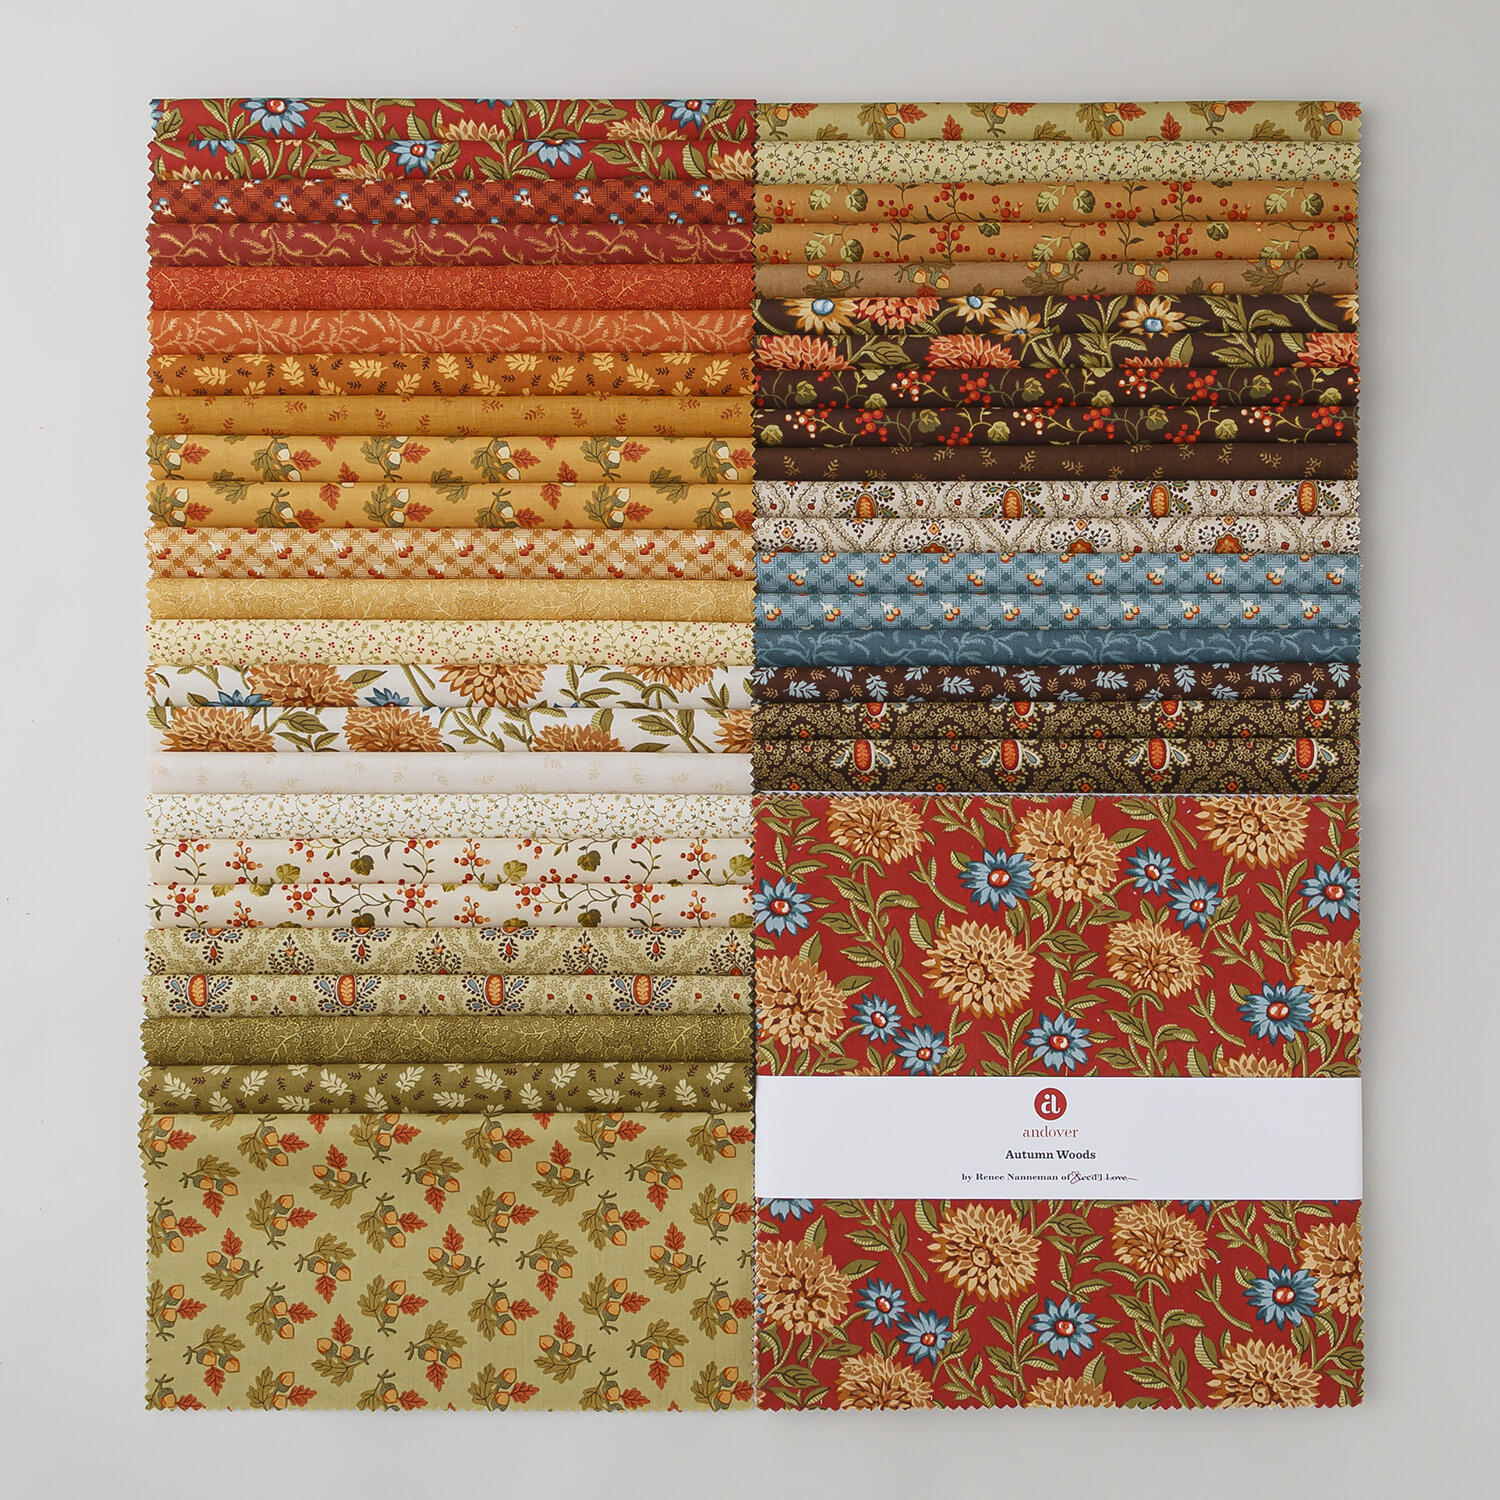 Autumn Woods Sundaes$43.95Shop →
 Kona Cotton - Oyster Yardage$7.48Shop →
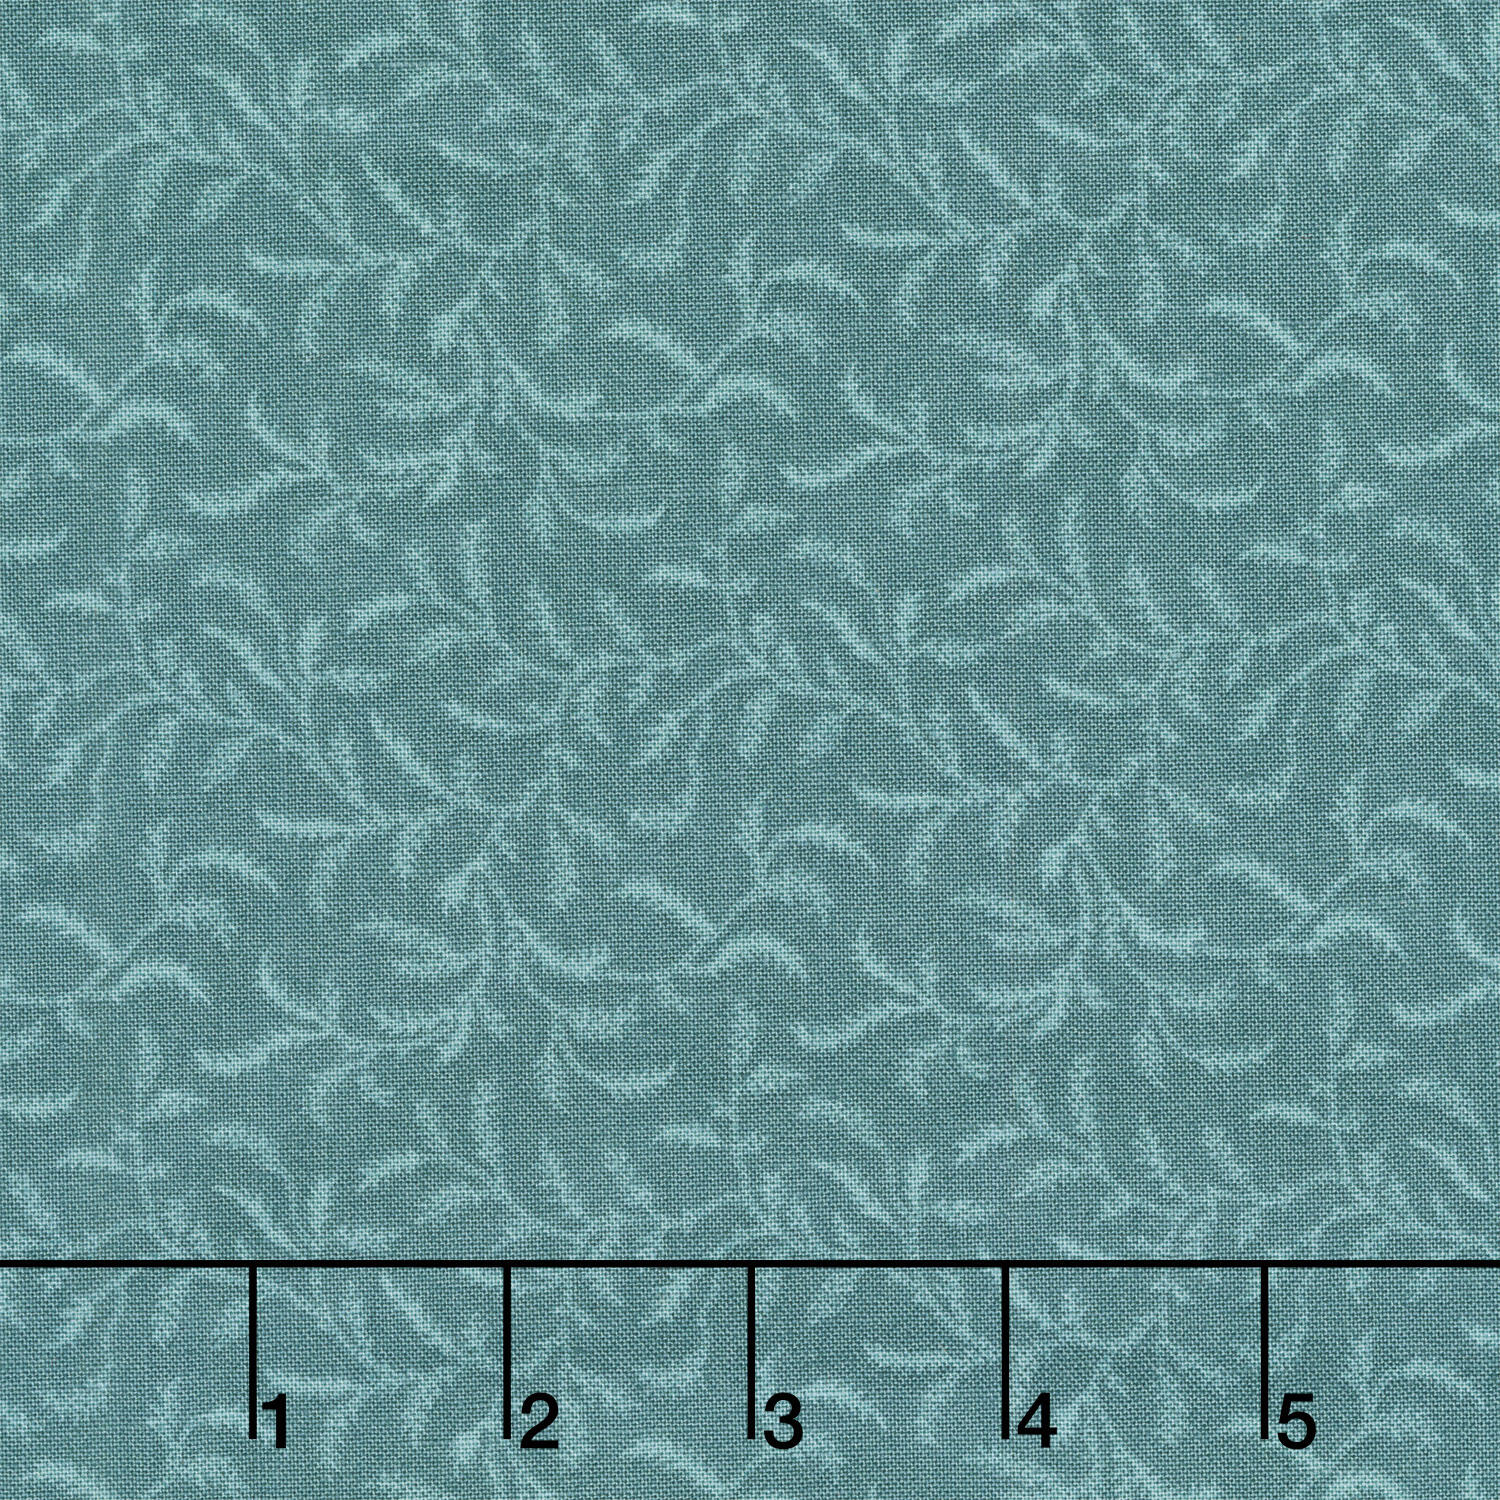 Autumn Woods - Wildfern Stone Blue Yardage$12.44Shop →
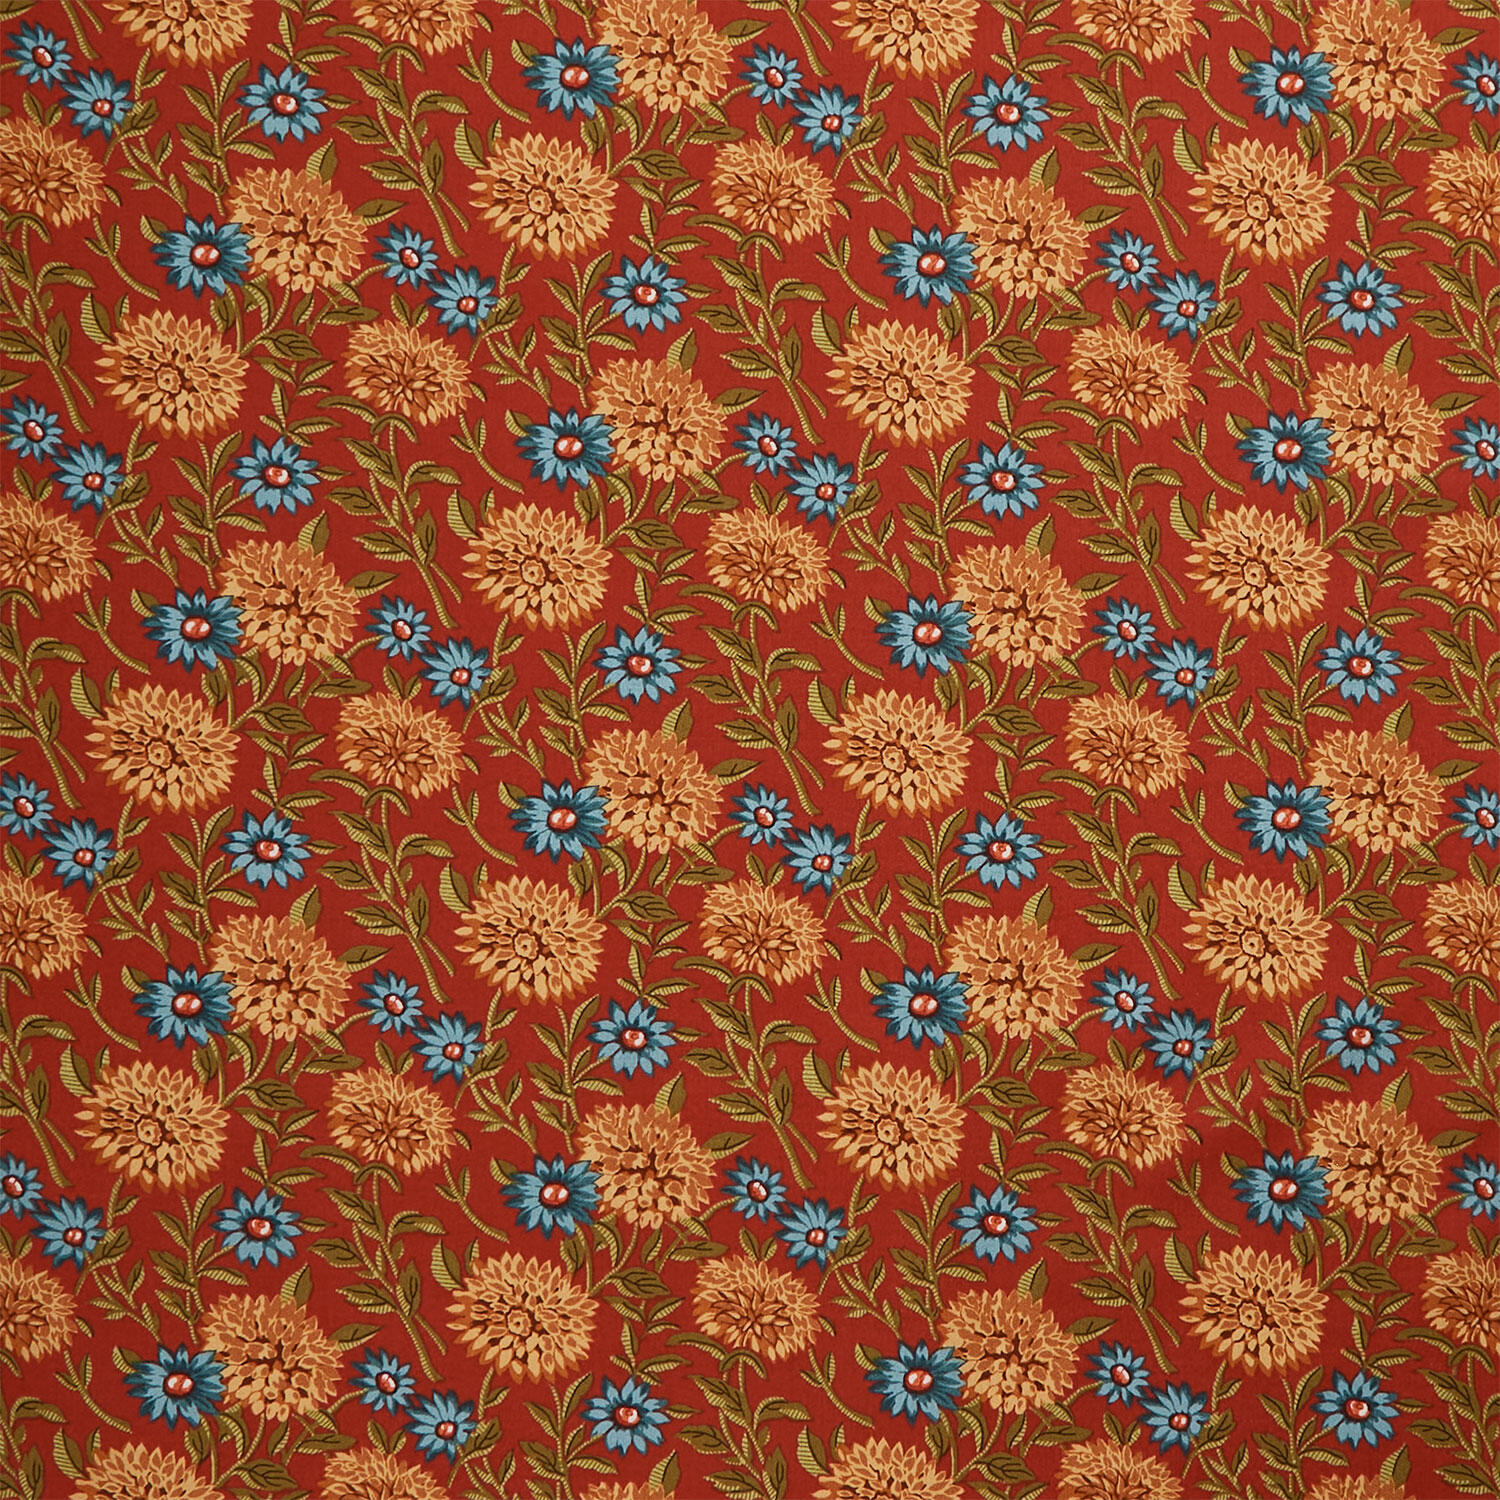 Autumn Woods - Woodland Bloom Persimmon Yardage$12.44Shop →
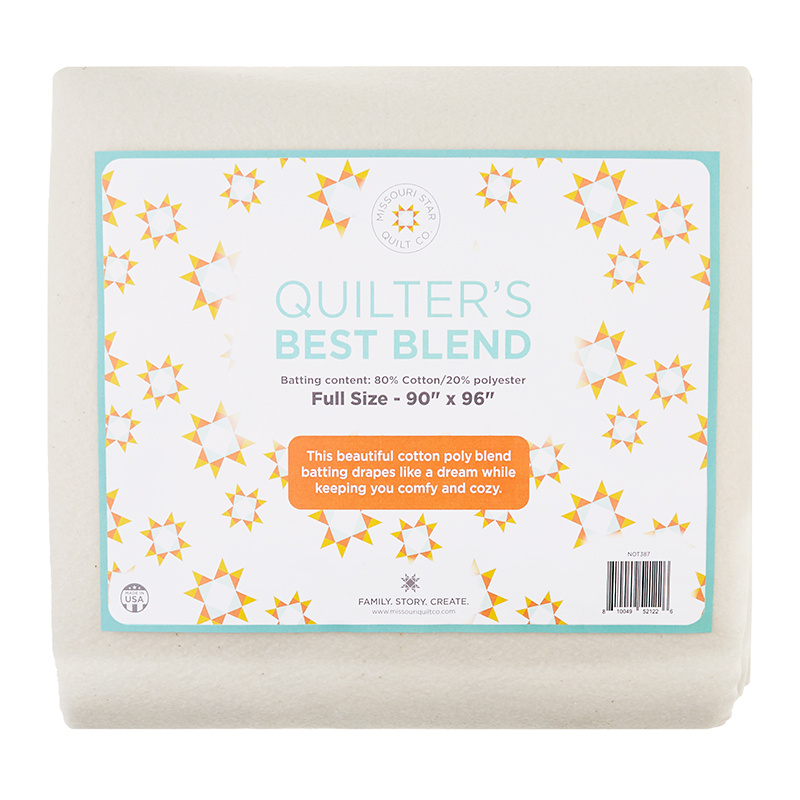 Missouri Star Quilter’s Best Blend Full Batting$32.95Shop →
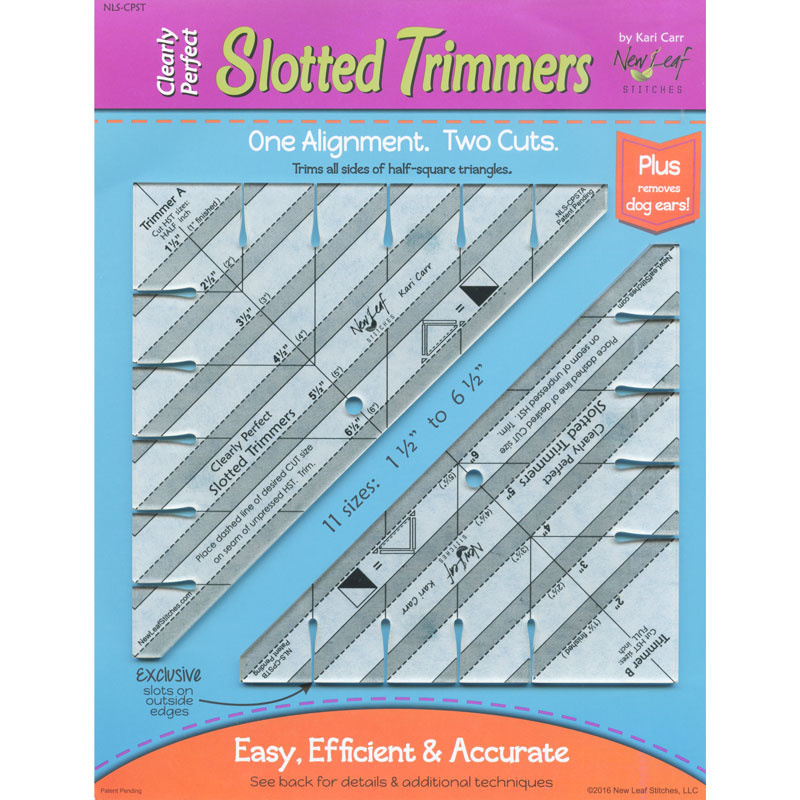 Clearly Perfect Slotted Trimmers$33.95Shop →
 Missouri Star 5" x 15" Ruler$19.95Shop →
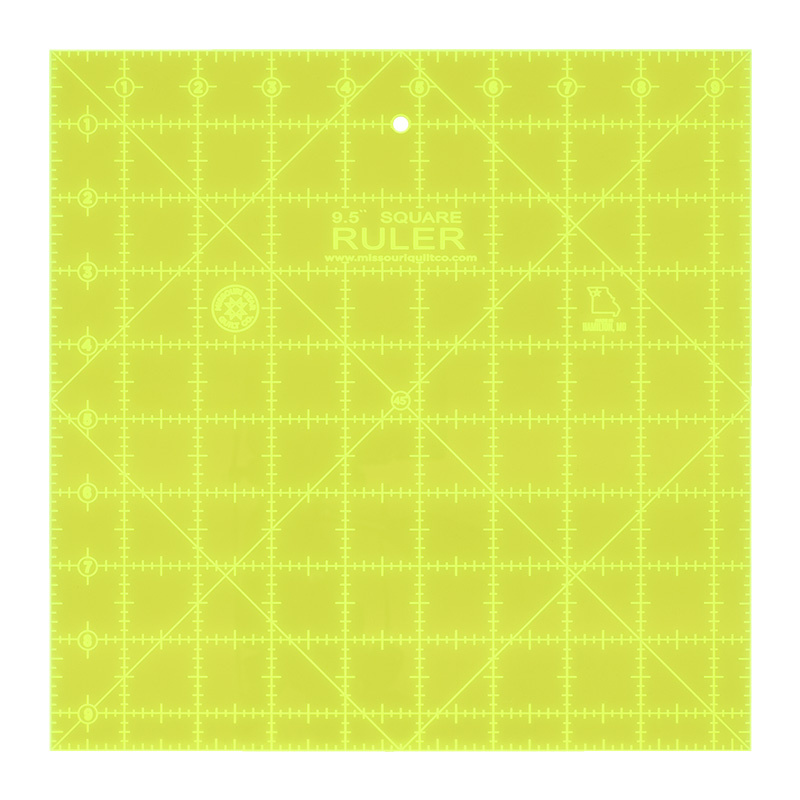 Missouri Star 9.5" x 9.5" Square Ruler$19.95Shop →
 Baby Lock Accomplish - 1500 SPM Straight Stitch Machine$1199.00Shop →
 Missouri Star 45mm Rotary Cutter - Olga$19.95Shop →
 Missouri Star Seam Ripper - Frida$9.95Shop →
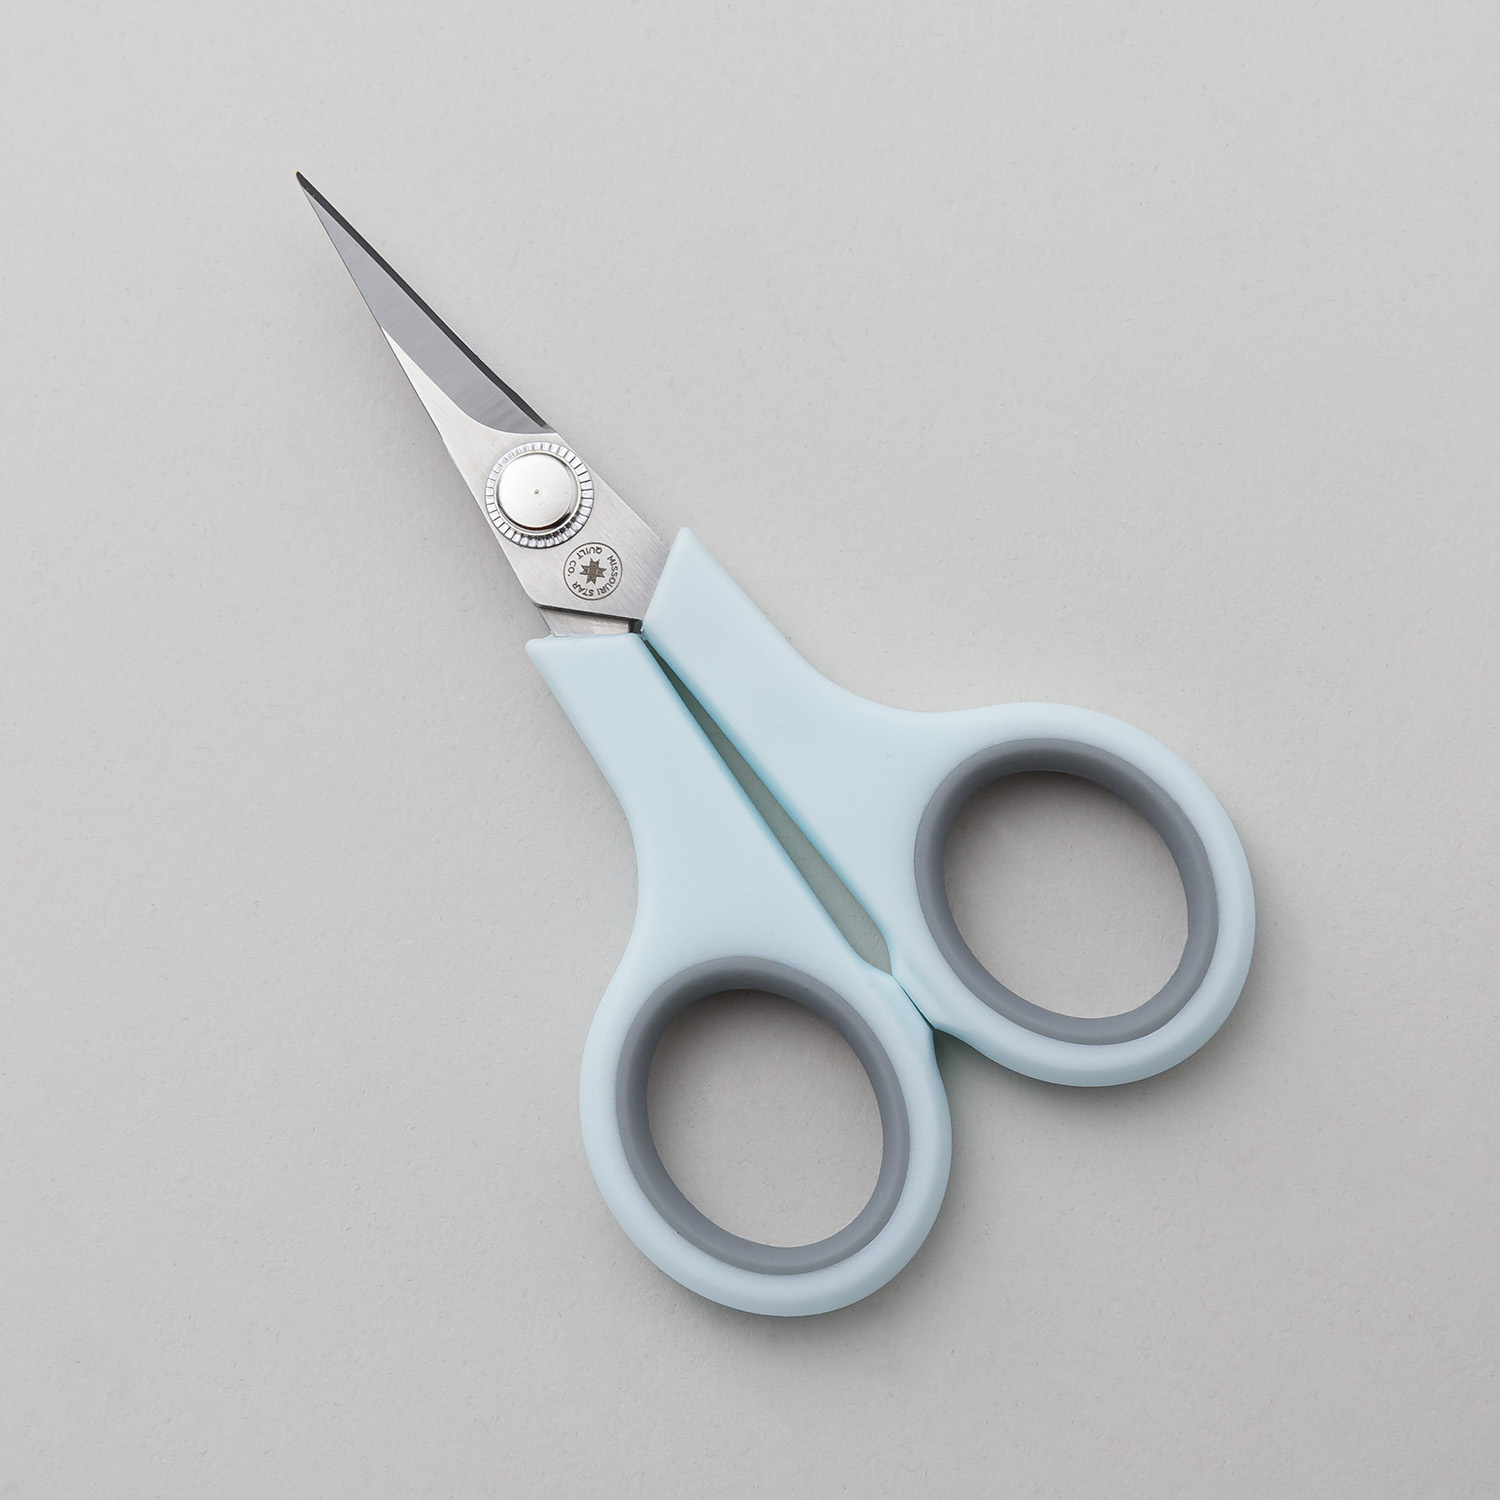 Missouri Star 4.5" Everyday Scissors - Elna$9.95Shop →
 Missouri Star 8" Everyday Scissors - Amelia$19.95Shop →
 Missouri Star + Oliso TG1600 ProPlus Iron$209.95Shop →
 Missouri Star Wooly Betty Board - 17.25" x 25.5" Orange Border$99.95Shop →
 What If Series - Falling Charms Quilt Pattern by Missouri Star$8.50Shop →
 Digital Download - What If Series - Falling Charms Quilt Pattern by Missouri Star$6.95Shop →



