Turn this Missouri Star favorite into a cute table runner! This week, Natalie is taking the Harvest Stars quilt pattern and altering it to become the What If - Harvest Stars Table Runner. This eye-catching table runner uses the Ingrid’s Wildflowers collection to bring a fun floral flair to this pattern. Show off your style with this charming centerpiece!
Natalie is the host of Quilting 101, Embroidery 101 and the Creative Strategist and Editor of Block Magazine at Missouri Star Quilt Company. She was taught how to sew by her mom, of course, and began quilting when she grew up.
What is covered in What If? Harvest Stars Table Runner?
Turn this Missouri Star favorite into a cute table runner! This week, Natalie is taking the Harvest Stars quilt pattern and altering it to become the What If - Harvest Stars Table Runner. This eye-catching table runner uses the Ingrid’s Wildflowers collection to bring a fun fl...
How long is the tutorial video?
The tutorial video is 00:00:00.
Are supplies listed for this tutorial?
Yes. The tutorial page includes the supplies and materials connected to this project.
Video Transcript
Hi everybody. I'm Natalie with Missouri Star Quilt Company and it's What If Week and I'm excited to show you today's project. It's the Harvest Stars table runner and I think you're going to love it. [music] All right, so the inspiration for this week's table runner was Jenny's quilt. We filmed it a couple of years ago. It was um called Harvest Stars, and I just love it. I think it's so cute. It uses two blocks. Her original quilt had an allwhite or cream background. So, there were a lot of really cool little patterns that popped up when she put those two blocks together. For this quilt, we went ahead and changed up our background colors. We used a lot of very similar colors in different places and we turned it into this big zigzaggy table runner. I think it's really cool. Sometimes you just need a small project or a gift to give away and table runners are just the ticket. So, let me show you what you need to make this quilt. So, you're going to need some fabrics because we used all yardage. Your pink fabric, you'll need 38 of a yard. The yellow print is 5/8 of a yard. The blue print is 2/3 of a yard. You'll need 7/8 of your green stripe and 7/8 of your dark blue print. And then, because it's a table runner, you don't need a lot of fabric for backing. Two and 5/8 yards. Or if you have a little scrap of leftover 108, a yard and a quarter is what you'll need for that. All right, let's get started. So, for this project, I got lucky enough to get to use Ingred's Wild Flowers by Missouri Star Quilt Company. It is one of my favorite lines that we've ever done. Um, it's inspired by my great-grandmother's embroidery, and I think it turned out so cute. really beautiful tonal prints and the colors are just fun and springy and the print lines just sort of reflect her embroidery and so I just think it's a great line. Um, so but because we used yardage, you can really use anything that you've got in your stash or you know whatever prints that you love that you think look pretty together. And I would probably just try to like match up or line up shades where you have like a warm and a cool and that kind of stuff if you wanted to sub in your own fabric. All right, so let's get into our cuts. So, from your pink, you're going to need some 10in squares. From your yellow, you'll need some five inch squares. Of your light blue print or medium, um you'll need four and a half. 4 and 1/2 of the green and then 2 and 1/2 as well. And then for your blue print, you'll need um another 10in square and some 4 and 1/2 in squares. So, let's start making our blocks. I'm just going to stack these up and grab them as I need them. I like to have my stuff precut because then it's just ready to go. So, these are the two blocks that make up the quilt. This is our 5440 or fight block and it's made using these cute little wonky star legs that end up being almost 60°. And [snorts] then this is the shoefly block. And I had to laugh. I was reading one of the comments on the uh the original tutorial and somebody said, "Ah, Jenny called it a churn dash. It's a shoefly." And I thought it was so funny because I noticed that every time and I want a corrector, but it's also just like whatever. So yes, it's a shoefly block. But yeah, that made me laugh. So let's get into it. The star block is our block A. And like I said, it's made up using these little um wonky star leg blocks. And then the rest are just four and a half inch squares. So super easy. So, what we're going to do is grab one of our light blue floral prints because these are all the same. And then we're going to take our yellow 5 in square. And this is going to make our star legs. So, we're going to go ahead and finger press this in half to find our center. And then we're just going to line this up. So, we want to crisscross that middle fold that we've pressed in. And you get to decide how long or short your star leg is by how you line that up. And we're just going to sew a quarter of an inch along this edge and then flip it back. And that will make our first leg. So, let's do that. And as long as your points overlap by at least a quarter of an inch at the top, you'll keep that star point. I love the flexibility and the creativity that we have here. If you're pretty consistent, then they all end up being about the same length, which is kind of how this one is. This one's a little bit wonky looking. And I love I love both effects. I love the wonky and I love, you know, the aesthetics of them kind of all looking the same. You can do whatever you want because it's your quilt. So, let's go ahead and I'm going to go ahead and press this back first. Actually, you can do it either way, just so you know. Maybe I'll do the other side the other way just to show it. So, what we're going to do Oh, I just I just set the seam and forgot to press it back. Okay, here we go. So, this is all pressed back. And then [snorts] you'll see that if you flip it over, you can use your square to cut around that shape. So, I'm going to line up my ruler right on that corner to keep that perfect square shape. And I'm going to go ahead and trim off this edge. And then this piece is what I'm going to make my second star leg from. But first, I'm going to take out this extra fabric because that's just it's just bulk. Although, if you don't want to trim it out, you don't have to. Especially if you're machine quilting. If you're hand quilting, you would definitely want to reduce that bulk. Um, but with a machine quilt, cotton fabrics, overlapping is not not too many to go through. All right. So, now I'm going to overlap that midsection and line it up on the edge. And we again are just going to sew a quarter of an inch on that same edge of that fabric to get our second star leg. Okay. I really love playing around with wonky wonky sewing and improv and just using up things. I did it again. things from my stash. I'm trying to uh get ahead of myself today, apparently. All right. So, what I was gonna do before is show you what happens if you accidentally trim this off before uh before squaring. [snorts] So, let's just say I did that. So, now when I flip it over, it's like, oh, well, where is that? Where's the corner? What do I do? Well, we know it's a 4 and 1/2 in square. So, all I'm going to do is line up my edges with my 4 and 1/2. And then I'm just going to square off this fabric. So that is how you do it in reverse if you accidentally trim off that fabric and you don't have anything to use for a pattern. But that's our little 4 and 1/2 in square to make up our star legs. So you'll make four of these. And I've got my other three already done. We're going to go ahead and line them up in a little cross like this. This is ultimately like a nine patch assembly. And then we use all of these cute little floral prints. One in the middle and four in our outside edges. Just like this. Need two more here. And that's the whole 5440 or fight block for this project. So you would just sew those together and you get a bunch of blocks that look like this. I think it's super cute. But now we can move on to block B, the good old shoefly. Just as easy and just as fun. And each of these individually makes a great quilt. Also, because they're 12 and 1/2 in square, you can combine them with a whole variety of other blocks. There's so many fun things you can do. Okay, block B, our shoefly block. The first thing we're going to do is make half square triangles. You for these outside corners. Let me put this right here. So, we're going to take our 10in squares. And [snorts] this is the my one of my favorite methods for half square triangles. I think if you've been following our company for a while, you'll know we do this all the time. It's a great um a great method for making a bunch of half square triangles. And a lot of people worry about the bias, but um you can start your fabric. And I've also never had a problem with stretching or issues with bias. What it does is it gives you a lot of flexibility when you're trying to make things fit together. If you didn't have that bias, sometimes that fitting just isn't going to work. So, I look at it as a benefit also because making that many half square triangles at once is just a gift. [snorts] All right, we're going to sew or draw the line on both. Oops, that didn't didn't draw. I guess I have to push a little harder and try and get that ink to come out. There it is. I do like to start in the middle. Just a little tip. Um, if you start on the edge, sometimes it'll pull your fabric, but if you start in the middle, you can pull pull it out and then you don't have any snags along the way. And a ballpoint pen works really well. And uh, since we're basically we're going to cut right through that line, it's never going to show up. And typically ballpoint doesn't bleed through. A marker might at some point. So, I do love that. Okay, we're going to stitch on both sides of both lines. So, let me do that. [music] [music] All righty. So, now we get to cut them apart. And what I always do is cut my horizontal and vertical lines first and then I cut on my drawn lines. And that is because sometimes you might get interrupted or your fabric might slide apart. And it's just easier if you cut your your nondrawn lines first, the horizontal and vertical. Then oops, see just like that. Then you can cut your diagonal lines separately if you have to, like so. on those drawn lines. It just makes life so much easier. Okay, now we get to square up these triangles. And I'm going to use the Clearly Perfect slotted trimmer tool to do that. [snorts] This is a great tool. You just line up your seam line on the dashed line. And so we've got our 4 and 1/2 line. We want a bunch of 4 and 1/2 in half square triangles because that is the size of all of our units. So we're going to line that up. I've got a good straight edge over here. And I'm just going to cut along this one side. And take out my little corners to reduce bulk and do that. Just like that. And now I can press it open. All right. I'm going to remember to press it back before I run back to the cutting table. There we go. You want to press and not iron because the ironing is the part where you can get a little bit of stretch. So, pressing and taking it easy and trying not to push that fabric around too much, that helps a lot. Okay. So the next thing we're going to do is add a snowalled corner to the pink side or the background in this particular case. So we take our 2 and 1/2 in square from our green stripe. And what you can do is just sew straight across the middle um corner to corner. You can draw a line, you can press it, you can use your diagonal seam tape and eyeball it, but I'm just going to go ahead and draw the line because that makes it very easy. And we are going to stitch right on top of that line. corner to corner. And you got to keep that pressed down or the uh fabric will slide. There we go. So [snorts] again, stitching right on top of the line. And then we will trim and flip. Okay. So, now I'm going to go ahead and trim off this little extra bit of fabric. I just line up my ruler and give myself a quarter of an inch so it's standard to the other seams. And then we're going to set our seam and press this back. And that's it. It's just that simple. So, we're going to make four of these. We put our blue print facing the middle. I've got my other pieces here just like so. And then we use our medium blue for our center of this block. And our 4 and 1/2 in green stripes make up the rest of it. I love that we have this diagonal stripe printed on the diagonal. It doesn't matter which direction they go. It looks super cute. It would make great bindings. I think it's so fun. But that's it. Then you, similar to the last one, you're going to stitch together this little nine patch and you've got all of your B blocks, your shoefly. So, let me talk about the setting for this because this quilt clearly has this cute little zigzag edge. So, the way that's done is you're going to make two sets of two for the beginning here and the end here. And then you're going to make three sets of three blocks with your star in the middle. And then you just put them together offset. So, what I would do is pin these at the intersections. You're going to lay it out. Pin this and then stitch that. And then you're going to add the next one offsetting it so that you're always lining up your shoefly block with your star. Shoefly and star and shoefly and star. and that way it'll come together the way you want it to. Pin those intersections and you are good to go. So, I machine quilted this with a beautiful pattern called Meandering Flowers. It ends up being 34 by 85, which is a good size for a big table. Um, now you could just do four and have a little square for your tabletop if you've got a square table or a round table. Super cute blocks. Um, my backing is this beautiful floral print. I just love it. it. I think it's so pretty. Bound it with this pretty light pink, but like I said, we've got some great diagonals in here that make good bindings as well. Um, an alternative way to finish this quilt would be like a stitch and flip method where you're going to put the quilt or the table top face right sides together with your backing and then sew around that edge. Leave yourself an opening and flip it around and then you can do a top stitch and you don't even have to do binding. So, with table runners, that's a really great uh great option if you wanted to just finish it up quick at home and not have to send it off to a quilter to be long armed. You know, lots of fun options for table runners. And that's that. So, I hope you love this table runner as much as I do. I think it's really cute. And I hope you enjoyed this tutorial on the What If Harvest Stars table runner from Missouri Star Quilt Company. See you next time.

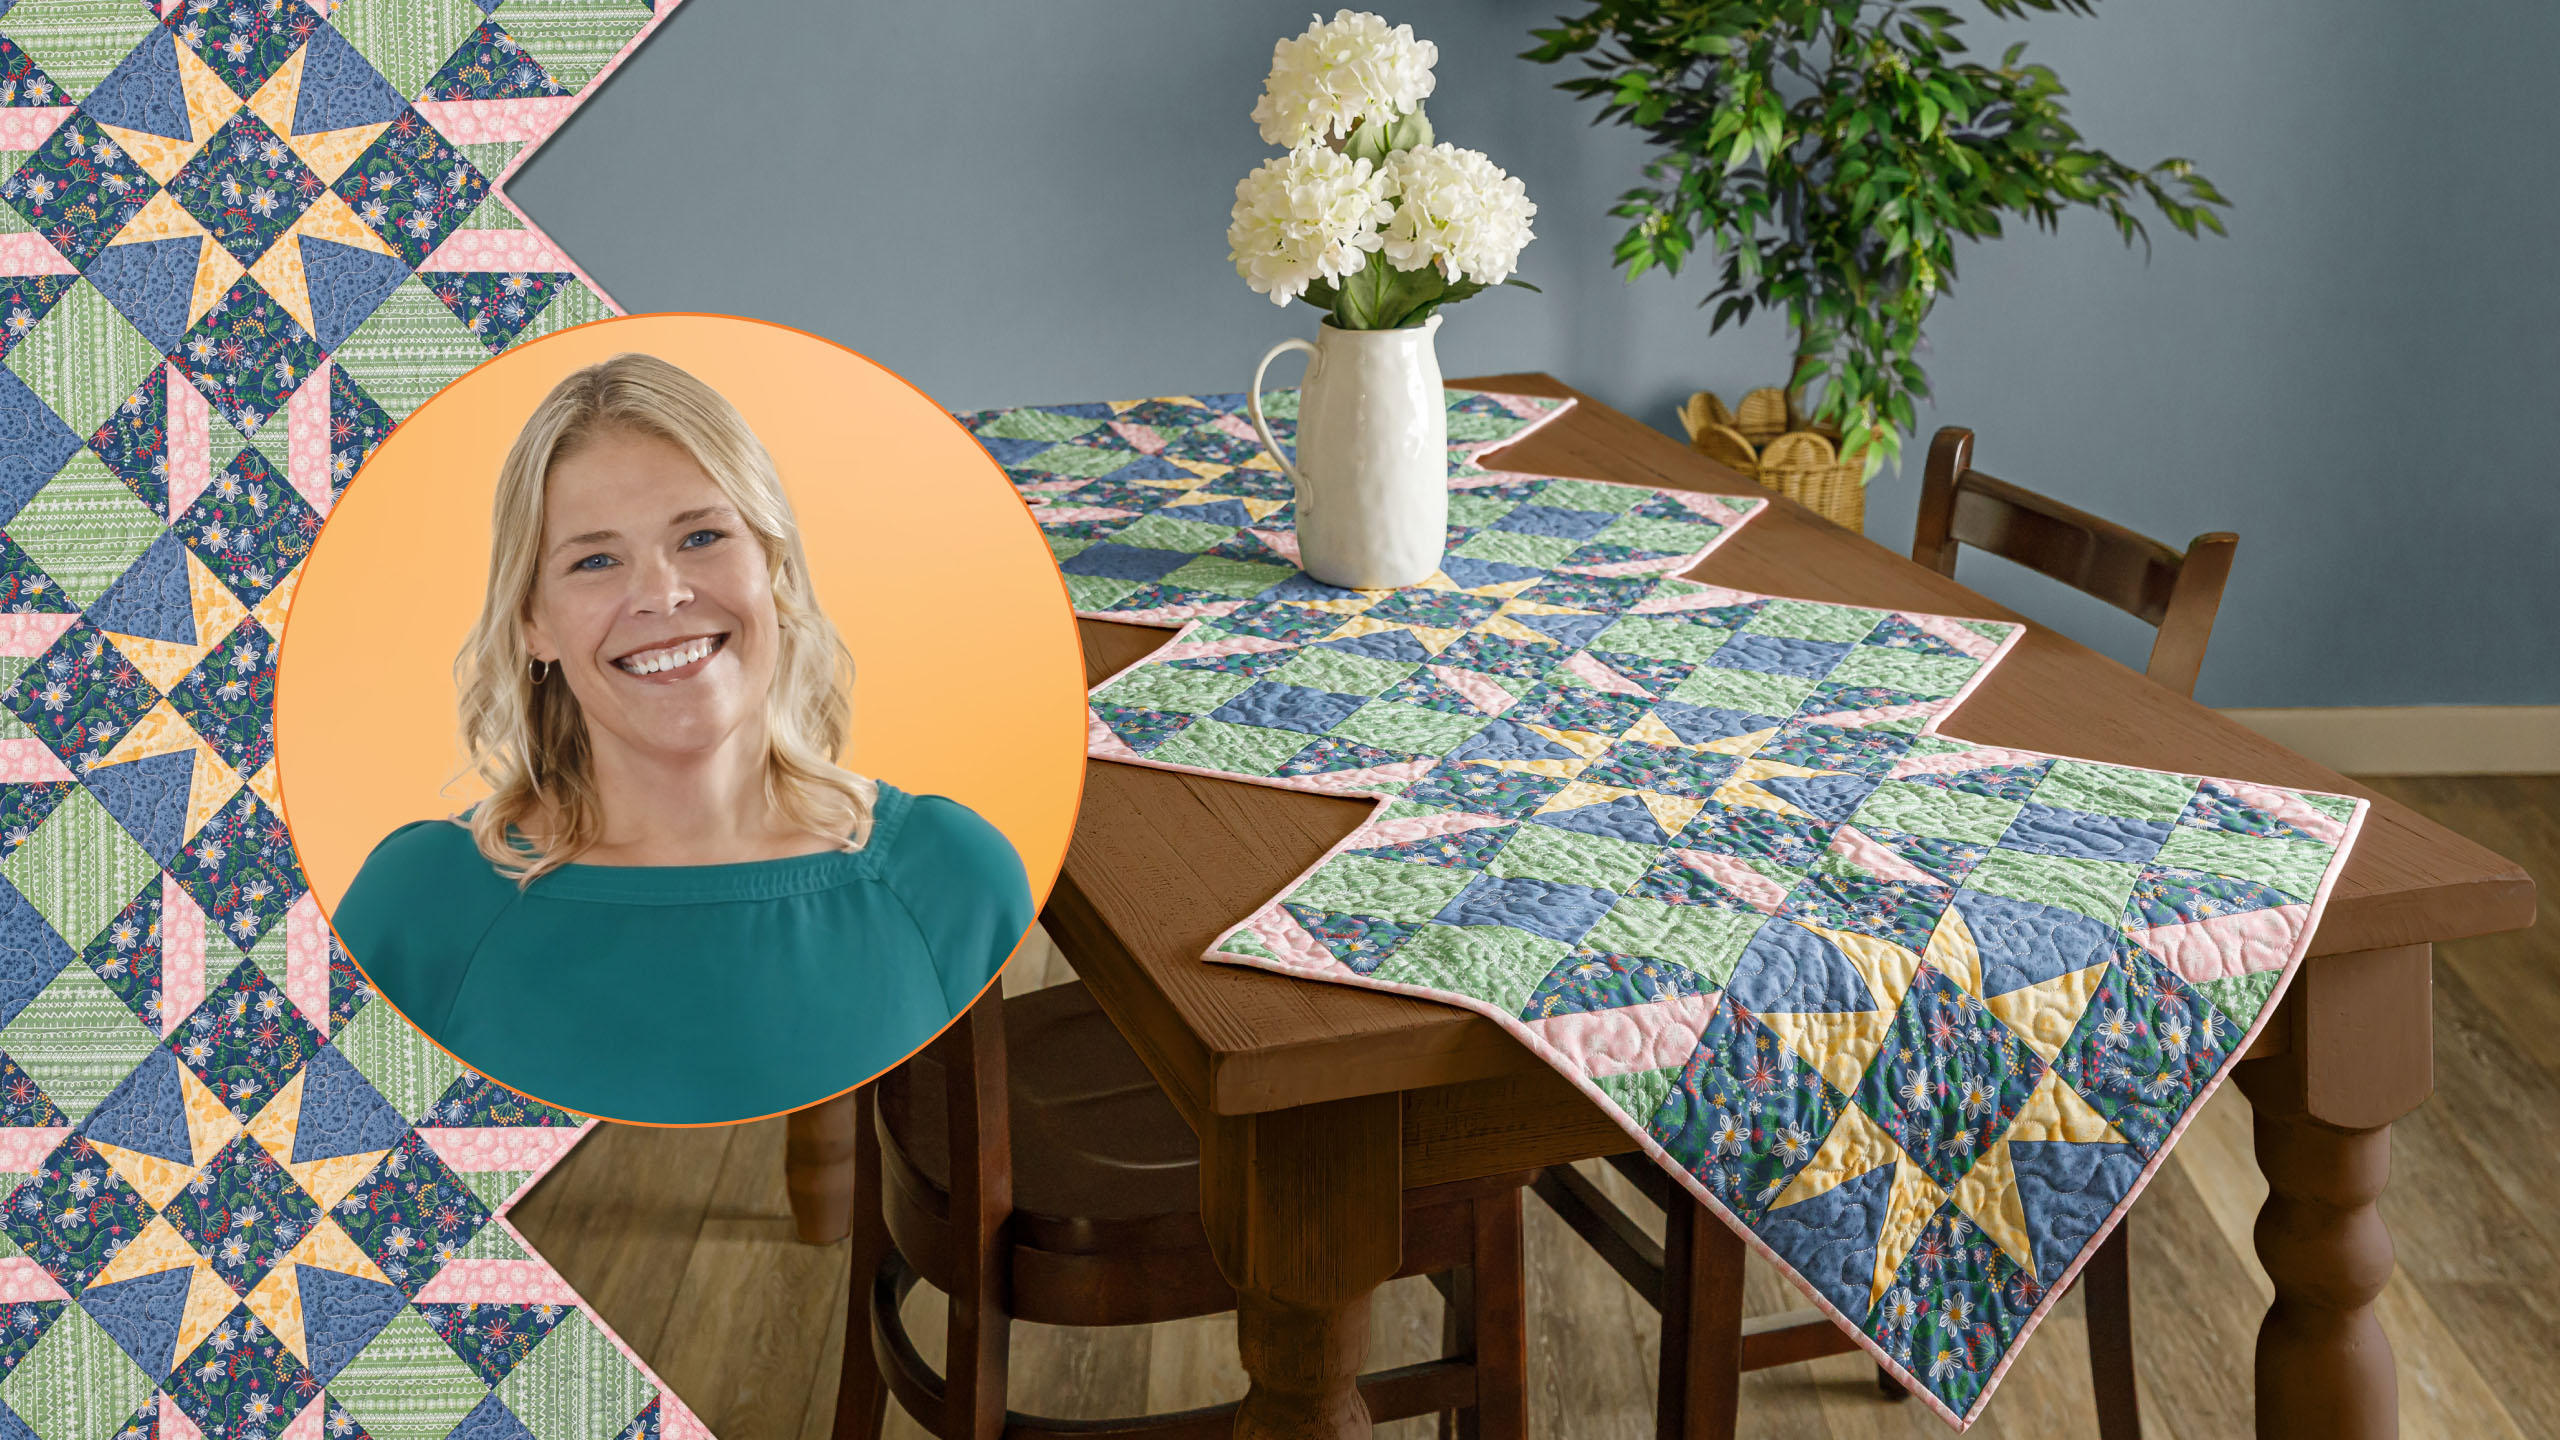
 Natalie Doan
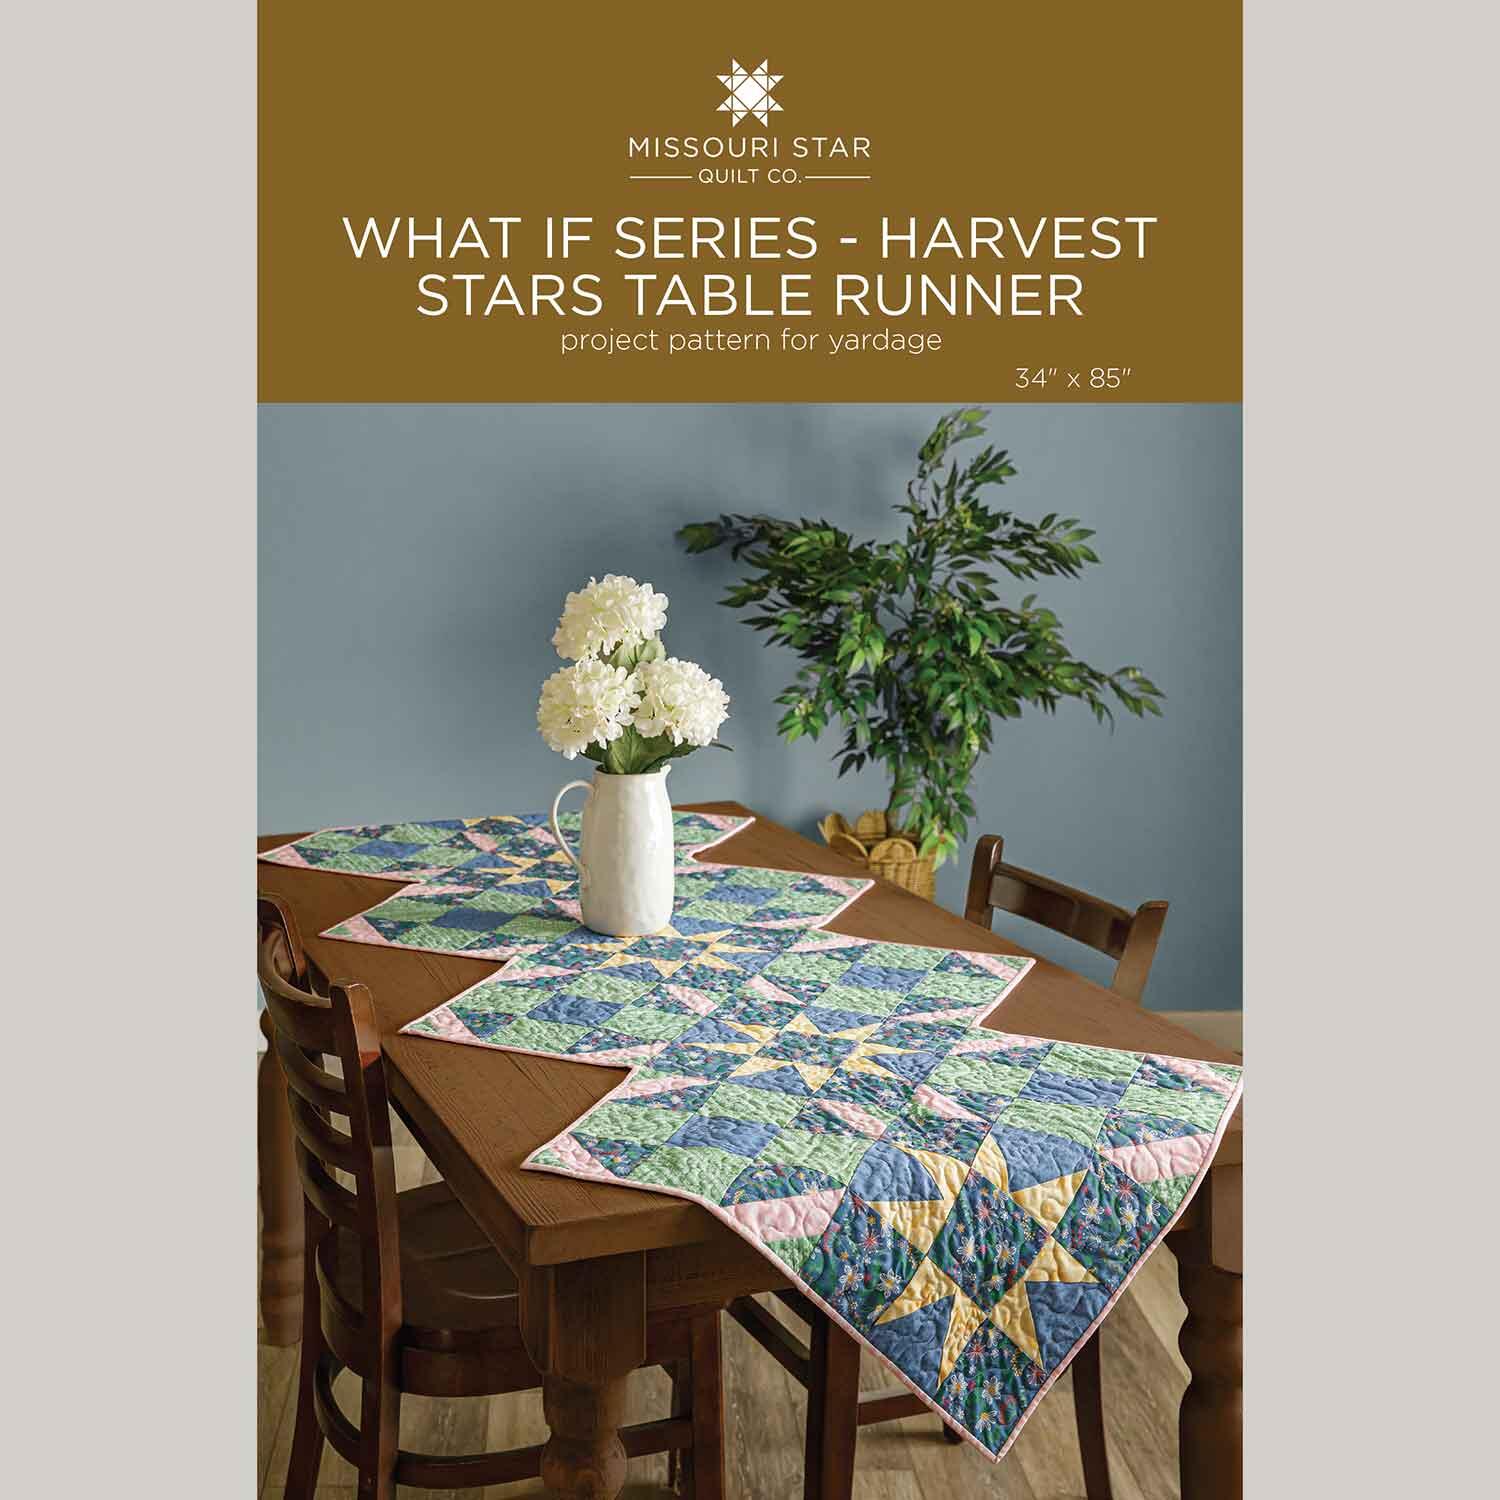 What If Series - Harvest Stars Table Runner Pattern by Missouri Star$8.50Shop →
 Digital Download - What If Series - Harvest Stars Table Runner Pattern by Missouri Star$6.95Shop →
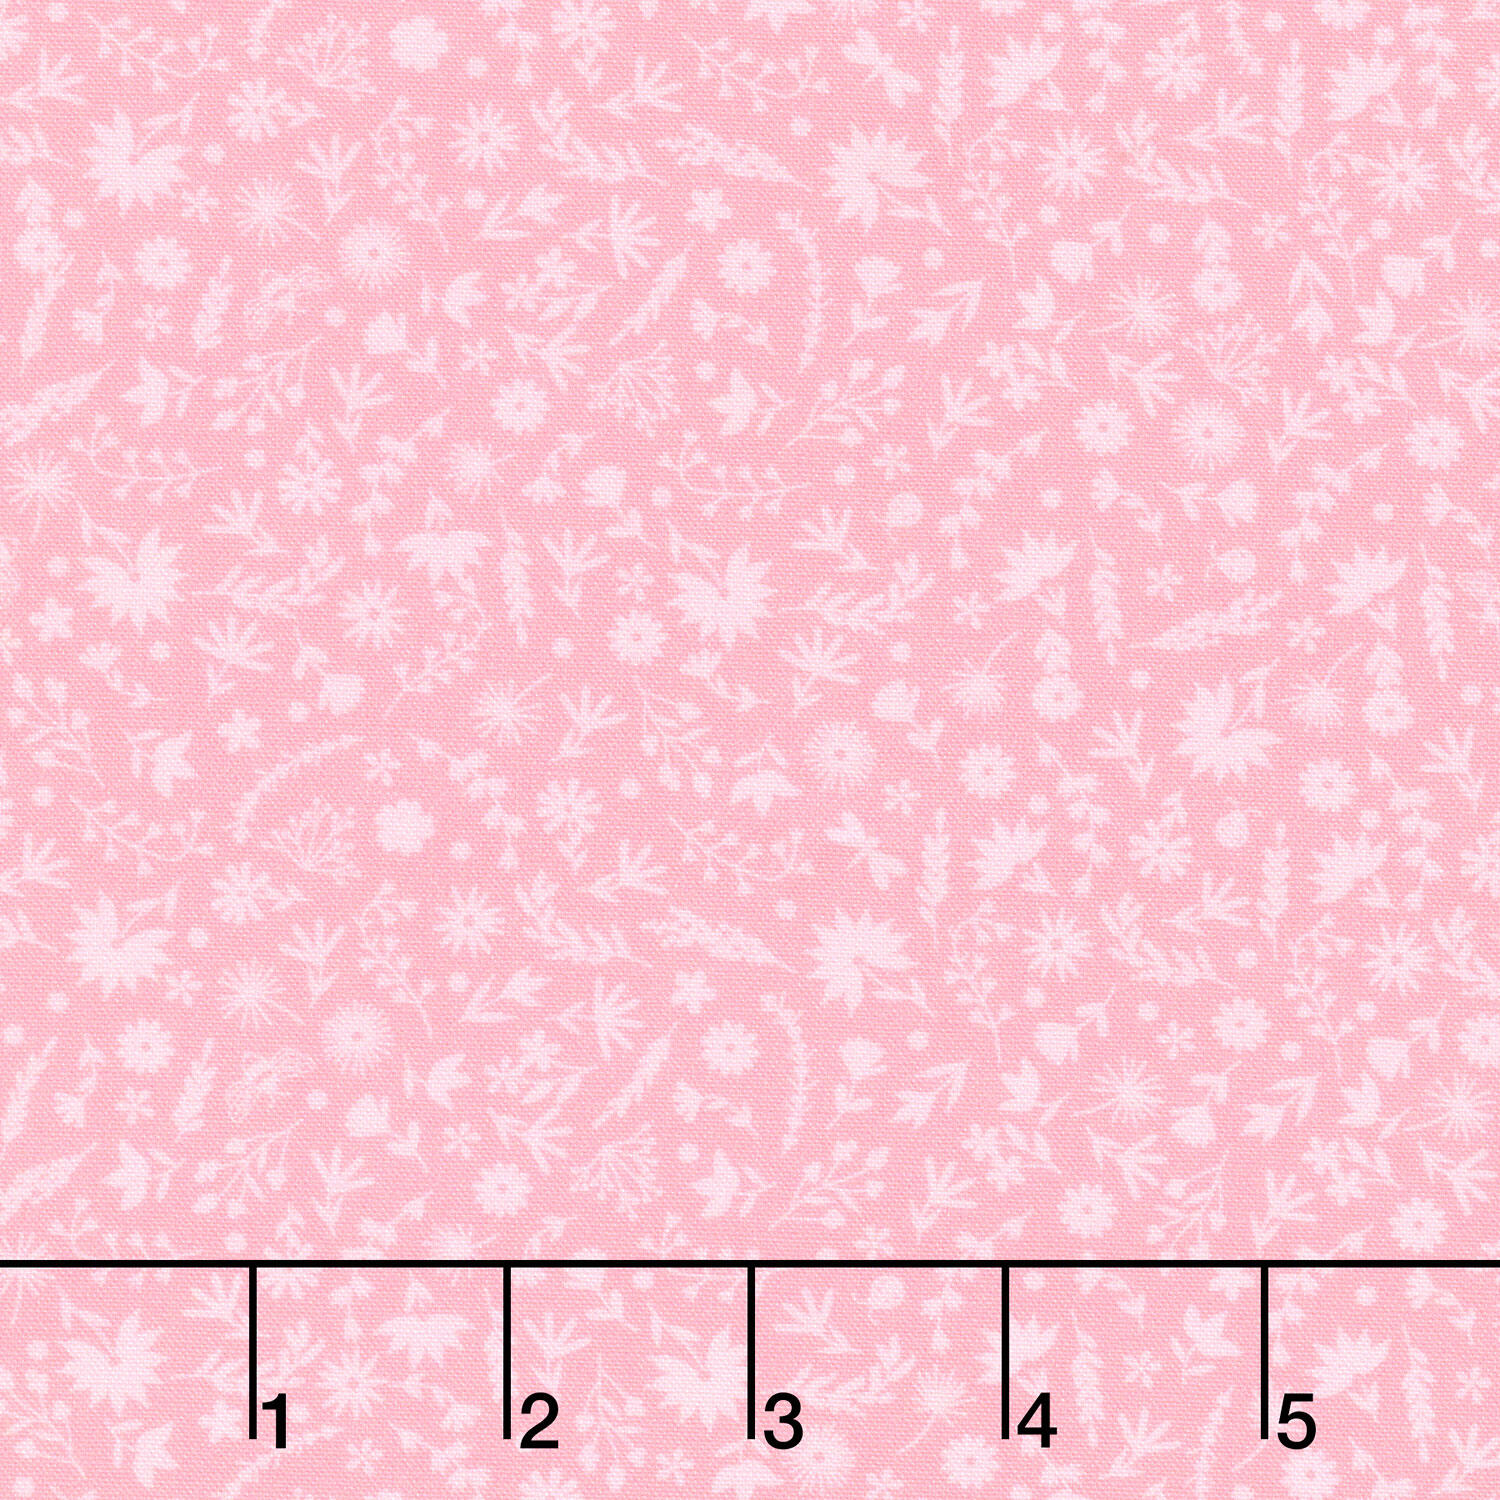 Ingrid's Wildflowers - Tonal Flowers Pink Yardage$12.68Shop →
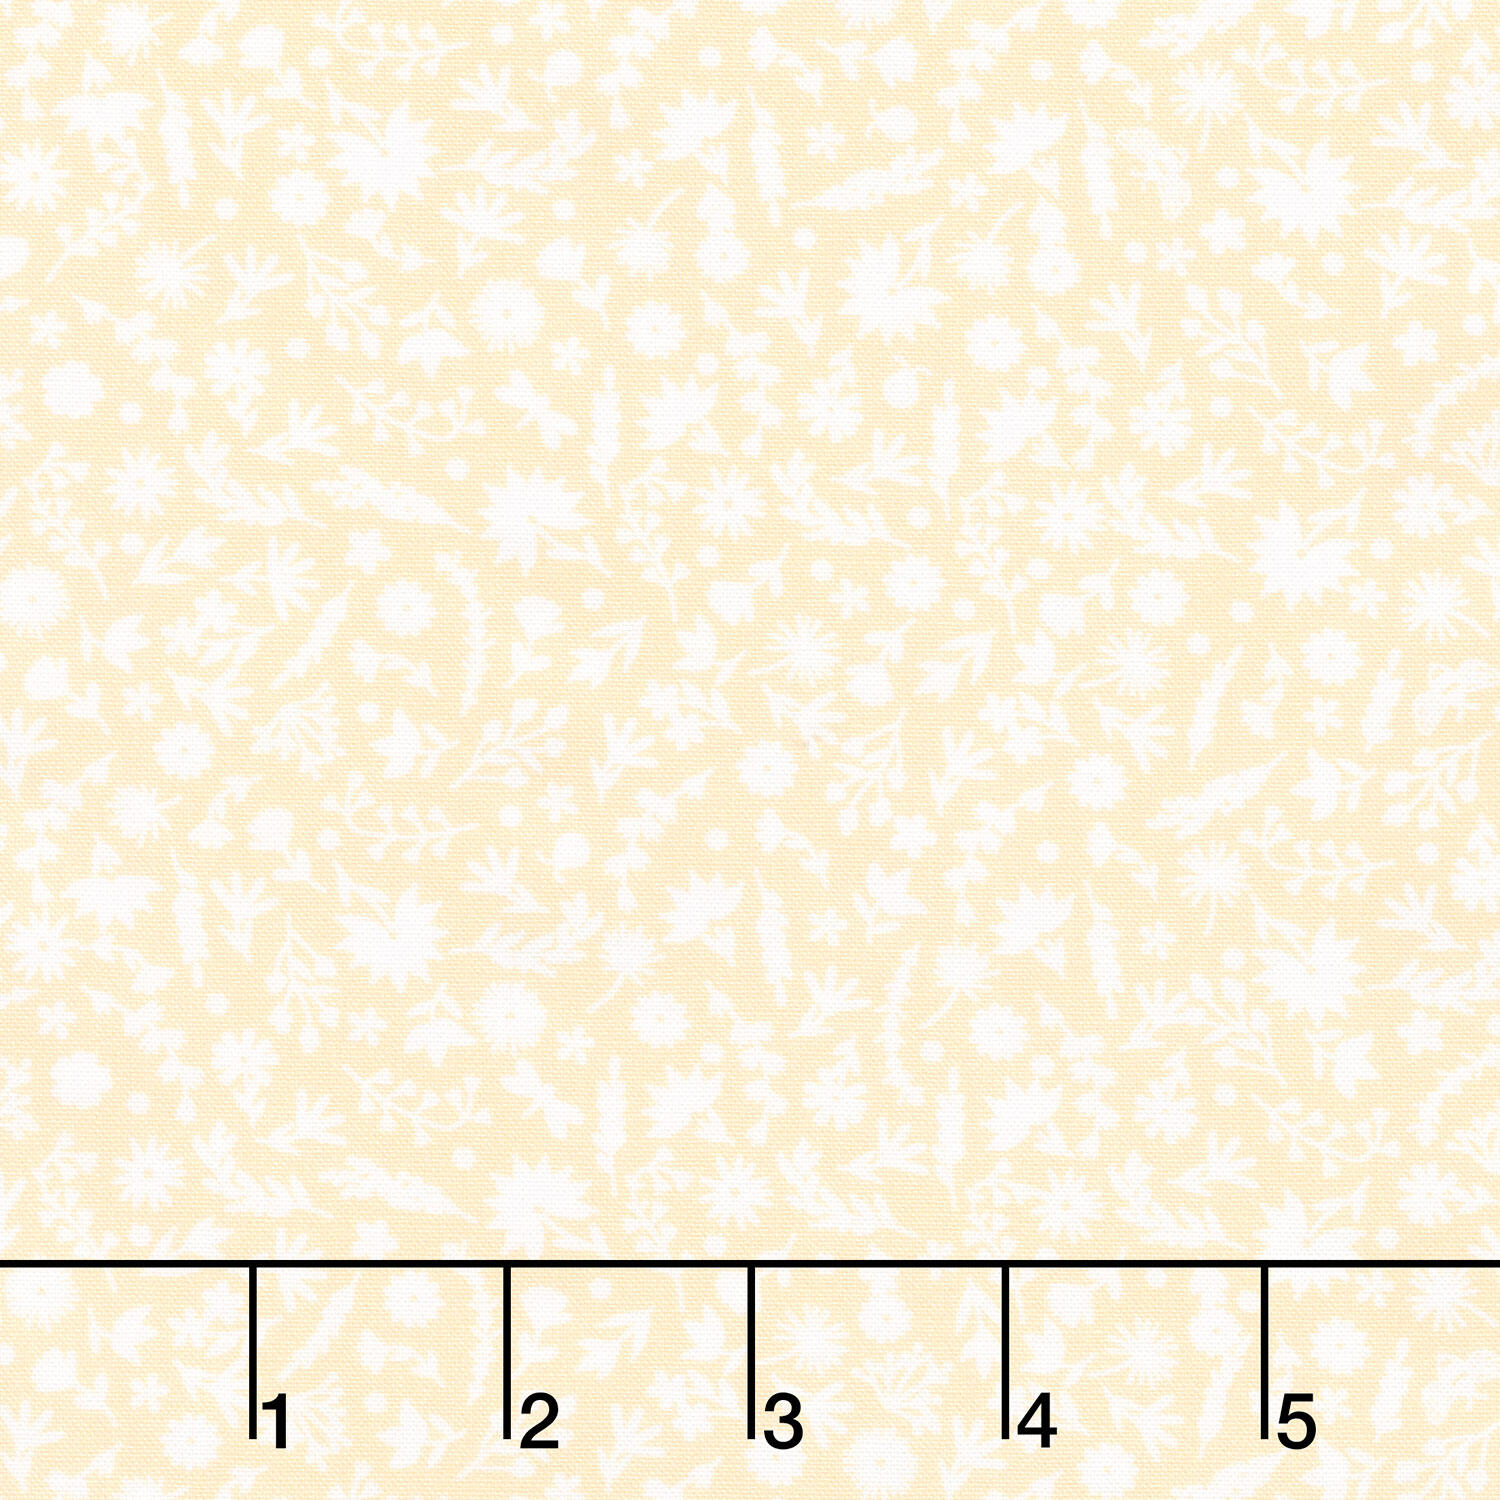 Ingrid's Wildflowers - Tonal Flowers Yellow Yardage$12.68Shop →
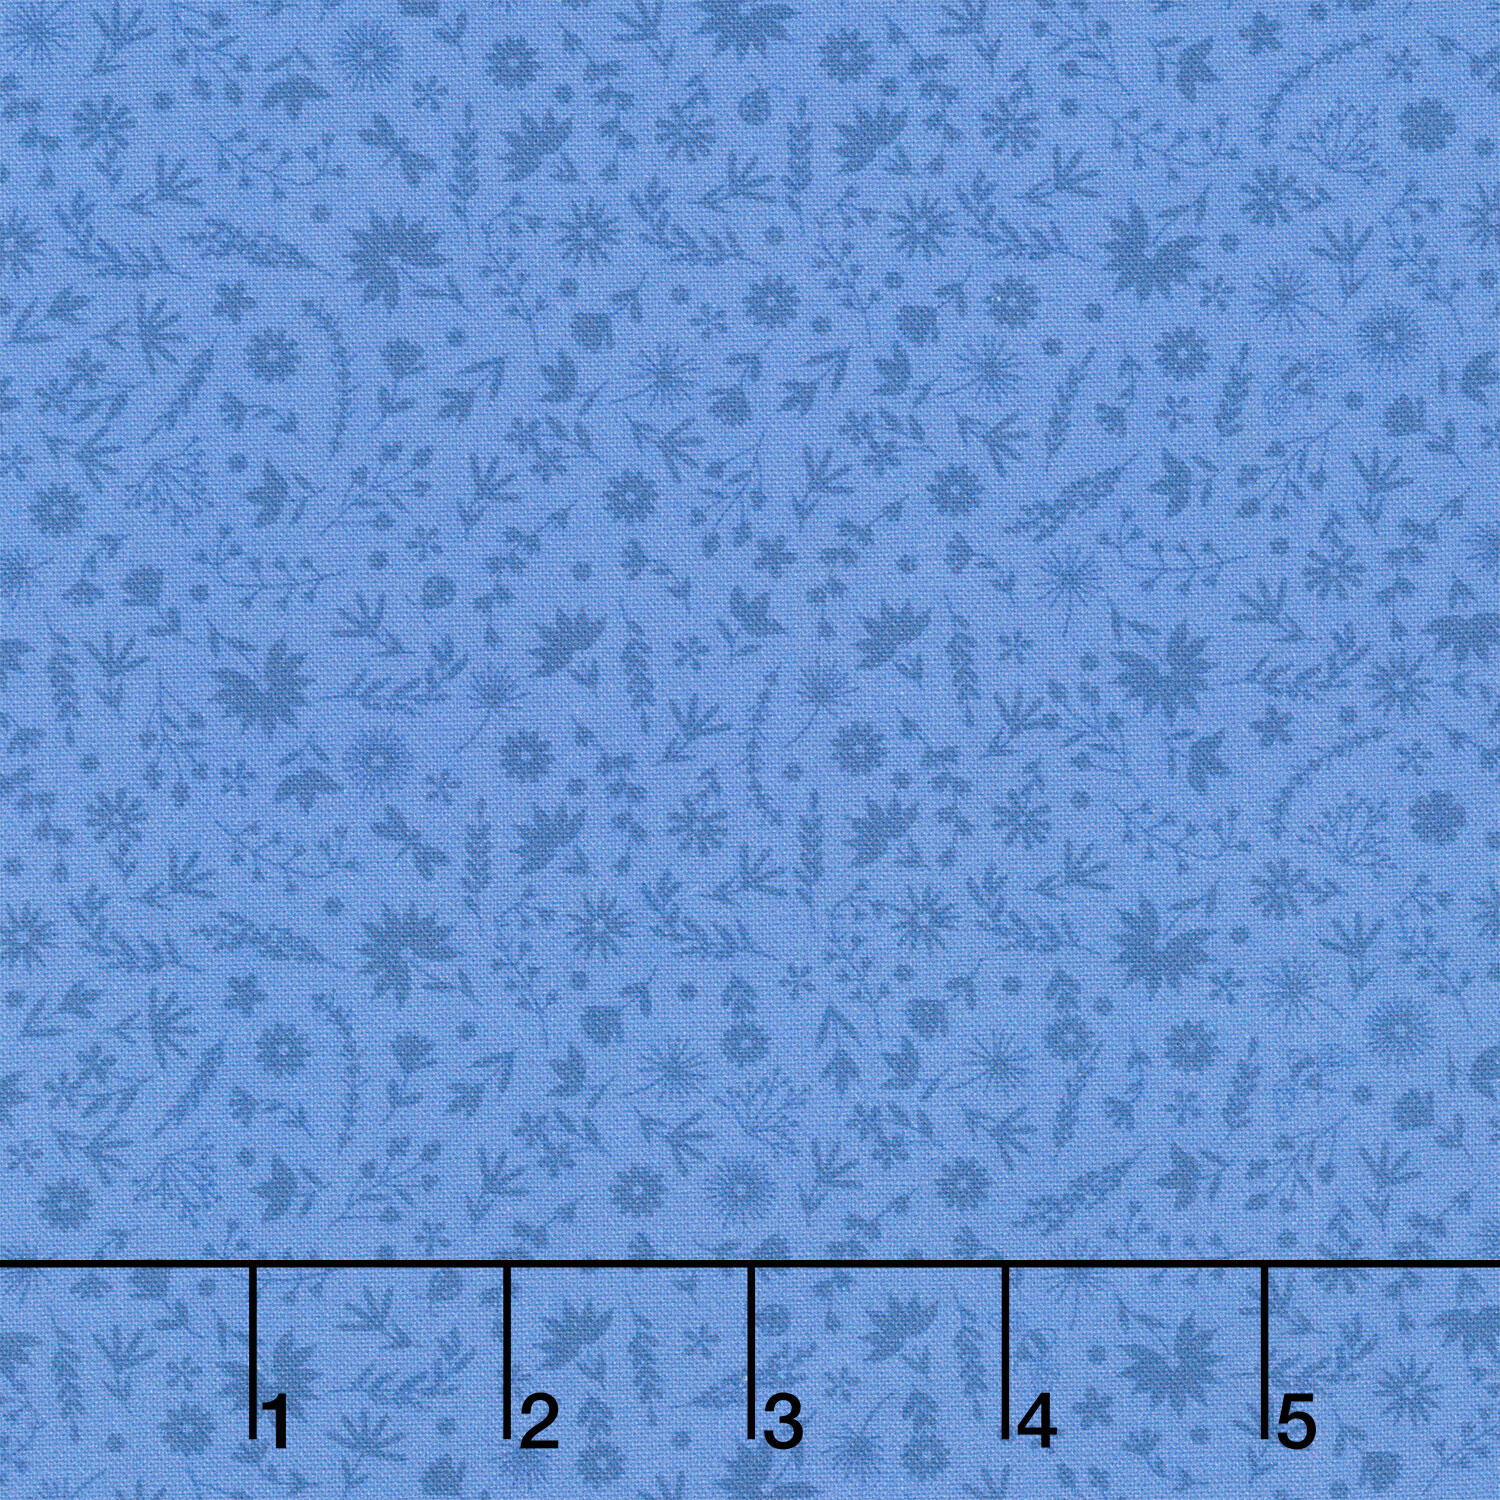 Ingrid's Wildflowers - Tonal Flowers Blue Yardage$12.68Shop →
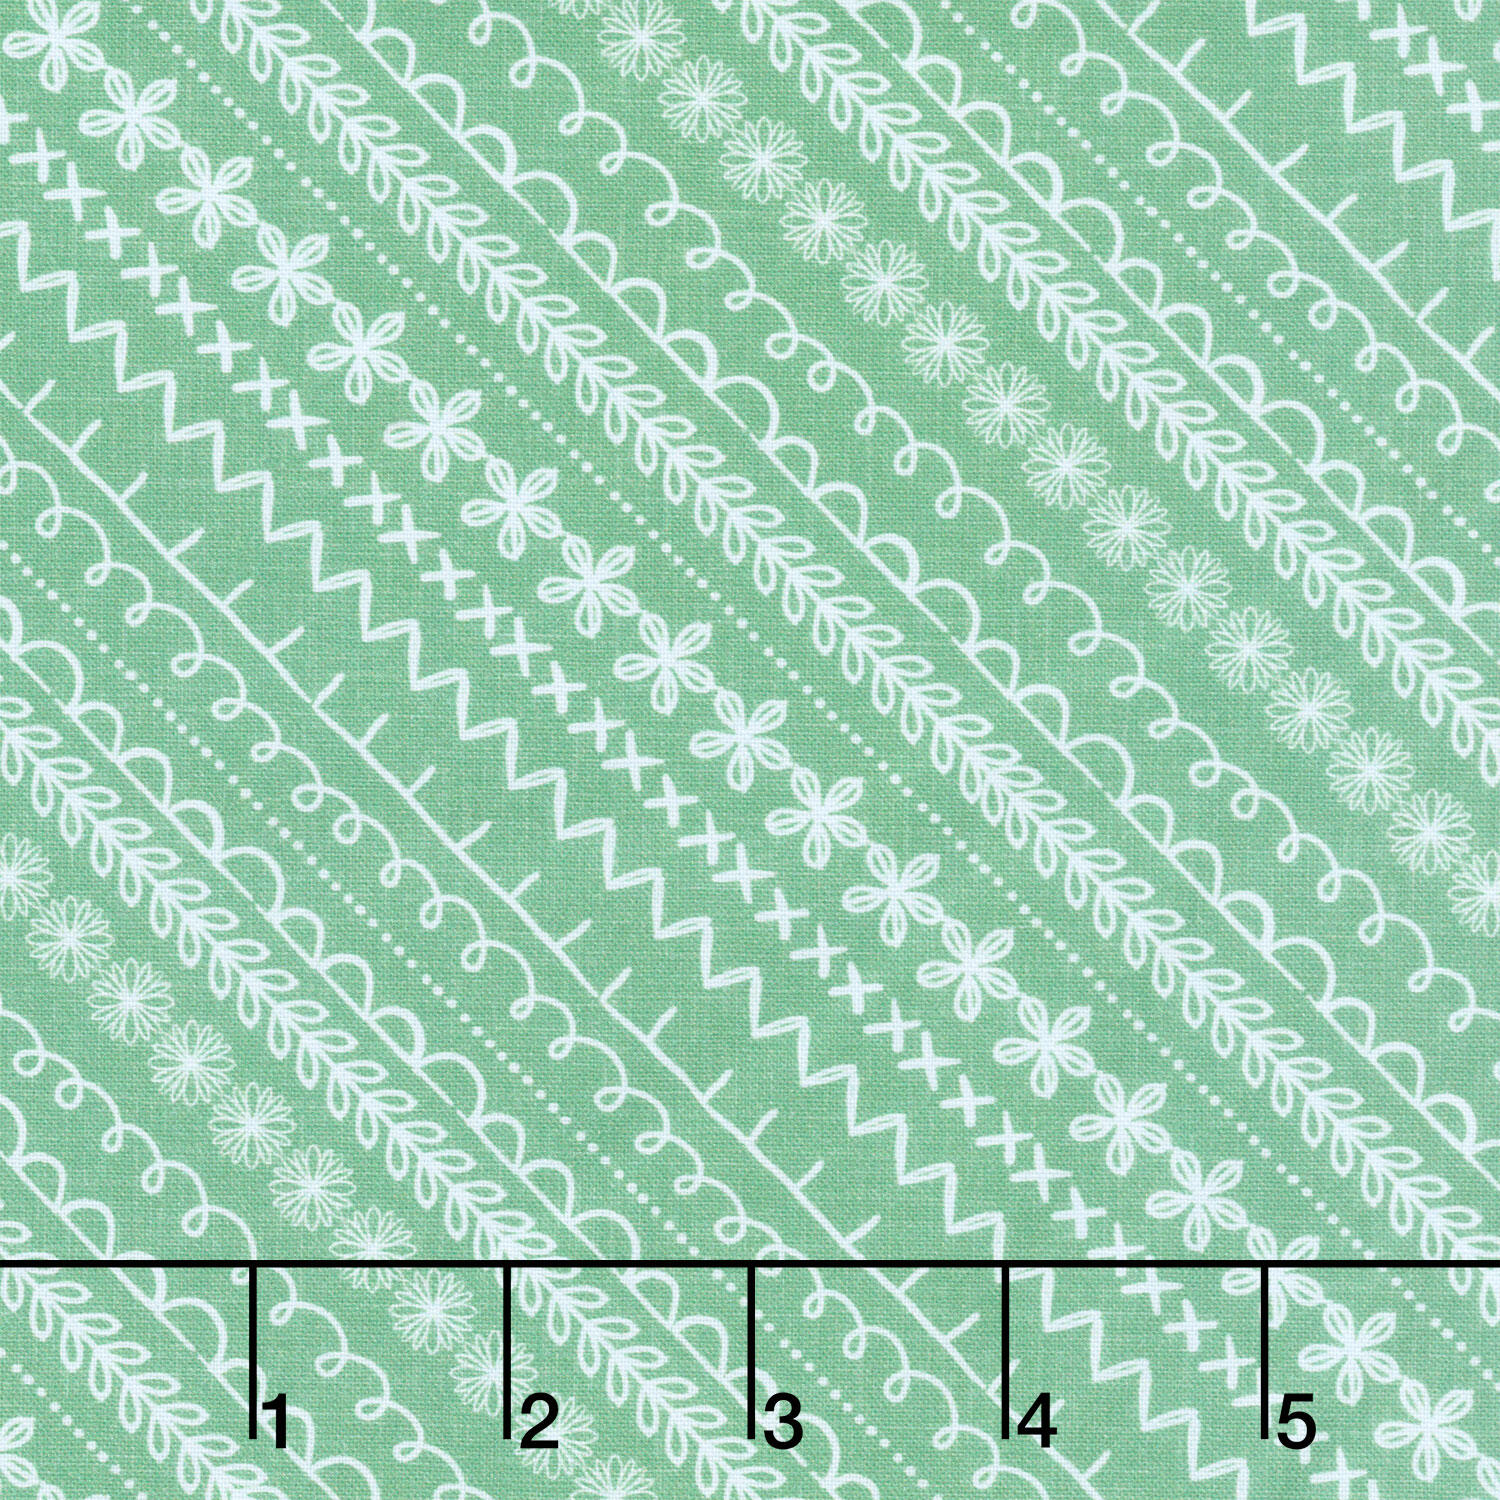 Ingrid's Wildflowers - Diagonal Stripe Green Yardage$12.68Shop →
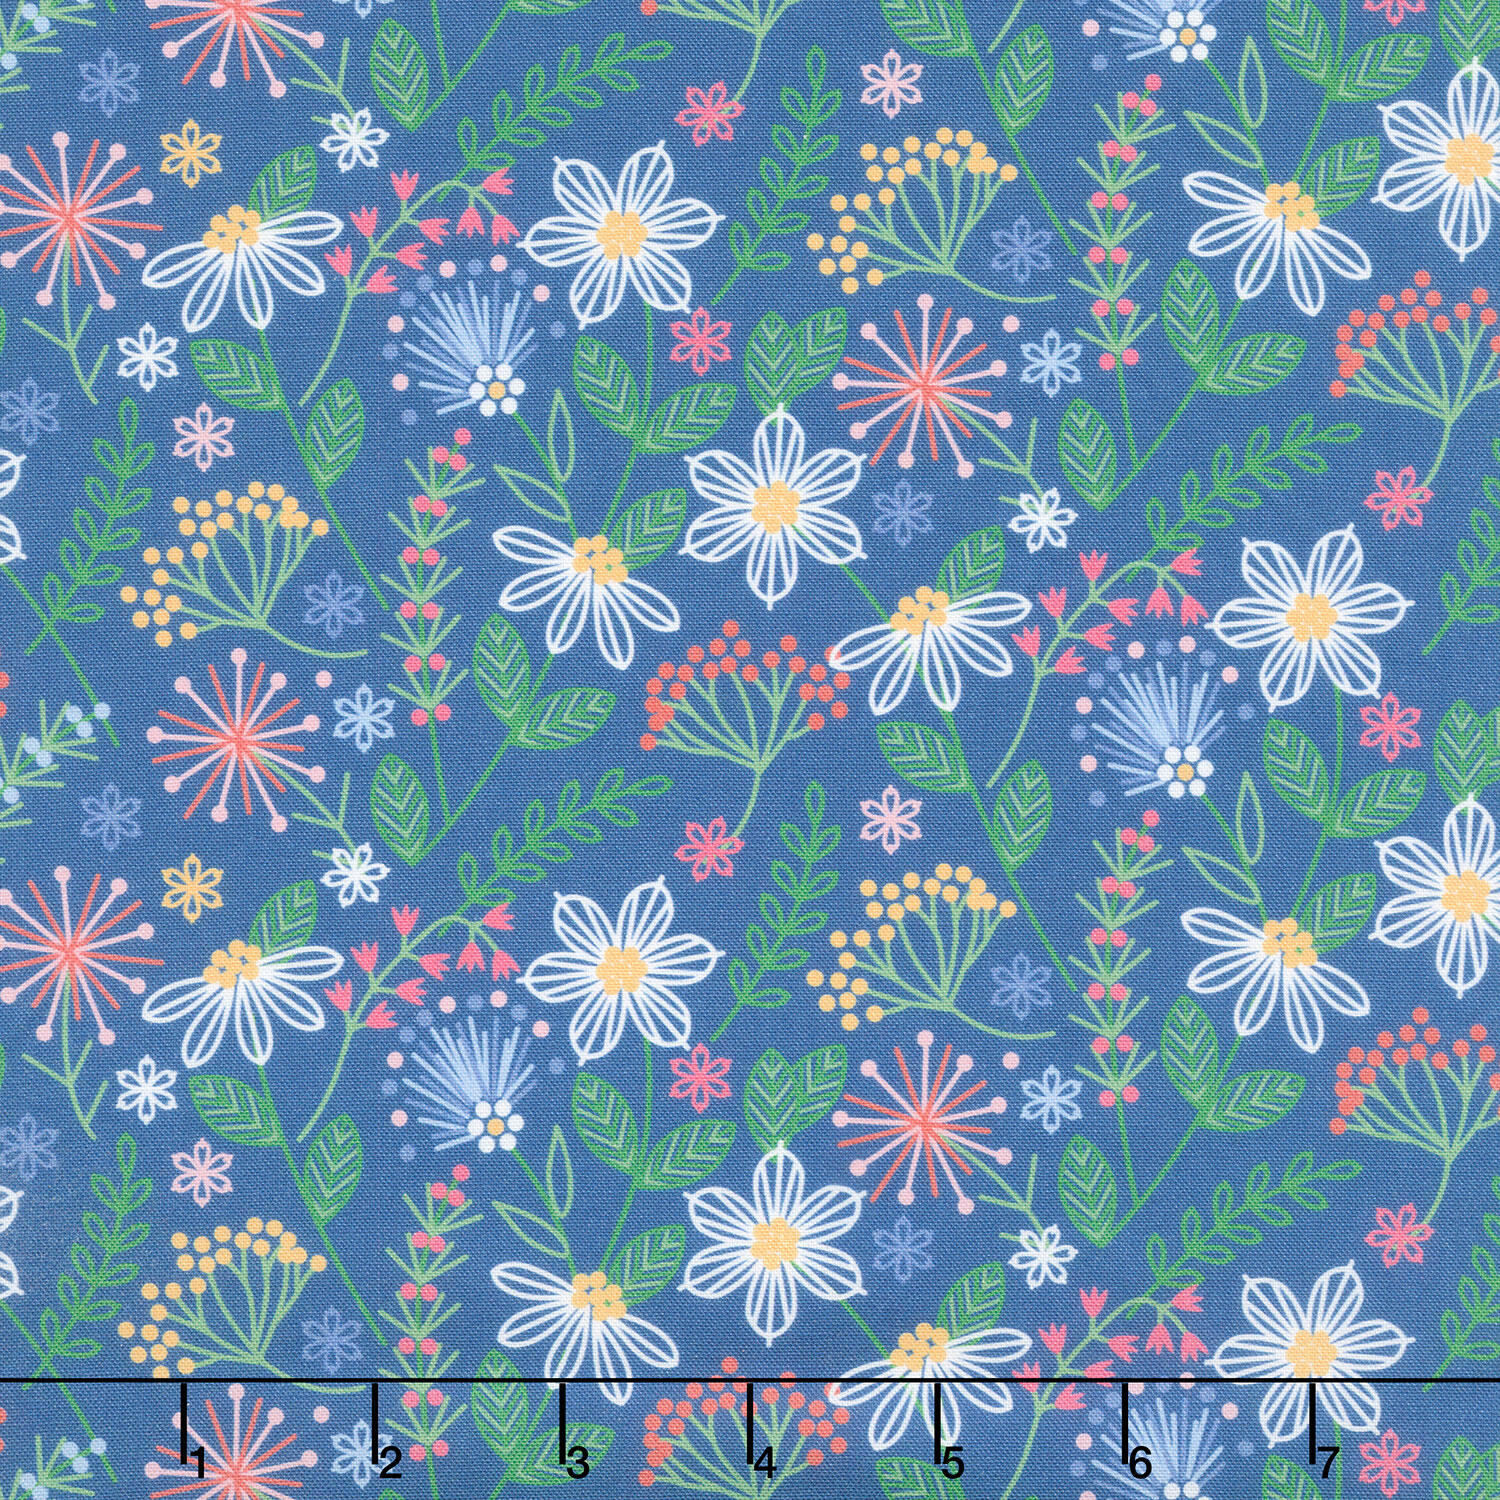 Ingrid's Wildflowers - Tossed Flowers Blue Yardage$12.68Shop →
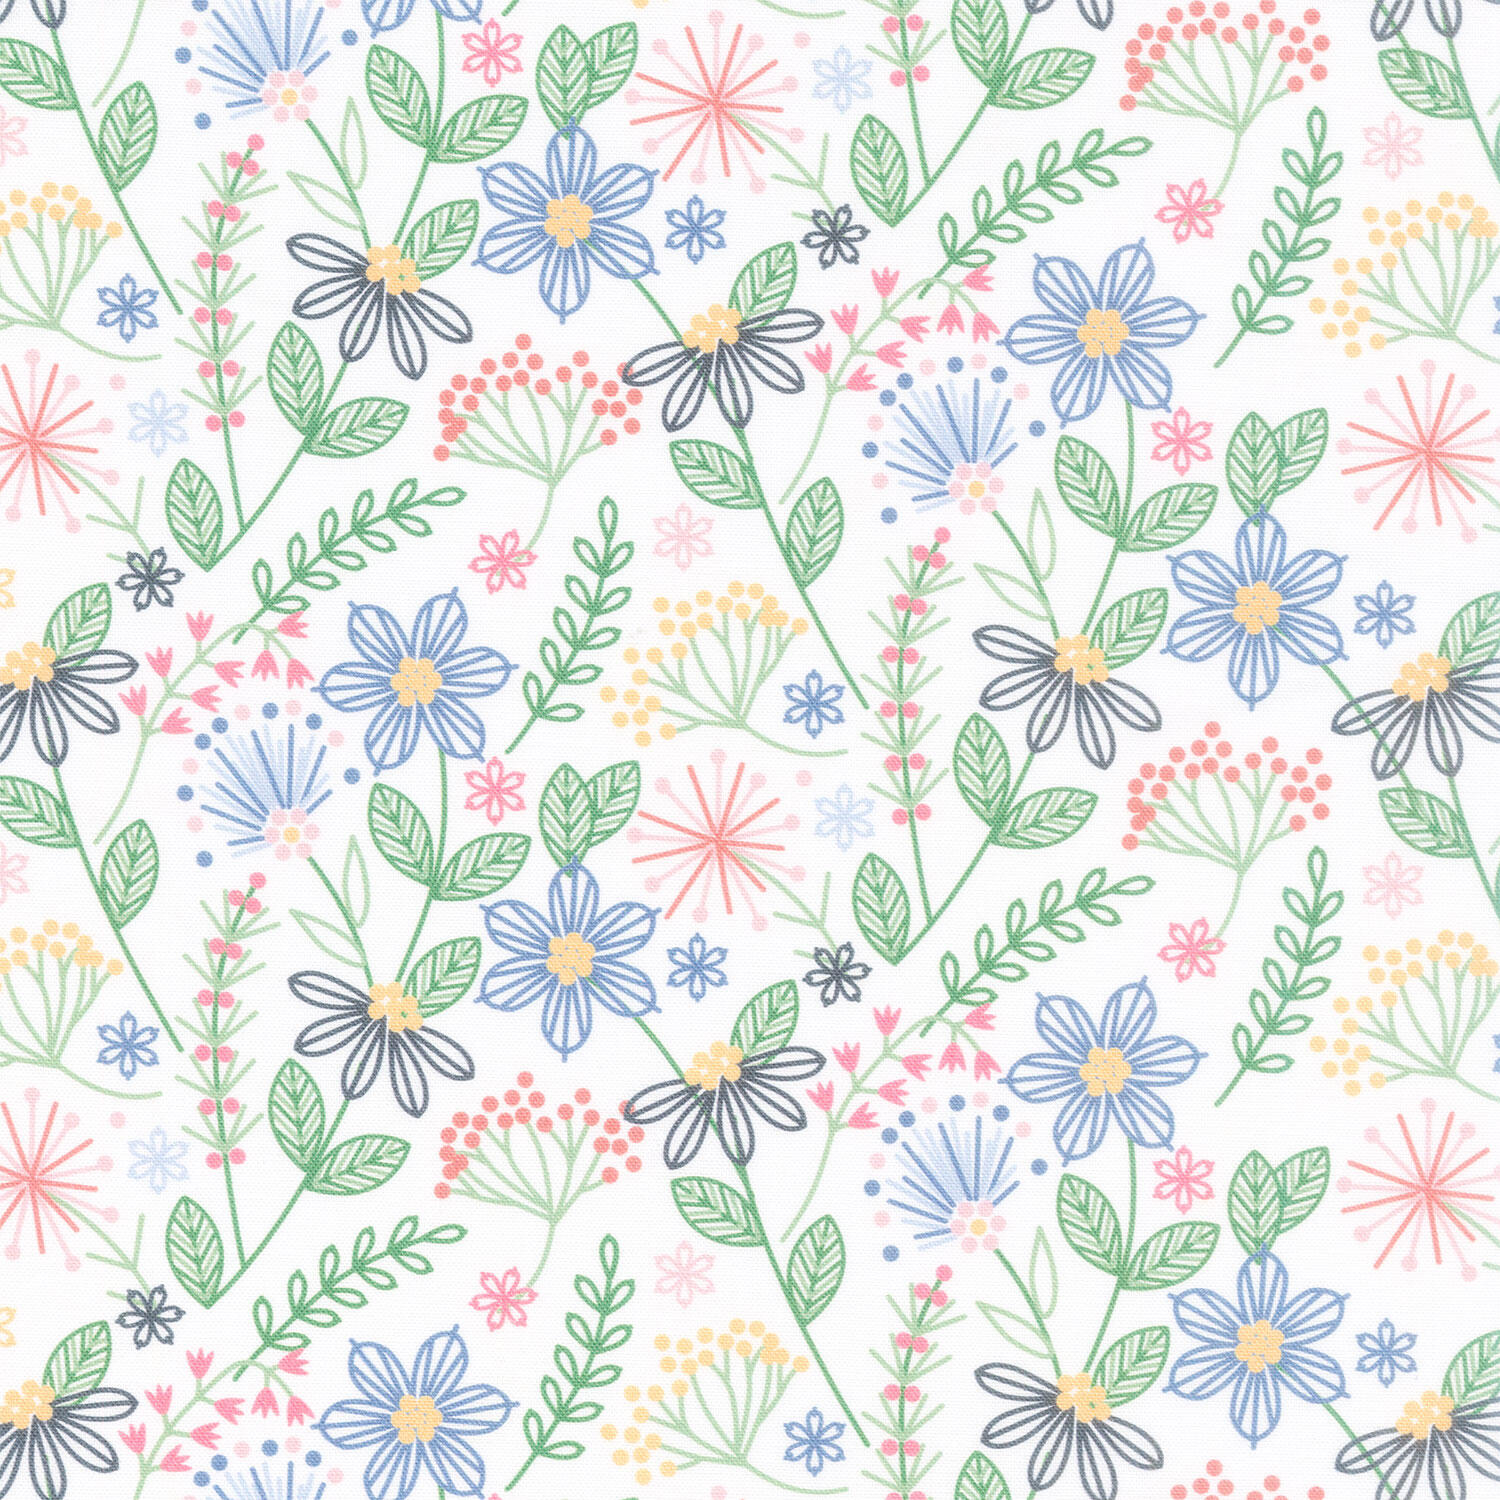 Ingrid's Wildflowers - Tossed Flowers White Yardage$12.68Shop →
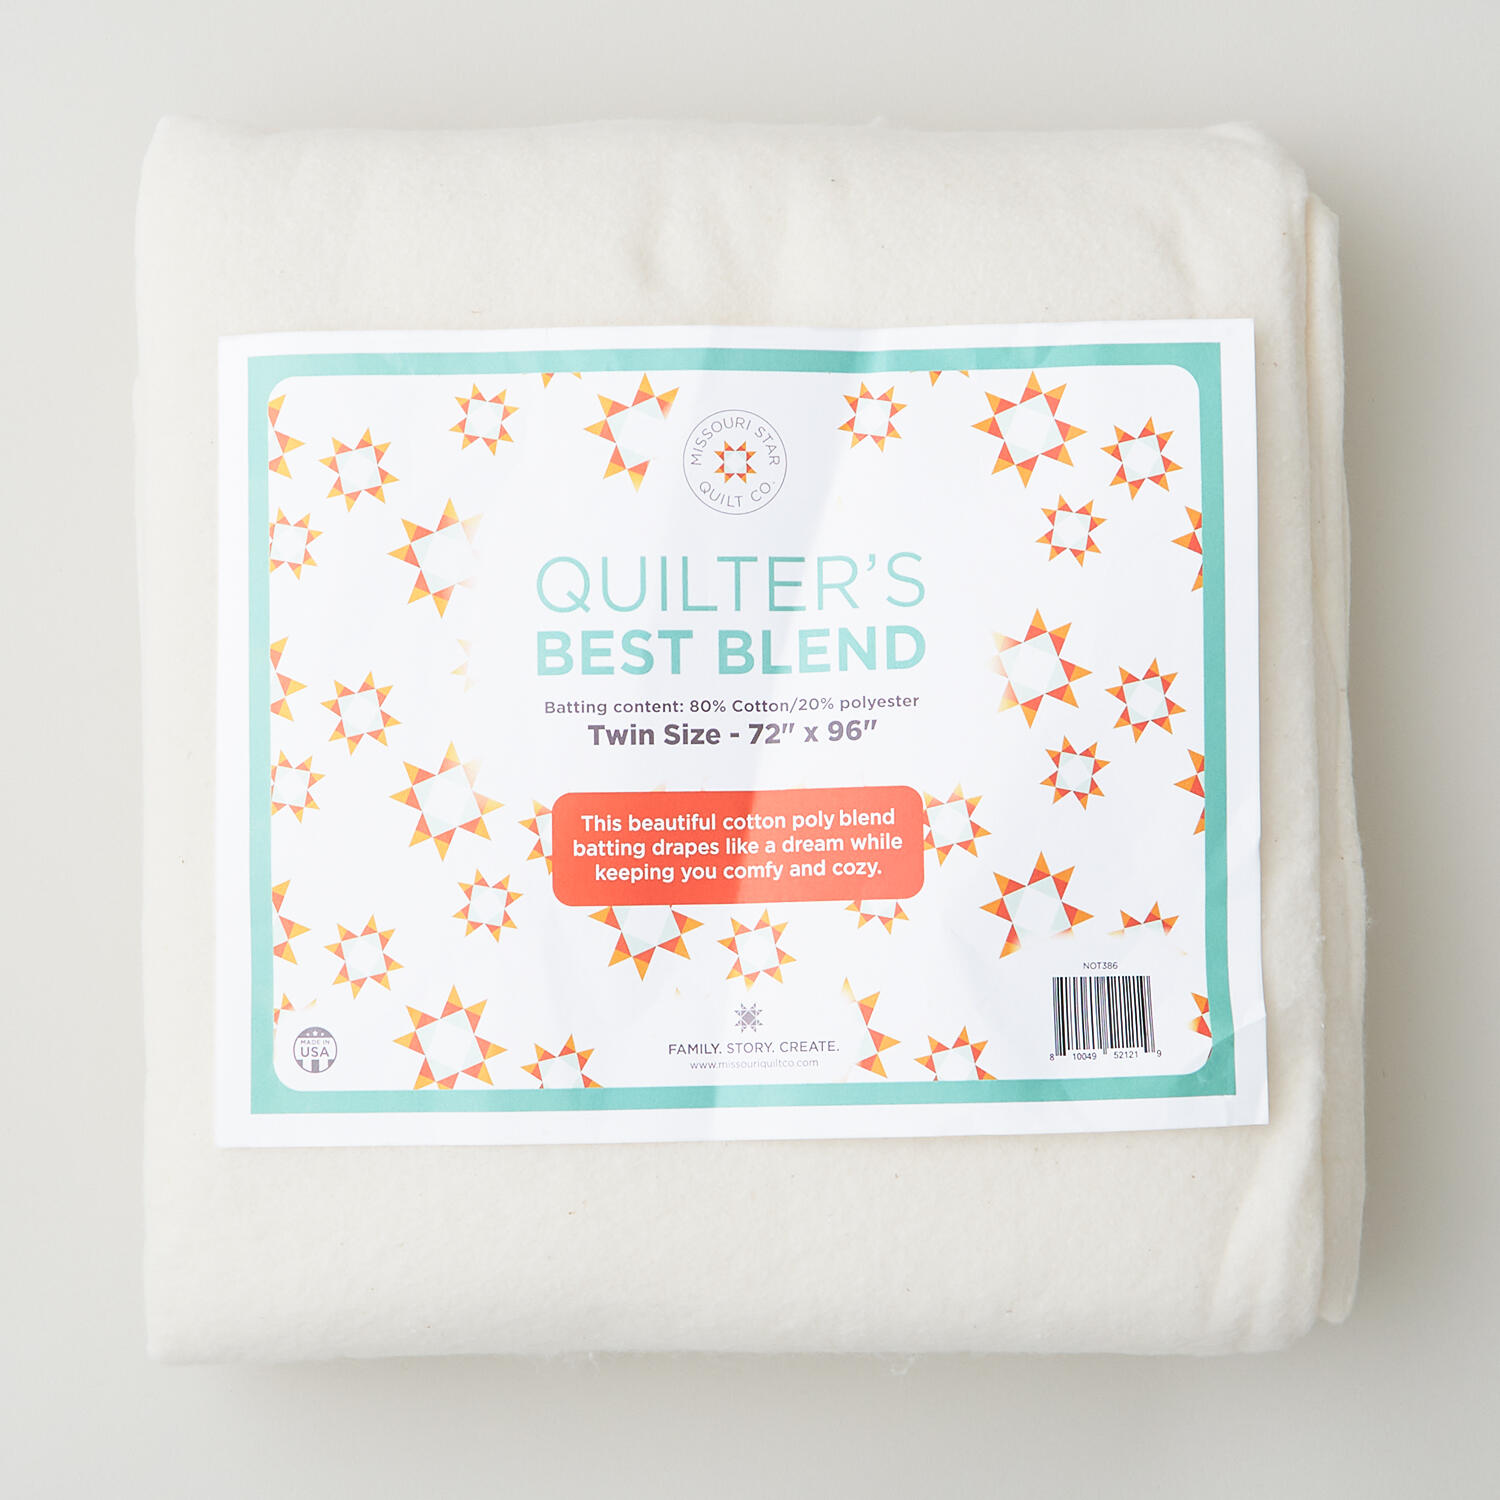 Missouri Star Quilter’s Best Blend Twin Batting$26.95Shop →
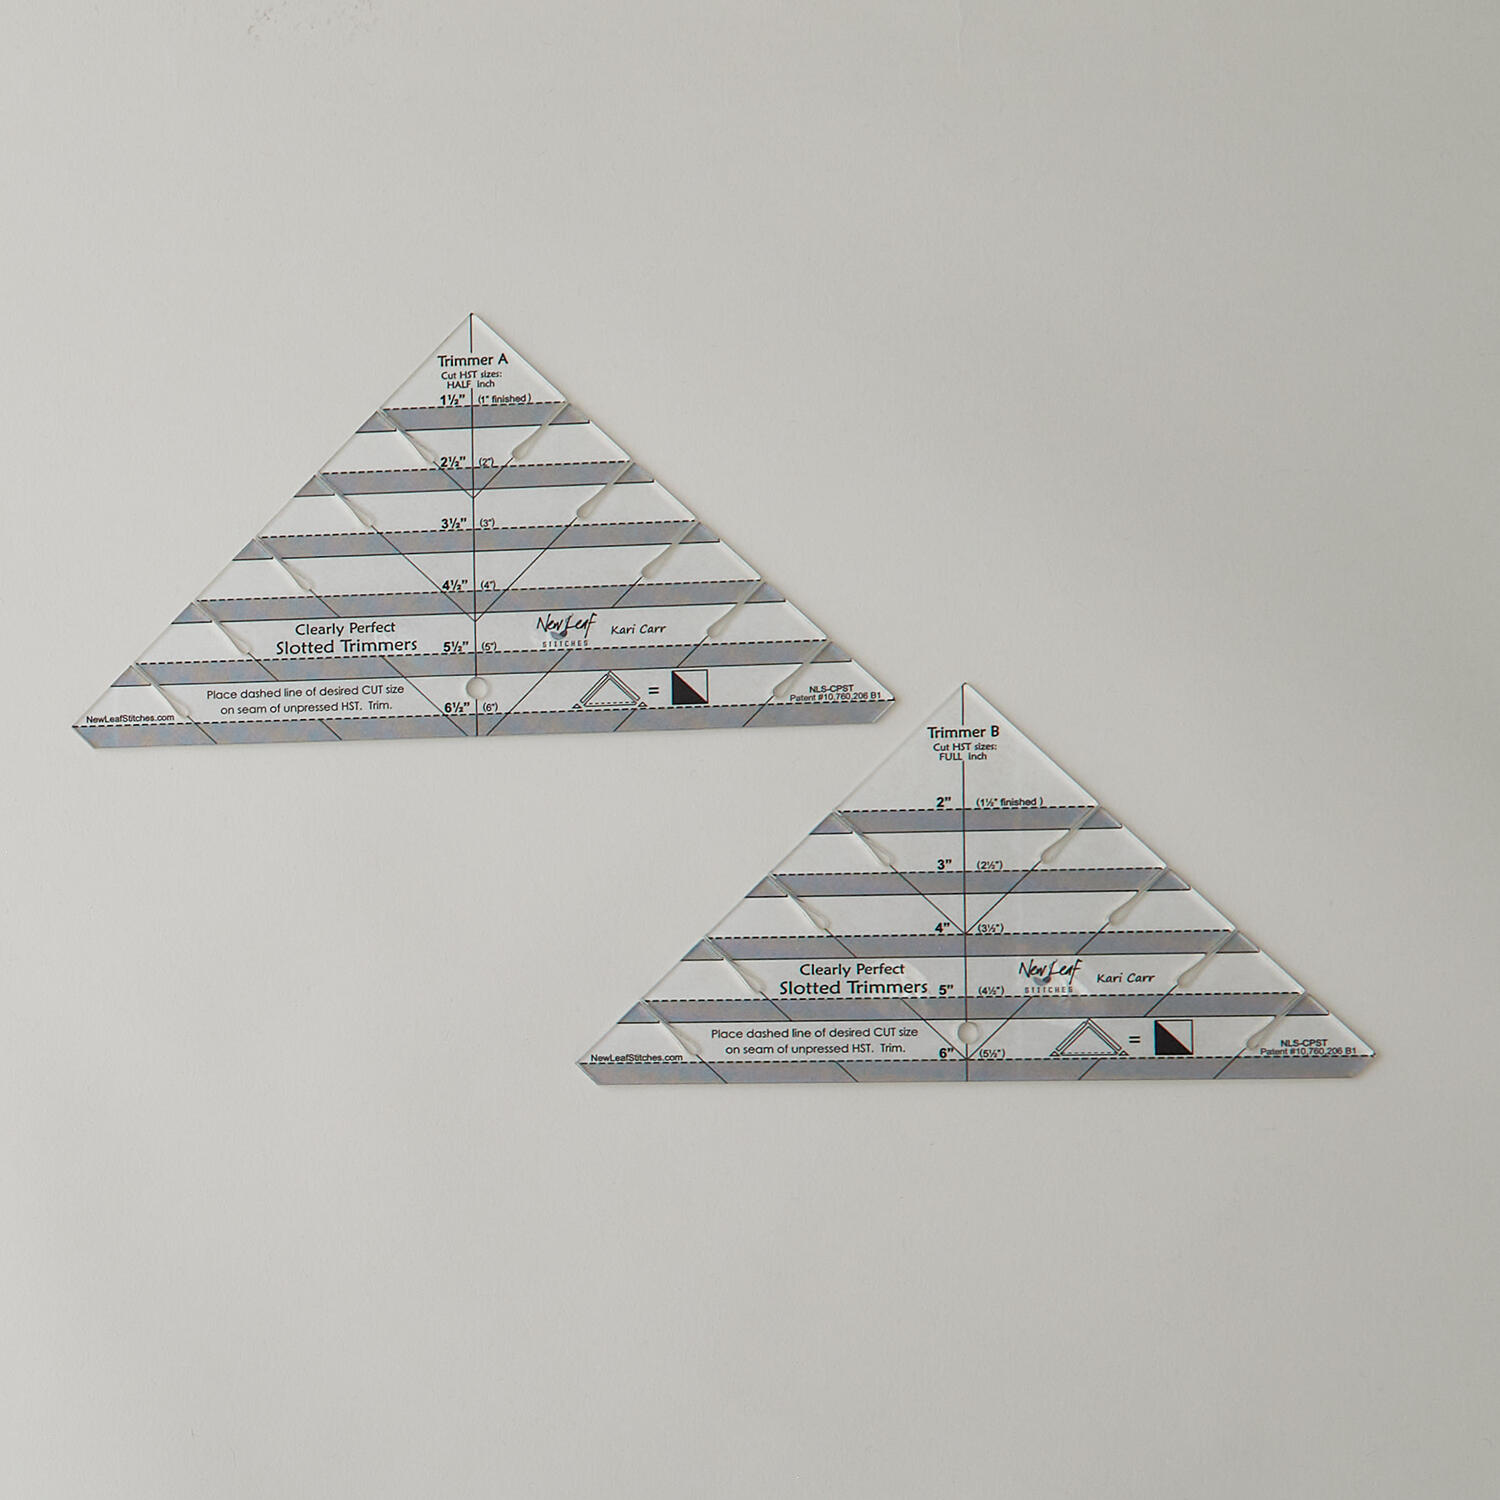 Clearly Perfect Slotted Trimmers$33.95Shop →
 Missouri Star 5" x 15" Ruler$19.95Shop →
 Bernette 77 Sewing and Quilting Machine$1699.00Shop →
 Missouri Star 50 WT Cotton Thread White$7.95Shop →
 Missouri Star 45mm Rotary Cutter - Olga$19.95Shop →
 Missouri Star Seam Ripper - Frida$9.95Shop →
 Missouri Star 8" Everyday Scissors - Amelia$19.95Shop →
 Missouri Star + Oliso TG1600 ProPlus Iron$209.95Shop →


