When we say houndstooth is a classic, we aren’t kidding: Folks have loved this dynamic weave for nearly 4,000 years. From old Celtic shepherds to collegiate professors to high-fashion runways, houndstooth is IN—and it isn’t going anywhere!
This week, Natalie is making a Houndstooth Plaid quilt with Robert Kaufman denim and selections from Andover and Tilda in blue, yellow, and white.
She’s using simple strip sets and a fun plaid layout. (Keep your leftover blocks for a bonus table runner!)
Natalie is the host of Quilting 101, Embroidery 101 and the Creative Strategist and Editor of Block Magazine at Missouri Star Quilt Company. She was taught how to sew by her mom, of course, and began quilting when she grew up.
When we say houndstooth is a classic, we aren’t kidding: Folks have loved this dynamic weave for nearly 4,000 years. From old Celtic shepherds to collegiate professors to high-fashion runways, houndstooth is IN—and it isn’t going anywhere! This week, Natalie is making a Hounds...
How long is the tutorial video?
The tutorial video is 00:17:10.
Are supplies listed for this tutorial?
Yes. The tutorial page includes the supplies and materials connected to this project.
Video Transcript
Hi everybody. I'm Natalie with Missouri Star Quilt Company and today I'm very excited to show you our what if quilt. We took our hounds tooth um that we made a long time ago. We did one when we were first starting out and it was blue and white. It was called American Classic. It was absolutely adorable, but we haven't really got into all of the fun things that you can do with the Houndstooth quilt. So, I'm very excited to show you what we did with this one. All right, so let's get started. [Music] All right. So, to make this quilt, you need four fabrics. So, we've got this light one, which we're calling our white fabric, and you'll need a yard and an eighth. And we've used an Editus Satar print from her sewing basket line. For the yellow, you'll need a yard and a quarter, and that includes part of your 5-in border. We've split that in half between these two colors. You'll need a yard and a fourth. And we've chosen to use this beautiful line from uh Creating Memories by Tilda. Uh this one you'll need a yard and 3/8. We're calling this our medium blue. It in includes the other half of your 5- in border and we've used um sea moss by from the beach house line for edit sitar. And then our background is this beautiful indigo denim from Robert Kaufman and you'll need 2 and 38 yards of that. This is also our backing which turned out really beautifully. For the backing, you'll need four yards if you're using a horizontal seam. But if you do a 108, you'll need two yards, and you'll have enough to do both your quilt and our bonus project. If you're using regular 45-in wide fabric, you might need a little bit more, like a yard and 3/4s more to do the table runner that comes up at the end. Um, and then the other thing you'll need is the the Clearly Perfect slotted trimmer B. And you'll see why in just a minute. So, let's go ahead and get started making our blocks. Okay, so this is the block that we're making and you'll see it is a four patch and it has two striped blocks in the corners and then two solid blocks in the opposite corners. You'll see this one actually fits in right here on the quilt. And so what we're doing for this quilt is we're making nine different blocks and we're going to make each of them four times. So it is the same block just in different colors to make the quilt in a quadrant. So let's get started. So from each of these fabrics, you're going to need to cut 5 in strips which you will subcut into 5 in squares and 2 and 1/4 in strips which will get sewn together to create our striped blocks. So, I'm going to set these ones aside because I've got most of my stuff cut. And we'll cut a little bit off of this piece. Okay, this quilt is really fun to make and so much simpler than it looks. It's one of those ones that it really um really took me out of my box, I think, to see it in all these different patterns. I think you'll I absolutely love the one that we put in block not too long ago. Let's see here. So, we'll start with a 5 in strip. And of course, the pattern tells you exactly how many of each you'll need. Different different amounts for different colors, you know. And then remember this is 2 and a/4, not 2 and 1/2. We're we're veering from our normal measurement because we want our stripped blocks to end up matching our 5 in squared um pieces that make up all the rest of the quilt. All right. So, once these are all cut and subcut and you've got your piles ready, hang on. I need to cut these into five in squares. And I do tend to keep these together because it just makes the cutting so much quicker. Just a little bit of fold there. All right. So, I've got my five inch squares set aside. I've got some denim cut into 5 in squares as well. I've got my strips cut. Okay. So, I've got this light strip and I've got a denim strip cut. And remember, these are two and a quart. And what we're going to do is put them side by side. We're going to line them up right sides facing and we're going to sew down one side and then press that piece open. So, let me do that. And you're going to do this with all of your strips. Every colored piece, every one of your prints is going to be paired with the denim strip because that is our background color. And you'll want to do a quarter of an inch seam and try and keep it nice and straight along the edge. can be really difficult for me to keep these long seams straight. I have a hard time with wiggling. It kind of will like wiggle along. So, go slow and reposition as often as you need. All right. So, I'm going to go ahead and set this seam and then we'll press this to the dark side. So, I'm just setting the seam here. And then I'm going to flip it over and roll this back so that I've got a nice flat strip set here. And you can starch it if you want, but it should be shouldn't have shouldn't give you any trouble. This isn't this does not have a lot of bias at this point. it will when we cut those triangles. So, you'll have to be a little bit careful um at that point. But right now, all straight seams and grain cuts, straight grain cuts. Okay. So, like I said before, you're going to do this with all of your colors. And I've got um a second piece here ready to go. So, you're going to take these sets and you're going to lay them on top of each other, making sure that your fabrics are in opposite directions. So, your light is on top of your dark and your dark is on top of your light, just like this. Then, we'll line that up as best you can. You can um you can try and get that. They're going to be a little bit funky. All all of our ends are going to be different sizes. And the denim is, I believe, 60 in wide as opposed to the regular 45inch wide fabric. So, you may want to cut your denim strips down a little bit to make them more manageable, but we are going to lay these on top of each other. And then what we're going to do is sew down both sides to create a completely enclosed tube. So, let me get started on that. [Music] Okay. So, now that we've got this entire tube set sewn, now we get to do the fun part of cutting out our half square triangles. All right. So, we won't need that. So, what we're going to do is line up using our trimmer B the dashed line on the seam line on the 5 in. And you want to make sure that you start far enough in that you get a full triangle. Alrighty. And this just fits perfectly. You will possibly I have a few little stitches to pick out here at the point, but that's never an issue. So, we'll cut these and cut your little little edges. So, these just that just pulls right apart. and you've got a perfect 5 in square to line up with your other squares in your four patch. So, let me cut a another one of these just to show this is how you do it. Now, if you're not comfortable cutting this direction, just flip the strip. You can use a rotating mat or you can just turn the strip back and forth. uh whichever way makes sense for you because I don't want you to do anything that feels uncomfortable or awkward when you're cutting it. You know, that's how we have accidents in the sewing room. So, make sure you feel comfortable and safe and uh that you don't cut yourself. But yeah, so you just keep going back and forth with the direction of the strip. I find too that if I just turn my body a little bit as I'm cutting, it's not as awkward for me to go under a little bit. But I do want everybody out there to be careful and safe. So, there we go. Oh, I forgot all of the little points on these guys. Hold, please. You can um you can cut them using these little lines, but I've also found that you can just kind of eyeball it and just cut the bulk out by cutting that at a little angle. Just kind of a hack, but only if you feel comfortable to do that. All right, so we'll press these open. And I don't think there's a specific direction that you need to press these. Just um just open because we're going to be combining them with our solid fabrics. So I've got a bunch of these made. And so we're going to lay it out. Our first four patch is a solid square up in the top corner. And then we've got our our striped block. Then we've got our denim square in this bottom corner. All right. So then I've got this one which is made using our darker blue fabric. So we line that up so that the denim is pointing up and this denim is pointing down. And then we sew that together as a four patch. So let's do that real quick. I'm going to chain piece these so they go together very easily. All right. So, we are going to sew down this side and then we'll fold these together and stitch down this side. [Applause] Then we'll open this up. I will want to push my seams in opposite directions, but I'm not going to press yet. I'm just going to fold it over and make them go the way they want to go. Typically, your fabric wants to lay down against the side that doesn't have as many seams. The seam side is going to push it that direction. So, for me, that's just the easiest way to go. Let the fabric do what it wants and support it. So, kind of like, you know, young adult children, the denim does have a little bit of a stretch to it, so you'll want to be really careful with pulling your fabric and just try to line everything up nice and neat. Um, the nice thing about that little bit of stretch is it does make everything pretty easy to kind of finesse together. So, just be careful and go slow. All right. So, let's take this. We'll set our seams and press it back. And there you have it. We've got a four patch for our houndstooth quilt. Now, this quilt, so this goes right here on the quilt. You're going to be making nine different blocks that are all the same uh same layout. So, I think what we ought to do is go ahead and take this quilt down and put up our design wall. But before we do that, I want to show you the backing. So, we use this denim backing. And then this beautifully shows our machine quilting pattern, which is Migrate. It's one of our newest patterns. And I think it's so fun. Very like modern, but also has a little bit of a retrochic look to it. We machine quilted it in this lovely blue thread. And um you'll notice that we've got a double border on here. So I don't know if you can see this real close up, but you'll see that we went around the two opposing sides and then managed to make our binding blend with that border. So that is a very cool little trick that I think is really fun. So again, it's 63x 63 and I think we're just about ready to take it down so that I can show you how to put together an entire quadrant on the design wall. All right. So, now that we've got our design wall up, we can start with the layout. So, you will have nine separate blocks. They all look different. Um, and you're going to make four of each. But first, we're So, we're going to put together one quadrant and you'll make four identical quadrants. And they go just like this. So, we'll start with this block. And then we add the next one. I'm keeping them separate a little bit so you can see how they go together. Oh, I've got these turned, don't I? Yes, I do. So, this one goes like this. That happens pretty easily to me. I get them messed up. So simple. So I am following my diagram exactly trying to make sure that I get everything going in the right direction. Highly recommend you keep that diagram close and then just make these four quadrants exactly as shown. Okay. that one. They all just turned a little bit on me. But you'll notice that they all are going, they're all oriented in the same way. So each one has its strip block, the stripes, and then the two solids. And they end up being in different places. You'll have, you know, a denim in the top corner and then your fabrics and different colors here and there, but it is very simple. This is the quadrant that you'll want to make. And you'll make four of them, put them together to make the whole quilt. And then we'll just add our 5-in border and quilt and bind however you like. And you're done. So, it's just that simple. Oh, and I have one more thing to show you. I've got this bonus table runner. I think it turned out so cute. It uses up some of our leftover blocks and I think that would just look great on any table. It's summery and bright and fun. Well, this quilt has been really fun for me to make. I love all of the creative possibilities and I hope you enjoyed this tutorial on the WhatIf Hounds Tooth from the Missouri Star Quilt Company. Bye. Hi everybody. I hope you enjoyed today's video. We're trying super hard to get to a million subscribers. So, if you enjoyed it and you want to see more, just hit subscribe and share with your friends and encourage them to do the same. and I will see you next Friday with a brand new tutorial. [Music]

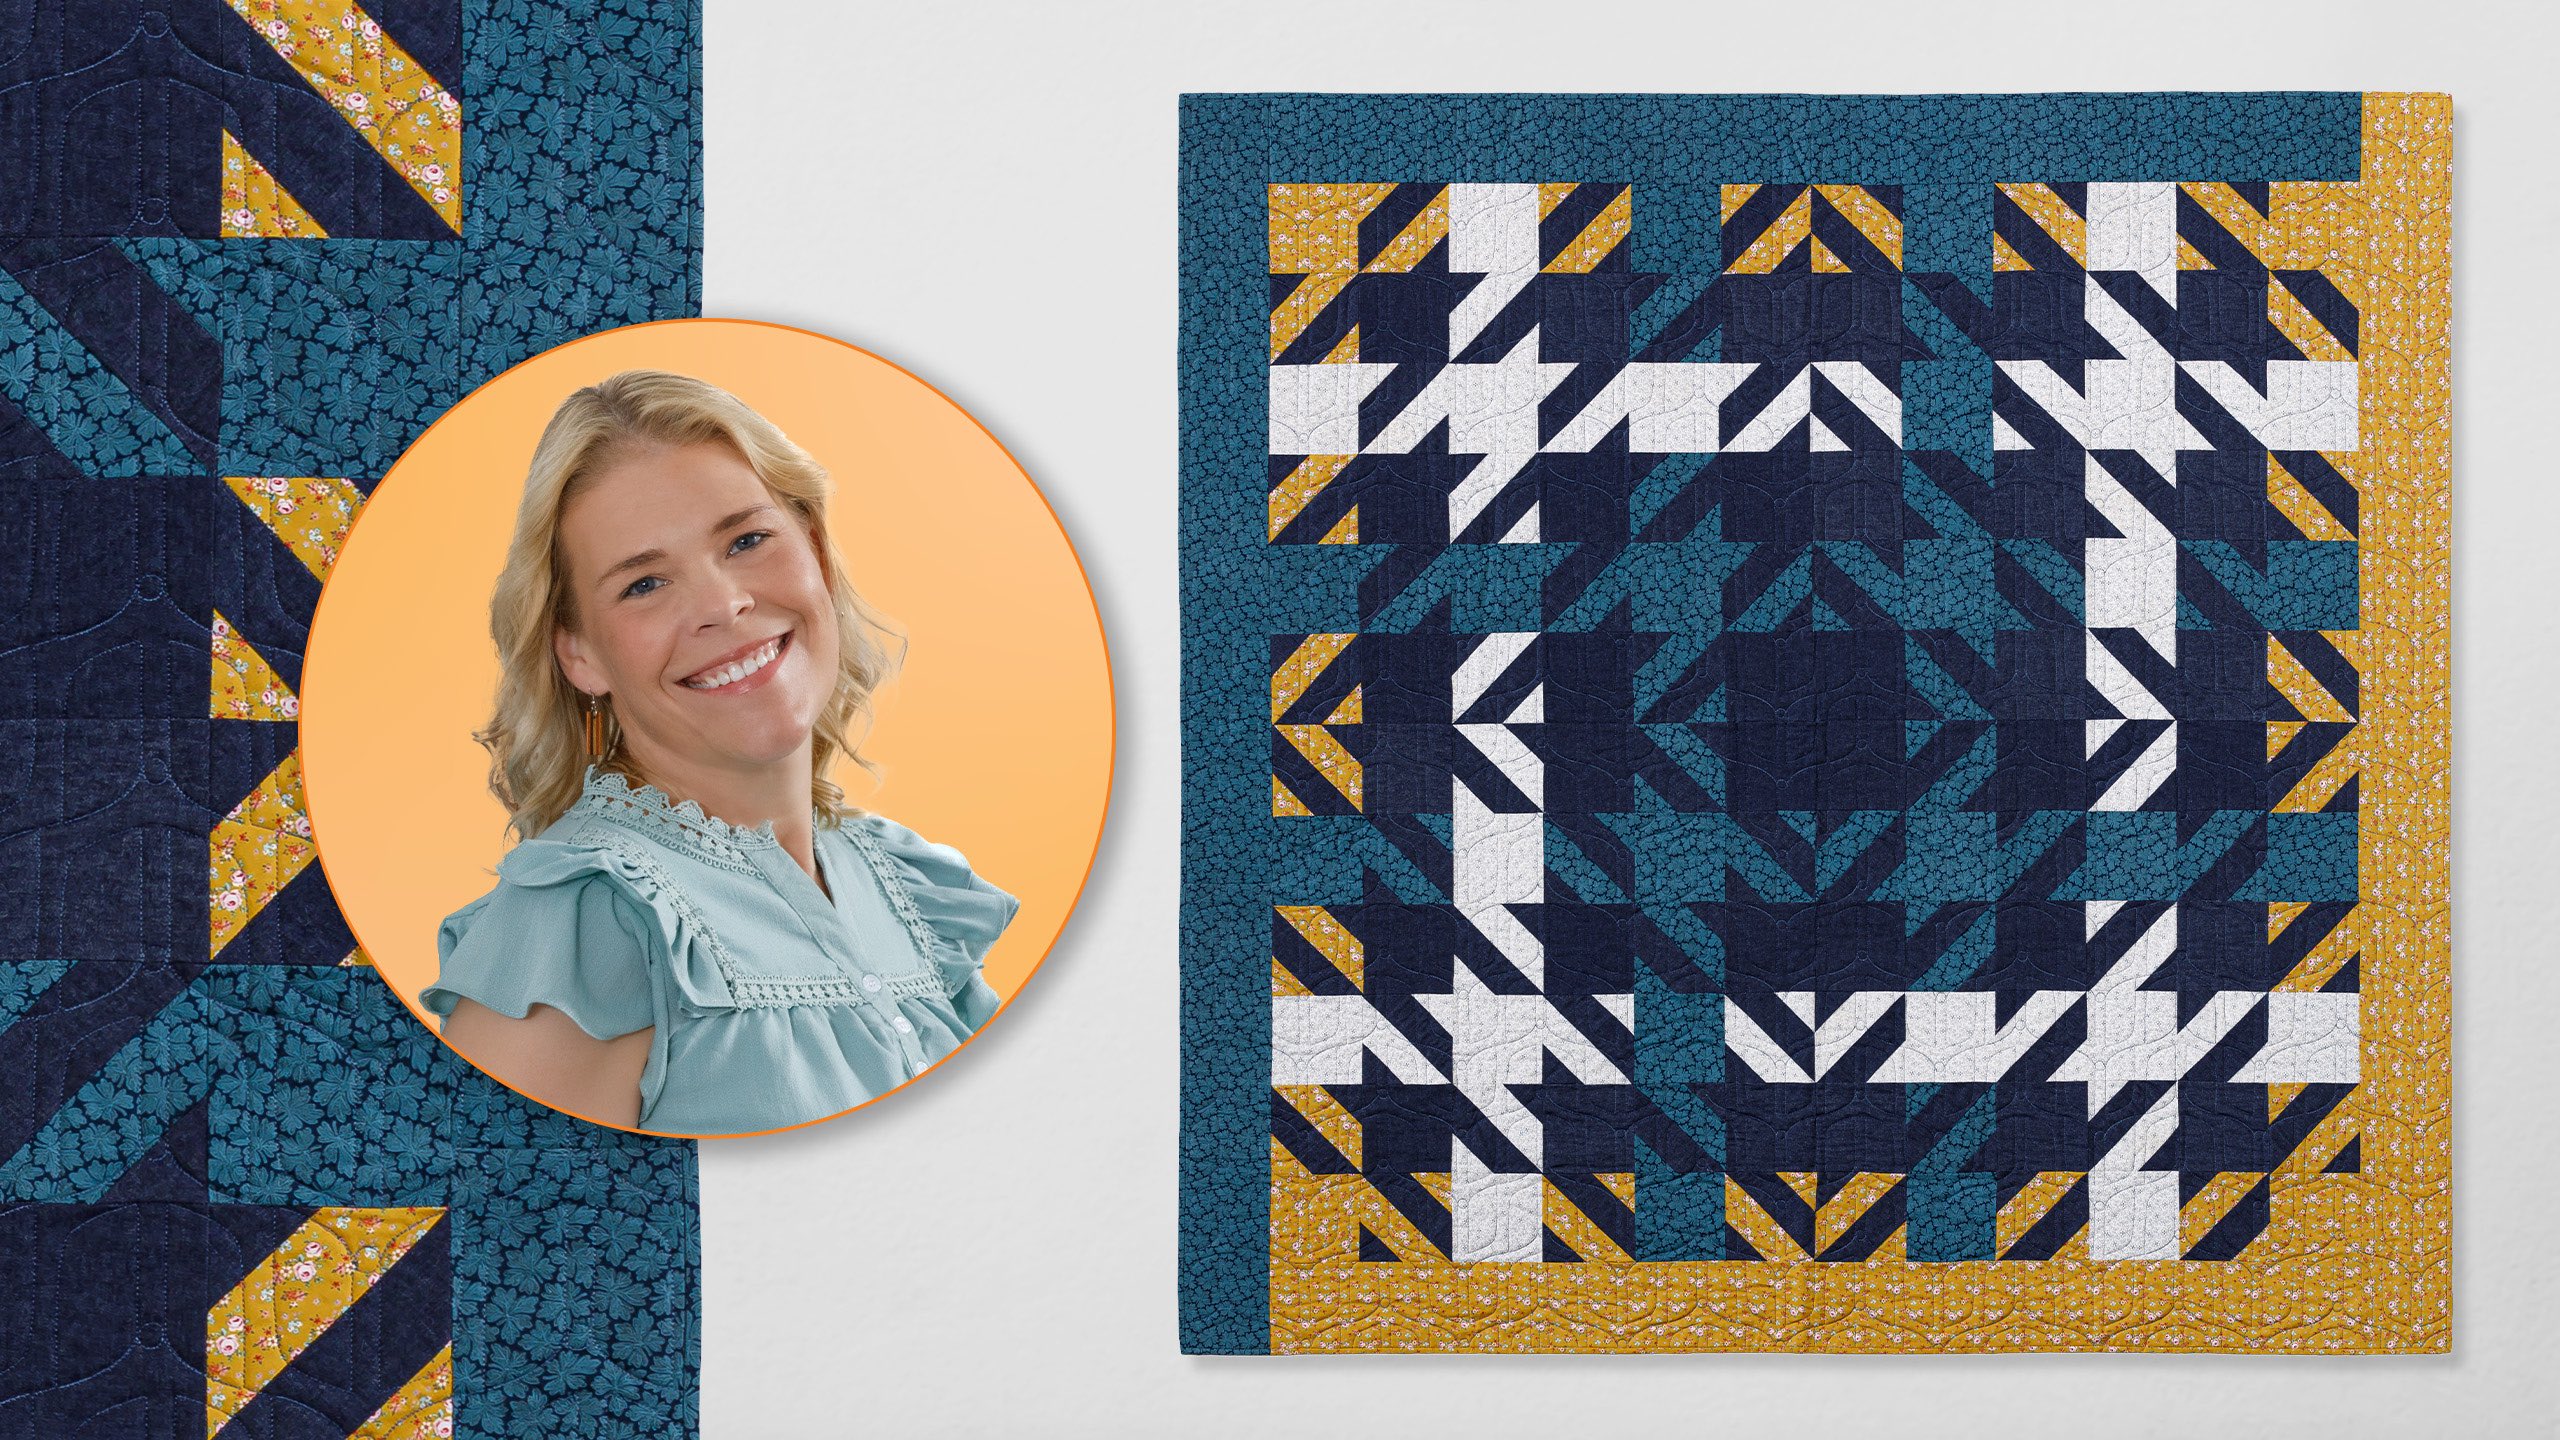
 Natalie Doan
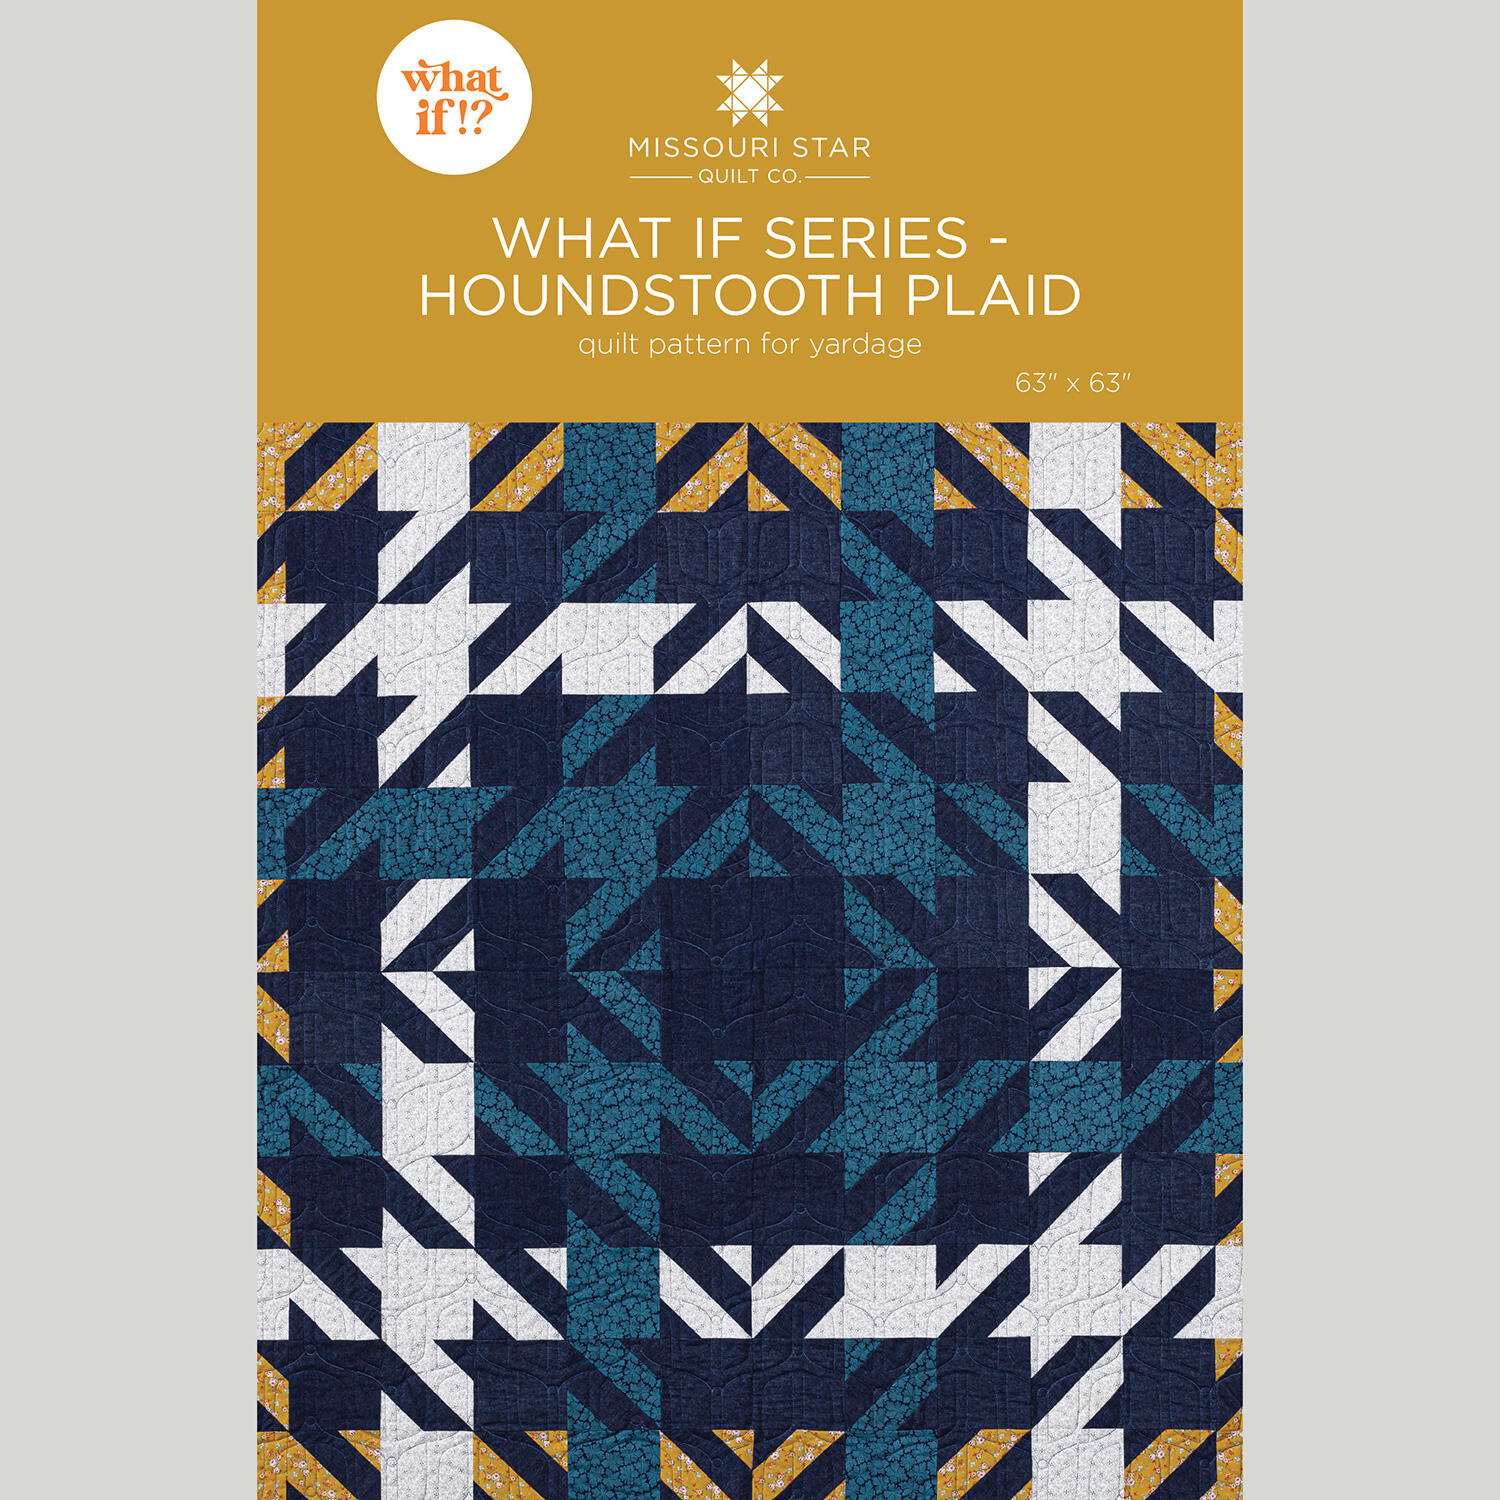 What If Series - Houndstooth Plaid Quilt Pattern by Missouri Star$8.50Shop →
 Digital Download - What If Series - Houndstooth Plaid Quilt Pattern by Missouri Star$6.95Shop →
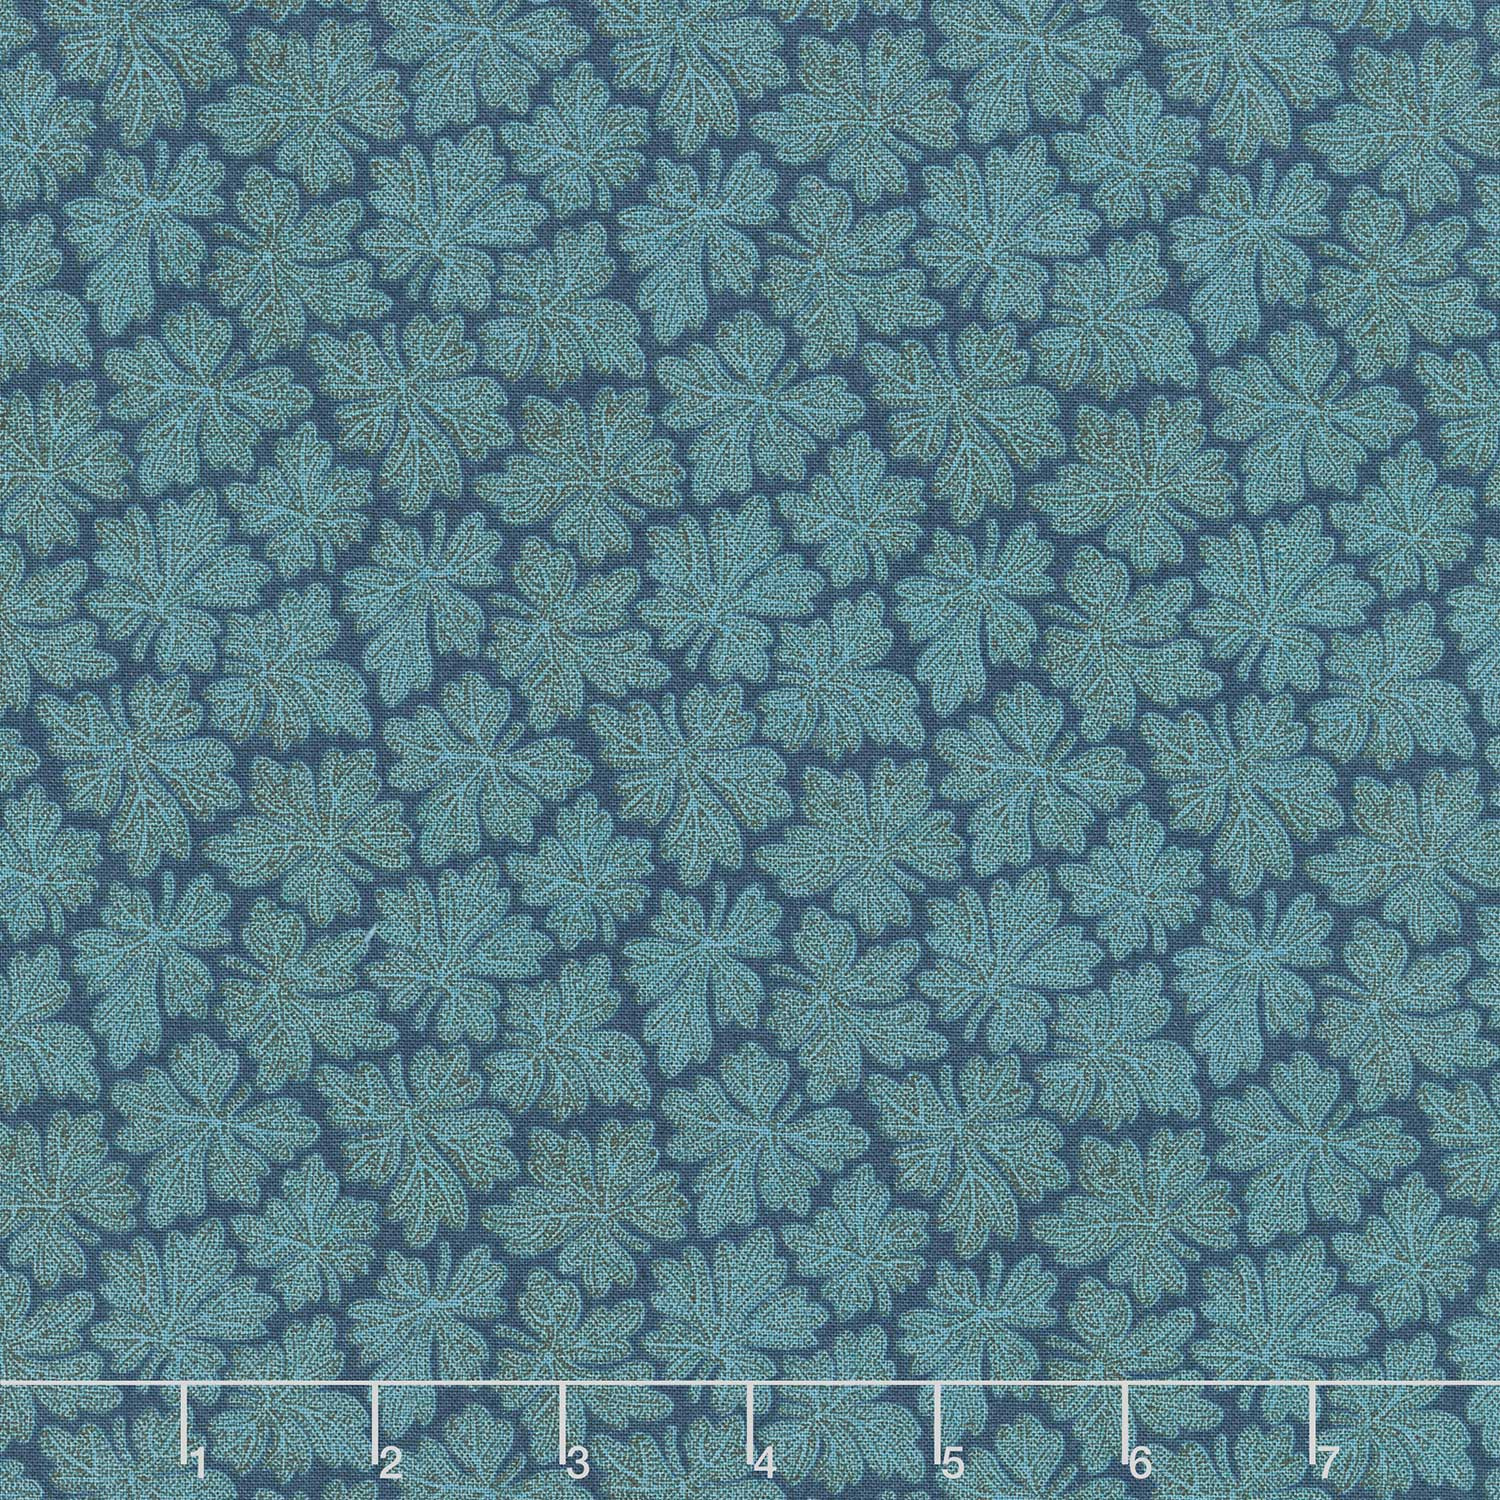 Beach House - Sea Moss Aegean Yardage$12.65Shop →
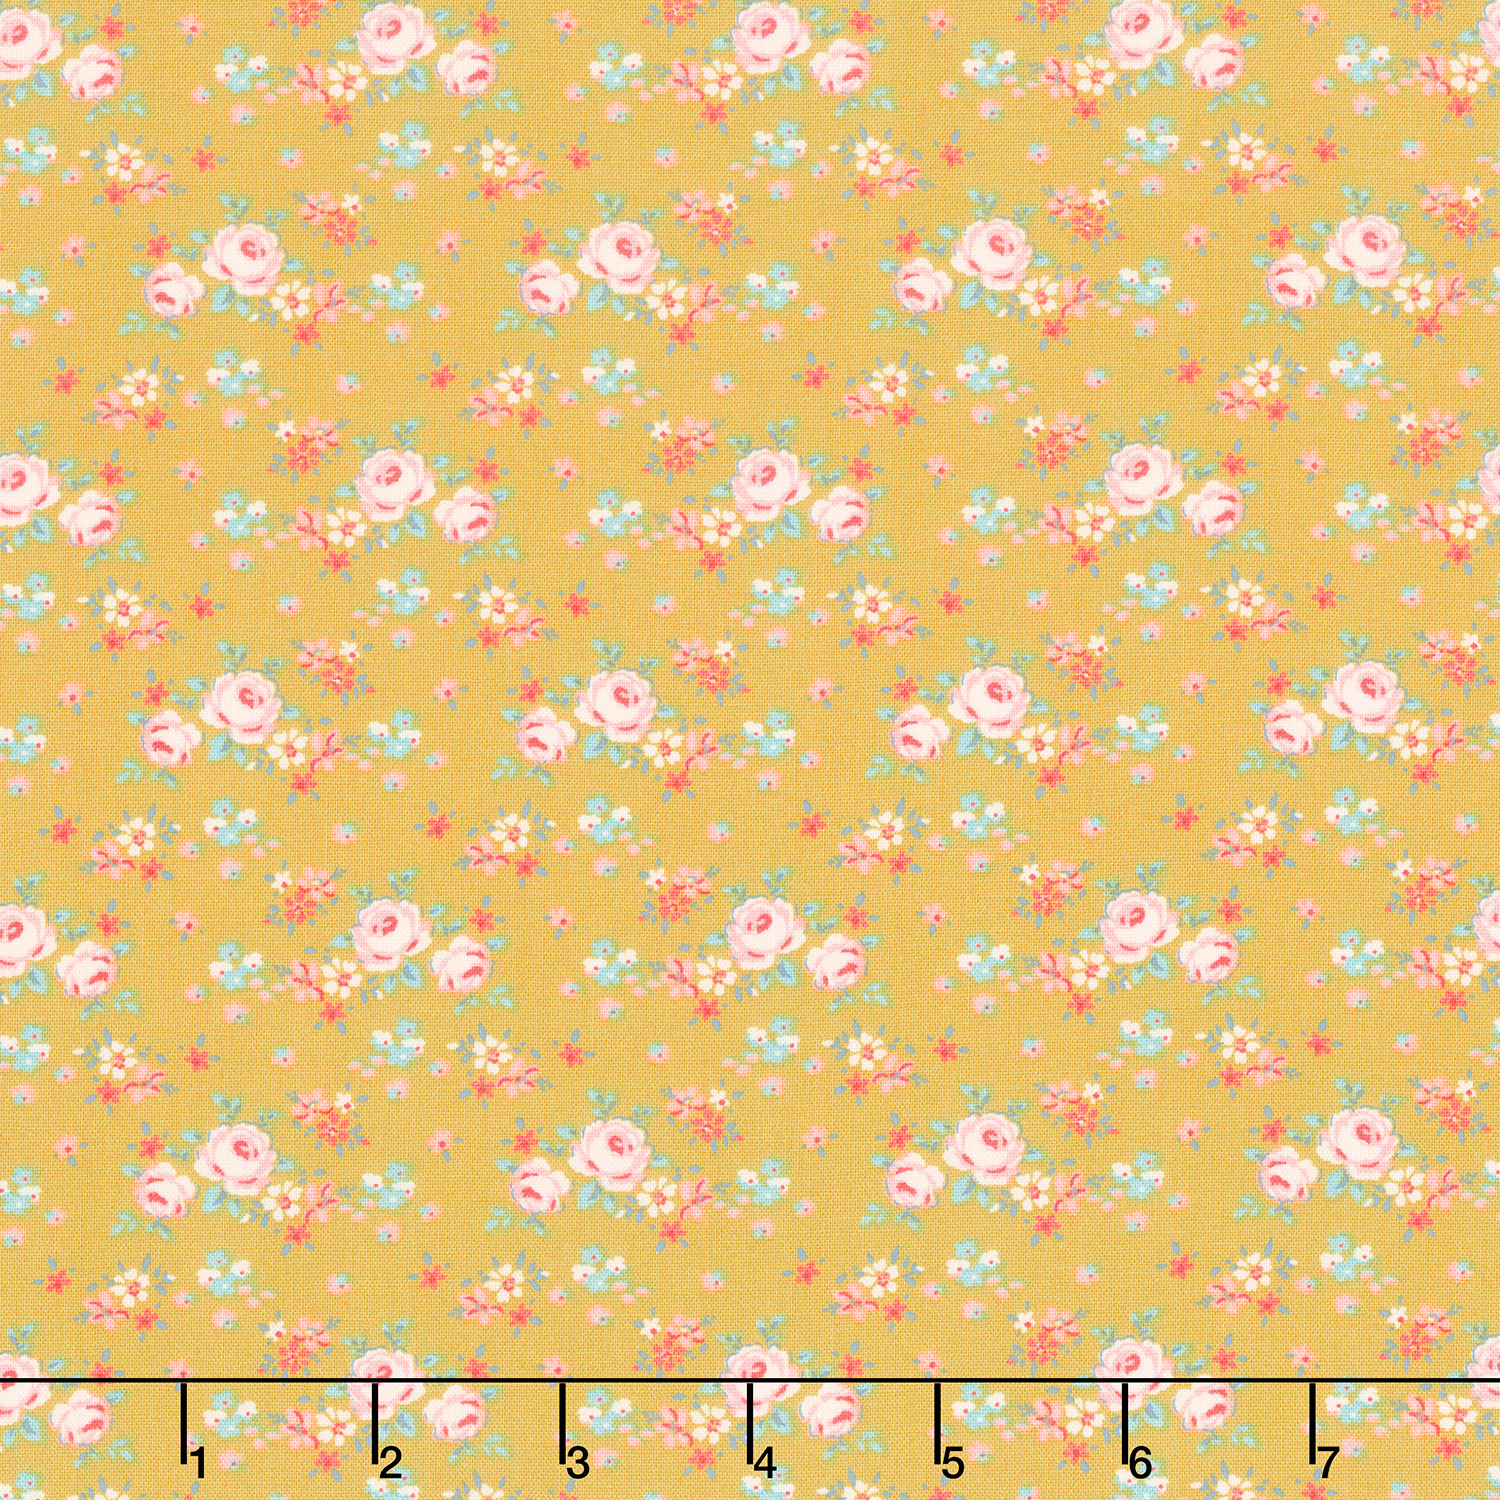 Creating Memories - Spring Gracie Yellow Yardage$14.96Shop →
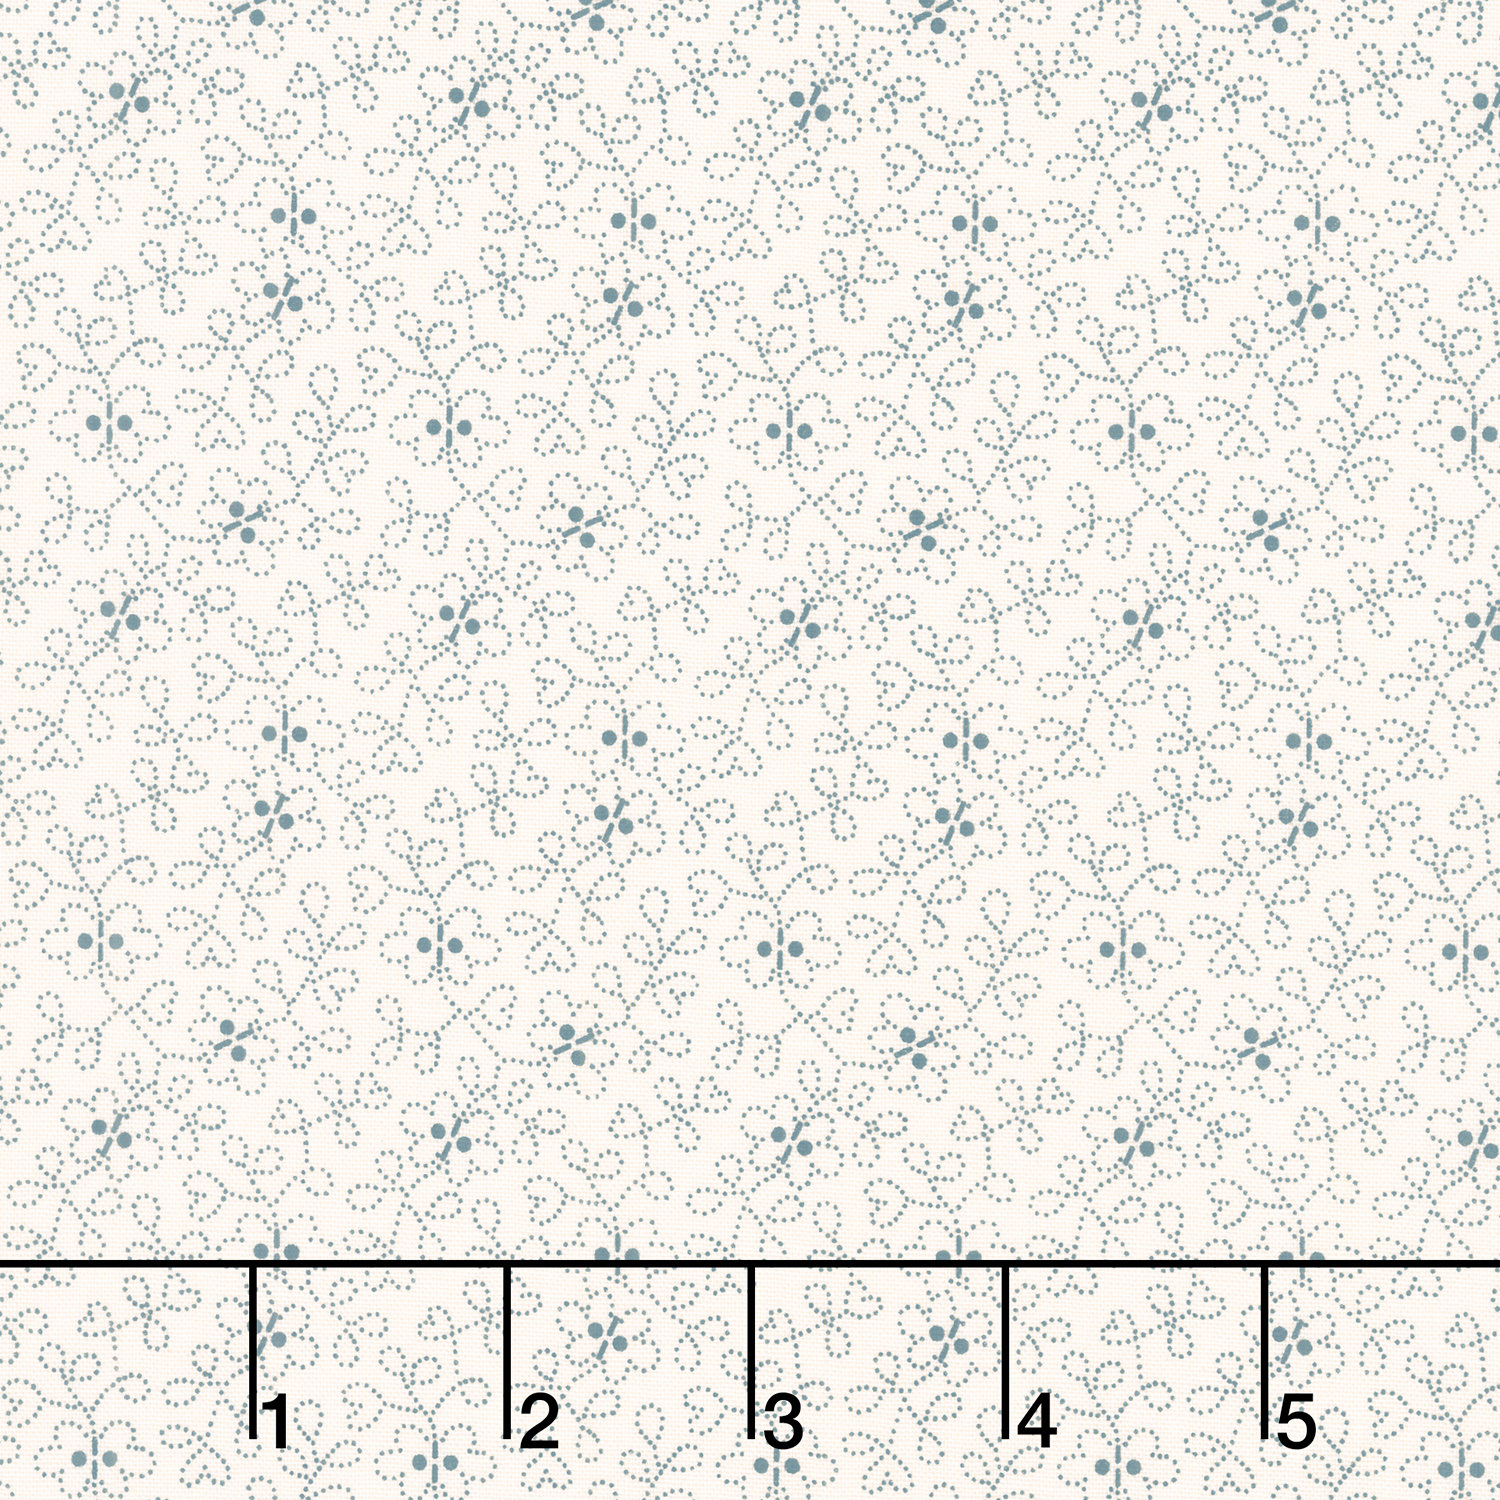 Sewing Basket - Azalea Sapphire Yardage$12.65Shop →
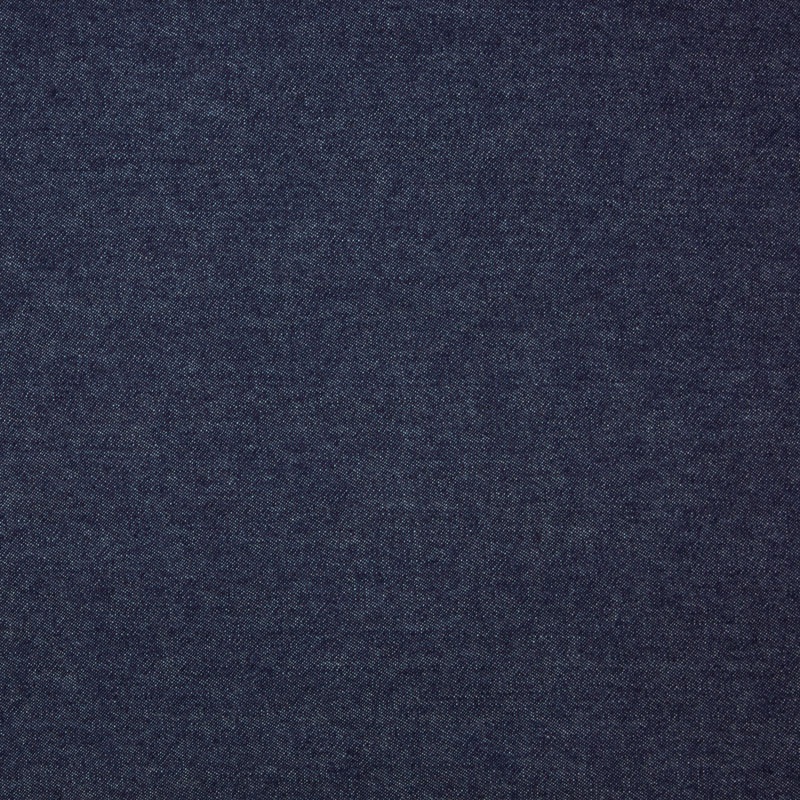 Indigo Denim - 56" Wide 6.5 oz Indigo Washed Yardage$12.44Shop →
 Missouri Star Quilter’s Best Blend Twin Batting$26.95Shop →
 Missouri Star 5" x 15" Ruler$19.95Shop →
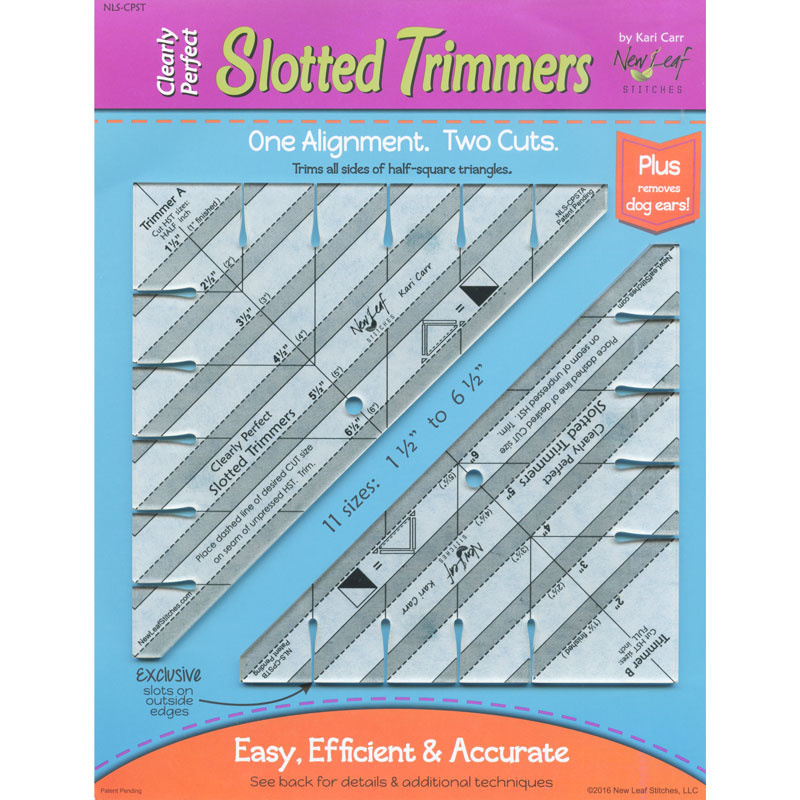 Clearly Perfect Slotted Trimmers$33.95Shop →
 Baby Lock Accomplish - 1500 SPM Straight Stitch Machine$1199.00Shop →
 Missouri Star 45mm Rotary Cutter - Olga$19.95Shop →
 Missouri Star Seam Ripper - Frida$9.95Shop →
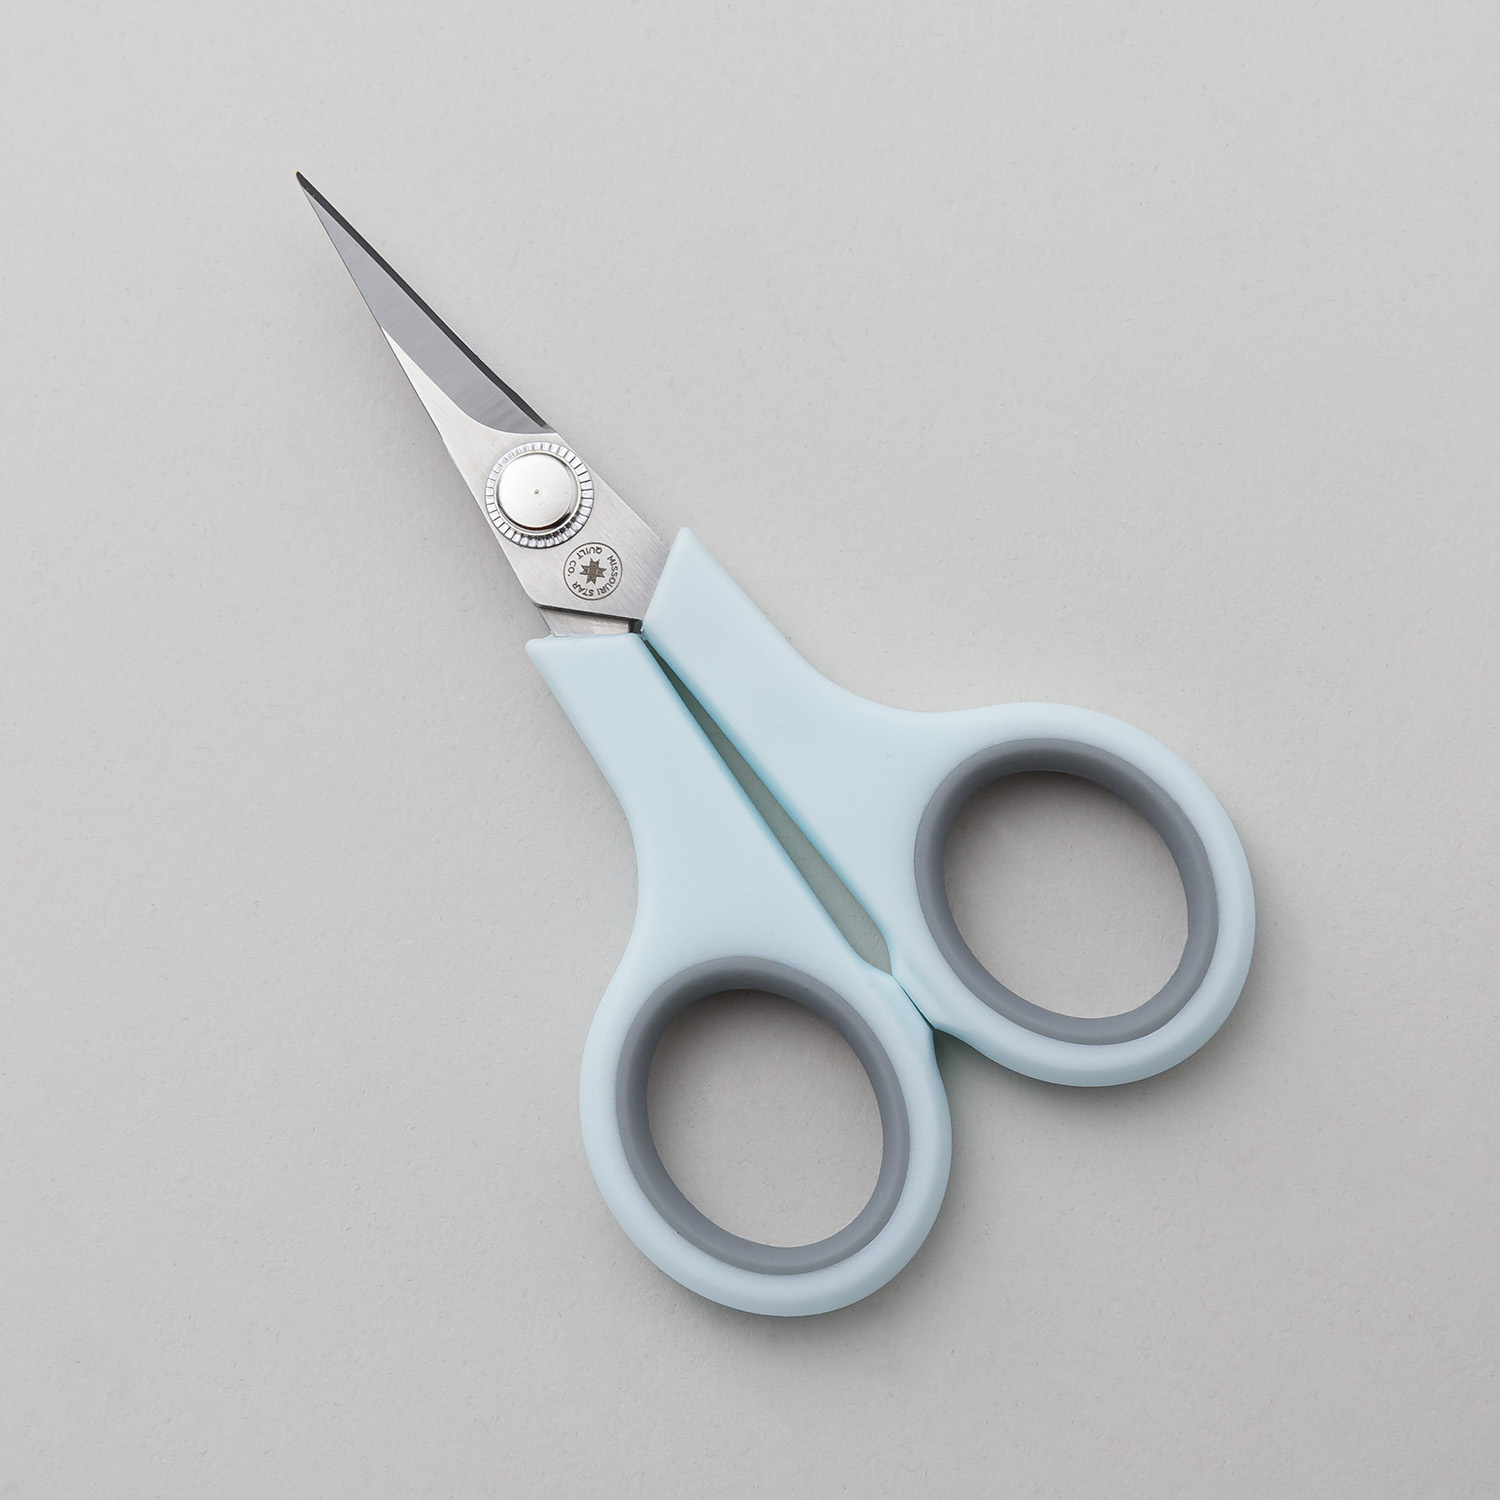 Missouri Star 4.5" Everyday Scissors - Elna$9.95Shop →
 Missouri Star 6" Everyday Scissors - Lulla$12.95Shop →
 Missouri Star 8" Everyday Scissors - Amelia$19.95Shop →
 Missouri Star + Oliso TG1600 ProPlus Iron$209.95Shop →
 Missouri Star Wooly Betty Board - 17.25" x 25.5" Orange Border$99.95Shop →


