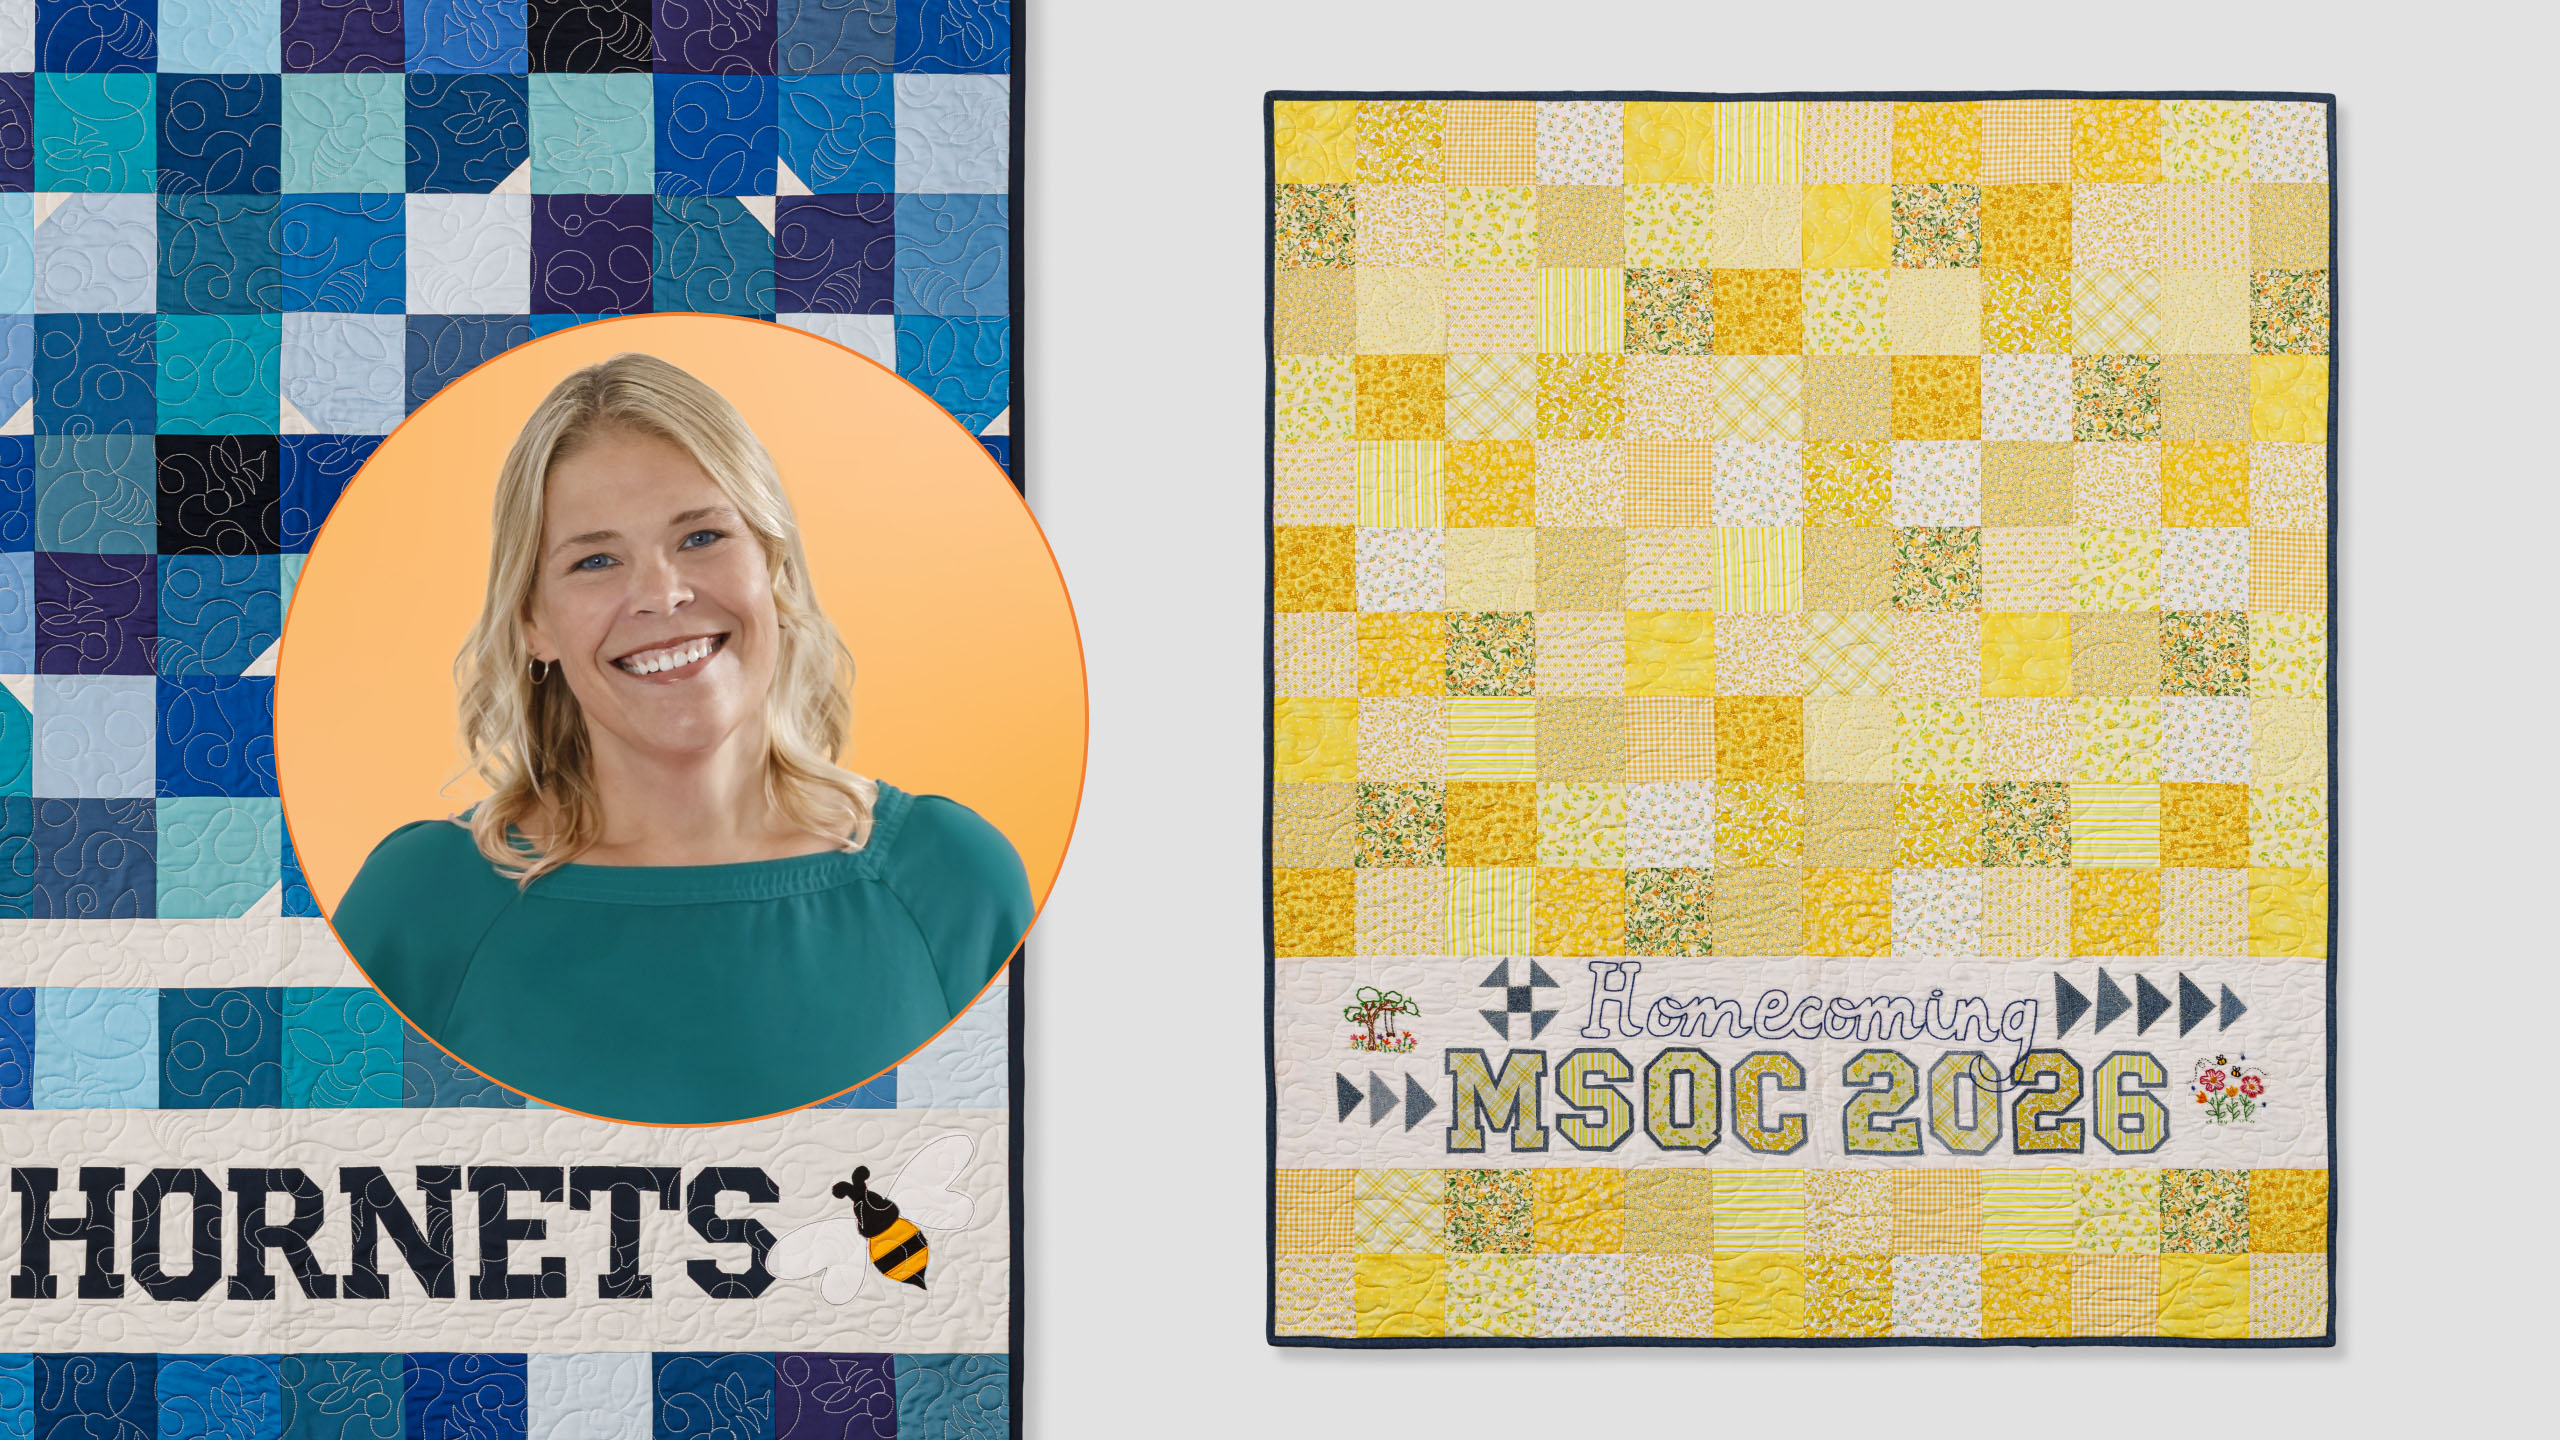
Follow along with Natalie as she shows you how to create the Little Stitches wall hanging with a fun twist. Actually, make that two fun twists! This Missouri Star classic is getting a fun refresh with a MSQC Homecoming flair. One wall hanging uses the Missouri Star Bee Templates to show off Quilt Town Hornet pride. The other wall hanging celebrates the theme of this year’s Birthday Bash, Homecoming!
Natalie is the host of Quilting 101, Embroidery 101 and the Creative Strategist and Editor of Block Magazine at Missouri Star Quilt Company. She was taught how to sew by her mom, of course, and began quilting when she grew up.
Follow along with Natalie as she shows you how to create the Little Stitches wall hanging with a fun twist. Actually, make that two fun twists! This Missouri Star classic is getting a fun refresh with a MSQC Homecoming flair. One wall hanging uses the Missouri Star Bee Templat...
How long is the tutorial video?
The tutorial video is 00:18:58.
Are supplies listed for this tutorial?
Yes. The tutorial page includes the supplies and materials connected to this project.
Video Transcript
Hi everybody. I'm Natalie with Missouri Star Quilt Company and it's What If Week. This week we're doing little stitches. It was a great wall hanging that we did years ago and I think you're going to love it. All right, so if you remember our original little stitches, it was a wall hanging. We used red and white fabric and we did a cute little nod to your sewing room with a a needle and thread and some scissors. Um, but we thought you could make that space a little bit larger. make the whole quilt bigger and then just have a lot of fun with it. It could go for um high school graduation, college graduation, anniversaries, birthdays, Christmas, whatever you wanted to do with it. So, we gave you a much bigger space to work in and then made the quilt a little bit bigger. And we also have a bonus quilt. So, you're going to get instructions and information for making both of them. And I think they turned out really fun. I hope that you like it. But let me tell you what you're going to need to make this quilt. All right. So, to make each quilt, you're going to need one package of 10-in print squares, and we've used the um Fabric Market Banana Color Story by Flower House for Robert Kaufman. Um the secondary quilt uses our color works solids tiles in uh blue harmony and mist by Northcot. You're going to need some accent fabric that's going to make up that big space for you to embellish. And that can be whatever color you want it to be. For the first quilt, you'll need 3/4s of a yard. If you're making the second quilt, because there's some extra sashing, you'll need about a yard and a quarter. Um, and then there's just all this other extra stuff. So, it depends what you decide you want to do, but you're going to need some heat and bond or some solite adhesive. You'll need a few extra scraps from your stash with whatever colors you want to put on any embellishments or applique. You could use some templates if you wanted to. You might want a light table for tracing. Any of the things that you would need to add your embellishments. Those are all going to be really helpful tools for you. So, all righty, let's go ahead and get started. [music] All right, so all of the piecing on this quilt is made using our 10in squares and turning them into scrappy four patches. It's super simple. So, you're going to grab two of the of your favorite prints. You're going to match them up and mix and match all throughout. We're going to put them right sides together and we are just going to stitch a quarter of an inch on both sides of this these little fabric squares. It's going to be cute. All right. So, just want to make sure then I try to keep this seam nice and straight. Quarter of an inch. Flip it around and do the other side. All righty. So now what we're going to do is we are going to cut these directly in half so that we have two 5 in rectangles. And then we're just going to turn them. And we are going to subcut them in half again. And you'll do this to all of your print squares. You don't need the entire package, just a few. And then we're going to go ahead and press them open and mix and match with our other prints to make scrappy four patches. They turn out so cute. So, I've got another one of these that I can match it up to. Got this one made here. And I would like to alternate those florals. So, I'm going to press this the other direction, which, you know, doesn't make any difference really, but it'll be easier for nesting. Reset that. And press it the other way. [snorts] Okay. So now we'll go ahead and line these up and I will stitch a quarter of an inch and we will have our scrappy for patch. That's basically the whole quilt. Make sure my seam nests up really nicely. Keep it lined up. Okay. All right. So, be sure and set that seam and then we will press it back. Got some threads on there. And there you go. You've got a cute little scrappy for patch. As you mix and match, no two are going to be the same. And then that makes up the bulk of the quilt. So we've got most of them on top and then one row along the bottom. So now let's talk about this big space for applique because this is where the fun starts. So on this quilt, we've got about 12 1/2 in here. And because our quilt is longer than our fabric is wide, we're going to cut two 12 and 1/2 in strips and then seam them. So we have a seam right here in the middle. And then you can center your design on that seam. And I would suggest cutting cutting larger because if you add applique or um embroidery, if you use any of those uh peel and stitch designs where you're going to have to wet it, sometimes your fabric will have a little bit of shrinkage. So, I would suggest maybe cutting it to 13 and 12. Give yourself at least an extra inch or two if you want. And then after your whole embellishment is done and you've made your quilt top and bottom, then you can kind of line up that center seam and trim off the edges. If you're worried that your embellishment might go a little too far, then I would go ahead and measure it so that it's just a little bit bigger than what the pattern suggests. I believe it's around 54 in or so. Um, so maybe cut that at 55 or 56 so that you have the the space you need without um, you know, too much room or then having room that you can square it up after you've put all of your embellishments on it. So, let's talk through some of those embellishments because we came up with this super cute like collegiate lettering style. And you can get those either as a myar template set or you can download and print them yourself on your printer. If you do that, make sure that your 1-in test square matches up with the inch on your ruler. And then also if you're doing letters, you want to make sure that they're mirrored so that when you trace them and put them on the heat and bond or the iron solon so light. Oh gosh, [laughter] you know what I'm talking about. The soite adhesive, anything like that. You want them reversed so that when you flip them over, they read correctly in the right direction. Okay. So, I'm going to go ahead and cut one out. We're going to use our light board and our heat and bond. This makes it super easy. Although, I know that if you don't have a lightboard, you could use a window or you could use a computer screen. Anything that's back lit, you could definitely just put your paper on it and trace around it. It works great for so many different things. So, I'm just going to pull out a little bit, the amount that I need. And I think I'll go with the bee today. So, I'm going to trace this. There we go. That's nice and bright. You can use any kind of pen because it you're going to cut right through it. And it's going to peel off on the paper. It doesn't have to be super exact. And I'm going to show you a cool trick with the rotary cutter so that this comes out even easier than cutting it with scissors. Although you will still have to use your scissors. You could use an X-acto knife, I guess, if that is something that you wanted to do, especially for these inside curves. That would be much easier. Okay. All right. So, now I've got my tracing done. I'm going to go ahead and pick a fabric that I want to use. Um, like I said before, you're not going to use all of the fabrics in your pile. You'll have several left over. So, I'm just going to pick a few that I like, or you could definitely use your, you know, accent fabrics, whatever you've got in your stash. I'm going to line that up, trying to conserve space, and take it over to my iron. And then you just press it right on there and hold it. You don't usually have to press for very long, but um if your fabric is thick, you might want to hold it a little longer. All right, so now we're going to use our rotary cutter, and we're going to line it up. I like to line it up on the lines, and then just cut as many of these lines as I can with my rotary cutter because that way I first of all, I don't have to put as much stress on my hands and I make sure that everything stays really nice and straight. So, that is what I'm going to do. I like things to be pretty precise. And I know my tracing skills aren't the best. So, I'm going to try and line that up. Keep that line nice and straight and square. Love all these good straight lines. All right, we're going to do our angles. going to do this angle over here. And then some of these I'm going to go ahead and just put some some cuts in them so that when my scissors hit that it has somewhere to go that's already straight. But I'm not cutting through like the whole fabric. I'm just giving myself a guide so that when my when my scissors reach it, it's got something already in place. Same with this side here just to keep it kind of straight. So, it's very small little cuts. Then I'm going to grab my scissors and finish up this process. ends up being little snips here and there. There we go. One more little hole in the bee. No big deal. Okay. And then we've just got this little little V right here. Oh. Got to cut through it. There we go. All right. So, now we've got our little bee. Um, and I want to show you how I did the shadow because these ones have they have that extra shadow. So, it kind of looks like one of those patches that you would put on a Letterman's jacket or something like that. So, what I'm going to do is add a little heat and bond. I used denim or a chamber uh just cuz I thought it was really cool. I liked it. No big no big thing either way. So, I'm then going to cut it out around this B. So, I want to make sure that my my um my fabric is a little bit bigger than my letter. And then I'm going to add my heat and bond to that piece. I want to make sure it's smaller. These letters are less than 5 in. So, I don't need that much. A lot of this is really just like it's just being creative and uh figuring out how you want to do it. All right, so this already has its stuff on it on the back. And then I'm going to go ahead and take this piece off and iron my letter to my new background. Oh, come on. I do like to use a pen to score the back sometimes if I can't get it to come off very easily or the point of my scissors. And then you can just peel back from that little scoring spot. Okay. Come on. There we go. Okay. So, now I'm going to put that on here and line it up. So it doesn't it doesn't have to be exactly aligned because we're then going to just cut it out anyways. [snorts] Take it over and press that. And all I did was measure a quarter of an inch away and cut out around that. So that now I have a double layered patch looking letter. And I think they just turned out so cute. I love them. So this time I am using my rotary cutter, I mean my ruler to put a measurement on it. [snorts] All right. So we're just going to continue going around the outside edge, measuring and giving ourselves a little quarter of an inch seam allowance or um space that makes that patch just look really good. So lining that up there. [snorts] And then I'm going to do the same thing and just give myself a little cut so that I have um and this one needs to just stay right in the middle because you don't want to cut through. And then on these inside circle or like the holes, you could absolutely cut them out if you want to or you can leave them whole and just have that patch take up the whole back space. So on this part, I kind of really just eyeballed it. I used my my other quarter of an inch space visually and it really helps a lot to um to have that because then you're not eyeballing the whole thing, but certain areas it's just not going to it won't show up if it's a little bit off, you know, but the rest of it is exact. So, it works for me and I think it just it's so cute. I love them. They're so fun. Matt, you know, matted, I guess, is is or whatever. It's got that shadow effect. So, that is super fun. Um, and you can do the same thing with your your applique, your template shapes. Uh, I added some little embellishments. I basically just cut out little triangles and then used those shapes and squares to make this little shoefly block, the little flying geese. I added some embroidery that was from our um like our garden friends kit. I think there's all kinds of other kits that would be so fun. I was thinking like as I make these quilts, of course, the creativity just kind of like you get in this zen state and it it takes over. It would be so cute to do like a whole field of Ingred's wild flowers or a whole scene of like all of our Christmas designs. I mean, really, you could do anything. You could do your family tree. You could do, you know, signatures from a wedding. You could do words of congratulations for someone that's retiring or um encouragement for someone that's really going through something. I mean, there's just so much opportunity here to write in or embellish in whatever way you want to. I think it's it's just fun, you know? It's one of those things that you can really make your own and be very creative with. All right, so let's talk about our second quilt here because we have a completely different like design and layout, but it's also like so similar and so cute. So, I'm just going to pin this up so we can talk about it. So, you'll notice that in our four patches, we have these cute little um snowalled corners. And it looks like they're all very random, and they kind of are, but what we're going to do is take our our little four patch, and I've got one made, and we're going to cut out some little 2in squares, and you're just going to choose one corner to snowball. So, all of your all of your four patches just get this one little snowball. I'm going to go ahead and stitch corner to corner. It's a again, it's a twoinch square. And you'll do that to all of your four patches. There we go. [snorts] You'll trim that off, which you can do with your rotary cutter or with scissors. Either way, set that seam and press it back. And then these just alternate. So you'll notice we've got one facing up and then one facing down and one facing up the other way and one facing down this way. You really can just mix and match how you want those to face. But this is the entirety of the block in this quilt. It's no more difficult than the first one. You just snowball one corner and that's it. It's super fun. All righty. The other differences that you'll see here, this is narrower. So, we've got about a 9 and 1/2 or 10 in space here. We've got some sashing strips or um inner borders. I I'm not exactly whatever you want to call them. So, it's it ends up being about 2 in bigger by length, but other than that, they're the same width. They're both 54 in. Our original is 54 x 66. This one is 54x 68. Check out the uh I'm sure you saw it, but this backing is literally so cute. It's one of our MSQC designs, and we machine quilted the first quilt with our Chuck the Duck pattern. And then this second quilt has this beautiful back on it. These are both both quilts backings come from our 108 collections. We added this adorable little hornet tag because you couldn't hardly help yourself. It's so cute. And this one is um it's machine quilted with buzzing around. So that is pretty much all I've got on these quilts. I think they're super fun. They're quick and easy to put together. And then the creative possibilities are just endless. So I hope you enjoyed this tutorial on the What If Little Stitches Quilt from the Missouri Star Quilt Company. Have a great day.

 Natalie Doan
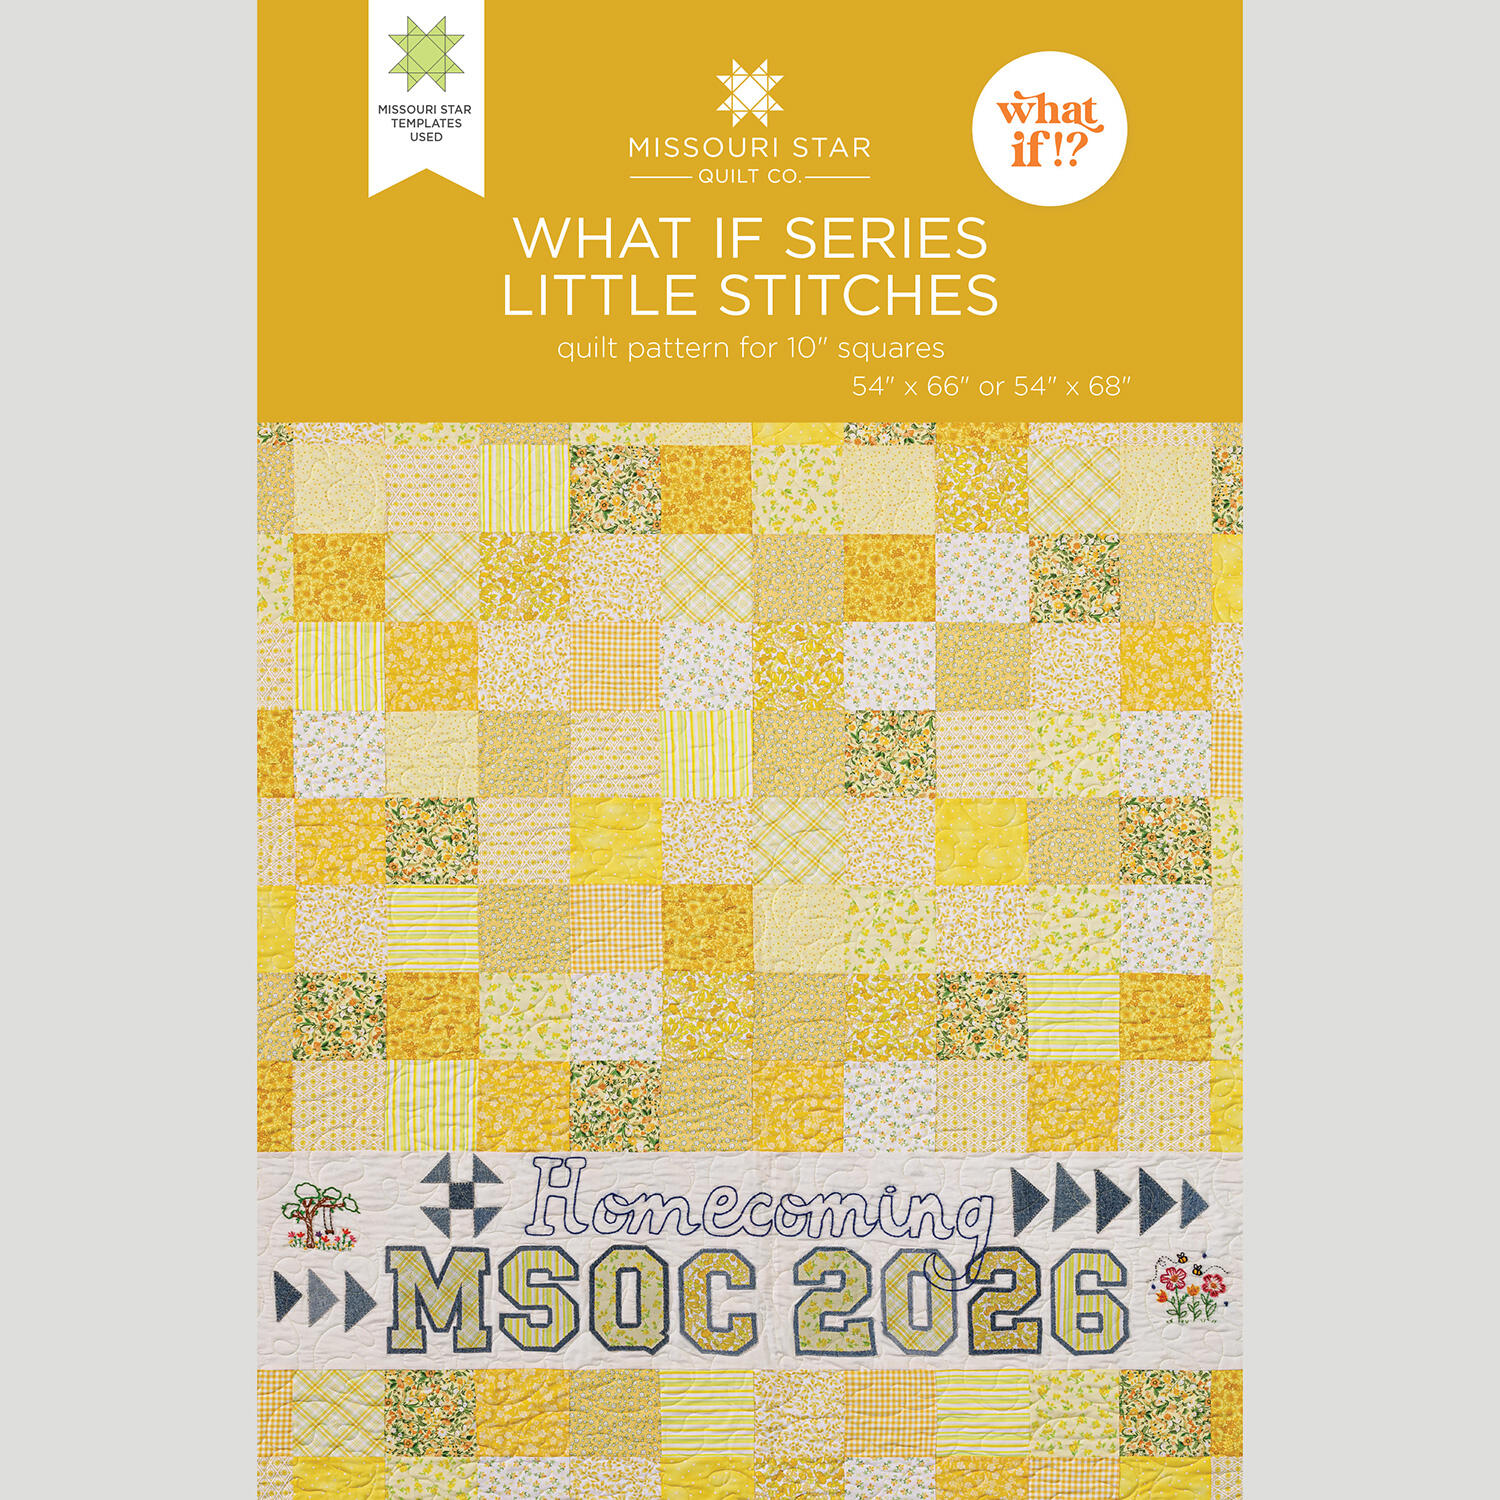 What If Series - Little Stitches Quilt Pattern by Missouri Star$8.50Shop →
 Digital Download - What If Series - Little Stitches Quilt Pattern by Missouri Star$6.95Shop →
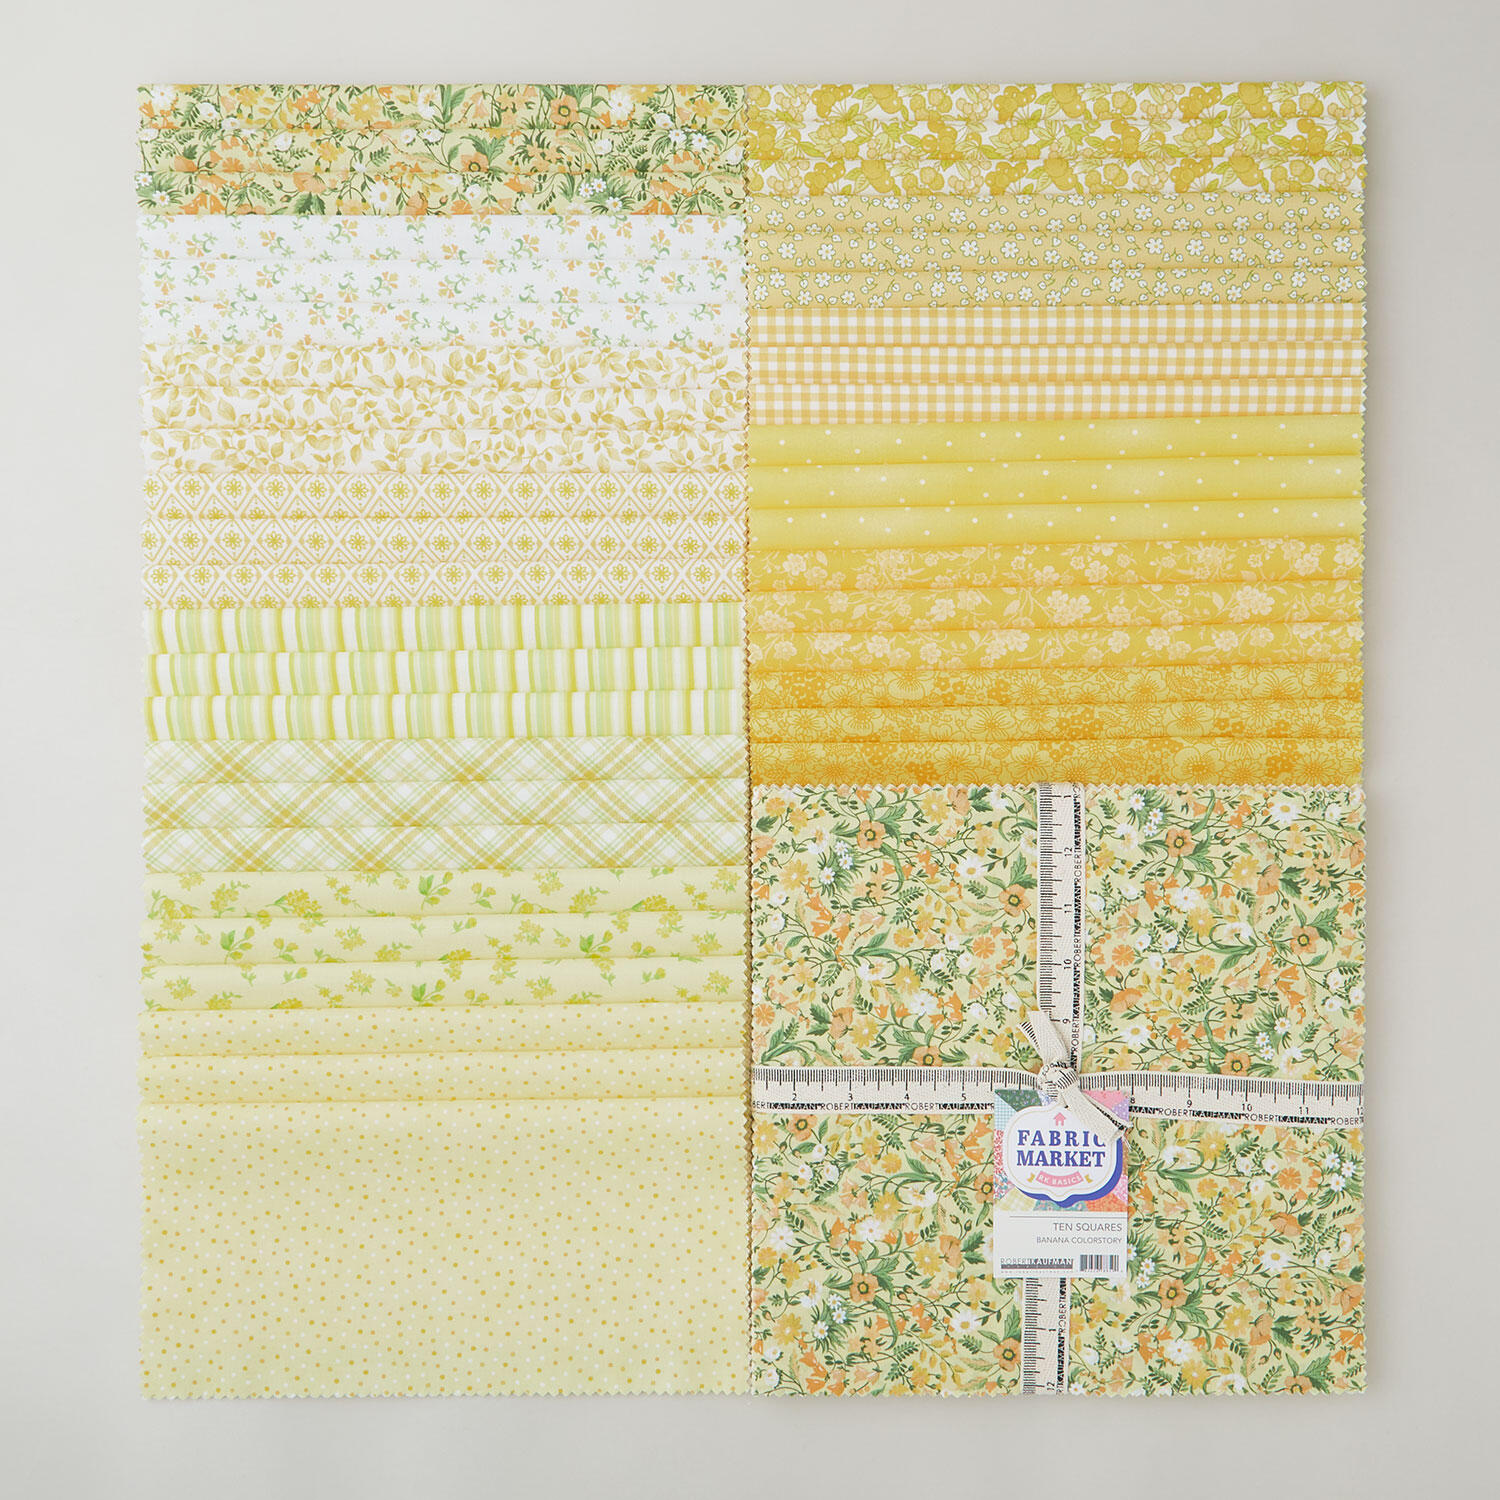 Fabric Market - Banana Ten Squares$45.50Shop →
 Indigo Chambray - 4.5 oz Light Indigo Washed Yardage$13.44Shop →
 Colorworks Premium Solids - Mist Yardage$8.96Shop →
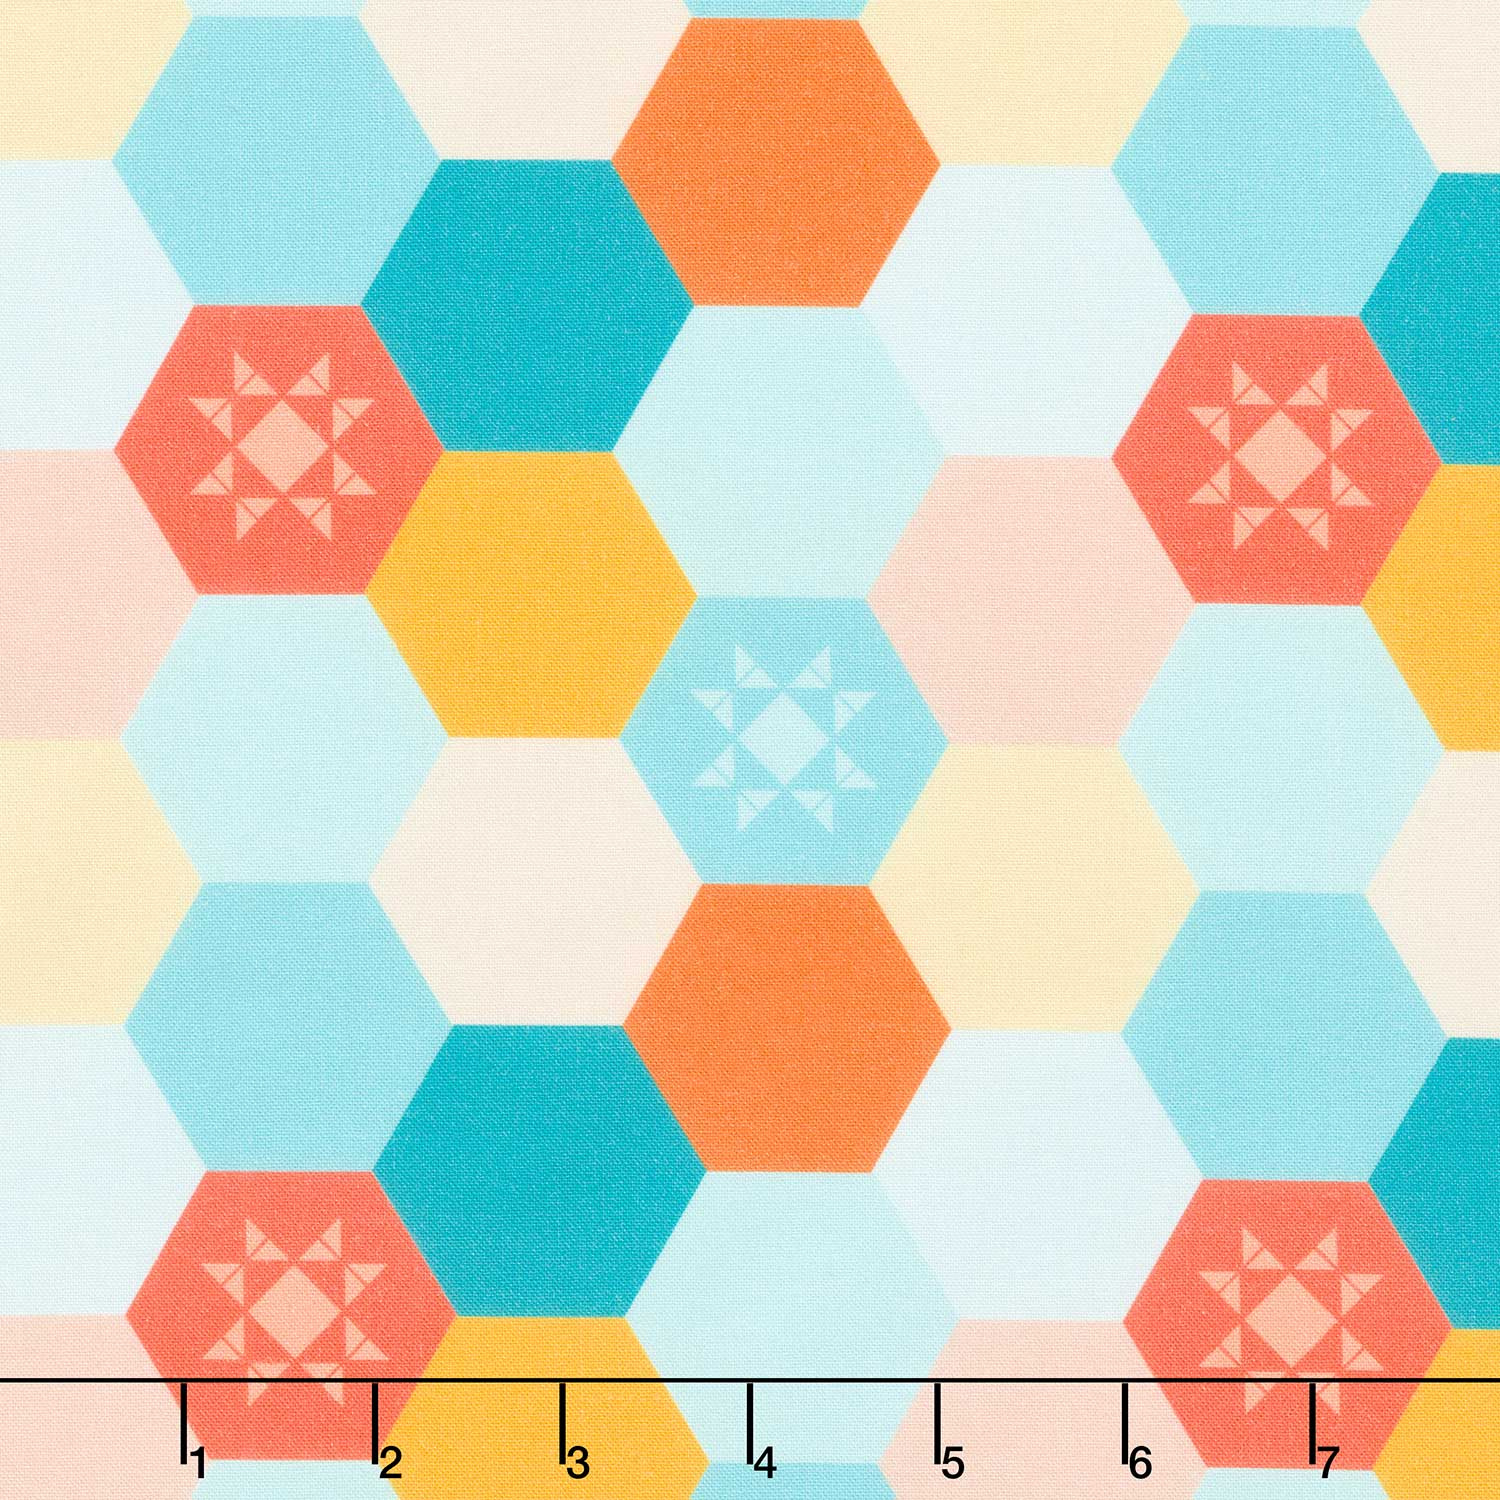 Welcome To Quilt Town - Hexagon Multi Yardage$11.96Shop →
 Missouri Star Sew Light Fusible Adhesive - 17" x 2 yards$4.95Shop →
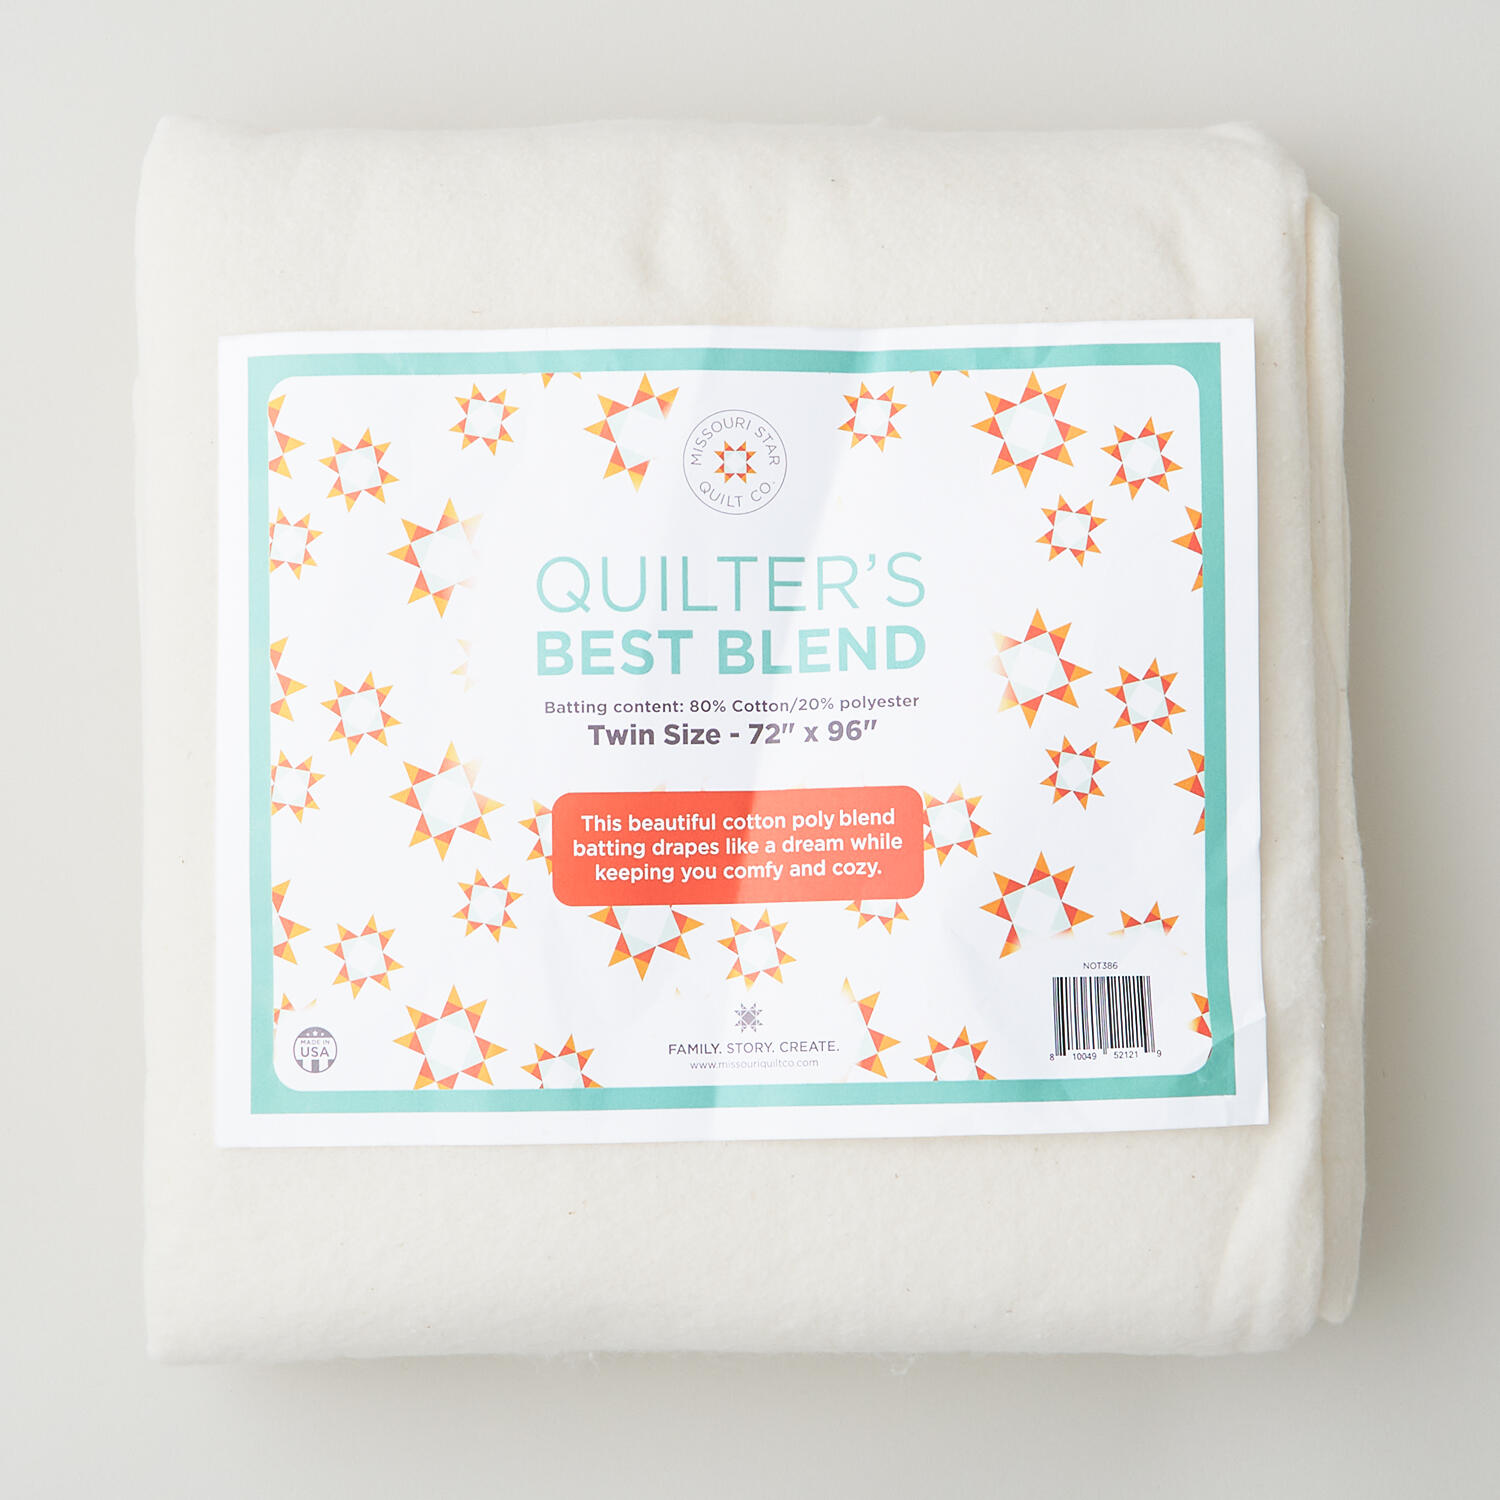 Missouri Star Quilter’s Best Blend Twin Batting$26.95Shop →
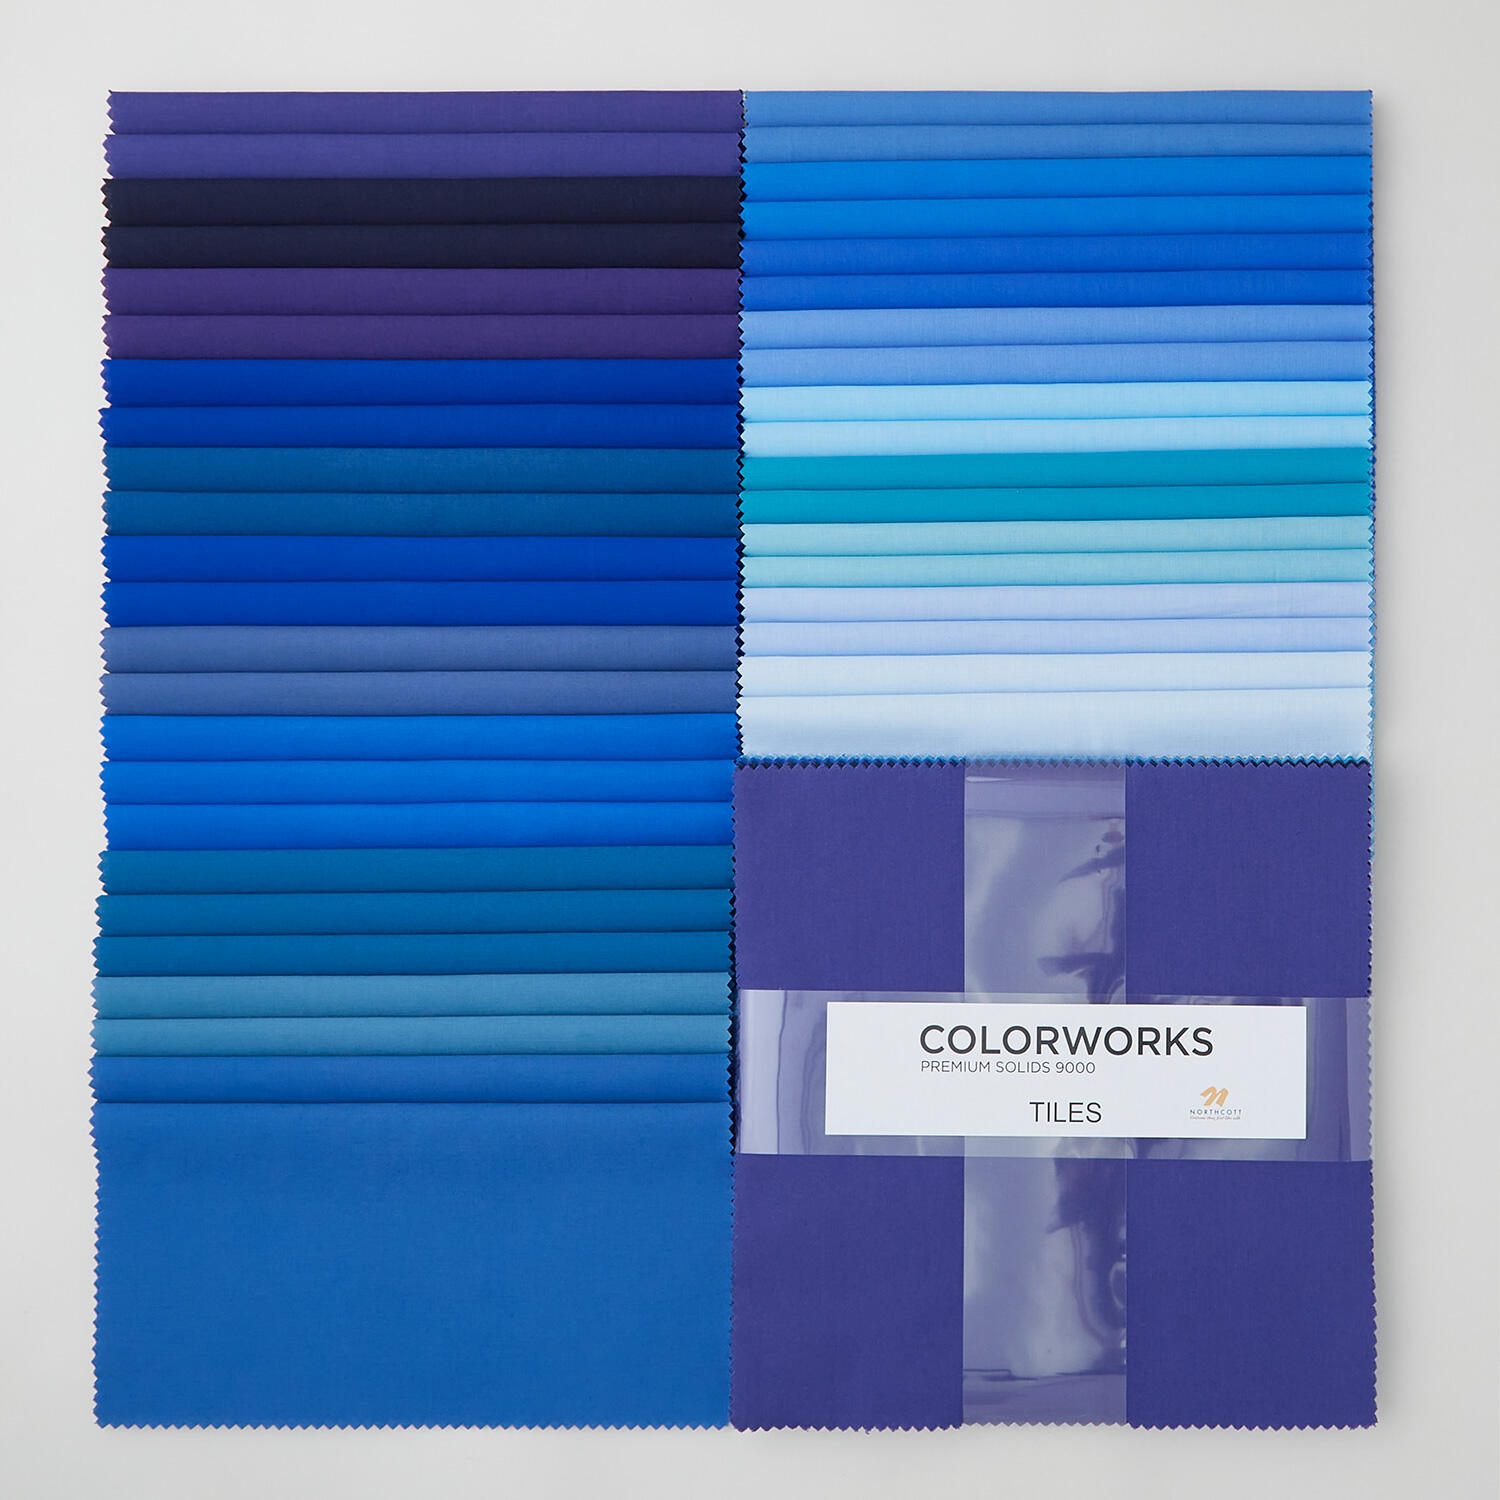 Colorworks Premium Solids Blue Harmony Tiles$37.10Shop →
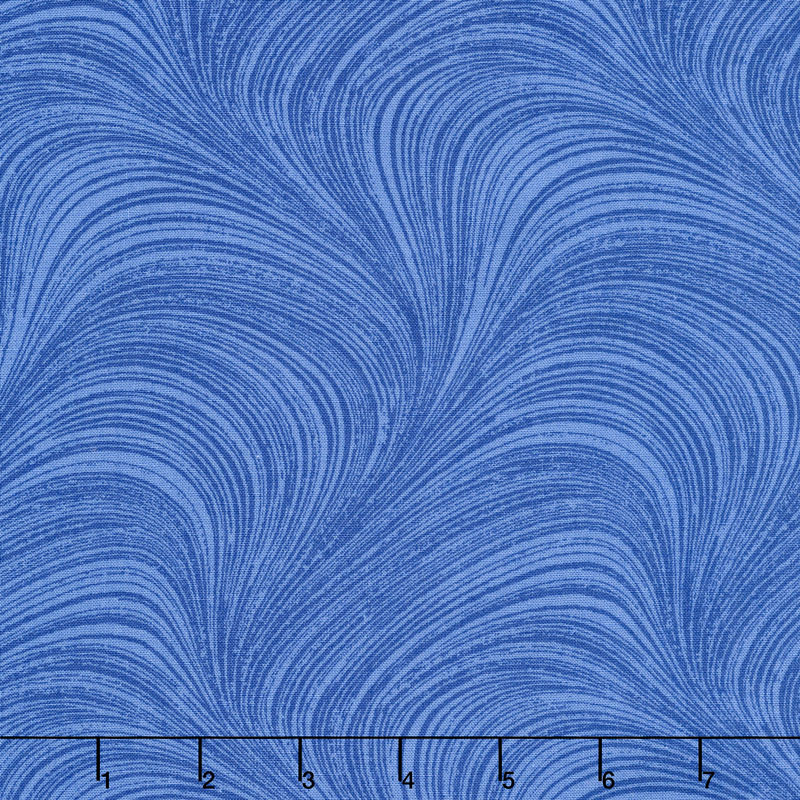 Wave Texture - Wave Texture Medium Blue 108" Wide Backing$18.72Shop →
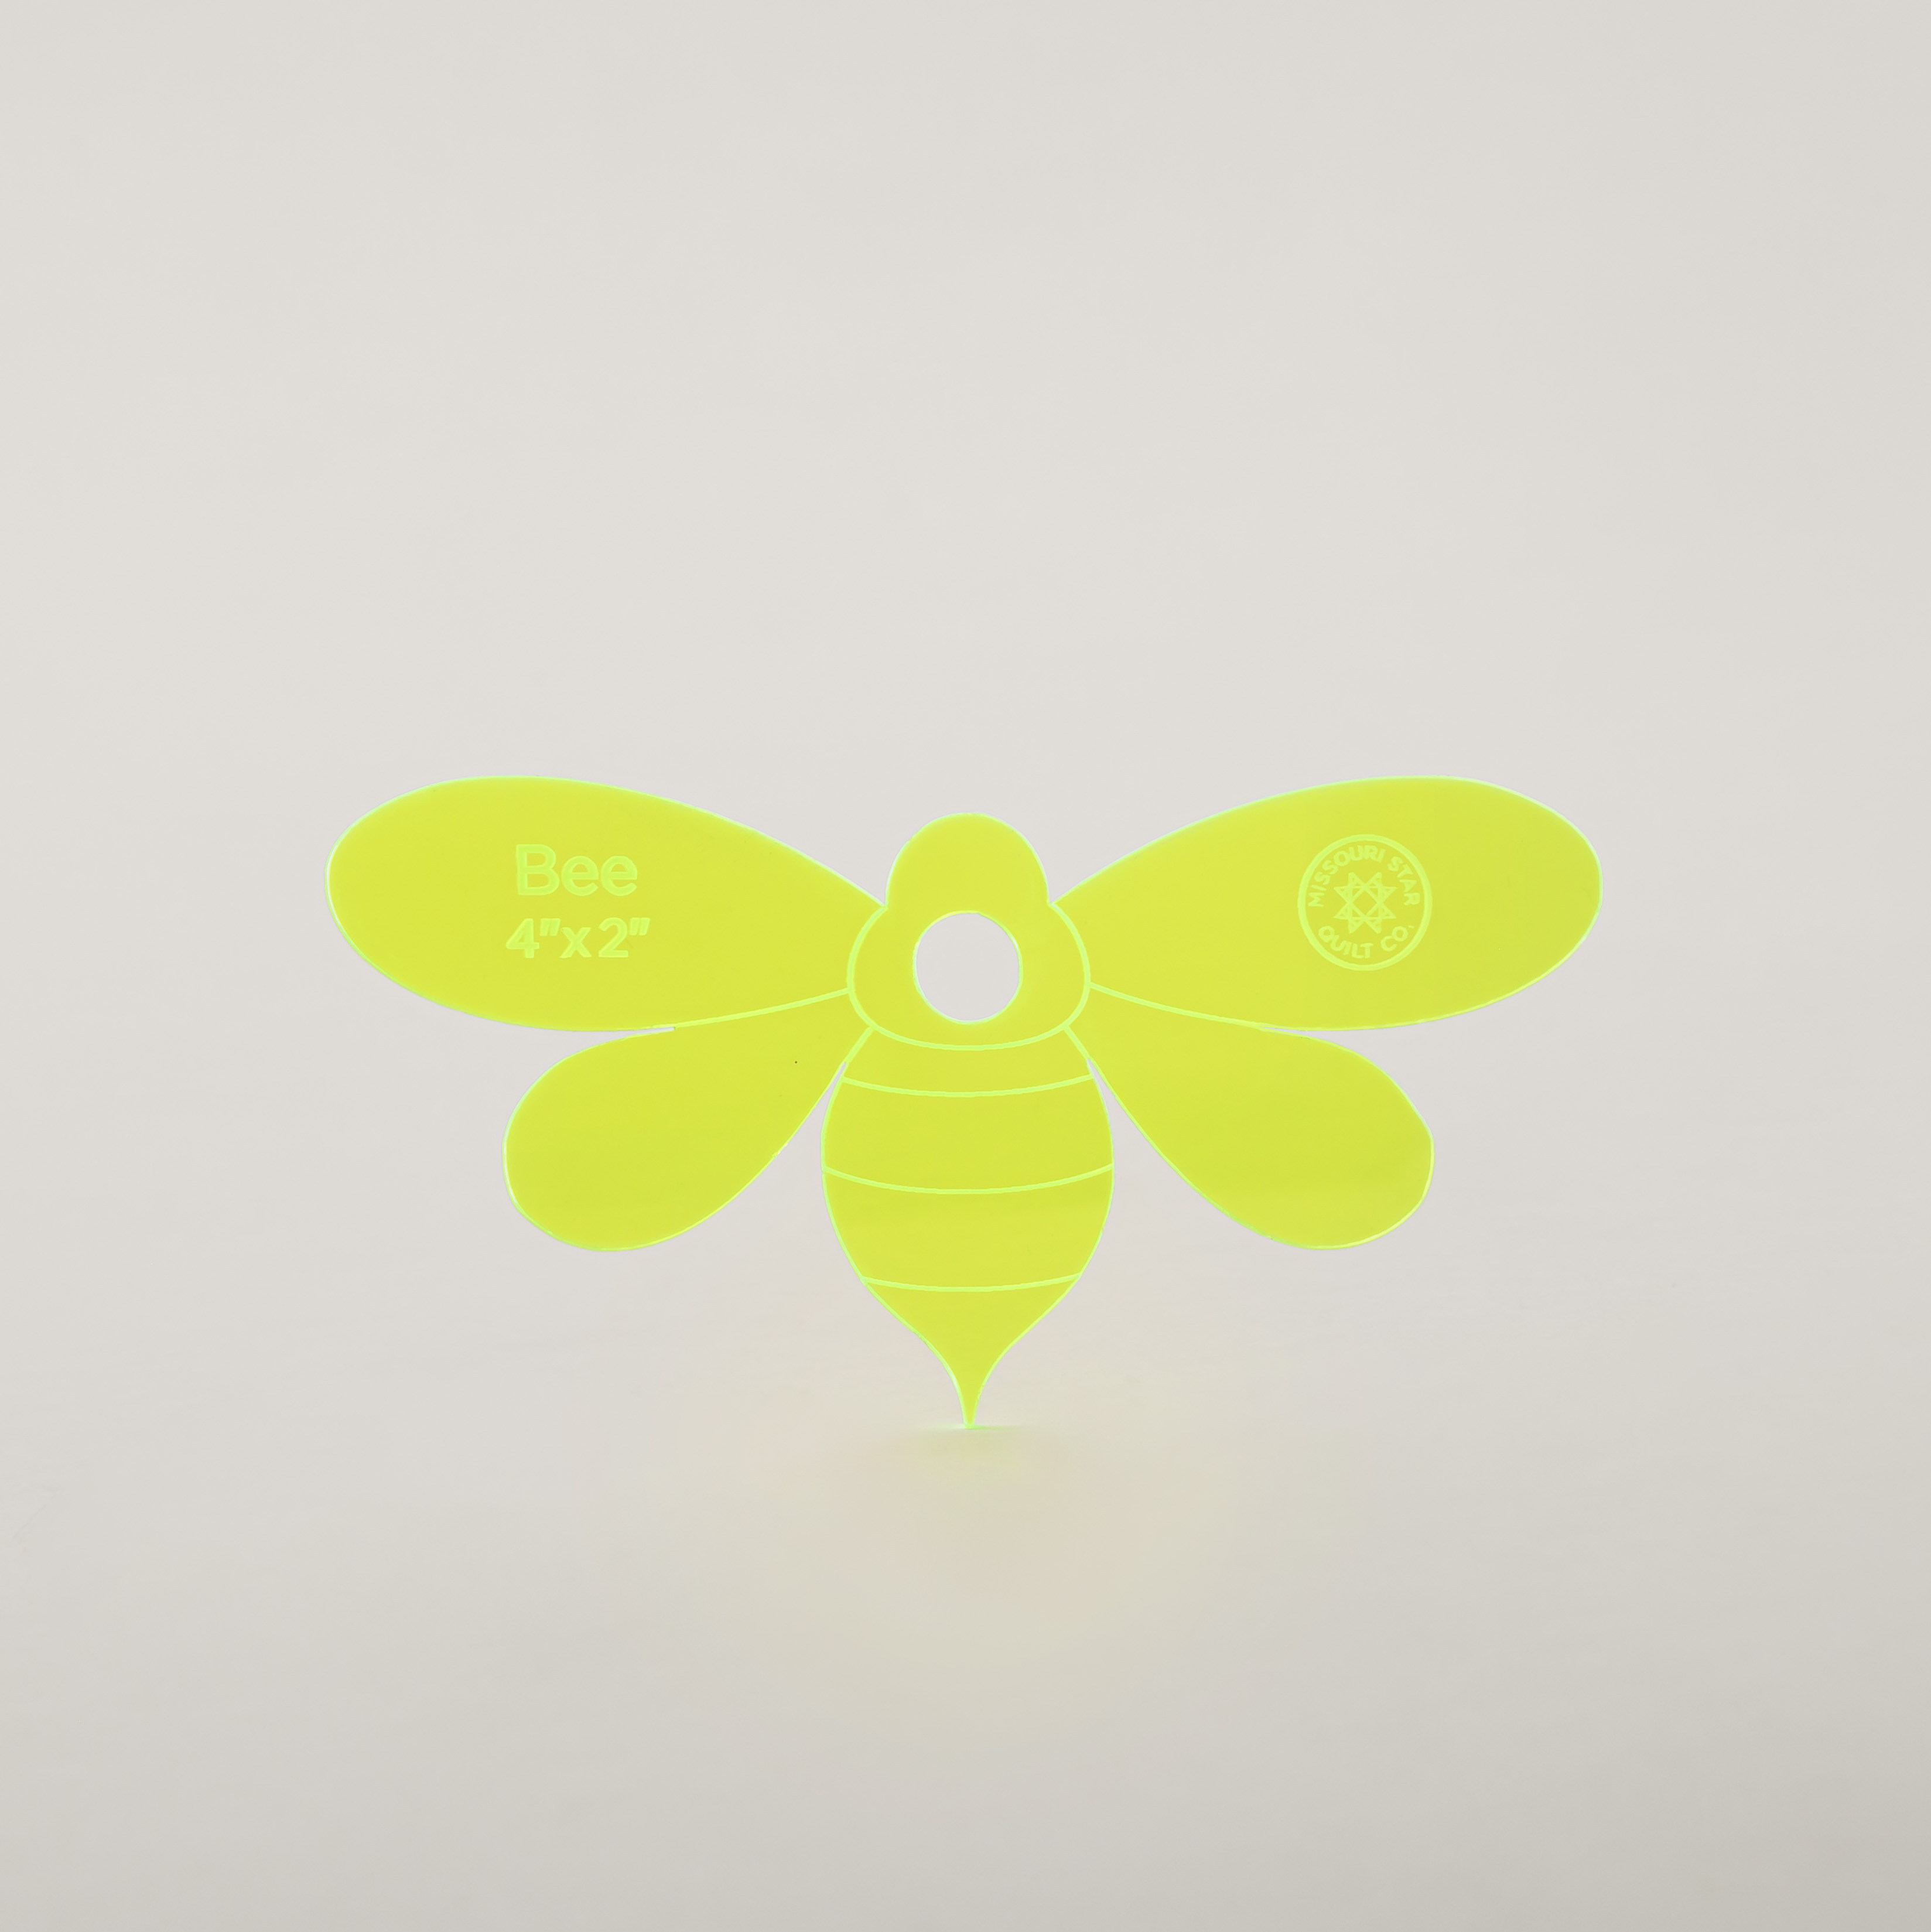 Missouri Star Bee Templates$12.95Shop →
 Colorworks Premium Solids - Navy Yardage$8.96Shop →
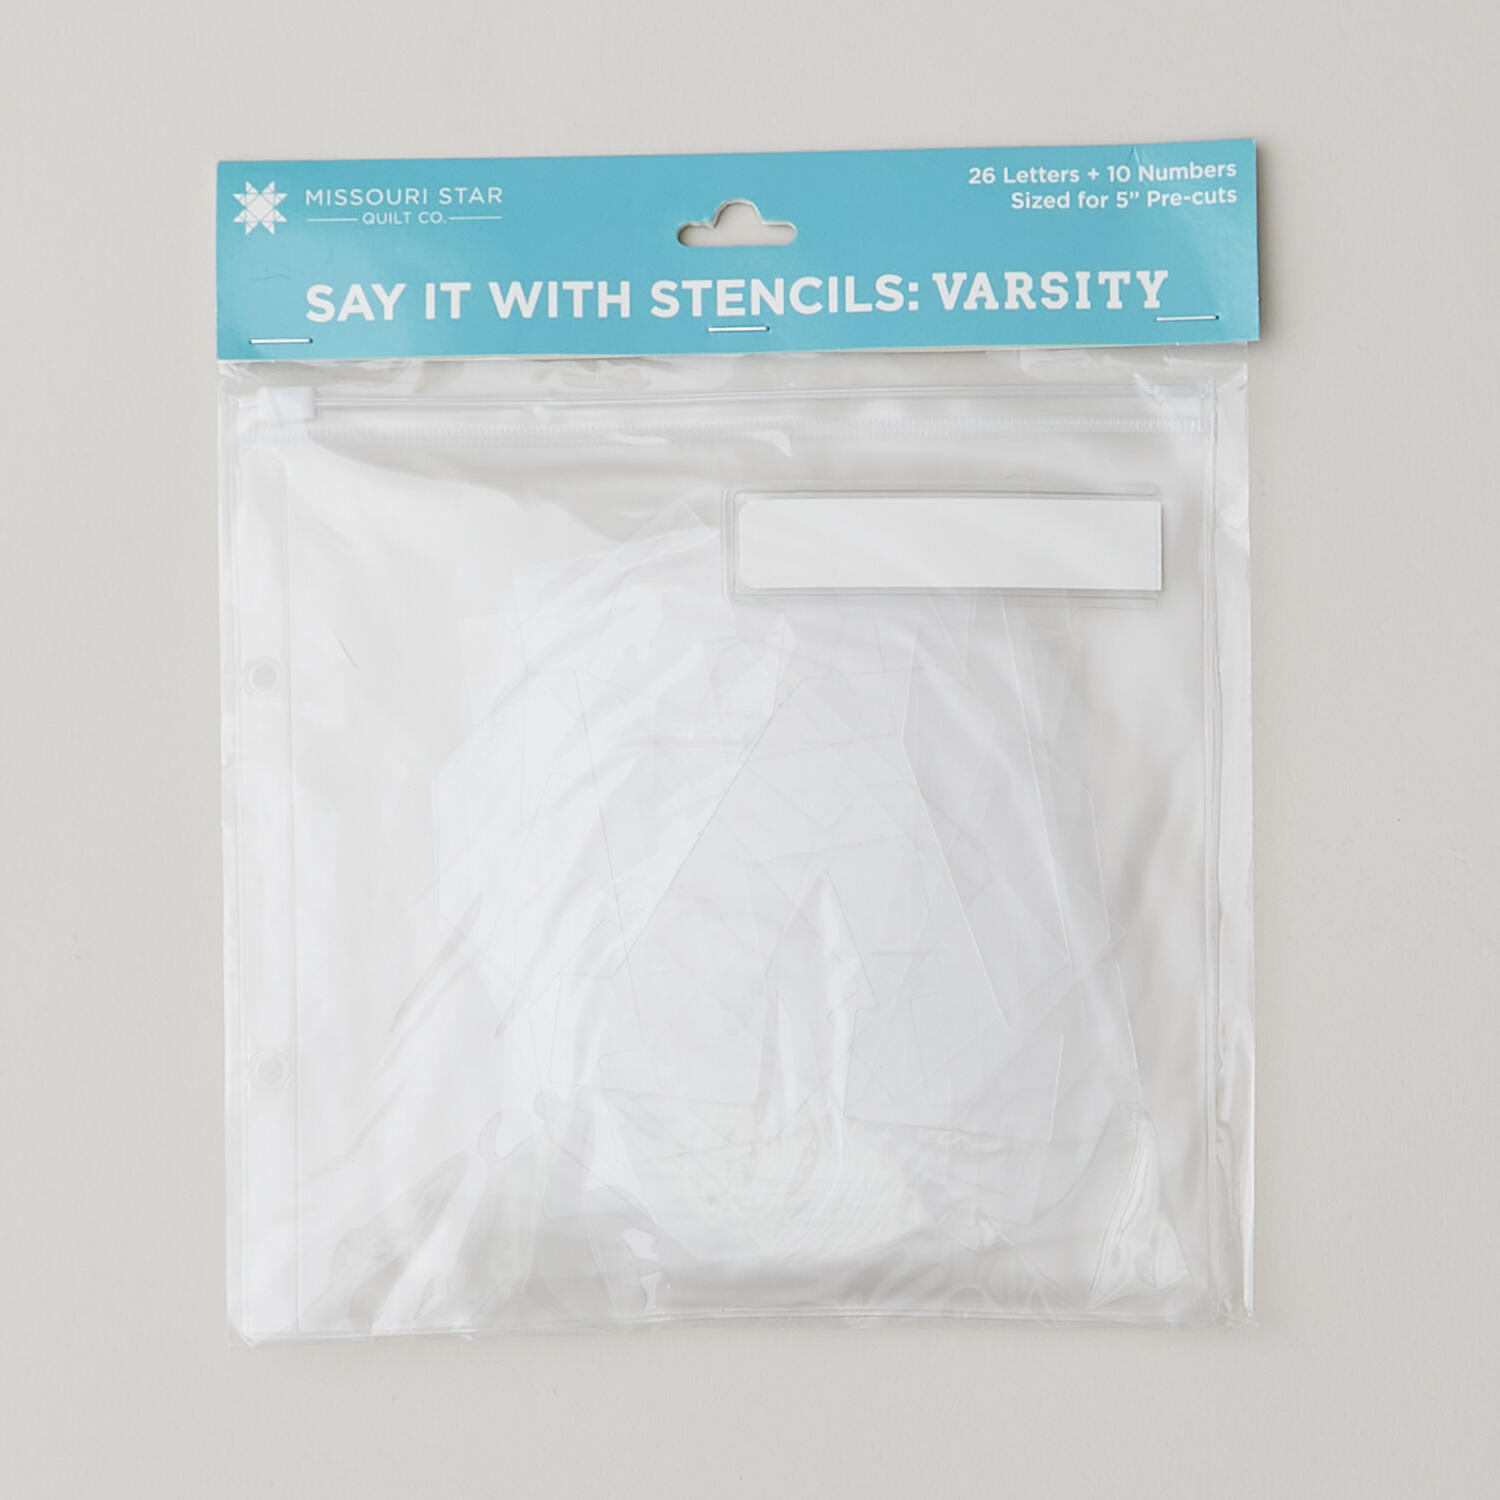 Missouri Star Say It With Stencils: Varsity$7.95Shop →



