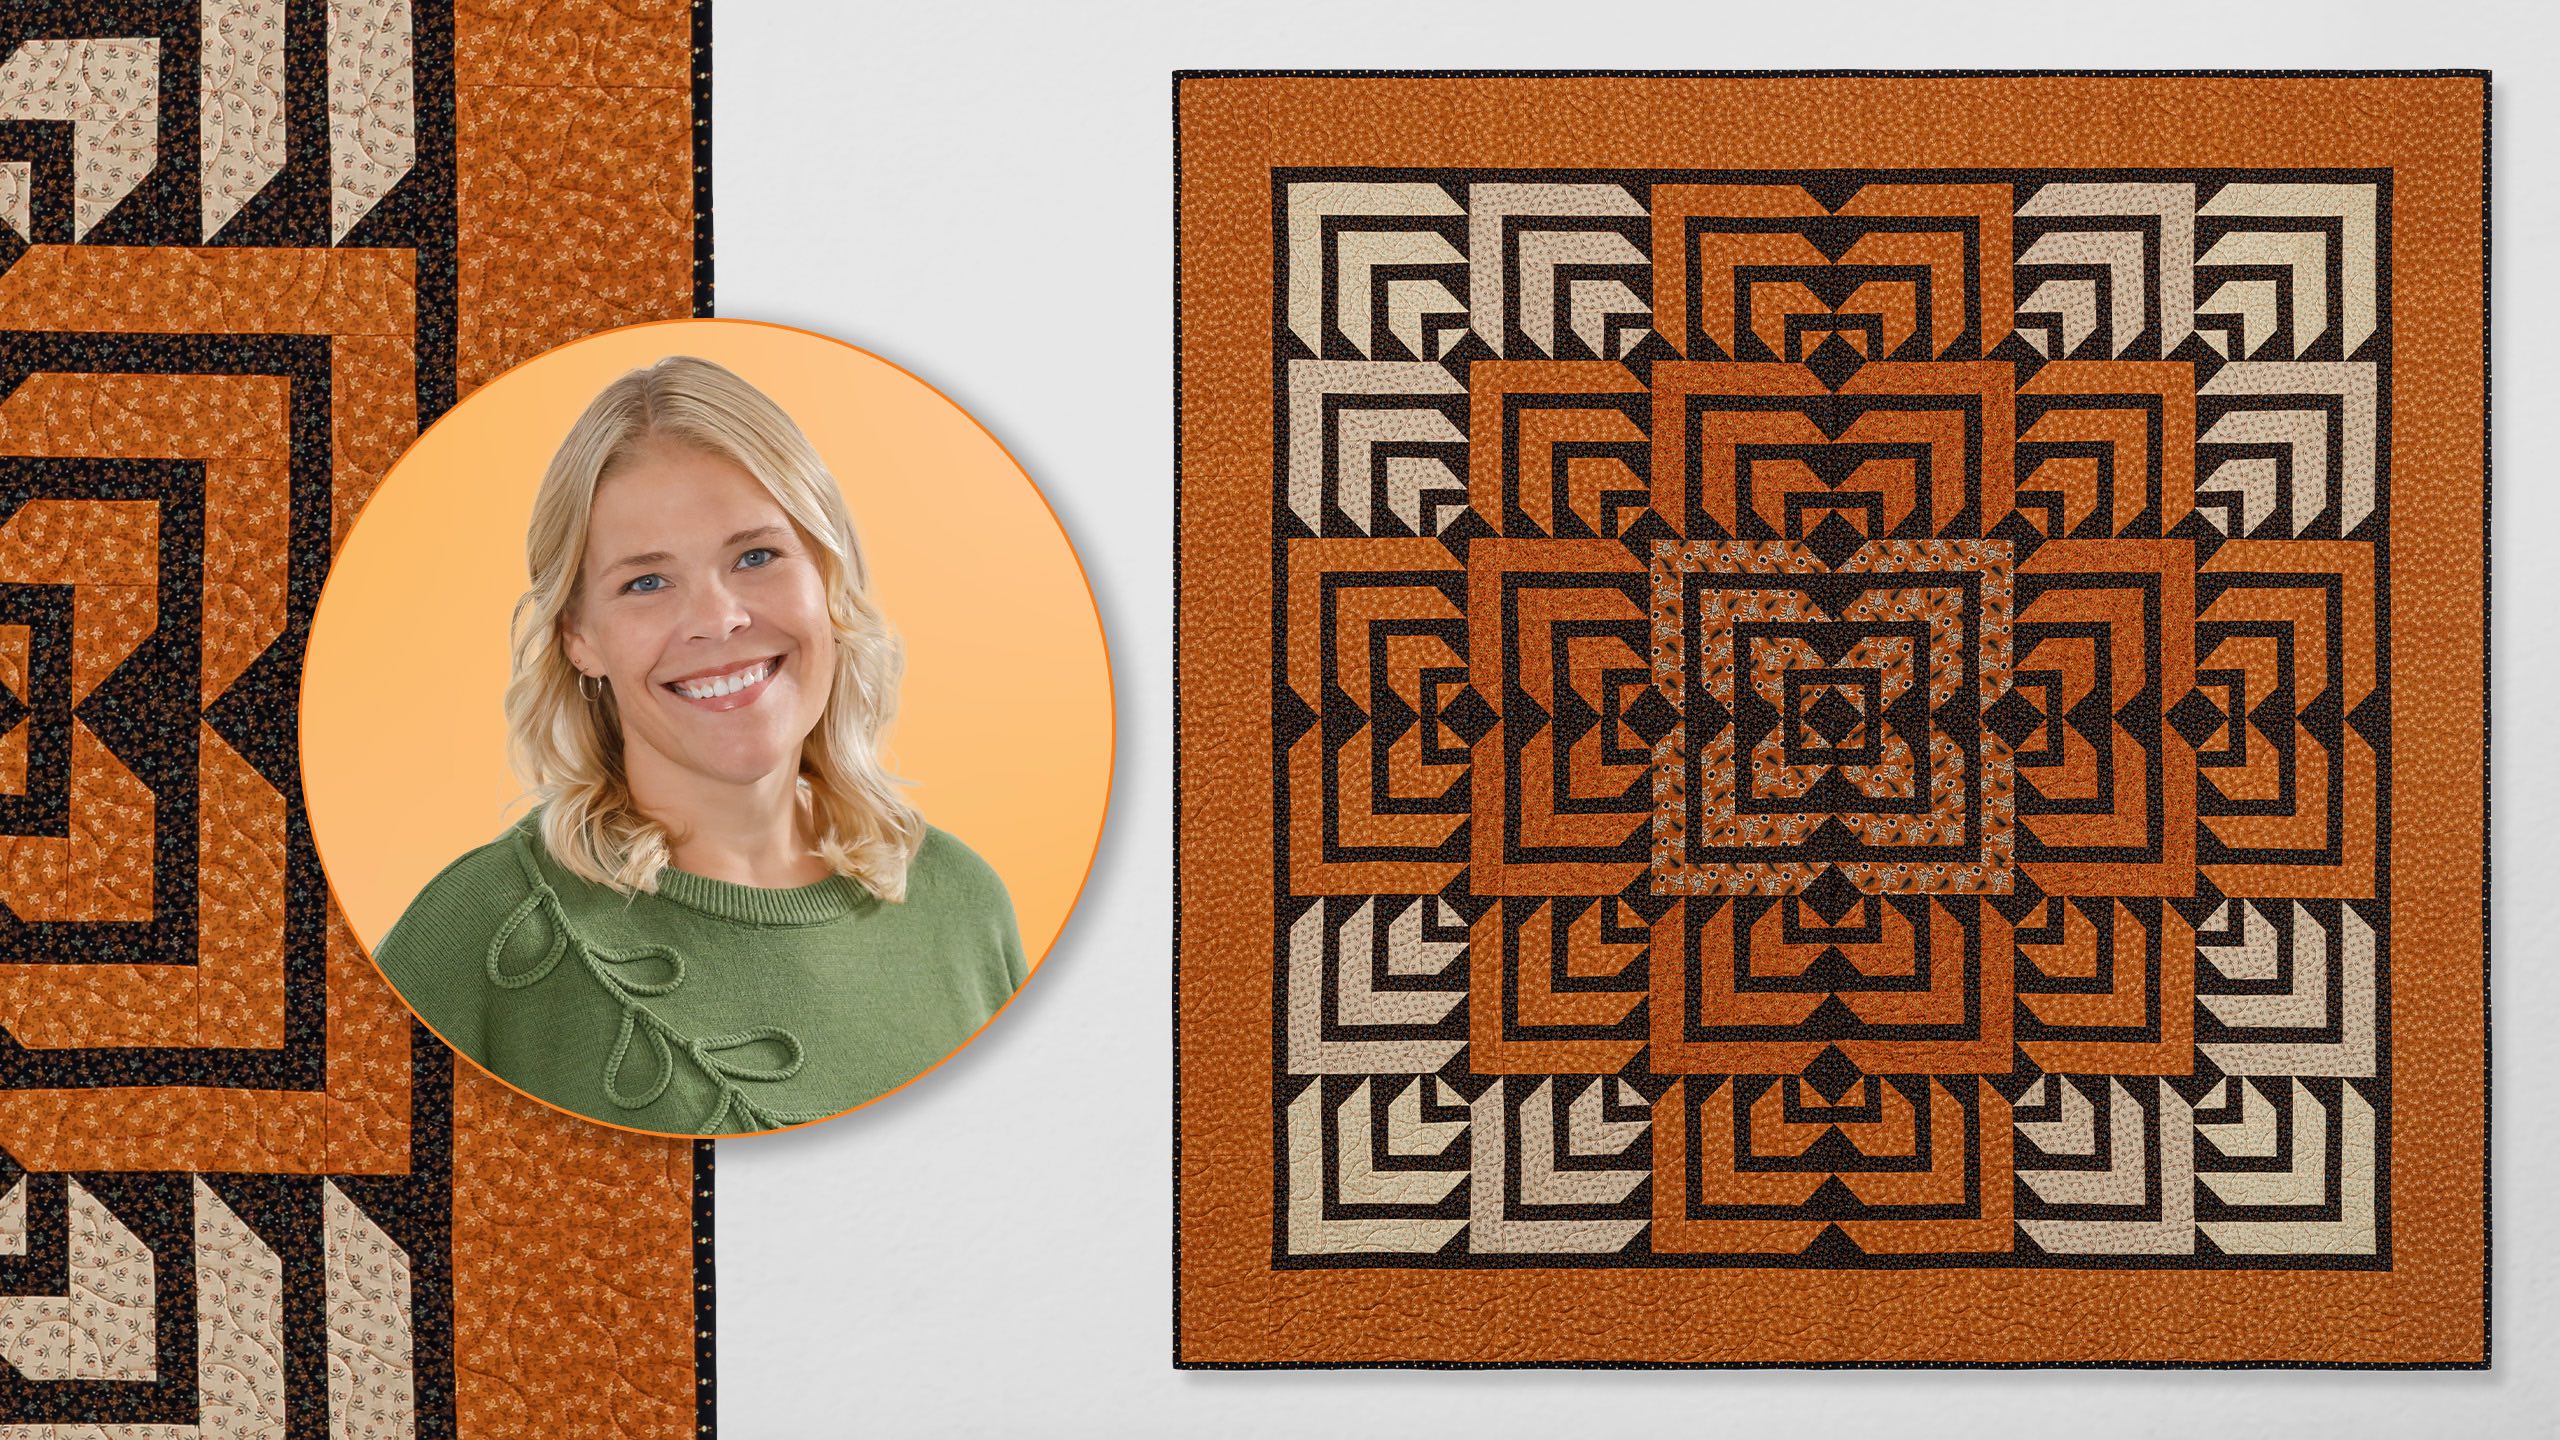
Bringing the stars down to Earth! Sew side-by-side with Natalie as she makes a reimagining of the North Star quilt. In this recreation of a Missouri Star quilt, Natalie uses fabric from the Cheddar & Coal III collection to bring an earthy vibe to this out-of-this-world quilt
Natalie is the host of Quilting 101, Embroidery 101 and the Creative Strategist and Editor of Block Magazine at Missouri Star Quilt Company. She was taught how to sew by her mom, of course, and began quilting when she grew up.
Bringing the stars down to Earth! Sew side-by-side with Natalie as she makes a reimagining of the North Star quilt. In this recreation of a Missouri Star quilt, Natalie uses fabric from the Cheddar & Coal III collection to bring an earthy vibe to this out-of-this-world quilt
How long is the tutorial video?
The tutorial video is 00:25:24.
Are supplies listed for this tutorial?
Yes. The tutorial page includes the supplies and materials connected to this project.
Video Transcript
Hi everybody. I'm Natalie with Missouri Star Quilt Company and today is our whatif series and I'm so excited because it's the North Star which is one of my favorites. I think you're really going to love what we did. So let's dive in. Okay, so to make this quilt you're going to need a variety of fabrics and we've used the Cheddar and Cole line, Cheddar and Cole 3 by Pam Buddha for Marcus Fabrics. So, you'll need a half yard each of fabrics A and E, a yard each of fabrics B and D, a yard and one/3 of fabric C, and then you'll need some background. We've used 3 and 1/4 yards of this. It's a dark background. You'll need um a yard and 2/3 of your outer border and 7 and 1/3 yards for your backing. Now, if you're using a 108, you'll only need 2 and 1/2 yards. All right. So, this is the quilt that we're going to make today. And some of the things that you'll notice about it are the background is all dark and then we have this beautiful gradient of color. We start with a dark dark color in the middle and then it radiates out to the lightest. So, in this quilt, um, one of the easiest ways to remember your color numbers when you're going out to pick your own fabrics, we start with the darkest, and that is our A fabric. So, we have A, B, C, D, and E. So, they go from darkest to lightest. And I think it just is really beautiful. The original quilt had a white background and scrappy blocks, and it turned out really pretty, too. But I love how this one just looks like it's bursting with color. So, let's get started. So, this is our block, and it's the same block throughout the entire quilt. Um, and you'll notice, too, that this quilt is easily divided into four pieces, but they're identical. So, we've got our our four blocks in the middle, and then it builds out from there. Now, you can assemble this as a quadrant if you'd like to, or you can just lay it out and just sew it together in rows. It comes together in rows of six. It's a square quilt, 80 by 80, and I just love it. I think it's so fun. All right, so to get started, you're going to do a little bit of cutting ahead of time, and this will make the quilt come together so quickly. So, from your background, you're going to cut 2 and 1/2 in strips. And those will be subcut into squares. And then you're going to cut some 1 and 1/2 in strips. And we'll subcut those as well, down to the size of strips that we need. So, we'll do that in just a minute. All of your other fabrics get cut into 2 and 1/2 in strips. and then we'll subcut those down as well. So, I'm just going to choose this one fabric to start with. And I've got my strips cut because that's pretty straightforward, but we're going to do our subcuts. And we'll count out the amount we need for just one block. All right. So, we're going to start with our background. And we need seven 2 and 1/2 in squares for each block. So, let's get those going. And I do like to cut my strips folded if I can just because it's a little easier to get through all the cutting if you layer your fabrics. So you're cutting four at a time. It's just pretty simple for me. If it's hard, just go ahead and open up your strips and um you know what? One of those strip rulers would actually be really easy to use to make this go faster. All right, so I'm cutting seven 2 and 1/2 in squares. I've got four and then eight, which is fine. We'll just have one left over for this block. And so I'll set those aside. So, they're ready to go. And then I'm going to cut my background strips. And we're going to need a variety of sizes. I'm going to go ahead and open this up so that I don't end up cutting more than I need for one block. So, the first strip is 1 and 1/2 by 2 and 1/2. And of course, you can layer these if you're cutting for the whole quilt. And all of those numbers you can find in the pattern. It's it's um they're all listed out, so you can do that pretty efficiently. So, we've got a 1 and 1/2 by 2 and 1/2 and a 1 and 1/2 by 3 and 1/2. And then we've got a 1 and 1/2 by 5 and 1/2. So, I'm going to turn this this way now and use my ruler to cut my strips. So, we've got a five and a half. So, we're building out this way. And then we've got a 6 and 1/2. Then we've got an 8 and 1/2. And a nine and a half. All right. So, I'm going to set these aside now. Don't need that anymore. And now we're going to cut our fabric for the main fabric. So, we do need one 2 and 1/2 in square to start our middle half square triangle. Super. This is one of those Whoops. satisfying quilts that I just I love the way that the blocks look and um and they come together so so simply that it's very satisfying to me. All right. So then our next set is 2 and 1/2 by 3 and 1/2. And that is going to go right in here. So we'll pull these apart because we're going to build our block just like this. Okay. So, next we've got a 2 and 1/2 by 5 and 1/2. And then we've got um a 6 and 1/2. And these are fairly uh similar sizes because they build on each other. An 8 and 1/2 I always suggest making one block before you start um cutting for the entire quilt just because you can work through any little mistakes on a practice block. And um and then you don't have you're not as worried about it when you go to cut the whole thing. You're not going to end up saying, "Oh my gosh, I cut all of my background fabric wrong and now I have to start over." So, I do suggest just go through one block, get through the whole thing, see how it's made, and then go ahead and start mass producing the quilt. It tends to come out easier for me that way. All right, so we've got our 9 and 1/2 and then we're going to have we need one more strip here for the 11 and 1/2. So, I'm going to cut this one just a little big and cut my salvage off on the other side. So, I'm going to flip that and then measure it to 11 and 1/2 exactly. And we are ready to go. All right. Oops. I can put this over here instead of on my ironing board. So, what we're going to do to start out is we're going to start by making our little half square triangle in the middle. So, I'm going to take my background fabric and if you if you want to So, all of these little 2 and 1/2 in squares are going to be stitched on the line from corner to corner. So, you can draw a line, press a line, or just use your seam your quarterinch seam tape. Um, because we're just going straight down the middle. So, I'll go ahead and draw the line this one time. I have done so many of these that I don't feel like I need to draw the line every time, but um I highly recommend it if you're just starting out. All right, so I'm going to go ahead and stitch this together. Okay. So, once we've sewn from corner to corner, I'm going to go ahead and trim off one side. And if you're one of those people that loves to save your teenytiny half square triangles, feel free to sew a half inch away and trim it off and save that itty bitty little 1-in triangle. I'm not that person. Not today, anyways. Okay. So, these should measure um 2 and 1/2 in when you're done because you've sewn corner to corner. And you can just double check your measurement, but there shouldn't be any need to square them. They should just come out the right size like so. So, now I'm going to go ahead and add my 1 and 1/2 by 2 and 1/2 to that one side. And then I'm going to add my 1 and 1/2 by 3 and 1/2 to the other side. And we're going to continue building in this order. I'm going to go ahead and just finger press this back so that I can go and add the next piece without stressing too much about it. Um, but you can go over to your ironing mat and press it or you can build yourself like a little nest and have your ironing mat right next to you. Uh, whatever works for you as far as the construction. Okay. All right. So, now I'm going to go ahead and press this. And you'll notice that I went and um I didn't mention this earlier, but your orientation starts with your background facing out and your print facing in. So now we're going to go ahead and add the next print strips. And then once these are added, we'll snowball both corners with our 2 and 1/2 in squares. So I'm going to stitch this one down. You also want to make sure on this quilt because we're doing so when you pre-cut all of your log cabin strips, you want your quarterinch seams to be very consistent and a little bit on the narrower side. You don't have to worry too much about it because you can always just cut your strips and trim them as you go if that's your style. But, um, if you've got them all precut to make them match, you'll want your quarterinch seam to be consistent and pretty accurate really. There we go. All right. So, I just finger pressed this section and I'm going to stitch down my next piece. All right. So, I'm going to go ahead and press this. And now I'm going to add a couple more uh 2 and 1/2 in squares. All we're going to do is line them up like this. We'll have our our line drawn from corner to corner and we're going to stitch this way so that we end up with this really nice um it's not easy to do that. So, let's take this out. Put this down on just the fabric so I can hold my ruler nice and tight. All right. Now, these are all ready to go. So, I'm going to line these up just like this on the corner here. And I'm going to stitch on both lines. And then we'll trim it and press it out and add our next row. Okay. So, I'm going to go ahead and trim these off. And my rows got a little bit messed up. So, I'm going to press this. I like to set my seam just to keep everything in uh nice straight lines. It helps keep your pressing really um precise. Relaxes the thread so that it's like all locked in. Okay, now we're going to add our next um 1 and 1/2 inch strips. I'm going to just reline this up. So, we've got a two and a half And then we've got our one and a halfs. I got a little bit messy earlier. So gonna keep these all lined up. We are building this block just like that. And then this one and this one. Okay. I'm going to head back to the sewing machine and add my background strips. Why does Oh, because it's Yeah. Okay. Sometimes I get confused just like everybody else, but that's okay. All right. Do a quick little finger press here and add on my next row. Alrighty. Going to go ahead and give these a press. And then I'm going to add my next row. And we're going to just continue this. I'm going to do this this one. And we'll add another snowalled corner. And we just continue this until the block is 11 and 1/2 in unfinished. All right. I'm going to go ahead and give this a press. And then we're going to add our snowalled corners. And you can see that those are going to go right on here. And we're going to continue to stitch from corner to corner right on that line. And they always I do want to point out that these always overlap your previous seam here by a quarter of an inch. And that gives you enough space to keep your points when you join your blocks together. All right. Keep that nice and lined up. All righty. I'm going to go ahead trim this edge off. And now it's time to add another background row. So I will take this back over to the sewing machine. Get started here. Oh, so I want to show you something. So, it looks here like my seam, my previous seam must have been just a little bit fat because I've got a little extra here. So, all I'm going to do is trim that off. I'm not super worried about it as long as all of my blocks come out a consistent size. It's not a big deal if your seam is a little bit bigger or smaller. Um, but you can just trim that to fit and then add your next row as usual. Um, as long as all of your blocks are the same size, you won't have any trouble putting your quilt together. So, I would suggest checking them all at the end. But, um, if they if you have a little bit of extra fabric as you go along, that just means that your seam allowance might just be a little bit on the bigger side. And I do tend to consistently have that problem. So, I just wanted to point that out and talk about it a bit. It's okay to trim it and continue adding um, as long as you're consistent. There is no sashing that's pre-cut in here. So, you're just putting blocks together and then adding an inner and outer border. So, as long as all of your blocks are the same size at the end, you will be totally fine. This is one of those no pressure quilts. All right. So, I'm going to add this one. You'll see it looks like I've got a little extra fabric there, too. So, I'm just going to trim it off and keep going. No big deal. Here we go. All righty. We'll give her a press. Time for our final row. All righty. Time for the final strip, the 11 and 1/2. Then I'll add my snowalled corners. And this block will be ready to go. All right. So, we've got one here, one here, and one left over. And that is okay because we cut eight. We only needed seven. Go ahead and add my snowalled corners. And this block is done. All righty. And that's it. We've got a finished block. It was super easy to do, don't you think? All right. So, on the quilt, you'll see these blocks make up the middle. This is our darkest block, and I've got four of them. So, we can see how they go together. I've got a couple more over here. All right. So, we've got all four of our blocks here, and these make up the center, as you'll see. So, we have our fabric A in the middle. You need four fabric A blocks, eight fabric B blocks, 12 fabric C blocks, and then we go back down to four for our fabric D, I mean eight for our fabric D is what I meant to say, and then four for our fabric E. So once you've got your quadrants all together and your quilt is made, you're going to want to add a 1 and 1/2 in inner border and a 6 and 1/2 in outer border. So this quilt ends up being 80 in square. We've quilted it with dense leaves, which I bet you can see better on the back. This is our beautiful backing. Yep. And you can see the dense leaves beautifully. It's one of our most traditional patterns that we've had since the very beginning. And I just love it. It's very elegant. It's perfect for fall. Well, this has been really fun for me. I love this pattern, and I love what happens when you add different colors and different backgrounds. So hopefully it's inspired you to ask yourself what if. When you see a favorite pattern, change it up and make it your own and be creative. I hope you've enjoyed this tutorial on the What If Northstar from the Missouri Star Quilt Company. See you next time. Hi everybody. I hope you enjoyed today's video. We're trying super hard to get to a million subscribers. So if you enjoyed it and you want to see more, just hit subscribe and share with your friends and encourage them to do the same. And I will see you next Friday with a brand new tutorial.

 Natalie Doan
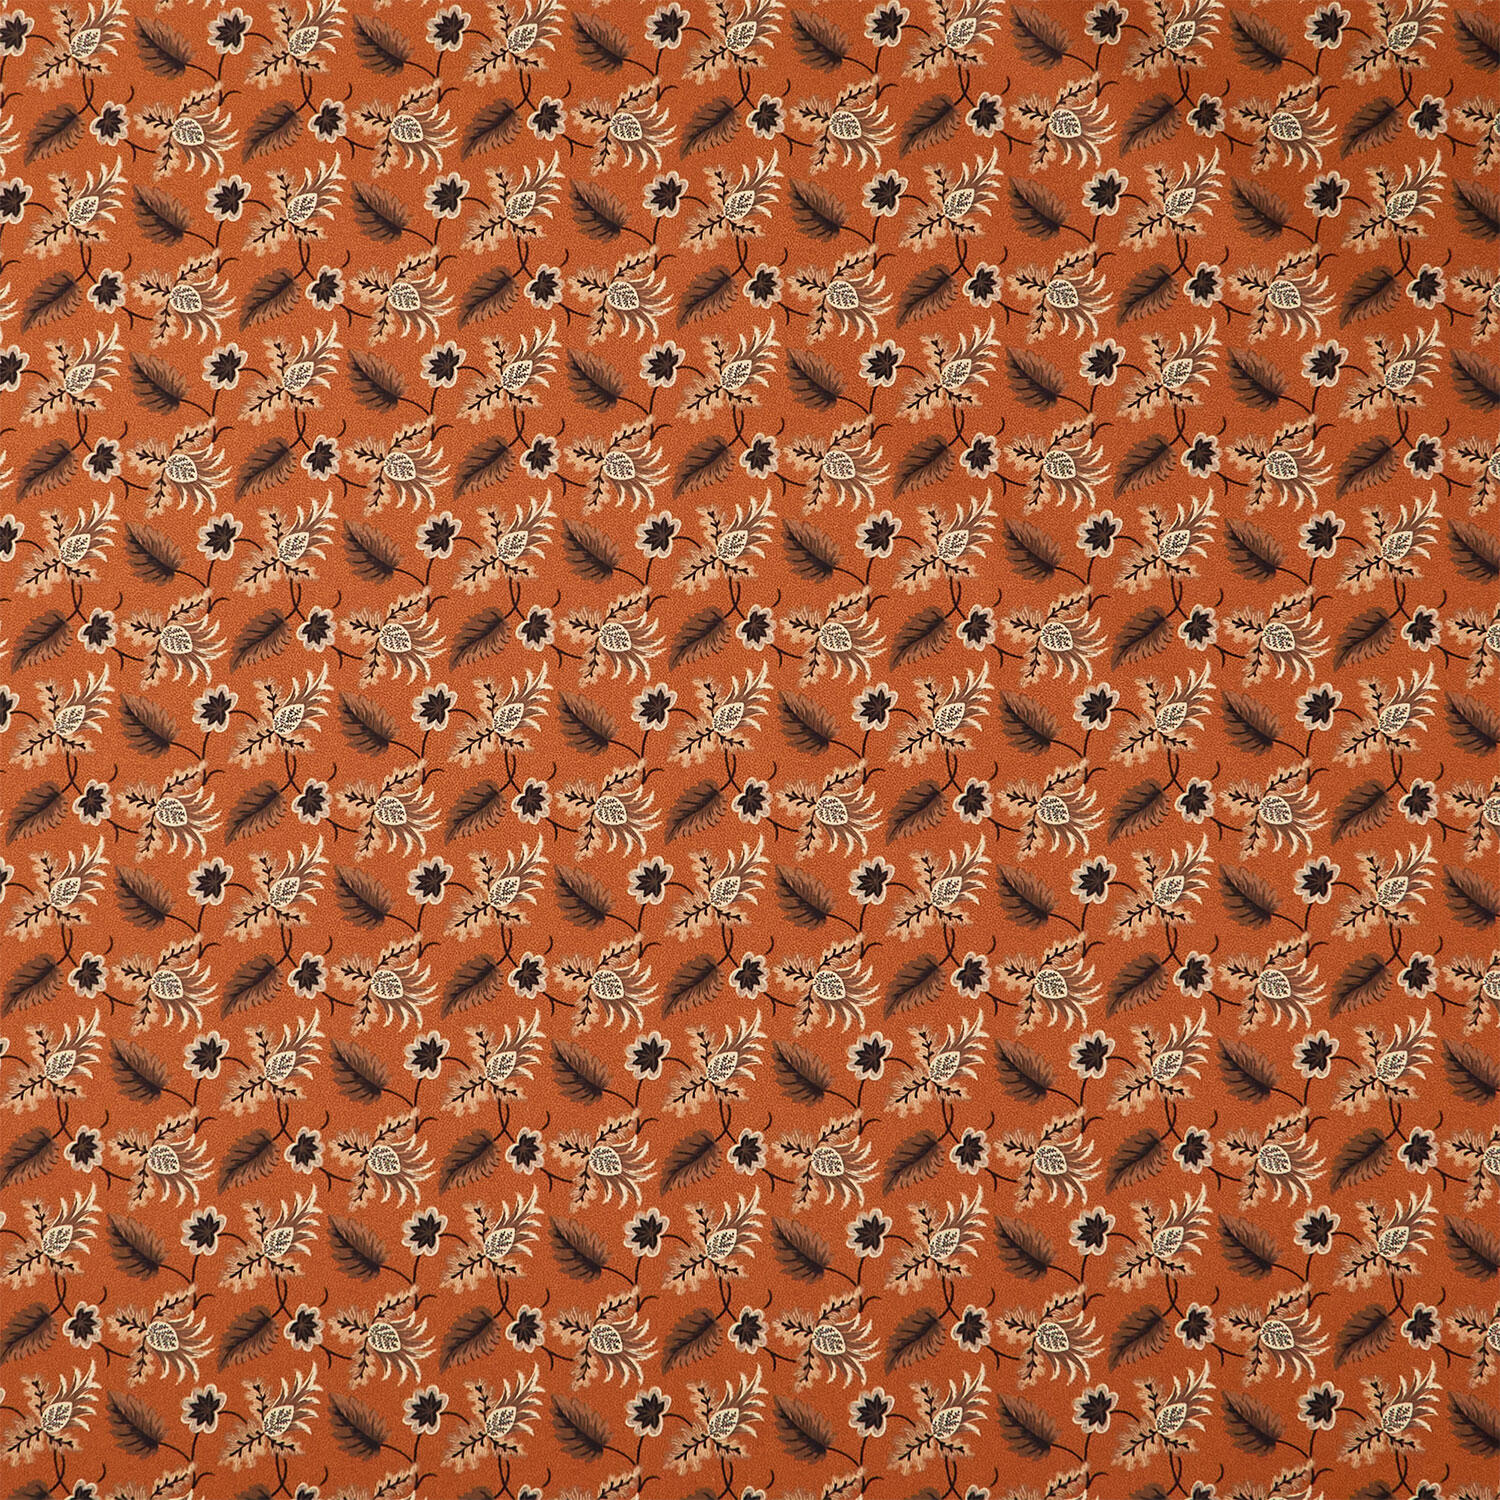 Cheddar & Coal III - Jacobean Cheddar Yardage$12.20Shop →
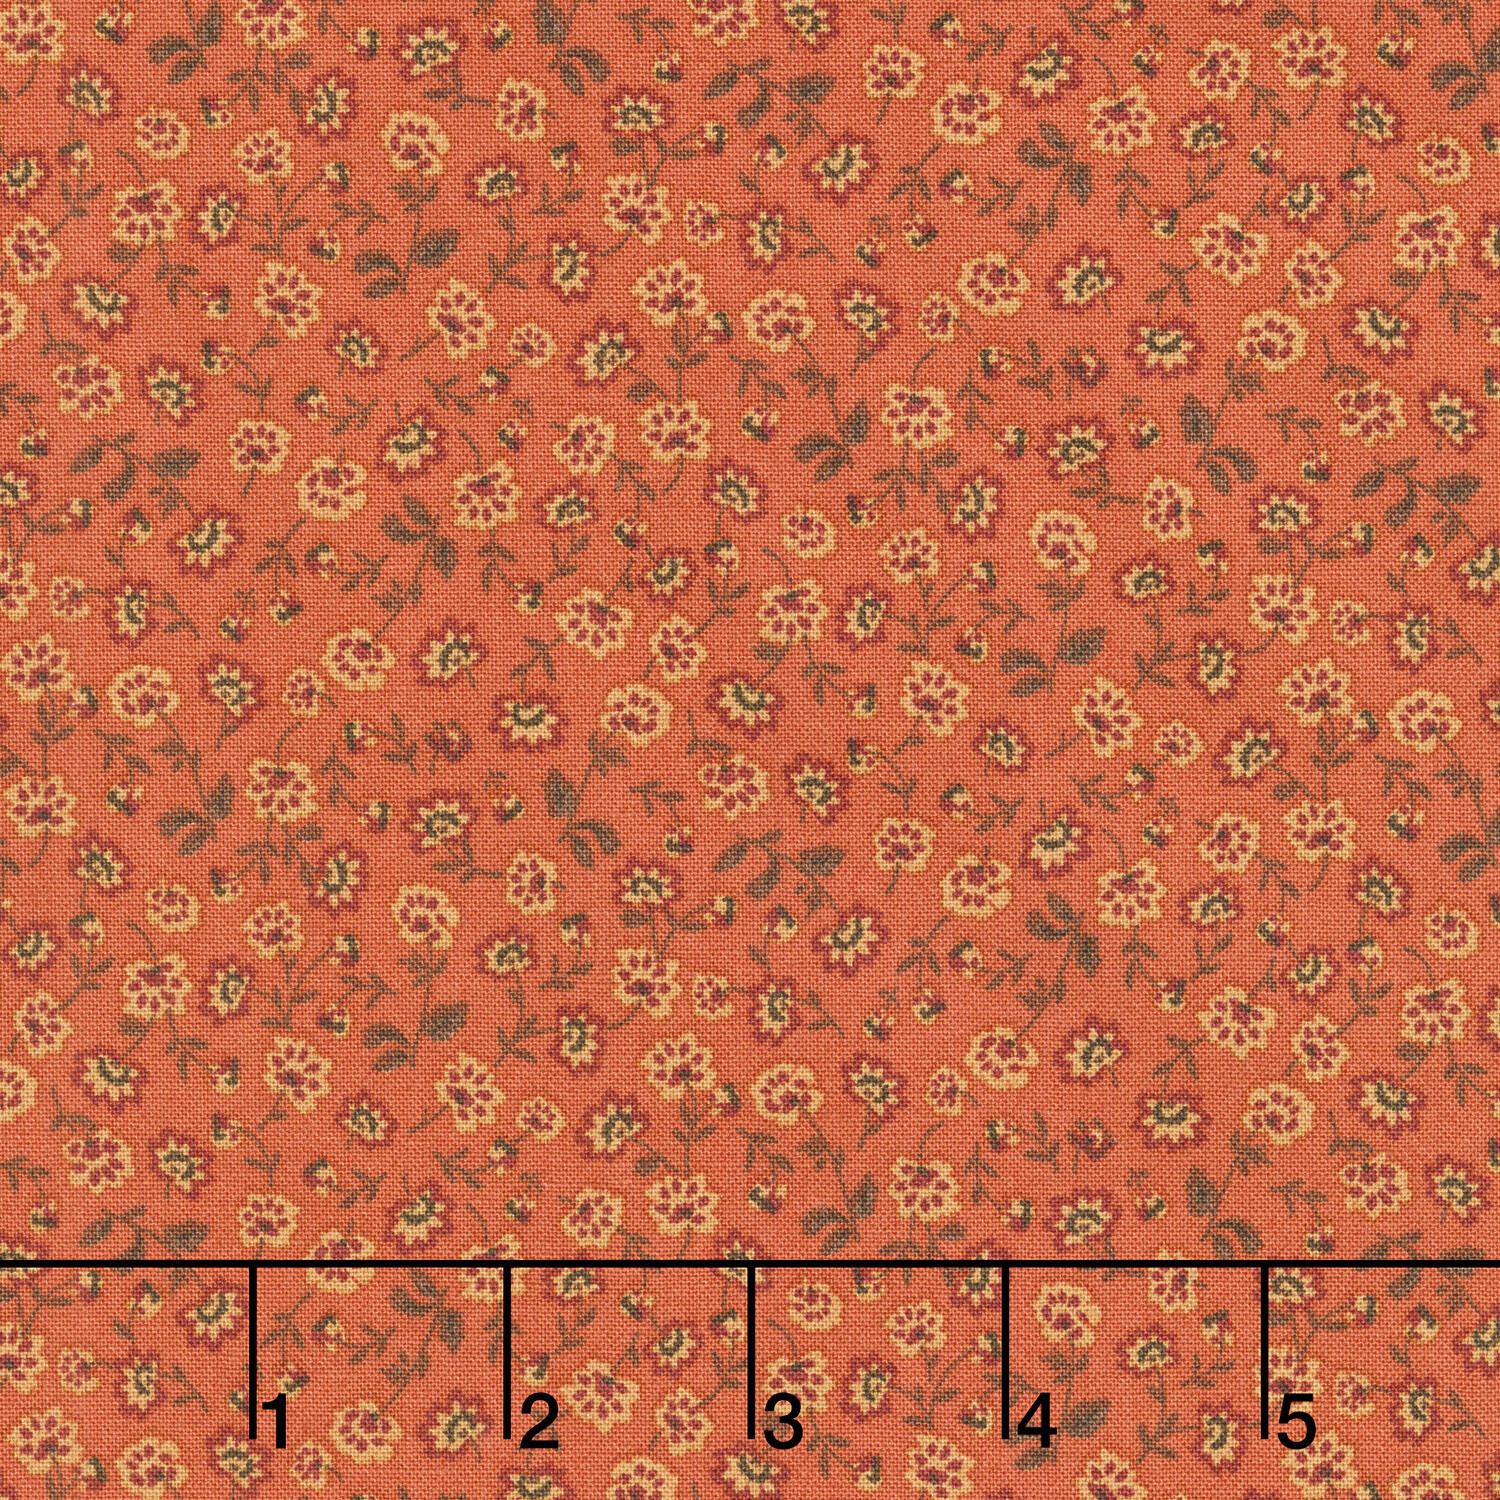 Cheddar & Coal III - Twigs Black Yardage$12.20Shop →
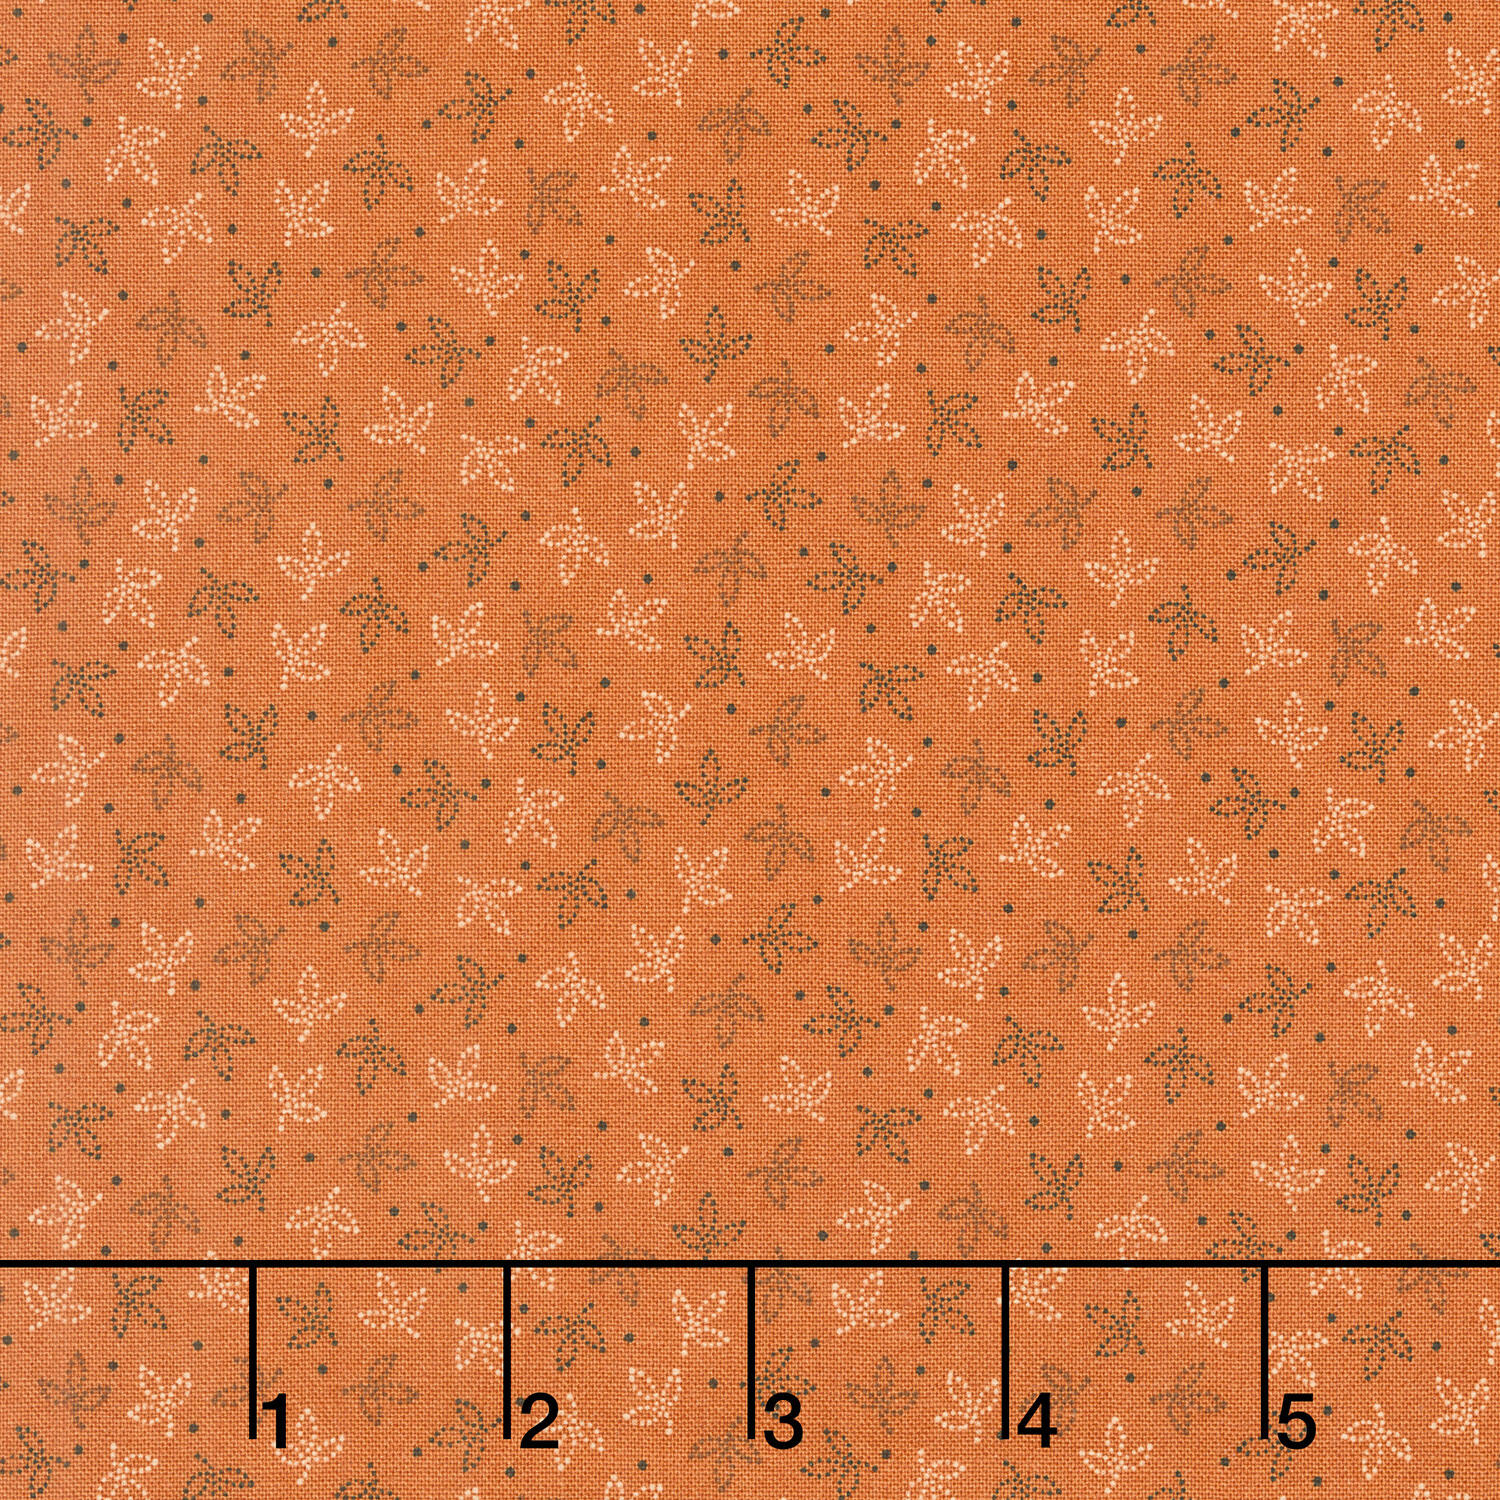 Cheddar & Coal III - Leaves Cheddar Yardage$12.20Shop →
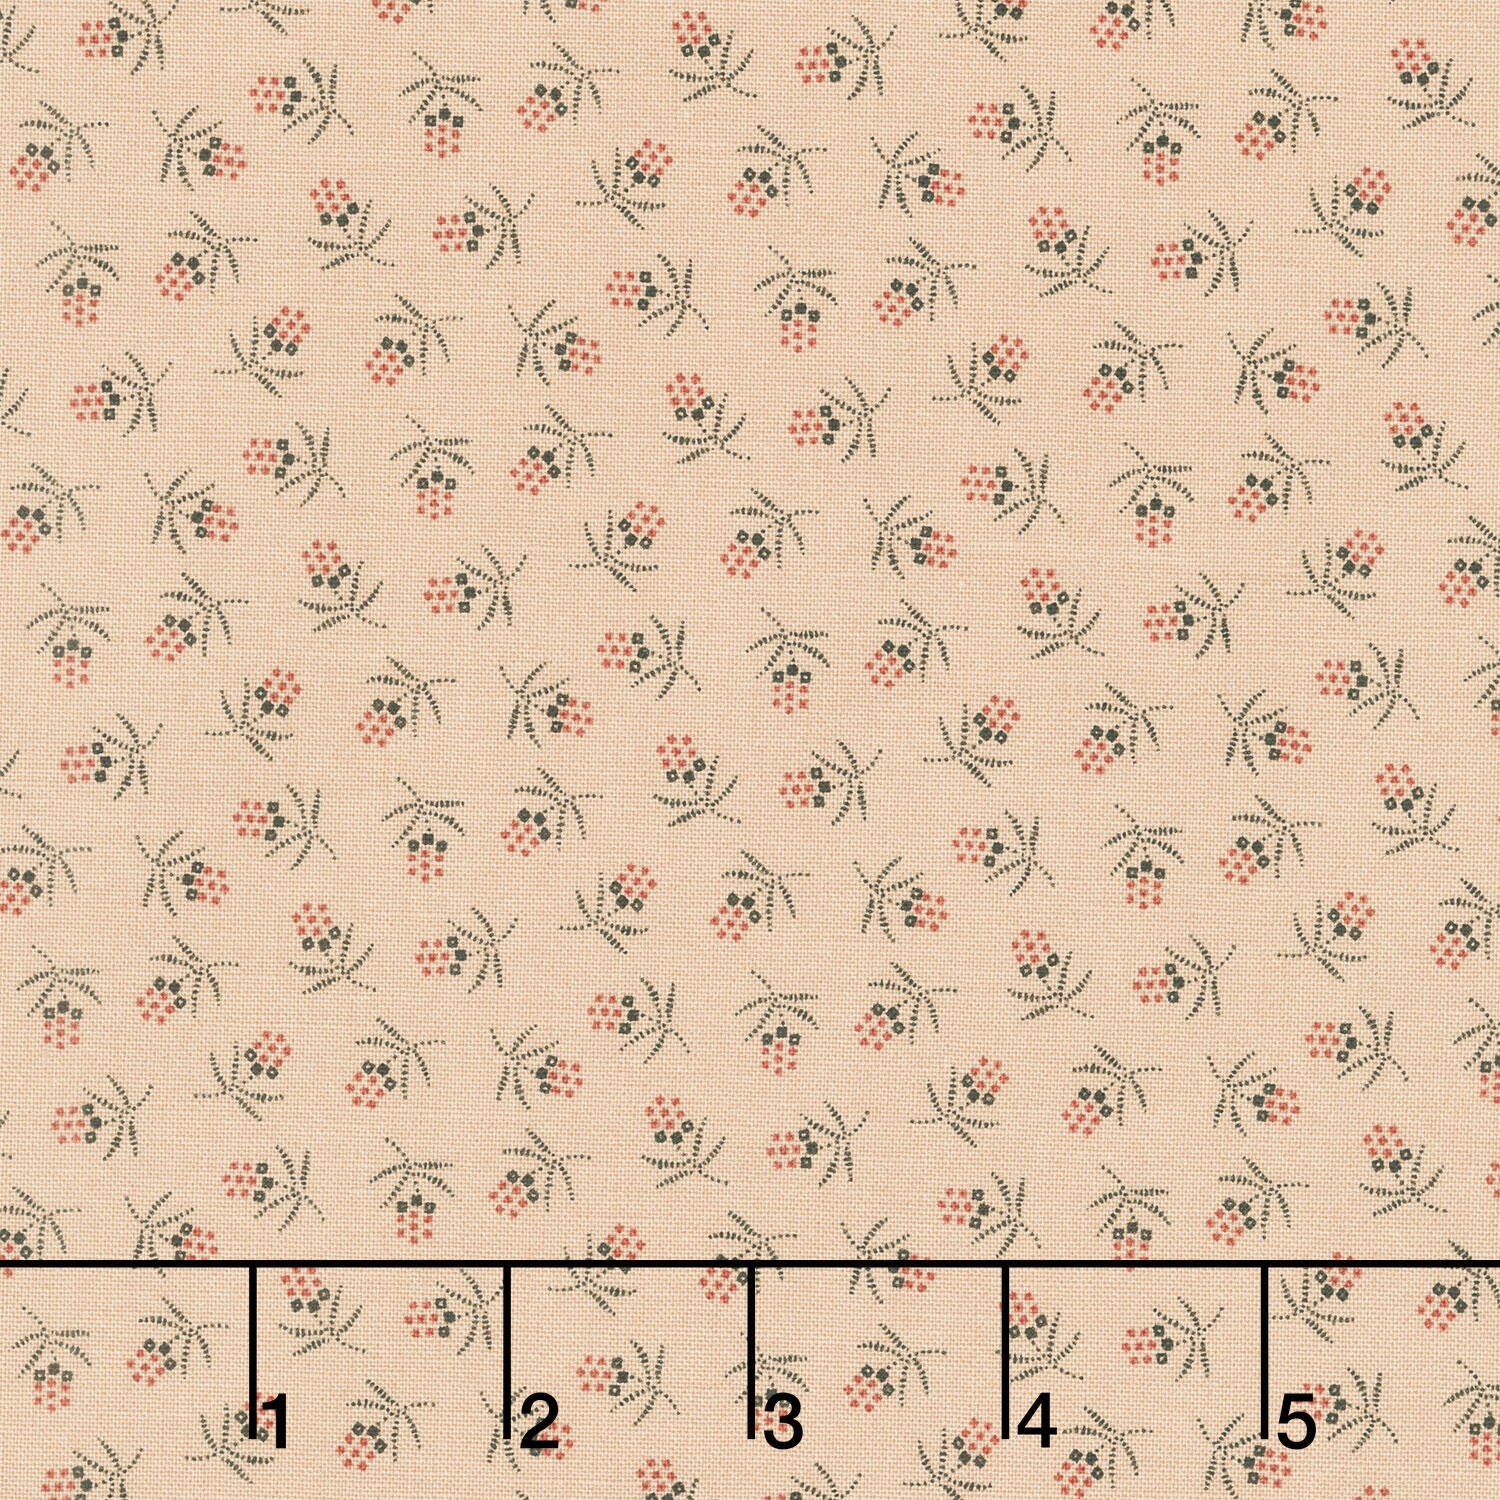 Cheddar & Coal III - Berries Beige Yardage$12.20Shop →
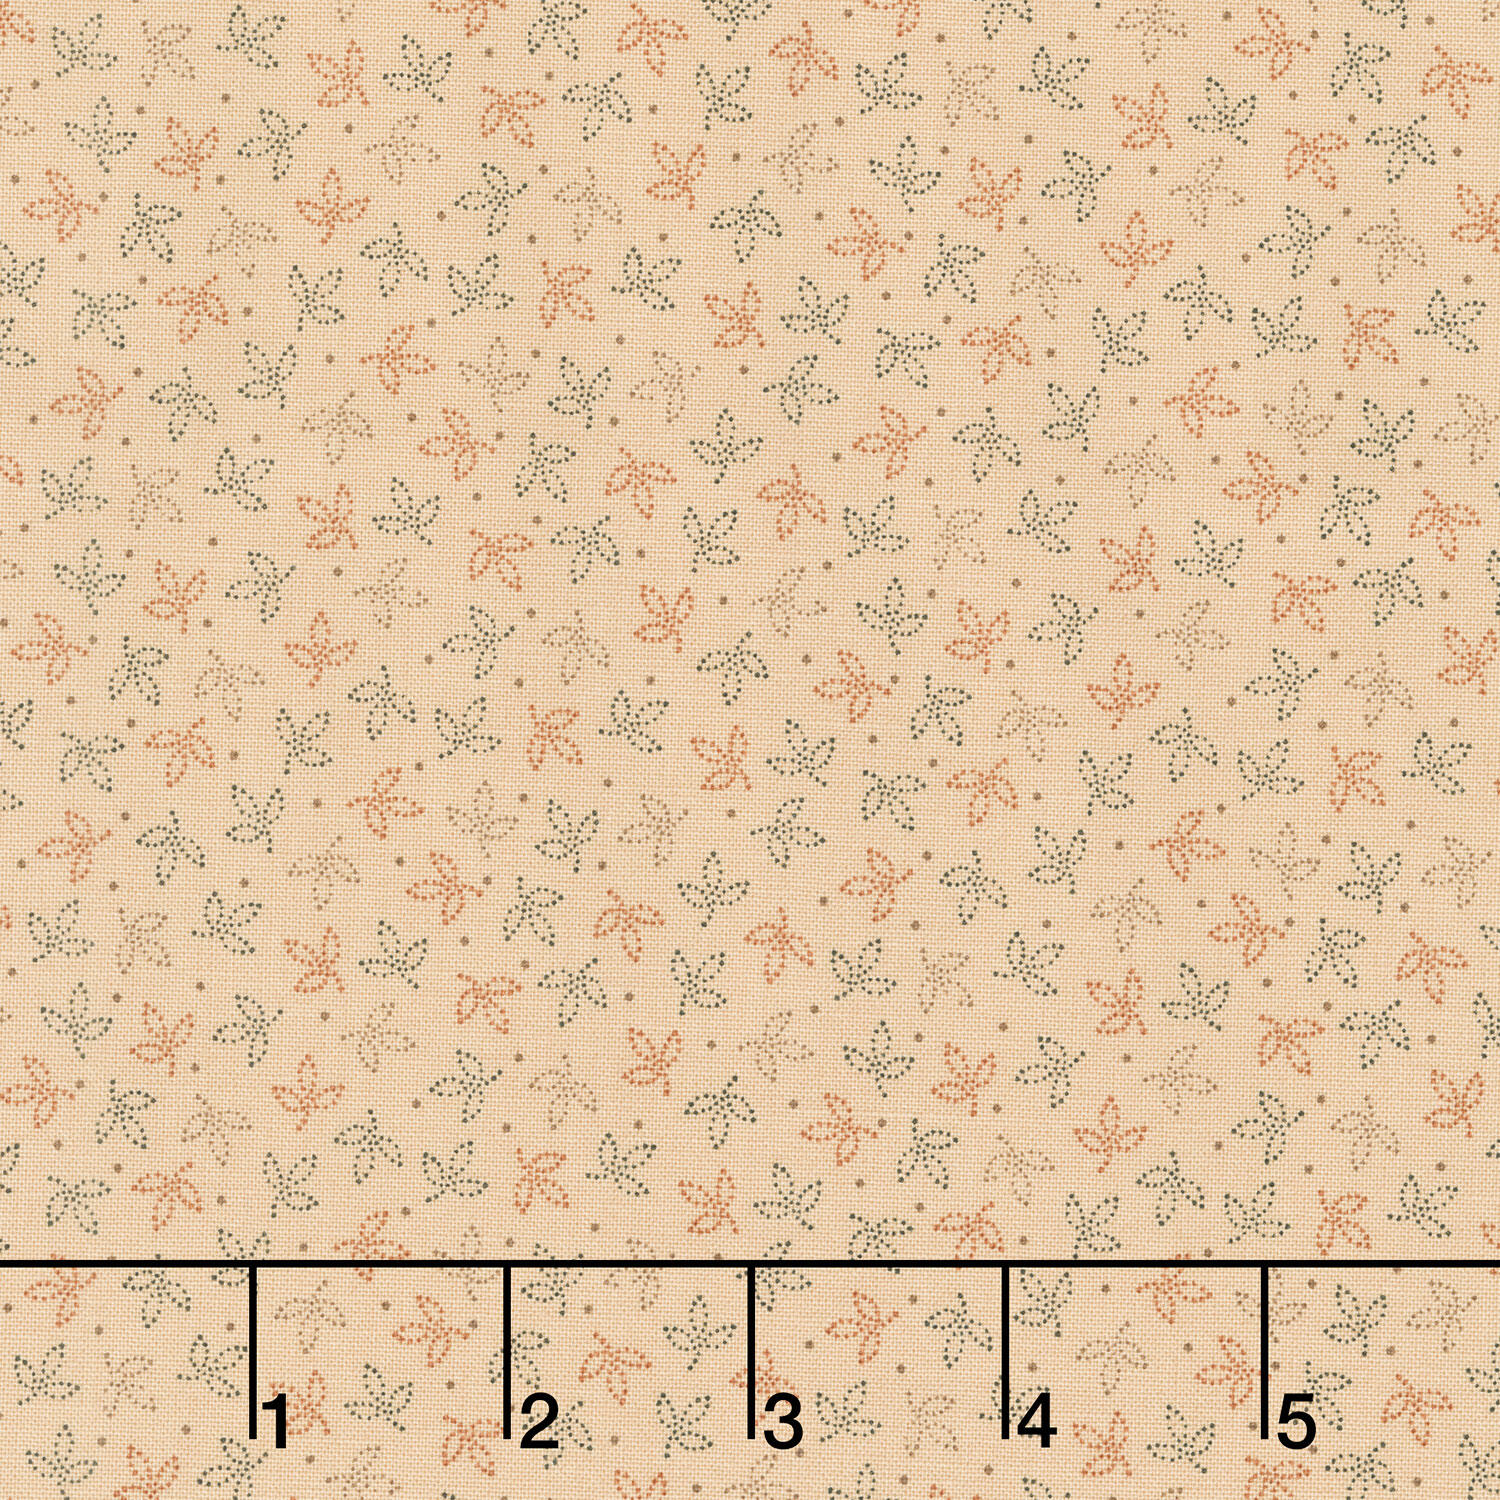 Cheddar & Coal III - Leaves Beige Yardage$12.20Shop →
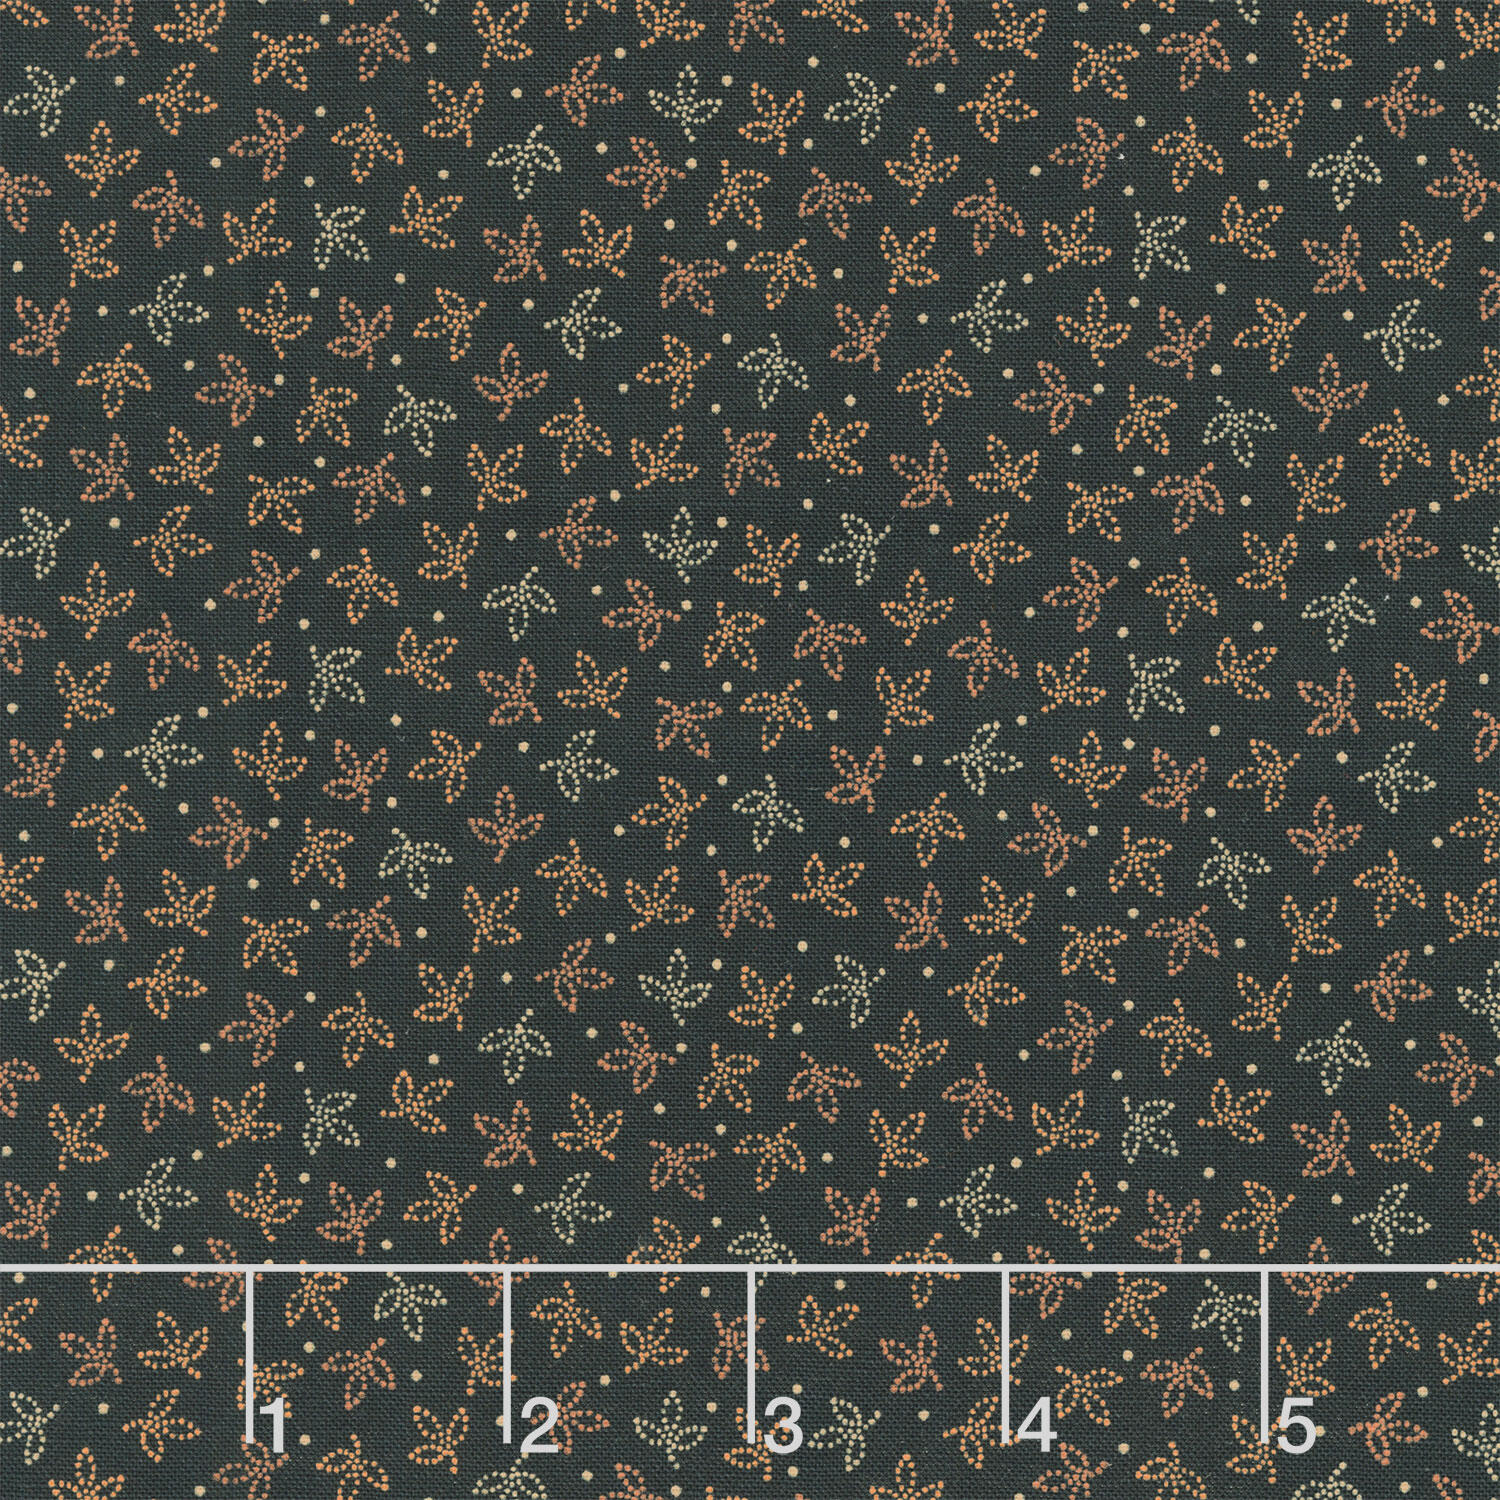 Cheddar & Coal III - Leaves Black Yardage$12.20Shop →
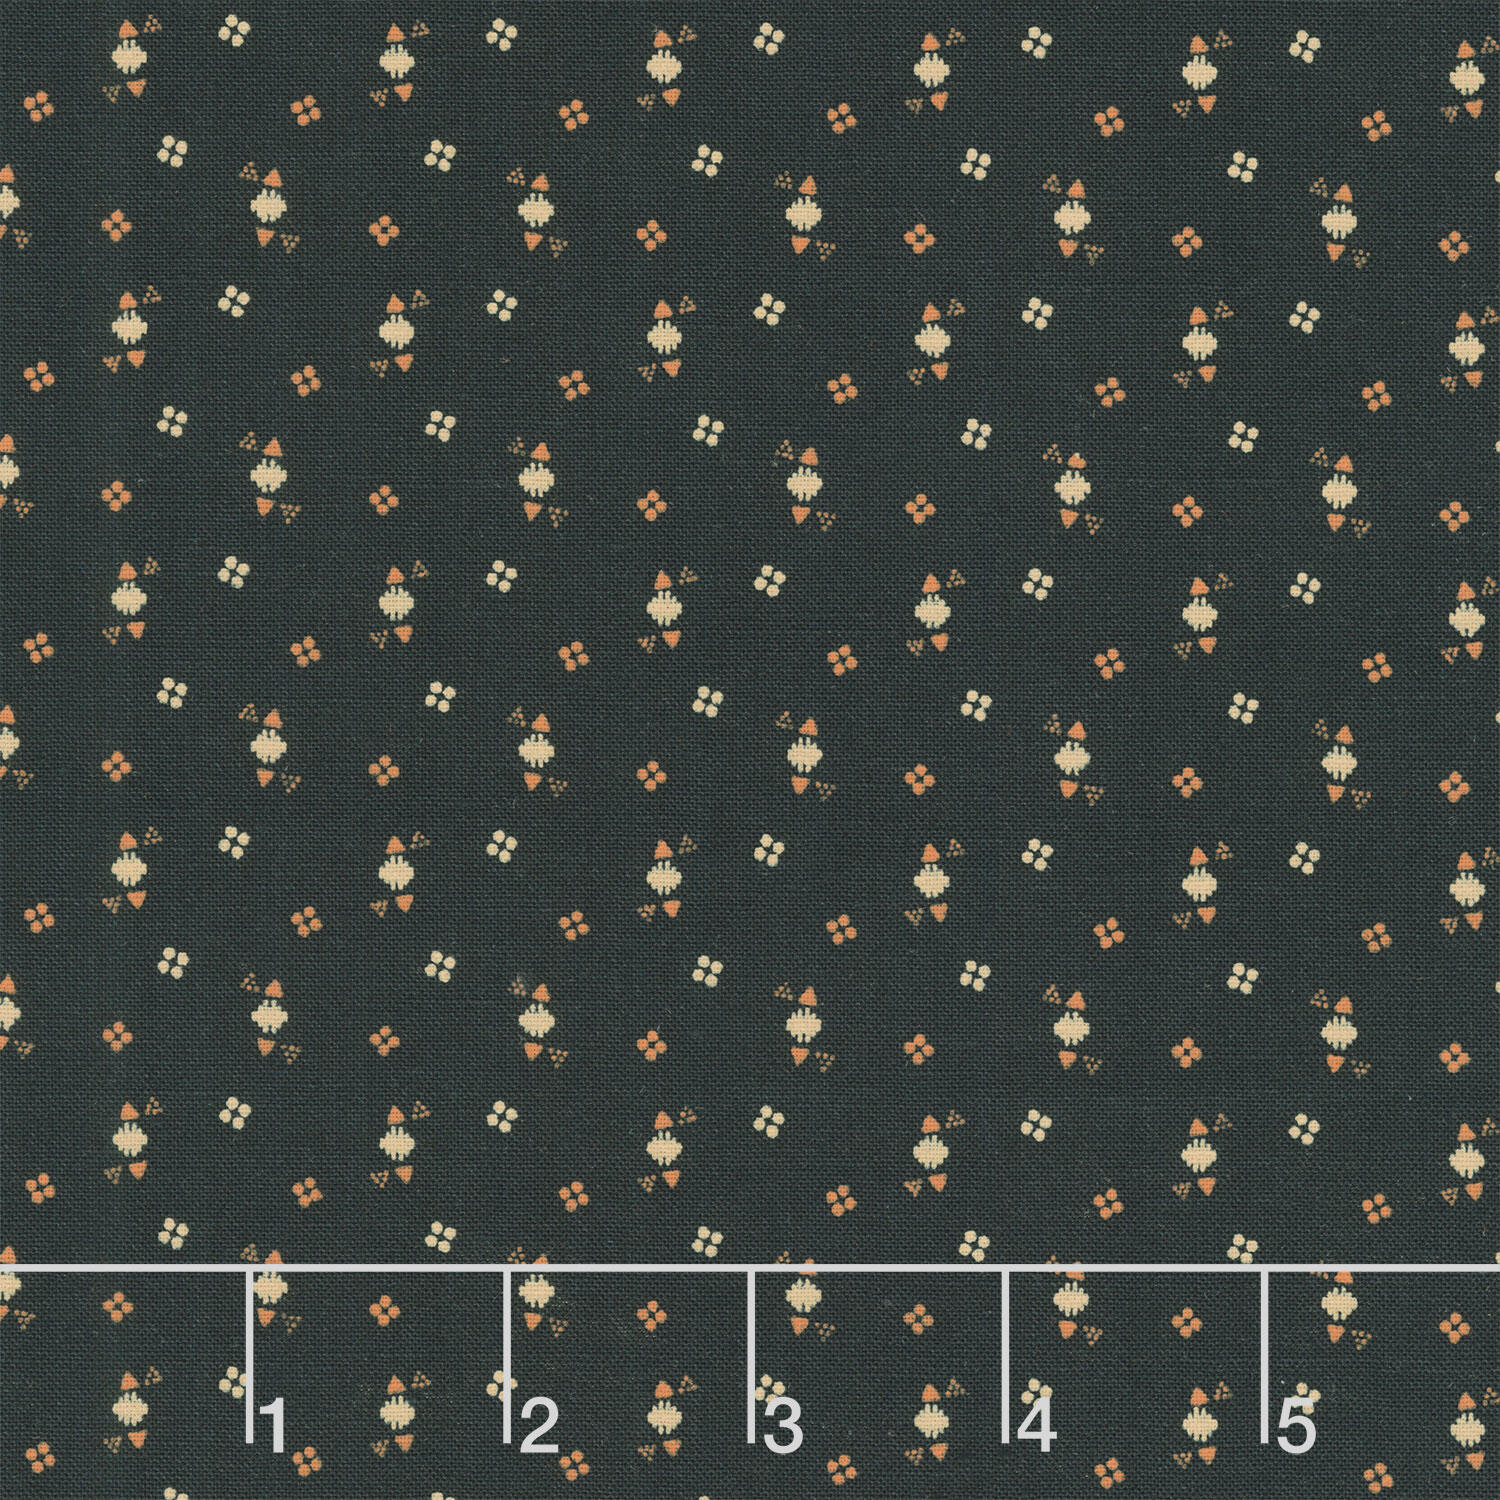 Cheddar & Coal III - Triangle Dots Black Yardage$12.20Shop →
 Missouri Star Quilter’s Best Blend Full Batting$32.95Shop →
 Missouri Star 5" x 15" Ruler$19.95Shop →
 Bernette 77 Sewing and Quilting Machine$1699.00Shop →
 Missouri Star 50 WT Cotton Thread White$7.95Shop →
 Missouri Star 45mm Rotary Cutter - Olga$19.95Shop →
 Diagonal Seam Tape$7.25Shop →
 Missouri Star 8" Everyday Scissors - Amelia$19.95Shop →
 Missouri Star + Oliso TG1600 ProPlus Iron$209.95Shop →
 Missouri Star Wooly Betty Board - 17.25" x 25.5" Orange Border$99.95Shop →
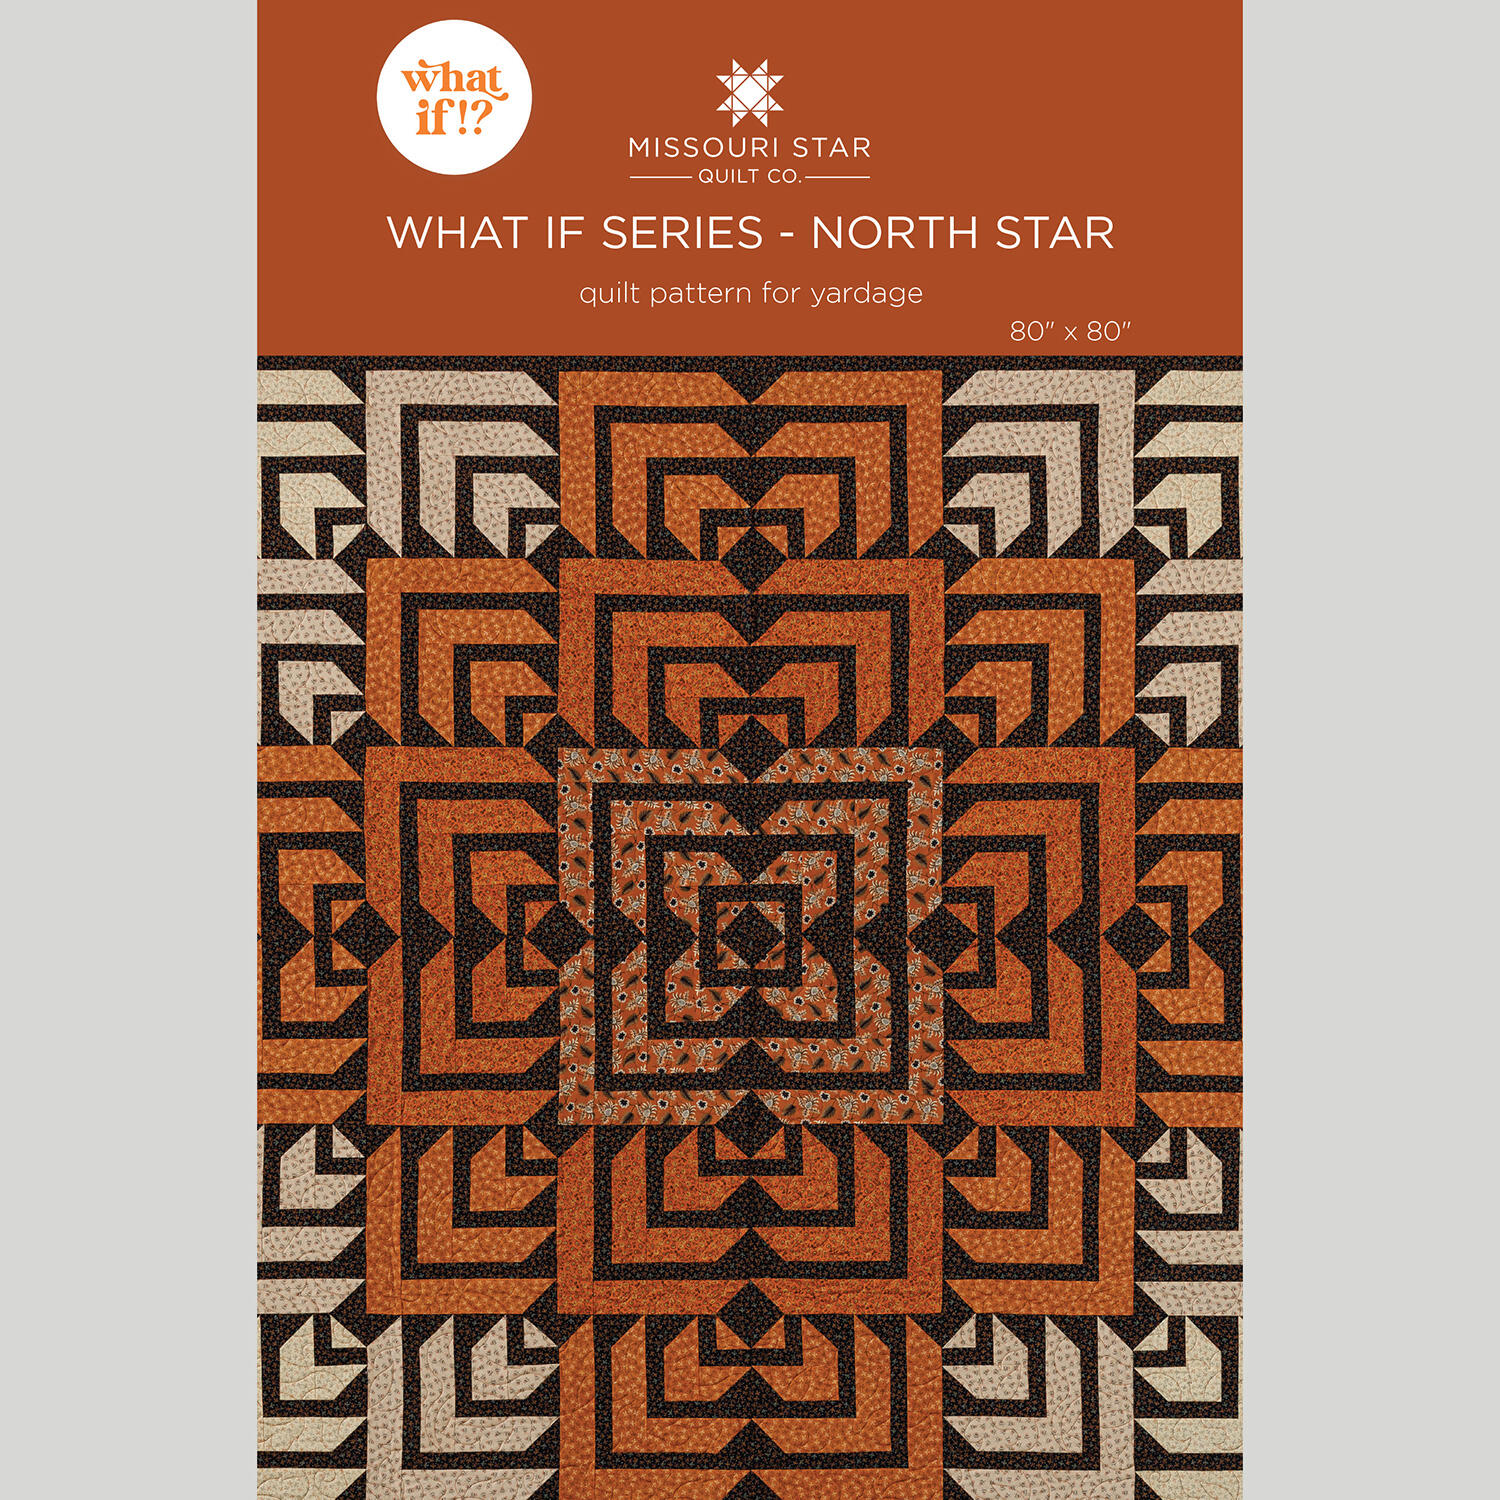 What If Series - North Star Quilt Pattern by Missouri Star$8.50Shop →
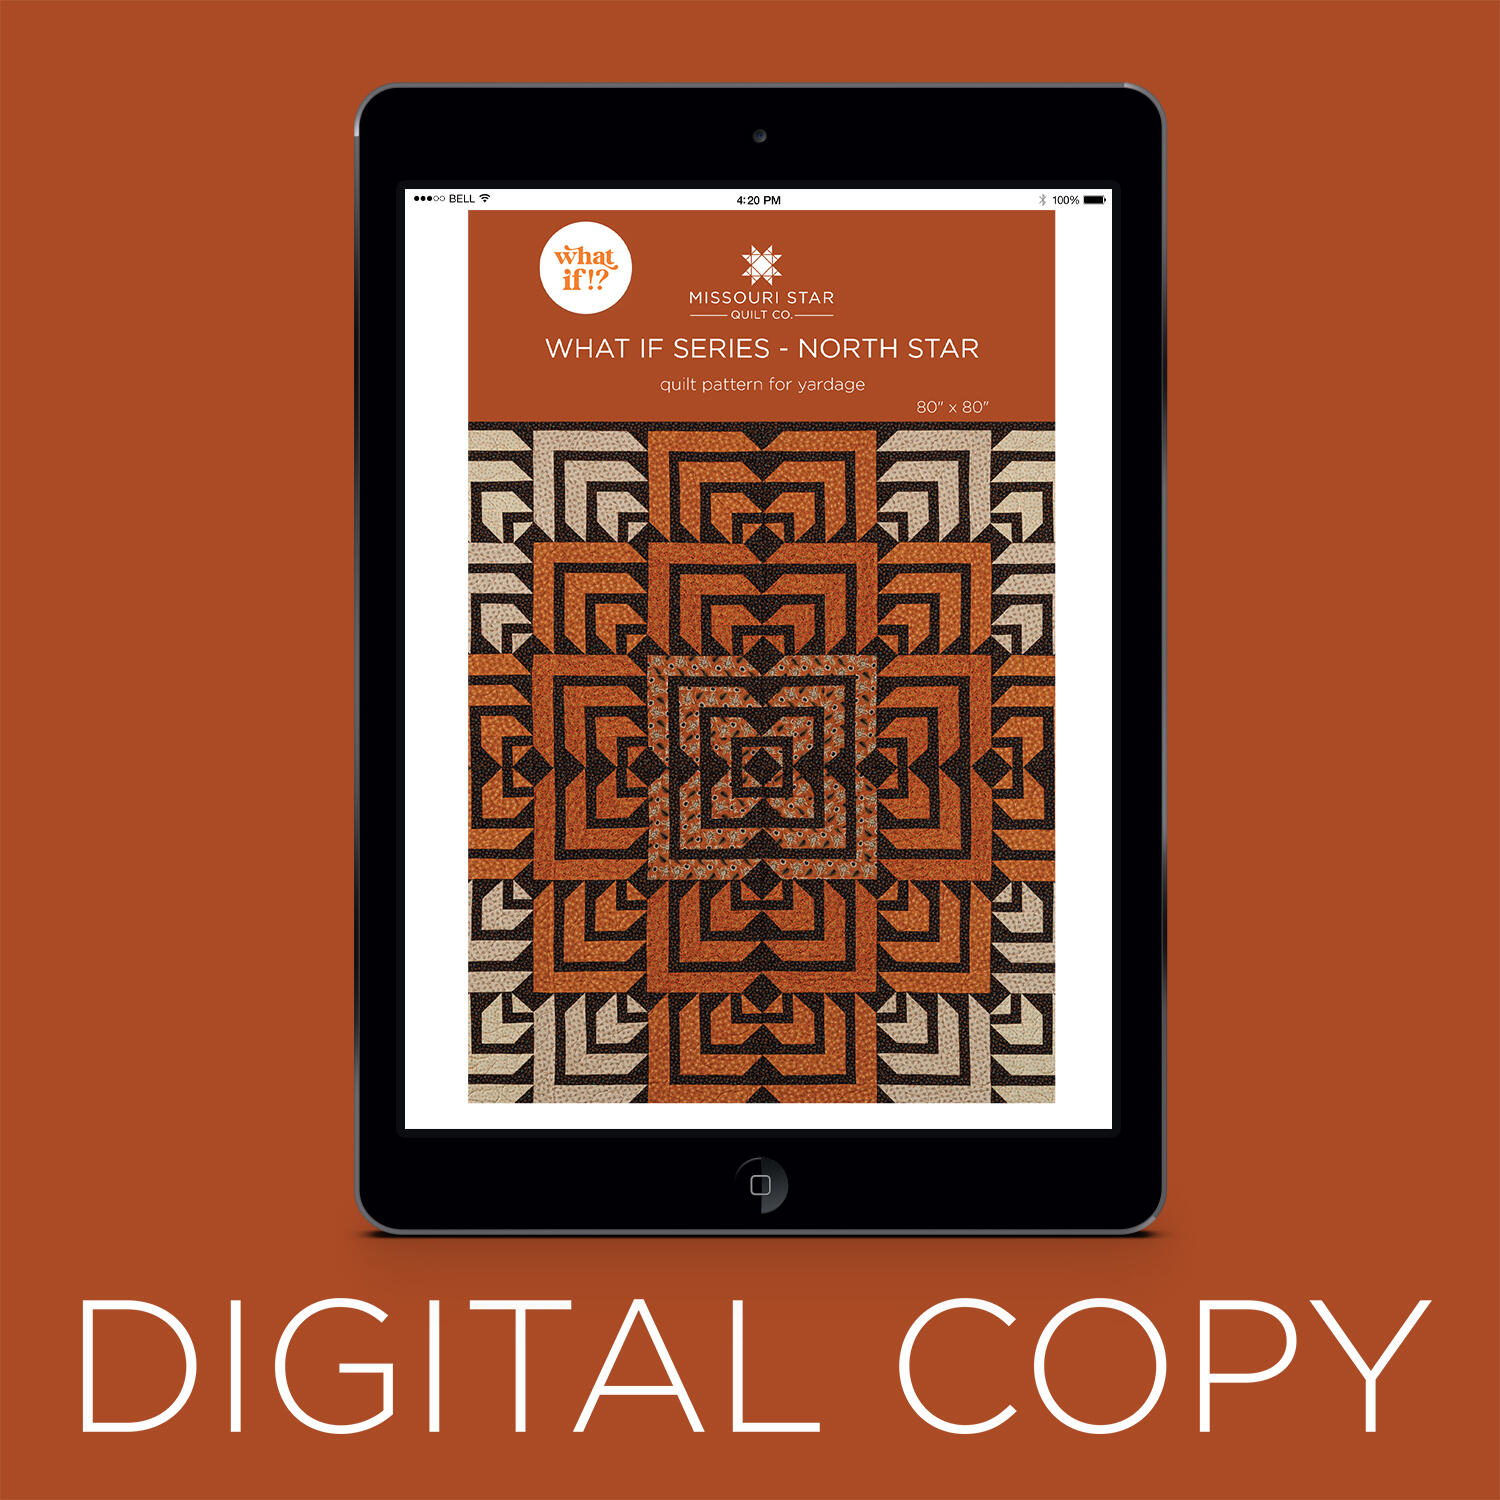 Digital Download - What If Series - North Star Quilt Pattern by Missouri Star$6.95Shop →


