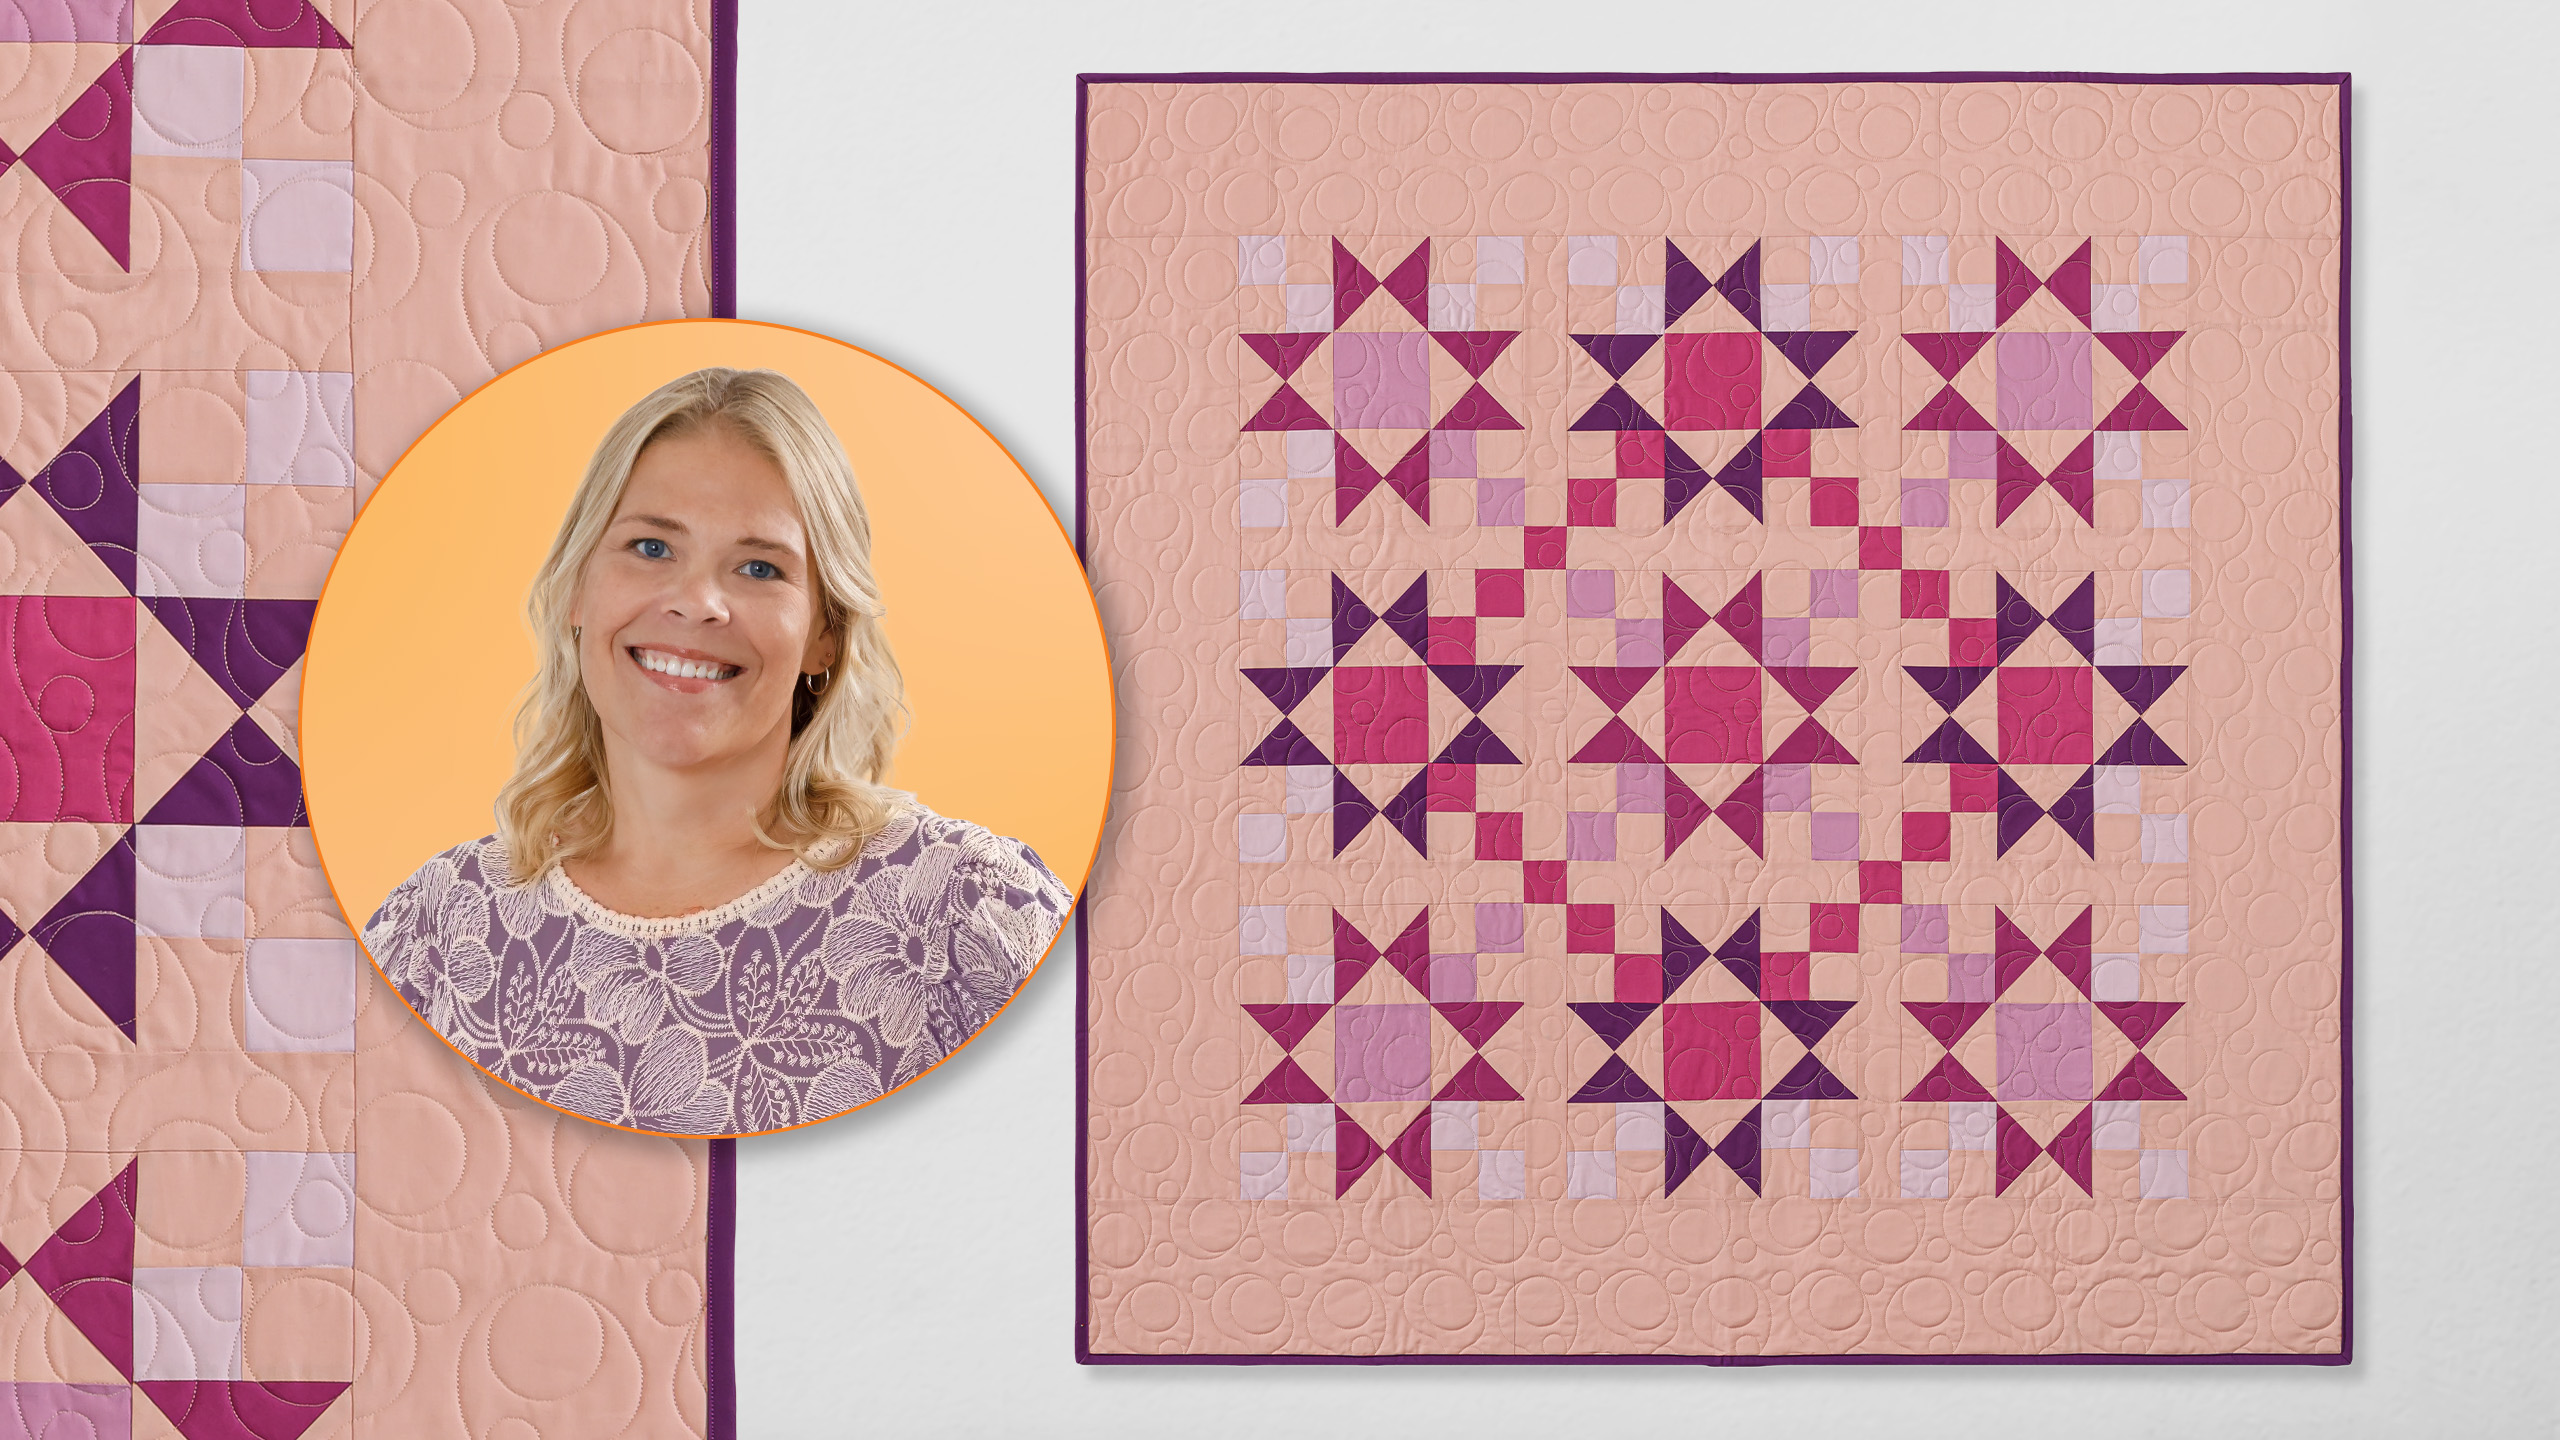
We’re bringing the stars to your sewing room! Join Natalie as she guides you through this familiar pattern with a brand new twist. Ohio Starlight by Missouri Star is a fun quilt pattern that features eight-point stars. Show off the brightness of these stars with Tula Pink Designer Essentials. Stargazing has never been easier!
Natalie is the host of Quilting 101, Embroidery 101 and the Creative Strategist and Editor of Block Magazine at Missouri Star Quilt Company. She was taught how to sew by her mom, of course, and began quilting when she grew up.
We’re bringing the stars to your sewing room! Join Natalie as she guides you through this familiar pattern with a brand new twist. Ohio Starlight by Missouri Star is a fun quilt pattern that features eight-point stars. Show off the brightness of these stars with Tula Pink Desi...
How long is the tutorial video?
The tutorial video is 00:17:06.
Are supplies listed for this tutorial?
Yes. The tutorial page includes the supplies and materials connected to this project.
Video Transcript
Oh, hey. Hi guys. I'm Natalie with Missouri Star Quilt Company and it is What If Week. Today we're going to be doing the Ohio Starlight Quilt and I think it's going to be a lot of fun. So, let's get started. The Ohio Starlight quilt originally debuted on our triple play. It was Misty's mini wall hanging and it was absolutely adorable. she did a quilt similar to this size on her show um at home with Misty and we decided that it would be super fun to just recolor it in different colors. And so if you'll take a look at this quilt, we've got this really beautiful light lavender color that kind of circles around the outside edge of the quilt. And then you'll notice that we have some other colors that create different designs. So we have this purple that kind of makes a little crisscross here. And then this that's a more pink that makes sort of a diamond. And I think that just using different colors in different ways, it creates this really lovely pattern. We have these dark stars and then these four in the corner and the middle match. And I just think hopefully that it will inspire you to play with color and do some fun things and just have fun with your quilts. So, let's get started. All right. So, to make this quilt, we are using a variety of yardages. Now, keep in mind if you want to come up with all the colors that you want to use in your quilt, you can just match up the quantities to the colors that you want. So, you're going to need an A through E. So, fabric A 38 of a yard, B is 2/3 of a yard, C is 1/3, D is a half yard, and E is 38. Now, this yardage is our background, and it's also our border and our sashing. So, you'll need 2 and 7/8 of a yard of that. And then our backing. You'll need three and three/4er yards if you're using a regular 45 inch wide fabric or a yard and 78 if you have a 108. Um, some other helpful tools are, you know, your rulers and rotary cutters. I'm using trimmer B to make my hourglass blocks. And then another fun thing that we have are these cute little labels. And so you'll notice on this quilt, I went ahead and put one right here on the corner. And I just think it turned out so cute. It's fun to add little things, little bits of whimsy to our quilts. So, hopefully you like that. And while I'm here, check out this backing. It's a beautiful Tula pink backing. I just think all of her backings are fun and bright and they go great with solid quilts, and I'm really excited to get started. So, let's make our blocks. All right, so this whole quilt is just made up using nine of these blocks, and it's easier than you think. So, let's uh let's cut some fabric. So, the first thing we're going to do is cut some 10in squares. And um we're going to need 10in squares and then our strips are going to be 2 and 3/4. So we'll start with our our yardage for that. Let's see. So you'll you'll first cut a 10-in strip and then we'll subcut it and set our fabrics aside so that we're all ready to go. Let's see. Oh, that's got a little fuzzy on it. All right. So, I am cutting just for this block that I'm making, but you'll notice in the quilt that we have a few different colorways. And so, you'll want to go through and cut the right number of fabrics that you need for the whole quilt. Um, I've got some background 10in squares already cut here. So, I'm going to set these aside. And then I need the block for the middle. Now, that is going to also come out of a 10-in square. And then the um the four patches, we're going to need uh some strips. So, I'm going to cut one more 10in square so I have that middle block because that does get cut down. Let's see. I'm going to go with my I got to straighten this edge here. So, I don't know if Yep. I just want to make sure I'm I'm getting the whole edge and I don't end up with a weird, you know, crooked cut on that end. Got to have nice straight lines. Whoops. That never happens to anybody else, does it? Get that one little string that just didn't cut through. All right, 10in strips and oh, a 2 and 3/4 in strip, which I know it's a little bit different than our normal 2 and 1/2 in cuts, but what that does is it makes all of these blocks come out 5 in. So, it's real easy to put together um with your layer cake. It's good a good use of fabric and it'll be fun to use your um maybe maybe sub the middle with different charm squares. You can do whatever you like. All righty. Going to get just trim these up and then subcut it. So again, pay attention to the the amounts that you need for the number of blocks that we have in the colors that are needed. All right, I'm going to go ahead and subcut this now cuz I need a 5 in square for my center. And I'm just going to cut down one part of it. I'm not going to do the whole thing cuz I'm not going to make all those blocks on camera, but they will be set aside and used later. All right, so I've got that. I've got my strip. And then I need a 2 and 3/4 in strip from my background yardage. All right, so I'm just going to fold this in half so that I can go ahead and cut that strip. My edges are pretty good here. I'm going to flip that over. Okay. And again, remember these are two and three4s. Just just a little bit different than what we normally do, but they come out perfect. Okay. So, the first thing we're going to make are our hourglass blocks. Let me put that down and close that blade. So, this little block goes in these sections here on our star, our Ohio star. And they're pretty easy to make. I know it looks a little bit scary, but this is my favorite way to make hourglass blocks. So, we're going to grab our background print and our main color print. We're going to put them together. And there's not really a right or wrong side, but if you had a print, it would be right sides together. We're going to sew all the way around the outside edge using a quarter inch seam allowance. All right. Now, you can pivot if you want to, but I like to just sew off the edge, pull it out, and keep going. All right. So, now that we've got this all the way around the edge, what we're going to do is cut it in half diagonally both directions. That will give us four half square triangles. And I know you're probably used to squaring at this point, but we are not going to square them yet. We're going to take two of them and press them open. You'll do all four, but I'm just going to show you these two. We're going to press it to the dark side. And these are going to get squared down after we turn them into hourglass blocks. So, we don't need to do that step yet. And yes, of course, you can set your seams. It makes your your blocks press a little bit flatter, a little more precise, but if you forget, that's okay, too. No big deal. All righty. So, to make our hourglass blocks, these are going to go together. And we're going to put opposite colors on top of each other just like that to create a little um sort of a little block sandwich. A little half square triangle sandwich. You want to make sure that your seams are sort of snugged up next to each other. And then what we're going to do is draw a line corner to corner opposite the direction of the seam. So I'm going to use my ruler and line it up and grab a pencil. And this is where you're going to be cutting through that line. So it doesn't matter what kind of marking tool you use here. It can be a pen, pencil, marker, crayon, whatever. Just need to draw a line. We're going to sew on both sides of that line. All right. And as long as your seams are snugged up next to each other and not overlapping, you'll get a nice point in the middle. Actually, if you don't mind, I want to show you that really quickly. So, when you are trying to make sure that these are lined up really neatly. If you pull it back, you'll be able to see how that looks. So, if you have them on top of each other, it's going to give you that that crossover or if they're too far apart, you'll end up with that background crossing over. So, you really want to make sure those seams are just pressed right into each other and very very snug. And um and you really only have to worry about that lining up right here in the middle because that is where those that seam is actually going to sew through it. That is the most important part. But you can tell how it looks by by peeling it back and looking and seeing where it is. And you can also feel it as you feel along. It should feel nice and smooth and tight and not like there's a lump. So now that we've checked, we've pulled it back and made sure that everything is nice and snug and our seams are going to look really good. Now I'm going to go ahead and sew on both sides of the line. And just flip that around and do the other side. All righty. Now, we're going to go ahead and cut these apart. So, we're cutting in between those two sewn lines right on our drawn line. And now comes the fun part. So, now we get to square them up. We're using our Clearly Perfect slotted trimmer B. And we are going to do 5 in. So, we're looking for the seam line matching the dashed line. And then this middle line right here, that lines up with this stitch line. And that is how we get all of our points in the corners and make it look really, really beautiful. Now, you have plenty of room here. So, we're going to line that up. Make sure everything lines up. And then you just trim that excess off. Trim your little extra fabric down there in the corners. And you've got a perfect quarter or hourglass block. You can also do this with quarter square triangles. I almost said that, but this is an hourglass. It's absolutely beautiful. And I love how easy it is to make these where I feel like a lot of times they can feel very scary and overwhelming, but this works every time. I love this trimmer tool for that particular purpose. So, let's go ahead and square this one. So again, lining up our seams with our dashed line on the 5 in right down the middle. Now, if you don't have the clearly perfect trimmer, you can use a regular square for this. Just make sure you go with 5 in. Make sure that your seams all go into your corners and your little hourglass X is right in the center and you'll be good to go. All right, so now I can press these open. There we go. I need to set that one. It's not wanting to fold back for me. There we go. That's better. Make them cooperate. Okay. Now, we're going to need to make our four patches. So, these go in the corners. And for this block, you'll notice I've got three that are this light color. And then I've got one that's the little a little bit darker because these are our corner blocks. So I have my three light blocks made. And all we're going to be doing is stitching these two strips together using a quarter inch seam. So I've already gone ahead and done that. Um and I'm going to trim off again a two and 3/4 in strip in sections. and we will sew them together to make our last four patch. So 2 and 3/4. And these should come out, if your seam allowance is pretty consistent, should come out to 5 in. All right. So I've got two of these. We're going to just rotate them so that we've got all of our our two corners in opposite directions, our colors. Stitch them together down one side using a quart of an inch seam allowance. Just make sure your seams nest up nice and snug. And this is also one of those things where typically if you're doing strip sets like this and you press to the dark side, as you flip, they'll all automatically nest. So there's not any crazy tips on remembering which direction to press for this one. It just kind of works out, which is great. All right, one seam here and then we will lay this block out. There we go. I'm going to go ahead and set this seam and press it back. All righty. So, we're ready now. We've got all of our elements. I'm going to set this stuff to the side and move some of these things. So, this is my middle piece, my center. I'm going to put my hourglass blocks around with my background facing in creates that really cool little box or diamond around the middle. And then we've got our corner blocks. And as long as you've got one of your colored blocks in one corner, they'll work out just right. So, I'm going to put my light blocks here. And it looks like we've got our colors pointing into the middle, which is what helps create the chains in this quilt. And then that one goes in. And this one goes down here. So, now we've got all of our pieces. And we're going to sew this row. Then we'll sew this row. And then this row. And then we'll join this row to this row to this row. And our little block is going to look just like this. So now where these blocks go in the quilt, you'll notice that these are our corner blocks and they're all the same. They just rotate around so that the light squares stay on the outside and the lavender ones point towards the middle. And then you'll see that these four blocks are also identical. They've got light blocks on the outside and then the pink blocks that kind of create that diamond. And then this block in the middle here is a singular block. It's the only one of its kind. So as you go through and make your blocks, you're making nine, but remember that you've got your four corner blocks that match and then your darker star blocks that make that diamond and the one in the middle. And you're good to go. The only other thing is our sashing and cornerstones. Now these are 2 and 1/2 inch wide um 2 and 1/2 in square cornerstones and 2 and 1/2 in wide sashing. So we've added this really nice big 8 in outer border. I think it really sets everything off and we've machine quilted it in champagne bubbles which gives it a really nice whimsical feel. I think it turned out really great. It's 59 in square and I I just love playing with color. These quilts are so fun for me. So hopefully you've been inspired to create your own whatif with your favorite colors and uh just you know play and have fun. It's your sewing room and your happy place. So, I hope you've enjoyed this whatif tutorial on the Ohio Starlight Quilt from the Missouri Star Quilt Company. Bye. Hi everybody. I hope you enjoyed today's video. We're trying super hard to get to a million subscribers. So, if you enjoyed it and you want to see more, just hit subscribe and share with your friends and encourage them to do the same. And I will see you next Friday with a brand new tutorial.

 Natalie Doan
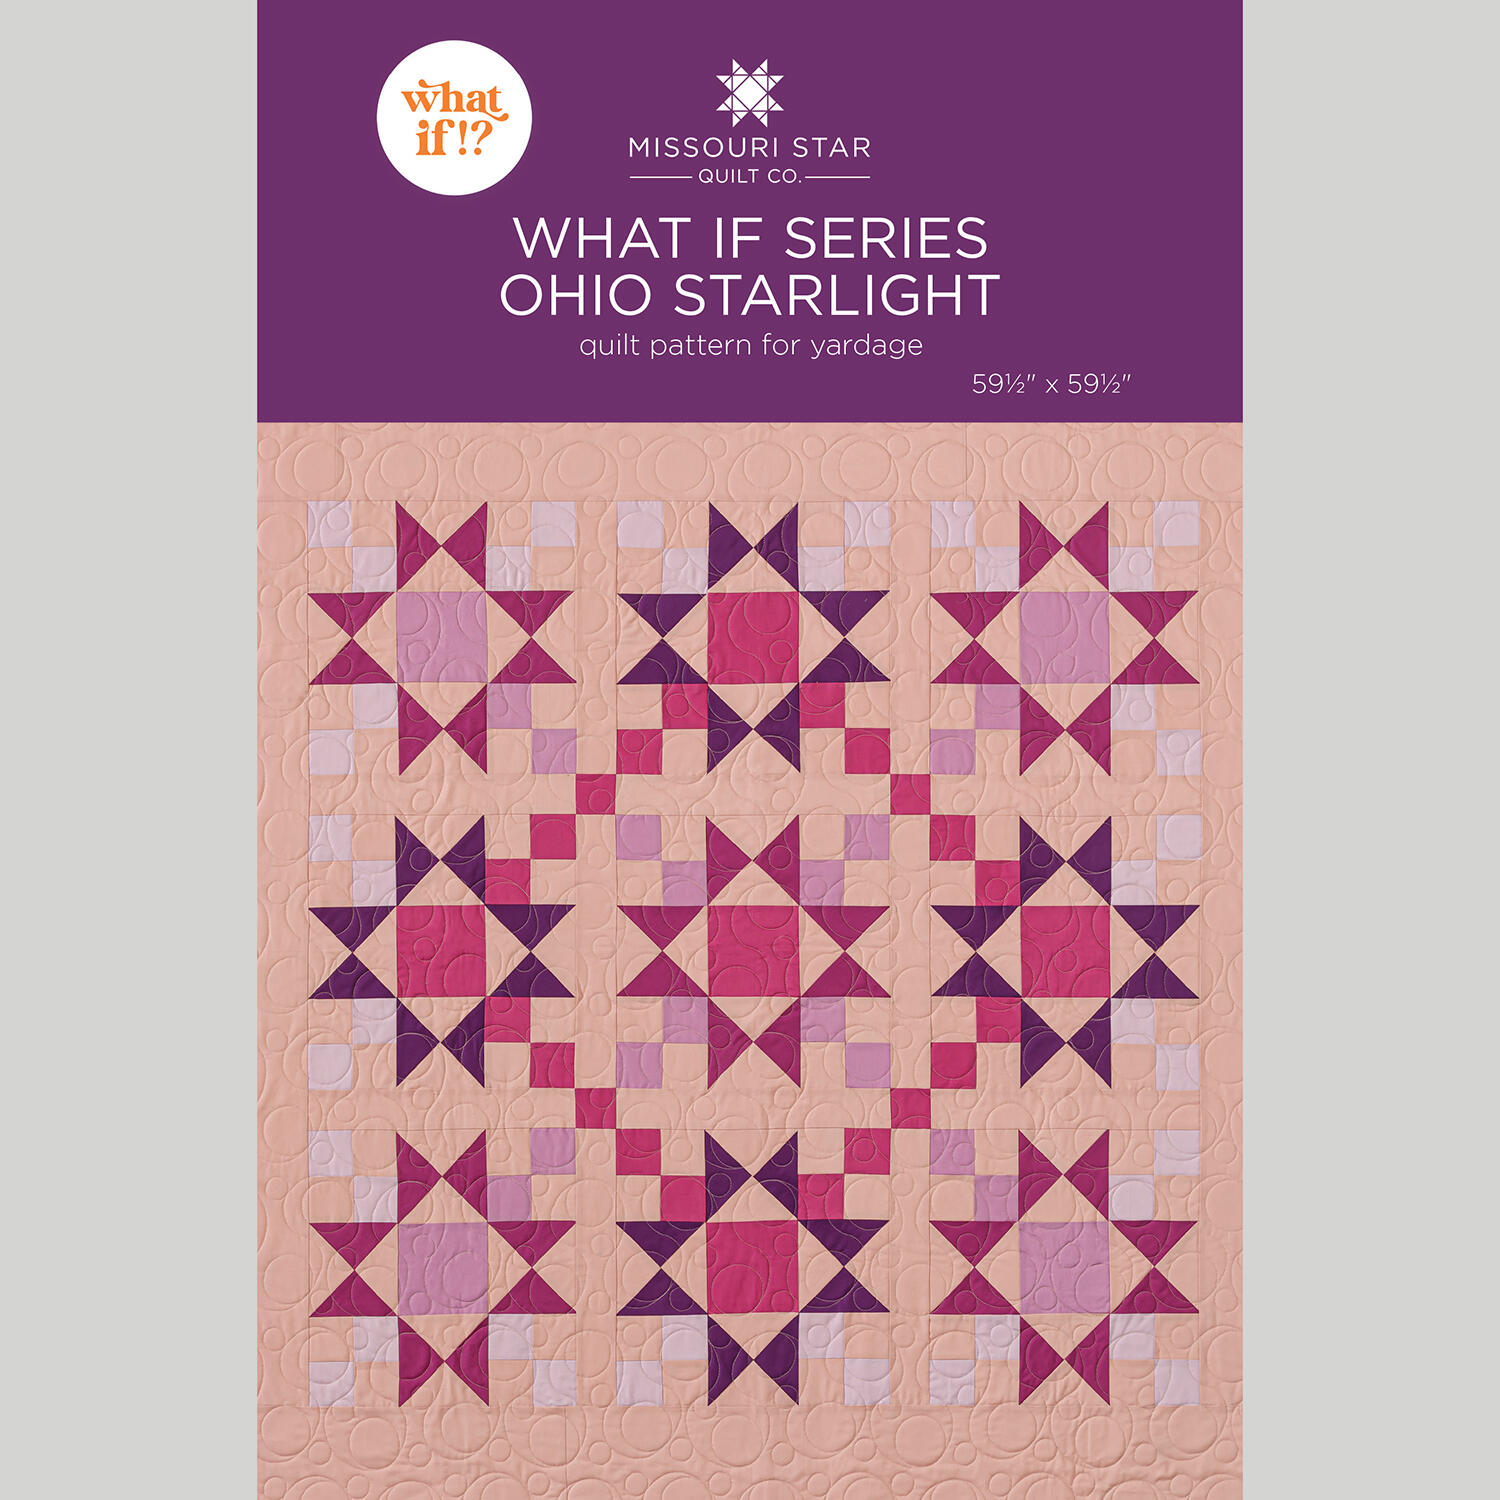 What If Series - Ohio Starlight Quilt Pattern by Missouri Star$8.50Shop →
 Digital Download - What If Series - Ohio Starlight Quilt Pattern by Missouri Star$6.95Shop →
 Designer Essential Solids - Tula Pink Tanzanite Yardage$9.72Shop →
 Designer Essential Solids - Tula Pink Amethyst Yardage$9.72Shop →
 Designer Essential Solids - Tula Pink Cosmo Yardage$9.72Shop →
 Designer Essential Solids - Tula Pink Freesia Yardage$9.72Shop →
 Designer Essential Solids - Tula Pink Glitter Yardage$9.72Shop →
 Colorworks Premium Solids - Romance Yardage$8.12Shop →
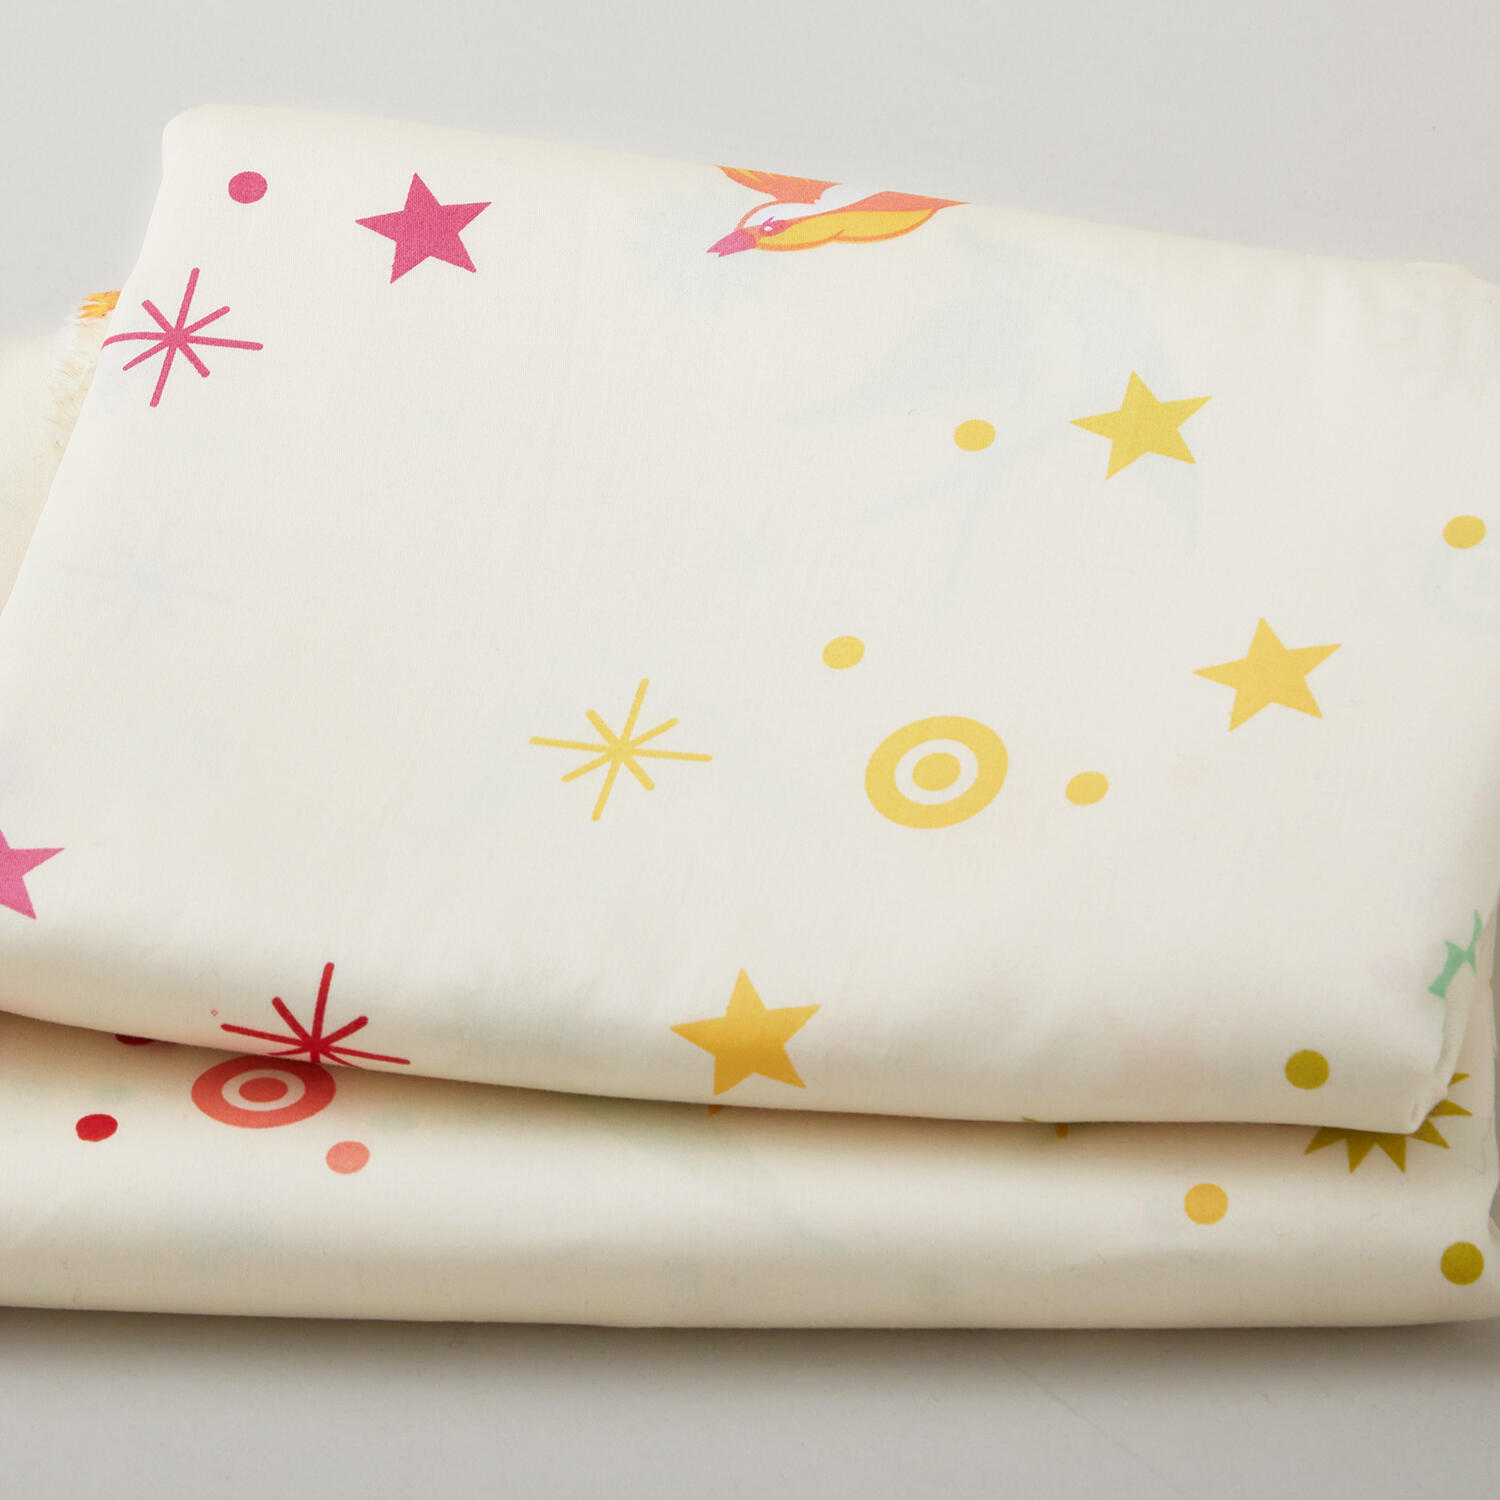 Tula Pink's True Colors Fairy Dust XL Cotton Candy 108" Wide Backing 3 Yard Cut$83.28Shop →
 Missouri Star 5" x 15" Ruler$19.95Shop →
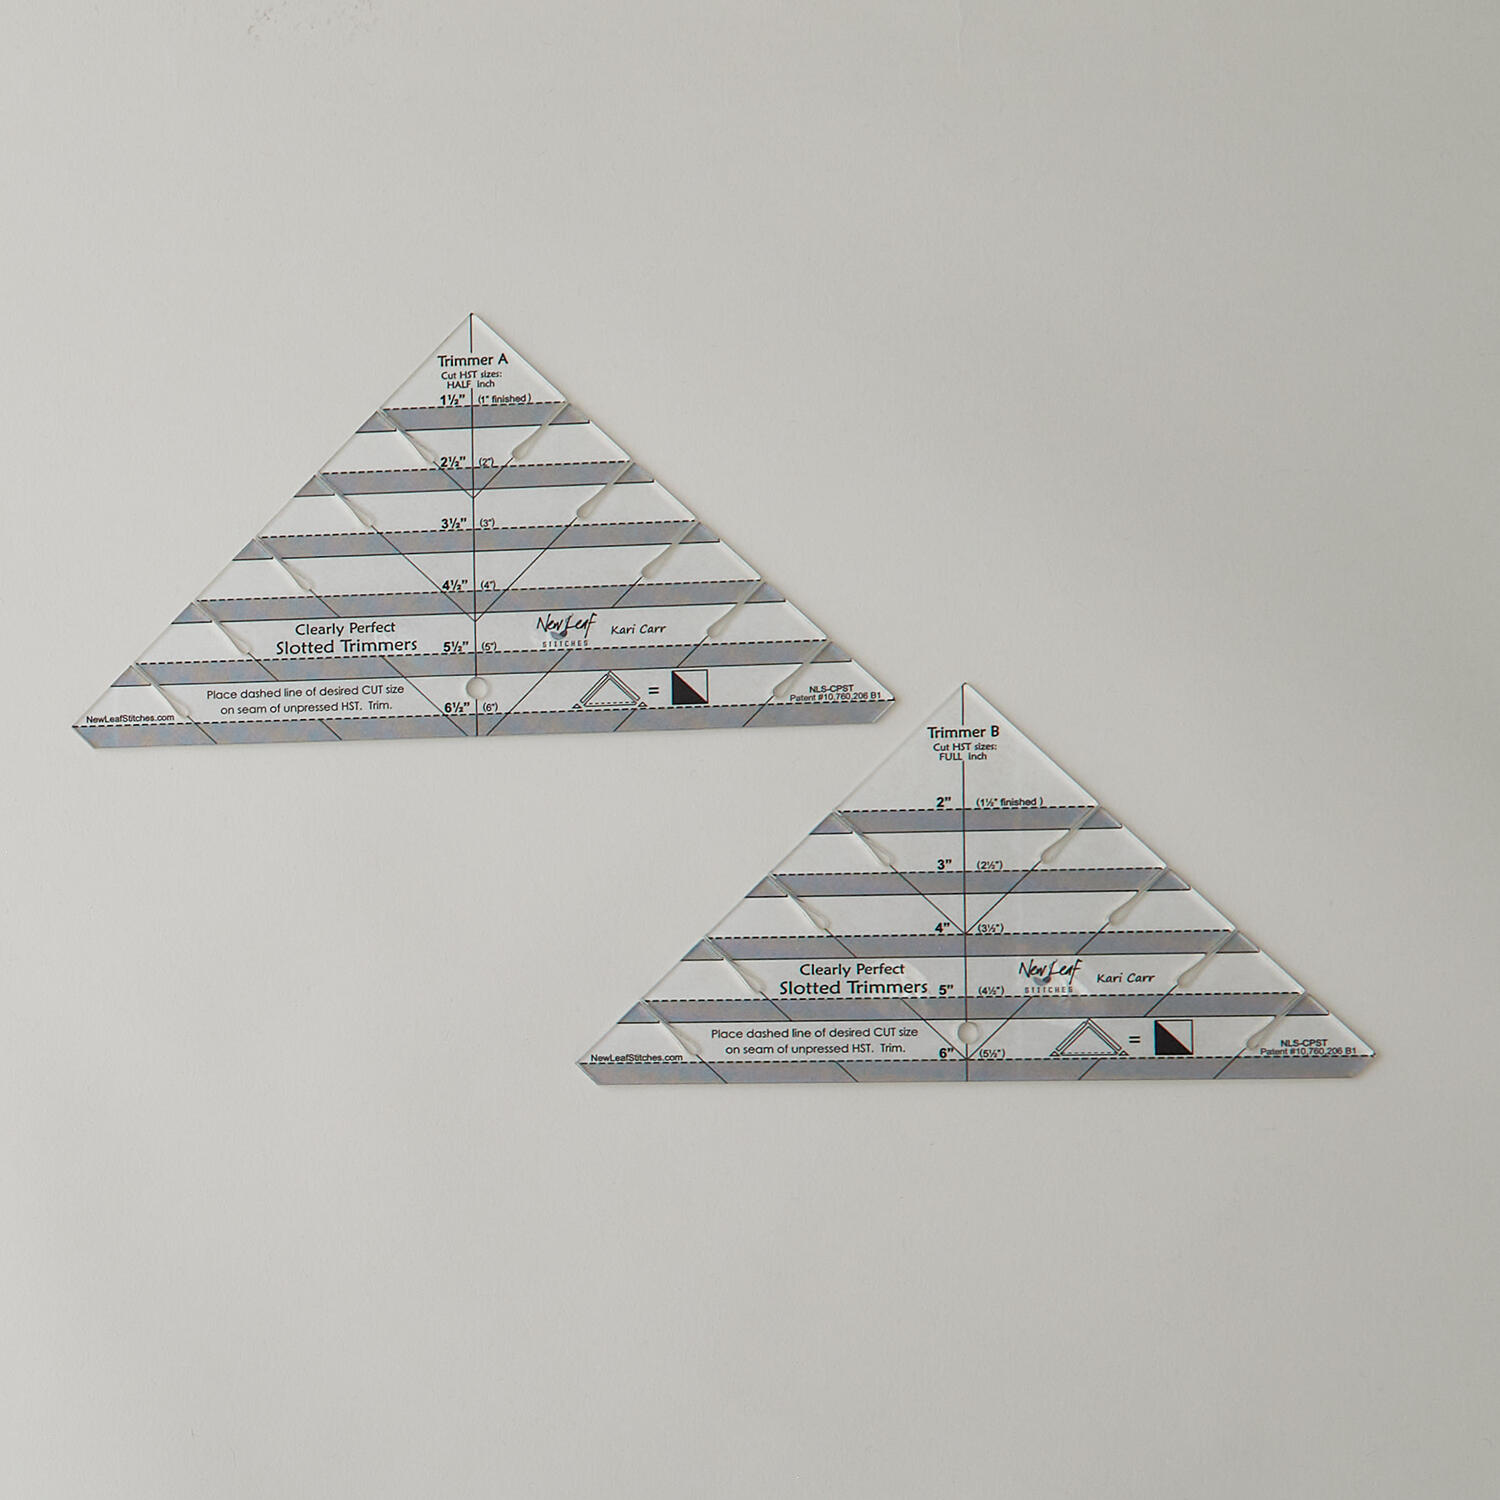 Clearly Perfect Slotted Trimmers$33.95Shop →
 Bernette 77 Sewing and Quilting Machine$1699.00Shop →
 Missouri Star 50 WT Cotton Thread White$7.95Shop →
 Missouri Star 45mm Rotary Cutter - Olga$19.95Shop →
 Missouri Star Seam Ripper - Frida$9.95Shop →
 Missouri Star + Oliso TG1600 ProPlus Iron$209.95Shop →


