There’s nothing plain about this prairie! Sew along with Natalie as she stitches a new twist on an old favorite - Prairie Flowers. Using eye-catching Kaffe Fassett fabrics, Natalie reimagines this Missouri Star favorite pattern in a hypnotic new light
Natalie is the host of Quilting 101, Embroidery 101 and the Creative Strategist and Editor of Block Magazine at Missouri Star Quilt Company. She was taught how to sew by her mom, of course, and began quilting when she grew up.
There’s nothing plain about this prairie! Sew along with Natalie as she stitches a new twist on an old favorite - Prairie Flowers. Using eye-catching Kaffe Fassett fabrics, Natalie reimagines this Missouri Star favorite pattern in a hypnotic new light
How long is the tutorial video?
The tutorial video is 00:13:07.
Are supplies listed for this tutorial?
Yes. The tutorial page includes the supplies and materials connected to this project.
Video Transcript
Hi everybody. I'm Natalie with Missouri Star Quilt Company and today's video is what if prairie flower. Prairie flower is one of my favorite quilts. So let's get started. [Music] All right, so today's quilt is really fun. The original prairie flower block looks very similar to this one, but you'll notice on this quilt, we've set our blocks on point. We have a dark background. We still have our similar cornerstone and sashing, but if you remember the original, it was set straight with a traditional cornerstone and sashing. And so, this one just gives it a very different feel. We've also used just three fabrics as opposed to a um a pre-cut that had lots of different scrappy fabrics in it and a darker background as opposed to the white background. So, I find it just so fascinating how different quilts can be with just minor changes. So, let's go ahead and get started and I will tell you what we need to make this quilt. All right. So, to make this quilt, you're going to need two yards of a dark value fabric and that is our background here in the middle and all of our um 2 and 1/2 in squares. You're going to need a medium value fabric about a yard and a half. And then a light value fabric is a yard and 5/8. And then for your background, which includes your sashing and your setting triangles and your border, you're going to need four yards of fabric. So then for your backing, you'll need five and 3/4 yards. And we've actually used the same fabric on our back that we used for our border and setting triangles. And I just think it's absolutely beautiful. It's one of my favorites, and I think it's it turned out really nice on this quilt. So, all of the fabrics in this quilt are from the Cafe um classics title color story by K Facet for Free Spirit Fabrics. So, let's go ahead and get started. All right. So, this is the block and all of the pieces in the block are made from 5 in squares and 2 and 1/2 in squares. So, that is what we're going to cut all of our fabric into. So, we're going to start with our background or the dark fabric that is going to be um all of our snowalled corners are made using the two and a half inch squares from this. And then these two are just 5 in squares. So, we'll get all of that cut. And we're going to start with a 2 and 1/2 that we'll subcut into 2 and 1/2 in squares and a 5 in strip that we will subcut into 5 in squares. So, it comes together pretty easily. I think that's the reason that I love it so much because it is just so simple and it also makes such a stunning quilt. We did a block version that has a panel in the middle that I think is also really cool. So, you'll have to check that out. All right, I'm just going to subcut these This ruler is so great for cutting 5 in squares because it's just the right width and you just don't even have to think. And that worked out perfect. Excellent. All right, so these are ready. I'm going to press that fold out just to make it easy to use. And then I'm going to cut some 2 and 1/2 in squares off of this strip. Um, because we're snowballing everything, you may want to mark a line diagonally across the back of your squares. Or you can use your diagonal seam tape, or you can press a line or just eyeball it, whatever feels good to you. I know when you do this a lot, sometimes it just feels like you're on autopilot and you don't really need that line anymore. But it does help with precision. So, all right. I think that one's a little short. Yep, that goes in this in the scrap bin. Okay. I've got my other fabrics cut already. So, what we're going to do, one of these fabrics is going to make up our middle. And so, this one just gets placed right in the center. And then we are going to have four of our mediums and four of our lights. So for the medium fabrics, we're going to snowball just the top to create the little point. And so I've got lines drawn on these. These squares are going to line up point to point in the middle. And because it's 2 and 1/2 on five, they lay down really nicely. You can do that that seam all at once. Um, and you don't have to move the fabric. It's super easy. So, let me show you how I did that. I get all of these ready. Hang on. I don't need this guy. He's extra. And I have a There we go. It felt sometimes. Okay. I don't know if anybody else has made this mistake, but multiple times in my life as a quilter, I have accidentally sewn a seam on two pieces of fabric. And that's just it's funny but frustrating. So I see you if that's happened to you. I understand. All right. So what I'm gonna do, I'm gonna sew on this line and I'm going to start here and go up and then I'm going to pivot and go down. And we'll do that for both of these blocks cuz you know I've got a couple already done. Okay. And then just flipping it around here and continuing. It just makes it go really fast. All righty. And also, you know, because this quilt is just made with these colors, it would be really easy to go ahead and chain piece all of these. It'll come together so quick. All righty. So, now I'm just going to take my scissors and I'm going to trim this off. You can use your rotary cutter as well. Just about a quart of an inch from the edge. And I've got one more done here of these guys. This guy. Here he is. Okay. Now, we're going to set the seam and just roll them back gently. We don't want to push or stretch that fabric. We just want to press it. But we also want to make sure it goes back all the way and you don't end up with like a little fold there. Okay. And I've got this last one right here and ready to go. So these line up just like this, center out or points out. I know we've done some variations on the prairie flowers, so I don't know if you noticed, but if you turn them in, you make a little star, which is also fun, but that's for another day. All right, so we've got all of those done. So now we're going to do our corners. And our corners are just your classic XO block. So, we're going to put these squares on opposite corners. Just like that. We'll line that out. We're going to sew on the line on both sides. Now, this one I will just do um the two sides and then I'll flip the whole thing around and do the other side. just because that makes sense to me. All right, get that nice and lined up. And then I clip my little threads. trim this off again just at the quarter inch. And let me I'll do these with the ruler and rotary cutter so you can see how that's done. I just line that up and give myself a quarter of an inch against the seam line. We'll do one more here. And I've got one more here ready to go for trimming. I'm telling you, this block comes together so fast. All right, we're going to set our seams. And then roll these pieces back. And they come out nice and square typically. Although, if you're concerned, you can double check to make sure that they stay 5 in. So, we're not we're not doing squaring here like you would do with a normal um you know half square triangle. So, that saves us a bunch of time. No squaring is great. All right. Now, these are going to go in with our color to the middle and our snowballs meet up here on the corners. And that's it. That's your whole block. So, we'll stitch this together just in your, you know, your normal nine patch method of stitching together a block. And then let's talk about how this is laid out because all of the blocks are identical. They're made just like this. It's very quick and easy and straightforward. But the setting here is on point. So, we're going to go into, you know, setting these up like this. You're going to cut some corners and some setting triangles. Your sashings are the length of your block. So, you're going to want to measure your block. And ours measures 14 in unfinished. So, that is the length that you're going to cut your sashing strips. All of your cornerstones again are 2 and 1/2 in square. And so, you're going to start with this upper triangle being attached to this block and you'll have your sashing and cornerstones attached to it as well. And then we're going to sew this together in these long diagonal rows. So, let's talk about our setting triangles. So, these are going to start out at 23 and 1/4 in square. You're going to cut them in half both directions diagonally, and you'll do that to three squares, and that'll give you plenty to do all the outside edge setting triangles. And then the ones in the corner are a little bit different. They're 11 and 7/8. And you cut them in half once. You'll do that to two squares, and that'll give you all four for setting the corners of this quilt. Now, it comes together really nicely. I just love it. The machine quilting pattern here is called Diamond Loops, and you can see it really nicely on this backing. It's one of our more modern and new patterns, and I just love it. I think it's so elegant and also fancy and fun. This quilt ends up being 72 and 1/4 by 94 12. And I love it. I think it's a great way to make the prairie flower quilt just look a little more special. So, I hope you enjoyed this tutorial on the What If Prairie Flower from the Missouri Star Quilt Company. Hi everybody. I hope you enjoyed today's video. We're trying super hard to get to a million subscribers. So, if you enjoyed it and you want to see more, just hit subscribe and share with your friends and encourage them to do the same. And I will see you next Friday with a brand new tutorial. [Music]


 Natalie Doan
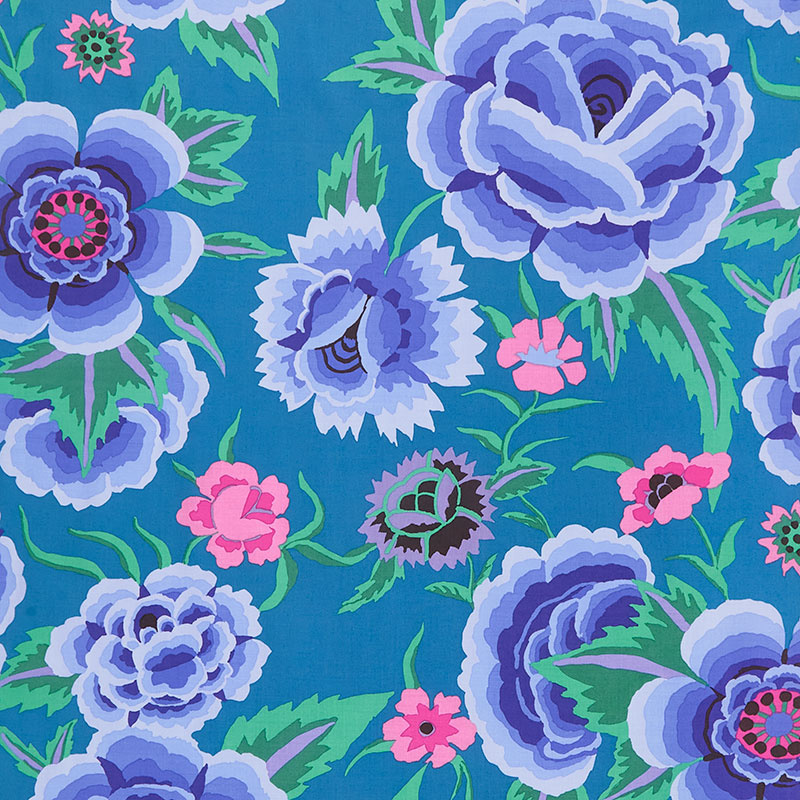 Kaffe Fassett Collective - August 2022 Embroidered Shawl Blue Yardage$12.44Shop →
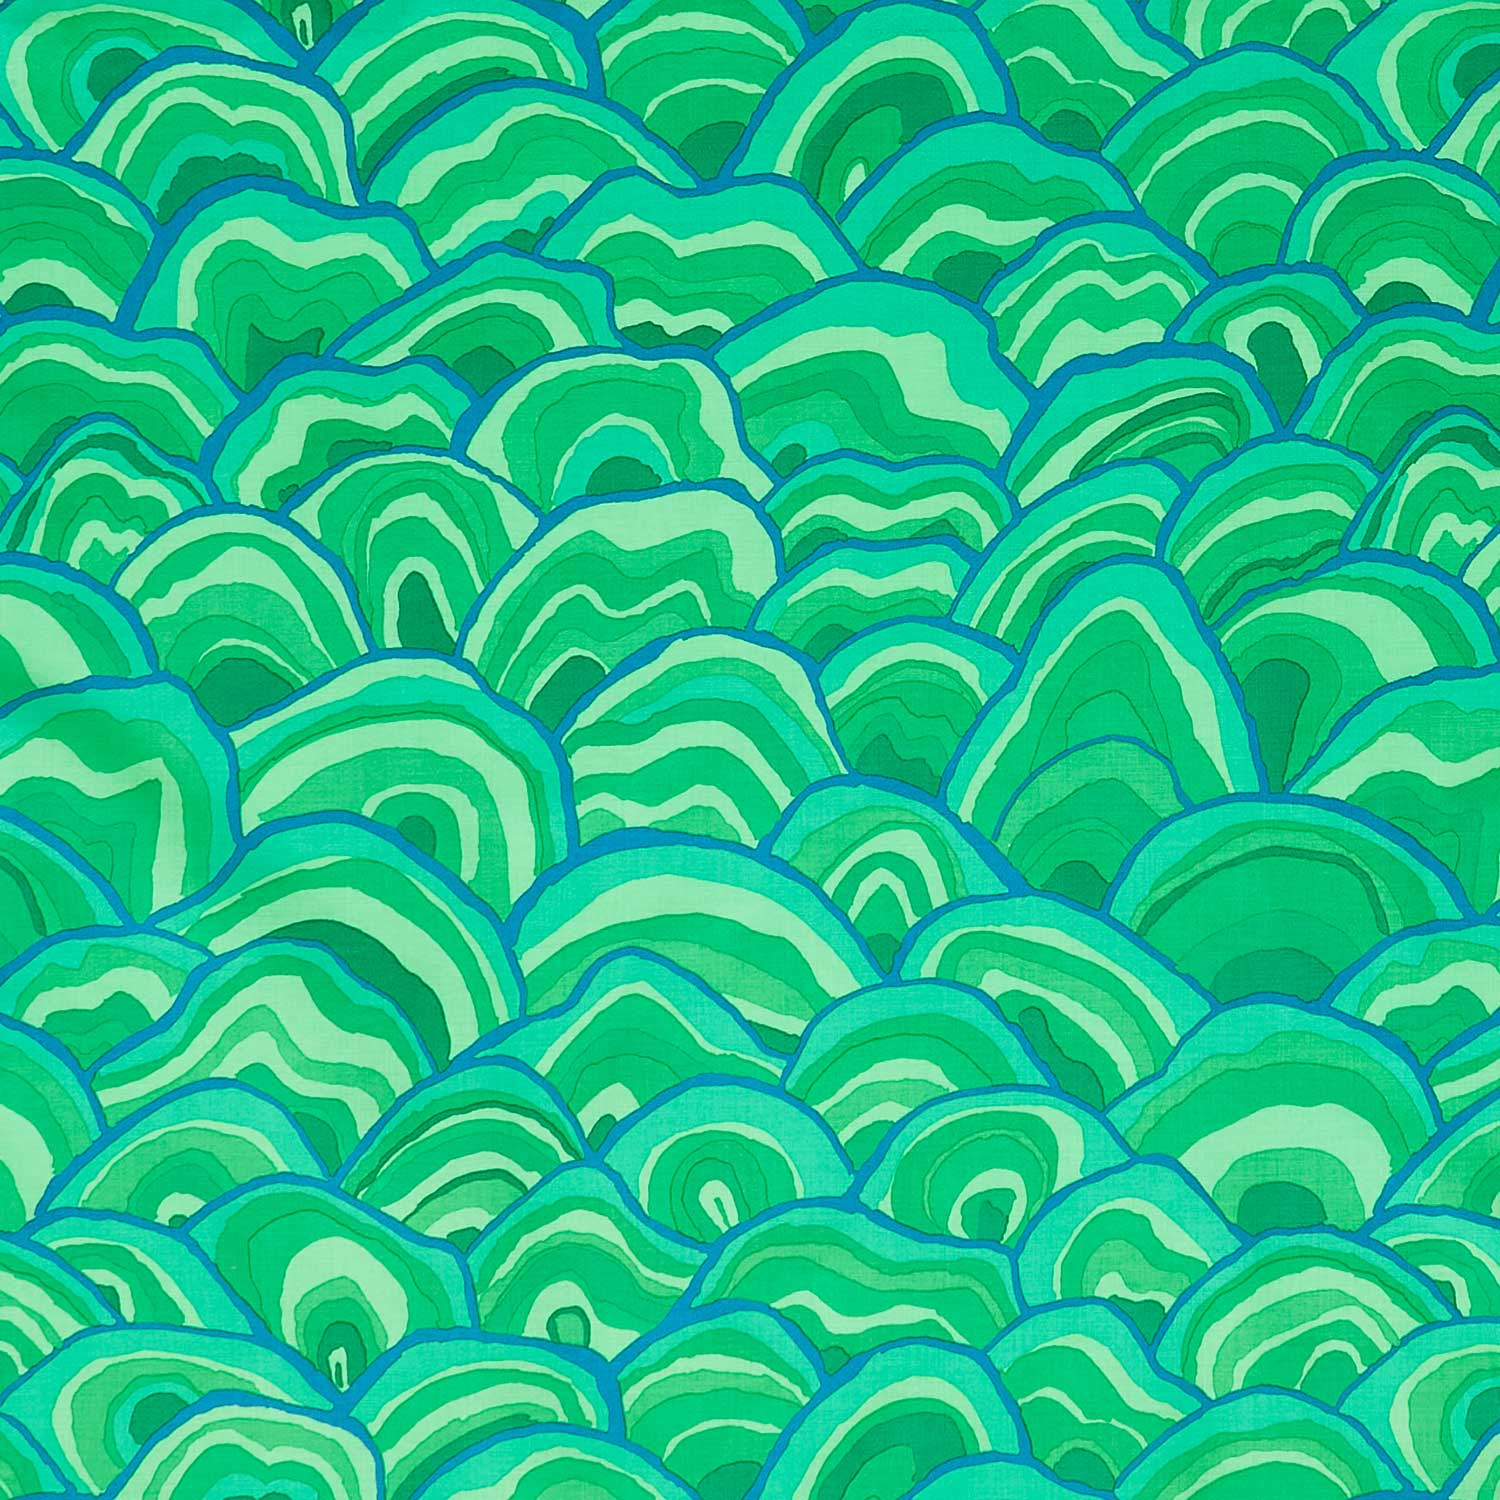 Kaffe Fassett Collective - August 2024 Wobble Green Yardage$13.00Shop →
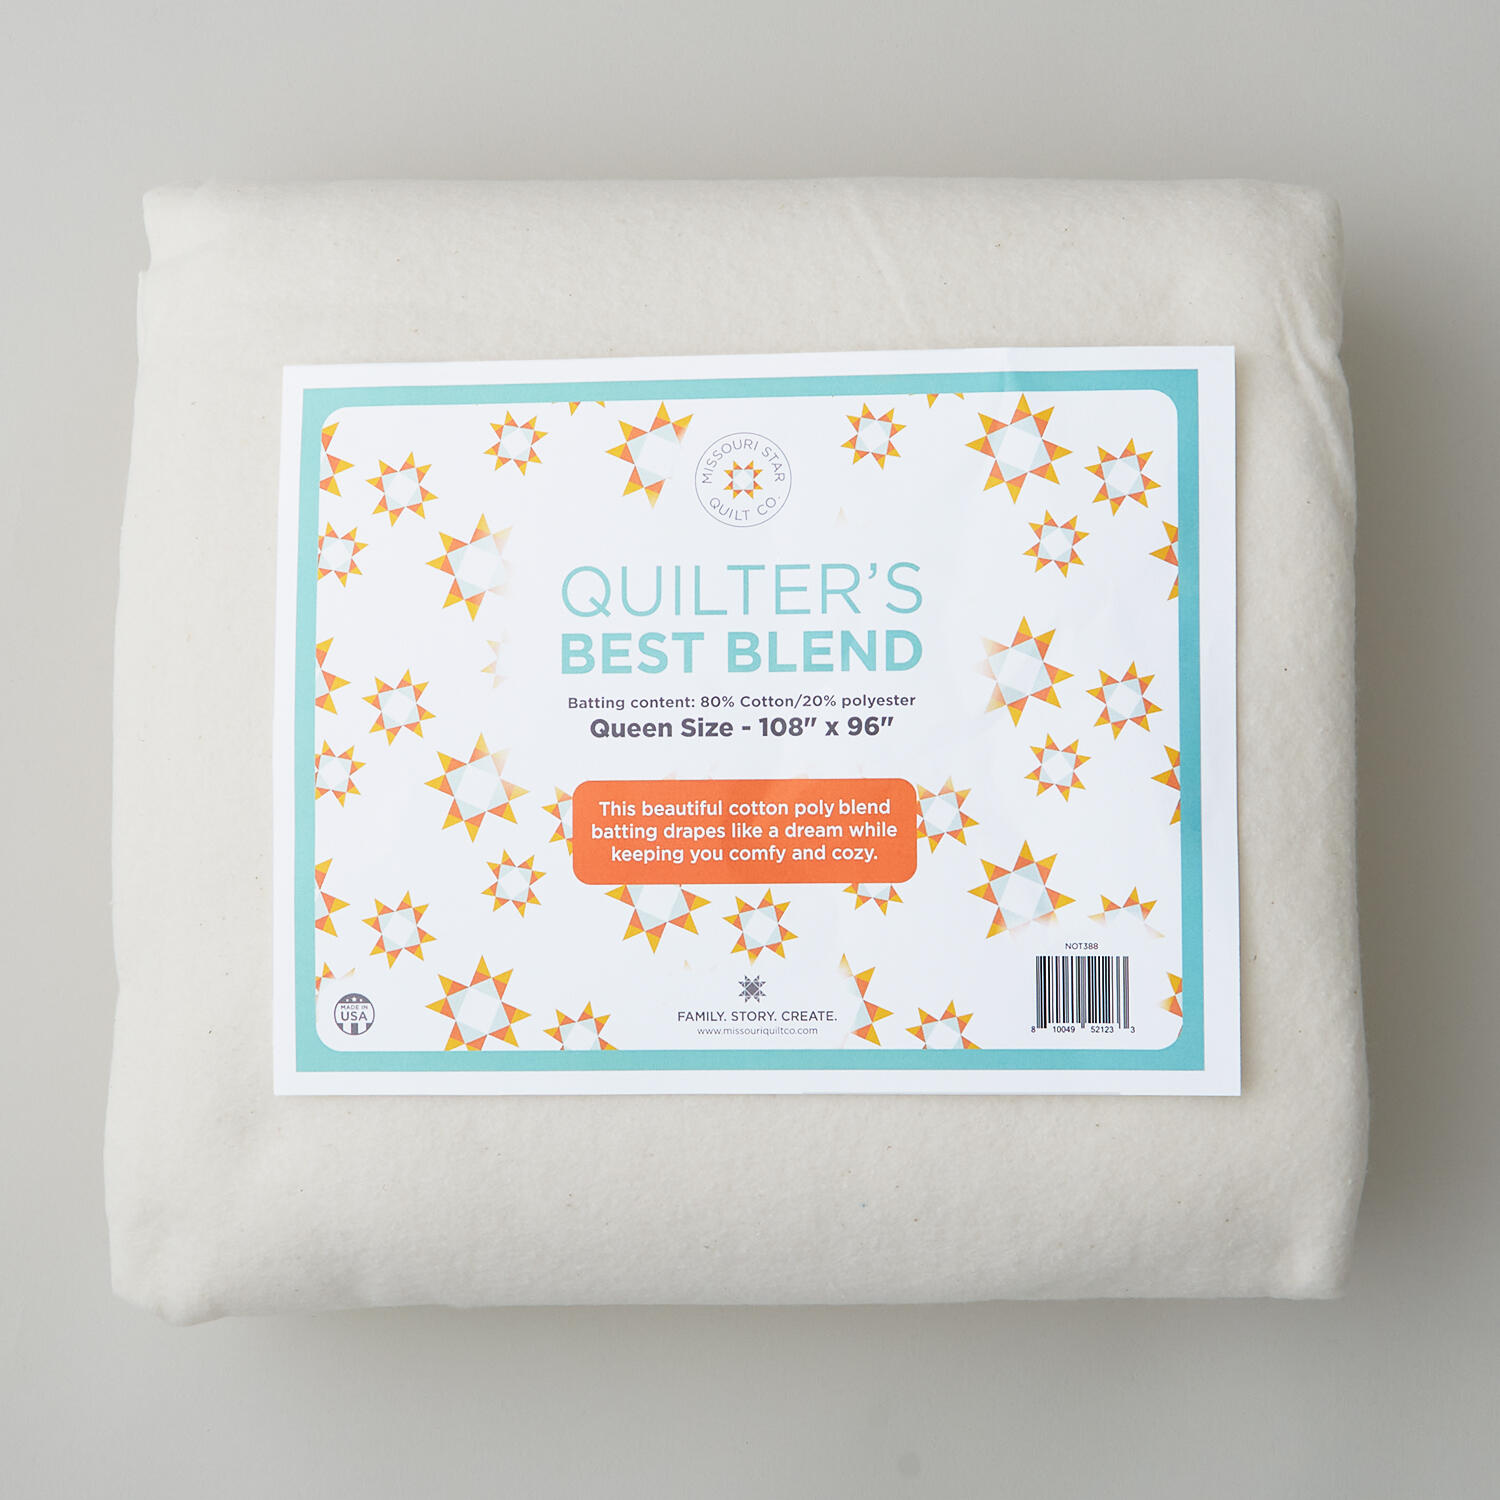 Missouri Star Quilter’s Best Blend Queen Batting$37.95Shop →
 Missouri Star 5" x 15" Ruler$19.95Shop →
 Baby Lock Accomplish - 1500 SPM Straight Stitch Machine$1199.00Shop →
 Missouri Star 50 WT Cotton Thread White$7.95Shop →
 Missouri Star 45mm Rotary Cutter - Olga$19.95Shop →
 Missouri Star 8" Everyday Scissors - Amelia$19.95Shop →
 Missouri Star 6" Everyday Scissors - Lulla$12.95Shop →
 Missouri Star + Oliso TG1600 ProPlus Iron$209.95Shop →
 Missouri Star Wooly Betty Board - 17.25" x 25.5" Orange Border$99.95Shop →
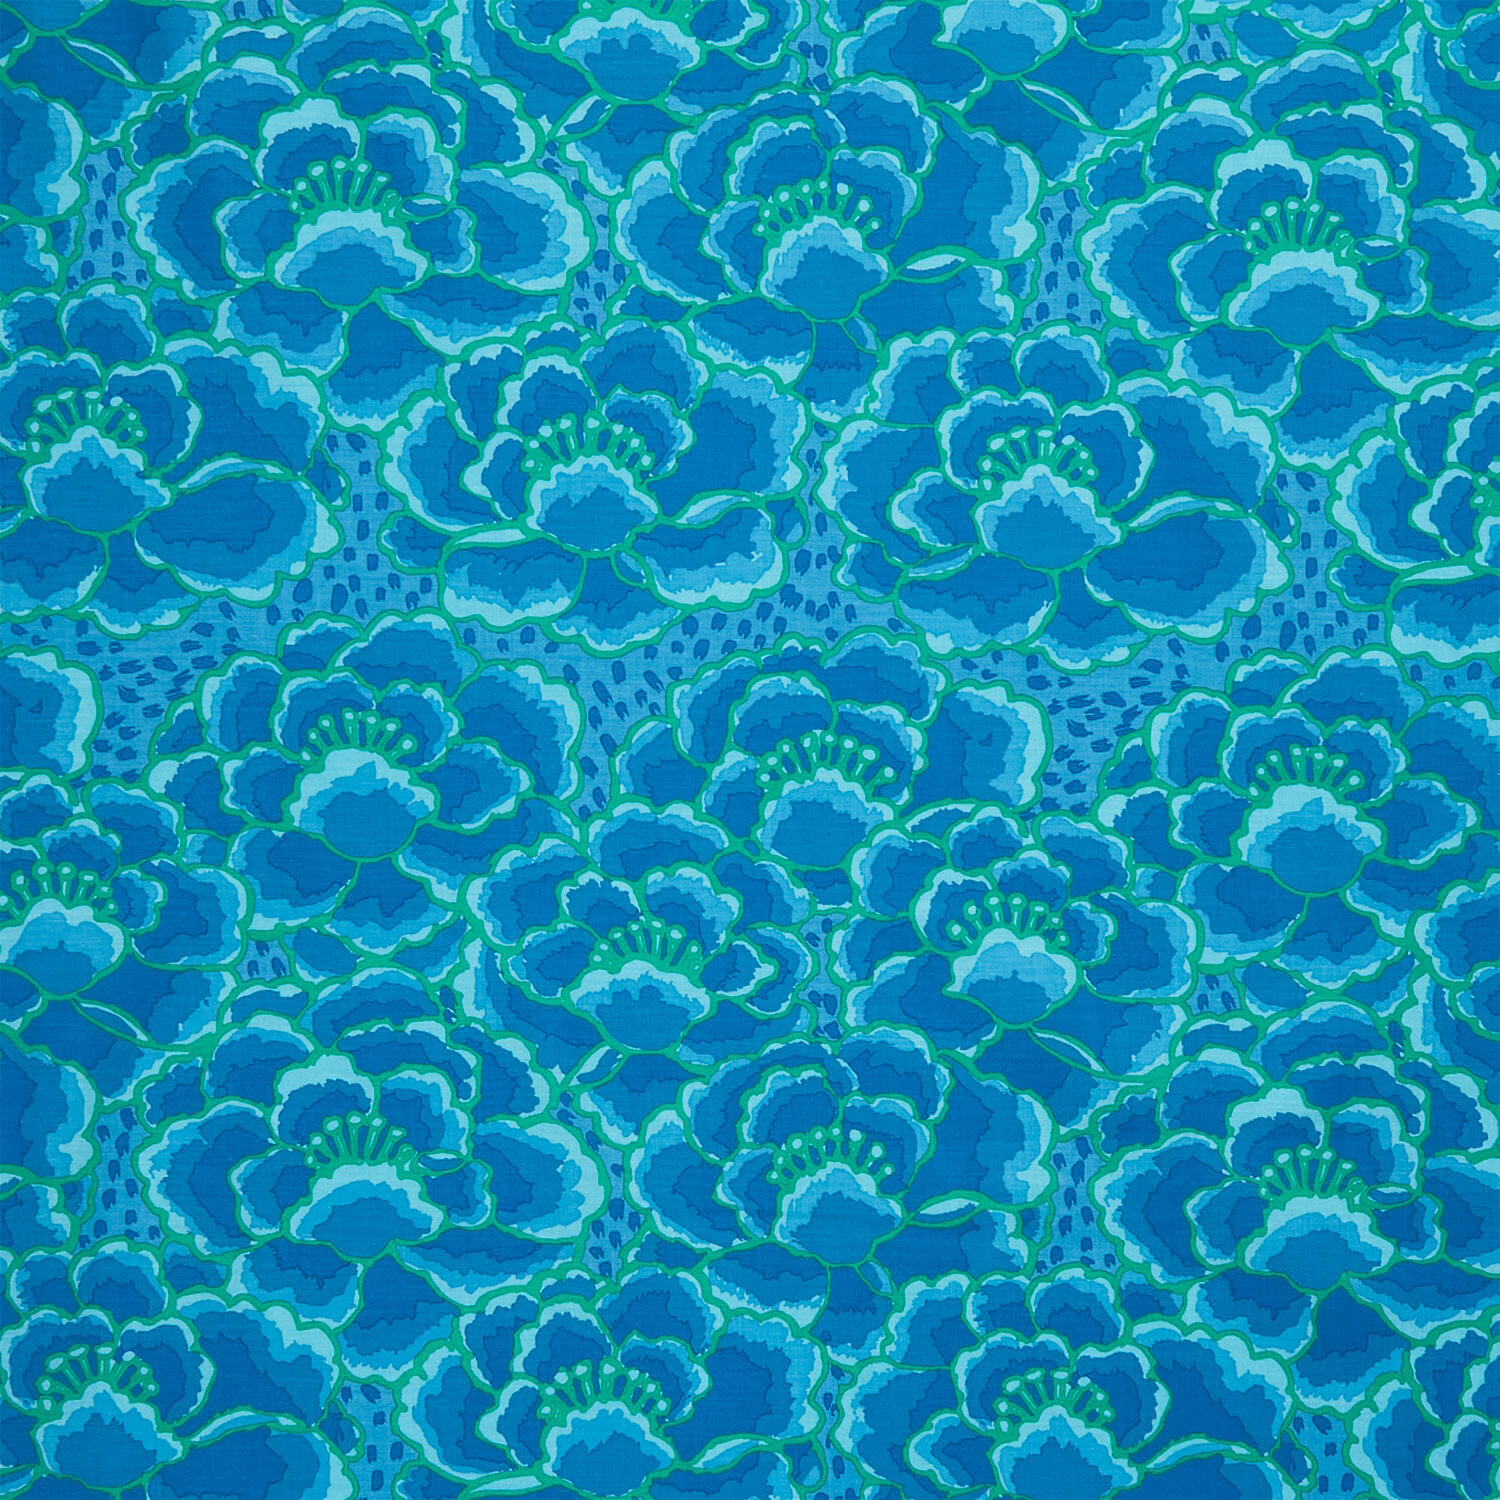 Kaffe Classics - Tonal Floral Turquoise Yardage$12.84Shop →
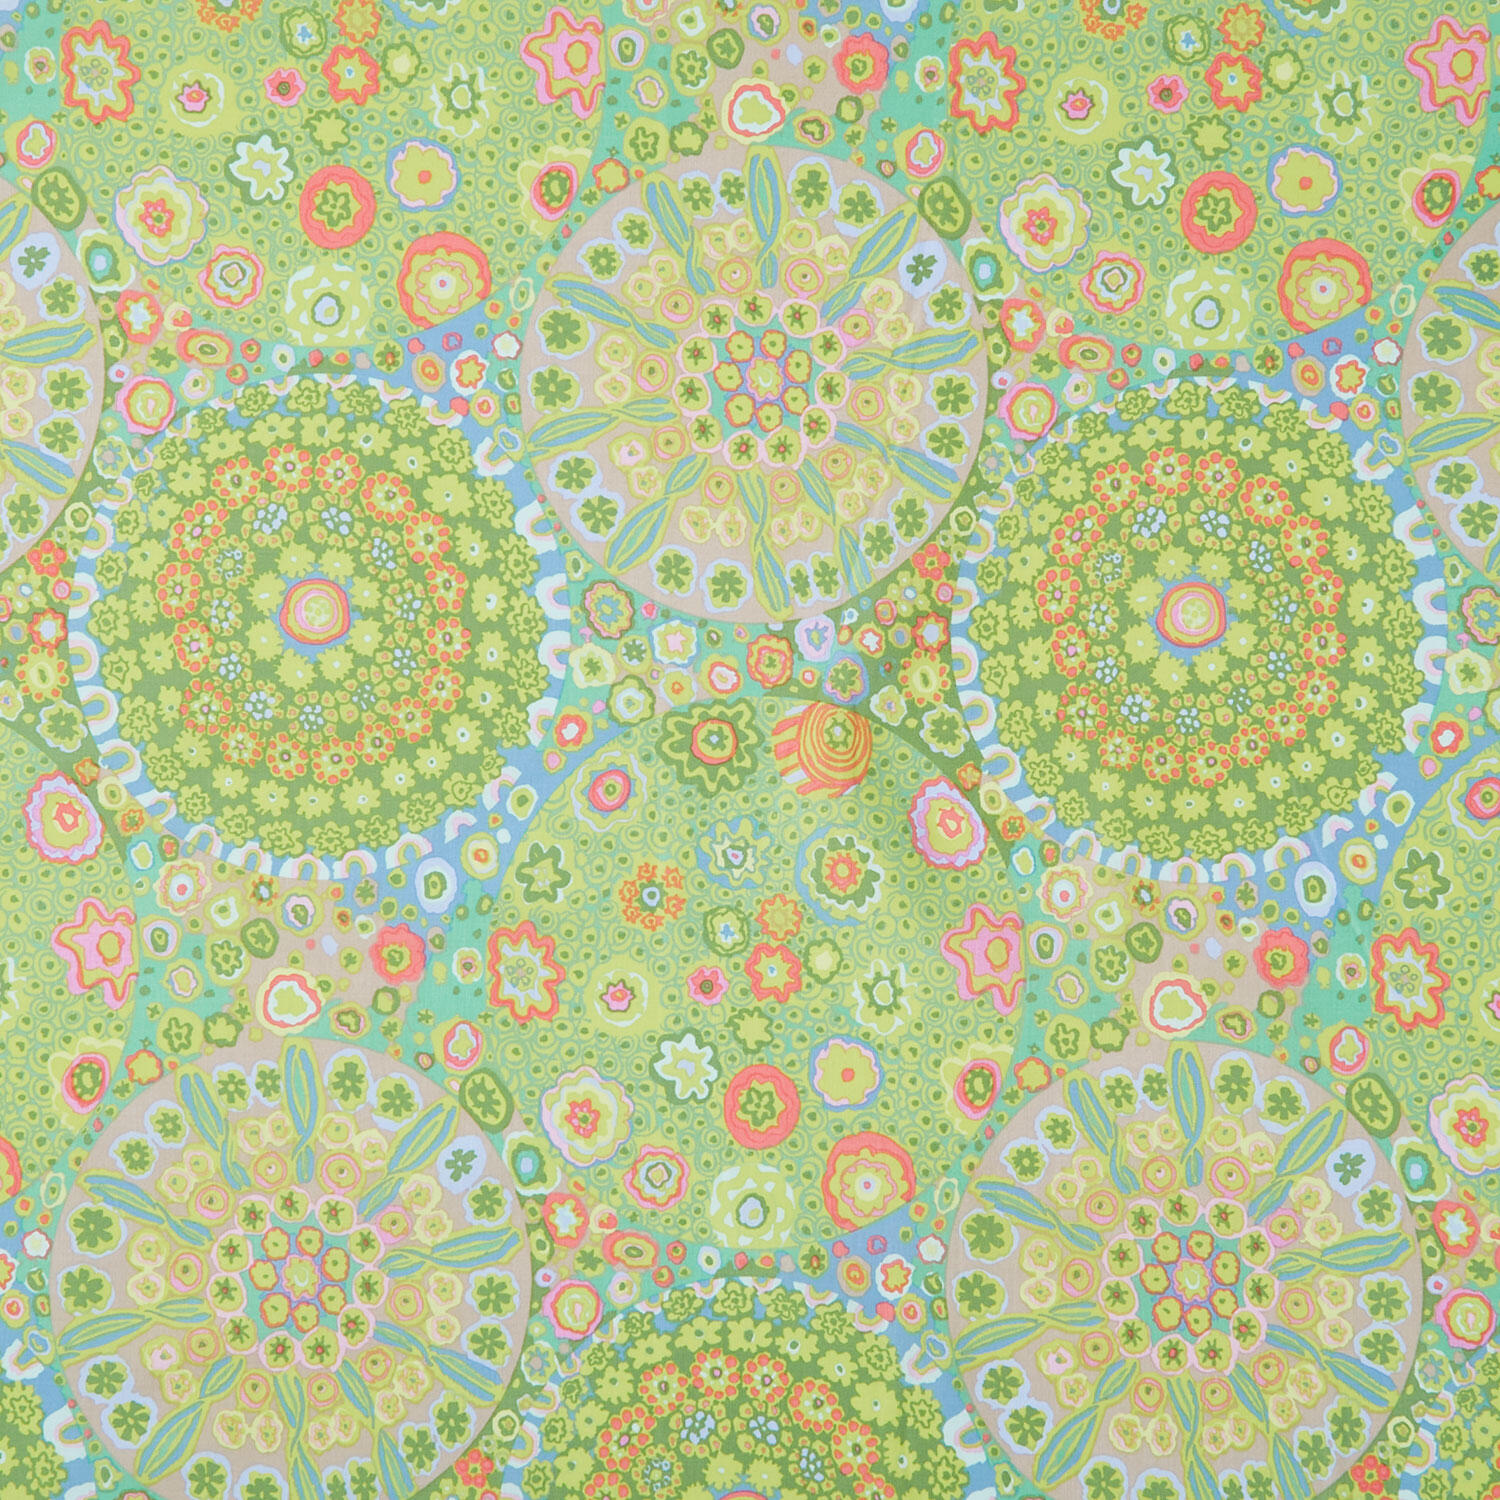 Kaffe Classics - Millefiore Green Yardage$12.84Shop →
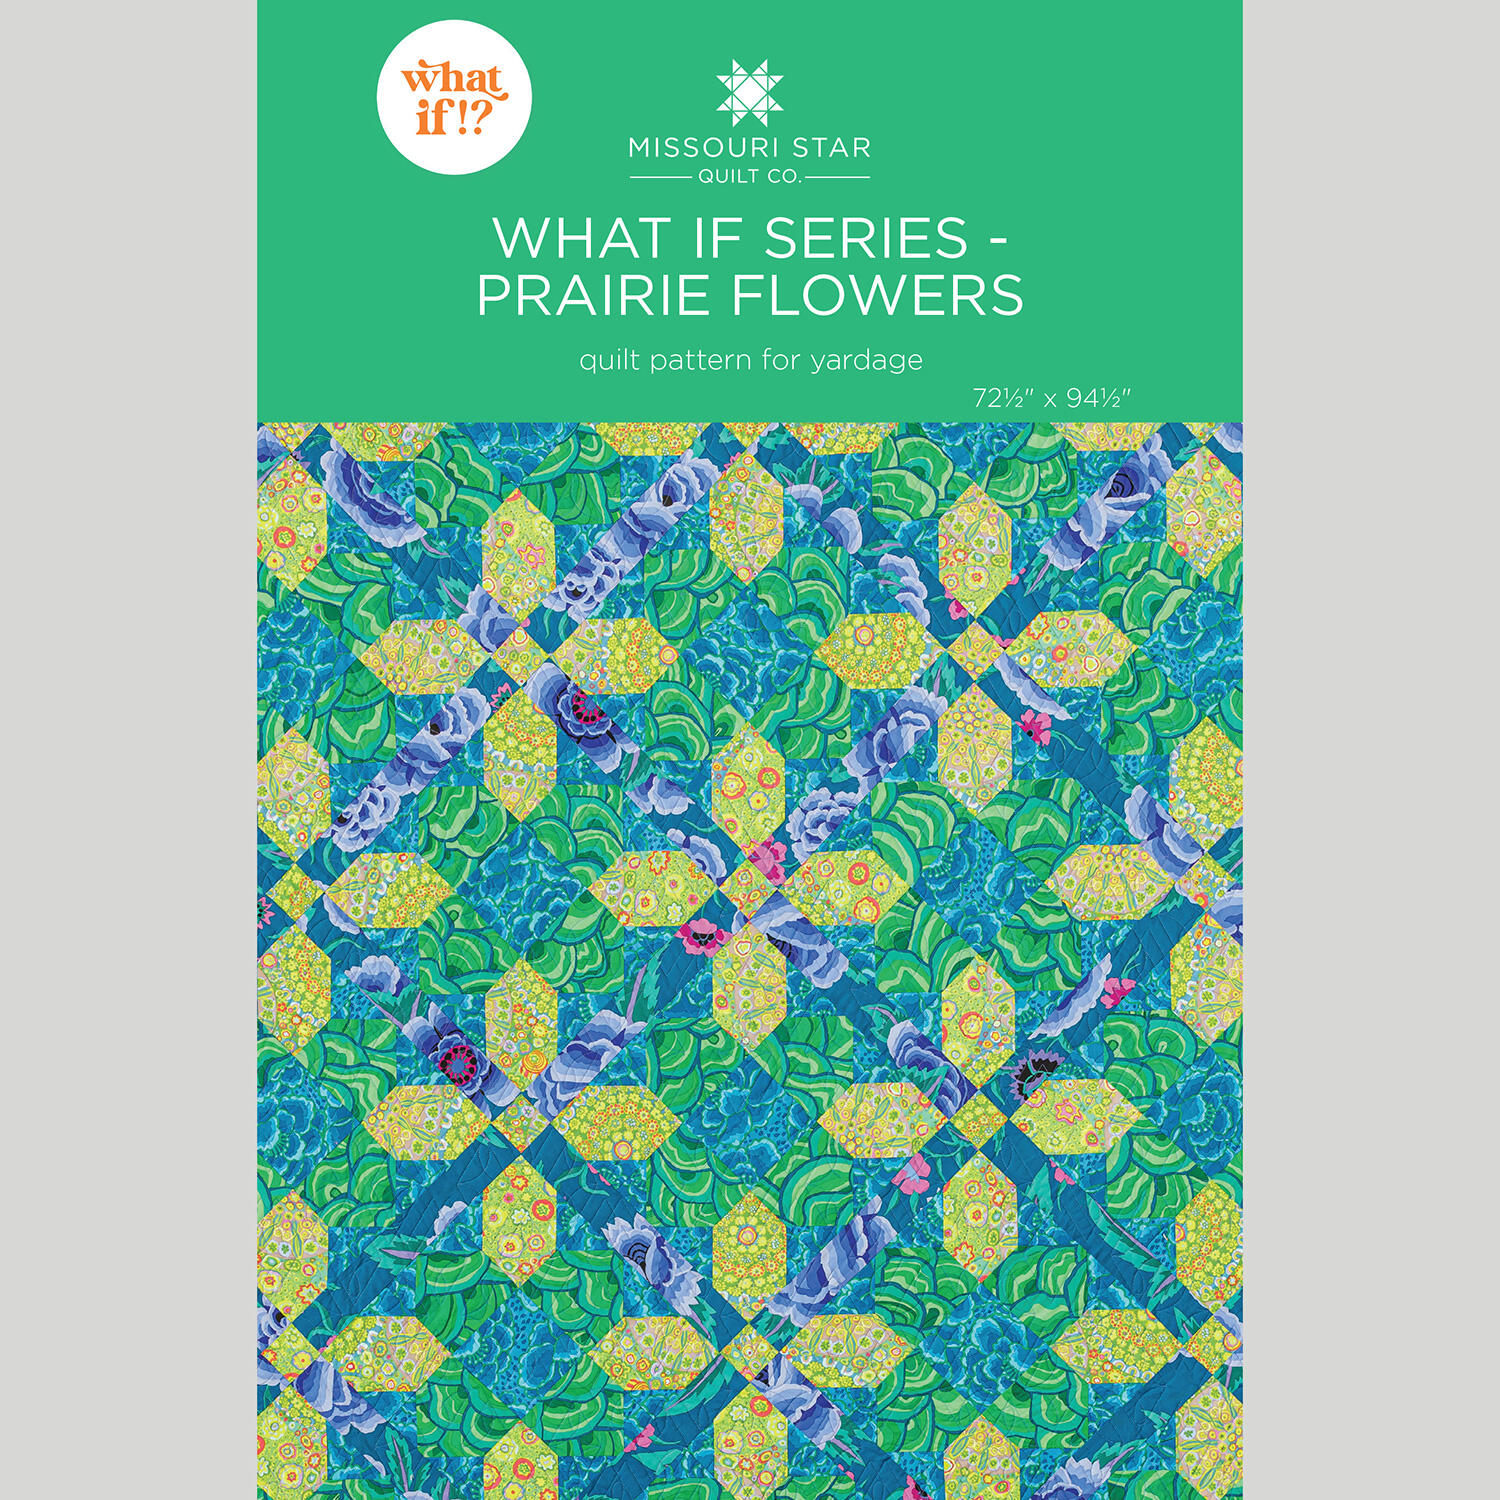 What If Series - Prairie Flowers Quilt Pattern by Missouri Star$8.50Shop →
 Digital Download - What If Series - Prairie Flowers Quilt Pattern by Missouri Star$6.95Shop →


