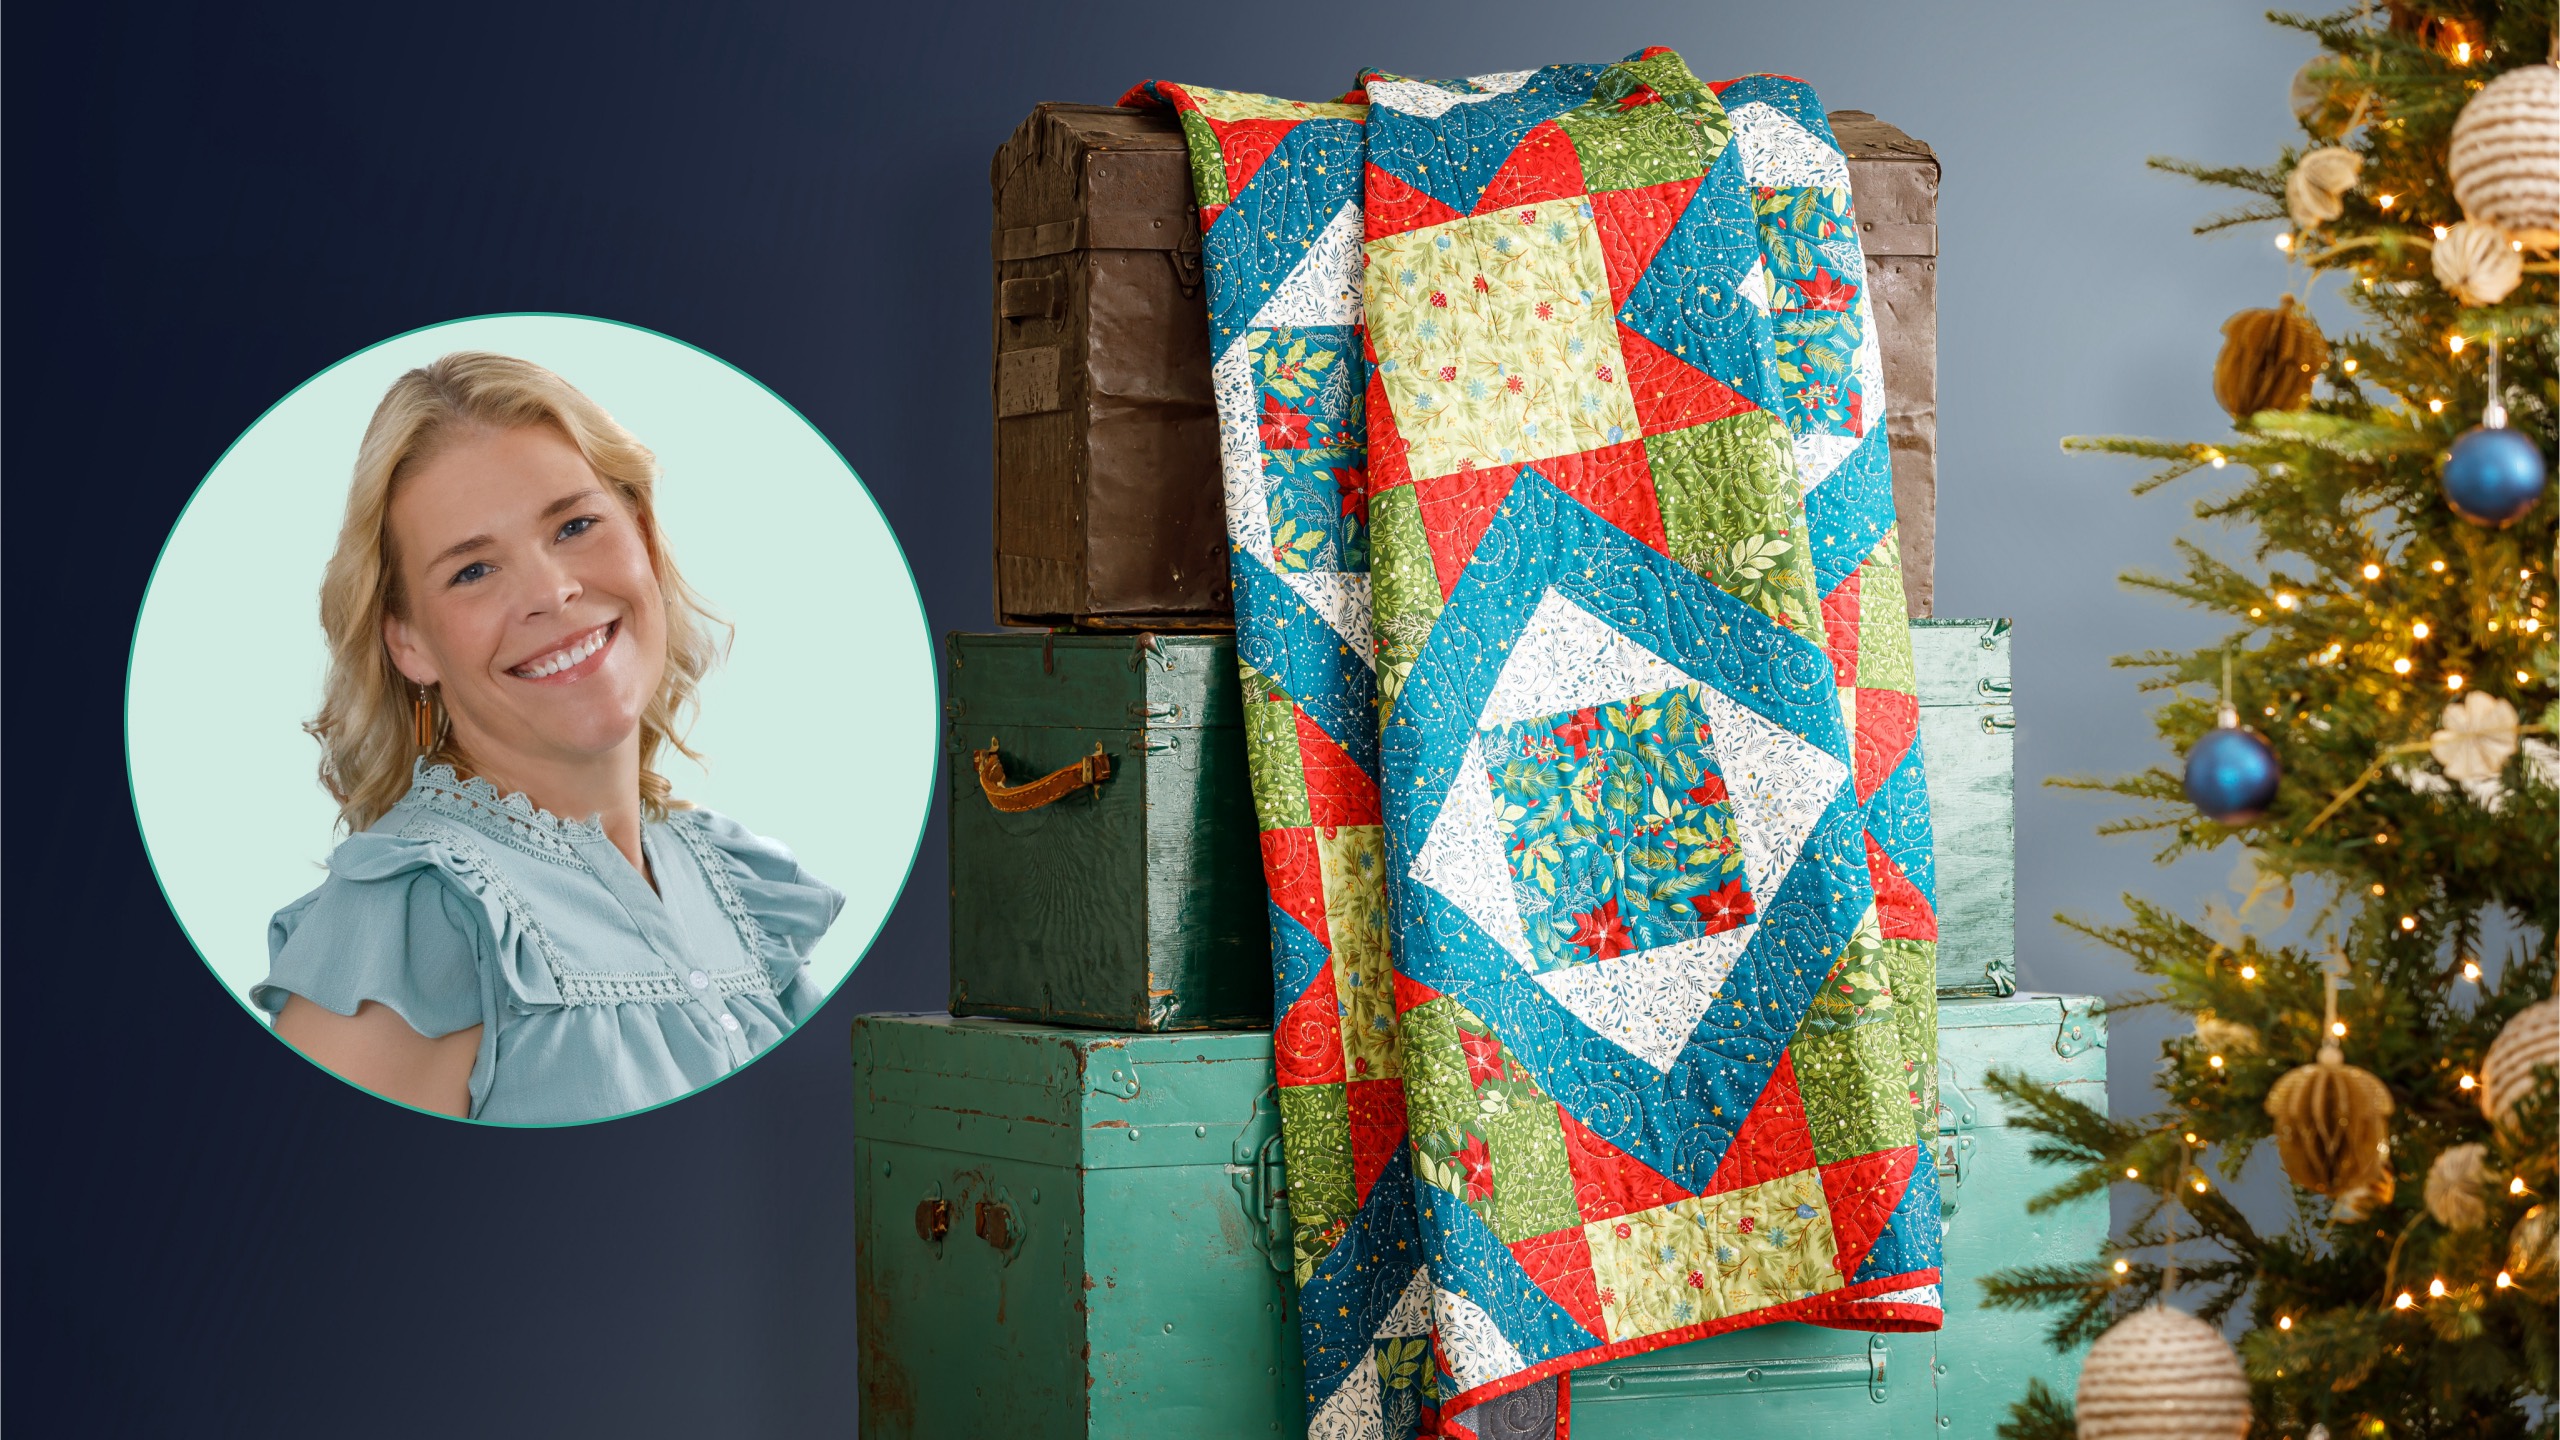
Create an old favorite with a fun festive flair! Follow Natalie as she shows you how to whip up the Prism Path using the Holly Jolly Calico collection by Amelia Designs for Blank Quilting Co. This pattern is layer cake friendly, so it’s a fantastic stash-buster! Cozy up with a festive homemade gift this winter!
Natalie is the host of Quilting 101, Embroidery 101 and the Creative Strategist and Editor of Block Magazine at Missouri Star Quilt Company. She was taught how to sew by her mom, of course, and began quilting when she grew up.
Create an old favorite with a fun festive flair! Follow Natalie as she shows you how to whip up the Prism Path using the Holly Jolly Calico collection by Amelia Designs for Blank Quilting Co. This pattern is layer cake friendly, so it’s a fantastic stash-buster! Cozy up with a...
How long is the tutorial video?
The tutorial video is 00:10:12.
Are supplies listed for this tutorial?
Yes. The tutorial page includes the supplies and materials connected to this project.
Video Transcript
Hi everybody. I'm Natalie with Missouri Star Quilt Company and it's what if week. It's my favorite week of the month besides double take. I love that one too. But today we're going to talk about Prism Path. We've got some fun changes in store. So the original Prism Path quilt, I just I love it. It's so soft and subtle. It was made with scrappy precut and a teal and white and then it had some pops of gray that I feel like just it was really fun. But because it was scrappy, we weren't able to create as many patterns as we can if we use purposeful color placement. So this quilt, you can see how these beautiful like diamonds pop out and then we've got our red red stars and all the greens. It's very lovely. It is a Christmas fabric line cuz you know Christmas in July. Um but it's it's just as easy to make as the original. So let me tell you what you need to make this quilt. So you're going to need some yardage. We've got three, sorry, 2/3 of a yard of the dark green. A yard and an eighth each of this light green, medium green, and then this blue. Um, then you're going to need a yard and a third of a white and a red. And then your largest amount is this blue. It's 3 and 1 eigh yards. Your backing, you'll need 8 and 2/3 yards if you've got um regular 45 inch wide fabric with a vertical seam or 2 and 1/2 yards of a 108. You're also going to need your favorite squaring tool. And today I'm going to be using the block lock. Alrighty. These blocks aren't going to make themselves. So, this is the block that makes up the whole quilt. And I think it's pretty cool how it comes together. So, you can see it here. It fits in right there. And then we're just turning it. So, we just flip it around each different way, you know, back and forth throughout the whole quilt, and it brings together the cool diamonds, the little stars, everything sort of chains, and I just think it's really fun. So, um, if you'll notice in the block, we really just have some half square triangles and some fulls size squares. So, it's really pretty quick and simple to put together. All right, so this line is so beautiful, you guys. It's called Holly Jolly Calico by Amelia Designs for blank quilting. And our cutting is actually super simple. So from these fabrics here, we've got our red, blue, our white, and our dark green. These four fabrics get cut into 10in squares. Those are the ones we're going to make our half square triangles out of. And then these three fabrics get cut into 4 and 1/2 in squares. And these are for our fulls size blocks that make up the rest of the quilt. It's kind of a little bit of a Jacob's ladder style block. So I really love how it comes together. Let me move these out of the way real quick. I've got a few of my half square triangles made up already, but I'm going to go ahead and demonstrate how to do that. So, all of our these three fabrics all get paired with the blue. So, we're going to take one of our reds and our blue fabric and we are going to put them right sides together. And then we're going to draw the line diagonally both directions to make eight for this quilt. It is very satisfying when you're making all the blocks kind of exactly the same because it it goes very fast. It's a super efficient quilt to make. So, if you are wanting to make some Christmas quilts, this is a great pattern. And you could really mix and match whatever fabrics you want and just, you know, put your substitutes in and you've got the yardage amounts and everything. It's going to work out really cute. All right. Okay. So, we're going to sew on both sides of both lines. And you'll have plenty of room if you stick to kind of a a normal quarter inch seam against that line. Okay. So, now we're going to go ahead and cut this apart. Um, and I like to cut the the horizontal and vertical lines first just because there's nothing there to go on should I get my fabric if should if it slips apart. Um, it's just easier. It's not that big of a deal either way, but that's just what I like to do. So, we'll cut those horizontally and vertically. And then we crisscross and cut on the lines to separate out all of the half square triangles. There we go. And you are going to just square these up using your favorite squaring tool. I'm going to press it back or well set your seam because that just makes everything lay flatter. And then go ahead and press to whichever side you want because these are kind of both dark fabrics. So, let me do I'll do at least two of them for you so we can show. But I've got all of my half square triangles prepped and ready. Okay, block lock is great because it locks against the seam. And because this is a 4 and 1/2 in ruler, you really can just go all the way around the edge. Or if one side is nice and straight, then you can just cut the other two sides just like that. The other thing of note is whichever side you press to, then the block lock labeling is going to be on the other side. So, um, a lot of times if you're doing a light dark, this is going to be your your background or your light side is where the label is going to go. So, you can feel it lock into place when you push it you push it up against the seam. All righty. So, that is good. We'll do this one, which hopefully we have another not so straight this time. That happens. So, we'll just go all the way around and spin it. It stays nice and nice and tight. And then these half square triangles are just perfect. They're all squared to 4 and 1/2. So, let's start building this block. This is the fun part. I love it. All right, I've got my half square triangles and my squares. So, if we're following along with this block, we're going to start with a blue. Going to make sure I have plenty of room here. Then, we're going to add our half square triangle prints this way like that. And then we put this one here. So, we are creating that long blue line. that one there. And we add our light green in that top right corner. Our medium green goes down here. Then we have more of our reds. Let's see. This is definitely one of those quilts, too, where I would just pile my fabric up. I would make a stack of blocks and then just like start assembling them. It's really cute, I think. Anyways, I'm biased. It's like my little my cute little quilt baby. I love it. [snorts] Let's see. More red and blue here. Our little star legs are going to appear in the other other sections. And one more blue floral. And that's it. That's our whole block. So you go ahead and stitch this together however you like. I tend to do sets of twos and chain piece them and then sew my rows together. But there you go. You've got your block right here. So you can see if it's all sewn together. That's what it looks like. And that's it. So this quilt, as you can see, has no borders on it. I did not add an inner and outer because it's quite large. It's 80 by 96. So, if you did want to make a king-size quilt or queen size, adding borders would get you there very quickly. Um, let me show you the machine quilting and the backing. It's so so cute. So, this is one of our 108s. You could put anything you want on the back. We have lots of options. Um, but you can see this really fun quilt Christmy quilt pattern. It's called Christmas Doodle. And I just think it's so cute. I I love how this one turned out. I love what happens when you put specific colors in specific areas and all the different shapes and uh patterns that appear when you do that. It's just so exciting to me. So, um I hope you enjoyed this tutorial on the What If Prism Path Quilt from the Missouri Star Quilt Company. Hey quilty friends, we are so excited. We have something really special to share today. That is right. Believe it or not, we have a million subscribers here on the Missouri Star YouTube channel, and we are so excited. Yes, it really is unbelievable. I know when we first started [music] our YouTube videos years ago, we never imagined that we would have a [music] community this size and this wonderful. From the bottom of our hearts, we [music] just want to thank all of you for being a part of the Missouri Star family. That's right. Thank you so much [music] for joining us on this wild ride. We are so excited to have reached a million subscribers and we are going to have so many more quilts and so much more fun [music] in the future. I can't wait to see what happens next. I can't either and we hope that you will join us for the ride. We'll see you later. Bye.


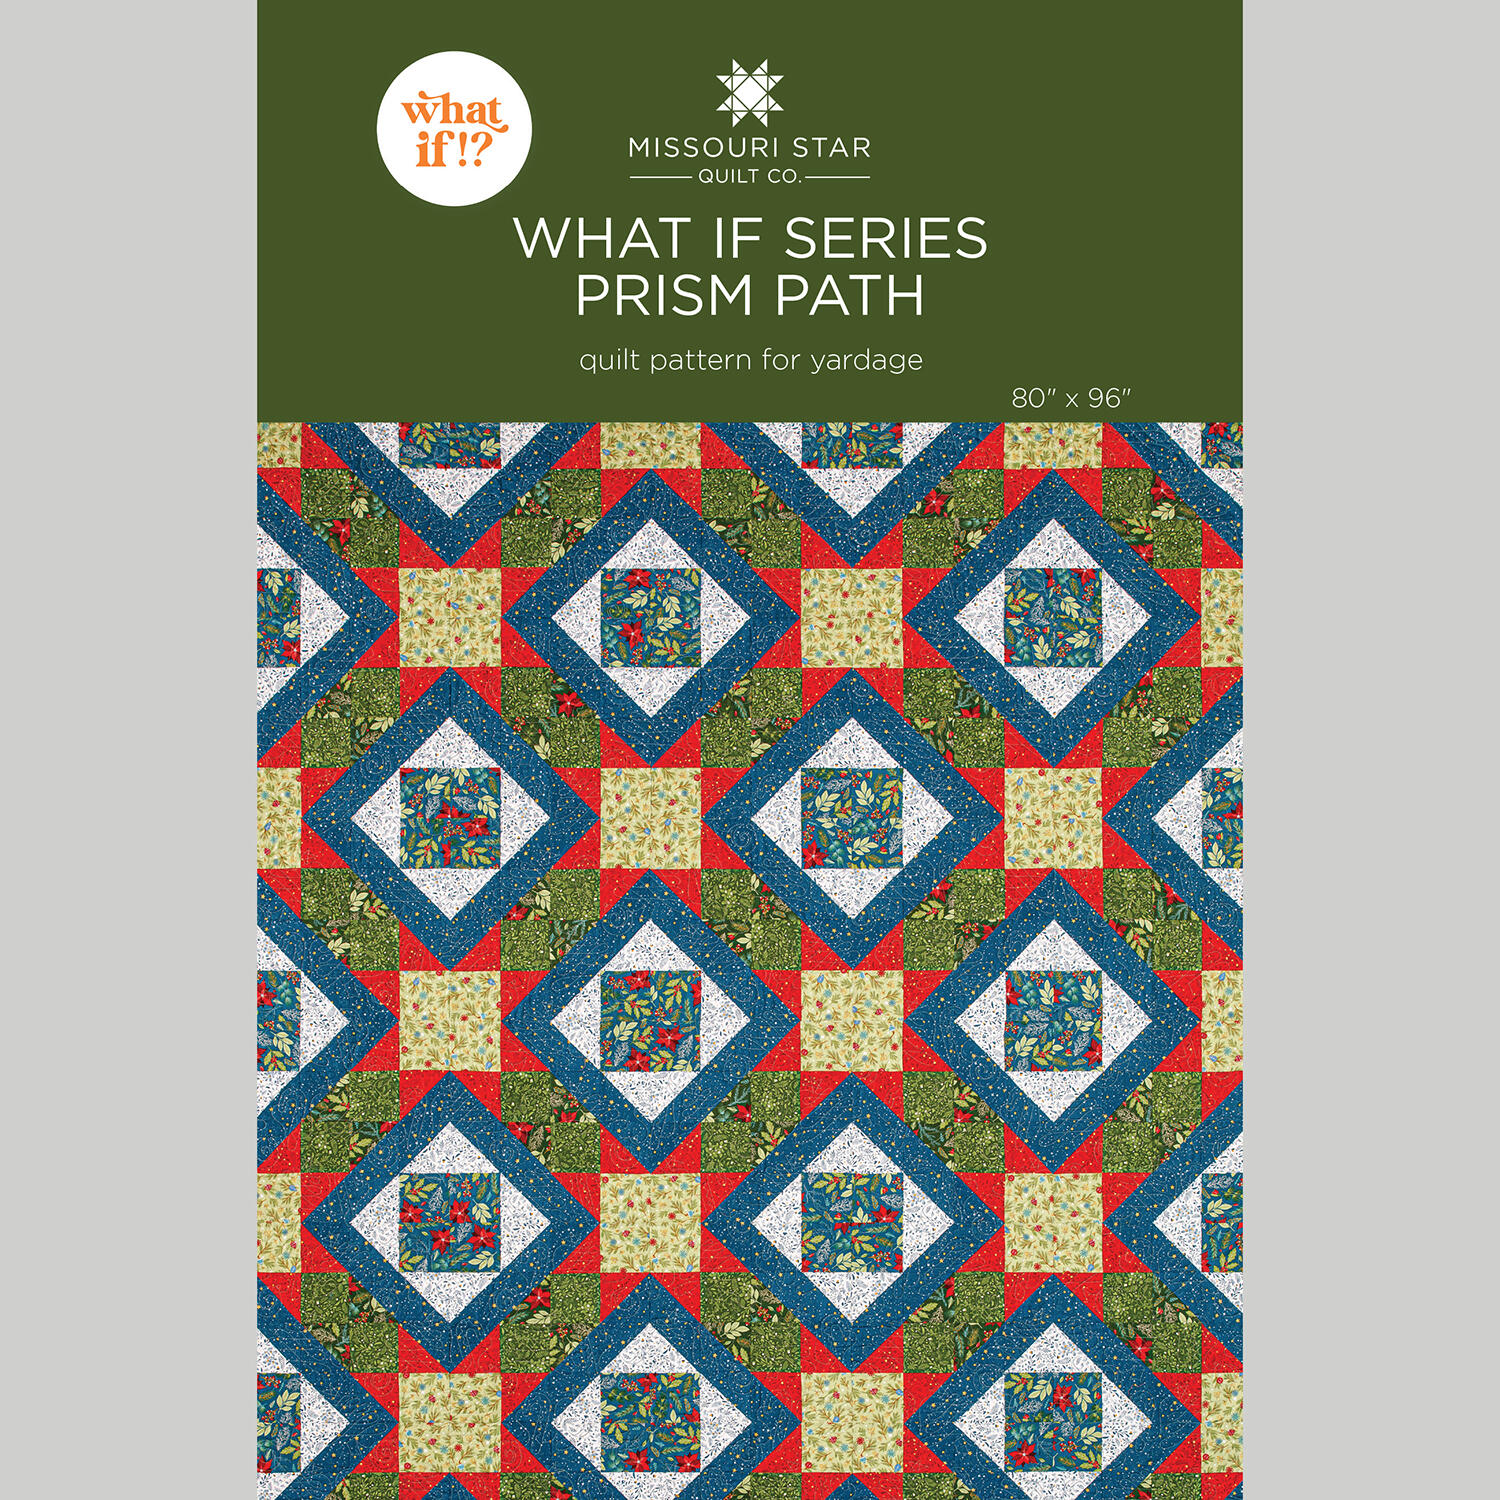 What If Series - Prism Path Quilt Pattern by Missouri Star$8.50Shop →
 Digital Download - What If Series - Prism Path Quilt Pattern by Missouri Star$6.95Shop →
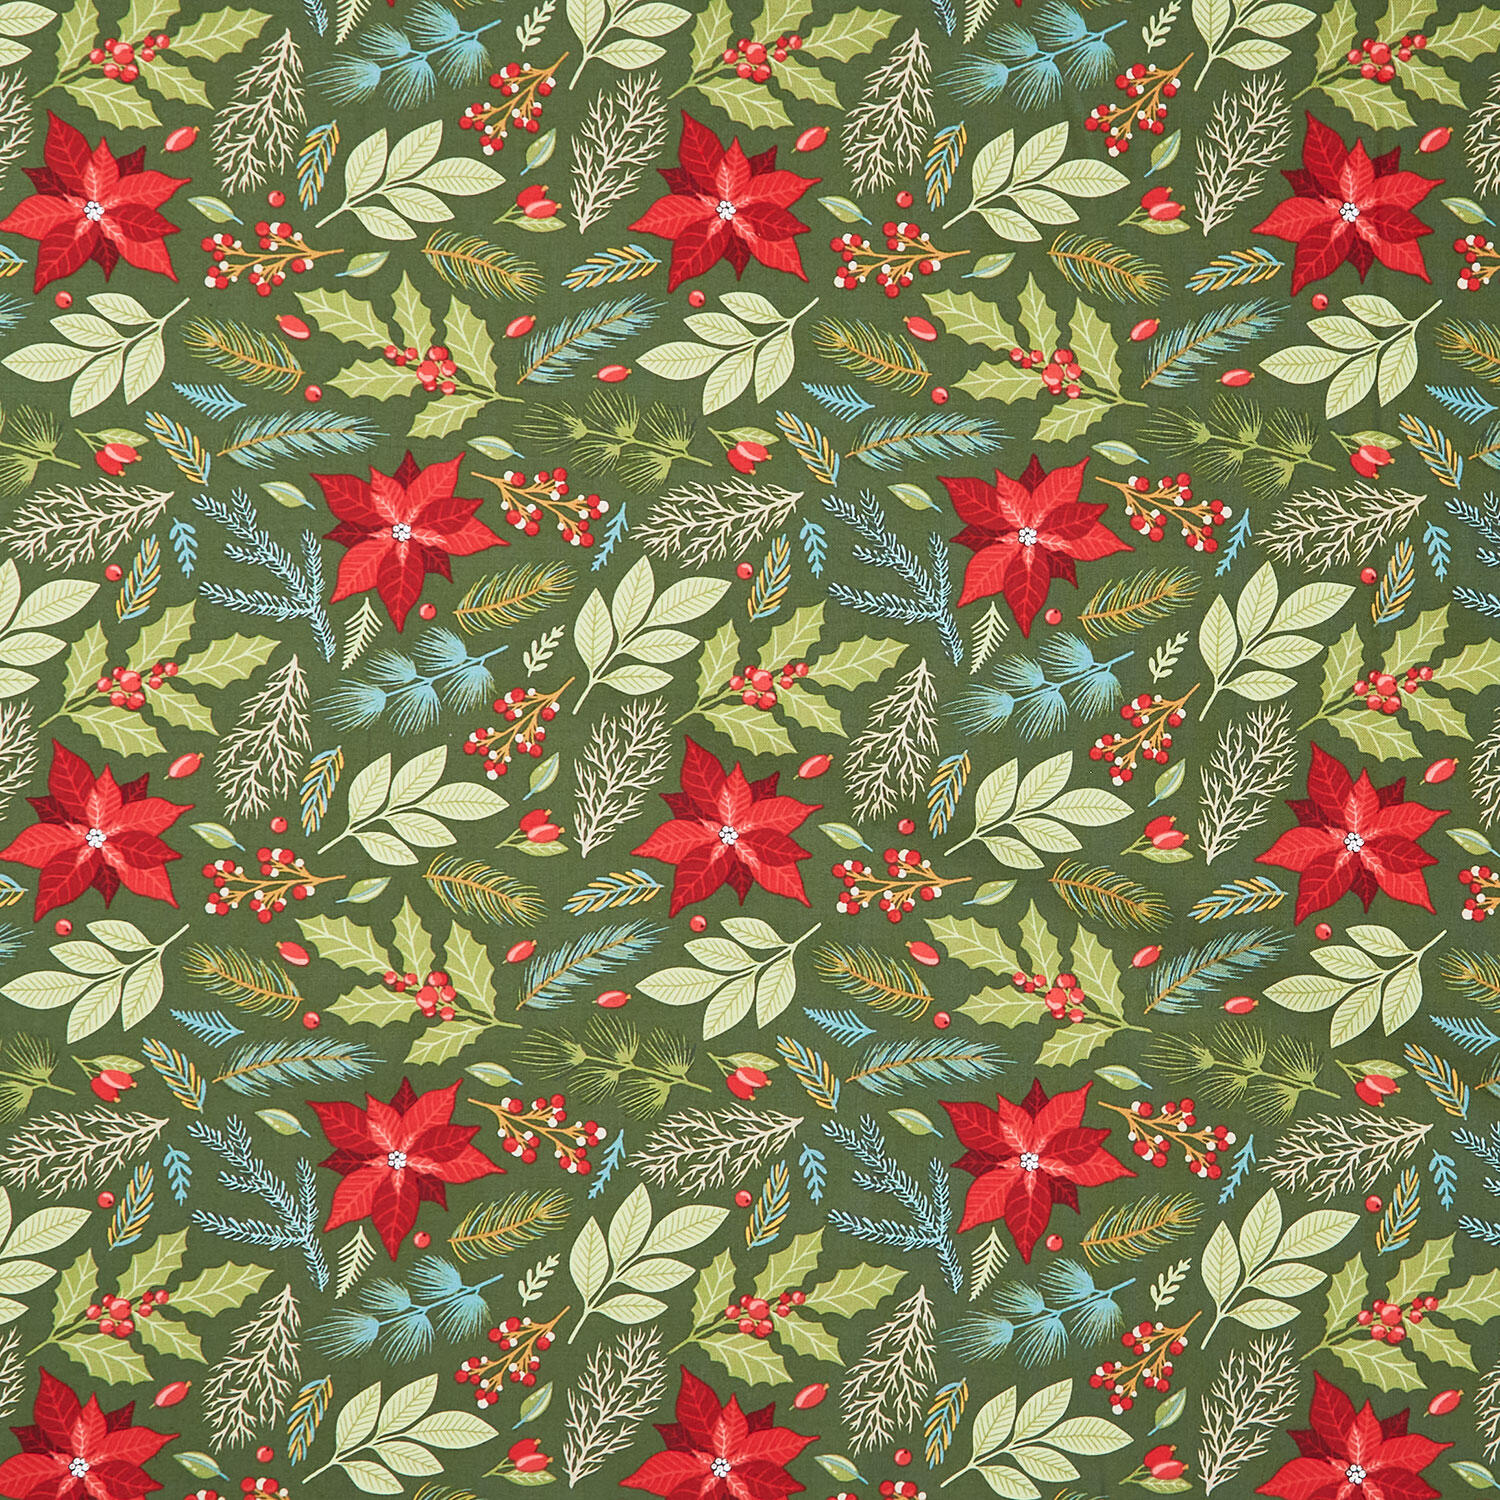 Holly Jolly Calico - Poinsettia Floral Evergreen Yardage$12.56Shop →
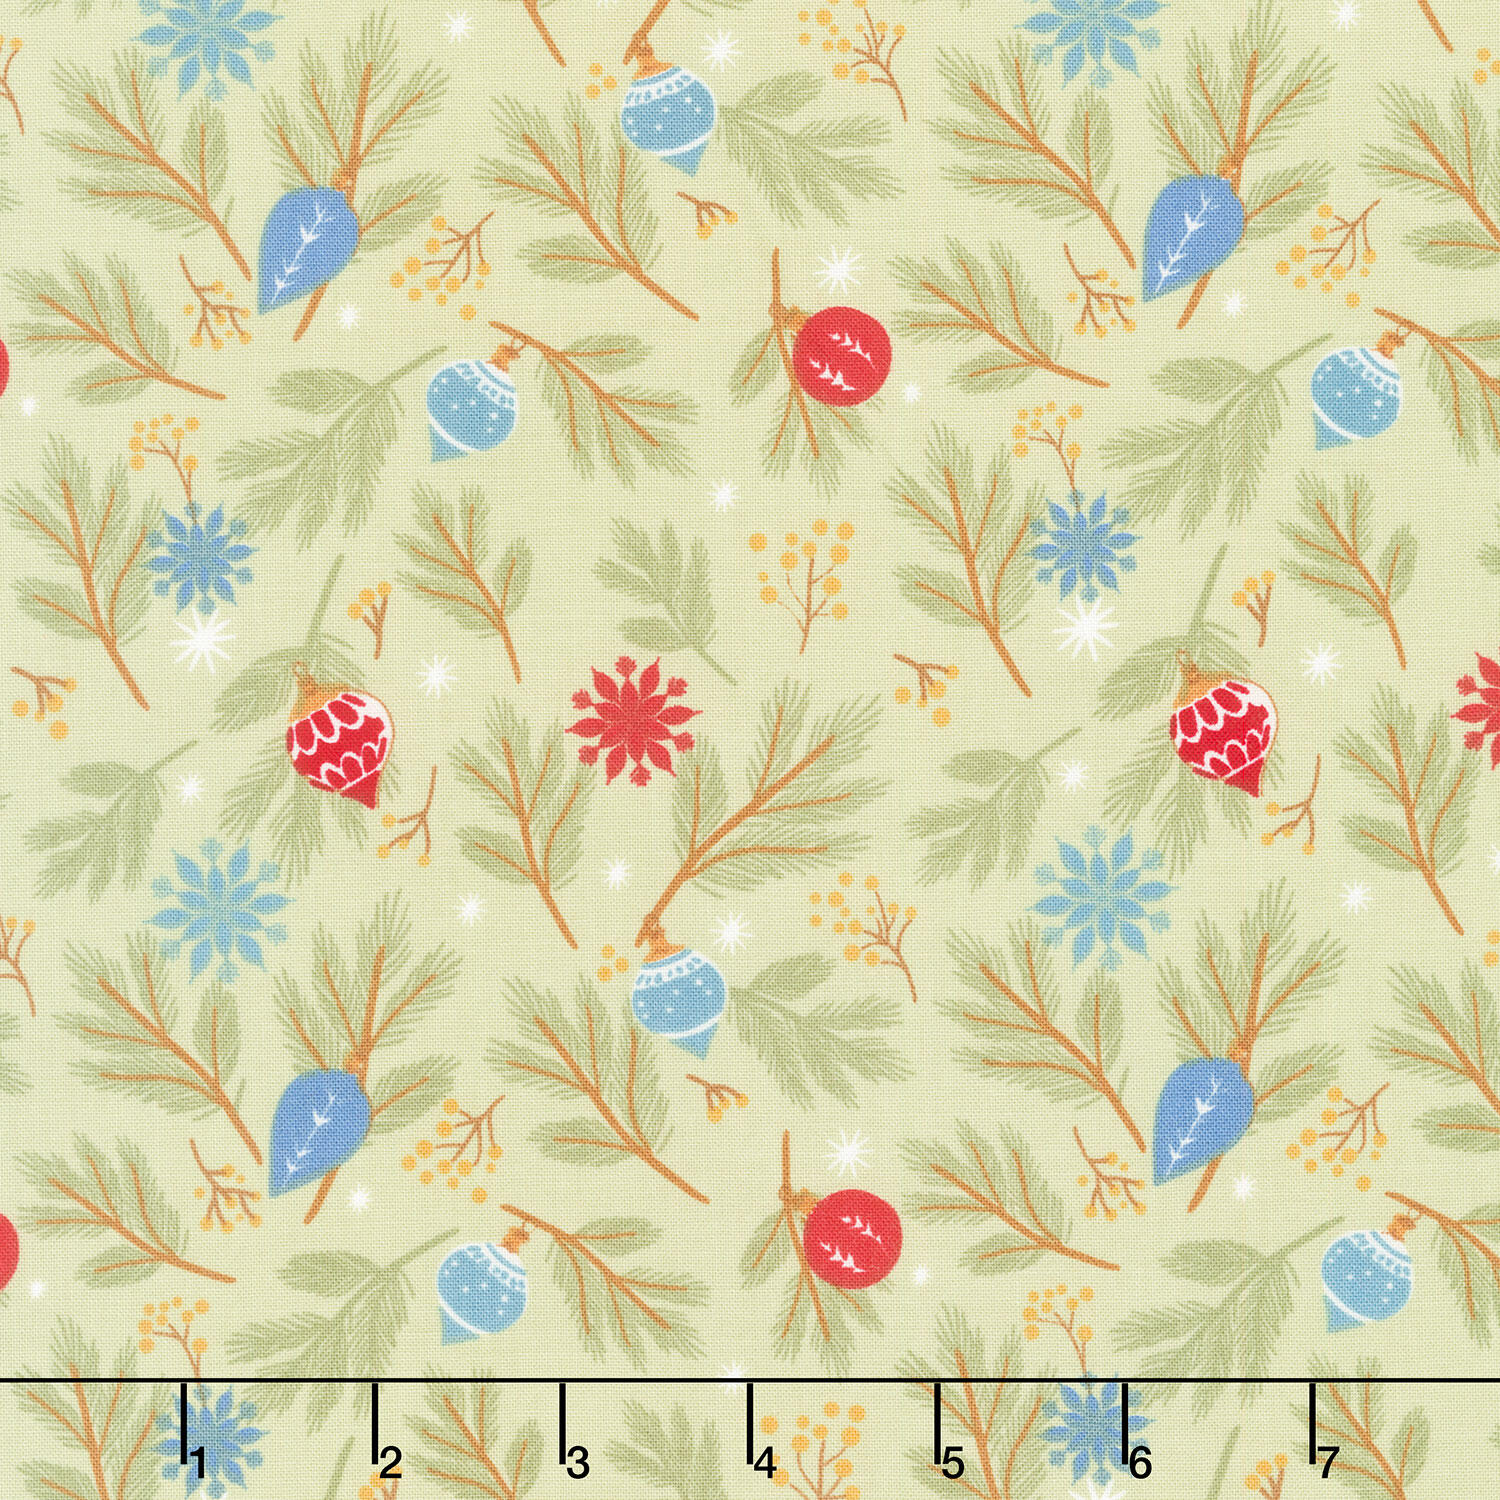 Holly Jolly Calico - Pine Bough Ornaments Evergreen Yardage$12.56Shop →
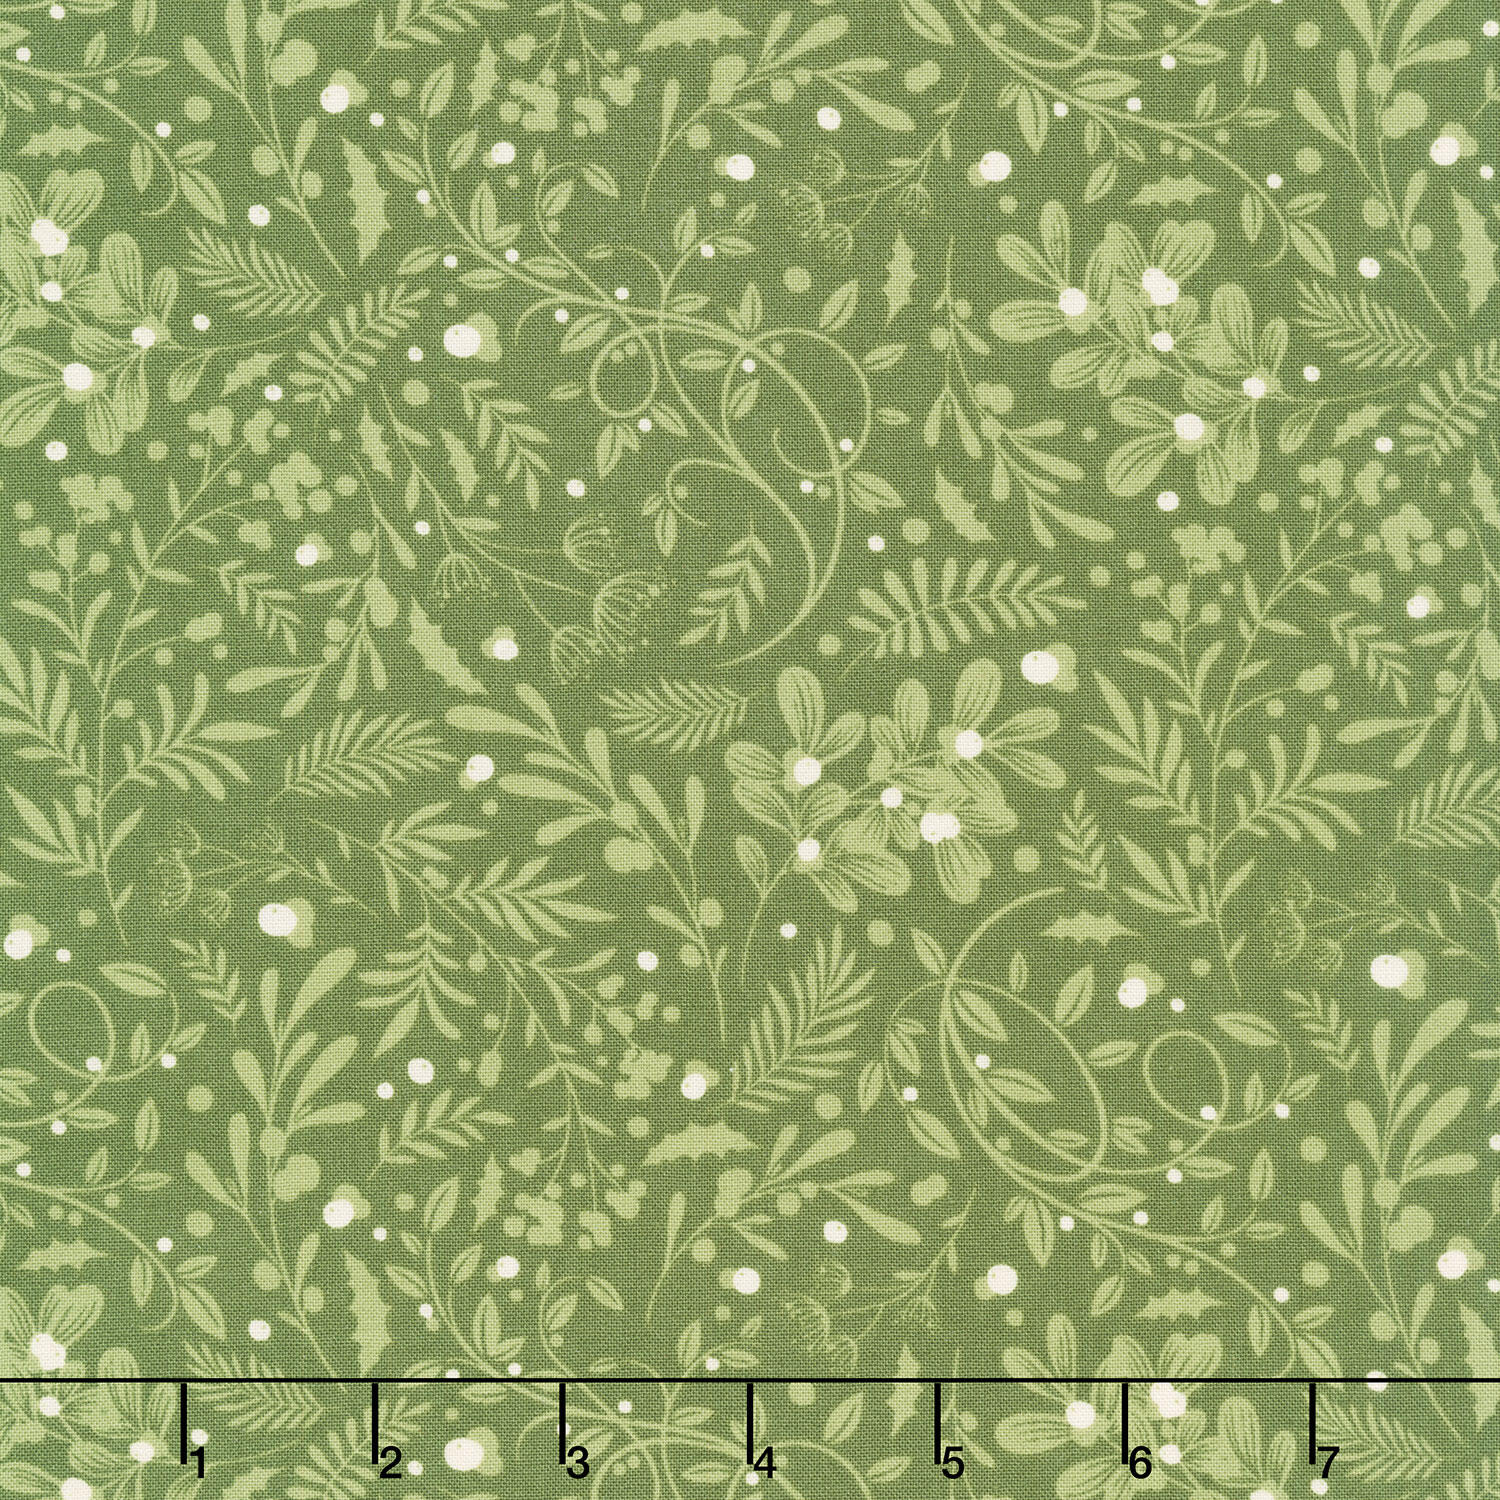 Holly Jolly Calico - Swirls Foliage Evergreen Yardage$12.56Shop →
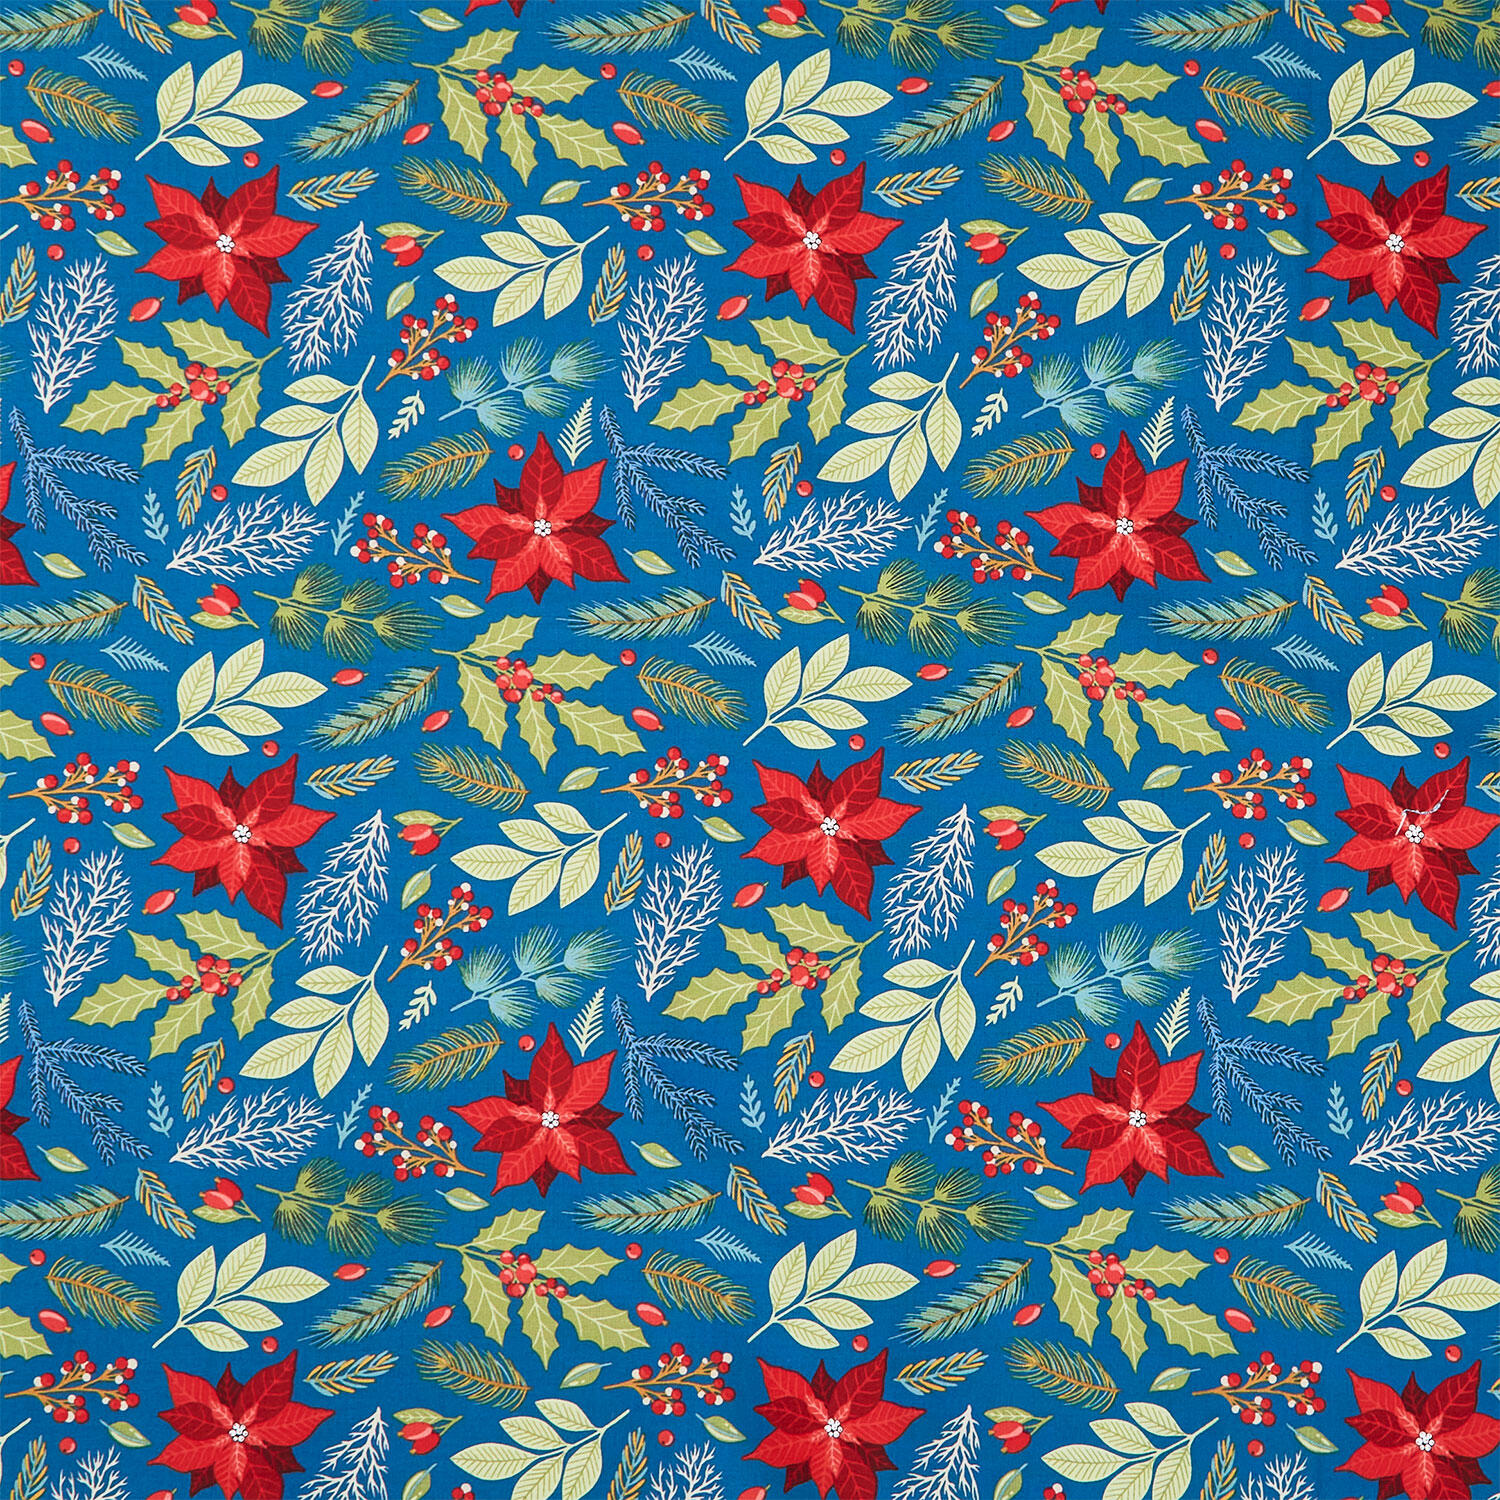 Holly Jolly Calico - Poinsettia Floral Navy Yardage$12.56Shop →
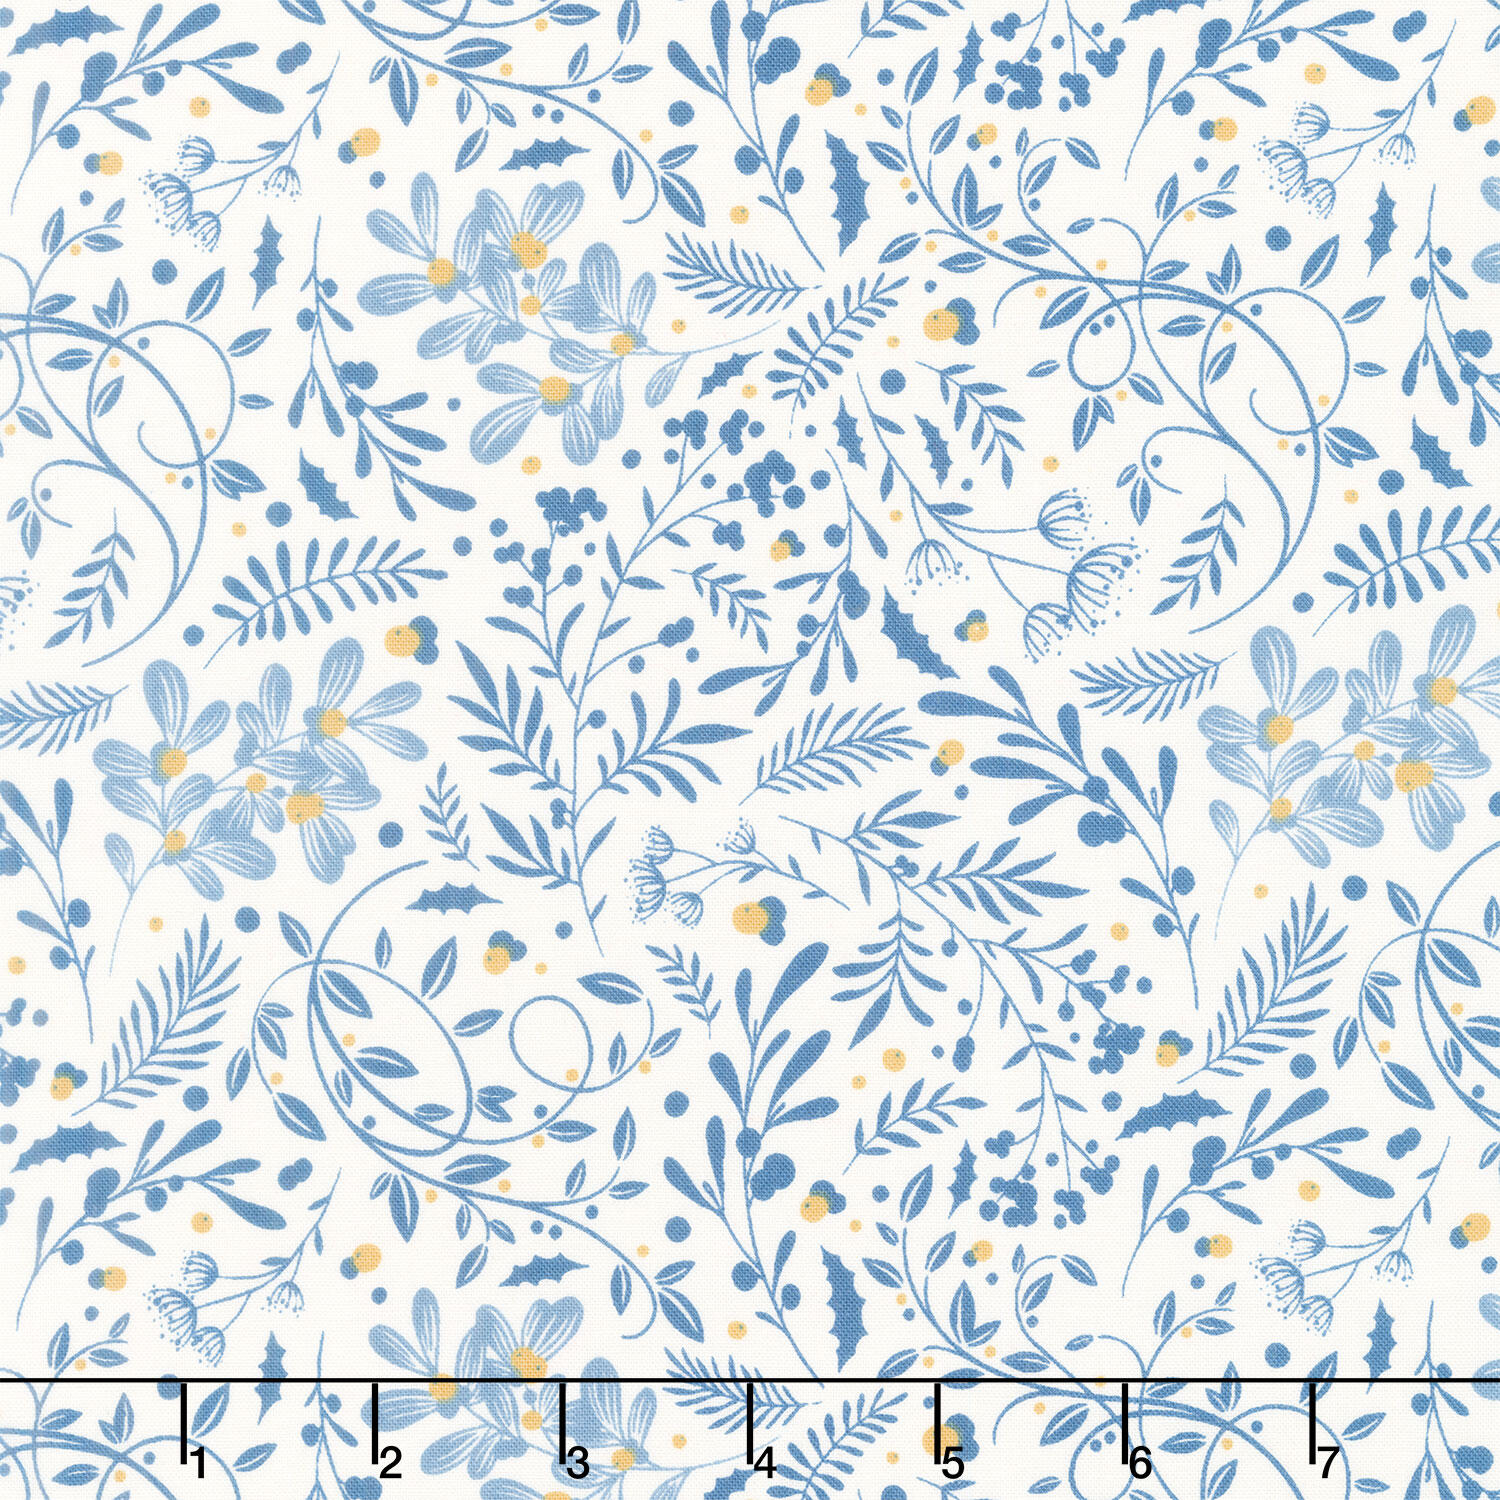 Holly Jolly Calico - Swirls Foliage Ecru Navy Yardage$12.56Shop →
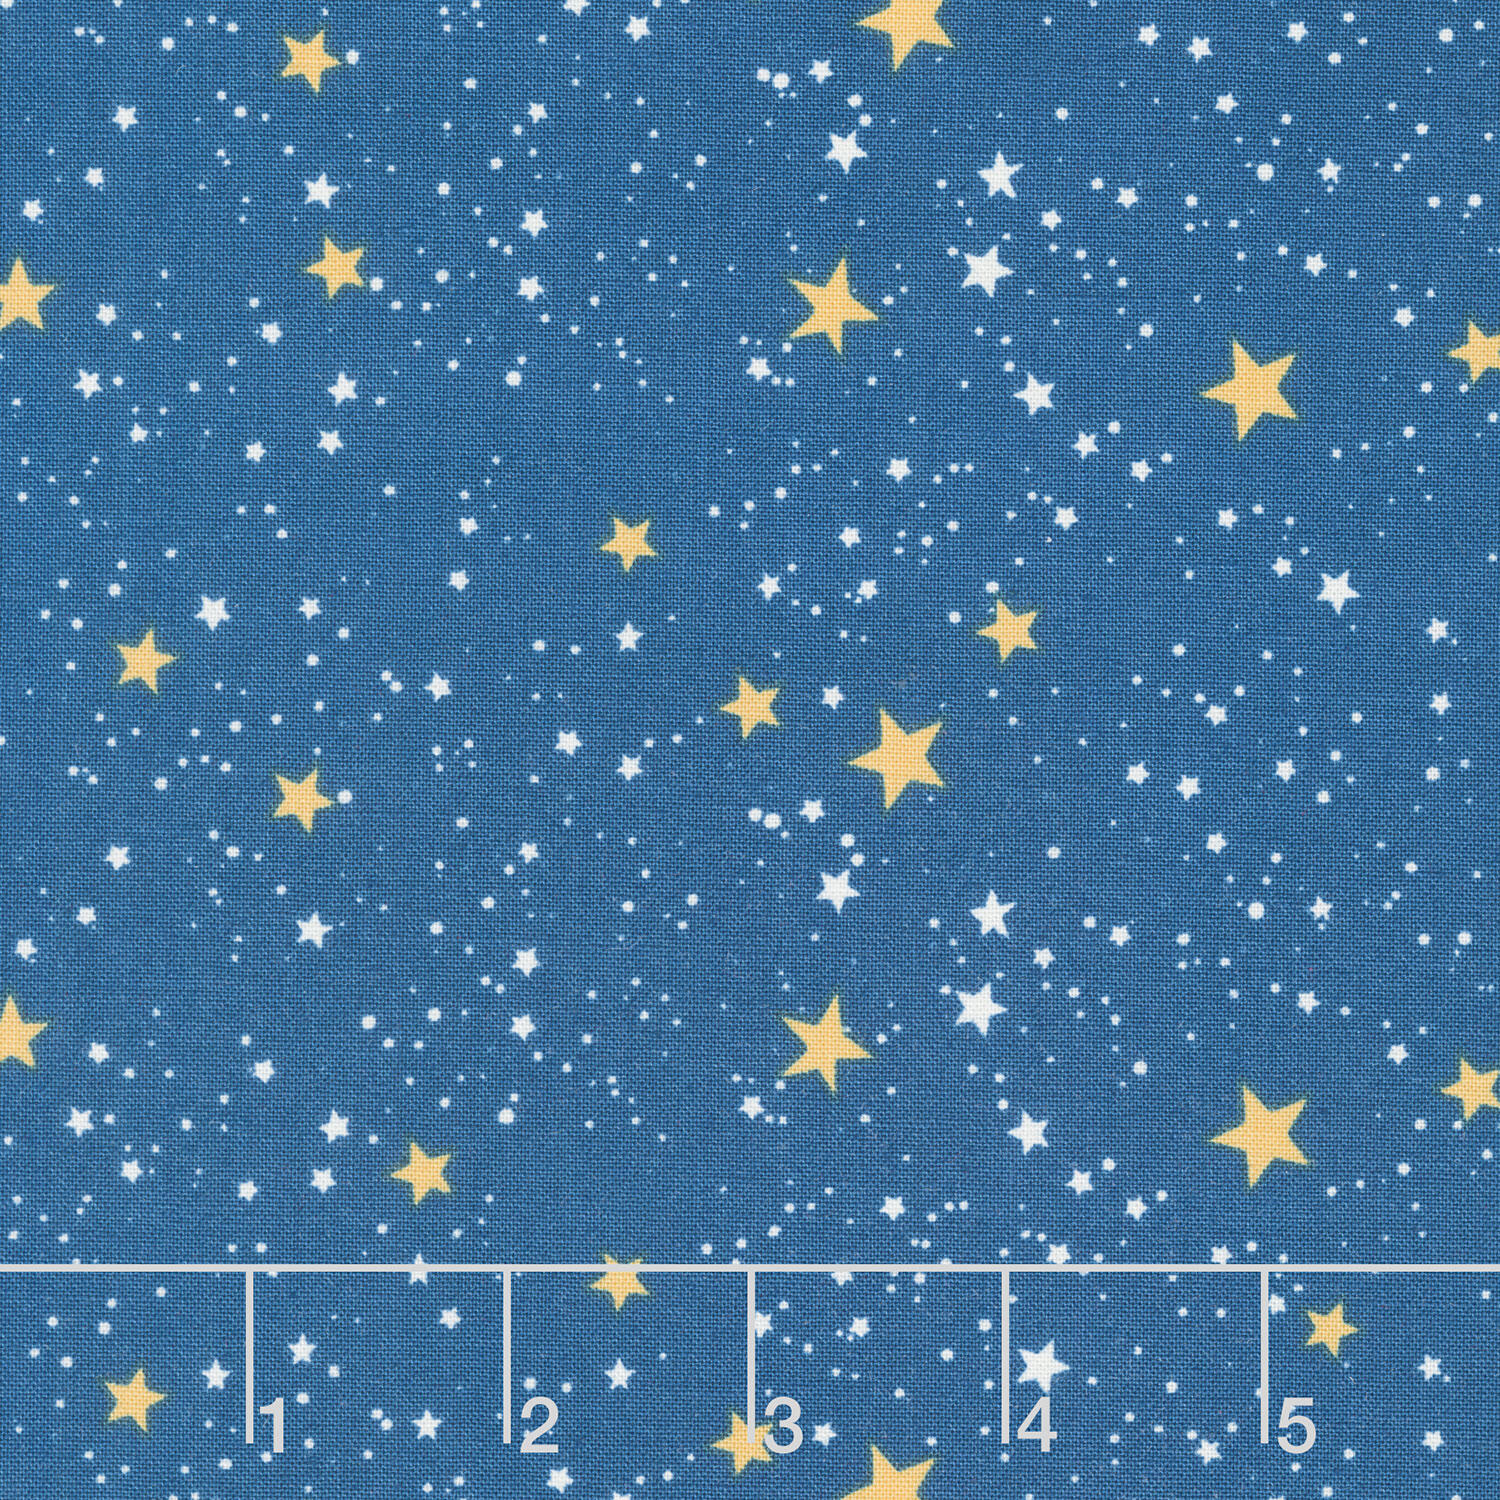 Holly Jolly Calico - Stars Navy Yardage$12.56Shop →
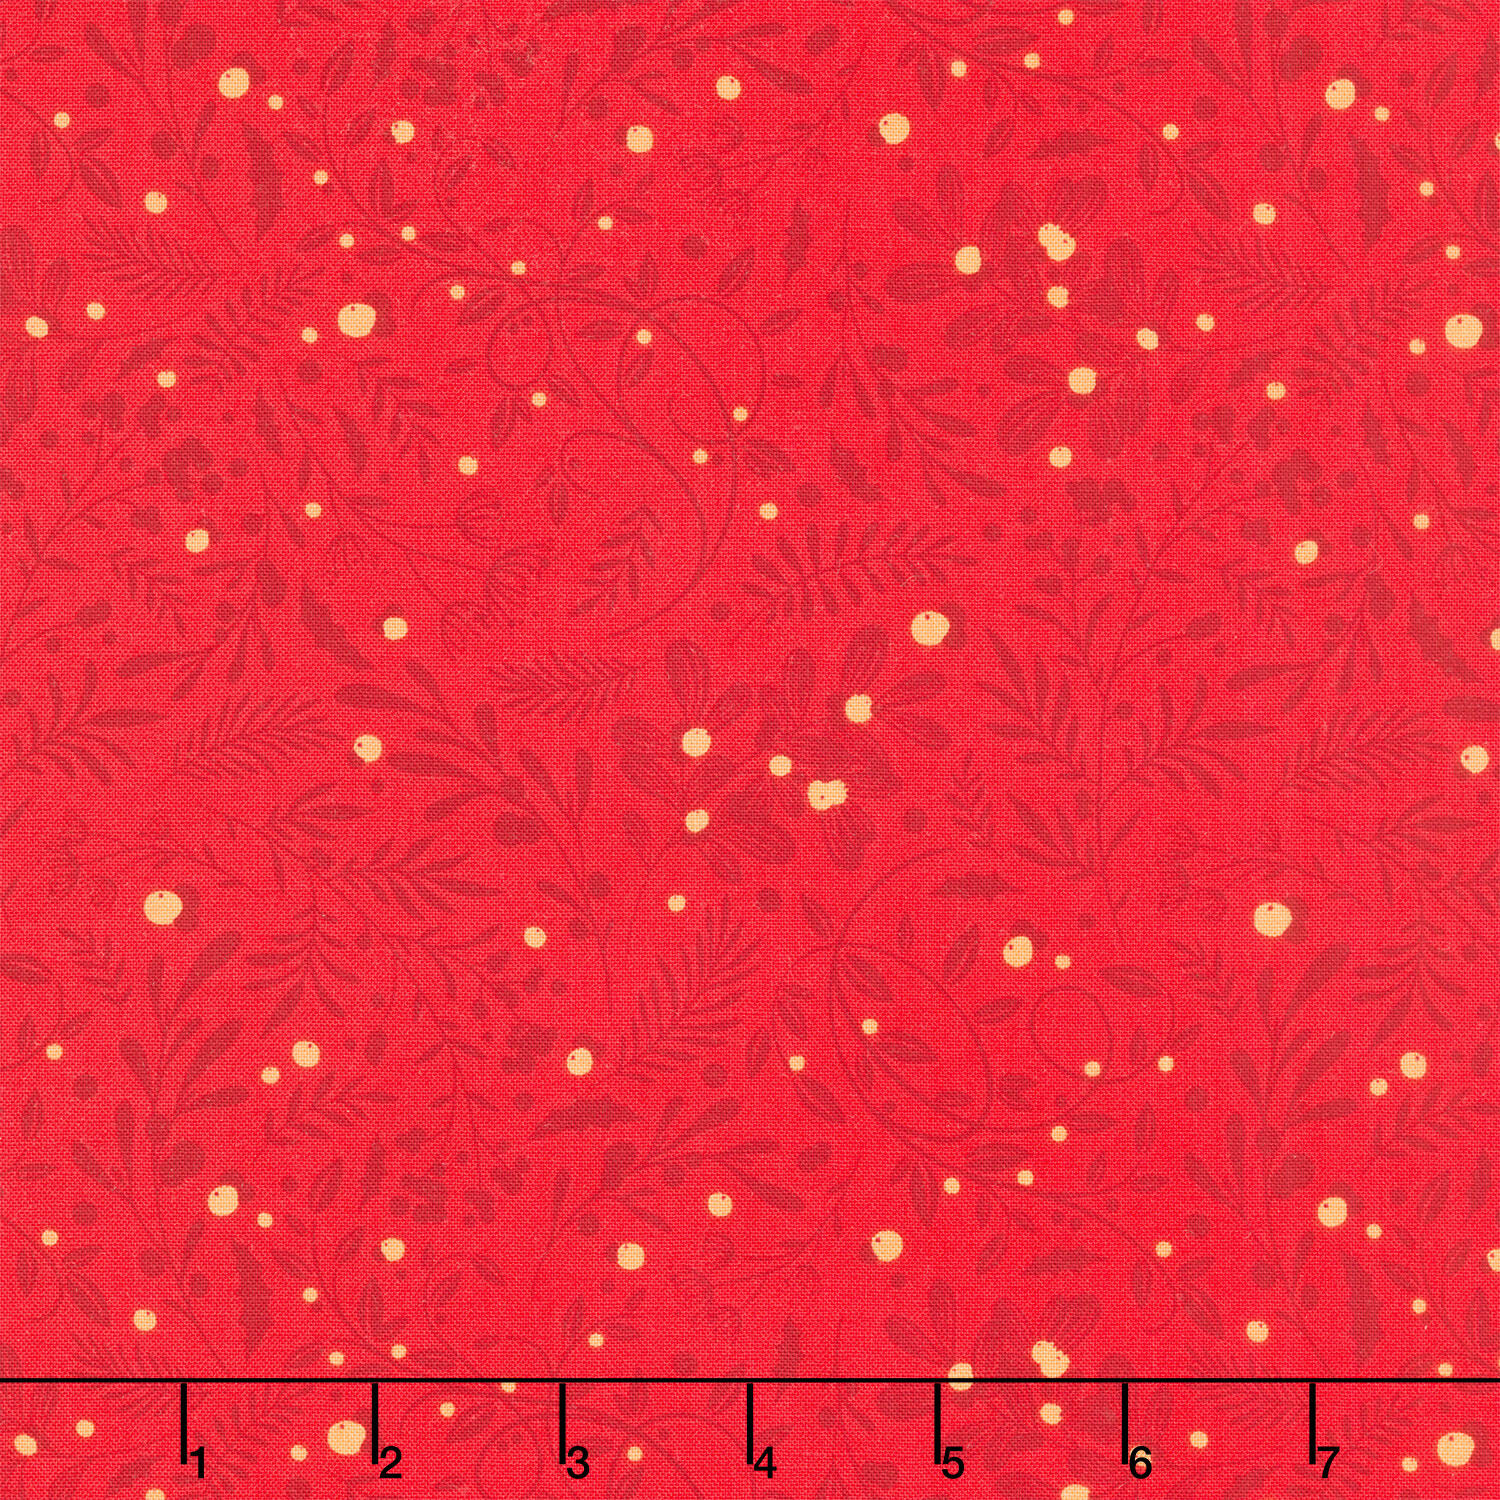 Holly Jolly Calico - Swirls Foliage Crimson Yardage$12.56Shop →
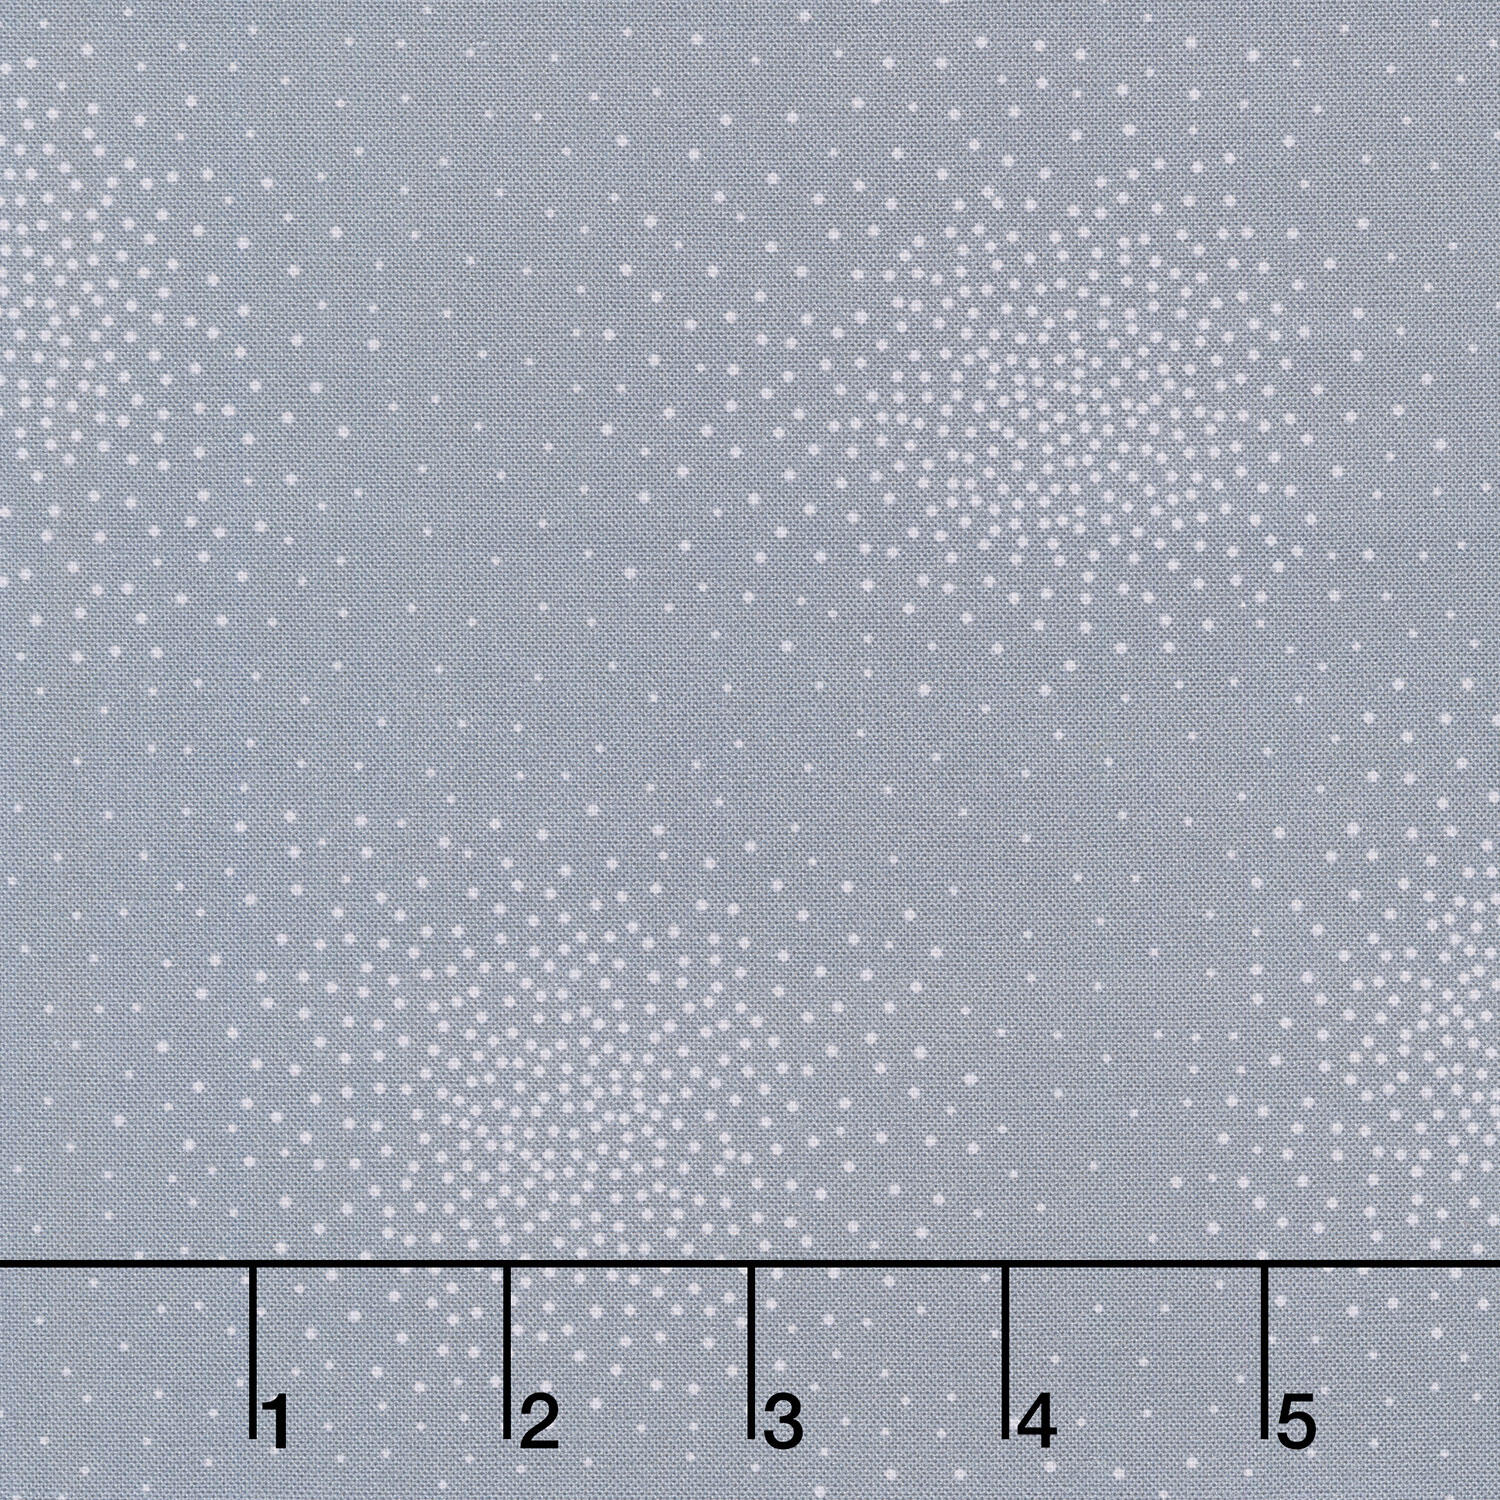 Spritz 108" - Spritz Slate 108" Wide Backing$19.16Shop →
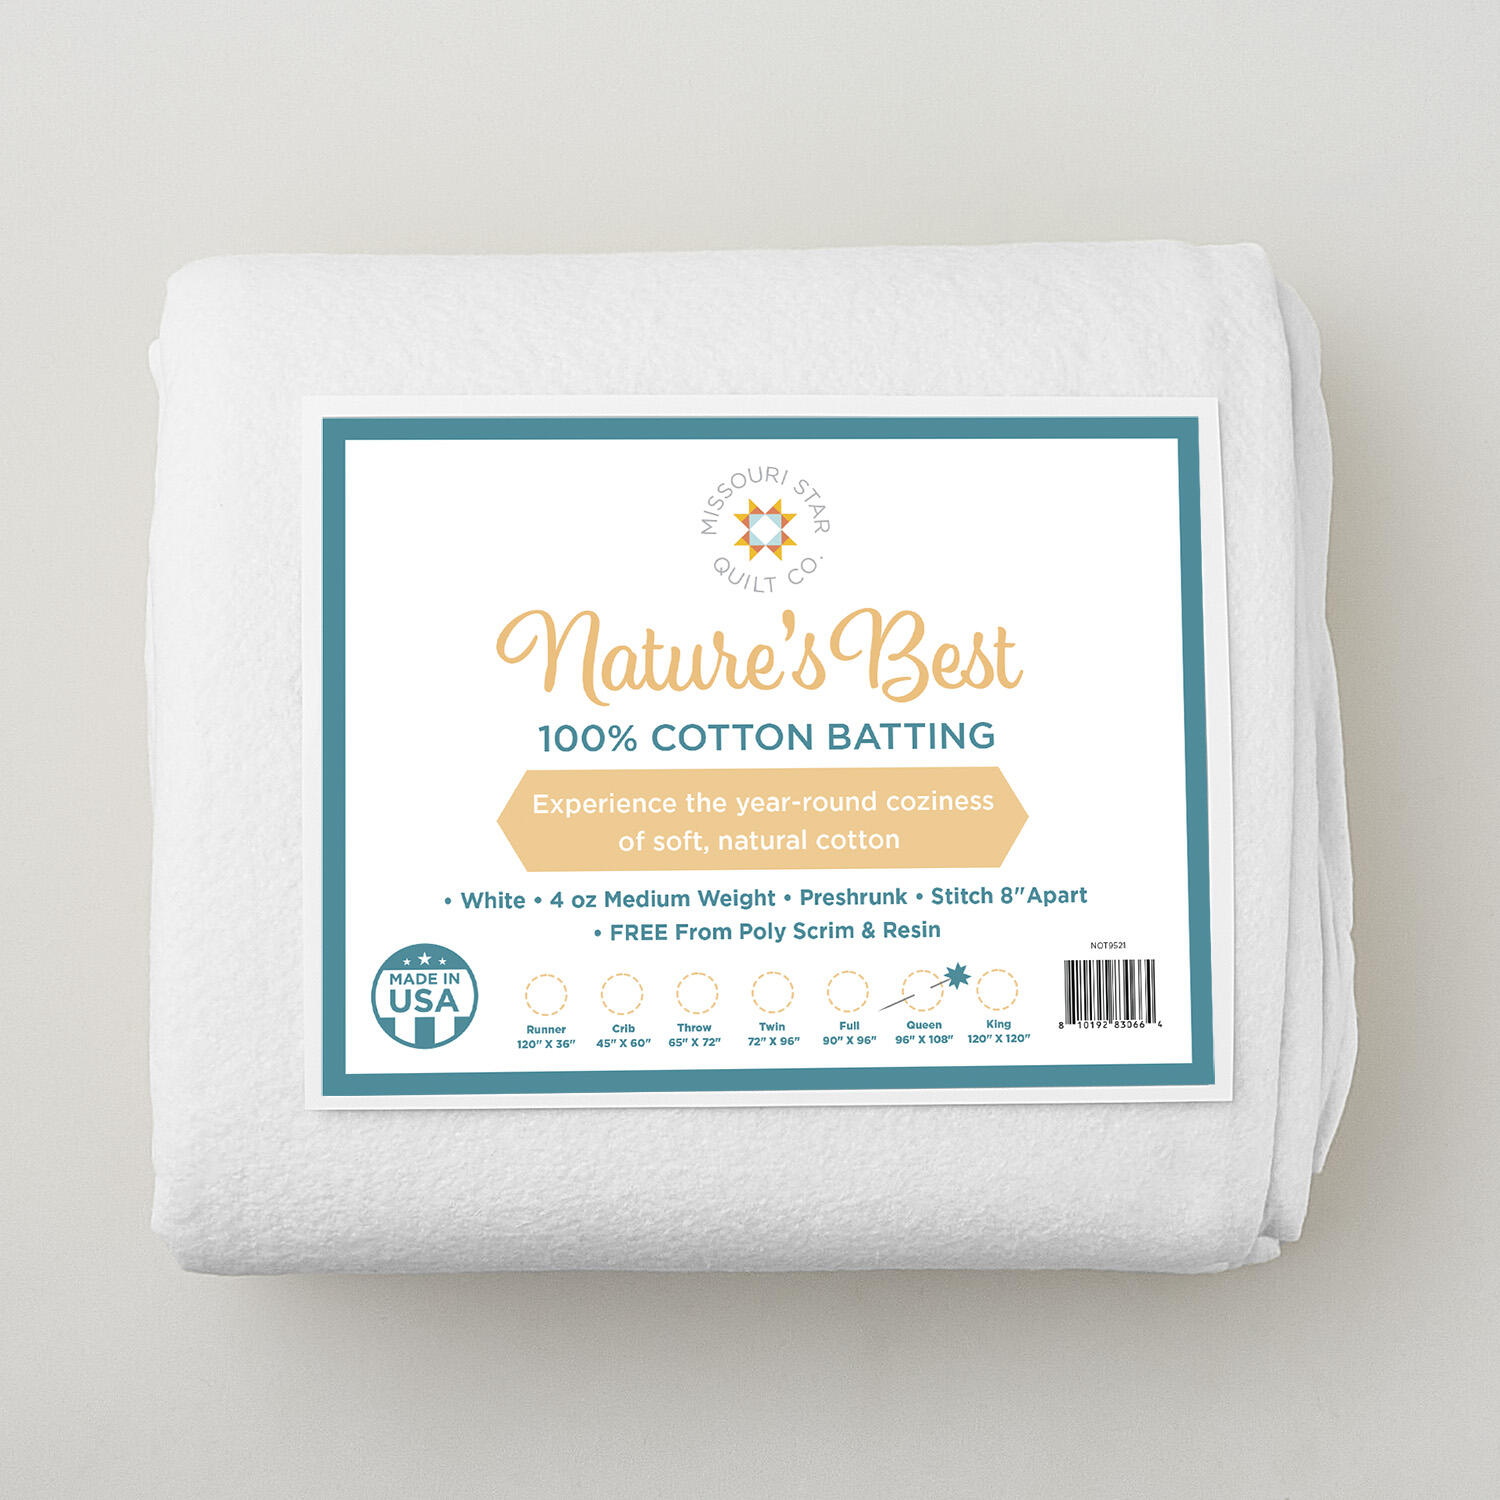 Missouri Star Nature's Best 100% Cotton Queen Batting - White$44.95Shop →
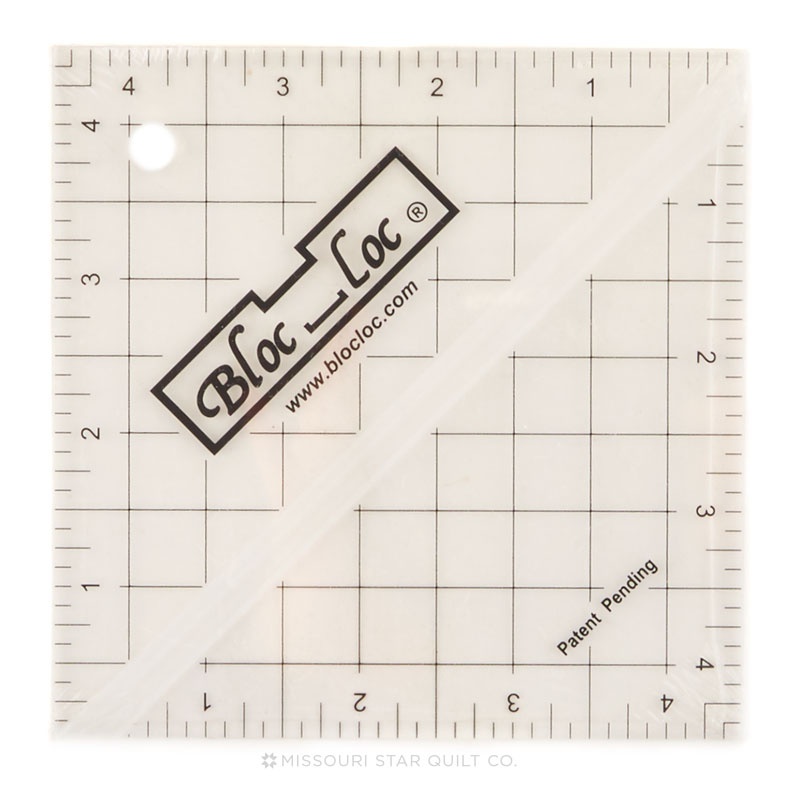 Bloc Loc 4 1/2" Square Up Ruler$32.50Shop →
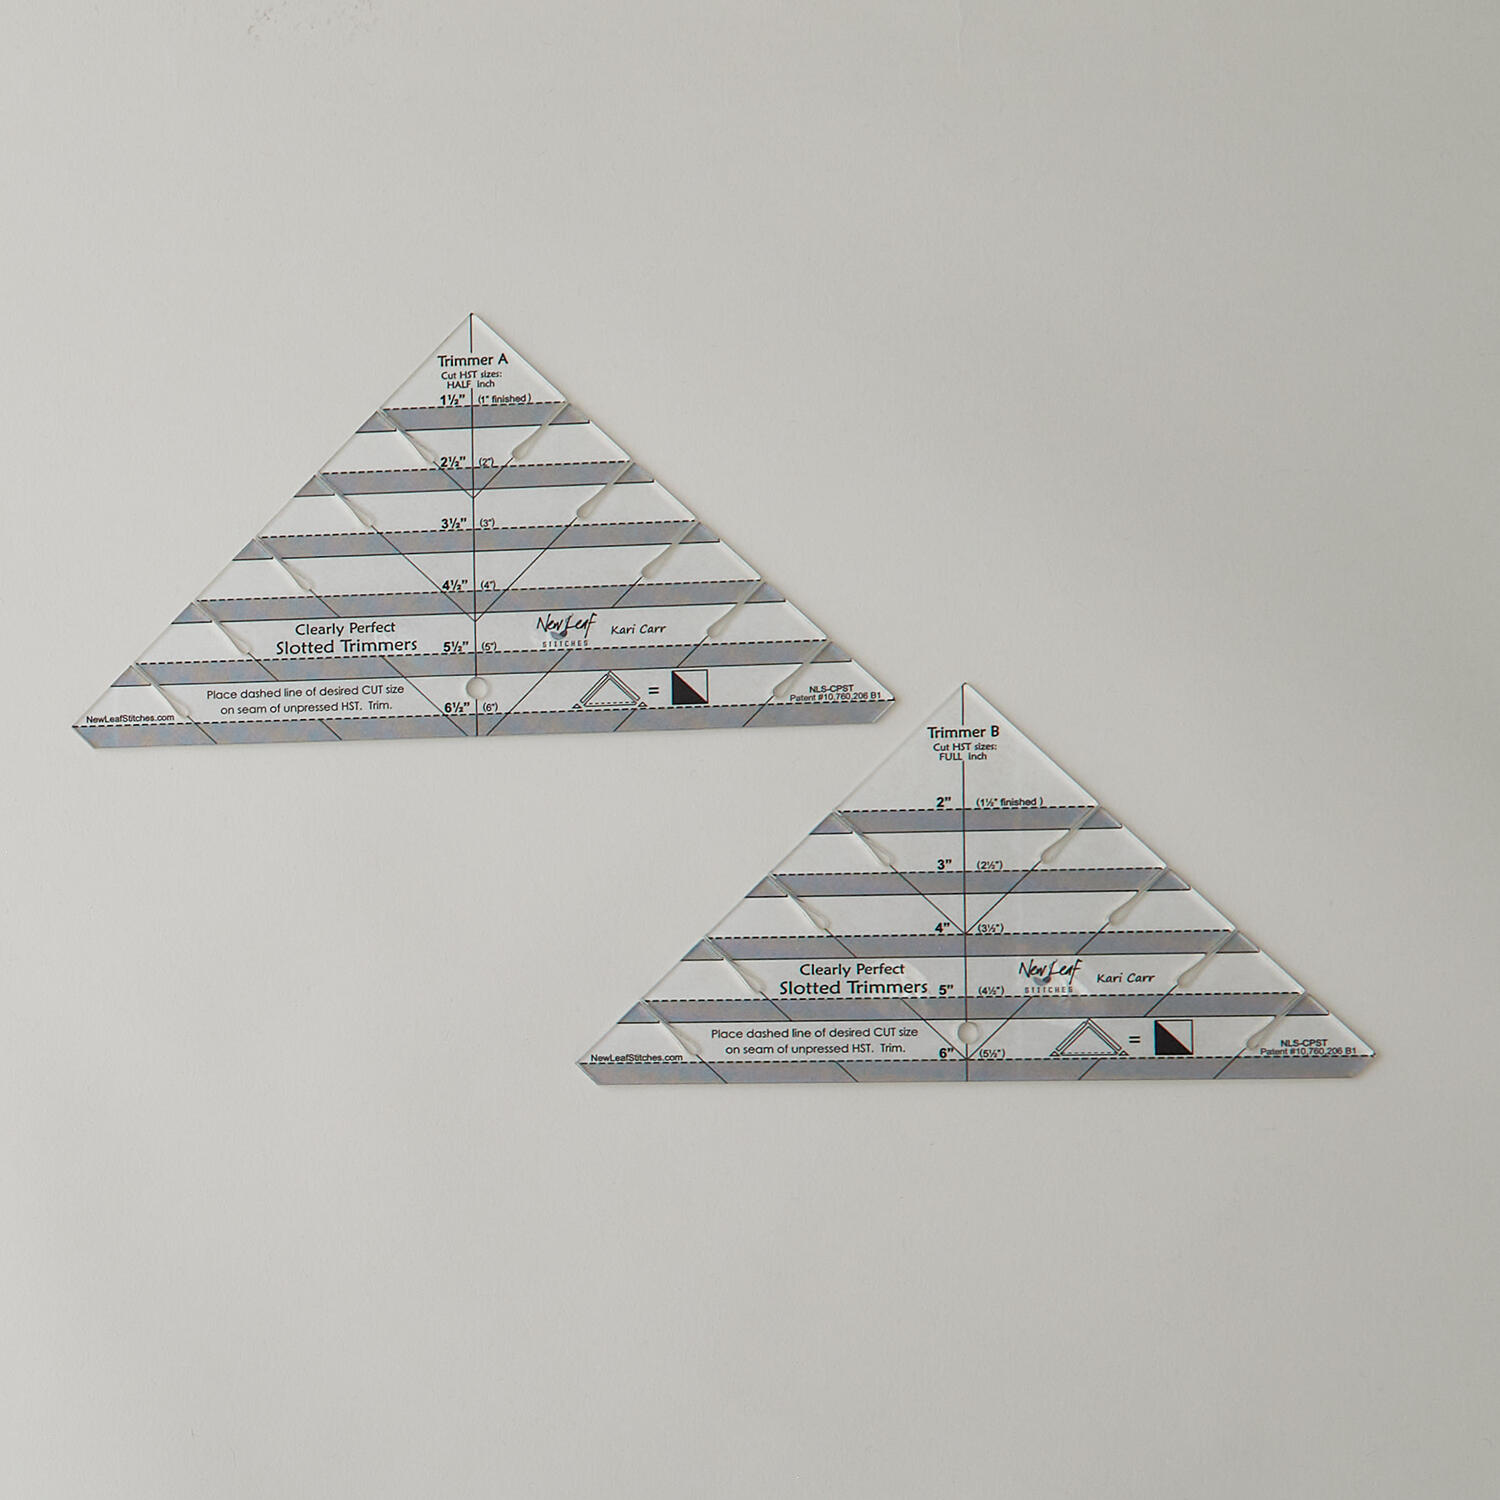 Clearly Perfect Slotted Trimmers$33.95Shop →
 Missouri Star 5" x 15" Ruler$19.95Shop →
 Missouri Star 2.5" x 8" Ruler$11.95Shop →
 Missouri Star Labels of Love: Pieced with Purpose$9.95Shop →


