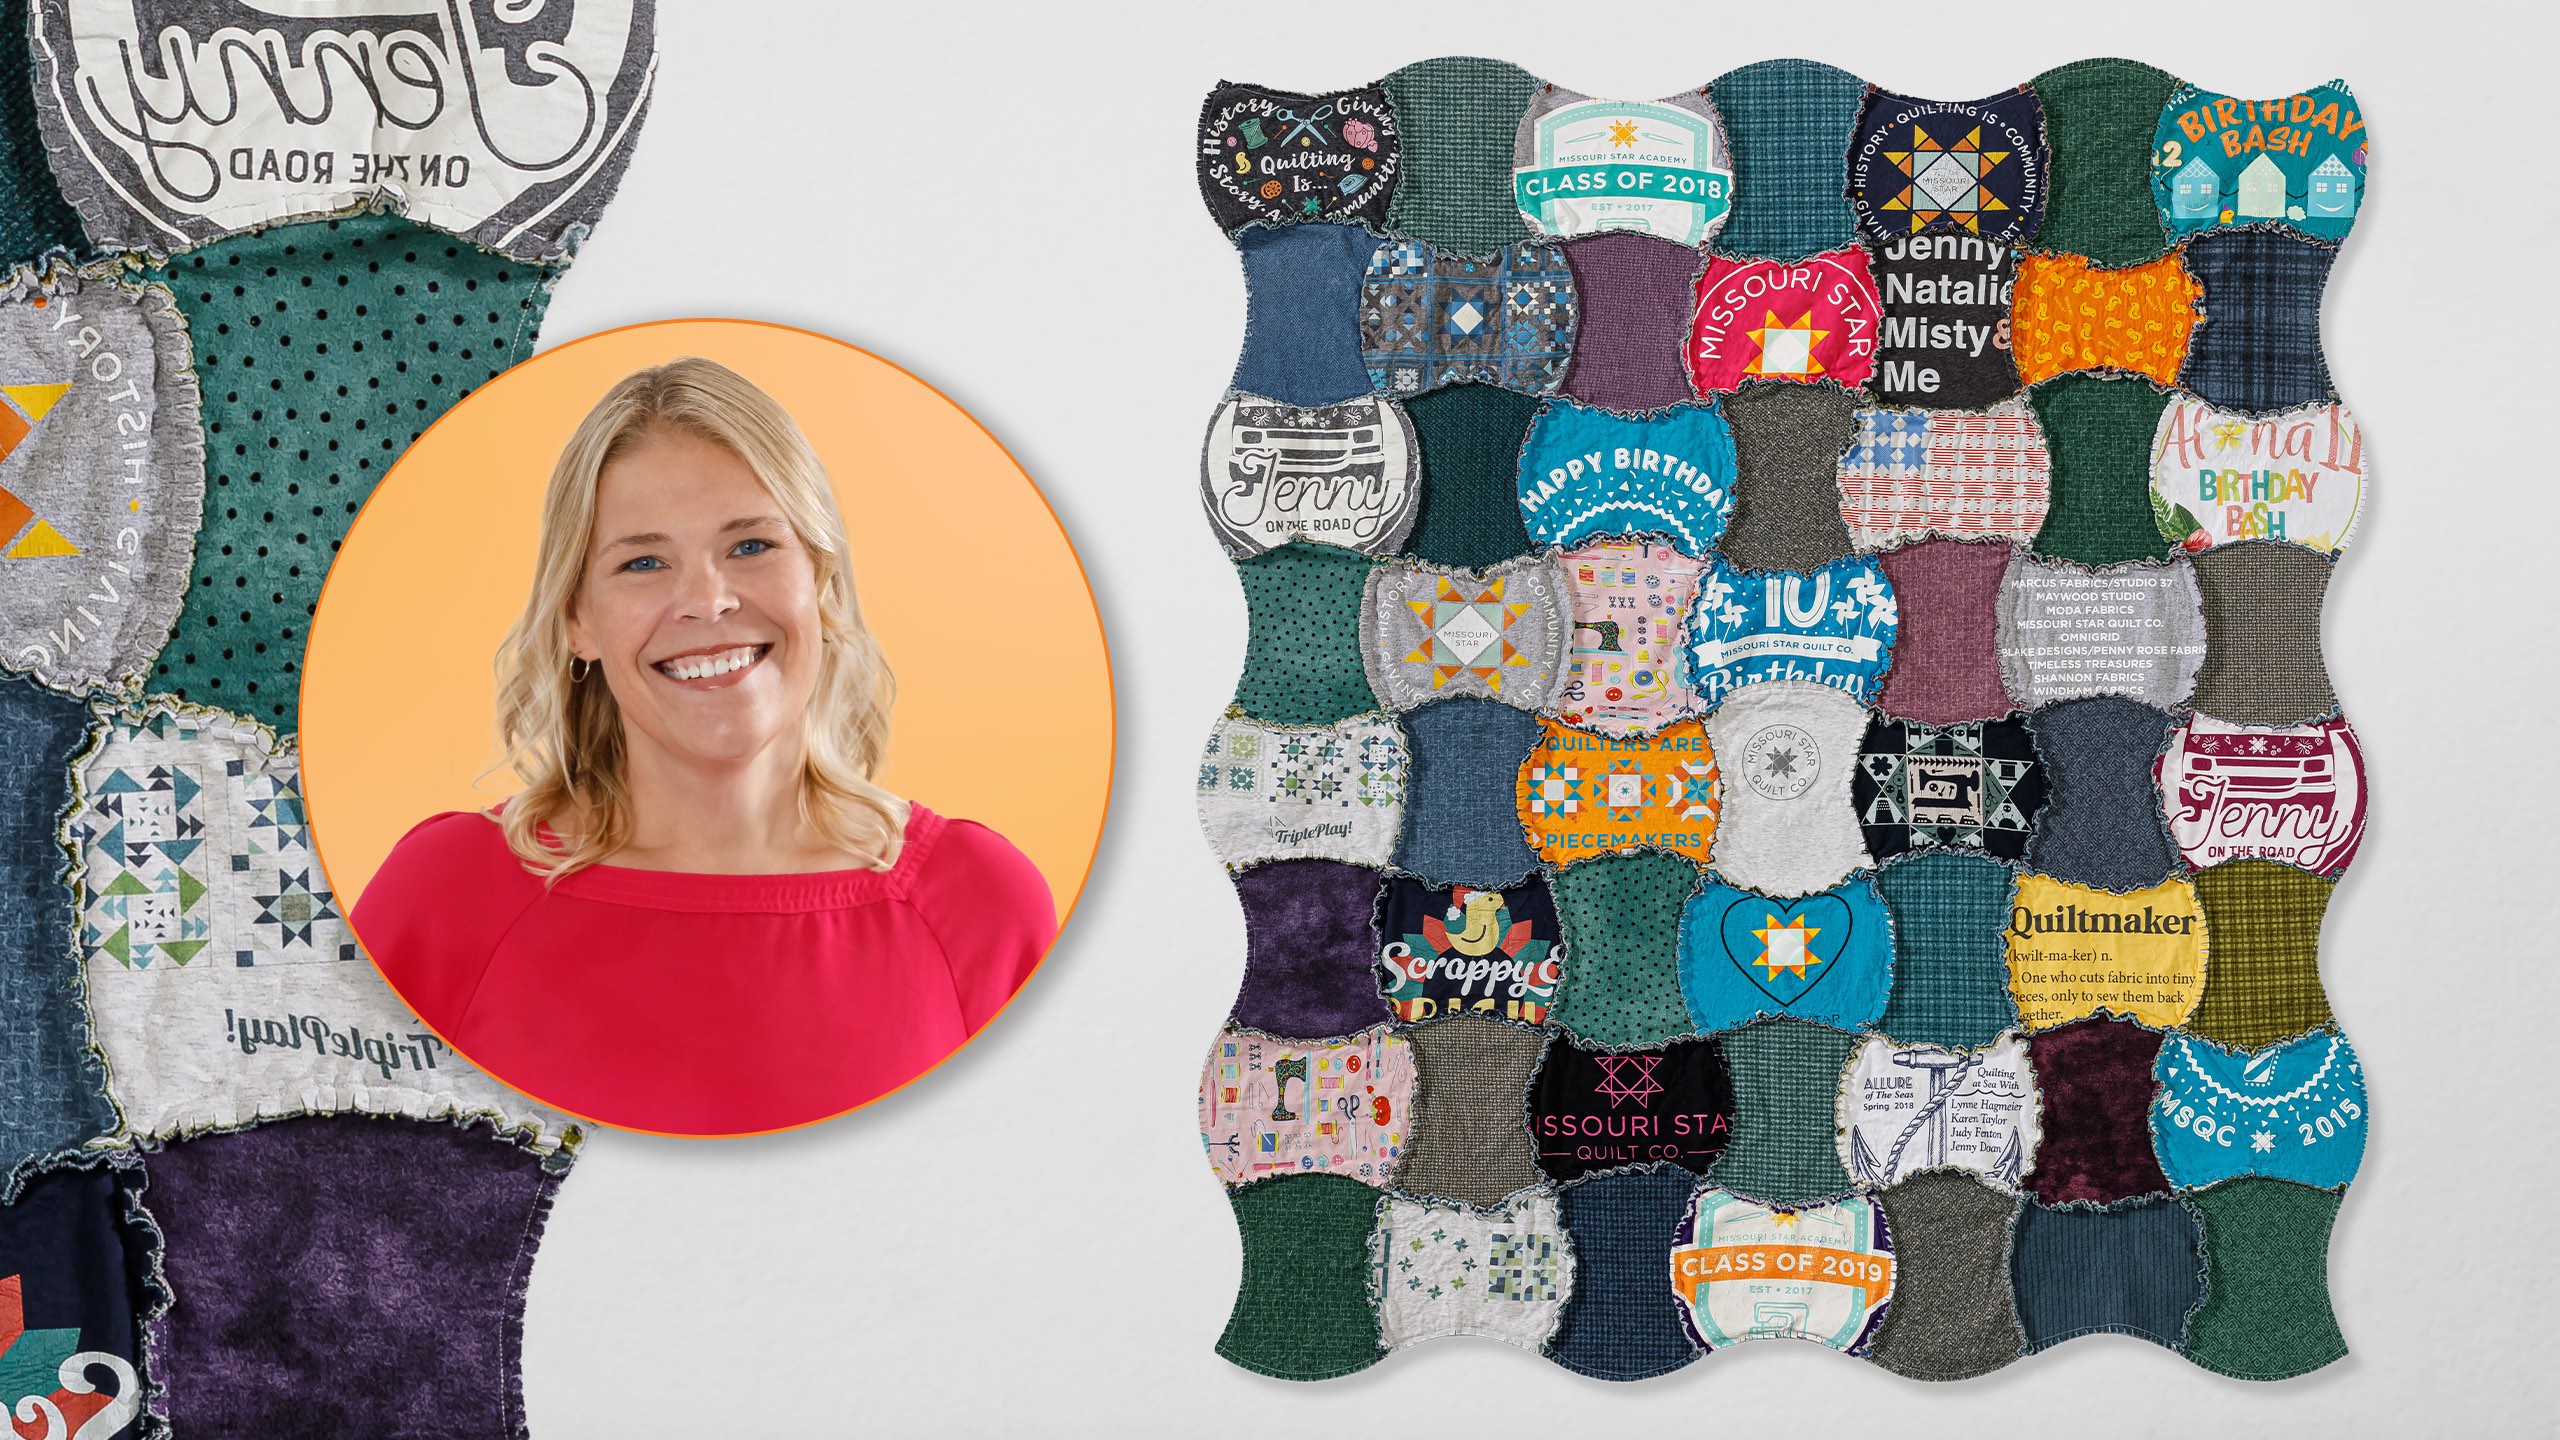
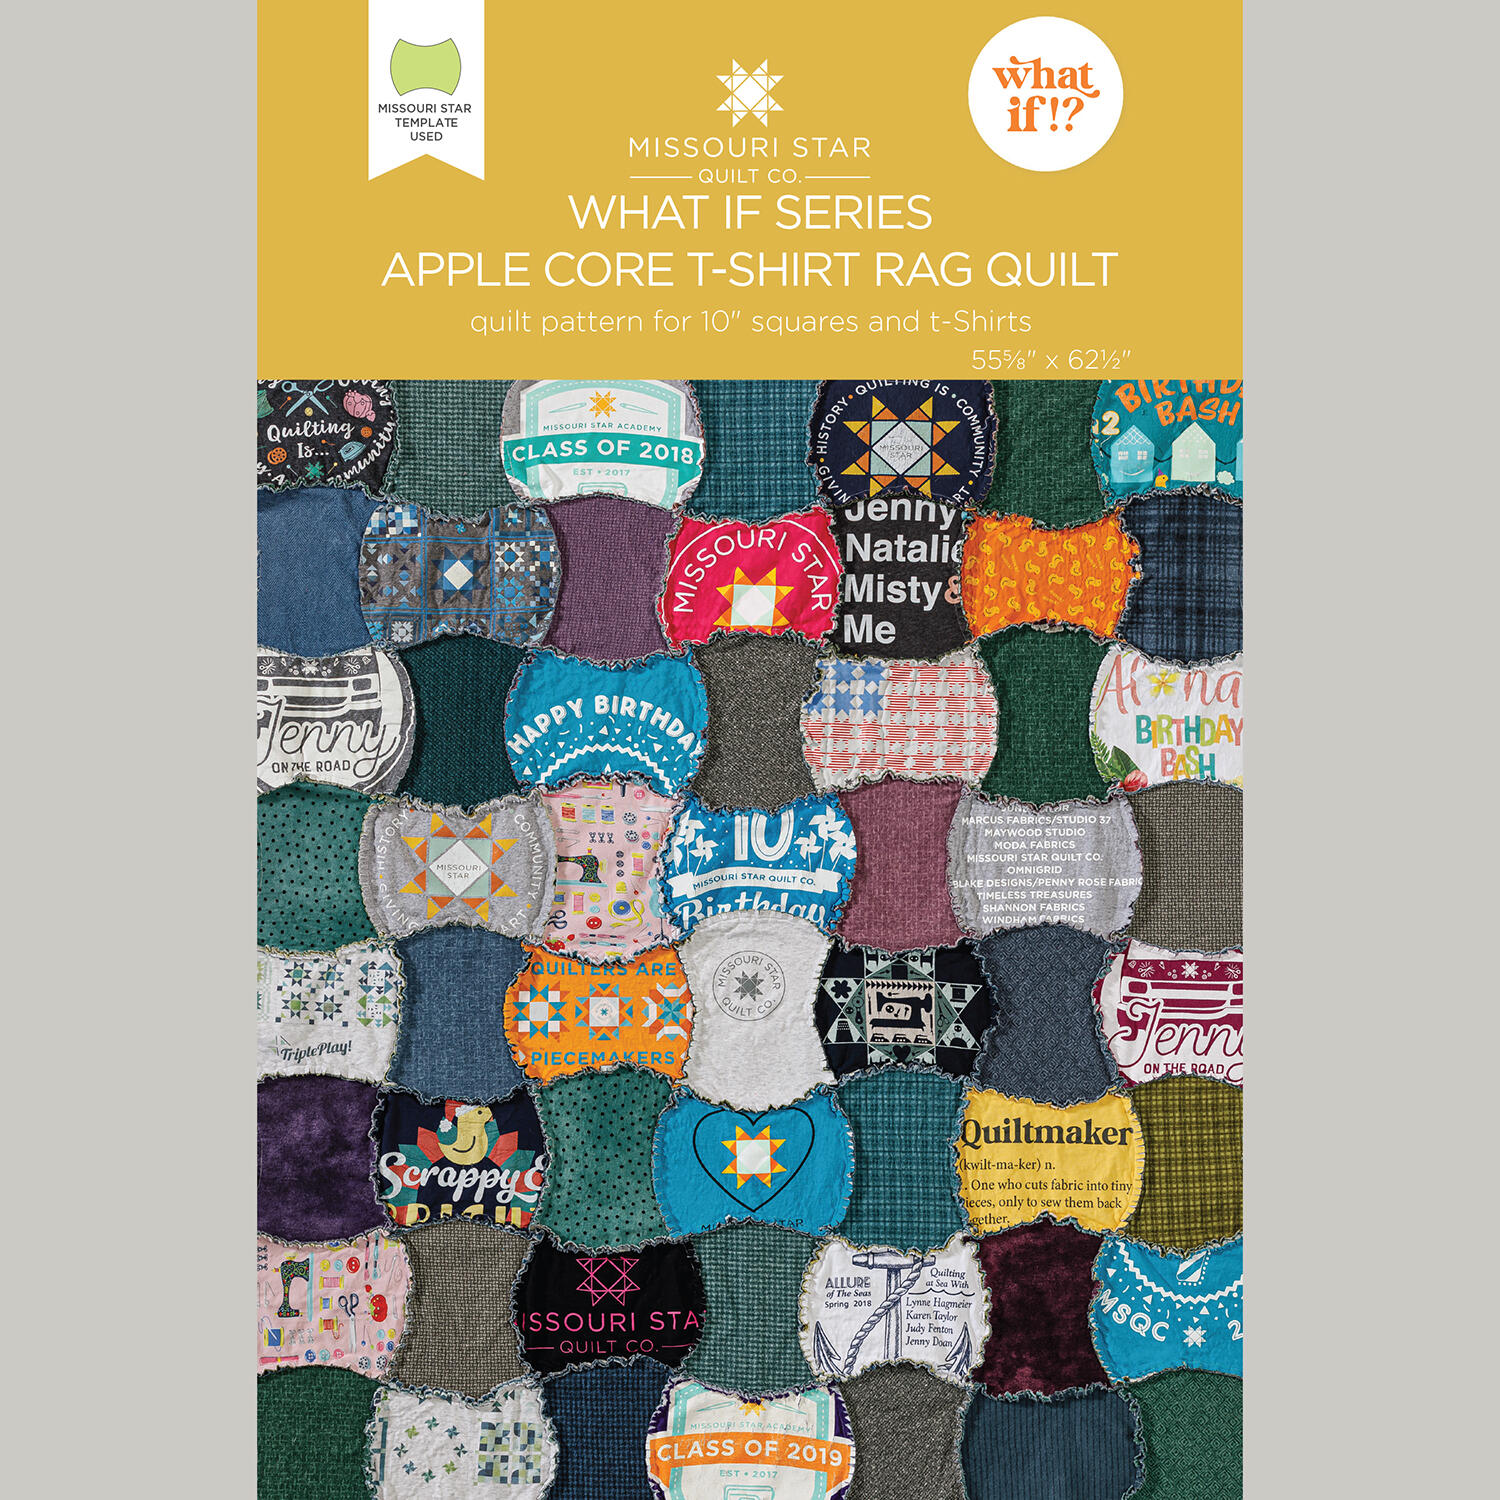
This quilt is cute to the core! Join in as Natalie brings a fun and thrifty spin on a beloved quilt! This fun quilt uses old t-shirts, Woolies Flannel fabrics, and the Missouri Star Large Apple Core template to make a cute quilt with a frayed edge flair. Combine good memories and soft flannels in this sweet quilt!
Natalie is the host of Quilting 101, Embroidery 101 and the Creative Strategist and Editor of Block Magazine at Missouri Star Quilt Company. She was taught how to sew by her mom, of course, and began quilting when she grew up.
What is covered in What If Series: Apple Core T-Shirt Quilt?
This quilt is cute to the core! Join in as Natalie brings a fun and thrifty spin on a beloved quilt! This fun quilt uses old t-shirts, Woolies Flannel fabrics, and the Missouri Star Large Apple Core template to make a cute quilt with a frayed edge flair. Combine good memories...
How long is the tutorial video?
The tutorial video is 00:23:18.
Are supplies listed for this tutorial?
Yes. The tutorial page includes the supplies and materials connected to this project.
Video Transcript
Hi everybody. I'm Natalie with Missouri Star Quilt Company and it's whatif week. One of my favorite things is t-shirt quilts. So, we decided we would combine the t-shirt quilt with the apple core template and we created this quilt behind me and I just think it turned out great. I can't wait to show you how to make it. Okay, so if you remember way back when mom did the original video, it used the beautiful fabrics quilters cotton. The quilt itself was made very in a very traditional style. It has an inner and outer border. It has machine quilting and a binding. And it is absolutely beautiful and reminiscent of those antique um apple core quilts that you'll see from from historically beautiful quilts. But this quilt is very unique in that it has no batting, no binding. You don't have to send it off to the quilters. It really is truly one and done. And you don't have any of that extra stuff. It's a rag quilt. It uses t-shirts and flannel, but you could really use any types of materials. I threw in some pajamas. You could use sweatshirts. Really, just any anything that you wanted to do. It makes a great memory quilt. It comes together really quick and easy, and I think you guys are really going to love it. So, let's get started. All right. So, to make this quilt, you're going to want to gather up your favorite t-shirts or whatever shirts you want to use from your memories. You're going to need some backing fabric and filler. And I've used this Woolly's flannel gemstones by Bonnie Sullivan from Maywood Studios. Now, we have a wide variety of these. We have this pack that has 100 squares in it. You'll only need one of these if that's what you go with. If you use a regular 42 pack, you'll need two. And that just makes it super convenient. It's easy to use. Pick your favorite. And get ready. The next thing you'll need is an apple core template. You'll also need some Solight fusible adhesive. And just to be to be really clear, like this is not a t-shirt stabilizer. This is our um our adhesive that has adhesive on both sides. And so we typically use it for applique. We're going to be fusing both of our fabrics together. And that's going to make this project so simple. So I think you're going to love it. Let's get started. All right. So anytime I'm making a t-shirt quilt, really the first step is getting those t-shirts gathered and prepped. You'll want to wash them before you start. Make sure everything is clean and ready to go. And the fun thing about this is because we're using this smaller shape, we're not worried about keeping every part of the the print in the quilt. We can use several different parts. We can just have it off to the side. It makes it really um almost like a collage as opposed to like your traditional get the whole thing in the square. So, I have a few of these up here. I'm really going to just do this one. I think I like um and you'd want to prepare all of your shirts in advance just so that it's easier. Now, a lot of people will say cut up the sides, cut off the sleeves, cut off the neck, all of that jazz. What I'm going to do because I know I'm working within the size of this apple core, which is about 9 and 7/8, I think, or 9 and 1/2. Um I'm going to use my 10in square, and that's what I'm going to cut all of my uh t-shirts with. So, all I'm going to do is lay this out. And you can see really quickly like that's the max I can get. Now, if I really wanted this part, if I wanted to it to say I still play with blocks rather than showing these blocks, I might cut down here. But you can't really get the whole thing. And so you have to decide, right? What part do you want to show up? It looks better, I think, to say still play with blocks rather than I still play with B. So you're going to move it around and like decide what part you want, you know, to be your focal, right? So we can cut this part down here, but then if we wanted to, we could also cut like say this part up here, or we could cut it like that. So I think I'm going to go ahead and use these um I'm going to use these little quilt blocks because I think that's really cute. So for for that, I'm going to just kind of fussy cut. I'm going to center it up right on that middle one. And I'm going to cut right through this because it's doesn't make any difference to me. I'm not worried about saving it. Although, if you wanted your backing to be made out of the back of the shirt, you can get them both cut at once and it's great. So, that's what I'm going to do. So, I'm just going to use this as my template and then we will start doing the adhesive to and we just throw it away. I don't need that part. It's great for like, you know, stuffing dog beds and rag quilts and rugs and whatever else. We can go a whole other video on all the things you can do with your t-shirt quilt scraps. All right, so this is what I'm going to do for my t-shirt quilts to be cut into their little squares and ready for the adhesive. Now, we're going to take our flannel and we're going to open up this package and we're going to select some squares that we want to use. Now, these are going to be some fronts and some backs. And honestly, when I was going through, I just worried about mixing and matching. I did not lay the whole thing out. I didn't think about what colors went good next to each other. I just made sets of apple cores that were fused front and back. So, it is um it's actually like really freeing. You don't have to stress about any of it. You can lay it out later. So, I'm going to grab a couple of these in some different colors. Let's see. Maybe I'll do a purple on the back of that one. That'll be fun. And then I'm going to grab a couple because I need some filler blocks. So, I'm going to put I think I'll put these two together. And if you mix and match them, then you know for sure you're not going to have the same colors together. They're just they will honestly all work out. I only had two that came together that were the exact same color on the back and it doesn't even matter. It doesn't bother me at all. All right, so we're going to do those ones and then I'm going to set this aside and work on it later. Now, we have these this really cool product, which I didn't know that we had this product when I got started with this project, but it makes me very happy. It's super satisfying. These squares are precut for layer cake squares and they're 9 and 78 in which makes life so easy because you don't have to worry about cutting down your fusible. All right, so all you've got to do is grab one of these. We're going to grab our flannel. We're going to go over to the ironing mat. Lay this down with the wrong side facing up and just press it to the flannel. See how it fits just like exactly perfectly? This is the easiest and most straightforward thing to do. I just love it. So, a traditional rag quilt, you typically are going to put those two pieces of fabric together, and then you do a little bit of machine quilting. You maybe draw or sew an X to keep those two fabrics together. Um, as I was doing that, some of my t-shirts had a lot of like the sticky texture on the front and it was getting caught under my sewing machine. And so I just was brainstorming, how can I make this easier? What is a better way? And the fusing of them together so that I didn't then have to put any extra stitches in it came to my mind and it has worked out brilliantly. I'm so excited about this. So, you guys get to reap the benefits of of the all the experiments that I did when trying to figure this out. It makes sewing together those curves a lot easier, too. All right. So, I'm going to do three backs, and then we're going to put the tops on, and we will have completed our front and backs. Okay. So, now we can take our little We can You can either score it, but with something this large, I think you can honestly you can just use the corner and peel the Well, maybe not that corner. Try anything on camera and it doesn't work the way it does at home. I promise. All right. So, we're just going to peel that paper off. So, let's grab our t-shirt. And you can see that this just lines up really beautifully. Now, when you're ironing on the top of t-shirts, you want to be uh careful about the the print, however it got on there. You don't want to put your iron straight on it because sometimes that ink will melt and stick to your iron. It'll mess up your shirt. Um so, you want to use a pressing cloth or if you don't have one of those handy, you can flip this over and use the flannel as your pressing cloth. Um, and so you could you'll just press it from the backside and that will work because they're both 10 in square and you don't have to worry about the adhesive hanging over the edge because we've got this exact cut. It's like it works perfectly. Another thing you can do in a pinch is if you wanted to, you could grab some of the pieces of your other t-shirts, just the backs that don't have any print on them, and use that in between. You just want to put a layer between your iron and the t-shirt itself. So pressing cloth works great. A piece of fabric that you have on hand or the backs of your t-shirts. This way you have something between your iron and the ink. So that is the that's the main thing that you've got to watch out for with ironing or you know pressing on t-shirts. All right. So that works great. And you can see that it is all stuck together like one beautiful piece of fabric. Now um for some of these other pieces, these are just flannel front and back. So, I'm going to do again the same thing with these other two. I'm going to peel off my paper. And I don't know if I showed you this earlier, but this piece of of um so light fusible, it has a bumpy side. Now, that's the side that's going to go down first. And then the the smooth paper is what we're peeling off after we've pressed that down to our initial fabric. So, that's how you know which side is up. You don't want to put your iron on the bumpy side or you'll have a mess to clean up later. And then if it feels like it's not peeling off, you want to make sure that it peels smooth and you see this really shiny adhesive. That's how you want it to look. And then this just can go down in the trash. So, we'll get these both peeled off and then I will pick a couple of pieces and we're going to going to see which ones go best. We'll do this one here and just press these together because we're going to cut all of our apple cores and make sure that they each have a front and a back because we are essentially backing the quilt right now. Getting it all set. And this doesn't have to stay on for a long time. You don't have to count to 30 or whatever. You just want to make sure that it heats up enough to stick together. And typically it sticks pretty good. And I find that less is more cuz the hotter it gets, the more likely it is to unstick later. Kind of kills the adhesive if you know what I mean. All right, I'm going to do this last one. Got those lined up. We'll press it. You can always add heat. If it seems like it maybe didn't stick in a certain area, do it again. but works pretty well. Okay, now for these guys, I'm going to go ahead and stack them because I can cut through a few layers at once and it's not a big deal. I'm going to line up my apple core template. You can use a regular sized rotary cutter or the smaller one might work really well, too. It's just whatever you're comfortable with. I typically like to start at the edge and kind of back it out because if I go forward, I'm likely to hit that corner. But that's just a me issue. So, however you feel comfortable. Um, and this is one of those times, too, where if you have one of those rotating mats, you might want to use that. But because it's it's kind of a large template, so I'm not too worried about it slipping, I can line this back up pretty easily. So, I'm going to flip it over. Make sure everything is still lined up and then cut through that next piece and our last side. And it is Whoops. Then these are ready. Now, we'll do our t-shirt. And this is where you get to be creative. You get to decide. You have these lines here on the edges that will help you to center things if you want things right in the middle and straight. Or you can go completely however you want. twist it, turn it. The uh the creativity there and the design is completely up to you. You get to do whatever you want. So, I am going to line that up nice and straight. And I'm going to go ahead and trim this. And then once these are all done, you've got everything cut out. That's when I would go ahead and lay it out because um then you get to decide which t-shirts go where. You can mix and match all your colors. Oh, let me close that if I'm going to wave it around. Just that's where you get to design the layout and decide which pieces are up. And this is actually really fun. So, one of the things that I enjoyed was knowing that I had two different sides. If I had two blues, I could just flip it over and have a purple. So, it worked out really well. I'm going to hit these with the iron one more time because they're kind of kind of flopping on me there. There we go. That'll be better. Okay, let me finish cutting this. Got a little bit ahead of myself. Sorry about that. Okay, then that all just can go away. Okay, now now as we lay it out, you're going to have one up and then one sideways. So, we've got our our vertical, our horizontal, and our vertical. And they just continue on. And then, like I said, you can flip it around and decide which colors go where. But once you've got that, then it's time to start sewing these together. Now, it's a little bit different because what we want is for our seam to be on the top. So, we're going to put these together like this, which means that as you pick them up, you have to make sure that you're picking them up and matching your seams facing upright because we want our rags on the top of the quilt. part of the design for it to be that fluffy, textury, um, and really interesting seam. All right, so this one also I didn't press quite long enough, so hang on a sec. I might have rushed through it a little bit. Let's just make sure these stick really well. Okay. All righty. So, for a normal seam, you would pick up these two pieces and you would put them right sides together and stitch that seam. But because we want our our rag seam to be on the top, we're going to have to do this a little bit differently. So, we can still line them up in this way, but we want to then put our back sides together and flip it a little bit. So, it's kind of a reverse seam. And then we're going to line it up like this. And we're going to join these two curves together. Now, if you want to, you can fold them in half and find your middles and put a little pin there. I have found that it did not matter to me. I'm always able to get them to match up, but you might want to try a few practice seams. We're also going to be taking a bigger than a quarter of an inch. So, closer to a half. I will tell you though, I did not measure these. I'm not precise. I just tried to make them all consistent. So, they need to be bigger than a quarter of an inch because you want room for that rag snipping. You want room for the fluff. So, um, typically a a half an inch seam is what you're aiming for, but don't stress too much about it. It's going to be fine as long as they're consistent. All right. So, I'm going to line this up just like this. I'm going to start up here and I'm going to combine these two. Sort of like a little zipper merge in traffic, but on my sewing machine. So, here we go. I promise it's easier than it sounds. And I do like for these two to sort of have this straight edge here where they match pretty well because that gives us a good place to start. And then you'll see that I've got this over a bit so that I've got more than a quarter of an inch. And I go nice and slow. And as I go, I'm pulling the bottom. I'm sort of like pushing the bottom layer in with my right hand and then pushing the top layer in with my left. So they join as we make that curve. And just go nice and slow. So you're continuously aligning and straightening as you go. And then once you get down here where you can kind of see the bottom, you'll see whether or not it's going to reach. And it looks like it's going to be just fine. And then you can line them up. You can use a stylus if you want to. All right. And that's that. So you have this fat, beautiful seam on top. Now I'm going to add this one. And I'm going to do the same thing, making sure to put my back pieces together. And because I like, you can decide. Okay, this is a total personal preference. Some people like to sew their curves with the concave on top, some like convex. I like the um concave on the bottom. So I'm going to flip this over and I'm going to align the tops up just like I did with that other seam and do it again. So you guys can do whatever whatever you prefer. My preference is to have the concave on the bottom. And it doesn't have to be perfect cuz remember it's a rag quilt. You're going to snip all these seams. Nobody's going to know if your seam is straight or not. All righty. So, we're going to go right around that edge. All righty. So, you are going to continue this to join all of your rows and your blocks. And you'll see back here, I've got seven. 1 2 3 4 5 6 7 by eight down. But you can make yours as big or small as you want, you know. And the other thing that's really fun is you'll you'll notice in here I have like these are from pajama pants. This is my my chuck fabric from those pajamas. You can use sweatshirts or um denim, anything that you want to use. You're just adhesing adhering those two pieces of fabric together, cutting them out with a template, and then ragnipping them. So, anything works, anything goes. It's really like there's so many creative possibilities. You can do t-shirt on the front and back. You can do fabric on the front and back. You can do a t-shirt with a fabric or a t-shirt with denim or a cotton with a jersey. Whatever you want. There's the possibilities are endless and all of it works. Um, the final thing that you're going to want to do is go all the way around the outside edge about a half an inch from the edge with a straight stitch. And that keeps those fabrics together through the washer and dryer. Um, and then we're going to want to snip it. And so this is my back. I I just thought I'd show that as well. Isn't it cute? I love how they all come together and it's all these different fabrics. It's just really fun. I also love This is one of those things that I think gets tripped up. People get tripped up in t-shirt quilting is like seeing the whole entire design. You still get the idea. It you still remember that shirt and it looks so fun. So, anyways, we're going to go ahead and start snipping. All right. So, obviously, if this quilt was finished, I would have stitched around the edge using a halfinch seam allowance, but I wanted to get into the snipping. And you can start and finish this wherever you like. It's a great thing to do when you're sitting at a soccer practice or watching a movie. Um, you can do it in chunks if your hands get tired, but these snips are nice and sharp. They have good pointy tips. And you're just going to snip about every like quarter of an inch through both pieces. It doesn't have to be the same width. You don't have to stress about it. The only thing you don't want to do is cut your seam. So, just get as close to that as you can and just keep going all the way along all of these edges. So, one of the things this does is it helps your curved seams to lay flat and it also creates that fluffy chenille rag look right on the edge. Now, when I get to these edges, you'll see that like this is this is stitched down here. I'm just going to come in and I'm going to snip along the side so that it pops up. Another thing I've done is I just kind of went into the corner. So, and you can do that on on both sides. Just make sure that you get a little bit more movement there. And then you're just going to continue doing about every quarter of an inch. But it doesn't matter. No one's going to measure. We're just going to continue snipping. right along these seams until the whole quilt is snipped. Then we're going to throw it in the washer and the dryer and it's going to come out crinkly and fuzzy and soft and ready to snuggle. We're going to hit that corner again. And you'll go up up these sides just kind of snipping as you go. And I like to I like to hold on to the seam to make sure that I'm not cutting through the fabric underneath cuz we don't want that. And that's it. It's a little bit of a process, but if you think about it, it's a lot quicker than sending off your quilt to be machine quilted. You didn't have to worry about batting or backing. This is the one that can be thrown in the car and thrown on the ground and carried around and built build your blanket forts out of it. I mean, it is just it's so fun, so versatile. So, I hope you enjoyed this what if on the rag quilt apple core quilt fun tutorial from me and the Missouri Star Quilt Company. See you next time. Hi everybody. I hope you enjoyed today's video. We're trying super hard to get to a million subscribers. So, if you enjoyed it and you want to see more, just hit subscribe and share with your friends and encourage them to do the same. And I will see you next Friday with a brand new tutorial.


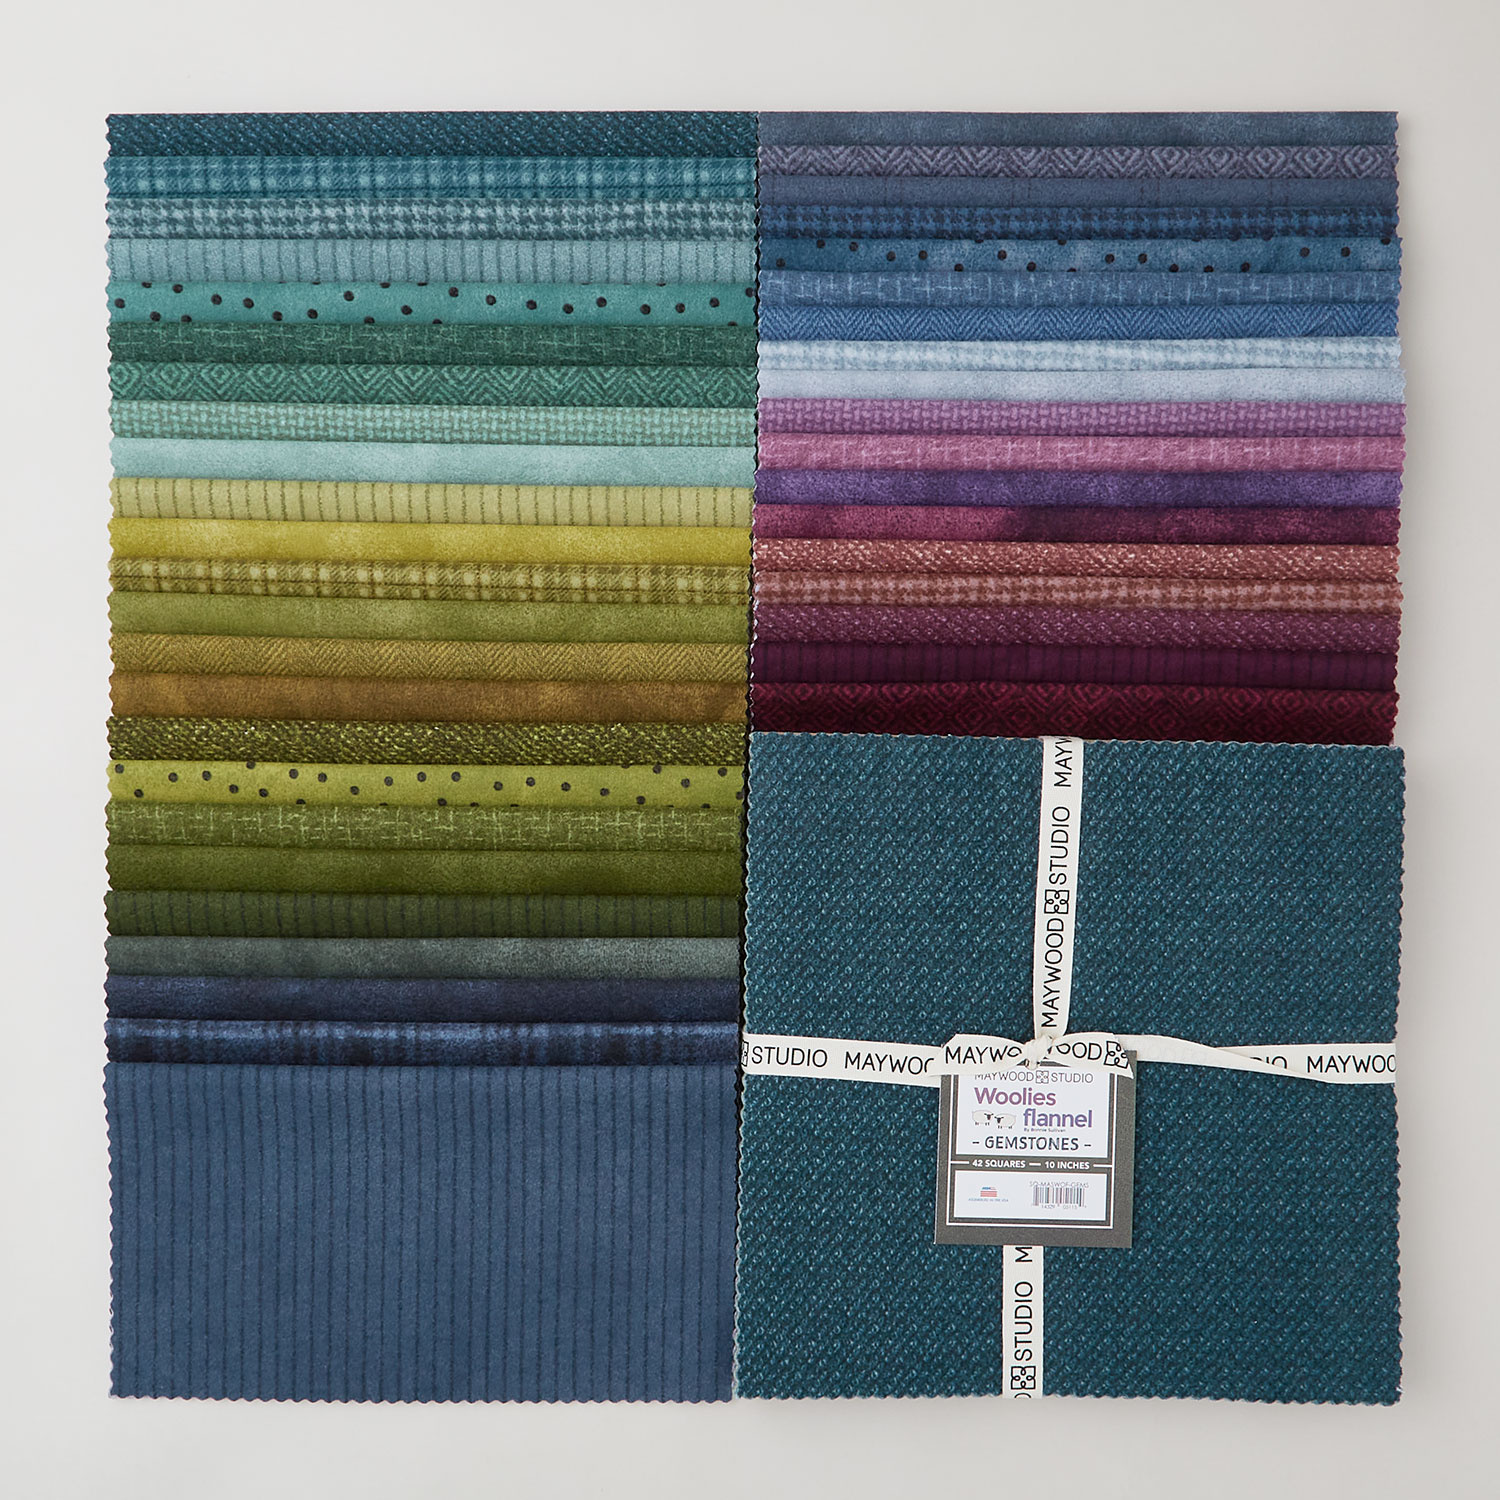 Woolies Flannel Gemstones 10" Squares$49.95Shop →
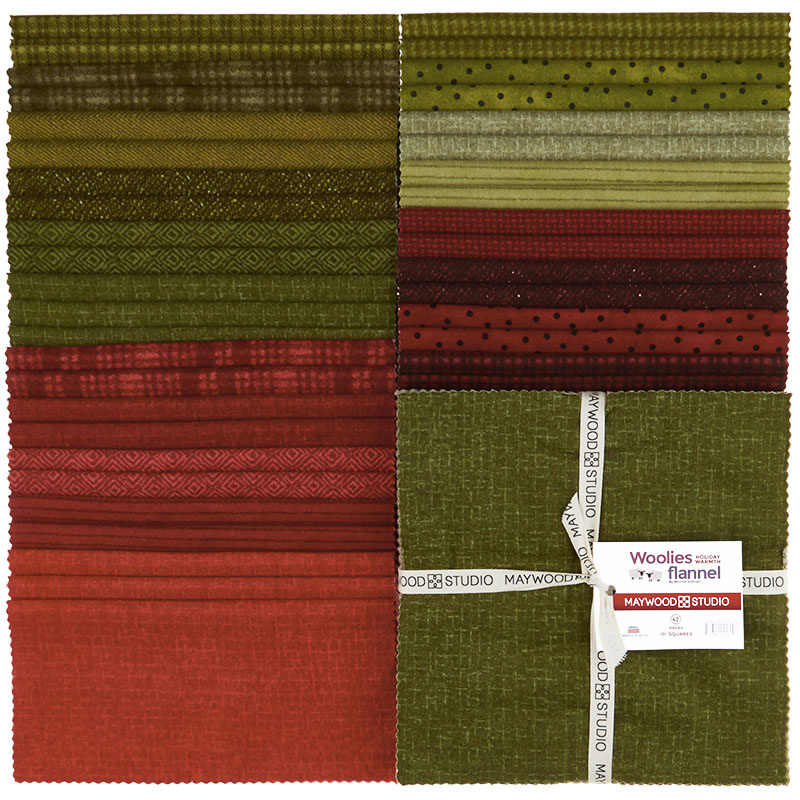 Woolies Flannel Holiday Warmth 10" Squares$50.10Shop →
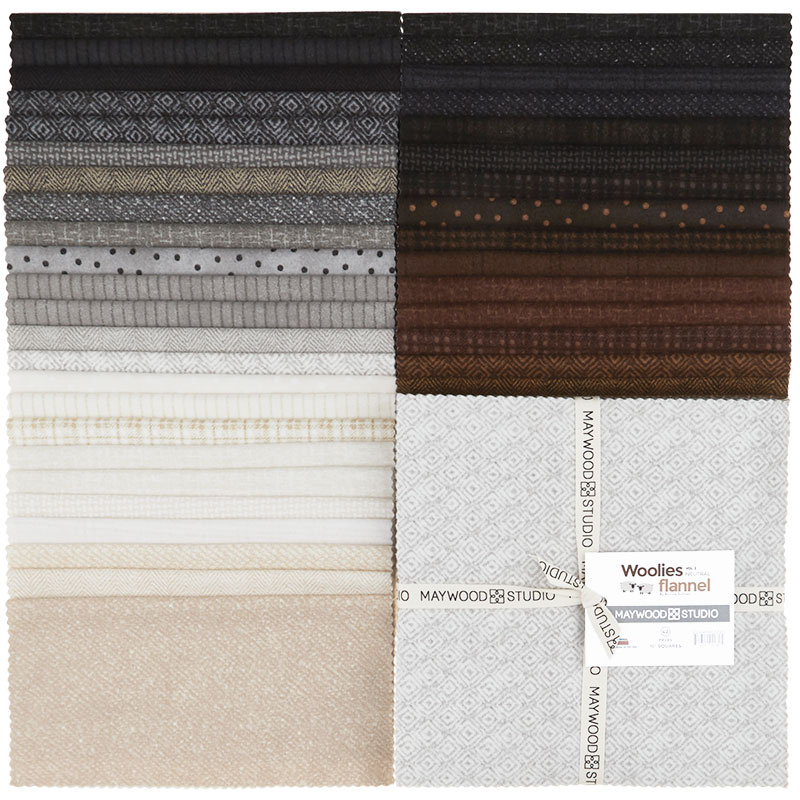 Woolies Flannel Neutrals Vol. 2 10" Squares$50.10Shop →
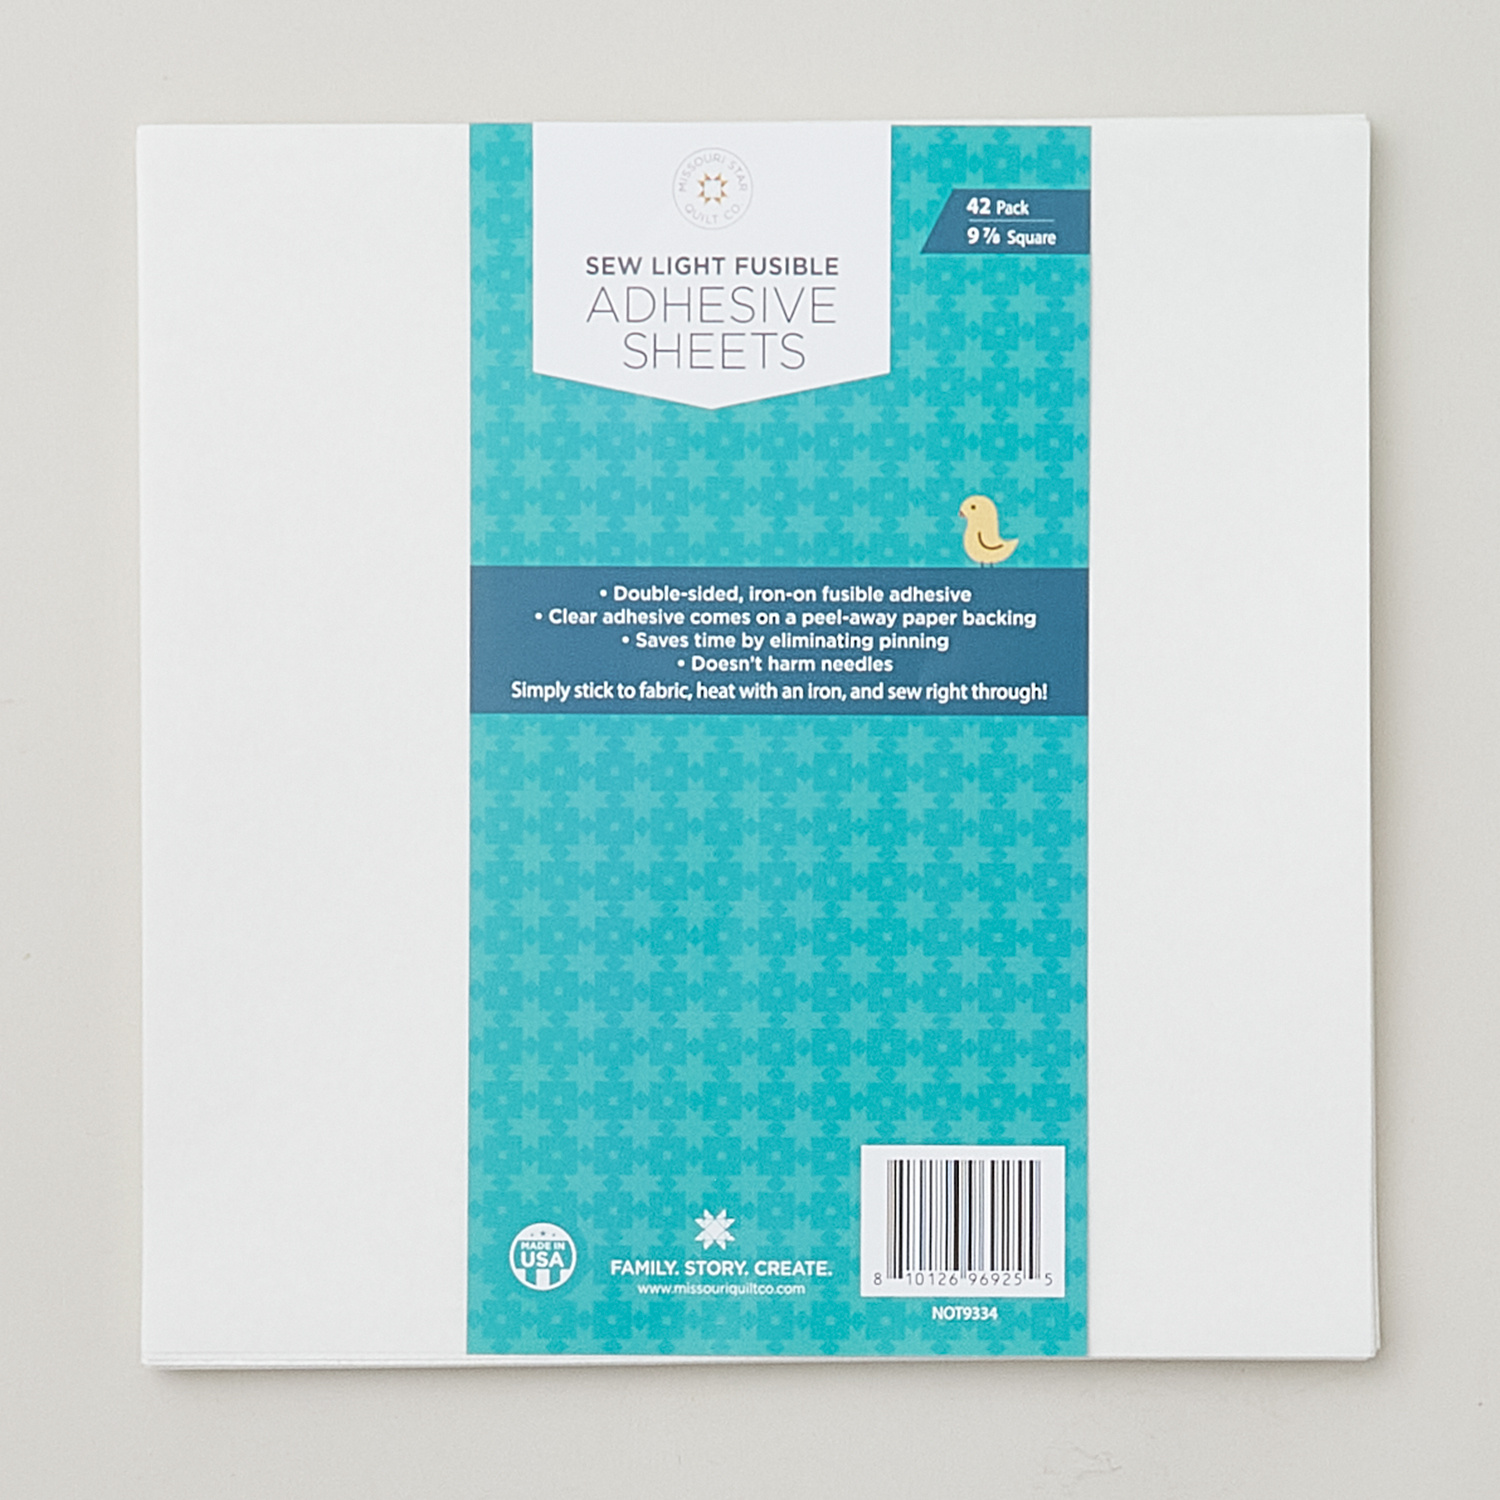 Missouri Star Sew Light Fusible Precut Sheets 42pk (9 7/8" x 9 7/8")$29.95Shop →
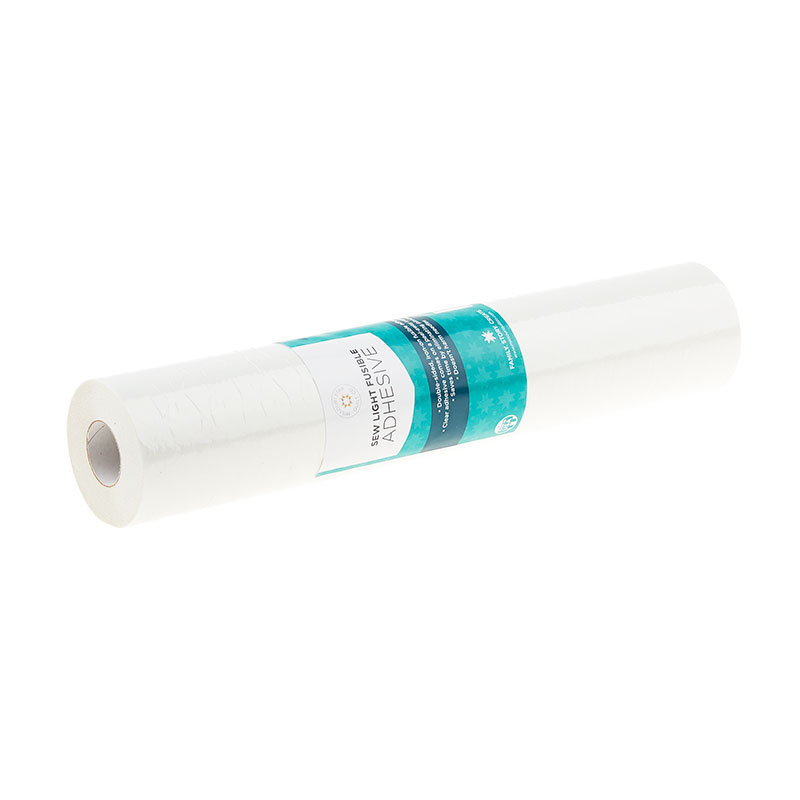 Missouri Star Sew Light Fusible Adhesive - 12" x 15 yards$28.95Shop →
 Missouri Star Large Apple Core (9 3/4") Template for 10" Squares$19.95Shop →
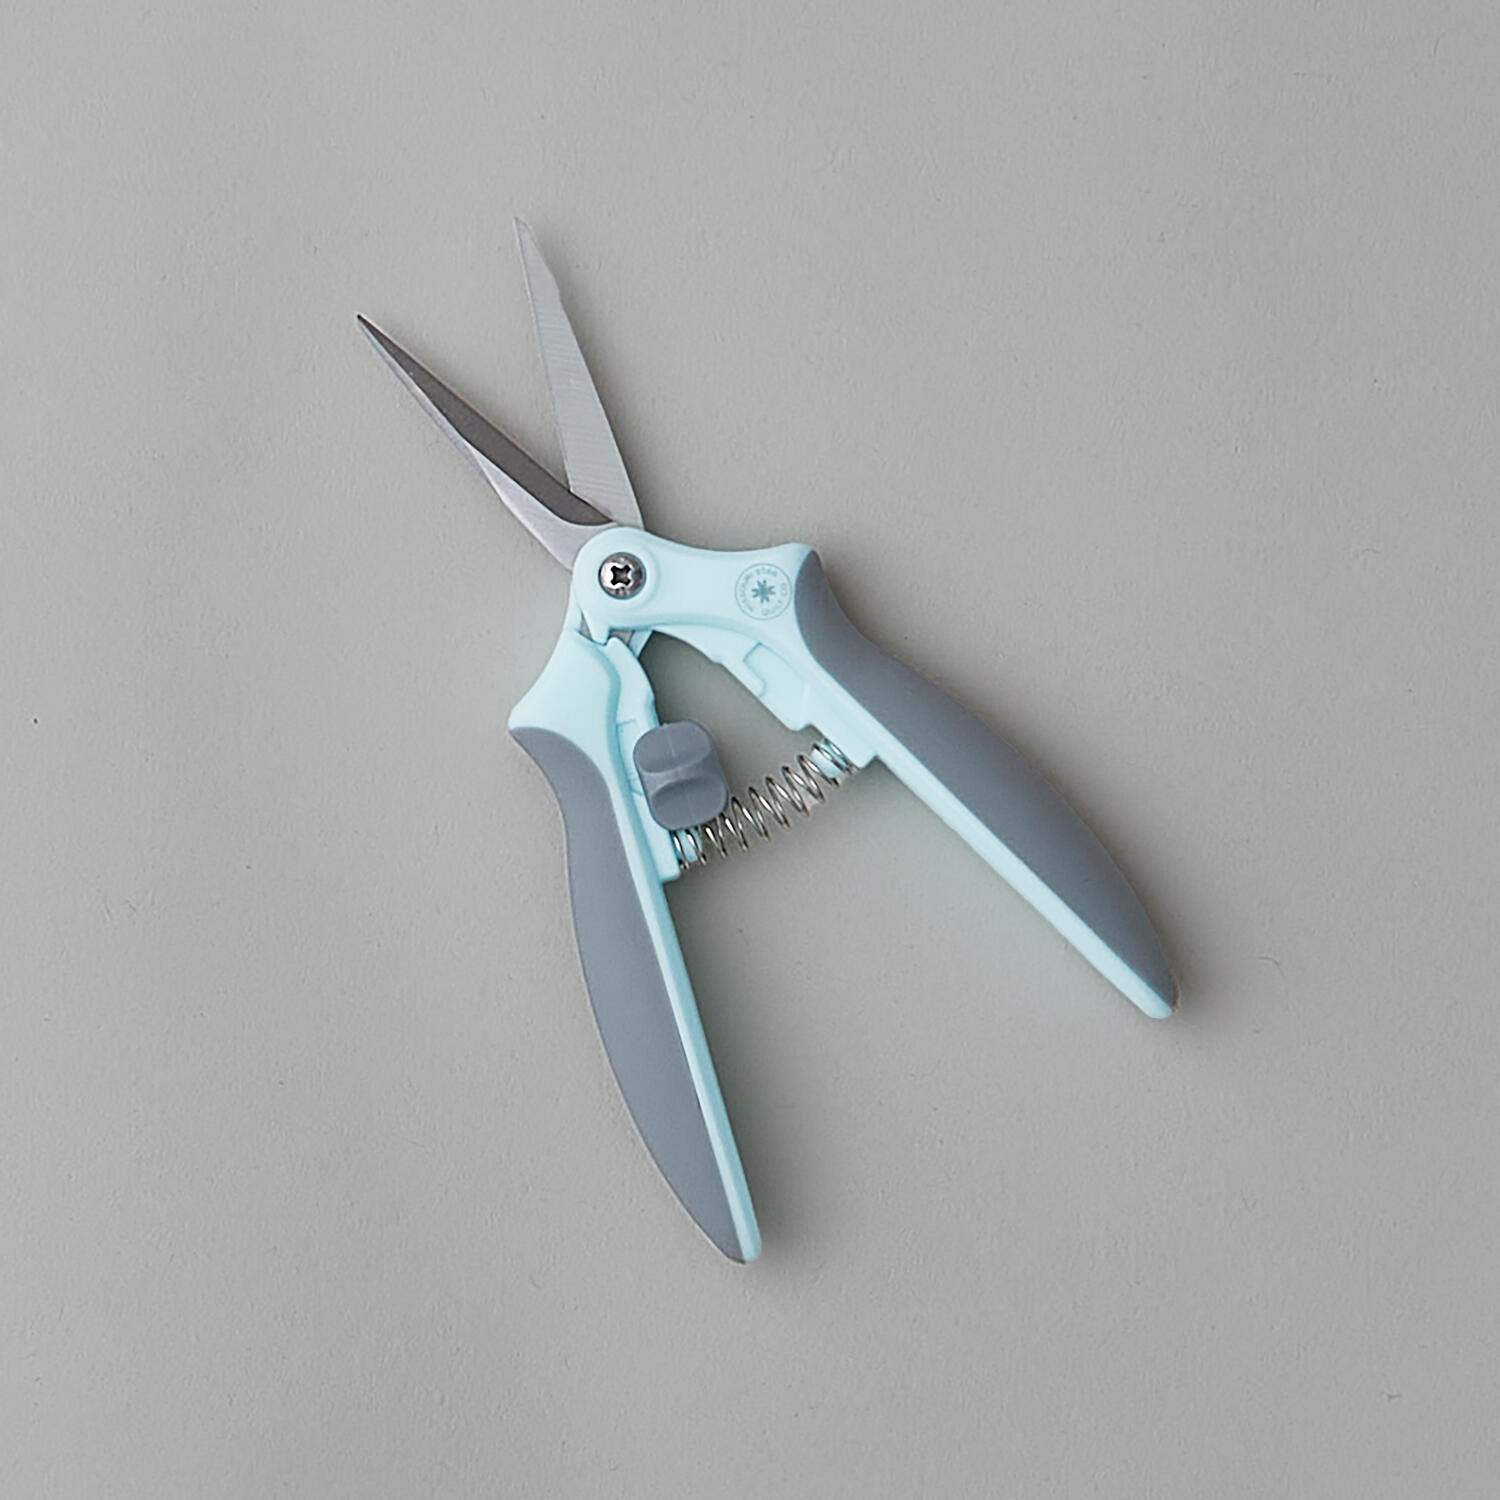 Missouri Star Rag Snips - Nova$12.95Shop →
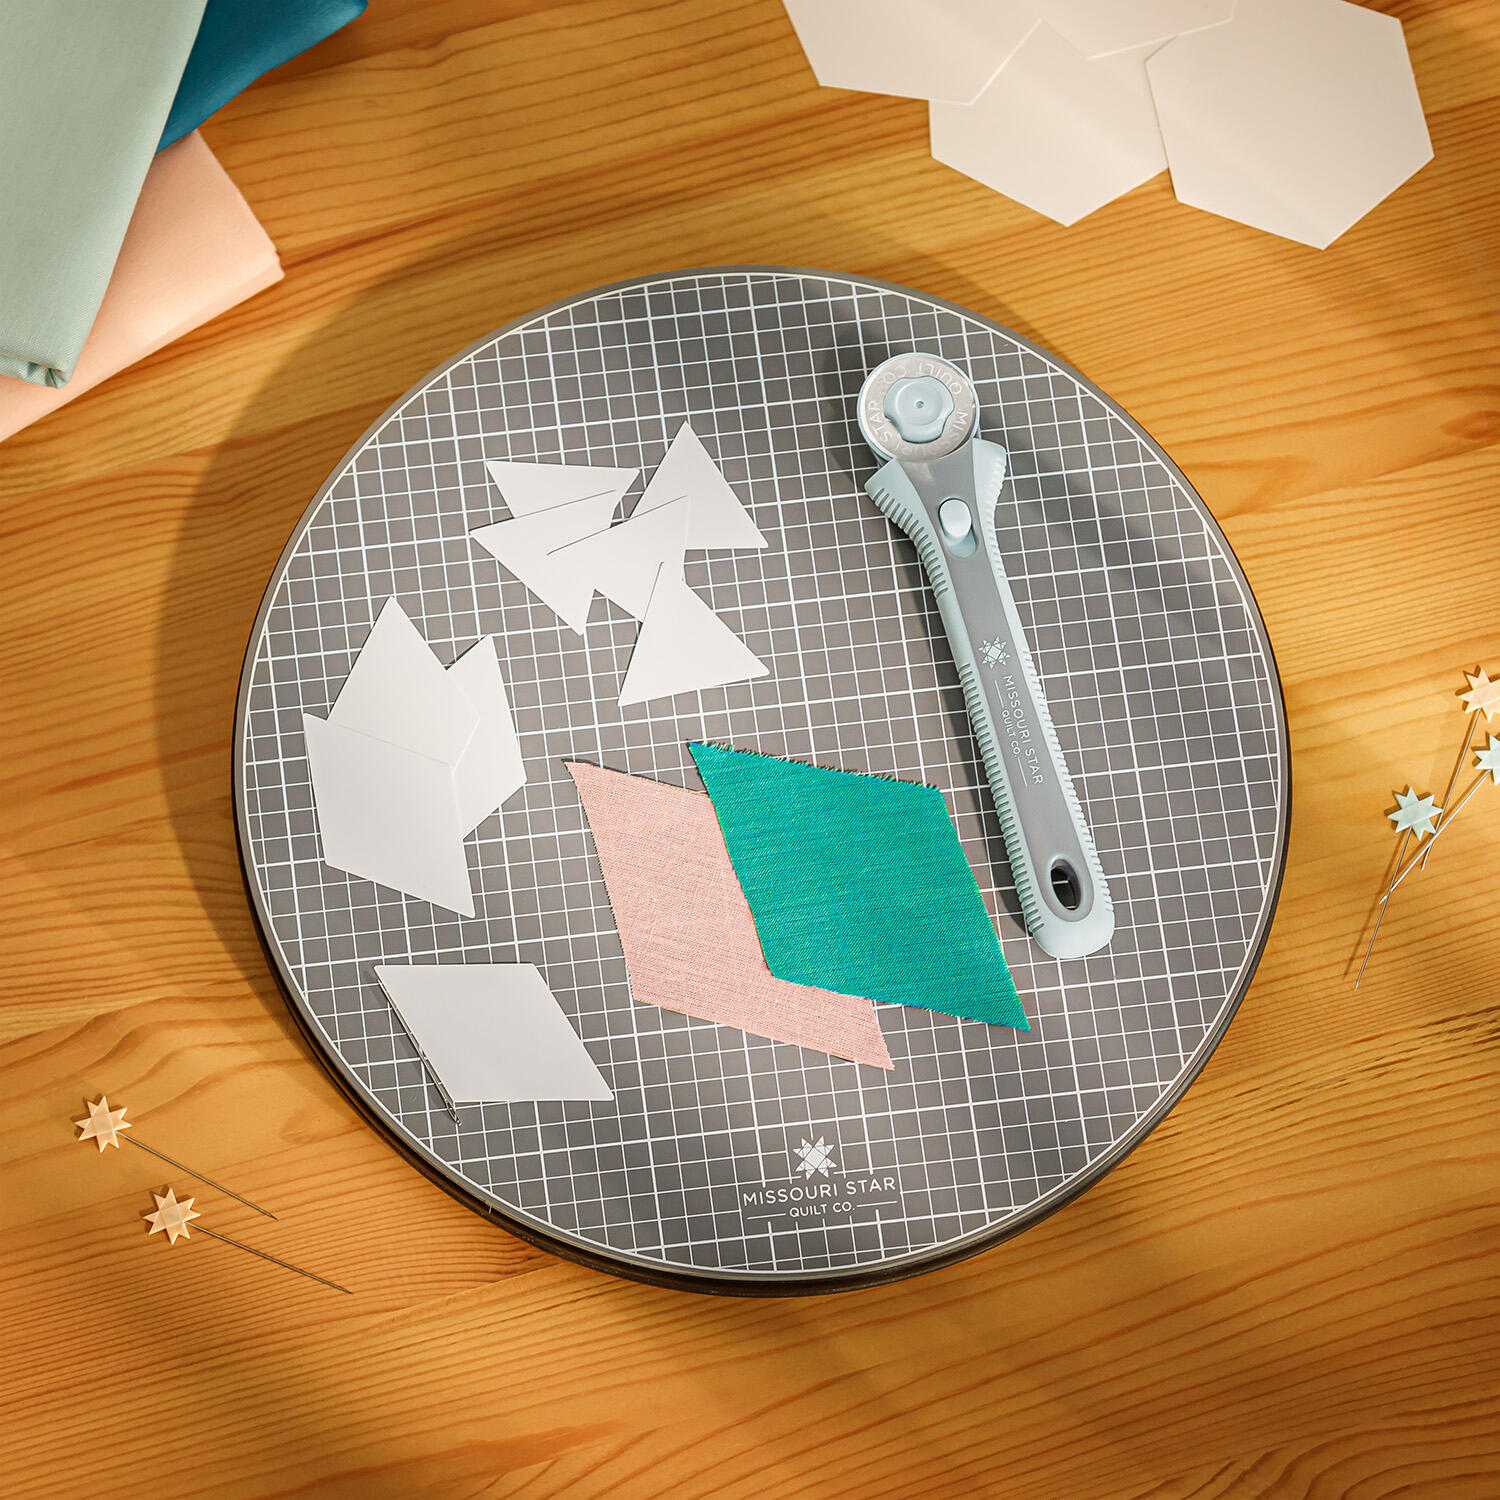 Missouri Star 10" Rotating Cutting Mat - Hilda$39.95Shop →
 Bernette 77 Sewing and Quilting Machine$1699.00Shop →
 Missouri Star 50 WT Cotton Thread White$7.95Shop →
 What If Series - Apple Core T-Shirt Quilt Pattern by Missouri Star$8.50Shop →
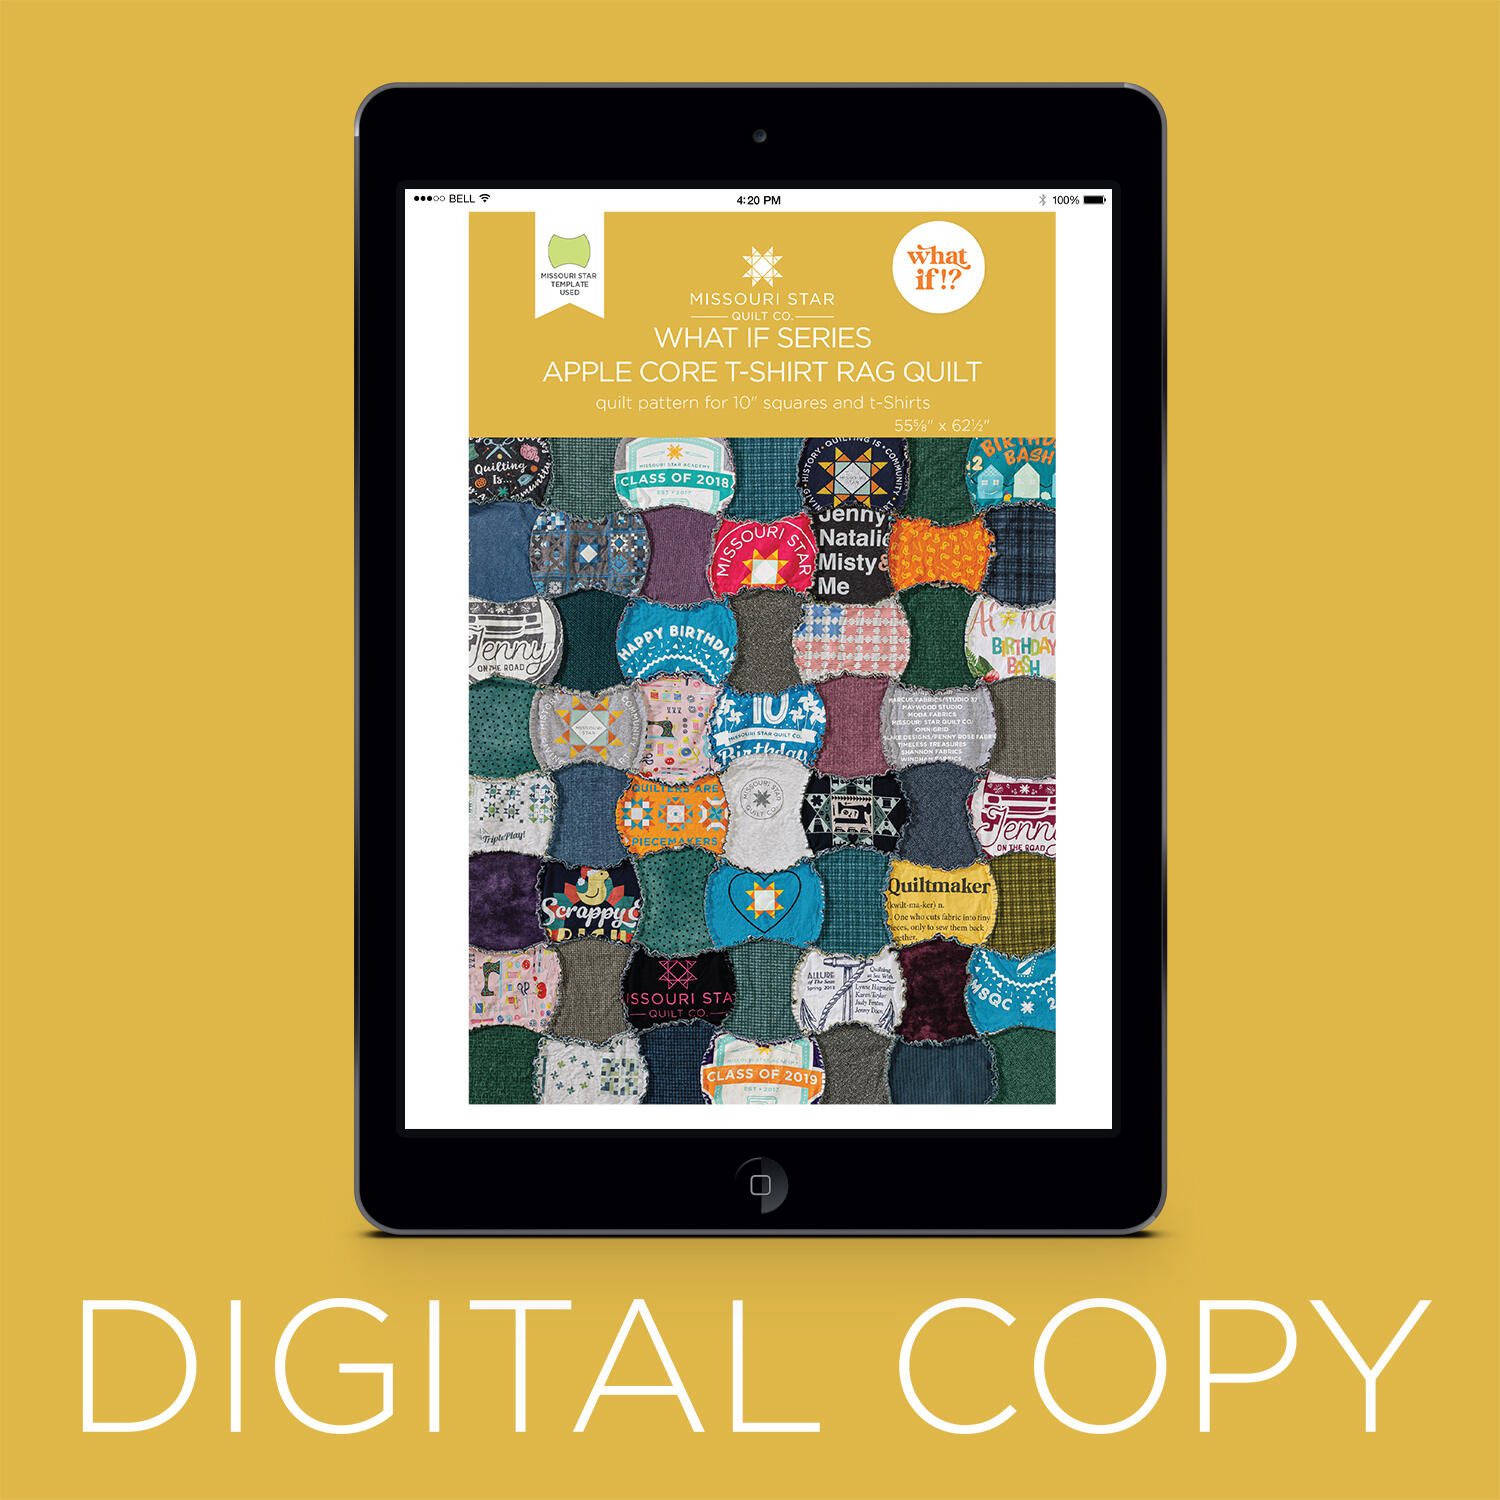 Digital Download - What If Series Apple Core T-Shirt Quilt Pattern by Missouri Star$6.95Shop →



