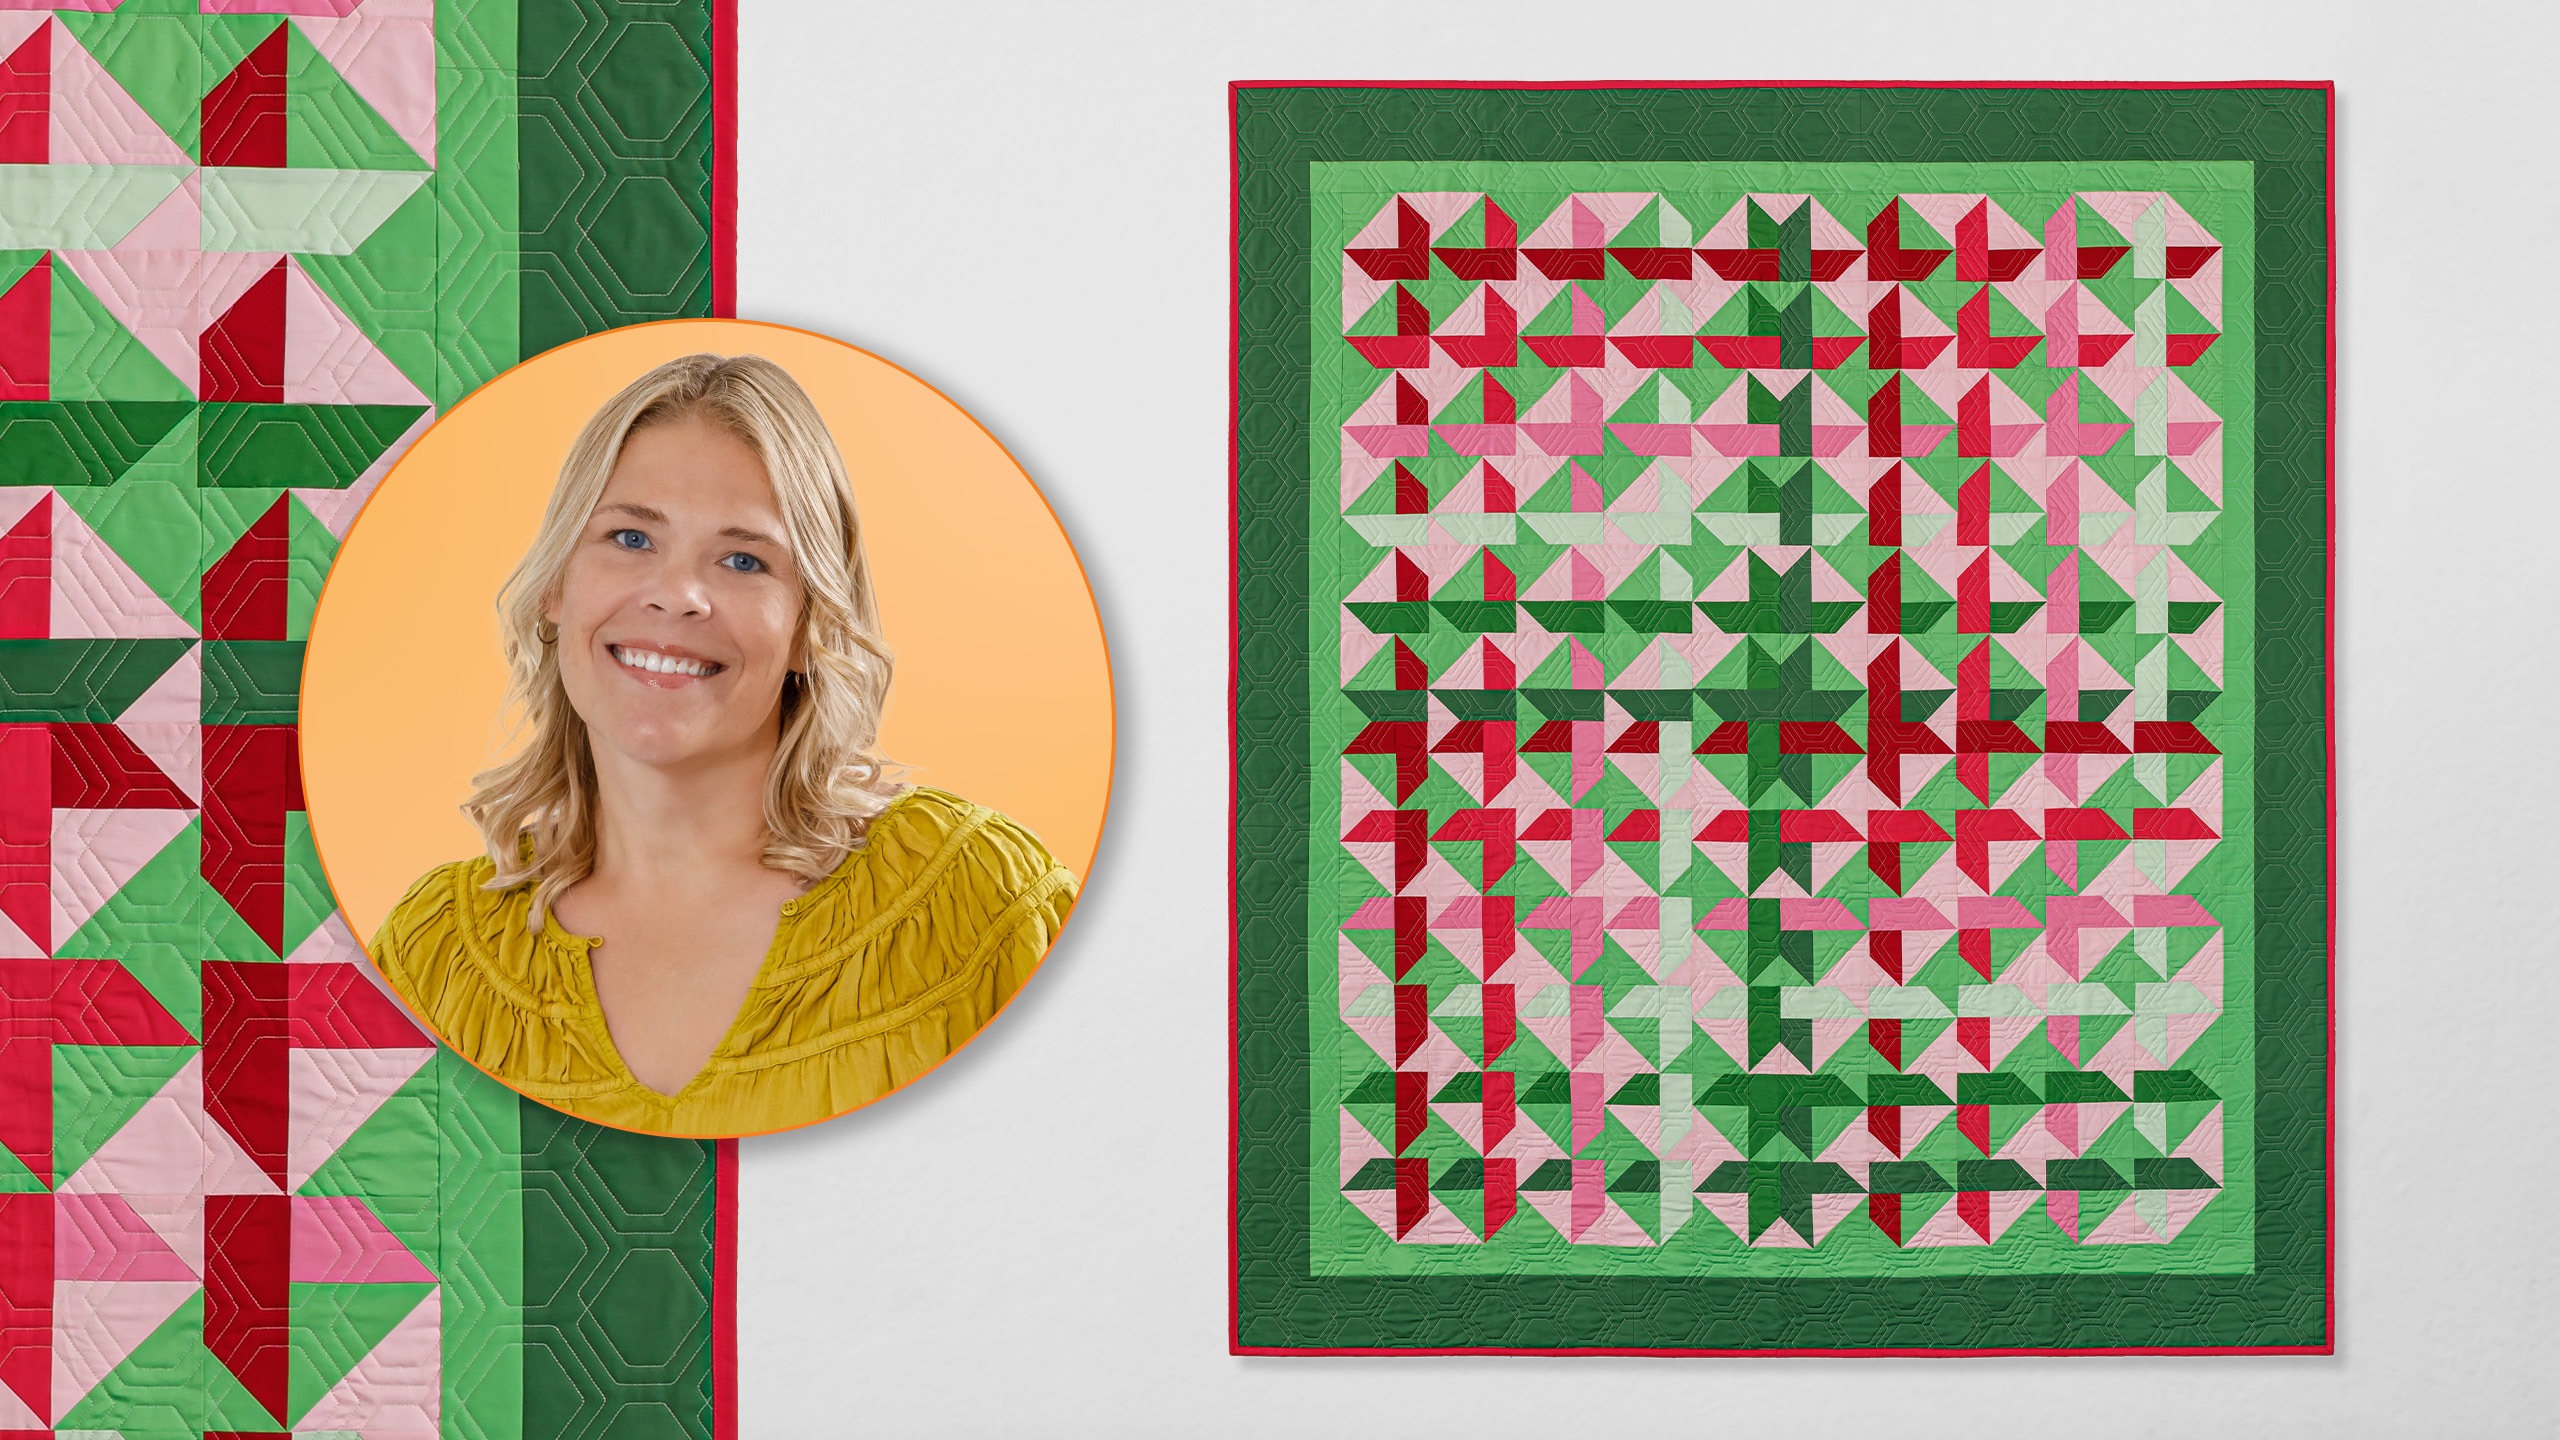
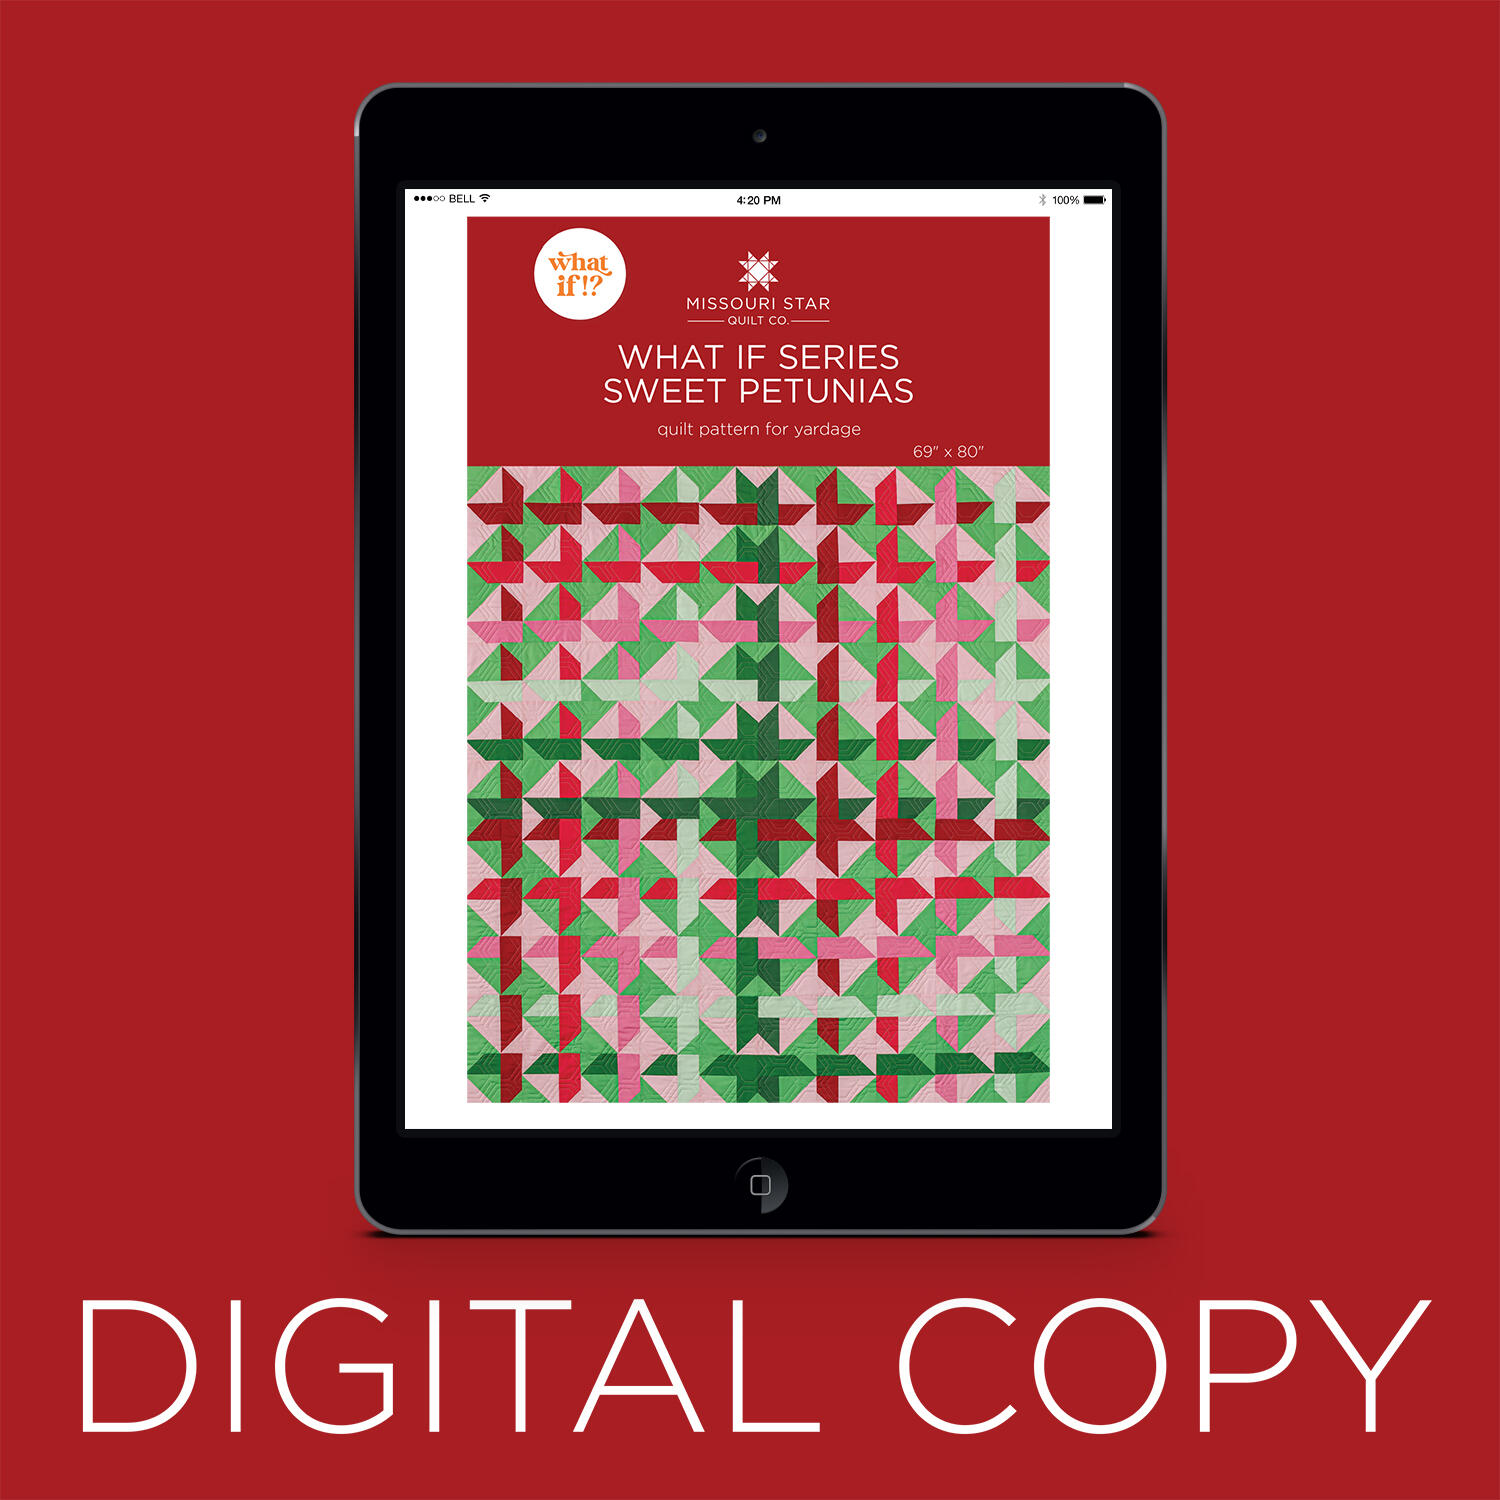
What if these petunia blossoms were the brightest in the garden? Sew along with Natalie as she recreates Sweet Petunia in a bold colorway bursting with reds, pinks, and greens. Sweet Petunias features a cute eight-point star surrounded by stunning blooms. You’ll have a blast sewing these flowers that never fade!
Natalie is the host of Quilting 101, Embroidery 101 and the Creative Strategist and Editor of Block Magazine at Missouri Star Quilt Company. She was taught how to sew by her mom, of course, and began quilting when she grew up.
What is covered in What If Series: Sweet Petunias?
What if these petunia blossoms were the brightest in the garden? Sew along with Natalie as she recreates Sweet Petunia in a bold colorway bursting with reds, pinks, and greens. Sweet Petunias features a cute eight-point star surrounded by stunning blooms. You’ll have a blast s...
How long is the tutorial video?
The tutorial video is 00:09:42.
Are supplies listed for this tutorial?
Yes. The tutorial page includes the supplies and materials connected to this project.
Video Transcript
Hi everybody. I'm Natalie with Missouri Star Quilt Company and today's whatif project is called Sweet Patunias and I think you're going to love it. So let's get into it. So take a look at this quilt. If you remember the original Sweet Patunias, this is very different from that one. The original block just had a simple plain block in the middle and then these little um sort of like star points or flower points were around each unit. This one just I think it's so beautiful. It came together with all kinds of different colors, but it creates lots of patterns in the back. If you look closely, you'll see sort of some diamonds with the half square triangles and then sort of a plaid look with the other colors. It's absolutely gorgeous and I think you'll be surprised how easy it is to make it. So to make this quilt, we've used a variety of solids from Robert Kaufman. So we need 38 of a yard of this leprechaun fabric. You're going to need 5/8 a yard each of candy pink, honeysuckle, mint, and sangria. A yard and 5/8 of Wander, and this includes your outer border. You're going to need a yard and 78 of peie. 2 and a3 yards of this sour apple and that includes your inner border. So for your backing you'll need five yards with a vertical seam or 2 and 1/4 yards if you use a 108. Other helpful tools would be a squaring tool and we're using clearly perfect trimmer B because we're squaring to 4 in for this quilt. You'll need something to mark some half square triangle lines, a rotary cutter, and your standard ruler. All right. So, this little block right here is a powerhouse. It makes up the entire quilt. So, we're going to start by making our half square triangle in the middle. And believe it or not, every block in this quilt has a pink green half square triangle. So, these are all the same. So, what we're going to do is cut 9 in squares from our two fabrics. They're peie and sour apple. And we are going to draw a line on our light colored square corner to corner. Go both directions. And then we're going to stitch on both sides of both lines. Whoops. So, we're using our make eight method. [clears throat] And these are going to be squared to 4 in. All righty. So, now we're going to go ahead and cut this apart. Because it's um 9 in, we're going to go with a 4 and 1/2, which essentially is just cutting it in half. both directions. And I always do my vertical and horizontal cuts first because I don't have drawn lines there. So, we're cutting both of these. And then we're going to cut diagonally on the line that separates our stitching. And we'll end up with eight half square triangles. All right. So, we are going to then square these using our Clearly Perfect trimmer tool. We're going to line up the dashed line with our stitch line. And for this quilt, we're using the 4 inch mark. So, all of our half square triangles are 4 in. And I'm going to just get that set. Trim off. Then we'll cut our little little pointy edges or dog ears. And then we'll go ahead and press them back. All right. So that is step one. We've made this part right here. So now we're going to have a variety of pieces. So from all of those colors, you're going to cut some 4 in by 2 and 1/2 in strips, these rectangles. And then you're also going to cut Whoops. some 2 and 1/2x 6 in rectangles. So then we're going to build our block by putting a variety of these. You'll just make a a bunch of different ones. And we're going to do a pink and then we'll do a longer green one on that side. So then these get added to the corner of your half square triangle just like so. So I'm going to put that on there and go and stitch that down. And then I'm going to just finger press this back and add the other side, the 6 by 2 and 1/2 on this side here. All right, then we'll go ahead and give it a press. And it's time to snowball our corners. So, this is one where um we're going to go ahead and grab that same uh sour apple and peie. And if your green is to the middle, then you're going to snowball your corners with the green. If you flipped it around and your pink is to the middle, then you're going to snowball with the pink fabric. So, you'll want to keep an eye on that as you go through. And the pattern will tell you how many of each you need. [snorts] And what we're going to do then is go ahead and draw a line from corner to corner on these 2 and 1/2 in squares. And then we're going to sew right on that line. So let's go ahead and you can eyeball it if you want to or use your seam tape. I'm just going to draw lines because we're here and it's pretty easy to see that. Although I think if I was at home, I would probably just eyeball it because it's a little bit quicker for me to do that. All righty. And this block is almost done, guys. It really is this easy. All right, we're going to flip it around and do that other side. And now we can take our ruler. We're going to trim leaving a little quarter of an inch seam. Trim this other side here. And then we will press it back. Just like that. And this block is done. It's ready to go. So, there's a few things about these blocks and about this quilt. They are all in different color combinations, so you'll want to watch that. And then we have some again that have the pink in the middle and some that have the green. And you're going to make a whole bunch of blocks. So you'll lay it out using the diagram and you're going to feel like a color genius. It's so fun to put together and it turns out really great. So we went ahead and added a 2 and 1/2 in inner border and a 5-in outer border. You want to check out our beautiful backing. This is really fun. It is machine quilted in diagonal plaid hexis. And again, we have these adorable little tags. I love these, too. You are loved and handmade. It's so fun to just add like an extra little whimsical touch to your quilt. All right, so if you would just take a look one more time at the layout here. So remember, we've got all of these half square triangles that are made out of the sour green apple and the peony. And so as we put them together, we're going to make half and half. And some of our green blocks are going to align to create this background. And then the pink blocks align and they sort of make these diamonds that you'll see stack up throughout the quilt. And then the rest of it is just color placement. Now, if you want to make your quilt so that it looks exactly like ours, we have a great pattern. It's going to have a chart with which colors go where and how many of each you need to make. But if you want to be a little bit freewheeling and do your own thing, make a bunch of half square triangles and then play with that color and have fun. And this quilt ends up being 69 by 80. And I just love it. I think it turned out so fun. So, I hope you enjoyed this tutorial on the What If Sweet Patunias quilt from the Missouri Star Quilt Company. Bye. Hi everybody. I hope you enjoyed today's video. We're trying super hard to get to a million subscribers. So, if you enjoyed it and you want to [music] see more, just hit subscribe and share with your friends and encourage them to do the same. And I will see you next Friday with a brand new tutorial.

 Natalie Doan
 Kona Cotton - Leprechaun Yardage$8.48Shop →
 Kona Cotton - Candy Pink Yardage$8.48Shop →
 Kona Cotton - Honeysuckle Yardage$8.48Shop →
 Kona Cotton - Mint Yardage$8.48Shop →
 Kona Cotton - Sangria Yardage$8.48Shop →
 Kona Cotton - Color of the Year 2026 - Wander Yardage$8.48Shop →
 Kona Cotton - Peony Yardage$8.48Shop →
 Kona Cotton - Sour Apple Yardage$8.48Shop →
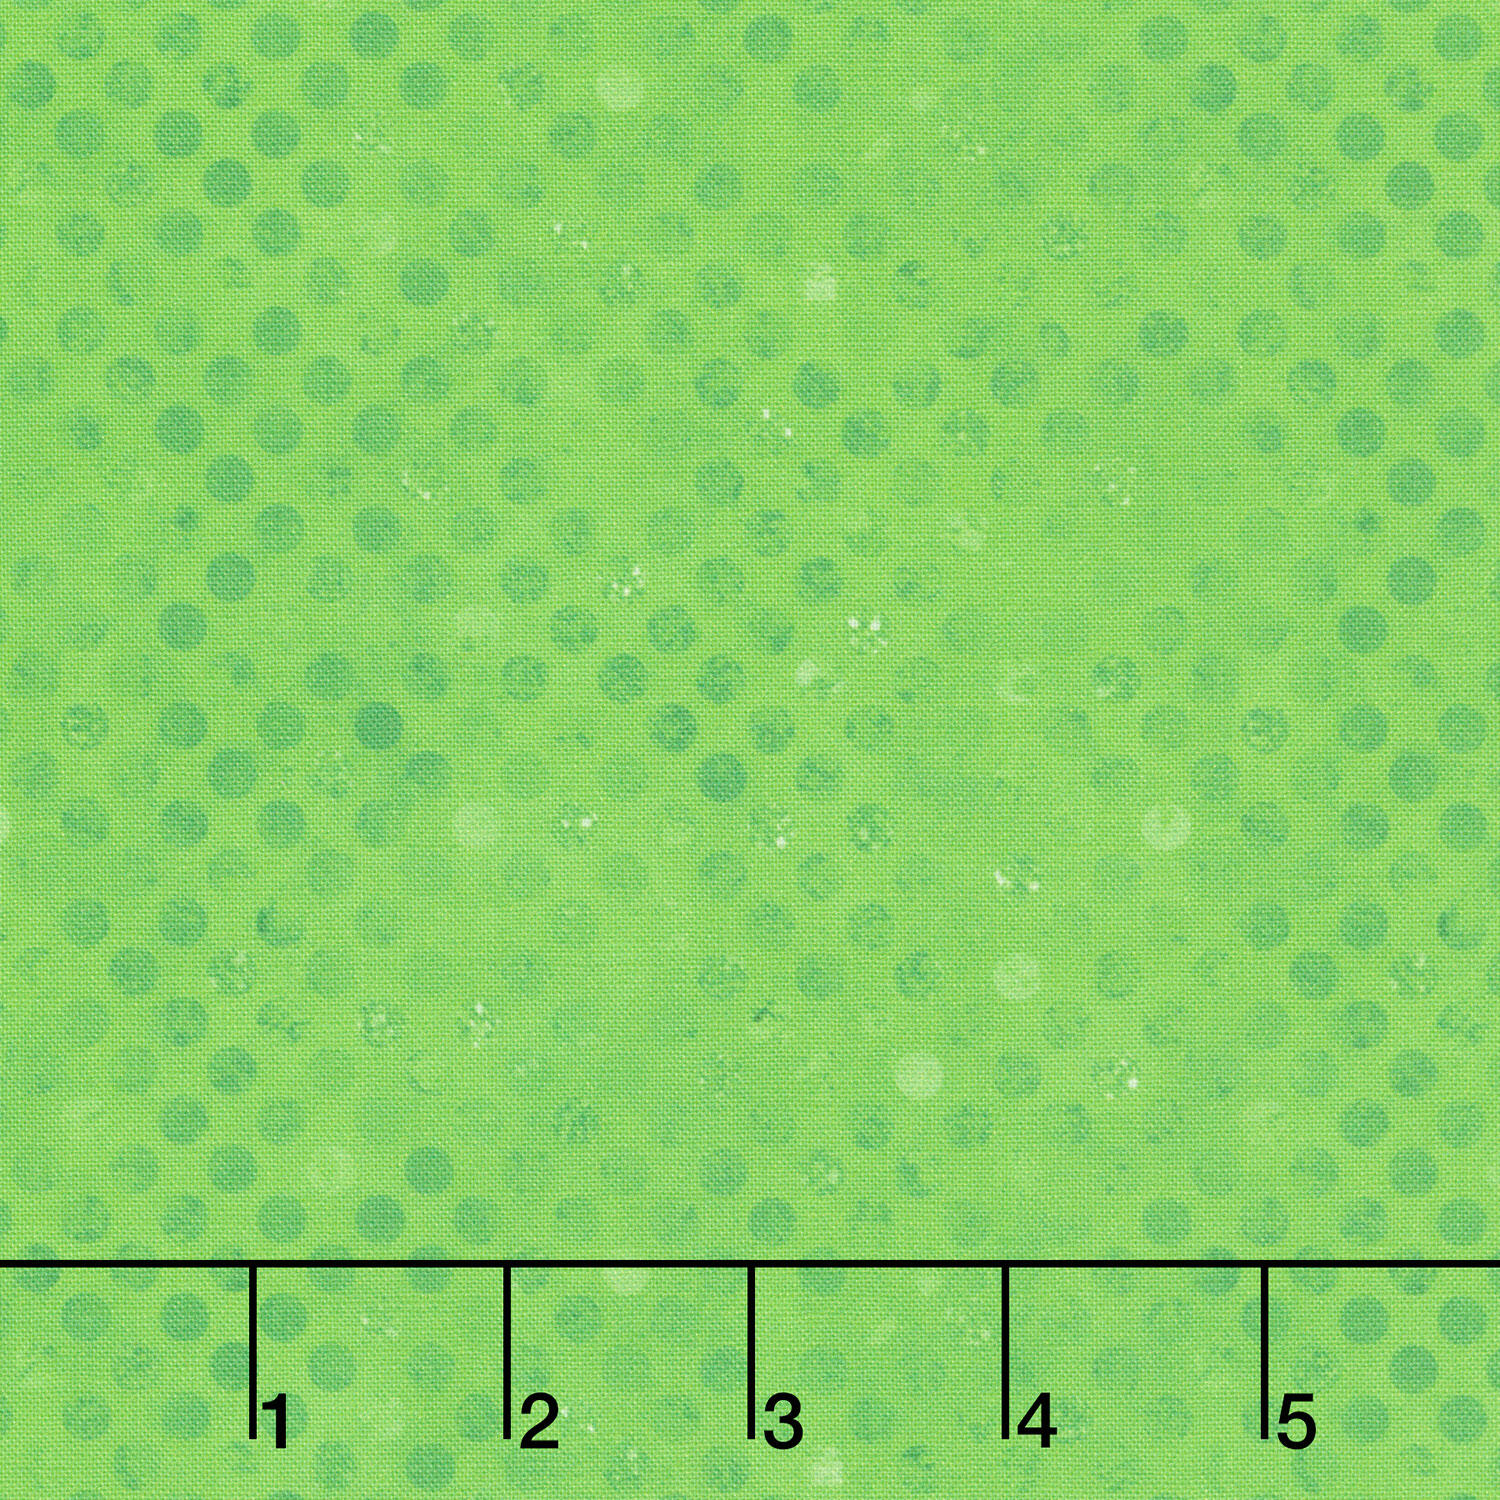 Fundamentals - Codici Leaf Yardage$11.48Shop →
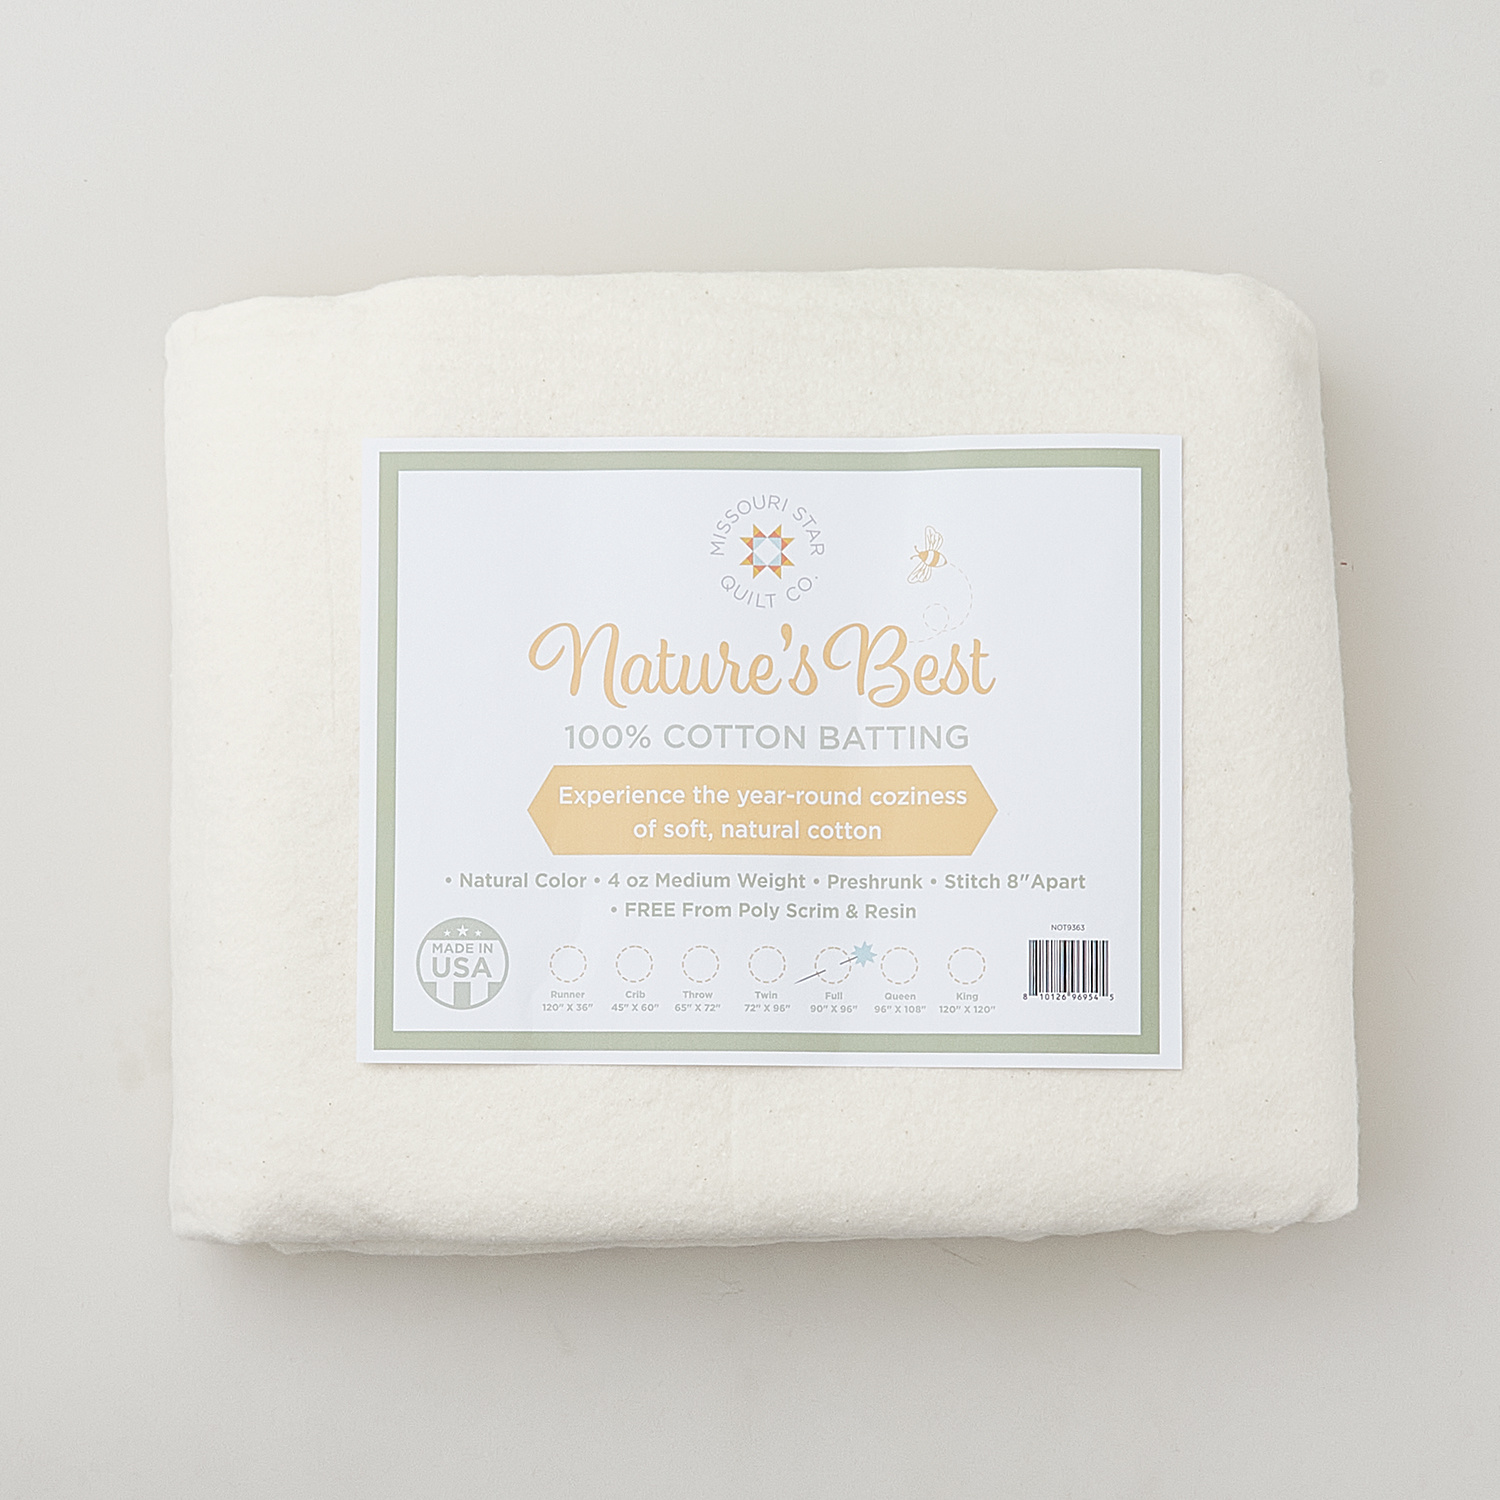 Missouri Star Nature's Best 100% Cotton Full Batting - Natural$37.95Shop →
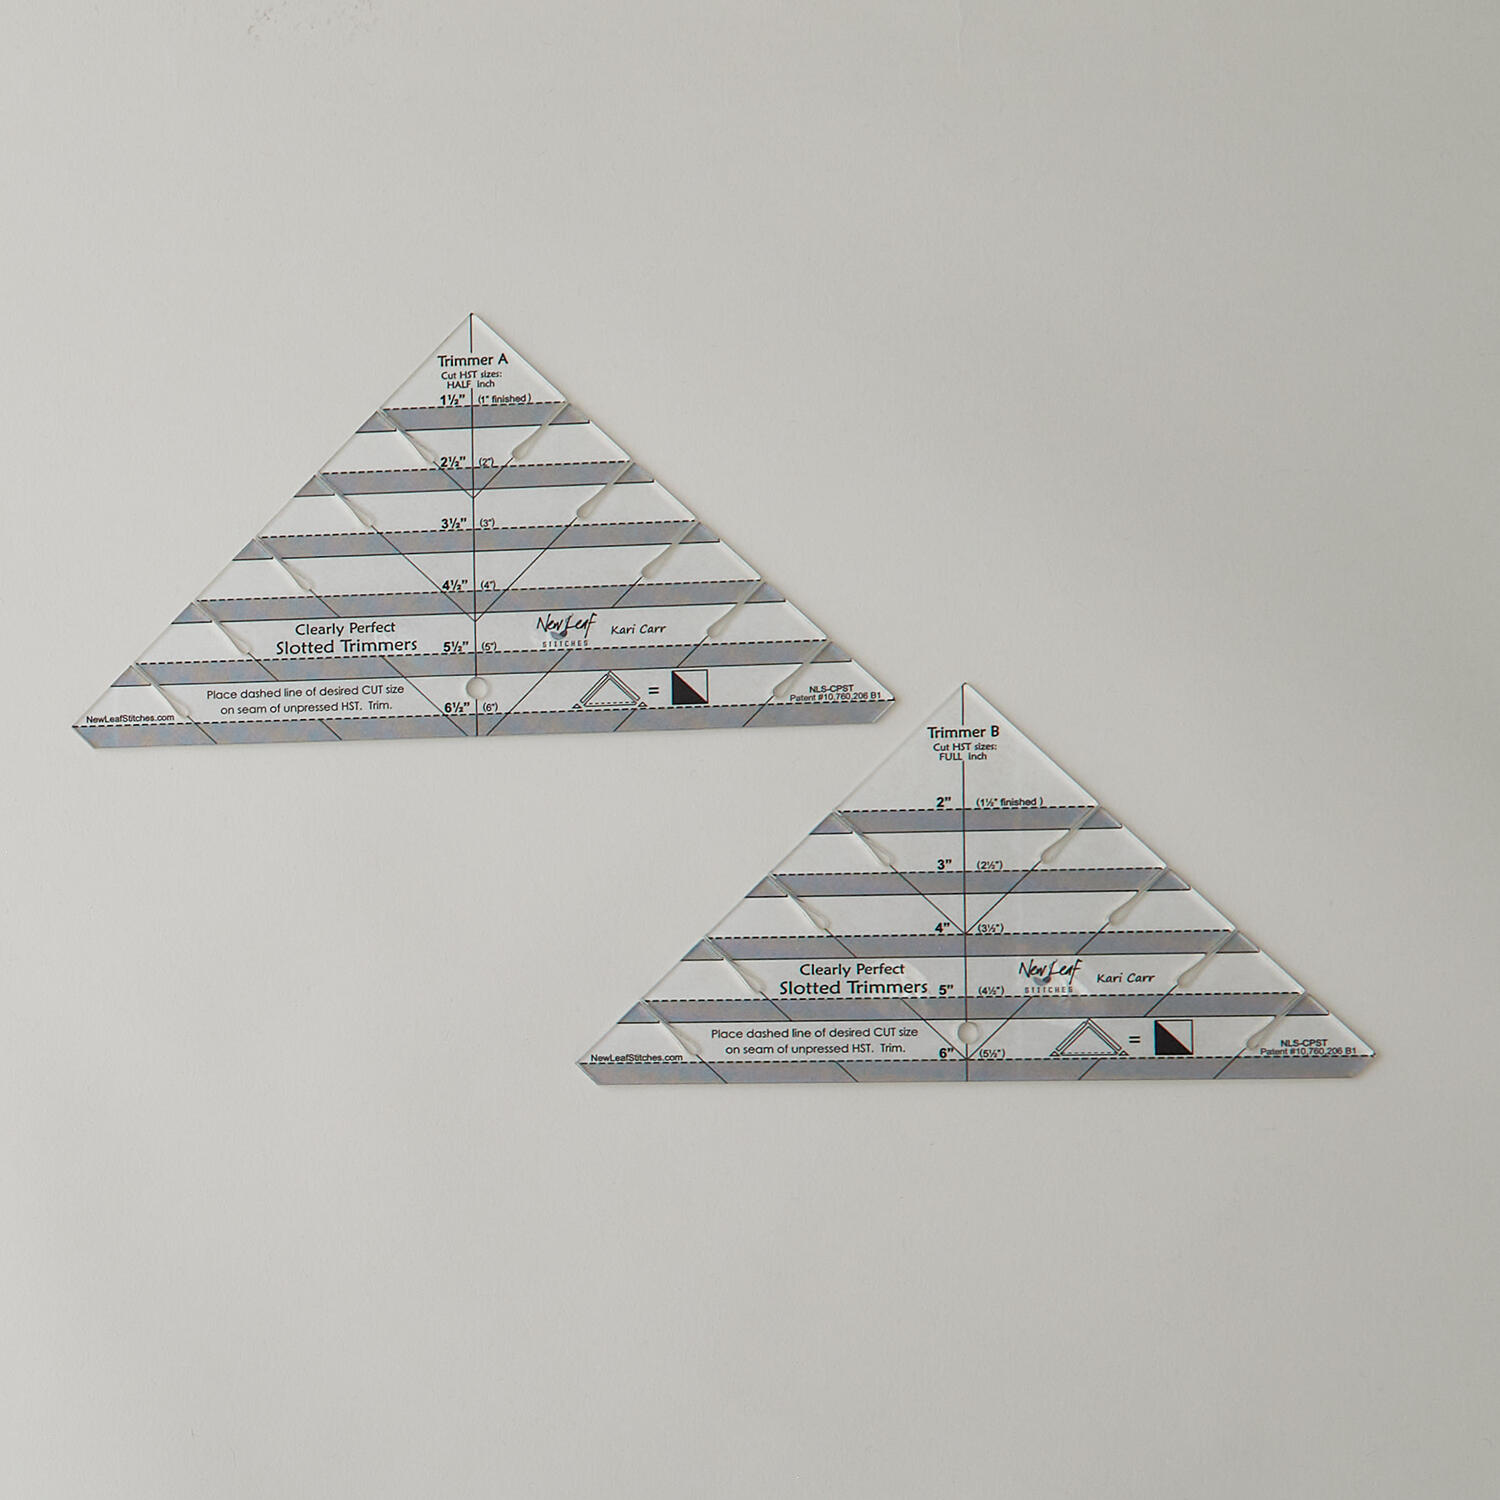 Clearly Perfect Slotted Trimmers$33.95Shop →
 Missouri Star 5" x 15" Ruler$19.95Shop →
 Missouri Star 45mm Rotary Cutter - Olga$19.95Shop →
 Missouri Star Seam Ripper - Frida$9.95Shop →
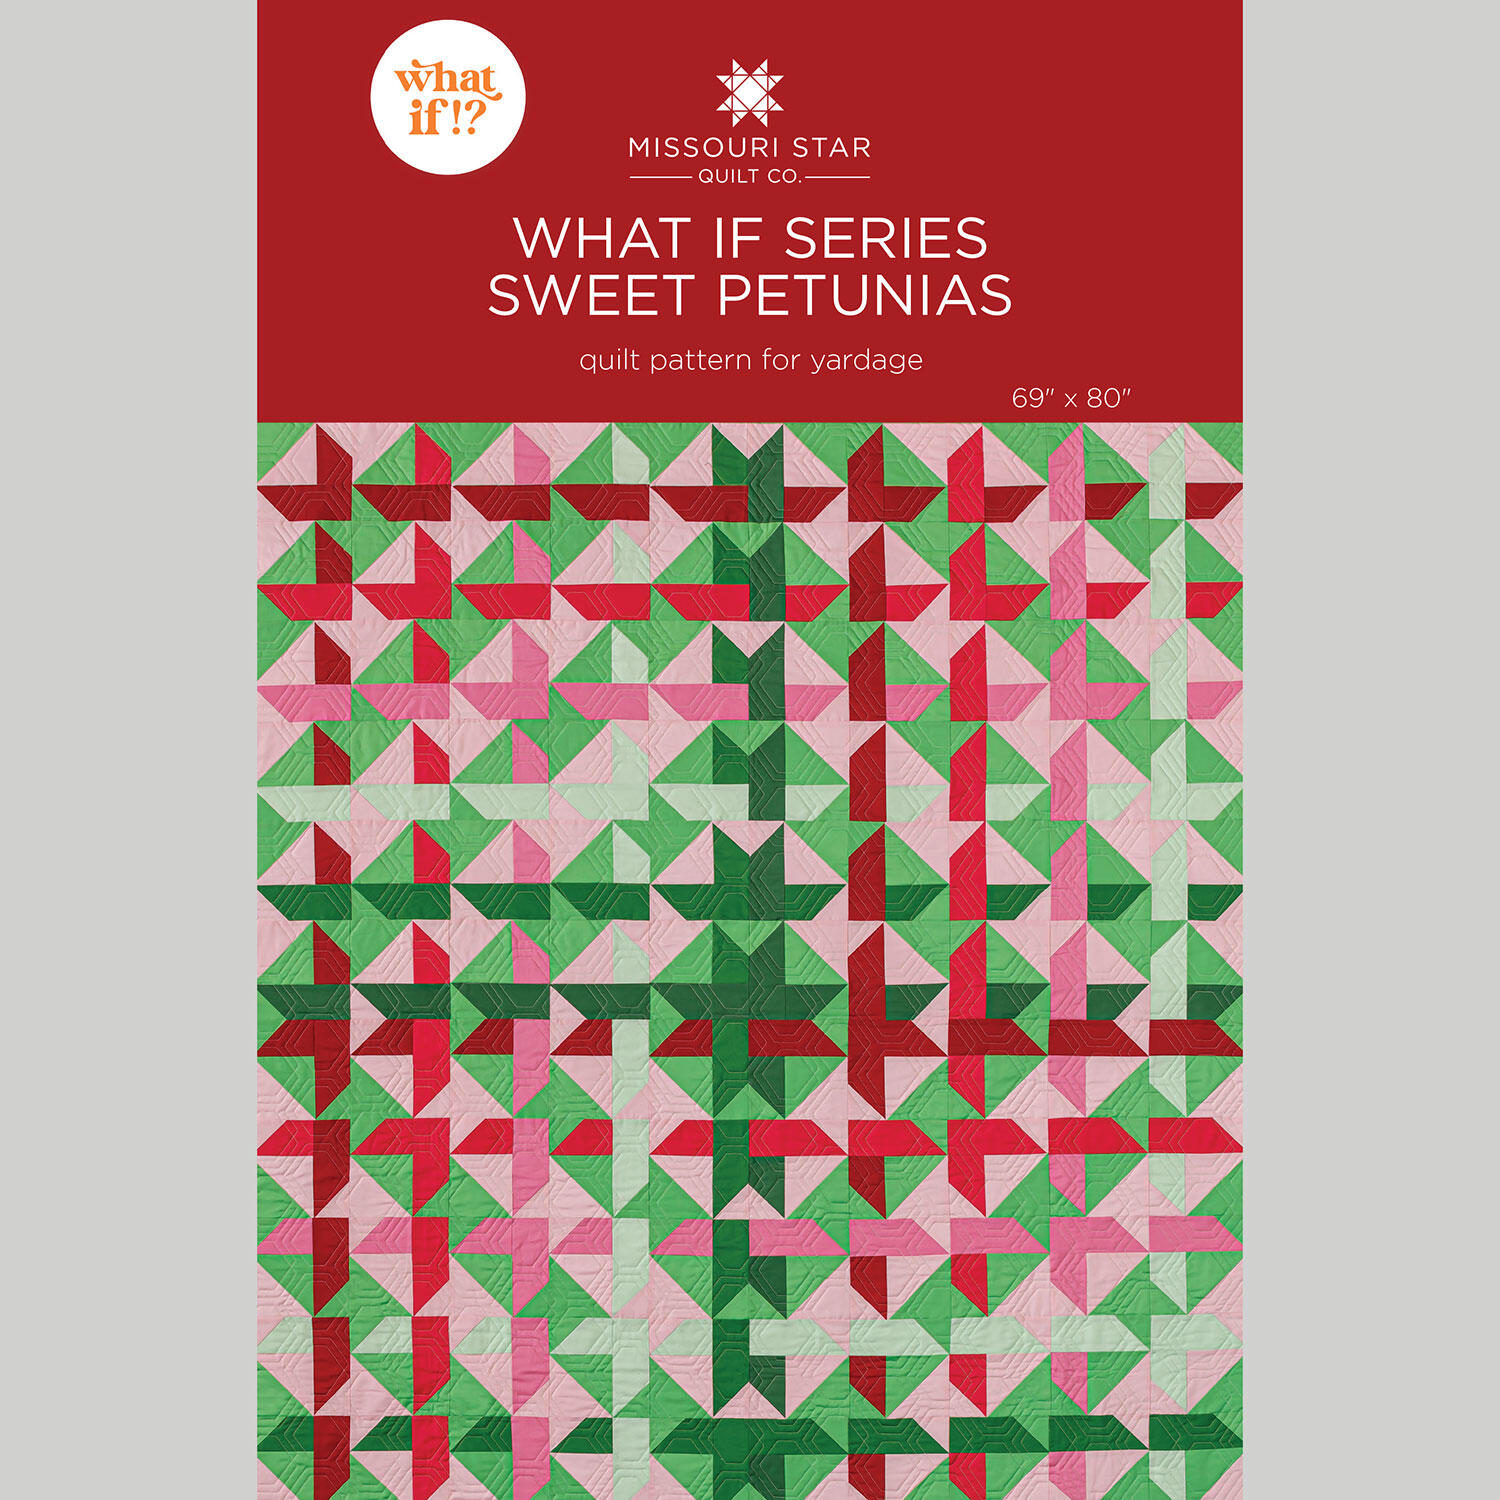 What If Series - Sweet Petunias Quilt Pattern by Missouri Star$8.50Shop →
 Digital Download - What If Series - Sweet Petunias Quilt Pattern by Missouri Star$6.95Shop →


