This new take has these quilted curves coming full circle! Sew along with Natalie as she stitches Sidewinder. This classic Missouri Star quilt has a new twist that you’re sure to adore! Sidewinder uses the Kaffe Fassett Collective - February 2023 collection and the Missouri Star Drunkard’s Path Circle template to craft a stunning visual of rings. Get ahead of the curve with this stunning quilt
Natalie is the host of Quilting 101, Embroidery 101 and the Creative Strategist and Editor of Block Magazine at Missouri Star Quilt Company. She was taught how to sew by her mom, of course, and began quilting when she grew up.
This new take has these quilted curves coming full circle! Sew along with Natalie as she stitches Sidewinder. This classic Missouri Star quilt has a new twist that you’re sure to adore! Sidewinder uses the Kaffe Fassett Collective - February 2023 collection and the Missouri St...
How long is the tutorial video?
The tutorial video is 00:14:03.
Are supplies listed for this tutorial?
Yes. The tutorial page includes the supplies and materials connected to this project.
Video Transcript
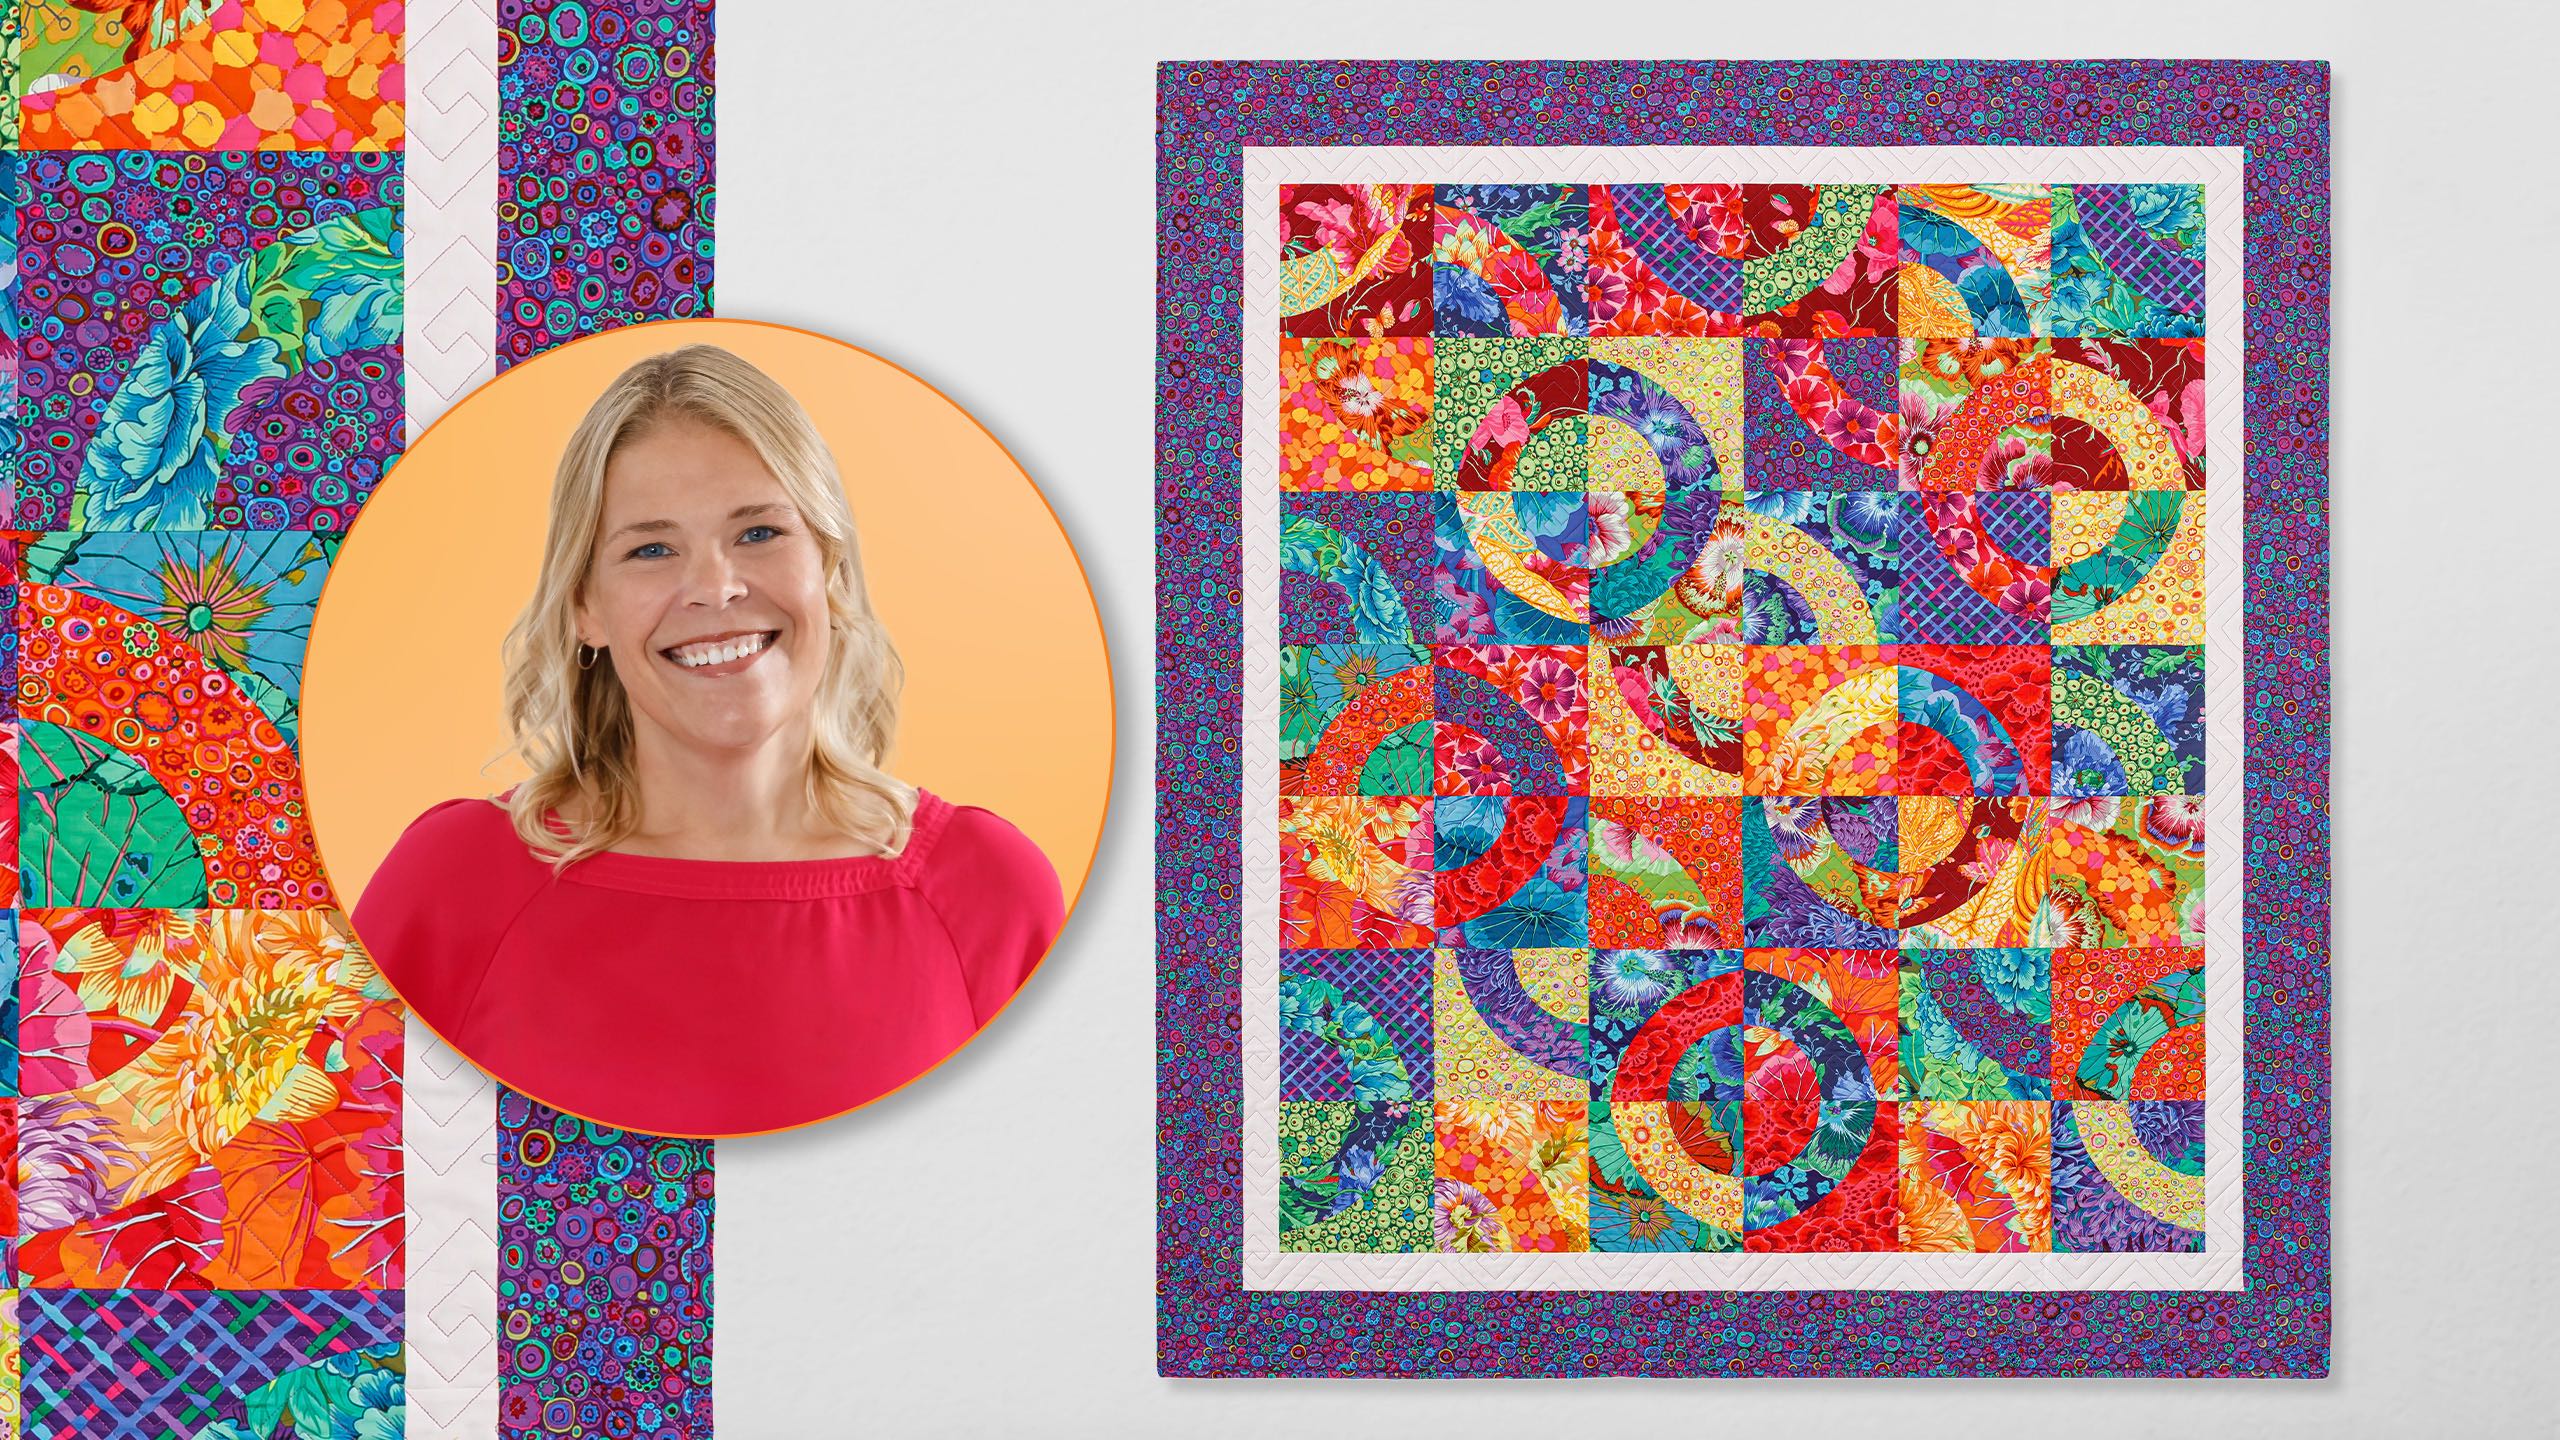
Hi everybody. I'm Natalie from Missouri Star Quilt Company and it is what if week, my favorite week of the month. And today we're going to be doing the Sidewinder quilt. So the original Sidewinder quilt, um I had a lot of fun making that one. I ended up using a line that it had a lot of peaches and pinks and then some black and white. It was really cool. Um I I did the whole thing kind of in a gradient from like a dark side to a light side. And I really liked how that looked. But I have um I had so many different layouts that I could do uh that I am really excited that I get to tackle this again and show you guys some of the other layouts that I had in mind. Um the one that I ended up going with on this original quilt is sort of like a a snake path. It looks like the track that a snake would make if it was kind of slithering through the sand or something like that. And so that's also where the name Sidewinder came from. Um so that was really fun to work on. But, uh, let me show you this quilt. We've got another sort of a diagonal layout here, but we've got some full rings and then some that kind of look like they're set behind these full rings. So, it goes in a diagonal row like this and then the ones in the corners like they point out. So, it's a really cool layout and um I'm excited to just dive right back into it and teach you how to make this quilt. So, let's get into supplies. So, to make this quilt, you're going to need one package of 10-in print squares. And I've used Cafe Classics Spectrum Colorway by Cafe Facet for Free Spirit Fabrics. You're going to need a little bit of of border yardage. This goes on our inner border at just 5/8 of a yard. For your outer border, you'll need a yard, and that is a big 5-in border. And you'll notice that I've got two sets of fabrics here. That's because I have two different layouts to show you. So, these are the two different fabrics used on the borders, and these are the backings. For your backing, you're going to need 3 and 78 if you make the small quilt or 4 and a3 if you make the large quilt or if you go with a 108. And Cafe has some really beautiful 108s. You might just need two yards to do that. So, some other helpful tools are going to be your drunkard's path templates. And we use both the large and the small one in this quilt. And I think that's about it. So, let's start making those blocks. [music] All right, this is the block we're going to make. And the entire quilt is made up of these units. So, you can see them as they go through here. There's uh actually this is pretty much identical to that one. And then, you know, they turn and then all of the all of the turns and the placement, the layout really is what makes these quilts so cool. But I love a double drunkard's path. I think it is so cute. It reminded me honestly of like little macaroni noodles, like the the little Anyways, I think it's super cute. So, you'll be surprised how easy it is. You're going to want to make a bunch of matches. And I recommend high contrast when you pair your prints up because that way you can see that strip of fabric that goes through the middle of the curve. So, I am going to pick out two high contrast fabrics. So, I think I'll do this purple one and then probably one of these bright, I like that one. That's pretty. Okay, so I'm going to stack these up. And now we're going to cut using our drunkards path templates. We're going to make the larger section first. Let me set those aside. And I'll put my extra blocks up here so we can play with them later. Okay. Oops. That's the little one. Get that ready, too. All right. So, we are ready to cut. So, we're going to cut both of these and set them aside. Then, I'm going to turn this piece so that I can cut it using the 9 and 1/2 in line. And that is going to be this solid line here. The dashed lines just represent where your seam will go. So, we're lining up with the 9 and 1/2 on this nice straight corner. We're going to trim these. Oh. There we go. And that is just easy as pie. Although I've never really understood that phrasing because I don't think pie is particularly easy to make. That's just me, though. Okay. So, now we're going to go ahead and stitch these together. And you can see that it's a nice big circle, very gentle curve. What I'm going to do is fold this in half and put a little finger press mark here in the middle. And then I'm going to fold this one in half and finger press that as well. And actually, I think I might want to finger press this the other direction. Yes, right side out. There we go. That way when I put them together, these little finger press marks nest into each other. I'm also going to put a little pin in there that I can pull out as I get to that part of the seam. And then we're going to line this edge up here. And we can pin that or we can put a little dab of glue if you want to. And then we can do the same thing down here. Although I will probably pull this pin out as I start sewing because I like the flexibility of being able to maneuver my fabric without my pins getting in the way. I'm just more used to sewing like that. So, you know, keep in mind the things that that I show you are tips and tricks and um there's really no right or wrong way. You can you can make adjustments to your personal preference. So, you don't have to use a pin if you don't want to. Okay. So, now I'm going to take this over. I'm going to have my um my concave piece on top, the smaller piece, because it's just a little bit easier for me to maneuver it. I can see both pieces of fabric really well, and it just seems to work out better for me that way. So, let's do this. If it's your first curve, just go slow and take your time. No big deal. You got this. line that up and we'll get to starting, get to sewing. I I like to say when I'm doing a drunkard's path, I think of the fabrics like cars coming together on a zipper merge. So, you kind of just hold them separately and then wind it around. Okay, one thing I forgot to mention is that from each each of these sets, you're going to get um two blocks that are the reverse of each other. A mirror, not a mirror image, just like twins, but different. I don't know. All right, let's go ahead and press this back. It looks really cute just like that. I love it. Love drunkard's path blocks. Okay, so now we're going to put our small circle in the corner and we're going to cut that piece out. So, we'll take that and set it aside. I needed to do this one as well, which uh there we go. So now I've got that little guy set and ready to go. And then this piece I'm going to line up now with my 8 and 1/2. So we're lining that up on that straight edge there. And we are going to Oops. I'm going to flip this cuz I am right-handed. Okay, so that goes on there. And we're losing a little bit of fabric, but I think the end result is well worth it. Okay, so now we're going to add our little curve to our block. So I'm going to go ahead and finger press this again. I'm going to flip that over and finger press it right side out so that it lays right down in that little finger press mark. There we go. And I'm just going to stick one pin in the middle. And we're going to just take this over to the machine and sew that next curve. Easy peasy. And you can see this the whole zipper merge concept a little bit easier on the smaller curve. And if you have a stylus that you're comfortable using, this is a good spot to do that because my fingers are pretty close to the presser presser foot right now. So, you don't want to don't want to hurt yourself. All righty. Okay, [laughter] this is it, guys. The big reveal. Our little 8 and 1/2 inch quarter circle drunkards double drunkard's path is done. So, now we just talk about layout. And so, I've got several different blocks here. And I just want to show you some of the things that we've done. So, a few of them. If you look at like up at this top corner, we've got one going this way. And then two, and then it goes down again. And then we are just going to continue making that. So, it's going to go I want to make sure I get it right. So, that flips out and then this one flips in. That one flips in. And then this one flips out. So you can kind of see like where the where the patterns come together. And then we've got a full circle. So you just lay these all out and then sew them together in great big 8 and 1/2 in square blocks. I feel like this is such an inspiring like unit in and of itself. You could combine it with all kinds of other things that end up at eight and a half. I could see it combined with some four patches or some star legs. I think drunkard's path is so versatile. I like to say when I'm teaching classes in person, I say it's like the it's the curved half square triangle of the quilt world. So, anything you can make a half square triangle with, you could do the same thing with a curved drunkard's path block. And that just like makes my imagination go wild. I I can't can't get enough of the experimenting. So, I think um let me let's talk about this just a little bit more. We've got one, two, three, four, five, six across by 1, two, three, four, five, six, seven down. So, this one uses 42 blocks. I went ahead and added a 2 and 1/2 in inner border, which I think frames it and kind of gives some separation to these fabrics. You can see the machine quilting pattern really nice up here. This one is called Athena, and I think it's really beautiful. It's one of our more geometric patterns and I I do typically like to add something geometric if I have a lot of curves and flowing things in my quilt. I feel like it's a nice balance. Uh the outer border is 5 in. And let me show you this backing. So this is it right here. I think it turned out really great. Cafe just has such beautiful fabrics. They're so color saturated and lovely. Anyways, this quilt ends up being 61x 69. And now it's time for me to show you my second layout. I'm super excited. So, hang on just a second. We'll get it hung up. All right, this is my second layout. I love it so much. You can see that we've got a little circle here in the middle and then it kind of goes out and then our corners go out. We've got quite a few different things going on, but I think it's so fun to play with that layout. Again, I've got a two and a half inch inner and a 5 inch outer. The machine quilting on this one is called Abacus. And let me show you the backing. We've got this really fun cave polka dot. We've got a couple of other fun tags here made with love. So, there's lots of things you can do with that. Um, remember, you can make one quilt or the other with our supplies. The only major difference is this one uses a little bit less backing because it's 61x 61. I hope you guys had as much fun experimenting and playing around with these blocks as I did. And I hope you enjoyed this tutorial on the What If Sidewinder from the Missouri Star Quilt Company. Bye. Hey quilty friends, we are so excited. We have something really special [music] to share today. That is right. Believe it or not, we have a million subscribers here on the Missouri Star YouTube channel. And we are so excited. Yes, it really is unbelievable. I know when we first started our YouTube videos years ago, we never imagined that we would have a community this [music] size and this wonderful. From the bottom of our hearts, we just want to thank all [music] of you for being a part of the Missouri Star family. That's right. Thank you so much for joining us on this wild ride. We are so excited to have reached a million subscribers and we are going to have so many more quilts and so much more fun in the [music] future. I can't wait to see what happens next. I can't either and we hope that you will join [music] us for the ride. We'll see you later. Bye.

 Natalie Doan
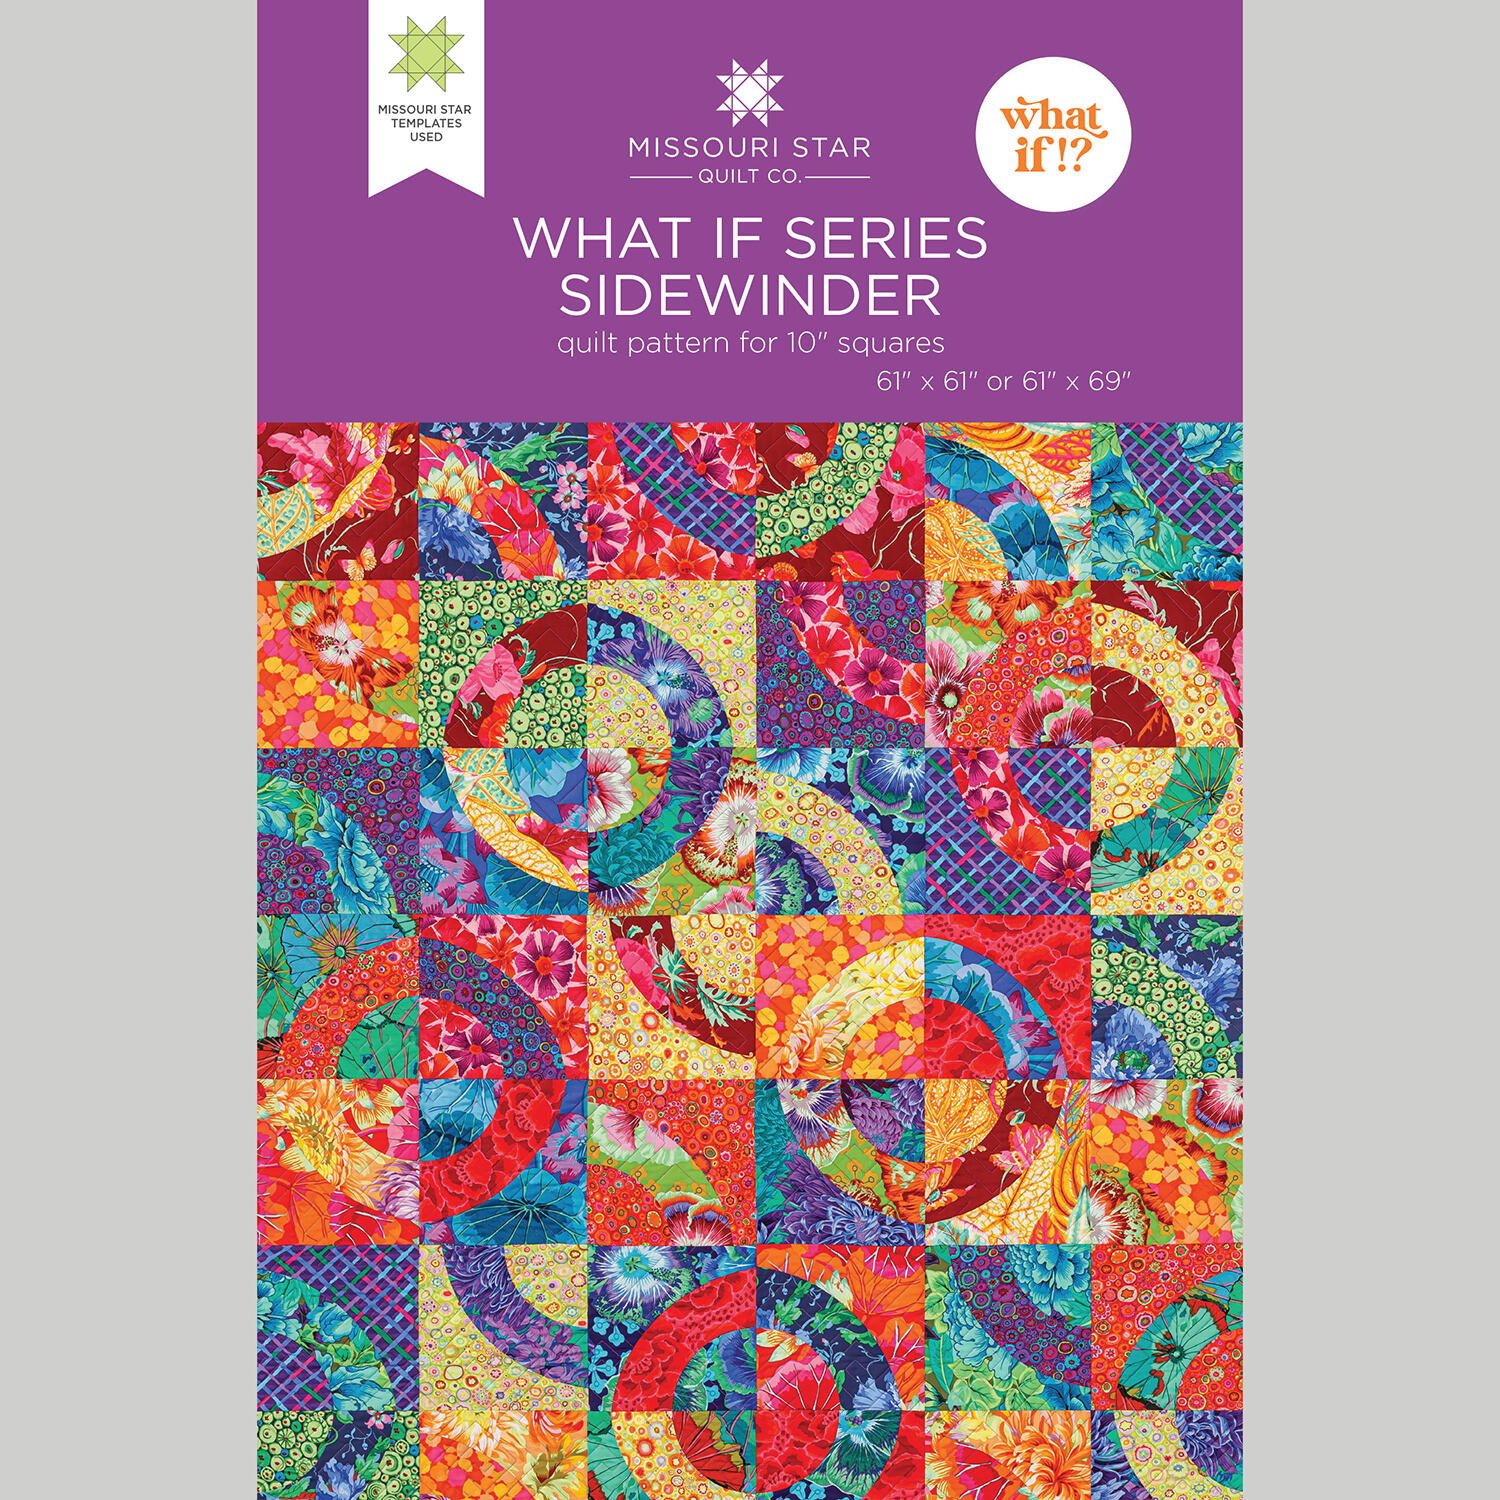 What If Series - Sidewinder Quilt Pattern by Missouri Star$8.50Shop →
 Digital Download - What If Series - Sidewinder Quilt Pattern by Missouri Star$6.95Shop →
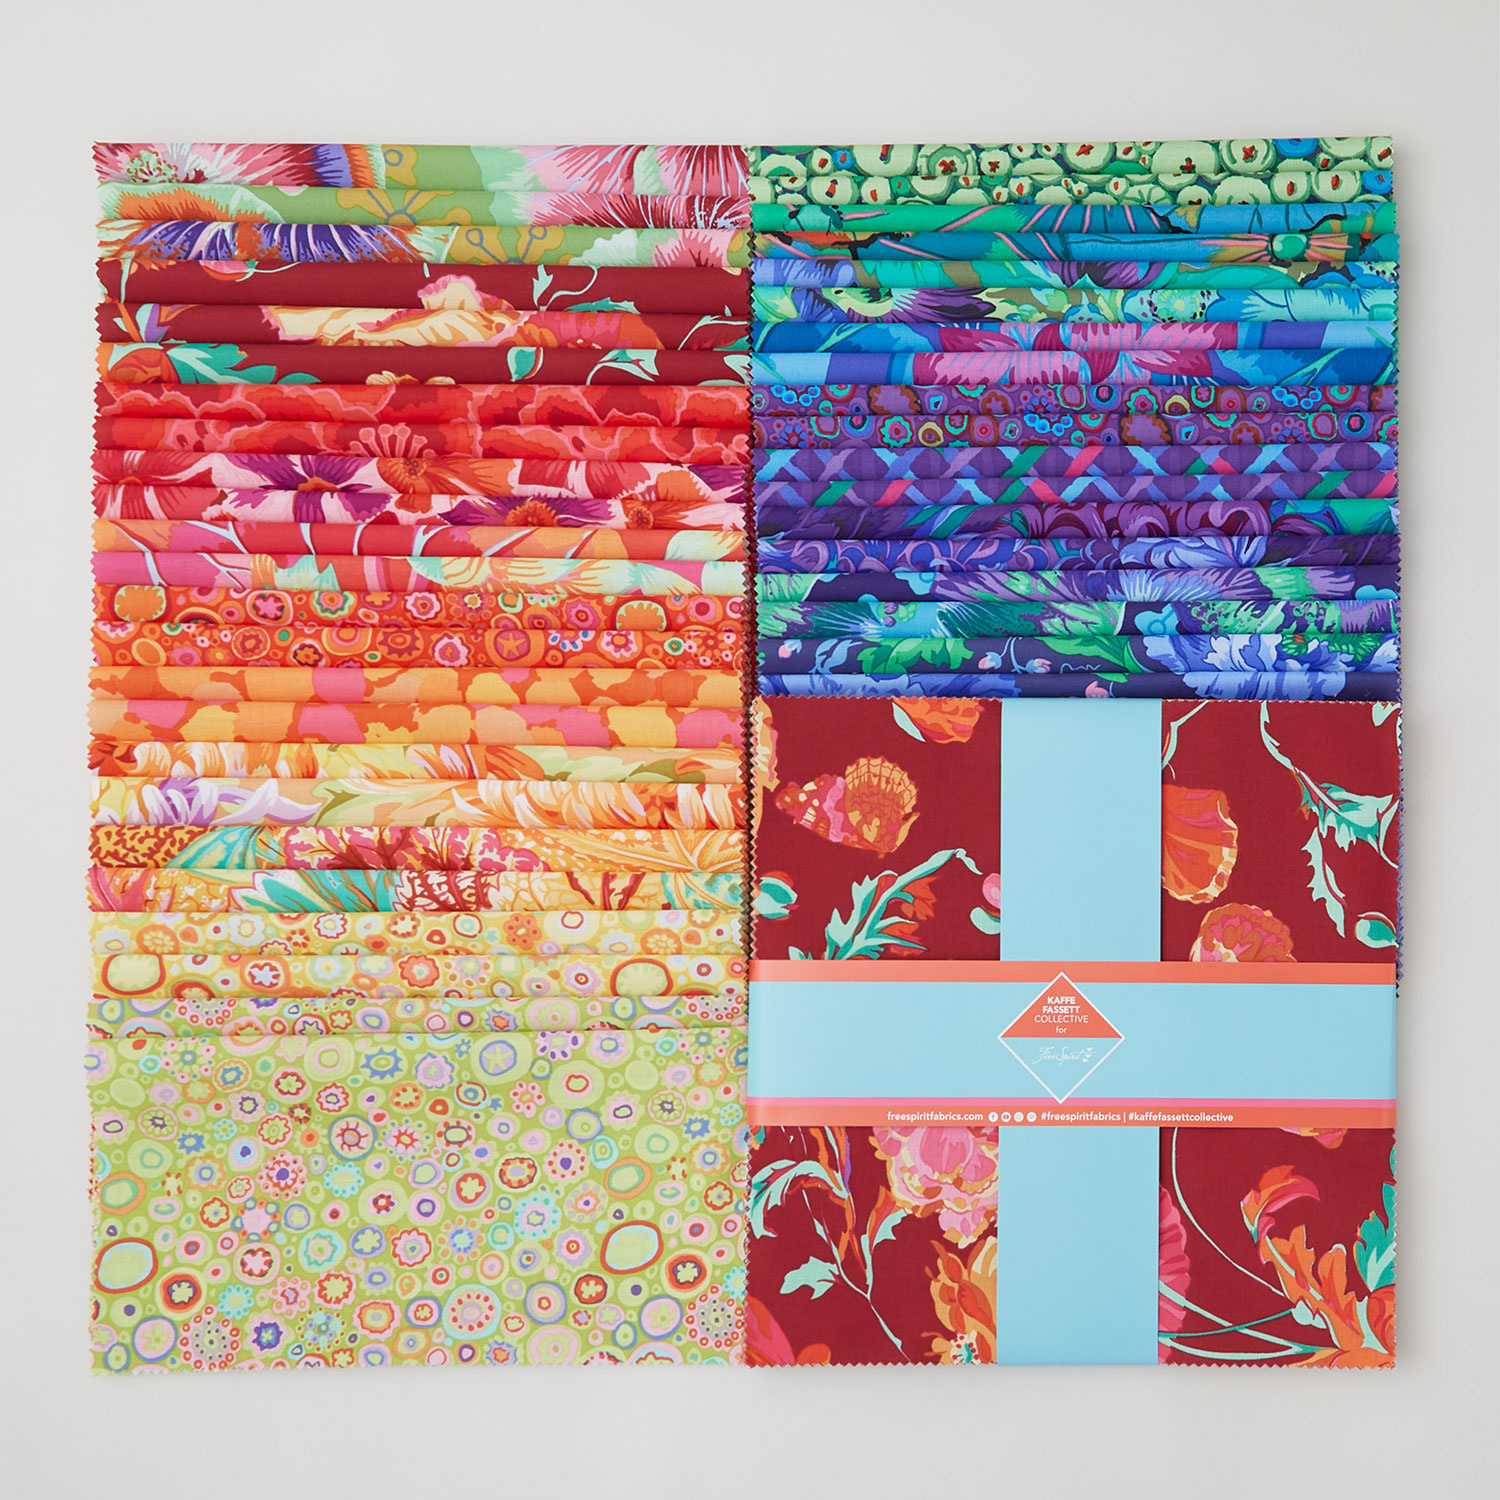 Kaffe Classics Spectrum Colorway 10" Squares$51.10Shop →
 Colorworks Premium Solids - Superwhite Yardage$8.96Shop →
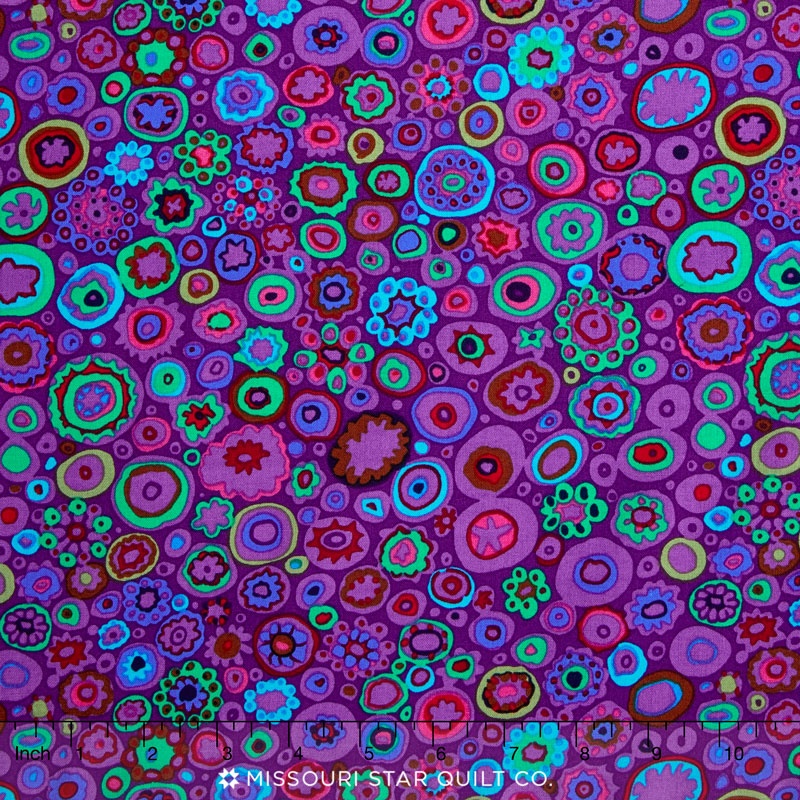 Kaffe Caribbean - Paperweight Purple Yardage$14.00Shop →
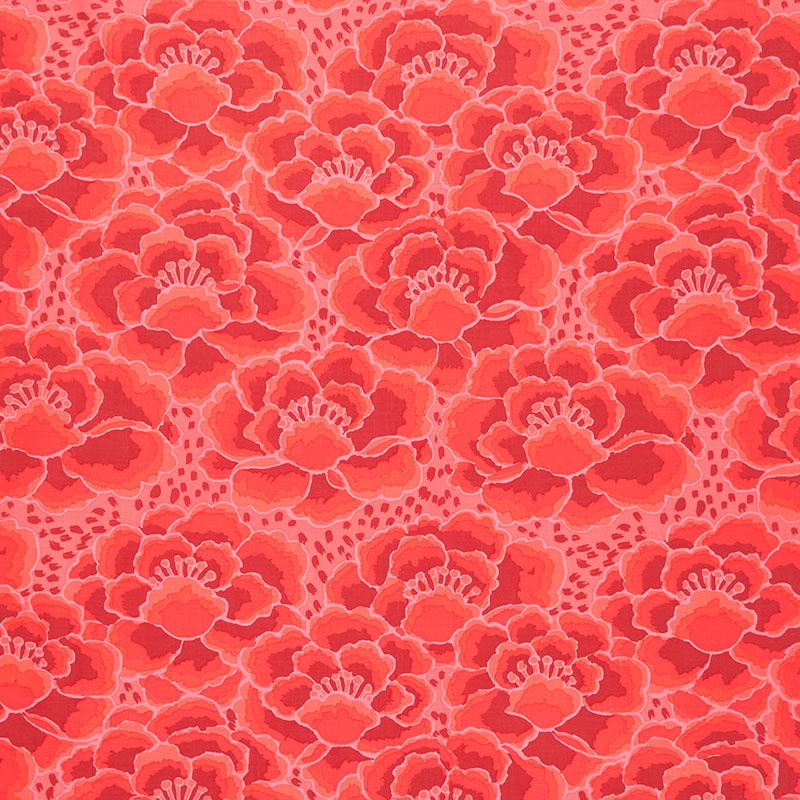 Kaffe Fassett Collective - February 2023 - Darker ColorwayTonal Floral Red Yardage$14.00Shop →
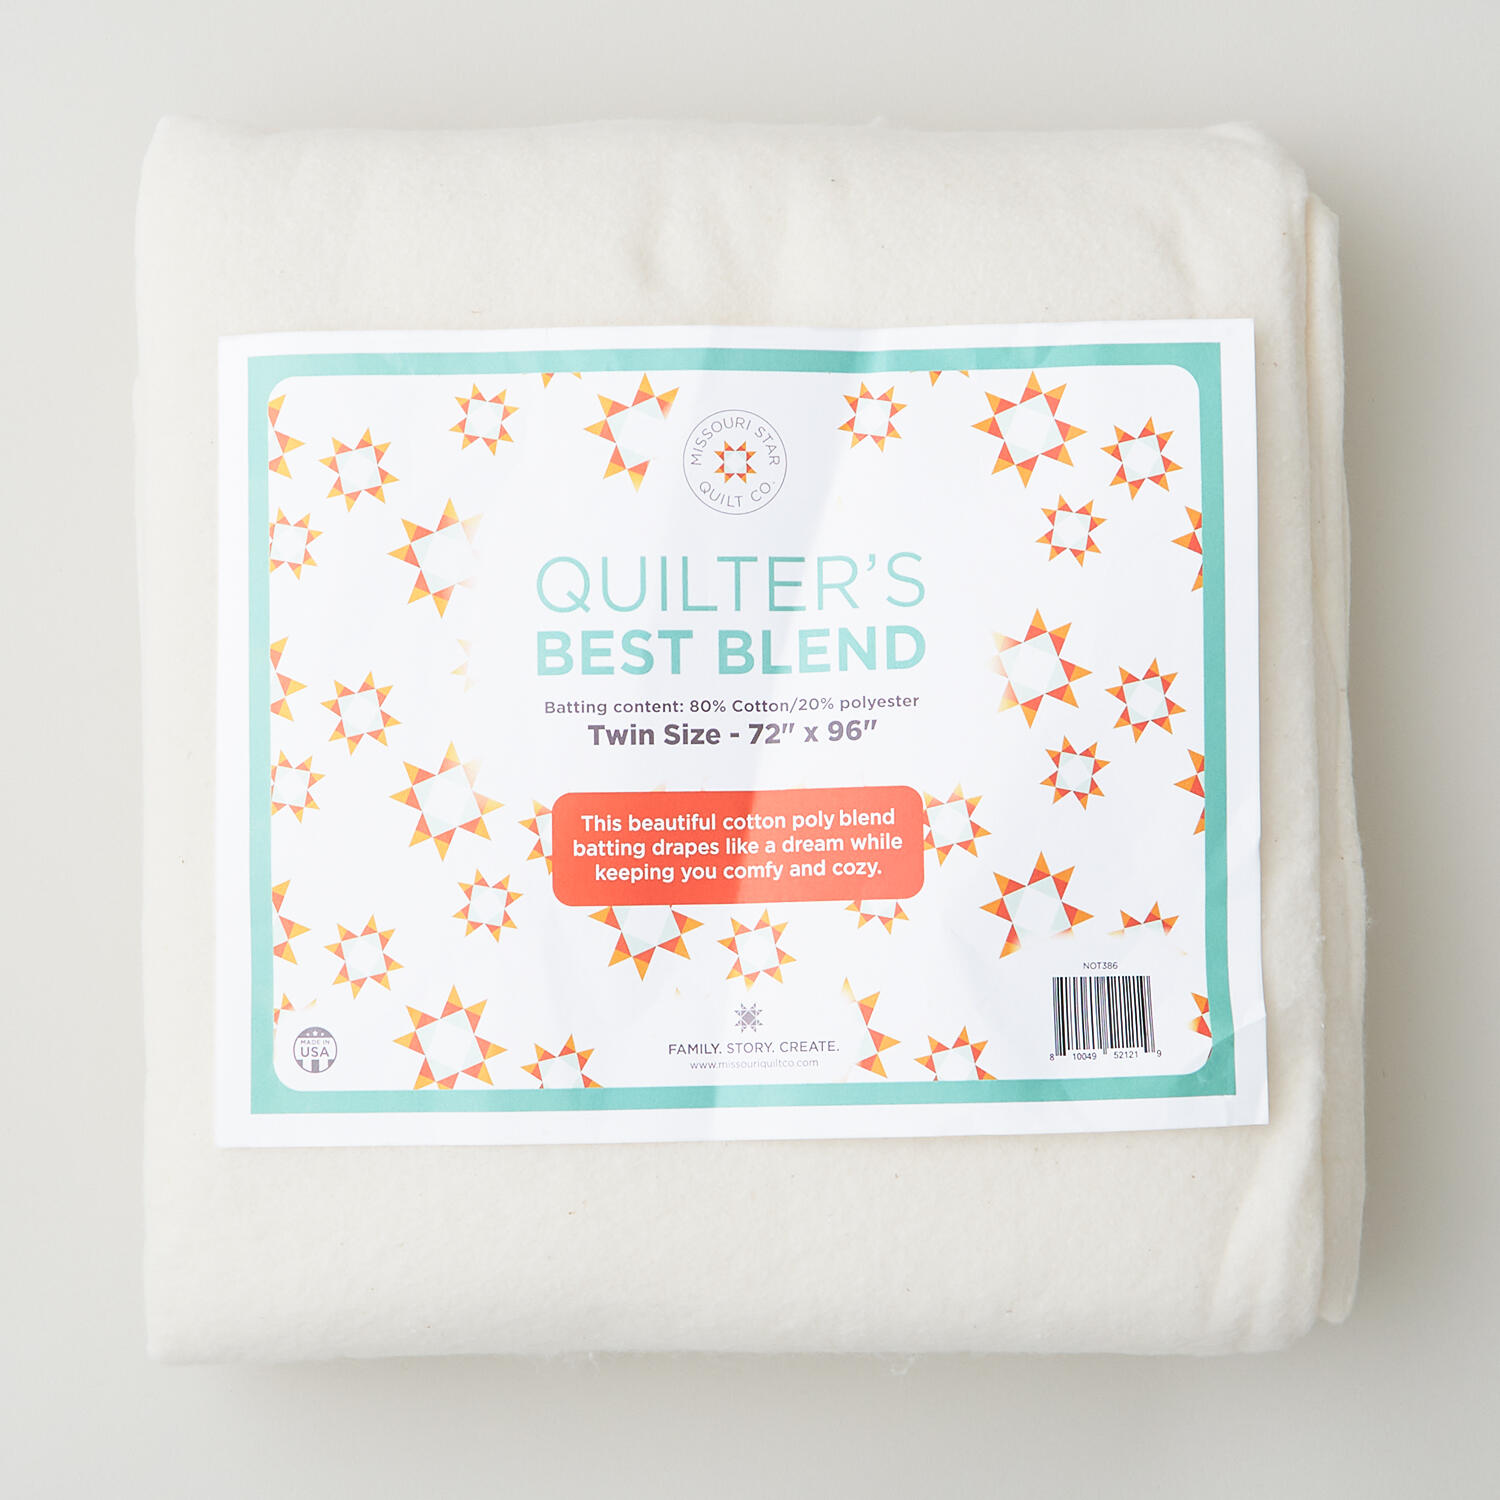 Missouri Star Quilter’s Best Blend Twin Batting$26.95Shop →
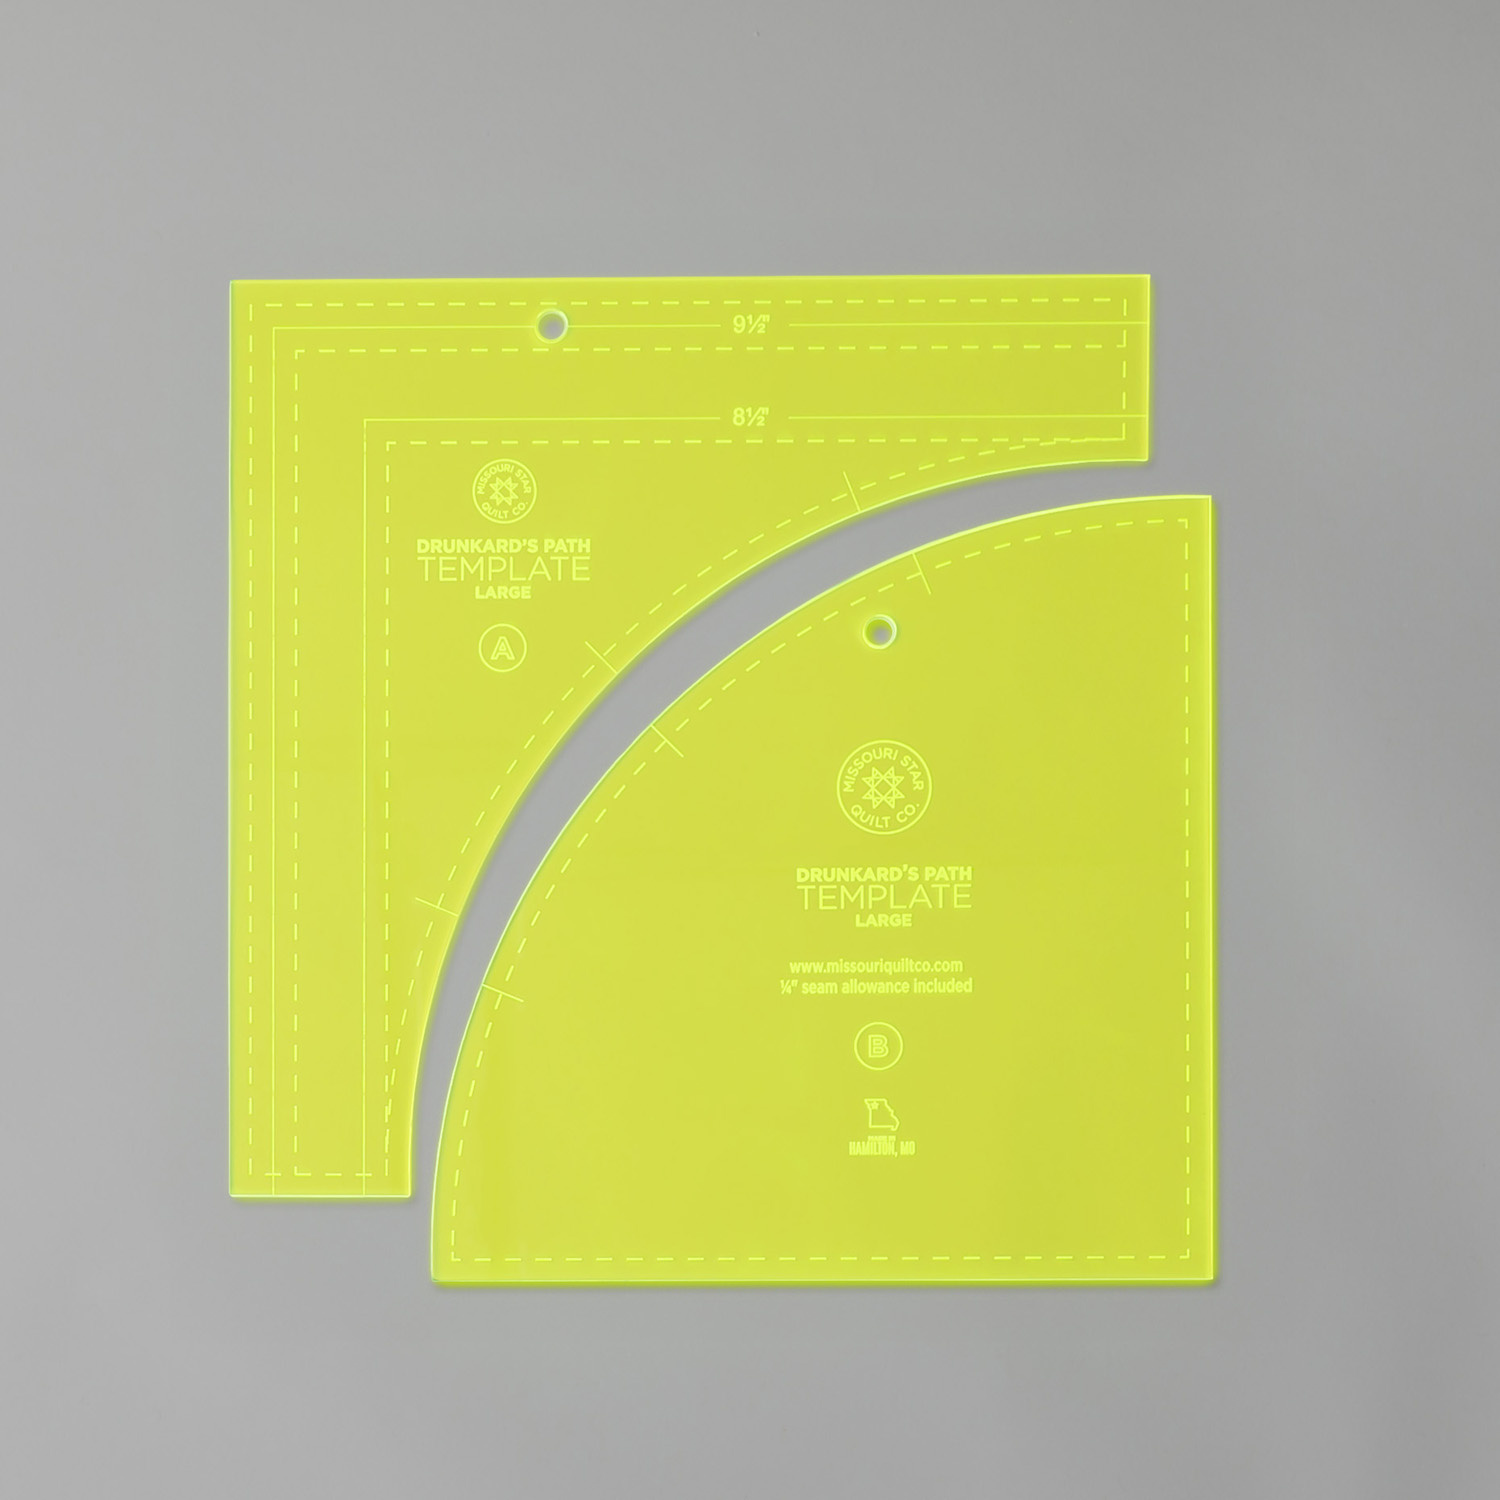 Missouri Star Drunkard's Path Circle Template Set$21.95Shop →
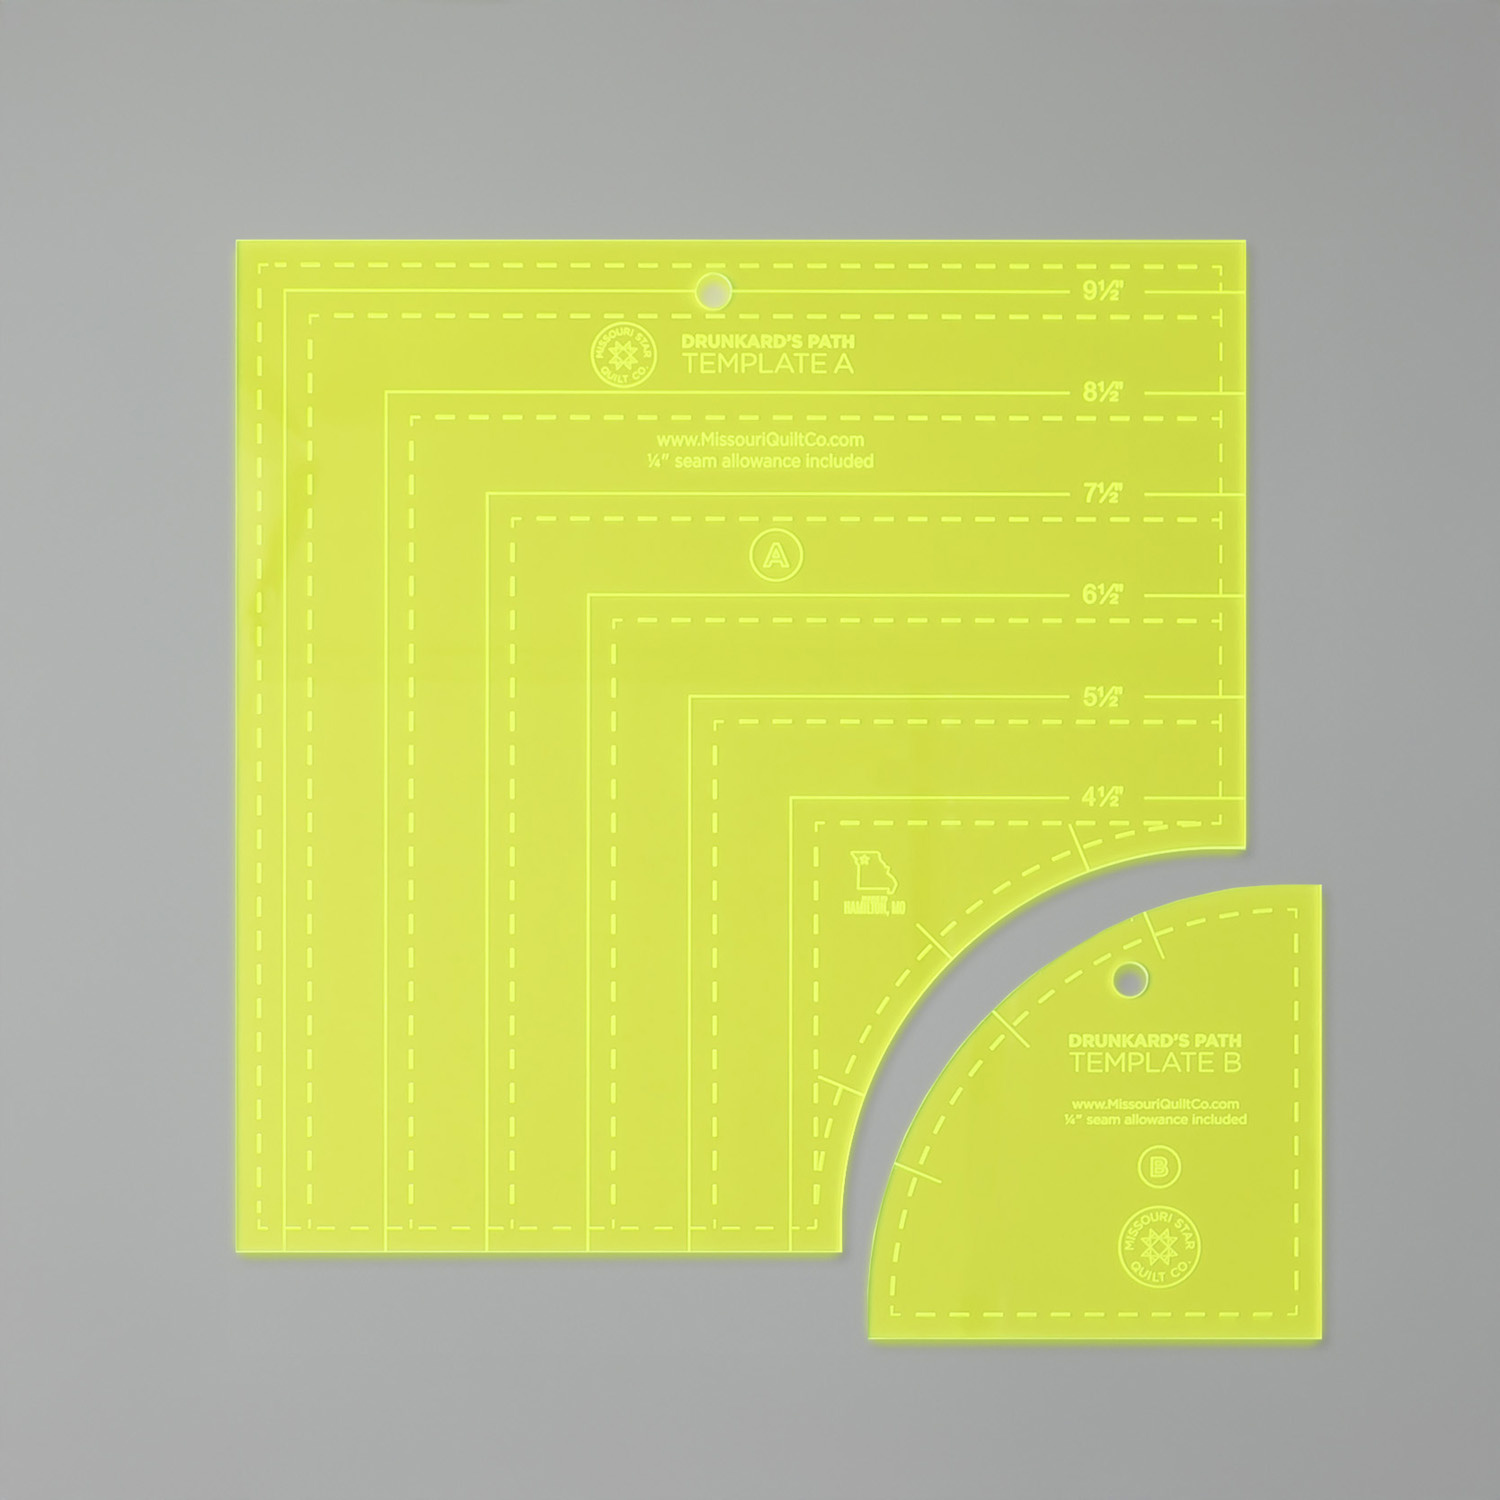 Missouri Star Drunkard's Path Circle Template Set - Small$21.95Shop →
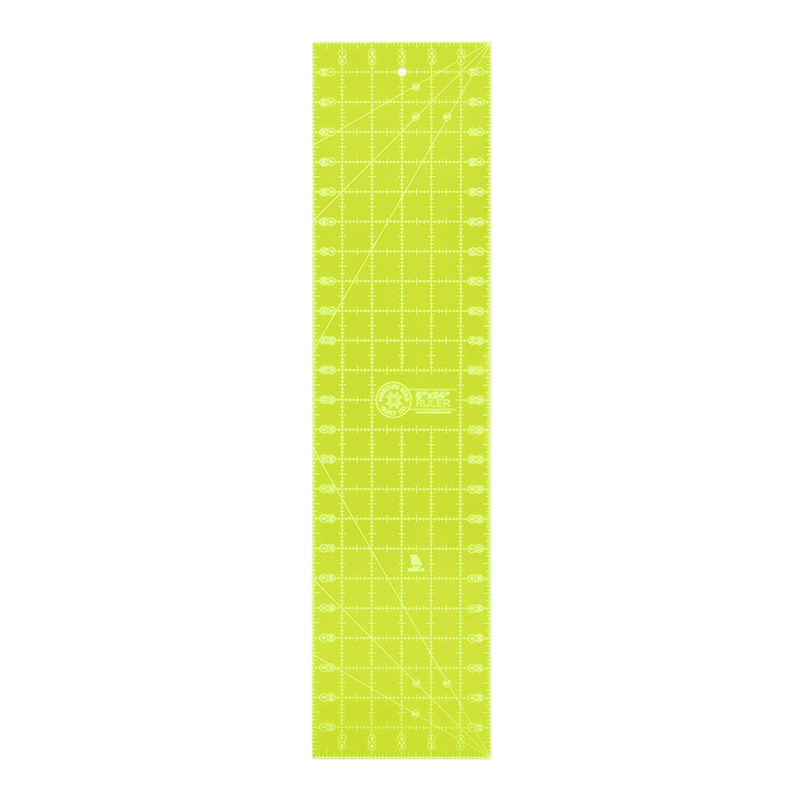 Missouri Star 6" X 24" Ruler$29.95Shop →
 Missouri Star 45mm Rotary Cutter - Olga$19.95Shop →
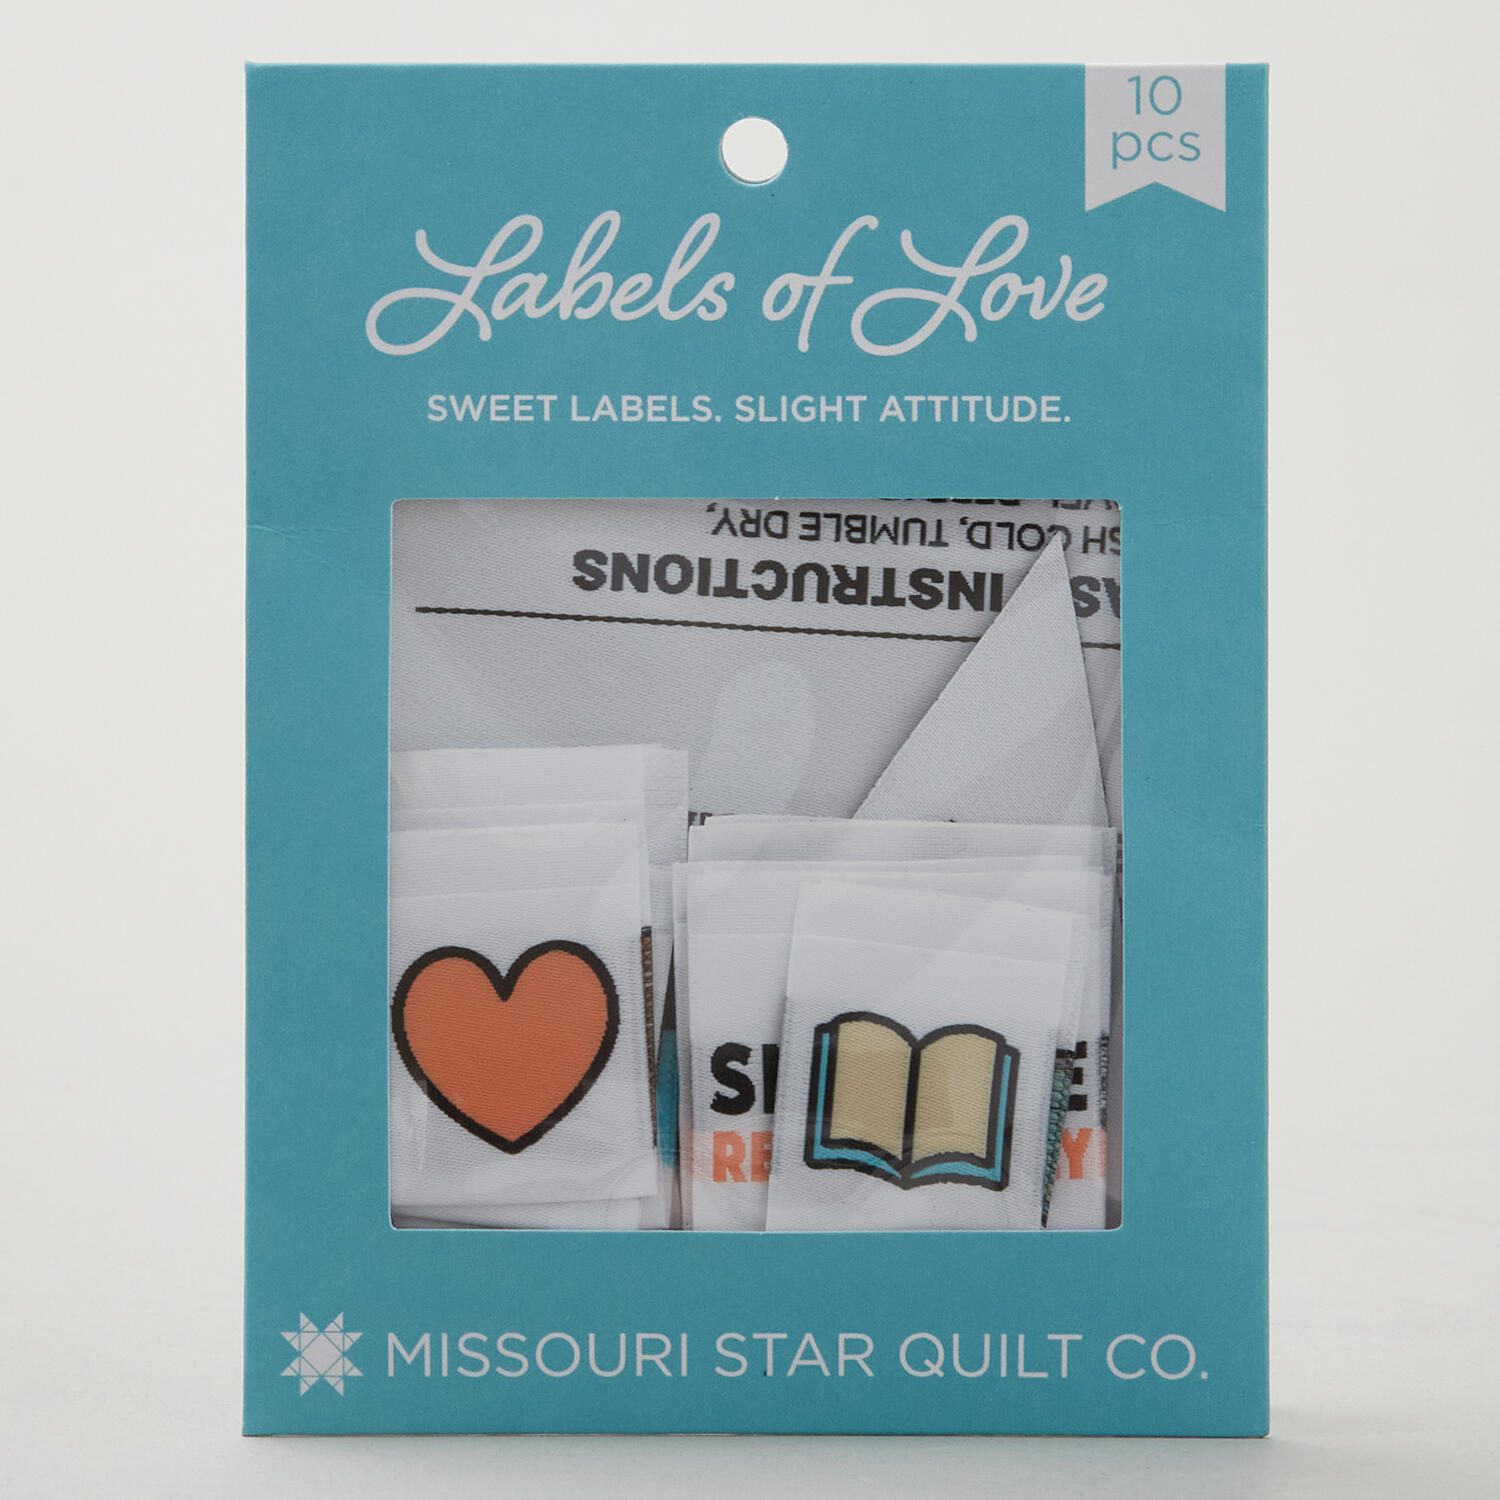 Missouri Star Labels of Love: Sweet Labels, Slight Attitude$9.95Shop →



