Skip to content

Free quilting video tutorials from Missouri Star

Quilting Tutorials
What If - Tranquil Triangles

What If - Tranquil Triangles

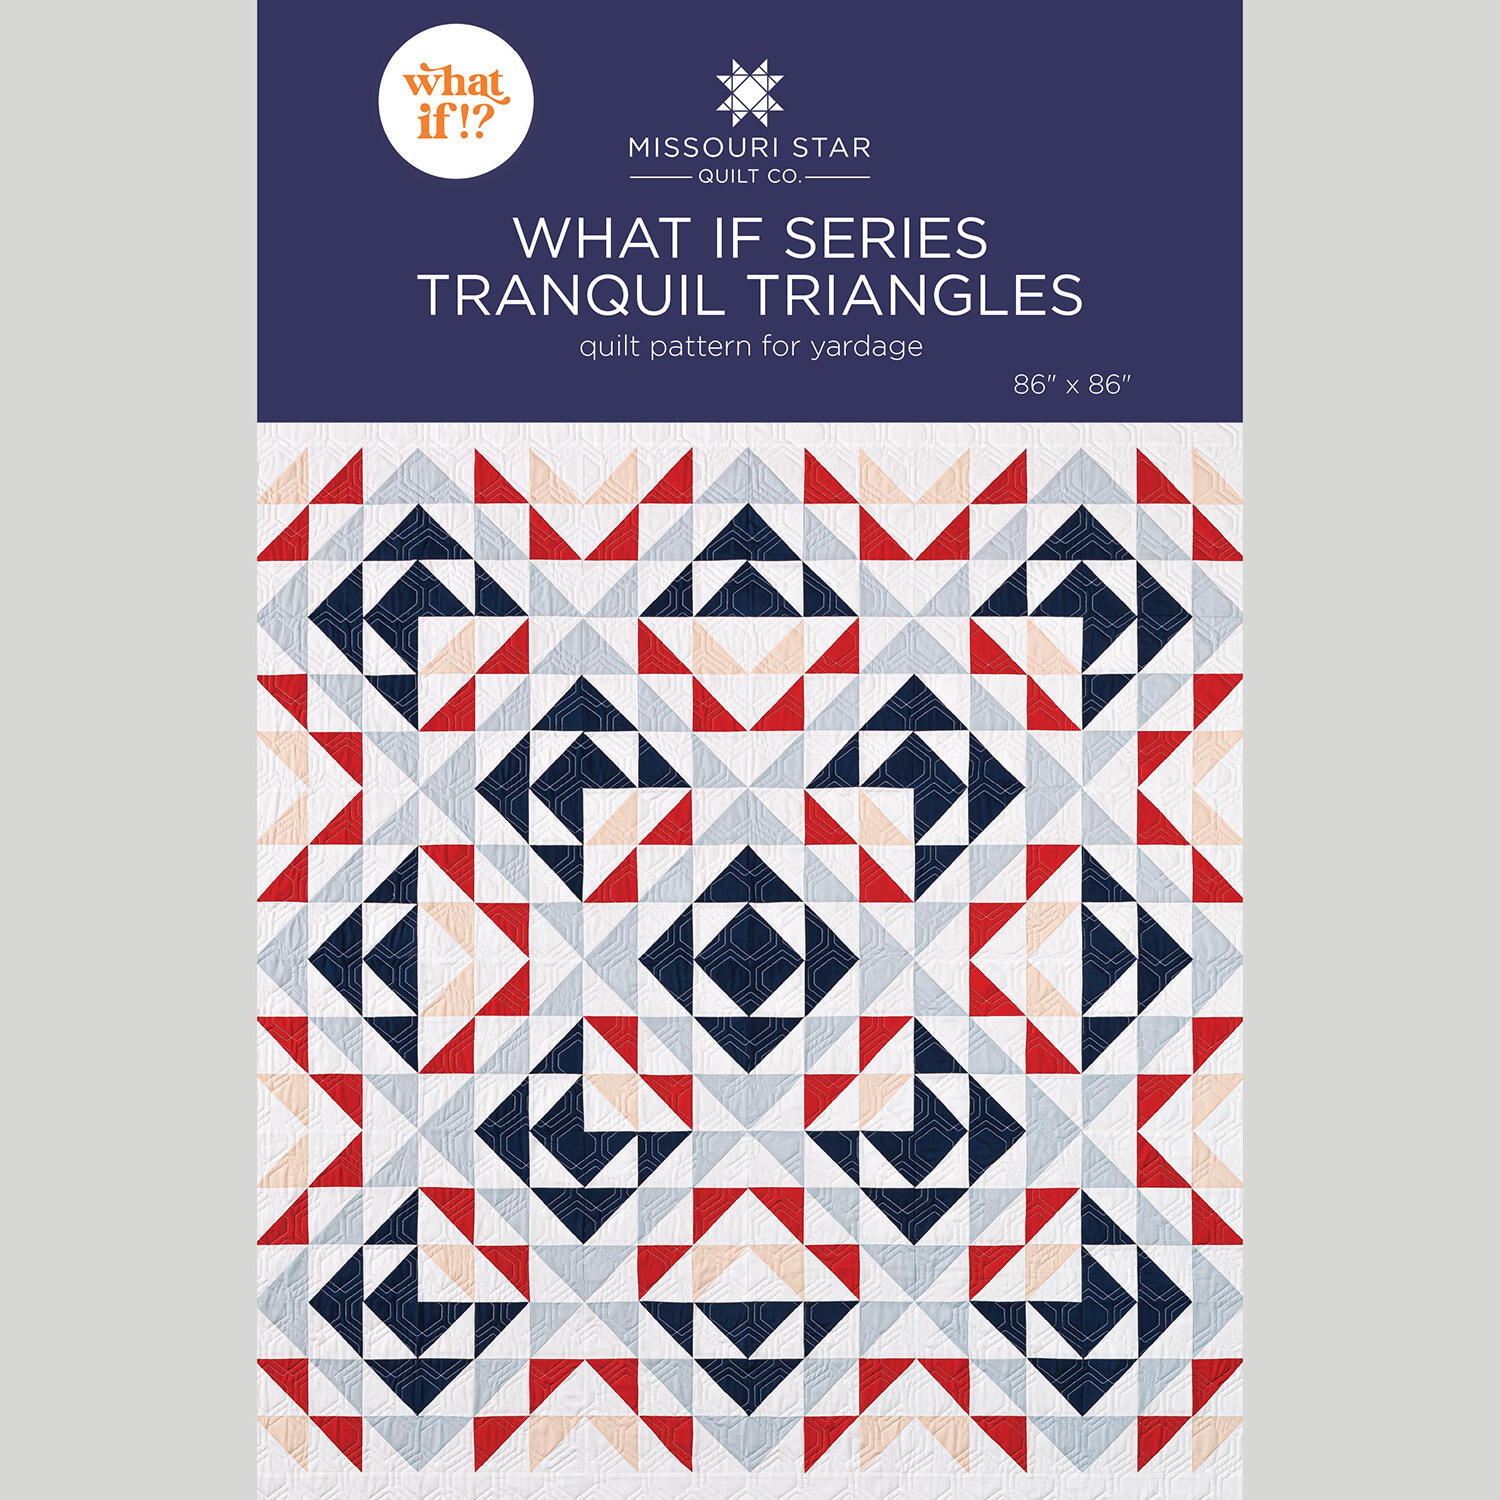
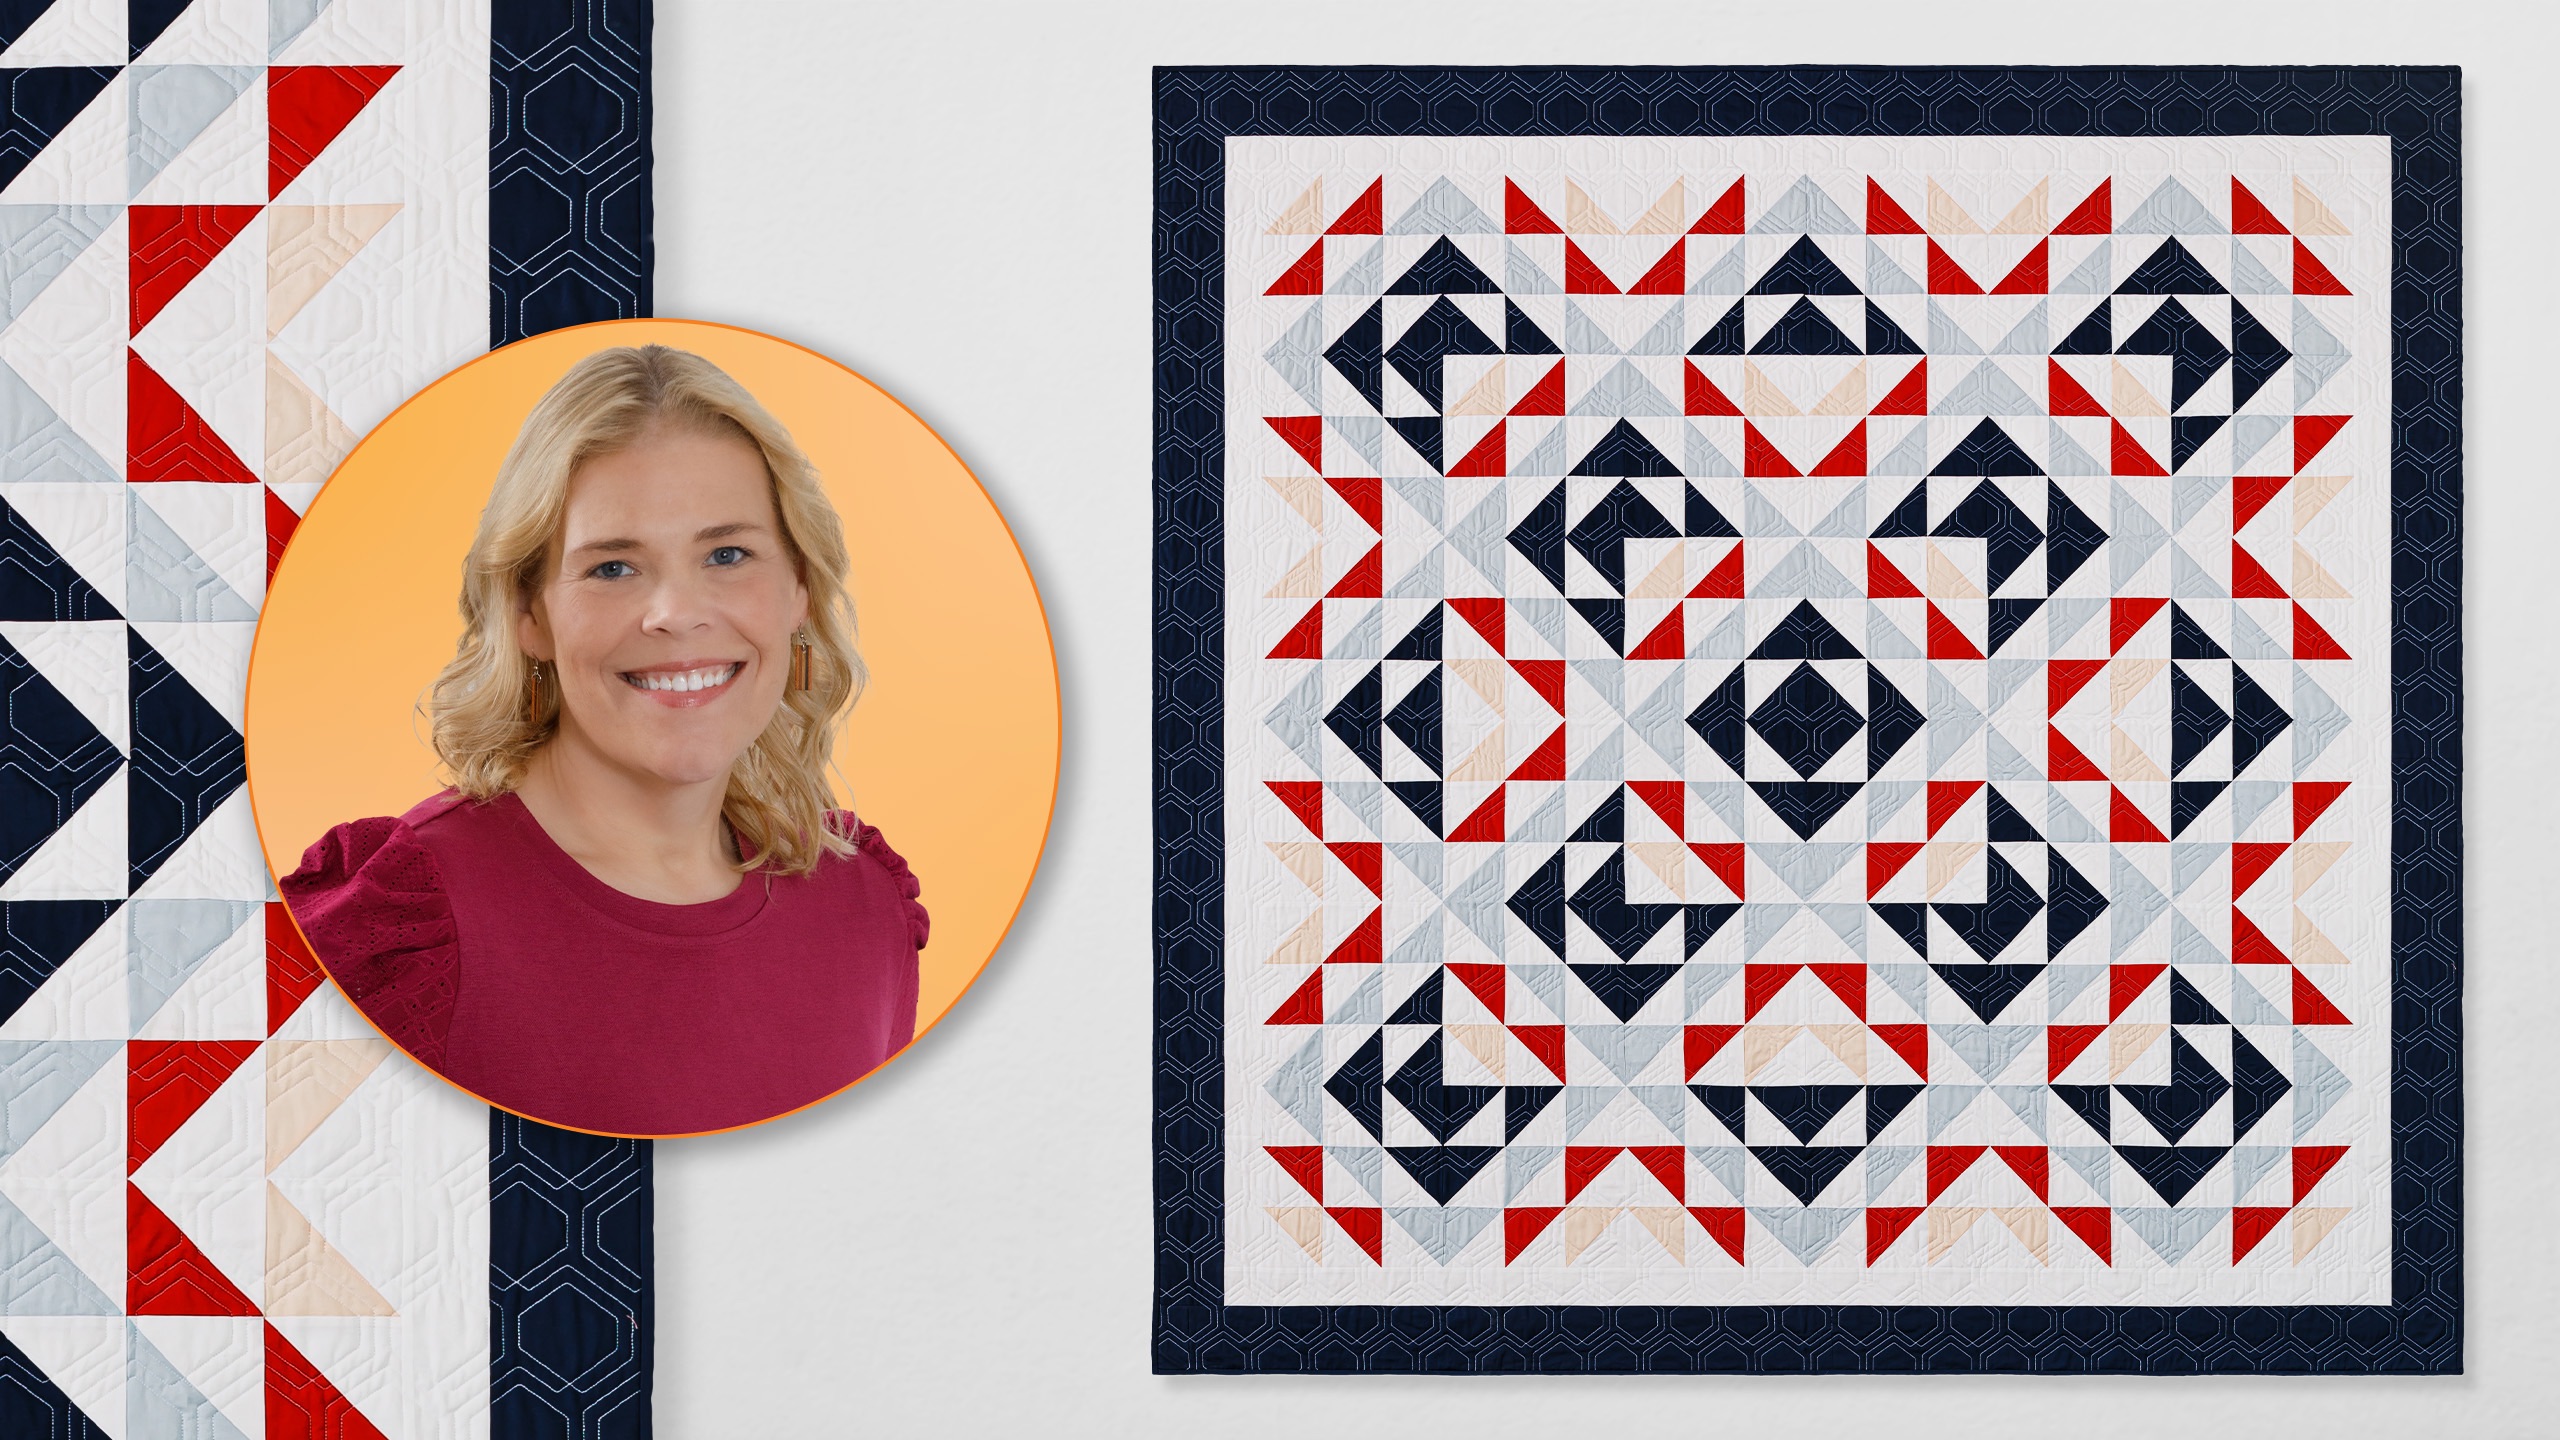
In 2017, Jenny made a scrappy Tranquil Triangles quilt. We loved it then, and we love it still. But…what if we try something new? Natalie’s version is made with Northcott solids and a trio of options to keep you creating: 3 different layouts, 3 ways to square up half-square triangles, and 3 free coloring sheets to plan your own designs. This tutorial is part of the WHAT IF series. We transform classic blocks with simple tweaks, and we hope you feel inspired to experiment, too!

Instructor

Natalie Doan

Natalie is the host of Quilting 101, Embroidery 101 and the Creative Strategist and Editor of Block Magazine at Missouri Star Quilt Company. She was taught how to sew by her mom, of course, and began quilting when she grew up.

Common Questions

What is covered in What If - Tranquil Triangles?

In 2017, Jenny made a scrappy Tranquil Triangles quilt. We loved it then, and we love it still. But…what if we try something new? Natalie’s version is made with Northcott solids and a trio of options to keep you creating: 3 different layouts, 3 ways to square up half-square tr...

How long is the tutorial video?

The tutorial video is 00:25:20.

Are supplies listed for this tutorial?

Yes. The tutorial page includes the supplies and materials connected to this project.

Video Transcript

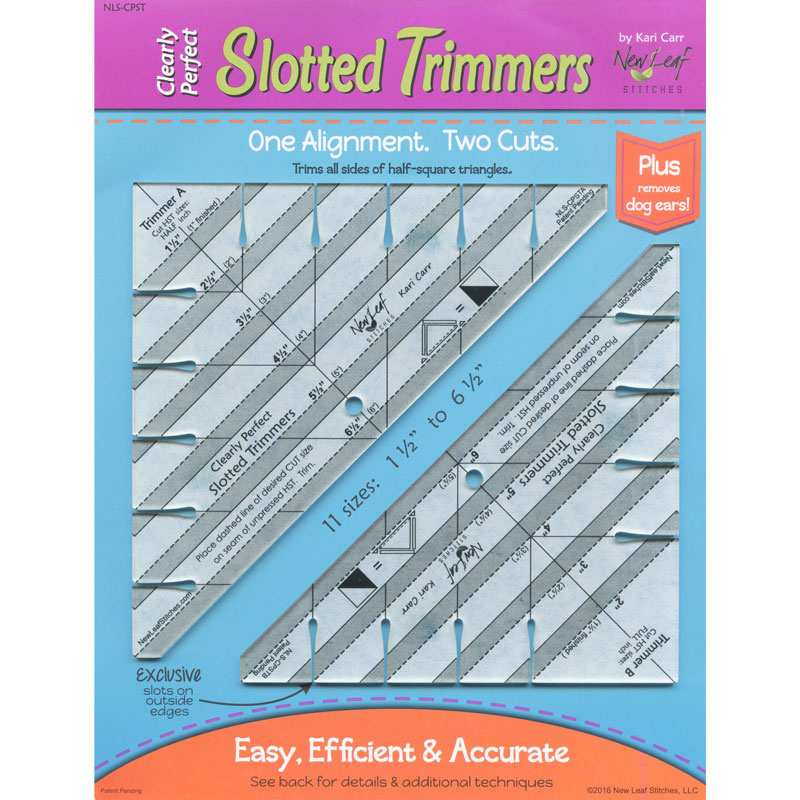
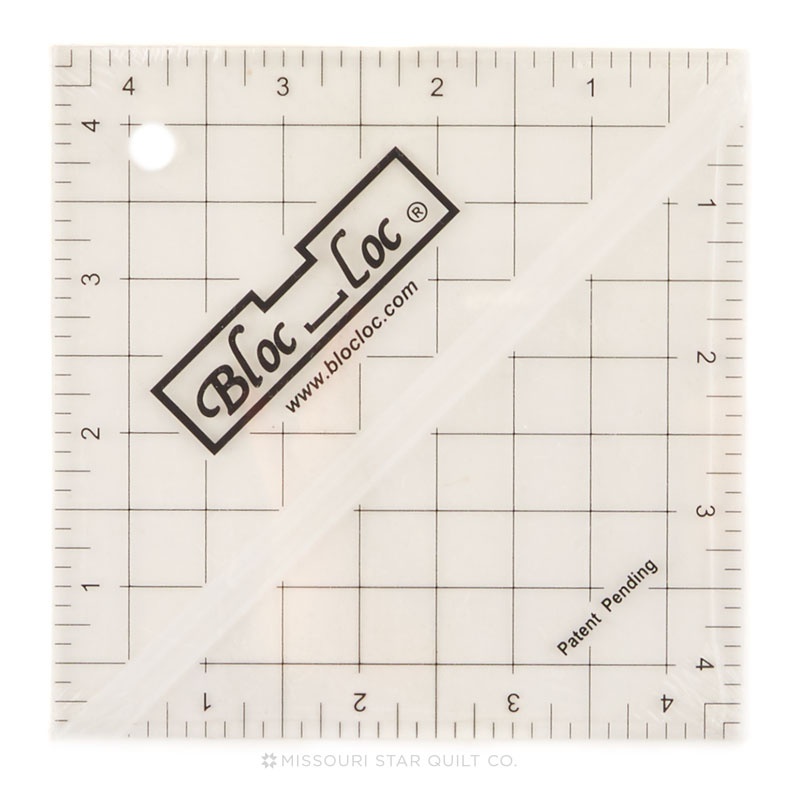
hi everybody i'm Natalie with Missouri Star Quilt Company and today we are doing our what if series now what if is a fun thing we came up this year since mom's out of town for a little while um we decided to look back on some of her quilts and say what if we made that one slightly different what if we used a different background color what if we used solids instead of a print what if we turned the blocks and did a different layout or changed the way the borders look there's lots of different ideas endless opportunities for creativity so this one we're doing today is Tranquil Triangles and it originally debuted around 2017 I think um and this was our original quilt we used cave facet fabrics we put the fabric so that um the space came together and created a little square in a square and they're all the same four blocks and I think it's darling i think it's beautiful lots of people loved it it's still great but what if we did something different so the first thing that I did um probably within that year or the following year was change the background fabric to a dark color and then I used a print that was a little bit different than cafe so let's see that quilt just real quick i'm going to pull it down all right so this is our second version that uh we came up with and it went into block magazine and I chose a dark background with this dark sort of teal color and then the print we used was all black and white and gray so it looks very geometric and a a lot different I think than the cave quilt um so for me this was a this was really fun to see it i love doing that for block just putting the quilts in different colors and different fabrics um sometimes the border sizes will vary but I try to stick pretty close to the pattern so that you're making what you're looking at um but yeah this was fun this was an interesting one all right but the most excited about what I've got underneath this quilt because it's a stunner and I think you guys are going to love it and love how easy it is to put together this is it this is the what if that we're going to be working on today and I can't wait to get started okay so to make my quilt we are going to need some yardage and I've chosen four colors so we have this peach it's actually called um color work solids by Northcot and this one is called Sunrise you're going to need three4s of a yard of that 1 yard of Vermilion a yard and a3 of Serenity 2 and 5/8 of Liberty Blue and this one your yardage is a little bit higher because we've included the amount that you need for your outer border your background yardage you'll need four yards and that also includes your 3-in inner border and for our backing you will need 8 yards if you're just using regular uh 45inch wide fabric or if you're using a 108 you'll need 2 and 2/3 yards and we've used fusions in Cardinal by Robert Kaufman so let's get started okay so one of my favorite things about this pattern is that we've created this downloadable um coloring pages that are free on our site and you can choose a color palette you can color it in with pencil you can cut them out and then turn them any which way that you like so we have three options we have this large one this is a cute little mini design wall that you can color in however you like and then you could make a bunch of small blocks if you want to build a whole quilt in in mini um or you can print this page as many as you want because it's your printer and you can do what you want with a free download so that is I think it's really fun i've chosen to color a couple in different different colors than we're using for our quilt just so you can see kind of how they look so we have this really lovely green and if we put all the greens together it looks really cool very pretty or we can do like we did with our other quilt and turn one out and that's going to create a whole different um a whole different look you know I think that's very fun it's beautiful it's it's one of these things that's really creative without a lot of pressure you can make hundreds of quilts just by coloring super fun okay let me show you i've got these orangey reddish [Music] ones they're pretty oh that one has its So I did a couple different ones this is one design and then this is another one and I thought it might look kind of cool if I swapped in uh some other so if we colored in and had two colors instead of just a background there then you get that little um Oh gosh it's just a cute little four square half square triangle diamond in the middle i can't get them to lay straight and my fingers aren't picking them up very well okay so we could do it like that or we could do all of the light colors in and you've got more of like a sunset it's really glowy and pretty so anyways I think I did some of these backwards too oh that one was just backwards okay so maybe I get that from my mom the little anglly challenge thing i get that sometimes um but I think we all do so another idea that I had that I I think is kind of fun is you don't have to stick to one background color you can color in your triangles and then use all the colors in the rainbow if you want to so you know you can make the same types of designs and patterns but they look quite different based on whether you're using lights and darks or warm and cool prints and I think it can be very fun just to play around and see what you like and what looks good you could have some of them have background colors if you wanted like like see how where these purples are say that was all like a black or a navy blue that would pop out and create like a square in your print you could actually make this entire line the same color and then the rest of them could be all different and really what you've done is you've just created different patterns and different sizes um with the illusion of fabrics that are all the same right so it's really really fun to try all these things and I hope that you do it just download some free printable pages print them out have fun and then you know send us some pictures of what you're working on cuz it's it's exciting i love it um okay so today I am going to show you three different layouts for the quilt and um we're going to start with our fabrics we're going to cut our yardage into 10in squares so I've cut all of these i just cut them ahead of time because we all know how that goes you pull out the fabric straighten it cut a 10in strip and then subcut 10in squares and we're going to make um we're going to use the make eight method and square them to 4 and 1/2 in so we'll walk through that but I've made most of my triangles ahead i'm just going to do one to demo it because the entire quilt is made using these 4 and 1/2 in half square triangles okay so I just wanted to point out one more thing real quick about this pattern on page three you'll notice it talks about how many numbers you need and how many numbers you're going to make and I just wanted to help a little bit because it caught my attention and seemed kind of um like difficult for me to understand right off the bat but because we're making our half square triangles in multiples of eight it tells you how many you're going to get and then it tells you how many you're going to need for the project so there's two two or three colors where you're going to make four blocks four half square triangles more than you need that's that's all it is it's not a big deal you'll just set those aside for another project or maybe make a cute little throw pillow out of them you can do whatever you want but I thought I would just you know speak to that a little bit because it can be tricky when reading patterns to understand what the writer is intending you to mean to to learn so that being said let's make our half square triangle so I'm going to take my my colored fabric and my white fabric i'm going to draw the line diagonally both directions and I've already done that and then I'm going to stitch a/4 of an inch away on both sides of both lines and um it it is important to stick with that quarter of an inch cuz we're trying to get 4 and 1/2 in half square triangles and if your seam allowances are too wide you may not have enough room to square them up so just be aware of that not a huge deal i've never really had too much trouble with it and I'm pretty pretty relaxed when I sew but um I just thought I would you know call it out because I have in in my lifetime had some small half square triangles come out when I use this method so I'm going to set these over here cuz they just so pretty and then I'm going to sit down and sew so I will just flip that around and stitch down the other side and then at this point I clip my threads and do the other the other diagonal line all right so you can see that sewn X pretty well on the red side so now what I'm going to do is cut horizontally and vertically first because that way I get my cuts that aren't marked out of the way before anything can move and we're just cutting this in half with our um 5-in ruler and then we're going to cut on the lines both directions and just like that we've got our eight half square triangles okay so now let's start squaring these half square triangles now that we've got all eight made and um I'm going to show you three different ways to do it we'll do one with the block locked one with the clearly perfect and one with our 5x15 ruler so let's start with clearly perfect because that happens before you press anything so what you're going to do is take your trimmer A because it has all of your finished 1/2 inch sizes from 1 and 1/2 to 6 and 1/2 you're going to choose the size that you want finished and at this point I should I want to also mention that like I said earlier about our half square triangles coming out a little small it's okay if they do you can in this quilt you can change all of your half half square triangles to 4 in or 3 and 1/2 in or 4 and 1/4 in it's really whatever they come out to as long as they're all the same size you are going to have a fabulous looking quilt so no worries about that don't stress too hard this is all just suggestions ideas advice and opinion okay so we're going to line up this dashed line with our stitches on the fabric so I'm going to put my 4 and 1/2 line right across there and the cool thing about squaring up is because you're lining up with a seam you're going to make these squares look so beautiful and so perfect and everybody will say "Wow how are you such a great sewer?" And you're going to say "I square my blocks." All right so we're going to cut down this other side and then this ruler has these little notches built in be a little careful when doing it because you can damage your blade if you try to stick it in and it doesn't go in the right way um but I want to show you too so I do think it's important to cut off these little ends because they will get in the way in the bulk of your seam if you don't it's not that big of a deal it's total per personal preference but uh after not doing it for long enough and recognizing the problem that it actually would create for me I've started doing it so if you don't want to use the ruler though I've found that if I just cut you know away from the outer side it's the same thing and it really doesn't matter as long as you stick with the corner of your seam um I would do this after so if I'm going to let's say I'm going to go ahead and cut this 4 and 1/2 with my Clearly Perfect so I've cut off this side but I don't want to use the notch on the ruler all I'm going to do is slide that away and then just cut at an angle right against that seam it takes out enough of the bulk and it doesn't have to be at a certain measurement it's just to give you more um more flexibility when you're sewing your half square triangles together and it matters when you have all your points coming in when you're making say a pin wheel or a lemon star so uh that's that all right now I'm going to go ahead and press a couple of these because I've got a couple other ways to square for you i tend to try and square all of my um or not square but press all of my blocks with the dark side going under the fold because that way you don't see that seam allowance if you're looking at a lighter background fabric if you've got all dark fabrics it really doesn't matter or mediums it's um mainly when I've got a white background and I don't want the red to show through the fabric on the front of the quilt okay first we're going to use our block lock it is made for squaring the the block lock comes in a set of three you'll get a 2 and 1/2 4 and 1/2 and 6 and 1/2 and of course each one has the other measurements inside as well so when you're wanting to do a bunch of 4 and 1/2 in squares this is super convenient because you're just using the outside edges it has this really great groove that you're going to put up against the seam and because it's pressed to the dark it'll push against that and stay in place while you're squaring which is awesome it's like the easiest tool I've ever used so you'll set that in place and you'll just trim i like to do all four sides but if you have a really good edge you can skip doing um two sides if you can line it up really nice and straight and that all just depends on how you cut them so that's it that It's super simple to use the block lock very accurate and easy and I love it i love the I love all of my tools for different reasons unless you worry about the feelings of my other rulers okay so now we're going to use this handy dandy tool a lot of your rulers that are longer um have a 45 degree angle line and that's where this becomes super useful all right so I'm going to line up my square with my seam line again with this 45° angle and we're looking for 4 and 1/2 so I'm going to line it up and and hopefully on the inside here my fabric is over the half inch mark so we have four across and a half and four across here and a half and I'm going to push it up a little bit the key is just to make sure that this 45° angle stays on top of your seam line then you're going to trim your first two sides and I'm just barely shaving off a little bit cuz this one got a little uh I don't know it got cut a little small and then I'm going to flip that around and do the same thing now I'm worried about lining up these halfinch marks exactly where I want them to be making sure again that my line my 45° angle line is still in line with my seam allowance or seam line sorry and then I'm just going to trim that square and that's it so you can make half square triangles square and perfect with all kinds of rulers it's great so they and they all end up being the same size they're perfect you can use them whichever ways you want all right hopefully that's that was a helpful little segment so I have already made all of my half square triangles in all of their colors and they look like this so now we can start laying out our blocks and the block for this quilt is super simple you start with a peach down in one end a light peach and they go this way i had that a little bit backwards then we're going to go with our medium peach and all so all of our half square triangles they line up pretty much the same way so your color is going this way and your background is is pointing down so we'll do these two then we go with our light blue or this way and then we come in with our dark blue that goes like that and like that and our final blue goes just like this so then we're going to stitch these together i would chain piece them i would do these two these two and these two then I would leave them together um stitched and then I'd come up to the top and do this one add this one to this one you know so on and so forth and then sew my two lengthwise seams all right so once you've sewn this block together then you're going to have a block that looks like this and that is the block this entire quilt is made out of they're all the same and there's about there's 36 of them so once you get all those made then we can start playing around with our layout and that is really fun because there's several different ways to lay out this quilt we've included three in the pattern we've got one where the emphasis is on the light squares facing in one where the dark squares are are the more prominent color and then the one that we chose to make our quilt out of is this beautiful sort of exploding X kind of a pattern they're very very cool and I'm going to show you how to lay out all three of them right now you're going to like this okay so laying out a quilt is one of my favorite things to do because you can see so many different patterns emerge and it's just really fun to look at those different quilts made up of the same block um so we're going to start with the diagram on 4C and this one emphasizes the lighter color of the it's kind of like a medallion I guess so we're going to do that and I'm going to show you how this looks so we start with our first block right here and we're going to put all of the light peach triangles to the center to create a larger block and I dropped one of them down here there we go so you can see how these come together and then for this quilt you're just going to continue making this block so it goes together there's nine of them the larger block so you can make them all as blocks or you can just lay your quilt out and sew together rows that go um you know sew together your blocks and then sew your rows together that is entirely up to you but for the idea sake you can see how these just come together and it makes this really cool design it's so beautiful okay so my design wall is 72ish inches wide and I don't have enough to do all three blocks but you can see that this is the pattern that you would be making to do the entire quilt so you'll make three across by three down and your quilt will be done so let's go on and move on to the next um the next diagram is similar to this one but we're turning all these blocks so that our navy or um navy goes to the middle and it just brings out different colors in the quilt i think it's really interesting how different they look even though they're both so similar so there's those and then these turn to the middle uh our our second diagram is just like the first one but with our our darks pointing in so you'll make nine of these blocks as well and just line them up that is that block that layup i love it i think it's so cool this is my second favorite um my first favorite I'll uh is probably the one I'm going to show you next we made the quilt out of it and I just think it's stunning i love it okay so I'm going to show this layout in a uh in a fourth of the quilt so you can make four of these designs and then put them together it makes it's kind of like a little quilting hack right you can It's like making these big blocks and then sewing them together makes it easier when you have a quilt like this that you can break down into quadrants you make all four the same and it feels like it's a lot easier to handle because you've got these four small quilts rather than really long rows or really you know it it feels efficient that's all i don't know if it is or not and I I don't think we need to study it let's just enjoy this thing okay so the next one the final one that's a little bit more complicated it starts with these all the same and then we turn this one in and that is going to help us to make our um pattern that creates that exploding block kind of look so we'll leave this one here although it's going to go up and I'm going to pull this guy down because he goes here and he goes here and then this one the uh little um peach blocks match up okay so I think I have this one does it go like that that is right okay so this is the fourth of the block that we made for the cover and I just think it's so cool tada it's so It's so great it's such a fun quilt um it turns out 86 square we have a 3-in inner border which I think makes the whole pattern look like it's floating and I love that we've got a 5 in outer border i'll show you our beautiful backing and we've used diagonal plaid hexi for the machine quilting pattern it's one of our fun newer more modern patterns and I just love it i think this would look great on a bed you could take it picnicking you know use whatever fabrics and colors well I can't wait to see what you guys have made i'm excited to see the different color choices you can share your coloring pages or finished quilts or blocks that you're working on if you'd like to share with us um just use #MSSQC showandtell on Instagram and I'll be able to look in and see what you've got um and I hope you guys enjoyed this tutorial on the Tranquil Triangles What If series by the Missouri Star Quilt Company and me hi everybody i hope you enjoyed today's video we're trying super hard to get to a million subscribers so if you enjoyed it and you want to see more just hit subscribe and share with your friends and encourage them to do the same and I will see you next Friday with a brand new tutorial

More Fabric by Yard tutorials

See all