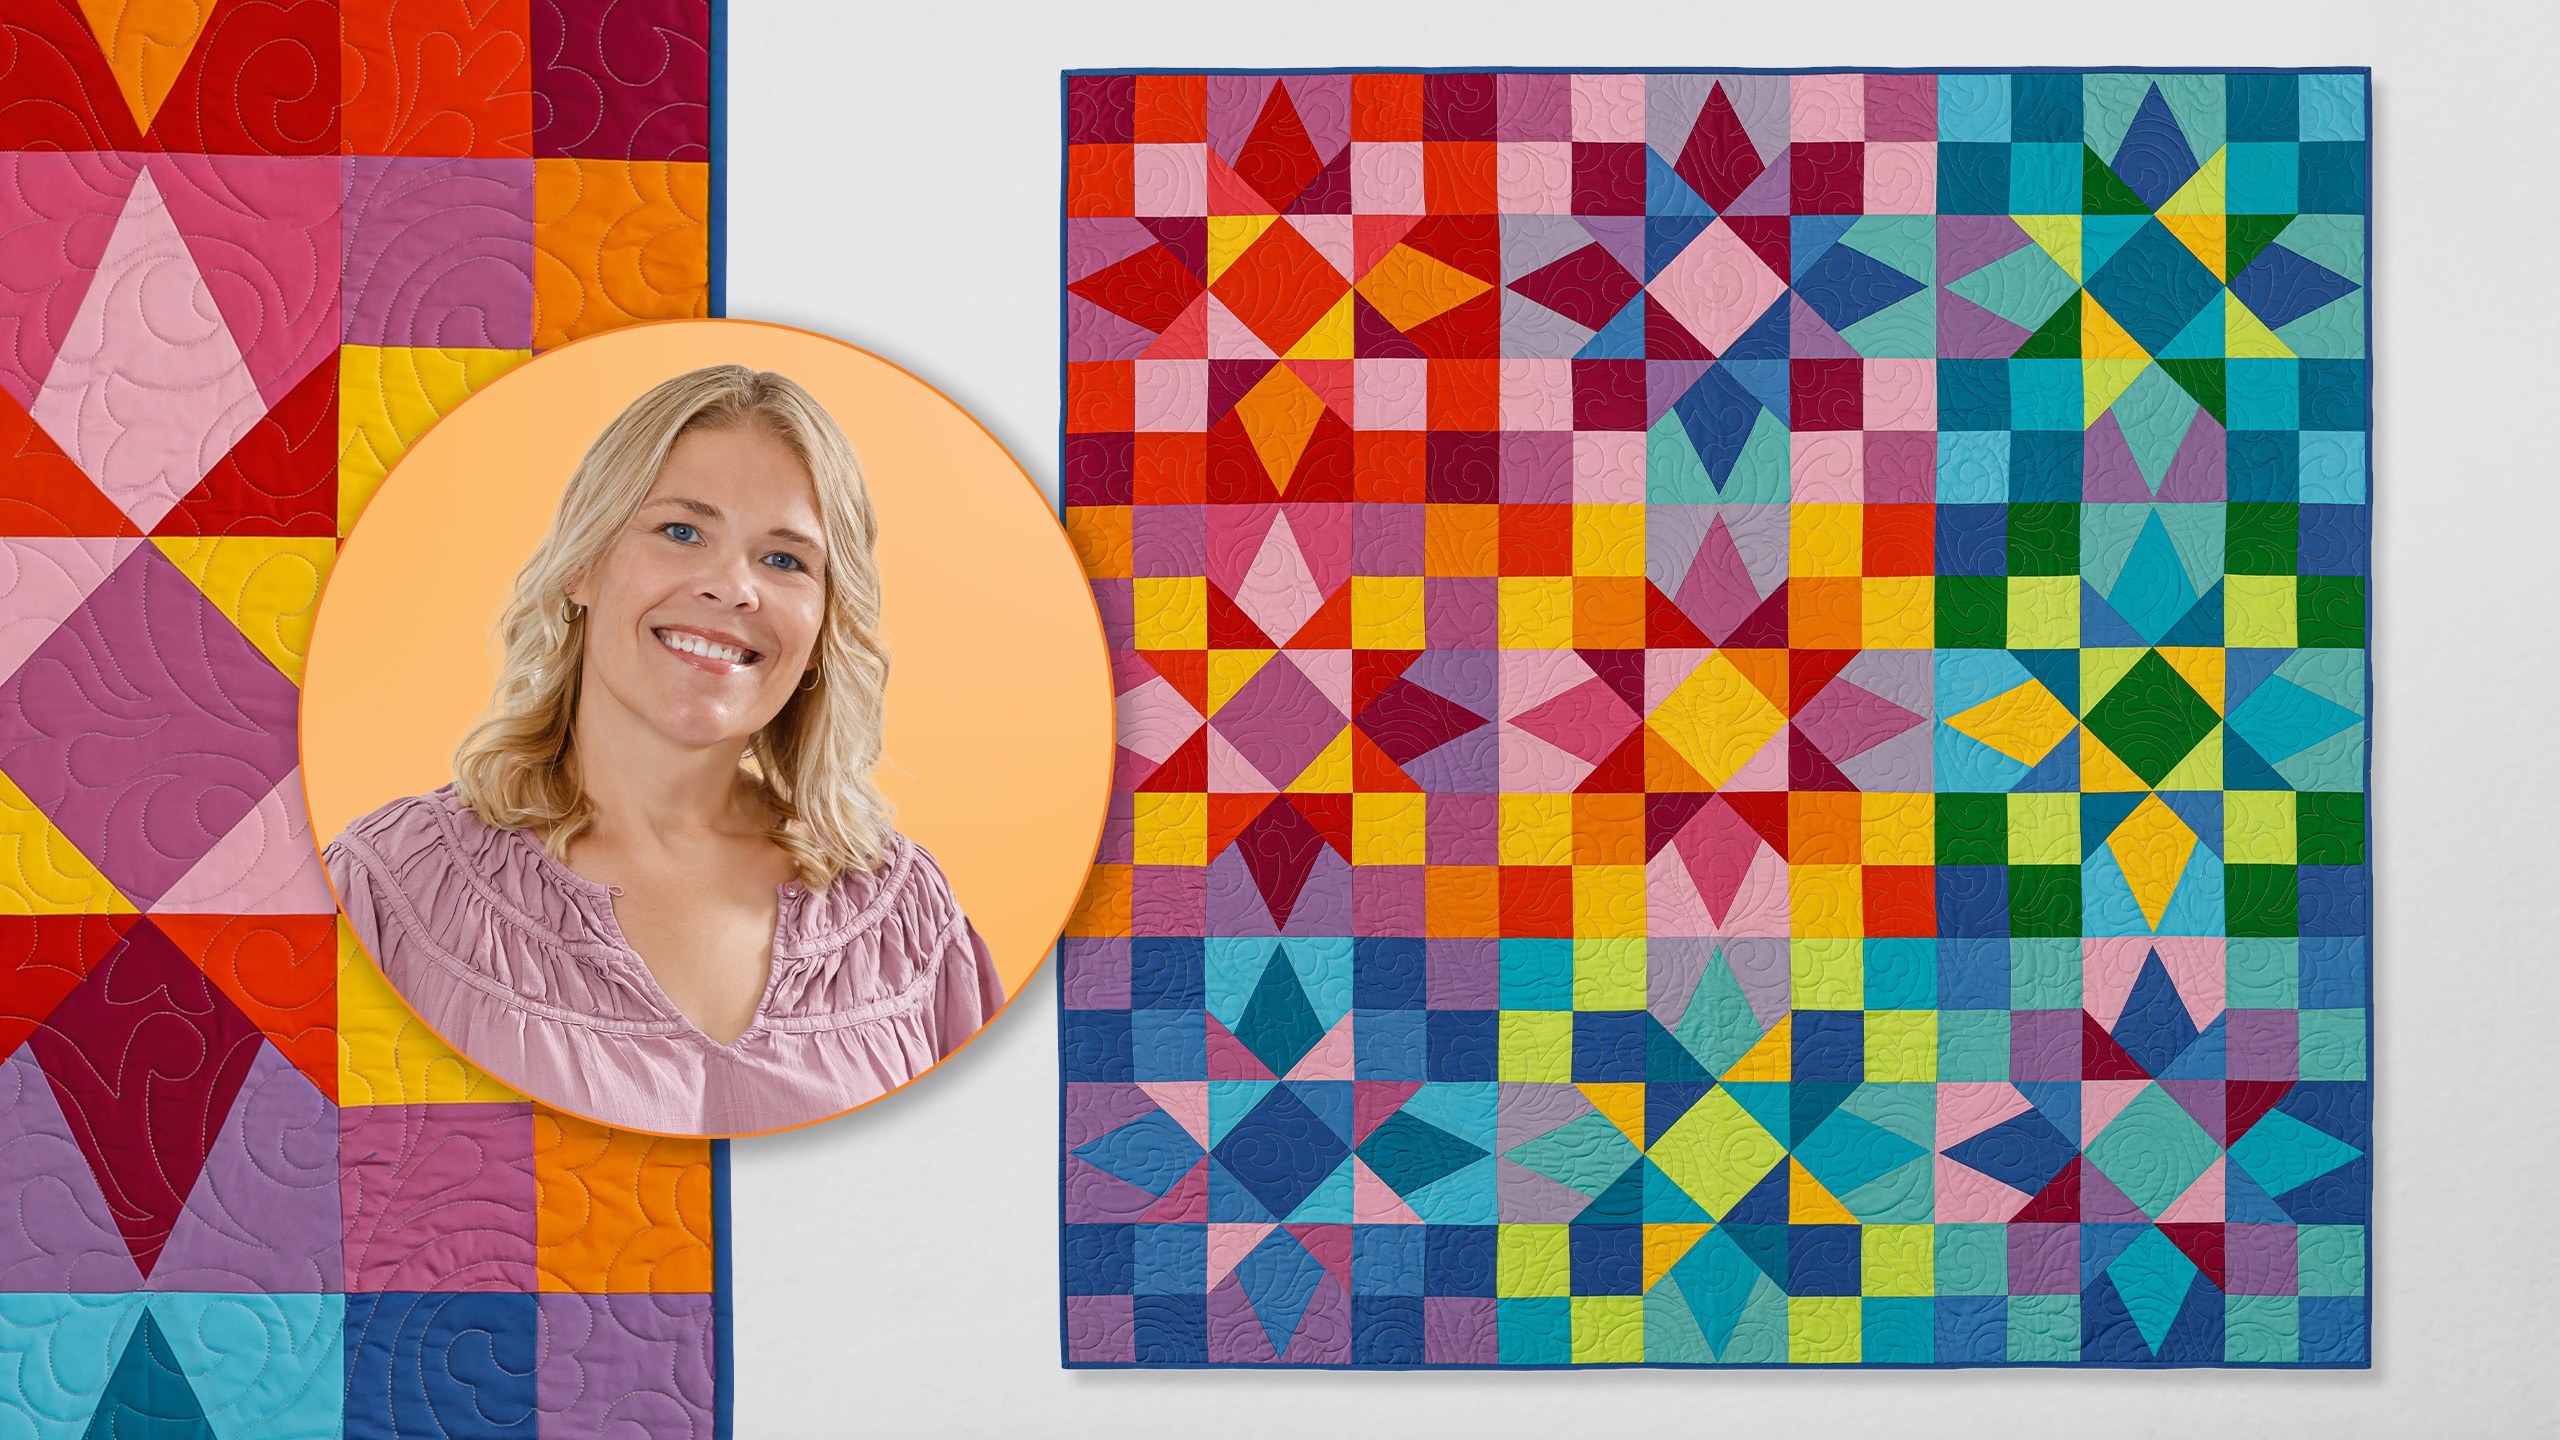
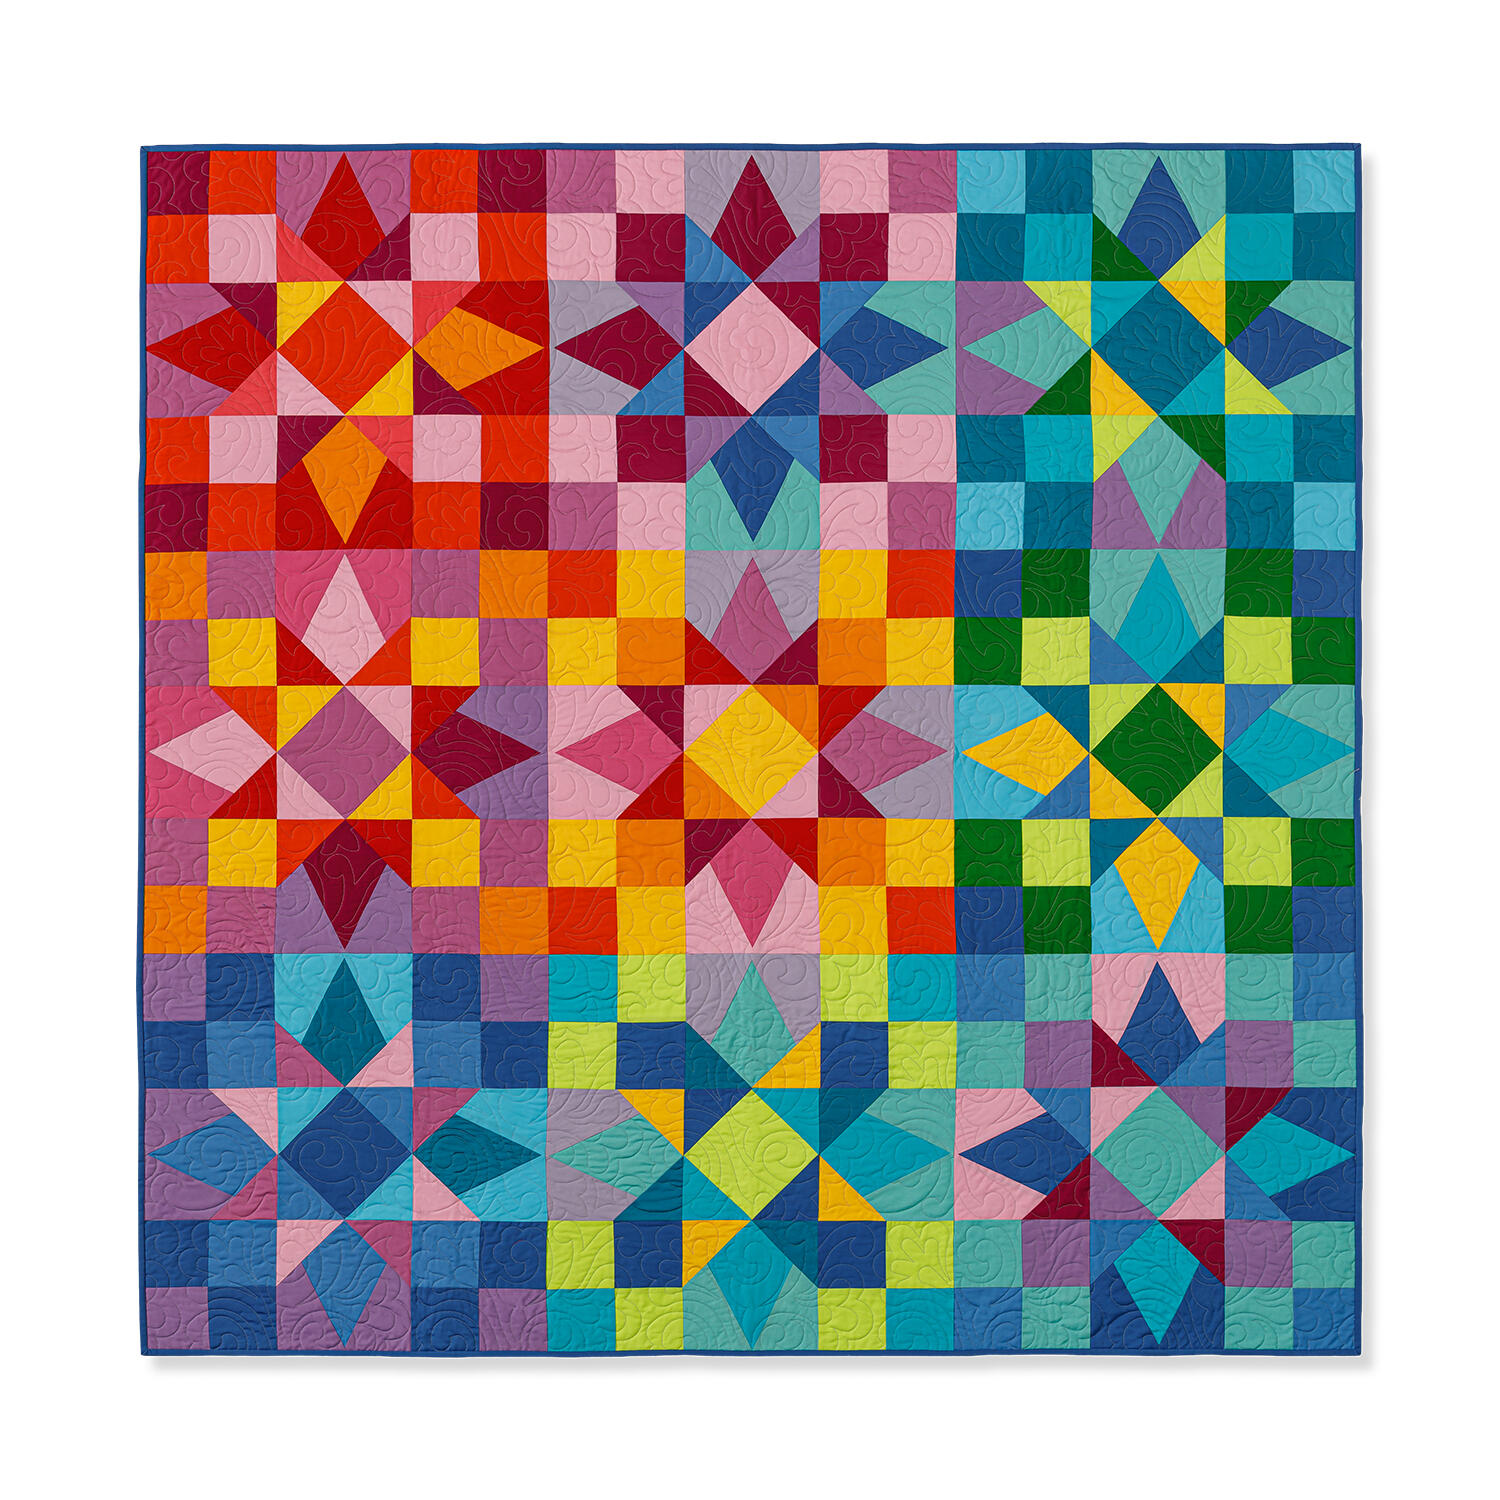
Natalie is making a beautiful display of stars using solid colors! Use Kona Cotton to stitch up a kaleidoscope of stunning color with this reimagination of Winter Stardust. These gorgeous colors fade from warm to cool seamlessly to create a stunning collage of stars!'
Natalie is the host of Quilting 101, Embroidery 101 and the Creative Strategist and Editor of Block Magazine at Missouri Star Quilt Company. She was taught how to sew by her mom, of course, and began quilting when she grew up.
Natalie is making a beautiful display of stars using solid colors! Use Kona Cotton to stitch up a kaleidoscope of stunning color with this reimagination of Winter Stardust. These gorgeous colors fade from warm to cool seamlessly to create a stunning collage of stars!'
How long is the tutorial video?
The tutorial video is 00:23:35.
Are supplies listed for this tutorial?
Yes. The tutorial page includes the supplies and materials connected to this project.
Video Transcript
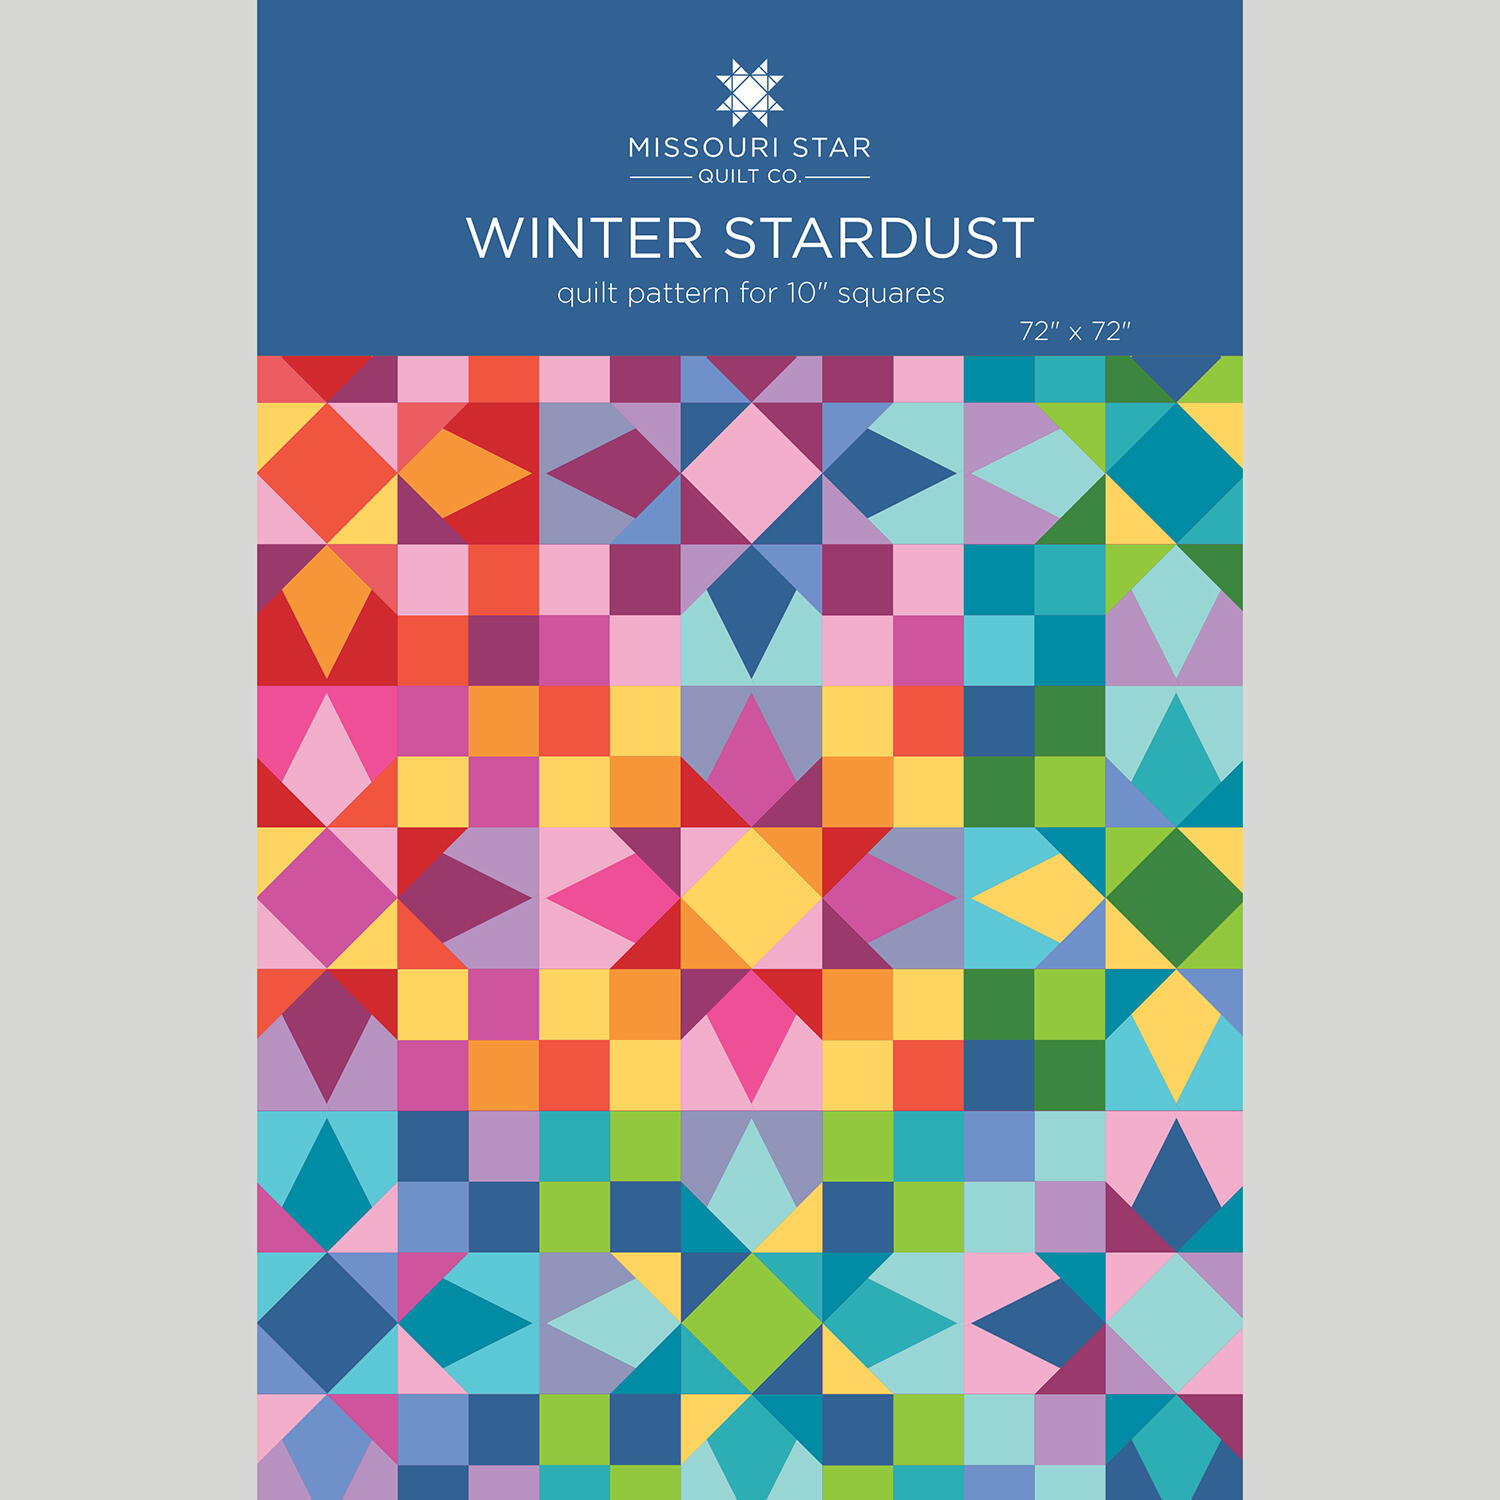
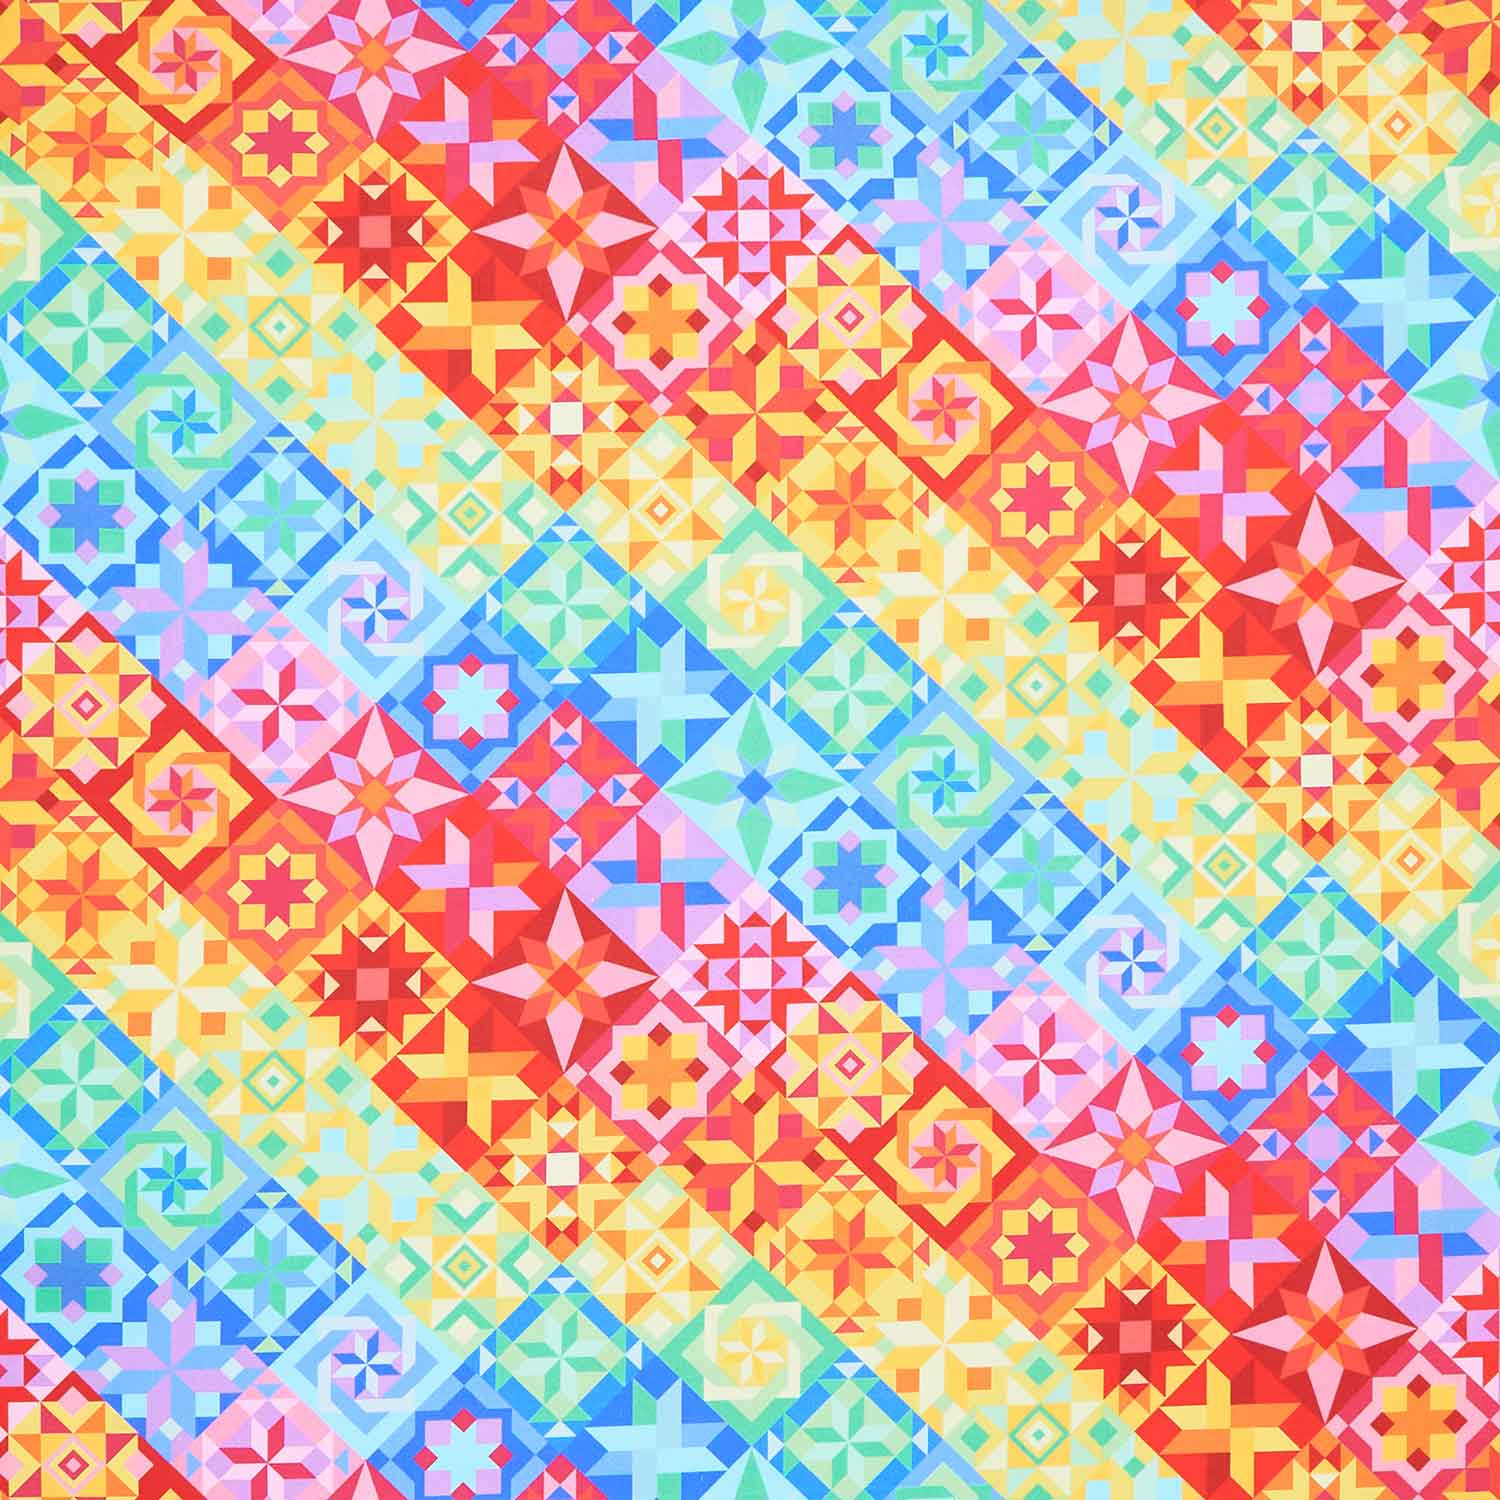
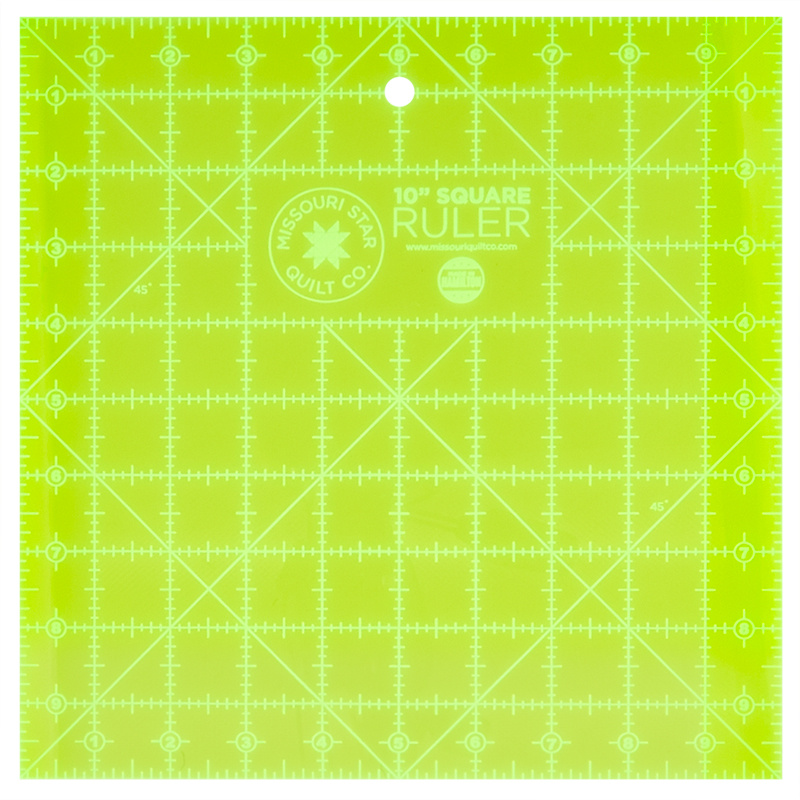
Hi everybody. I'm Natalie with Missouri Star Quilt Company and today I'm excited to teach the winter stardust quilt. Okay, so if you received the Jenny box this year, you will have gotten the winter stardust pattern in your box yesterday. So this is really exciting. Um the the winter stardust pattern is very inclusive of all of the information that you will need to make this quilt. We have used a variety of colors in all different amounts. So, I will say off the bat, if you wanted to use your own stash, you'll need approximately four 10-in square packs. And you can then um shift and decide what colors go where. But we have a great chart that tells you exactly how many 10in squares that you'll need for each square and each part of each square. So, for your backing, you'll need 4 and 1/2 yards. If you're using a regular 44 45 inch wide fabric or if you want to use a 108 like we did here, you'll need 2 and 1/4 yards. All right, so let's get into this pattern. It is very um detailed and gives you everything that you need to know to make the quilt. So on the very first page, you'll get um a color chart and the colors are listed in order. They're also listed on the back of the pattern in um they're Kona solids. So, you'll find all the names there that you need if you wanted to make this kit on your own. We are also offering a precut kit where you can buy all of the fabrics that we used in the quilt and they're all pre-cut into 10in squares to get you started. So, then you save a ton of cutting and you don't have really any waste for um you know, buying yardages and things like that. So, it's really convenient. All right. And I highly recommend that you label all of your fabrics so you know which ones go where by their colors. So on the next page, we go into sorting and cutting. And the cool thing about this quilt is there are only nine blocks. So you're going to set all of your fabrics aside into nine block sets. And it tells you exactly what you need for each unit. So I've got a block here. This is what the block looks like. There are nine of these in the quilt. And so you'll see them as they line up like this. There's it's a nine patch quilt. And I know it seems like it's a little bit more complicated, but it really is just that easy. So you'll start with your corner four patch units, and you will select all the fabrics that you need for those and set them aside into nine different sets by their colors. And each block has the four units in the corners that match. So that's pretty easy one. Then we've got our snowalled star points. And that's this section, these four here in the middle. So those get divided and also separated into those nine blocks. And they're listed as, you know, set one through nine. And then the sub sorting is going to be like set 1 A or set 1B. And that just depends on which part of the block you're sorting out. So it comes together pretty nicely. Once you get all of your fabrics cut and sorted, then you're just assembling blocks. And so that's what we're going to go through next. And it's it really comes together easily. It's a nice big quilt. All of the pieces are pretty basic. So really the hardest part is going to be cutting and sorting. And once you get there, you're golden. This is going to be so quick and easy. All right. So let's go ahead and get started on these blocks. All right. So, this is the block that we're working with, and it is giant, and I love that about it. We only have to make nine of them. So, we're going to start with our corner four patch units. I've got my fabric stack all sorted. So, this would be like what you would have for maybe your set one or set six, I don't know, however you want to get them sorted out. And I've got some of those made already. But what we're going to do for our four patch units is we're going to end up making all of them at the same time. We'll have our 10in squares and you're going to pair up a medium and a light and a dark and a light. And then what we're going to do is stitch down both sides of each of these sets. So we'll just do that real quick. This is a great way, one of my favorite ways to make four patch units. And I would suggest because the color placement is a little bit complex, I would just make one block at a time rather than chain piecing these. I mean, as far as the big the big blocks. All righty. I'm going to go ahead and clip these seams. Then what we're going to do is cut these right down the middle. And we will get two sets of each color way. We'll set those aside. And then we're going to go ahead and set our seams and press these open or back. You can press them open or you can roll them back. However you like to do that. I am going to roll these back to the dark side because that will um help my seams to nest really nicely when I put them together. So now what we're going to do is we are going to take these and we're going to lie them lay them on top of each other with our fabrics going in the opposite placement, the opposite arrangement. So you have your dark and light here and your light and dark there. And then what we're going to do, we're going to line these up and we're going to stitch across the seams on both sides. So, let's go ahead and do that. This is where you want to nest those seams. Um, and then you'll get a really nice point in your for patch. We're making two at once here. All right. So, we're going to go ahead and stitch a quart of an inch along the edge. And we're going to nest our seam so we get a really nice four patch point in the middle. Flip that around and do the same thing on the other side. Seems a little funny to sew it together like this, but when you see both of them come out and they're all done, it's super convenient and kind of fun. Okay, now we're going to cut these apart. This ruler is great because you're just lining it up on your 10in square and cutting them in half. And just like that, we've got two. So, you'll do that with both sets. And I've got these these ones already made over here. Let me go ahead and press these. set my seam and just roll them back. And these four blocks are all identical to each other. And you're going to put the darkest color towards the middle. Okay. So then what we're going to do, these all all of the units in this block measure 8 and 1/2 in. So we need to square these down. And you're going to keep that middle centered up. So, what we're going to do is square these, lining them up with the center on the 4 and a/4 line. Just like that. And I like to use my seams. So, you'll notice that I've got the middle seam lined up with four and a quarter here and four and a quarter here. I use this top corner to do that. And I'm going to cut these first two sides. This does make for putting together nice neat blocks at the end. And then we'll turn this all the way around so that this corner is now in our bottom left. And we'll line these up again with our we'll be able to look now at our 8 and 1/2 in line here on the outside edge. And you should notice that again you still have your four and a quarter here in your top right corner. So that is how you will square a four patch. Works out pretty nicely. And then we've got these beautiful units ready to go. I'm going to do the same here. Four and a quarter. Four and a quarter. And I'm looking at those lines. I'm going to spin this all the way around and cut the other corner. Lining up now with 8 and 1/2 in. And still lining my seam line up with my 4 and 1/4 in line up here in the top right corner. And you will do that to all four of your four patch blocks. And when you put them into the block, you're always going to put your dark uh dark pieces, whichever color way you're using, your dark pieces go in the middle pointing towards that center block. So now we've got our four patches made and we'll set them aside. The next block we're going to make is our winter star points, our snowballed points. So let me move these out of the way and I will bring in this set of my colors. So you'll notice that in each block there are two identical blocks. So these two fit in in this the the right corner and then these two fit in the bottom left corner. So we have top right and a bottom left. And that is going to be true of all of these blocks. You'll notice that each one has two that are similar or identical in each section of the block. So, we'll make two like this and two like this. So, I'm just going to teach this one because they're all the same. You're just using different colors. So, what we're going to do first is trim our starting square down to 8 and 1/2. And I've already got that done here. Then one of our 10in squares is going to get trimmed to two 5x10 in rectangles. And what we're going to do next is fold this and press a center mark because that's what we're going to use to line up our points for these star legs. All right. So now we're going to take these rectangles and we're going to line them up overlapping the point on top, the little the little mark that we just made, and then lining it up with the bottom corner. And we're going to stitch a/ quart of an inch along this rectangle. And then we'll flip it back and do the same thing on the other side. All right. All right. So, we're going to stitch a quarter of an inch along the edge of this fabric. Then I'm going to go ahead and set this seam and press it back. I'm not going to trim yet. So then my next step is going to be lining this up. So we're going to crisscross here to make sure that we keep a nice point and then line up the bottom corner again with this bottom left corner of our uh square. The rectangle and the square meet at the point and it can hang off a little bit. You have plenty of room here. So don't stress too much about lining it up perfectly. They don't actually hit anything else, so you don't have to worry too much about placement. It's not a big deal. Relax. This part's easy. Okay. Again, we'll just sew a quarter of an inch along the edge. And usually, because this is on the opposite side, I'm sewing from the bottom up instead of the top down. All right. So, now we'll go ahead and set this seam and press it back. Roll that back. And you'll notice I've got a nice good sized crisscross here. So, what we're going to do now is we're going to flip this over and we're going to trim off this excess. Now, if you wanted to, you could trim away the back of this block, but um it's not necessary. It's not so many layers that you couldn't quilt through it and it shouldn't create too much bulk in your block. So, I'm just going to leave it. I kind of like the stability that it brings to the quilt. So, I'm using this this 8 and 1/2 in square as my guide and then using my ruler and rotary cutter to cut this away. These are great for the crumb ben. Flipping that around and I'm going to go ahead and trim this next section here. And this is a good spot to just make sure that you're staying at 8 and a half because that is what all of these squares need to end up. Okay. So, our next step, if you flip this around and look at how these these sort of line up, what we're doing is we're going to flip it like this. And then each block is the same. They're identical. So, we're putting snowball corners on this other end to create that periwinkle or kite shape. So, for this one, what you'll want to do is sew on or you'll want to draw a line or press a line. And I'll do it both ways. I think I'll press this one and then I'll draw the next one. Or you can use your diagonal seam tape. It's a bit larger than we normally do this on, you know, 2 and 1/2 in squares. So, you might want to go ahead and um and draw or press the line, but the diagonal seam tape will work as well if that is your love. I totally understand. I probably would do that. Okay, so we've got one of each going here. We are going to sew right in that little valley. And then these get done one at a time. and we'll press it and flip it back. All righty. And you can I don't know if you can see here, but you can line it up with your seam tape if you wanted to. And these are pretty large as far as um half square triangles go. So, I think it might be kind of fun to create a bonus project and sew a half an inch away and then save those half square triangles for something, but that is entirely up to you. All right, I'm going to trim this away so that I don't have extra bulk at the point. And then we'll do the same thing here, crisscrossing our other square that we've drawn the line on. I'm going to start here and sew to the middle. And then these blocks will be done. All righty. set that and press it back and trim off this excess here. You always want to reduce bulk in the points where we can, but that's that. So, you'll make two identical blue ones and then two identical purple pink ones for the other corner of your block. And we've got all of these ready to go. So now I'm going to set those aside. The last block we have to make for this or the last unit we have to make for this block is our center. And that one is so simple. So all we're going to do is start with an 8 and 1/2 in square for our middle. And then our colors that are our accent colors, they're going to go in opposite corners. So we are going to start by doing our two blues on the top right and bottom left corners. And again, if you want to go ahead and draw a line or press it or use your seam tape, that's up to you. But we're going to sew diagonally from corner to corner on both of these squares to snowball these corners. And then we will press them, trim them, and repeat on the other corners. There we go. And there's just one of these, so comes together quickly. All right. So, now we're going to press these and roll them back. Whoops. Set that seam. Almost forgot getting to. Okay. Now, what I'm going to do is go ahead and trim these off. Again, if it's a big section of waist, so if you wanted to do a seam a half an inch away from the seam and trim it off and save those half square triangles, it would be really fun. I feel like that secondary project would be so so cute. At least a table runner, maybe a baby quilt. I don't know. Oops. Okay. So, the reason that we're going to do these two corners, corner to corner, and then the opposite corners, is so that we get a really nice point. And and you want to do that so that you can keep your points here on this middle block. It works out great, though. because they overlap. You'll you'll notice that it overlaps by just the right amount. I go ahead and line these up. And I think I'm going to go ahead and add my stitch line here. Goes on nice and easy. We'll stitch both sides. Sewing on the line corner to corner. I'm going to re readjust that. It looked like it got a little slit around a little bit on me. There we go. All right, we're setting our seams and rolling this fabric back. And then we're going to trim off this excess. And that is our center block. All right. Now, it's time to lay it out. And I'm going to keep this block here as a reference. I highly recommend you you use your diagrams heavily on this one. Um, I don't think you could really make a mistake. I feel like it's going to be so fun and beautiful no matter what. So, if one gets kind of in the wrong spot, I think it's still going to look awesome. So, don't stress. But, we're going to start by putting our center block down here in the middle. And then I'm going to line up my four patch blocks in the corners with that dark square pointing towards the center. Just like that. And then we're going to arrange our two star point blocks with our blues in the top right section. So, right up here and right here. And then our purples go in the bottom left section. Right here and right here. And then we're just joining it together like a nine patch. And you get great big blocks that look like this. And then these blocks also are just set together in a nine patch. So you'll follow the diagram to lay them out. There's no sashing or border. It makes a quilt that is 72 in square. And I just love this backing. It's so much fun. It's got all the matching colors. It's a great like cheater cloth or convenience fabric. It's so fun. I went ahead and quilted it in variety and we used kind of a medium gray color that really blends in well on the quilt, but I think it would be so fun to use whatever your favorite bright pop of color is or even a variegated thread. So, just play with it, be creative, and have fun. I hope you guys are having a wonderful holiday season. And I hope you enjoyed this tutorial on winter stardust from the Missouri Star Quilt Company. Hi everybody. I hope you enjoyed today's video. We're trying super hard to get to a million subscribers. So if you enjoyed it and you want to see more, just hit subscribe and share with your friends and encourage them to do the same. And I will see you next Friday with a brand new tutorial.

 Natalie Doan
 Missouri Star Winter Stardust Quilt Kit$149.95Shop →
 Winter Stardust Quilt Pattern by Missouri Star$8.50Shop →
 Digital Download - Winter Stardust Quilt Pattern by Missouri Star$6.95Shop →
 Kona Cotton - Regatta Yardage$7.92Shop →
 Sew Strong - Quilt Pattern Bright 108" Wide Backing$20.76Shop →
 Missouri Star 10" x 10" Square Ruler$19.95Shop →
 Missouri Star 50 WT Cotton Thread White$7.95Shop →
 Missouri Star 45mm Rotary Cutter - Olga$19.95Shop →
 Missouri Star + Oliso TG1600 ProPlus Iron$209.95Shop →
 Missouri Star Wooly Betty Board - 17.25" x 25.5" Orange Border$99.95Shop →
 Kona Cotton - Cerise Yardage$7.92Shop →
 Kona Cotton - Tangerine Yardage$7.92Shop →
 Kona Cotton - Poppy Yardage$7.92Shop →
 Kona Cotton - Punch Yardage$7.92Shop →
 Kona Cotton - Duckling Yardage$7.92Shop →
 Kona Cotton - Candy Green Yardage$7.92Shop →
 Kona Cotton - Jamaica Yardage$7.92Shop →
 Kona Cotton - Copen Yardage$7.92Shop →



