The Wildflower Walk Quilt by Missouri Star Quilt Co. is a traditionally pieced design bursting with blooms from the gorgeous Fleur De Rose collection by Sue Zipkin for Clothworks. Every block is packed with floral prints that feel lush & layered, & just when you think it couldn't get any prettier, a full floral border frames the whole quilt in one final flourish. Soft cream and plum solids bring stunning contrast to all that pattern, grounding the design and letting every flower have its moment.
Natalie is the host of Quilting 101, Embroidery 101 and the Creative Strategist and Editor of Block Magazine at Missouri Star Quilt Company. She was taught how to sew by her mom, of course, and began quilting when she grew up.
The Wildflower Walk Quilt by Missouri Star Quilt Co. is a traditionally pieced design bursting with blooms from the gorgeous Fleur De Rose collection by Sue Zipkin for Clothworks. Every block is packed with floral prints that feel lush & layered, & just when you think it could...
How long is the tutorial video?
The tutorial video is 00:12:43.
Are supplies listed for this tutorial?
Yes. The tutorial page includes the supplies and materials connected to this project.
Video Transcript
Hi everybody. I'm Natalie with Missouri Star Quilt Company and today I have a quick and easy project for you. I'm calling it Wild Flower Walk and I think you're going to love it. All right, so this is the quilt today and I just think it's so fun and easy. It has this really lovely like waterfall chaining kind of look to it and then the blocks are turned so there's lots of movement and I think you'll be surprised how easy it is to make it. So, let me tell you what you need um to make this quilt. You're going to need a package of 10-in pre-cut squares. And I've used Floor D. Rose by Sue Zipkin for Cloth Works Fabrics. You're going to need a little bit of background. I've used a yard and a third. You're going to need some accent fabric, 2 and a3 yards, and that includes your inner border, and these are cloth work solids in plum and porcelain. You're going to need a little bit of outer border, a yard and a third. And for your backing, you're going to need 7 and 1/8 yards if you're using regular width fabric or 2 and 38 if you use a 108. All right, this is super easy. Let's get started. All righty. So, this is the block that we're going to make today. And this whole quilt is just made up of these little blocks. They're super fun and easy. And you can see how it fits in here. So, we've got one going this way. And this whole line goes that direction. And then these ones are flipped and they also go in the same direction. So let's get into some cutting. From our background, we're going to need some 2 and 1/2 in strips. And we're going to need some 2 and 1/2 in squares. And we're also going to need some 2 and 1/2x 5 in rectangles. From our accent fabric, we're going to need 2 and 1/2x 4 and 1/2 in rectangles and some 2 and 1/2 in strips. So, those are all cut and ready to go. And now we're going to go ahead and grab our precut, our 10-in square, and we will cut that down as well. So, we're going to need two 2 and 1/2 in strips to start with. So, we'll do that one and this one. So then this one gets cut into 2 and 1/2 by 5 in strips. And we'll set those aside. And then this one gets cut down into 2 and 1/2 by 4 and 1/2 in strips. You will have a little bit of extra fabric um when making this quilt, but not too much. And it's always good to have a little stash, a little supply of extras that you can play with for fun. All right, so now we're going to cut some 4 and 1/2 in squares from what we've got left here. Okay. And then we'll set those aside. And I do like to keep my prints together so that I can, you know, keep the blocks kind of matching. Although, if you wanted to make it completely scrappy, you could totally do that, too. So, now we can get to sewing. So, the first thing we're going to do is take our strips and we're going to stitch together an accent. Oh, an accent and a background. Just like that. And I've already got one of those done because it's silly to just sew one big strip on camera. It just just takes extra time. Um, so this is ready to go. And what we're going to do is cut it into 2 and 1/2 inch segments. So we'll do some of that. And you guys have seen me do this a bunch of times, but it's always good to get a little refresher. Okay. And you will need two of those per unit or or per block, I guess. All right. So, let me get these pressed back. I'm going to set my seams. Then, I'm going to roll it back to the dark side because I think this dark purple or this plum would be a little bit easy to see through the the light background. Okay. So, now we've got these done. And now what we're going to do is pair these with our 2 and 1/2x 4 and 1/2 in rectangles. And it doesn't really matter which side you go with because these can be turned, you know, whichever direction they need to. You just need your your rectangle on one side. So I'm going to go ahead and sew these two together. Super simple. And we'll have our accent pieces all done. These are ones too that you really could just prep and make a whole bunch of these before you sit down to sew and then just chain piece them like crazy cuz you need two for every block. All righty. Set that seam and this one. And I should have brought them both at the same time. Silly me. All right. So, those are ready to go. I'm going to set them aside. Now, we're going to take our 2 and 1/2 by 5 in um print squares and we're going to sew those to some 2 and 1/2 x 5 in strips. our little rectangles here. You could do this as a 10-in strip as well if you wanted to. We're just going to cut them down. So, that's uh easy to do. All right. So, we'll set this seam and we'll press it back to the print. Roll that back. And then we'll cut this into 2 and 1/2 in squares as well. And then from our 2 and 1/2x 4 and 1/2 in rectangles, we're going to stick that on one side. Same as we did with our accent piece. Fold that right sides together and sew that up. Okay. Now, we've got the snowball. And I think if you anybody that's watched me for a while, I love to put a snowball on something. It's my favorite thing. So, we are going to grab one of our What? Nope. Not the print. I don't know why that got me real confused for a second. We're going to grab one of our 2 and 12 inch background squares. And this is where you can draw a line or you can press it or eyeball it, whatever you prefer. Got to make sure and close your blade when you're not using it. Okay, we're just going to draw a line there. And then I'm going to place this on the print corner so that the diagonal goes side to side. And we're going to sew right on that line. And then we'll trim it and flip it. Okay, there we go. This is just such a such a quick easy quilt and I think it's really cute. So that is trimmed. Now we'll do a little quick little press. Fold her back. Okay. So, now we can put it together. So, we grab our 4 and 1/2 in print square. And we're going to line that up pointing away from it like that. And then these two, the background square points into the middle. And your block is ready to go. It's a simple four patch. I'm going to go ahead and chain piece it just like that. And then I can open these up and piece that together as well. You will want to watch your your little seams where they intersect. Um there's just the center seam now and the seam where the two little white squares meet because I pressed them back. They don't nest real well. So you can actually shift that if you'd like to. Um but that's just whatever your preference is. And then there is no seam to match up on the print square here. So I'm just worried about my middle. And those ones we can we can nest really easily. All righty. Well, I didn't get any stitches in there. I'm going to just run that back through the machine because it it didn't start stitching for about two inches. There we go. That's better. Okay. Got that seam set. And it is just as easy as that, you guys. This this block is done and ready to go in our quilt. And you're going to make a whole bunch of these. So, we've got 1 2 3 4 5 6 7 8 by 1 2 3 4 5 6 7 8. So, it's 8 by8 square. And I just alternated their order. So, I added this cute 2 and 1/2 in inner border. I feel like it just makes the the blocks look like they're floating and they kind of pop off the quilt. It's beautiful. It's a good way to frame things up. And then my outer border here is 5 in. And I've used this beautiful fabric from the line for the backing. It's so florally and springy and just so pretty. We added a couple of cute little tags. These say you are loved and loving every stitch. Our machine quilting pattern is butterfly tango. And this quilt ends up being 77 square. And obviously if you wanted to, you could make it bigger or smaller depending on, you know, size of border or adding some extra blocks. I think it's a great size for picnics and gifts and all kinds of fun things. I also think that this quilt would be really great to teach a beginner quilter, somebody that you know that wants to get into it. This is nice and easy, straight seams, no squaring of half square triangles. So, um, I think it's really fun and I hope you enjoyed this tutorial on Wildflower Walk from the Missouri Star Quilt Company. See you next time. Hey quilty friends, we are so excited. We have something really special to share today. That is right. Believe it or not, we have a million subscribers here on the Missouri Star YouTube channel, and we are so excited. Yes, it really is unbelievable. I know when we first started our YouTube videos years ago, we never imagined that we would have a community this size and this wonderful. From the bottom of our hearts, we just want to thank all of you for being a part of the Missouri Star family. That's right. Thank you so much for joining us on this wild ride. We are so excited to have reached a million subscribers and we are going to have so many more quilts and so much more fun in the future. I can't wait to see what happens next. I can't either and we hope that you will join us for the ride. We'll see you later. Bye.


 Natalie Doan
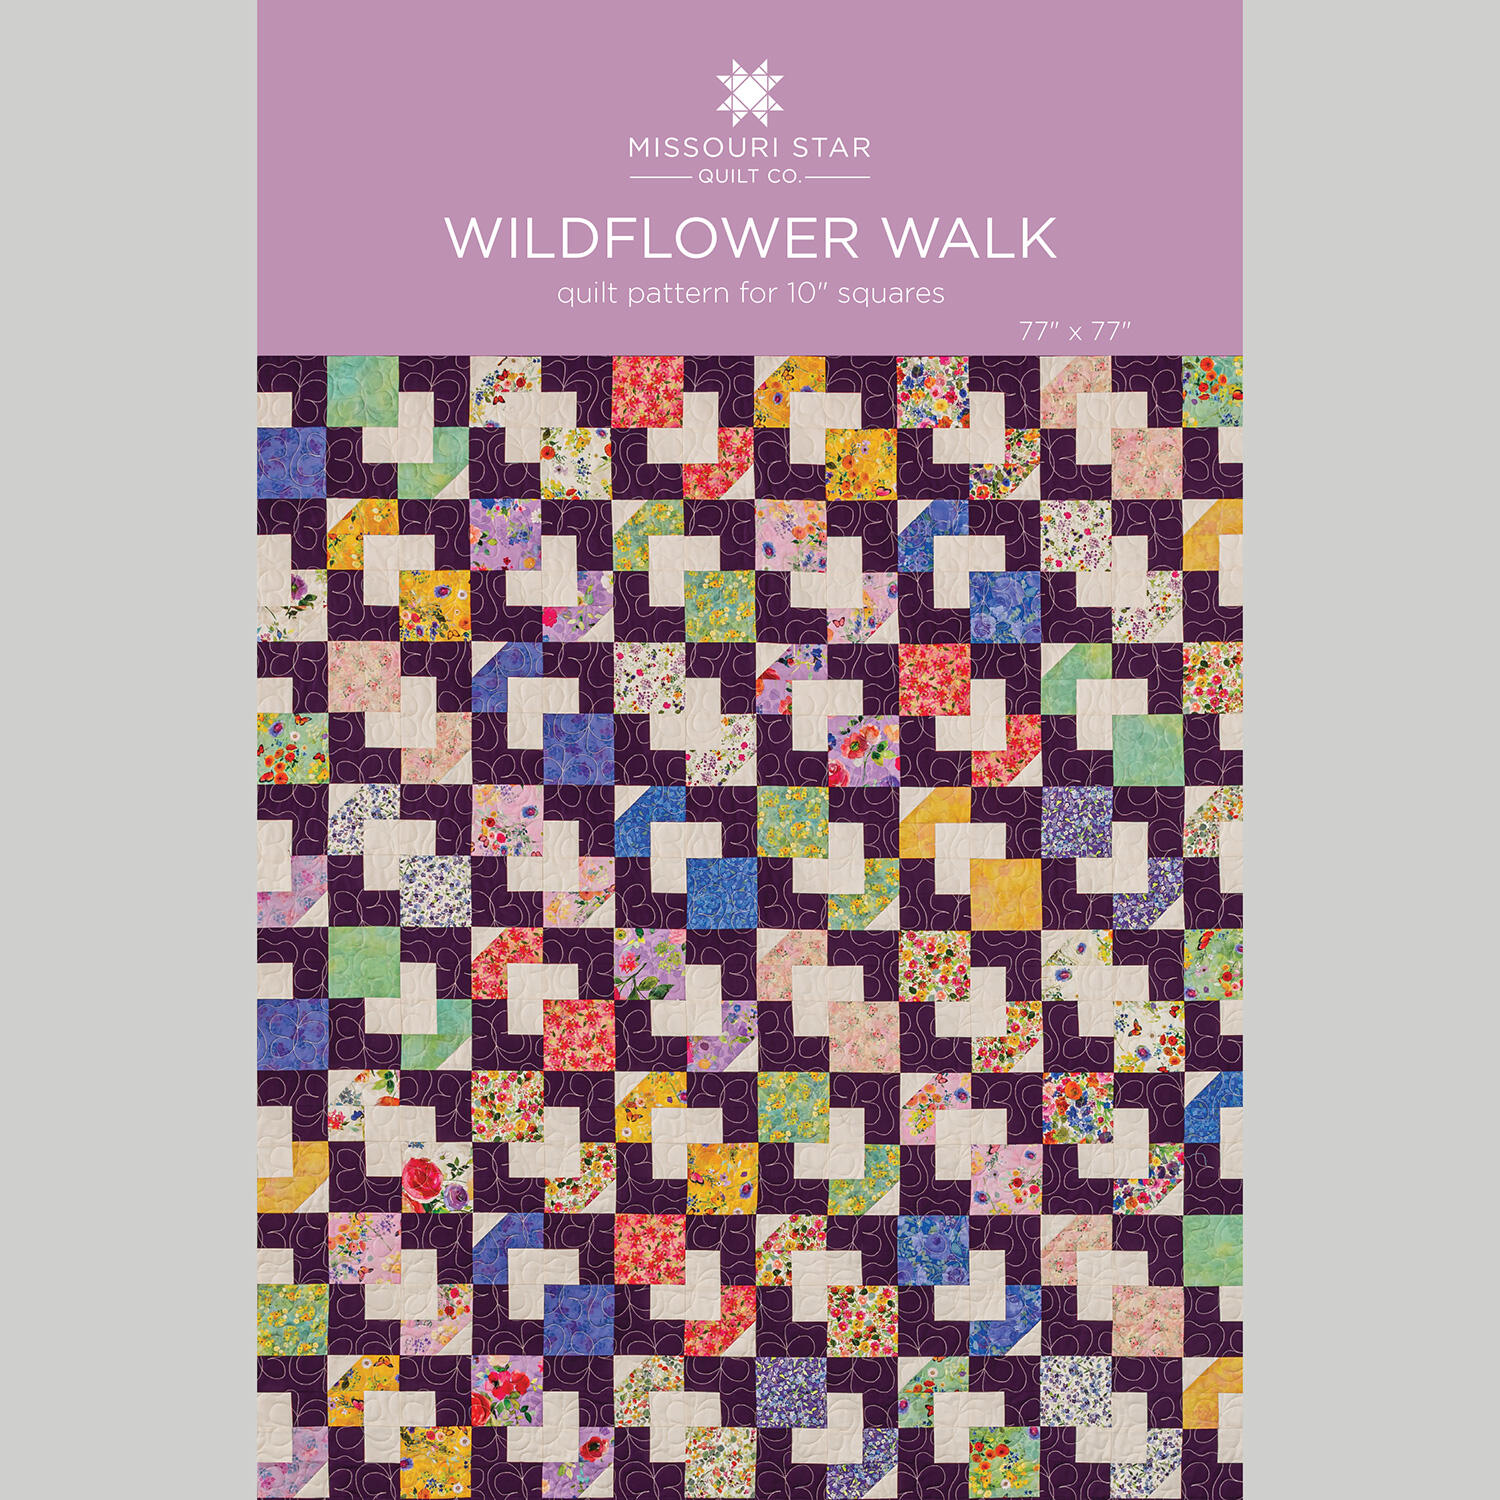 Wildflower Walk Quilt Pattern by Missouri Star$8.50Shop →
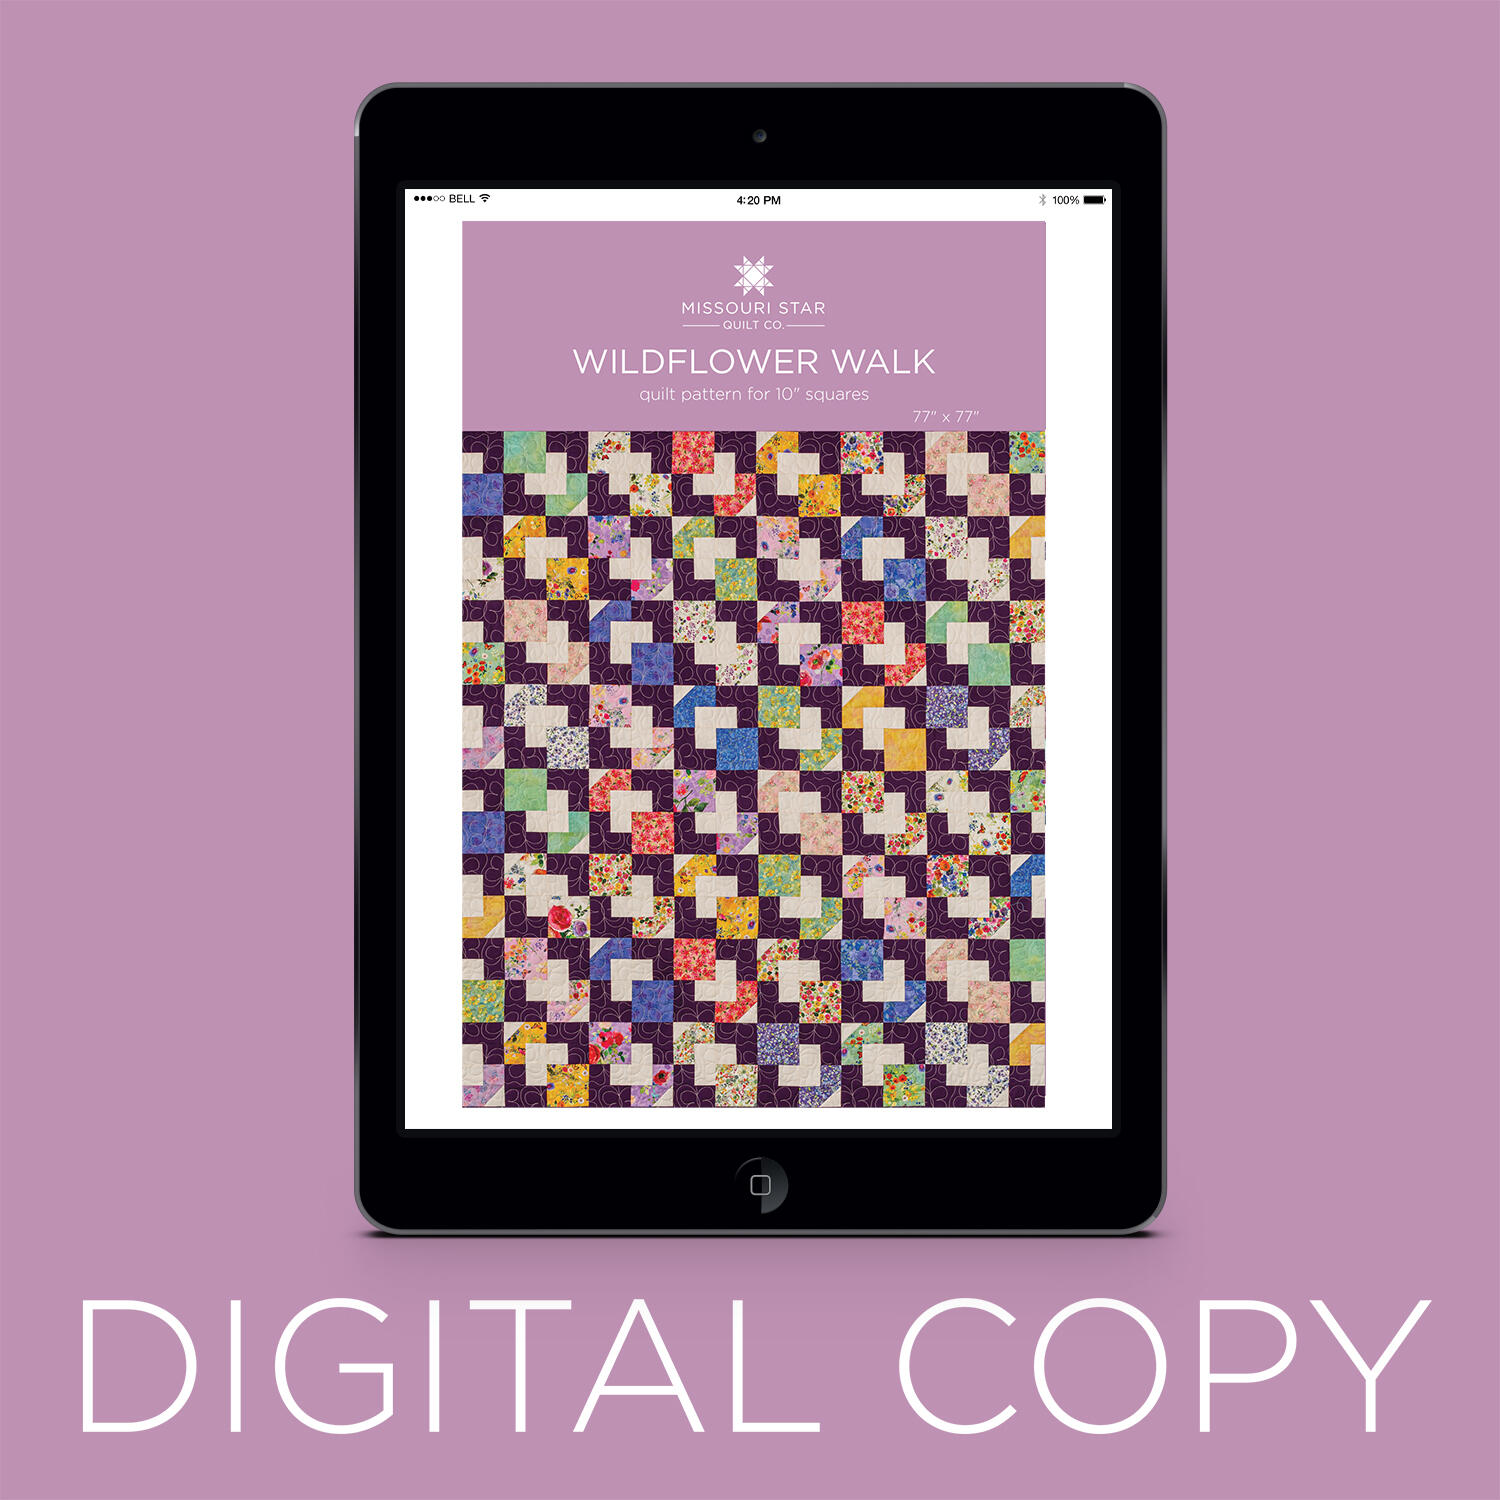 Digital Download - Wildflower Walk Quilt Pattern by Missouri Star$6.95Shop →
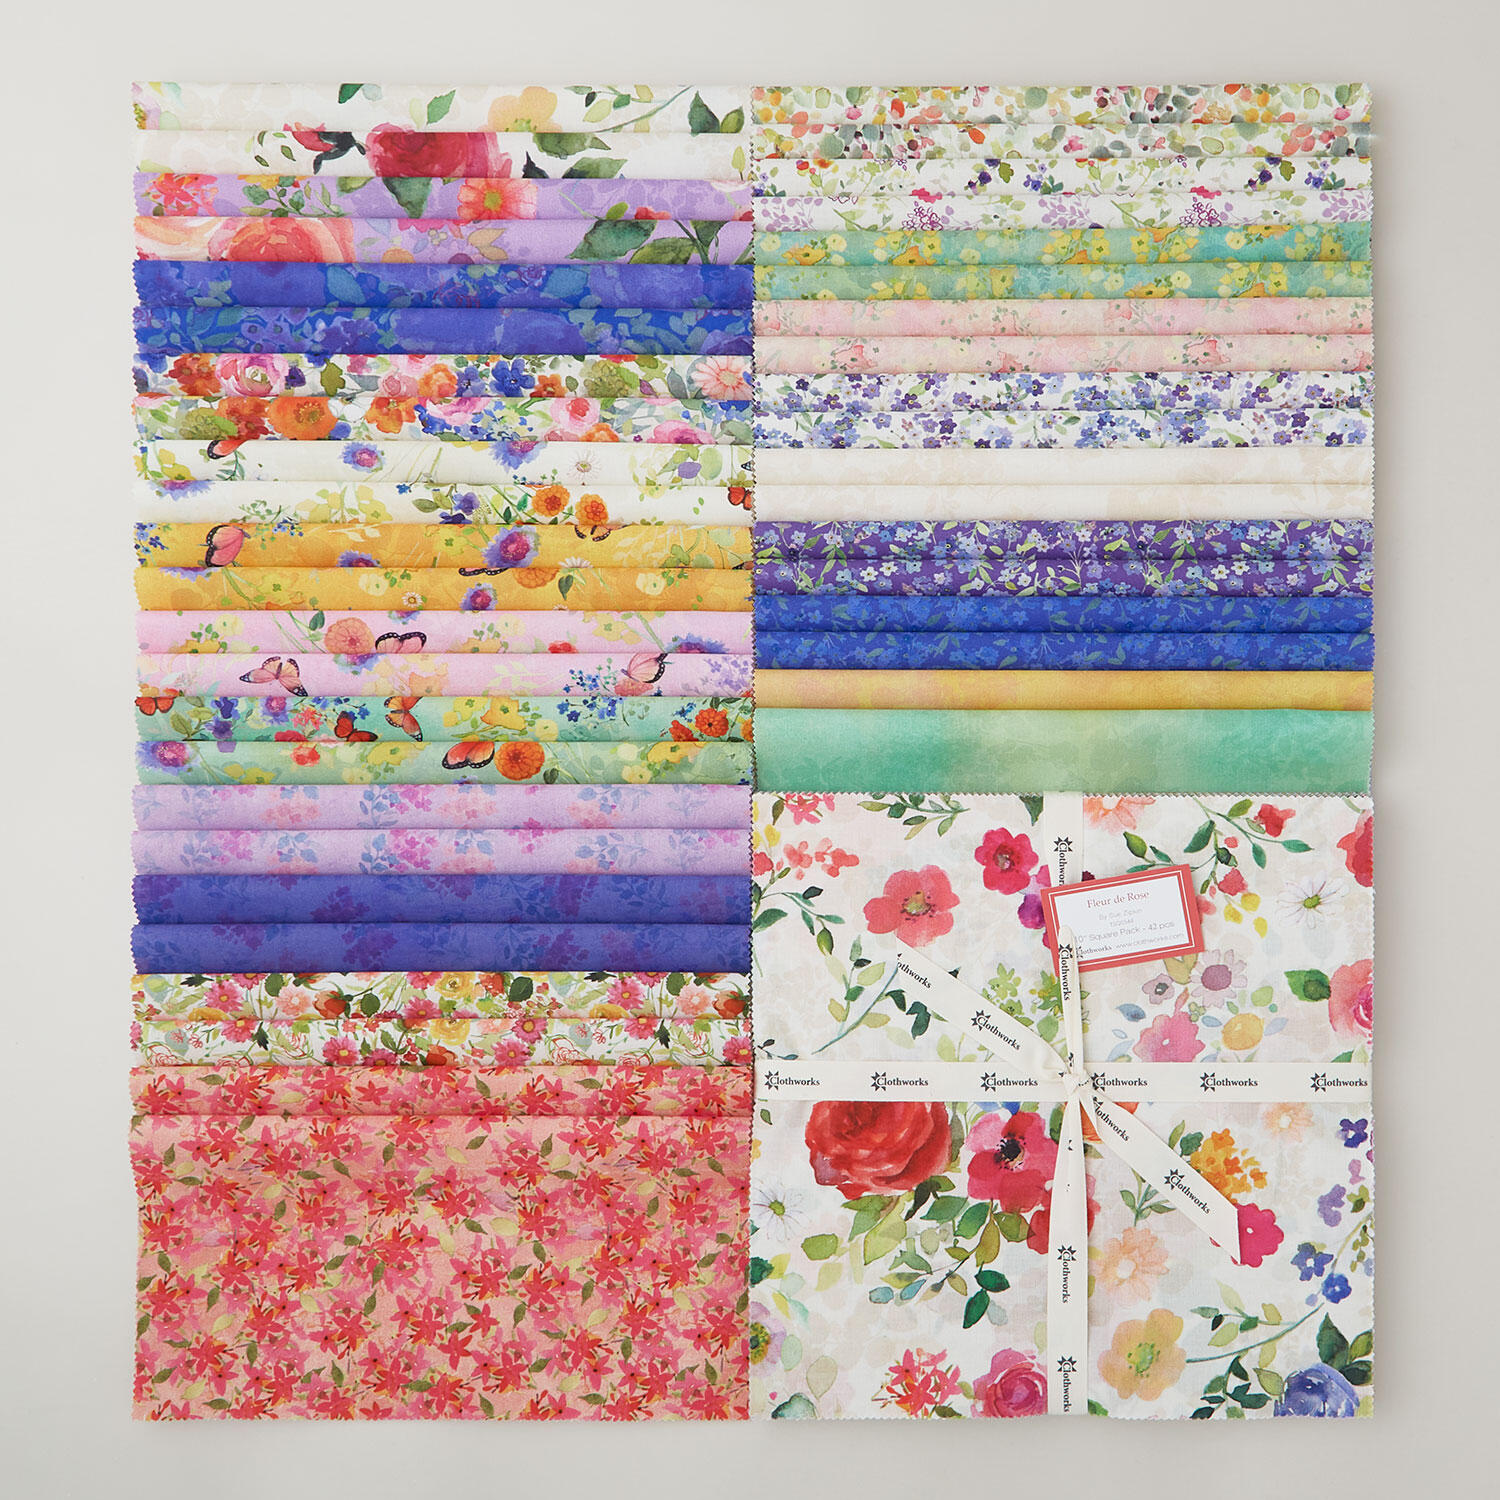 Fleur De Rose 10" Squares$46.95Shop →
 Colorworks Premium Solids - Porcelain Yardage$8.96Shop →
 Colorworks Premium Solids - Plum Yardage$8.96Shop →
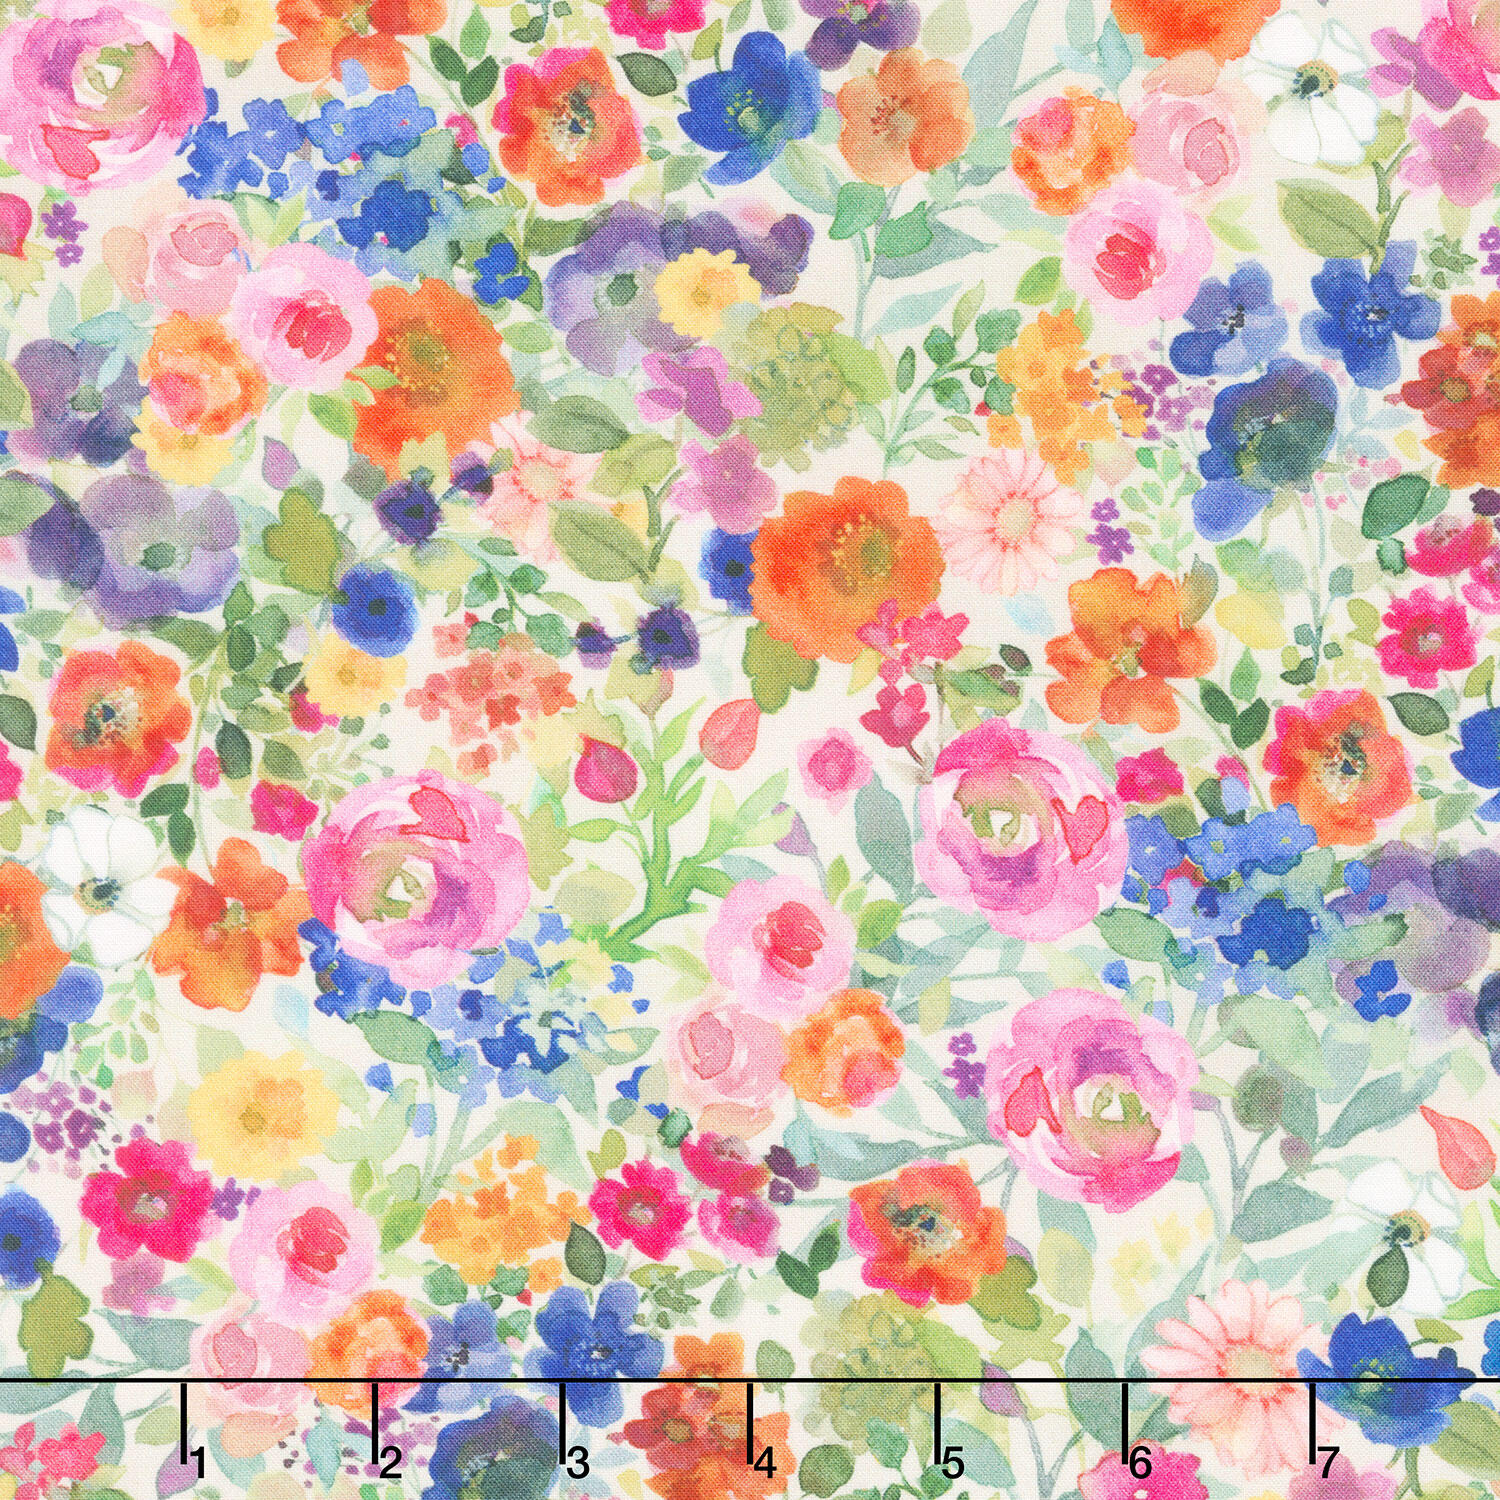 Fleur De Rose - Packed Floral Multi Color Yardage$11.84Shop →
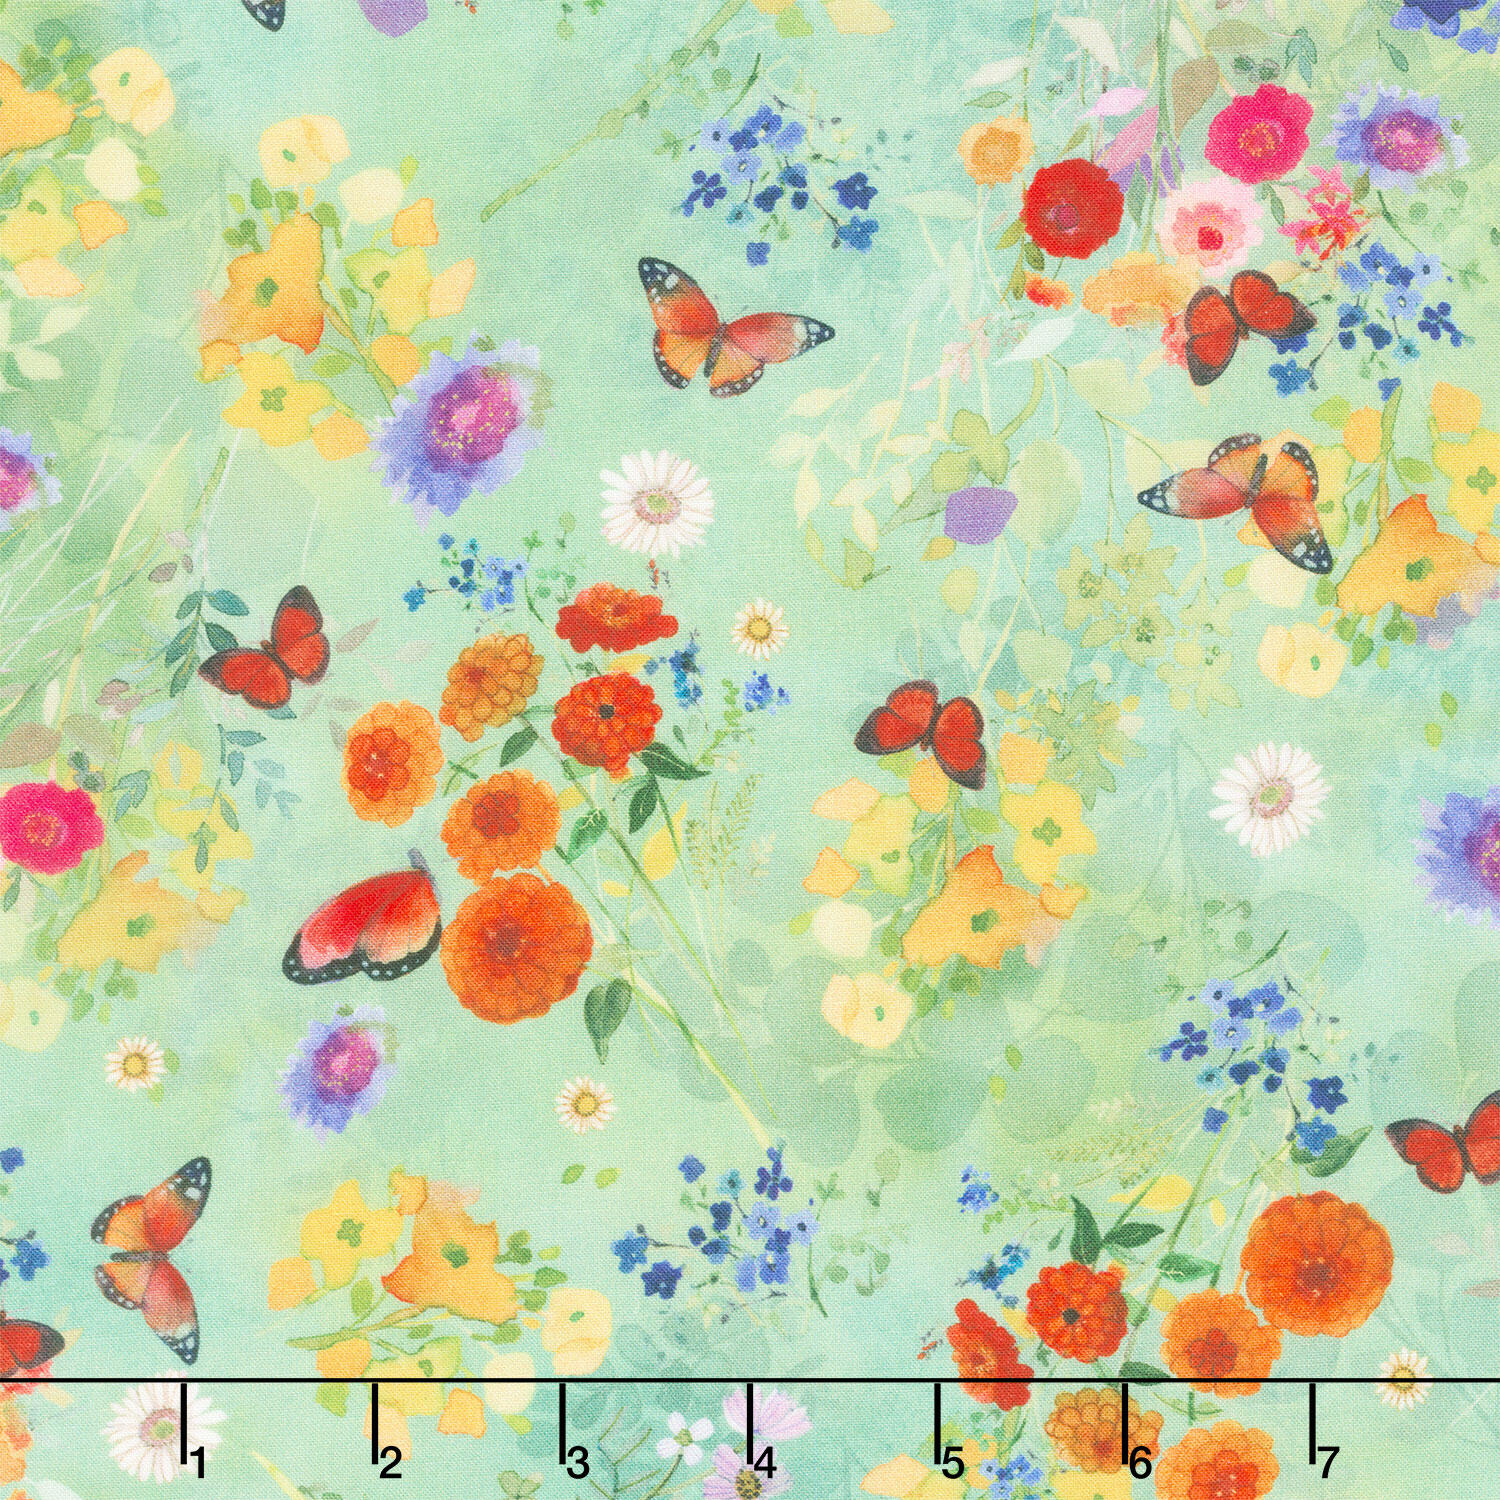 Fleur De Rose - Butterfly Garden Mint Yardage$11.84Shop →
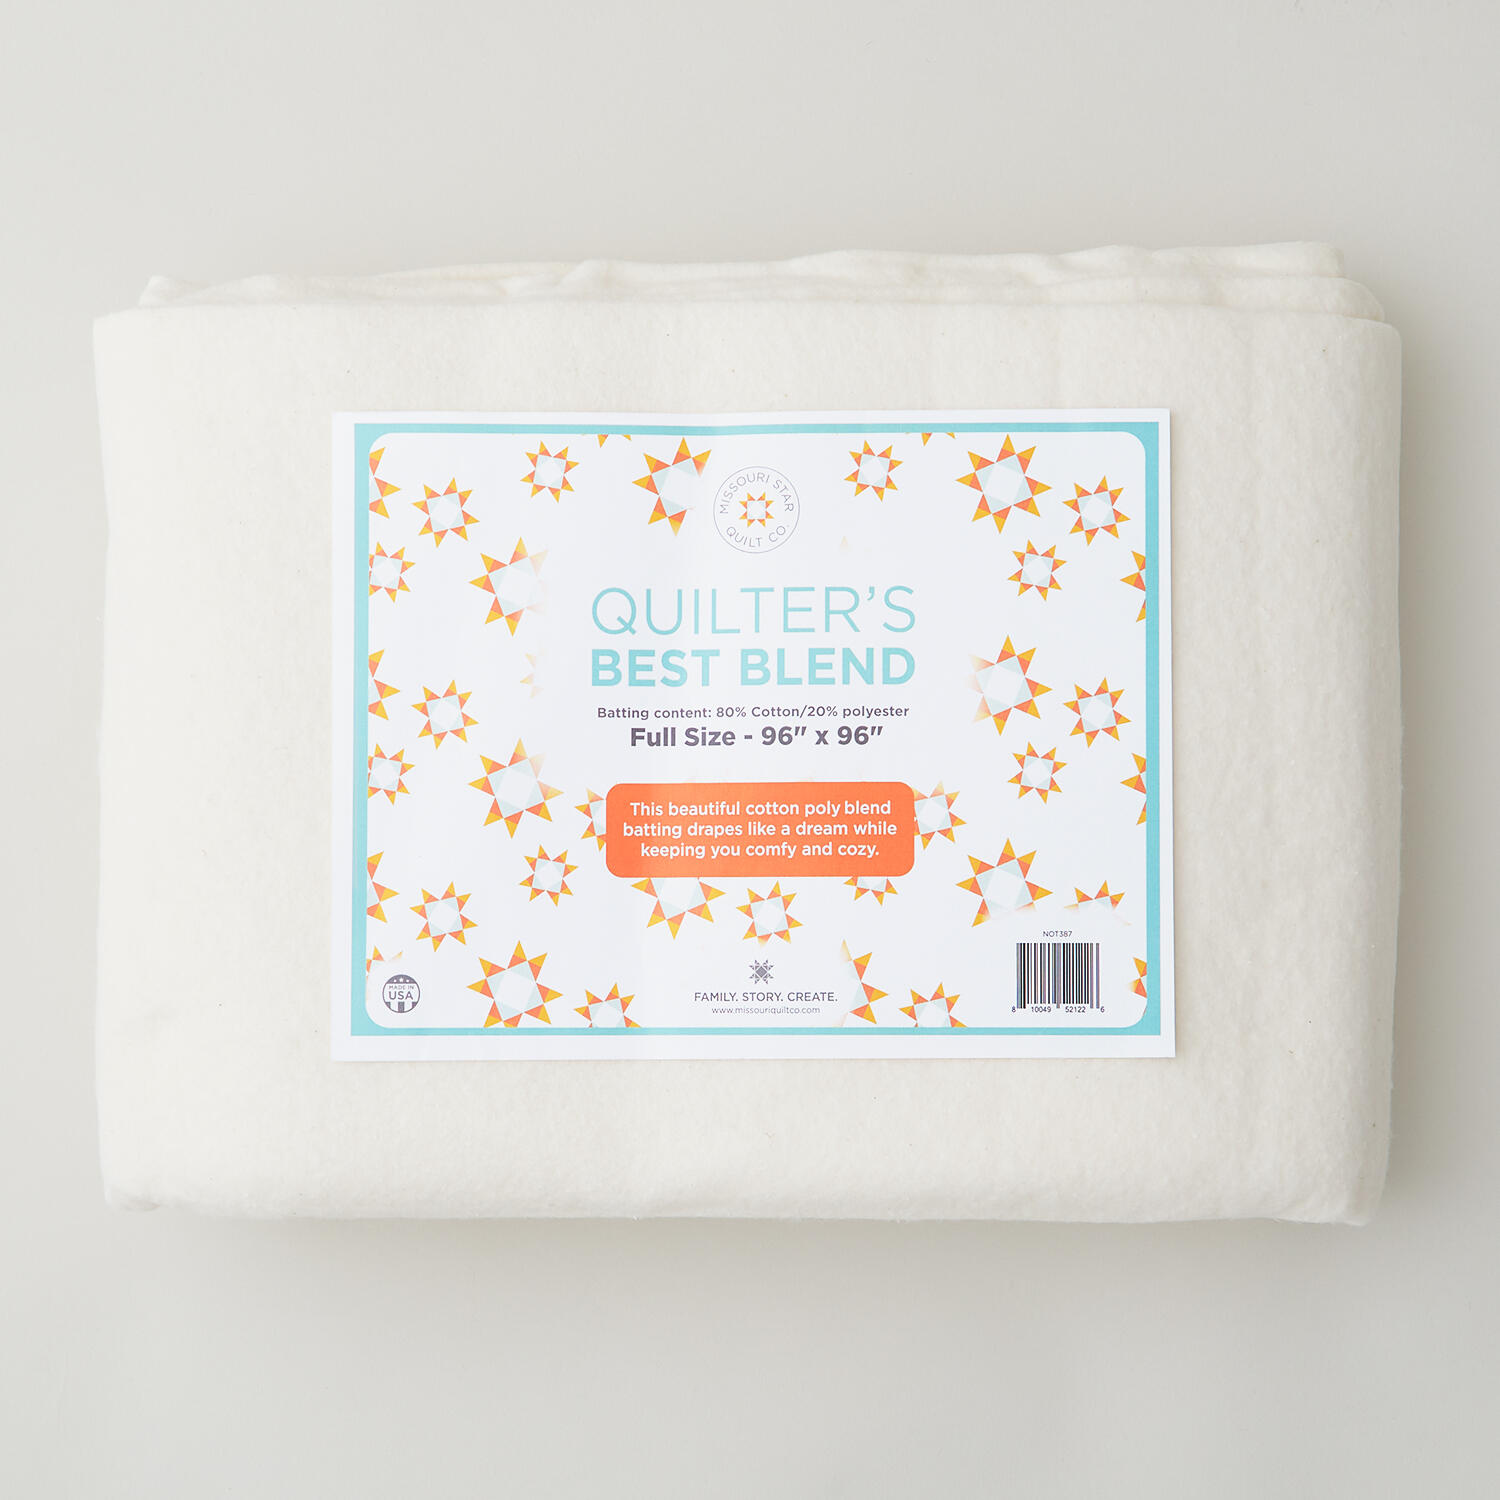 Missouri Star Quilter’s Best Blend Full Batting$32.95Shop →
 Missouri Star 5" x 15" Ruler$19.95Shop →
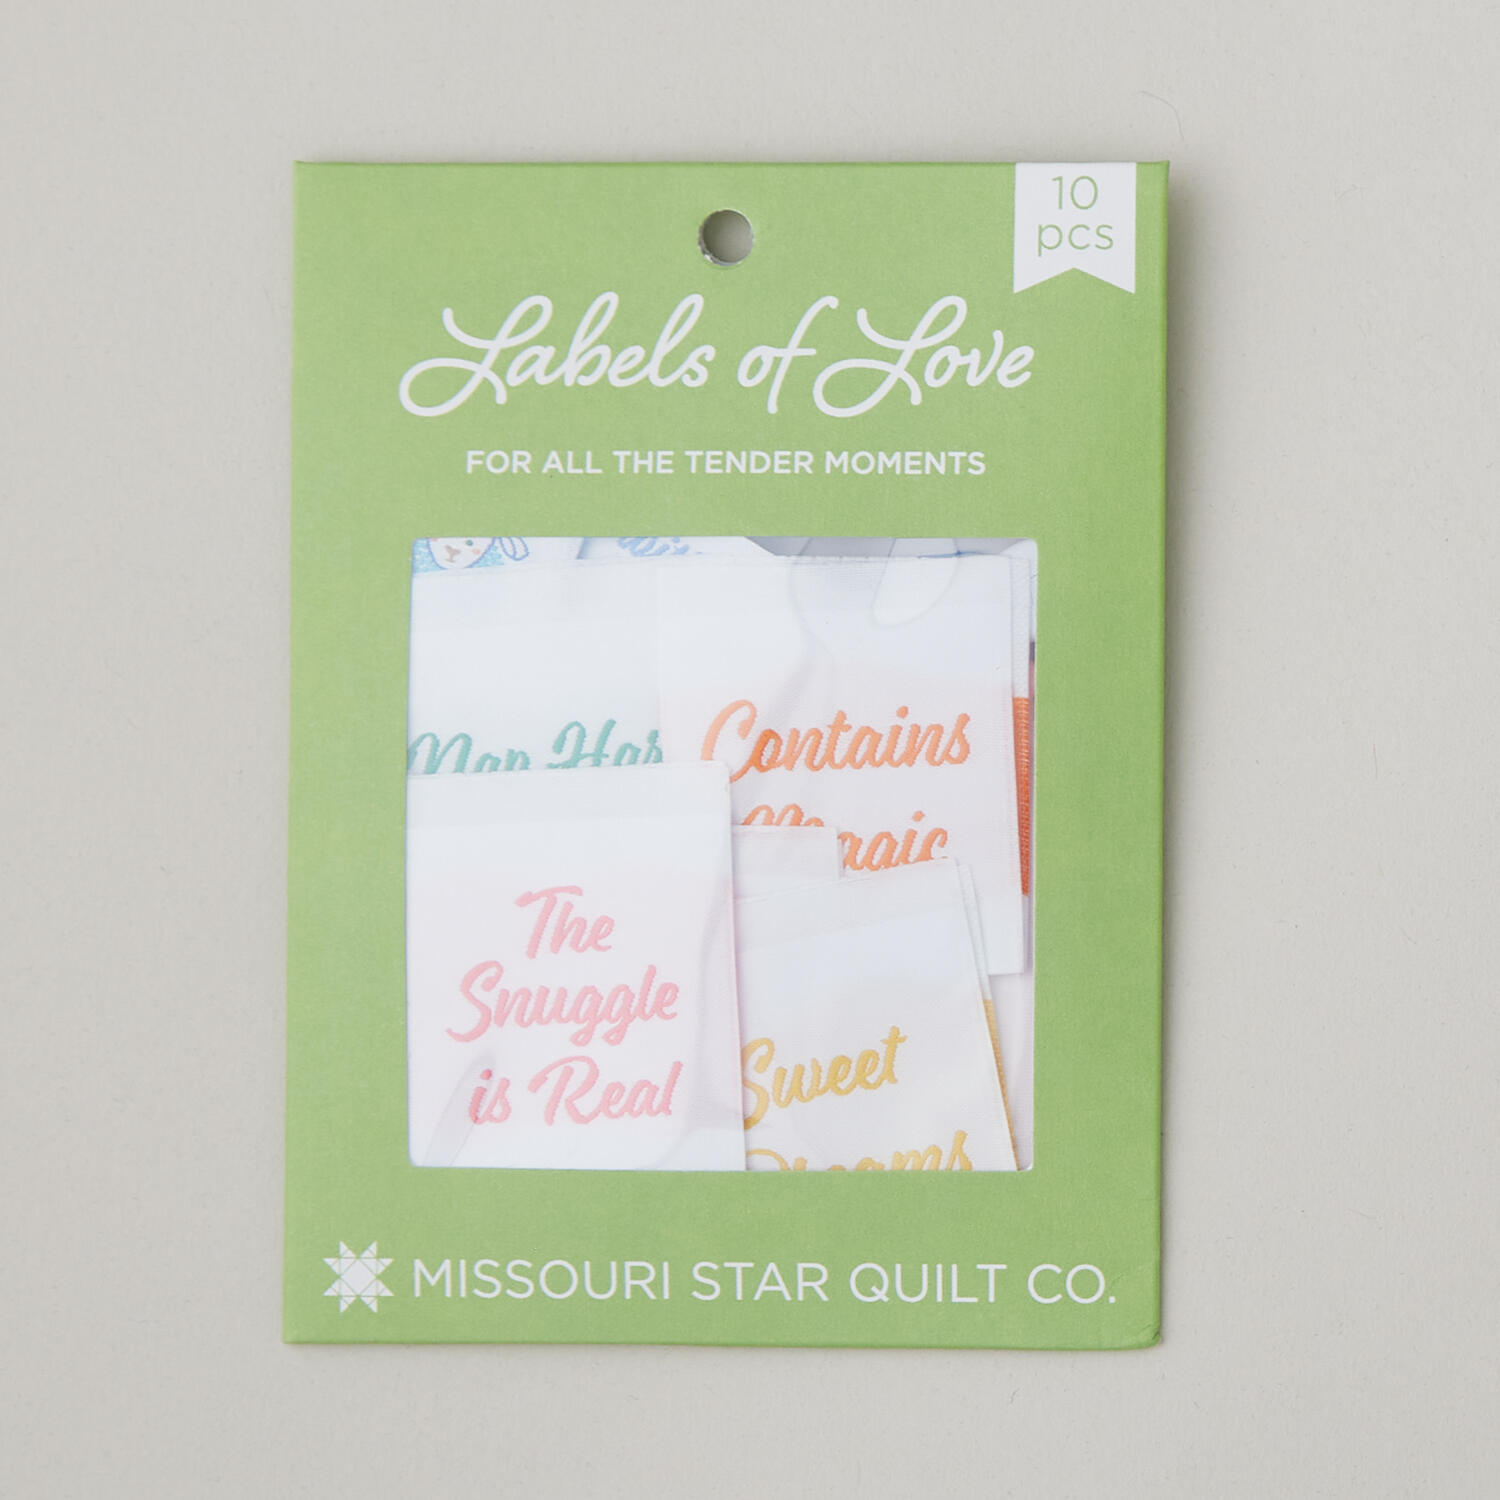 Missouri Star Labels of Love: For All the Tender Moments$9.95Shop →
 Missouri Star 50 WT Cotton Thread White$7.95Shop →
 Missouri Star 45mm Rotary Cutter - Olga$19.95Shop →



