

Woven Chevron Quilt
 Misty Doan
- Fabric by Yard
- Modern
- Lap / Throw
- Beginner
- Quilt size 65" × 76"
Give your home décor a wow factor with this striking chevron quilt! The vibrant Kona Cotton colors pop against a black background, while center stripes subtly weave through the design. You’ll be surprised that an easy cutting and piecing technique can produce such dramatic results!
Instructor
Misty Doan
Misty Doan grew up surrounded by sewing and quilting. She loves spending time sharing tutorials each week each week, and when she’s not stitching up one of her fun sewing projects for home decor, most likely you’ll find her hanging out with her husband and three awesome kids or working on a house project.
Shop this tutorial
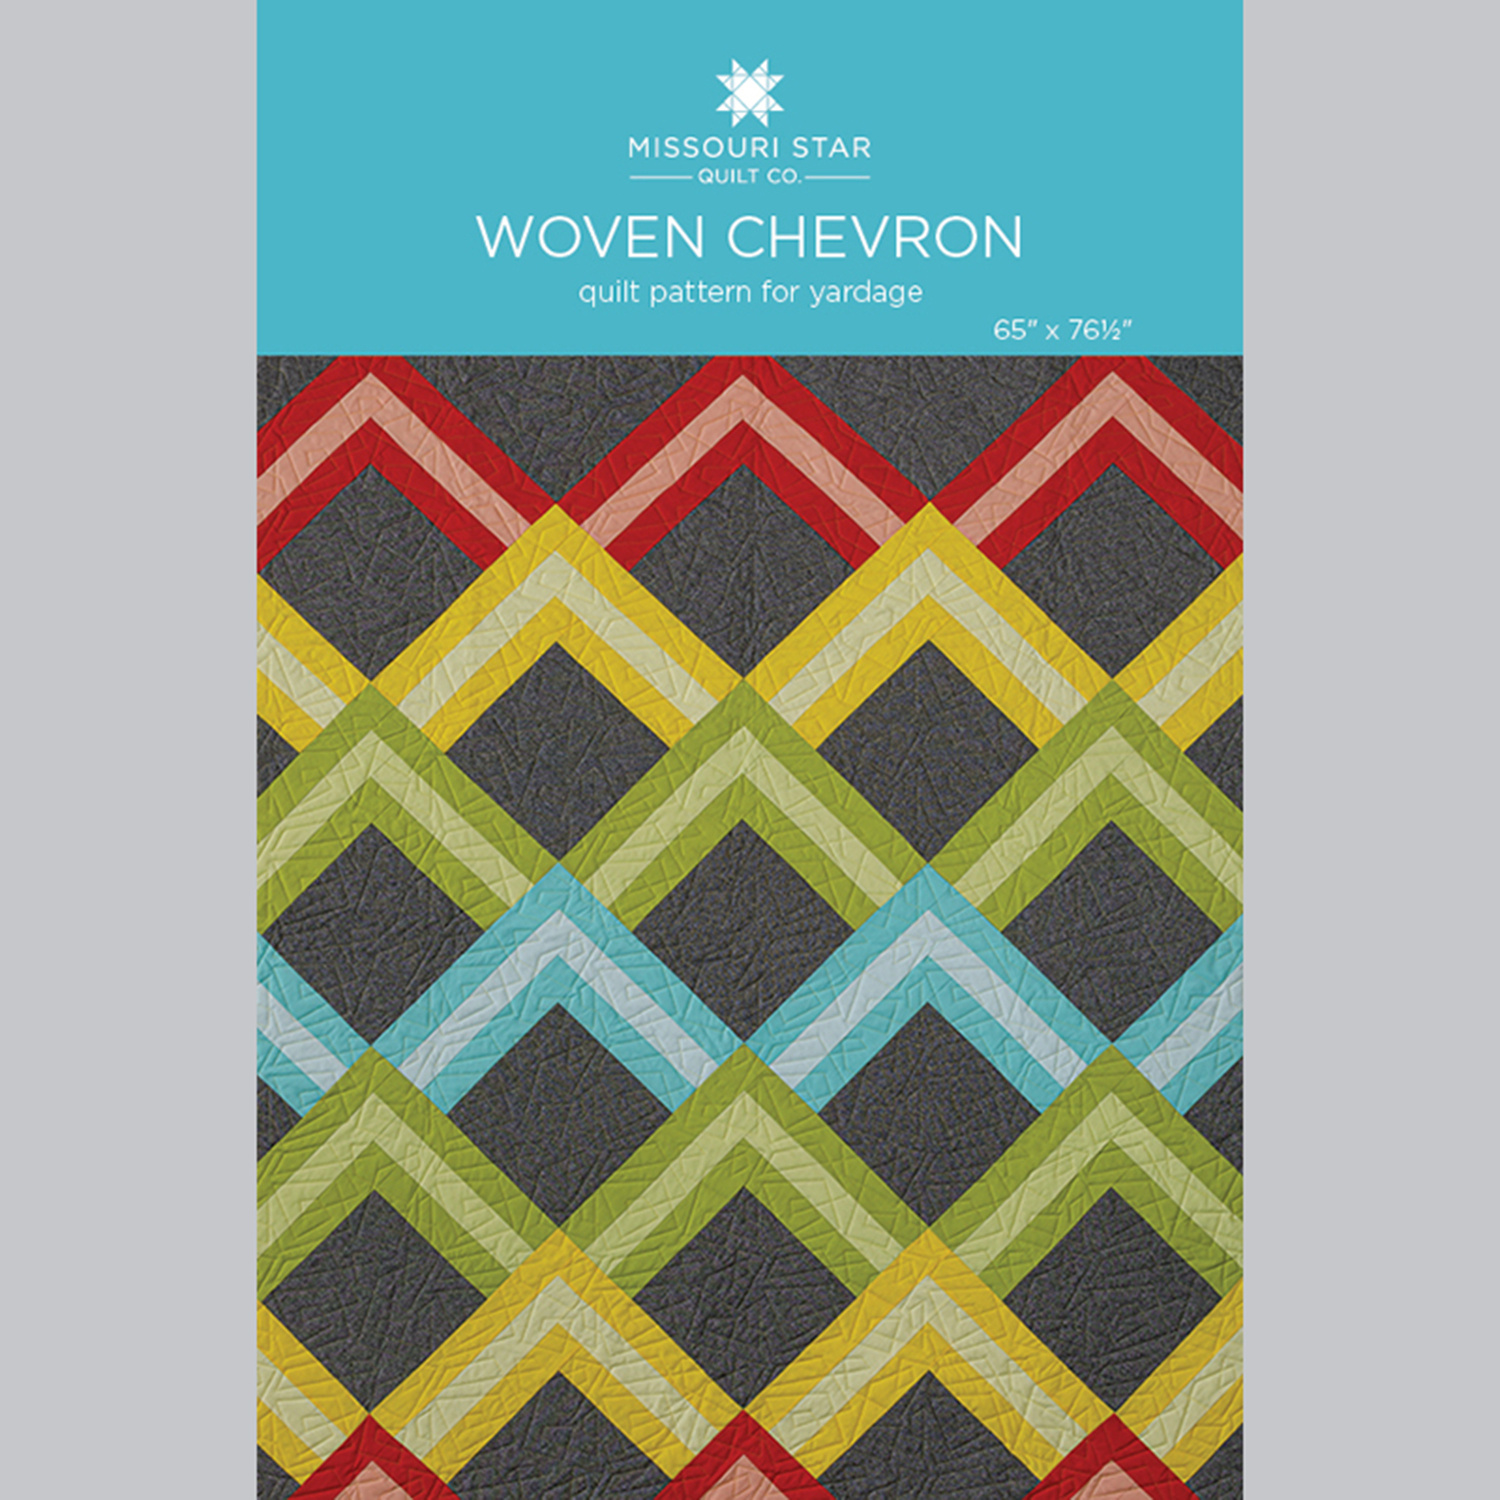 Woven Chevron Quilt Pattern by Missouri Star$8.50Shop →
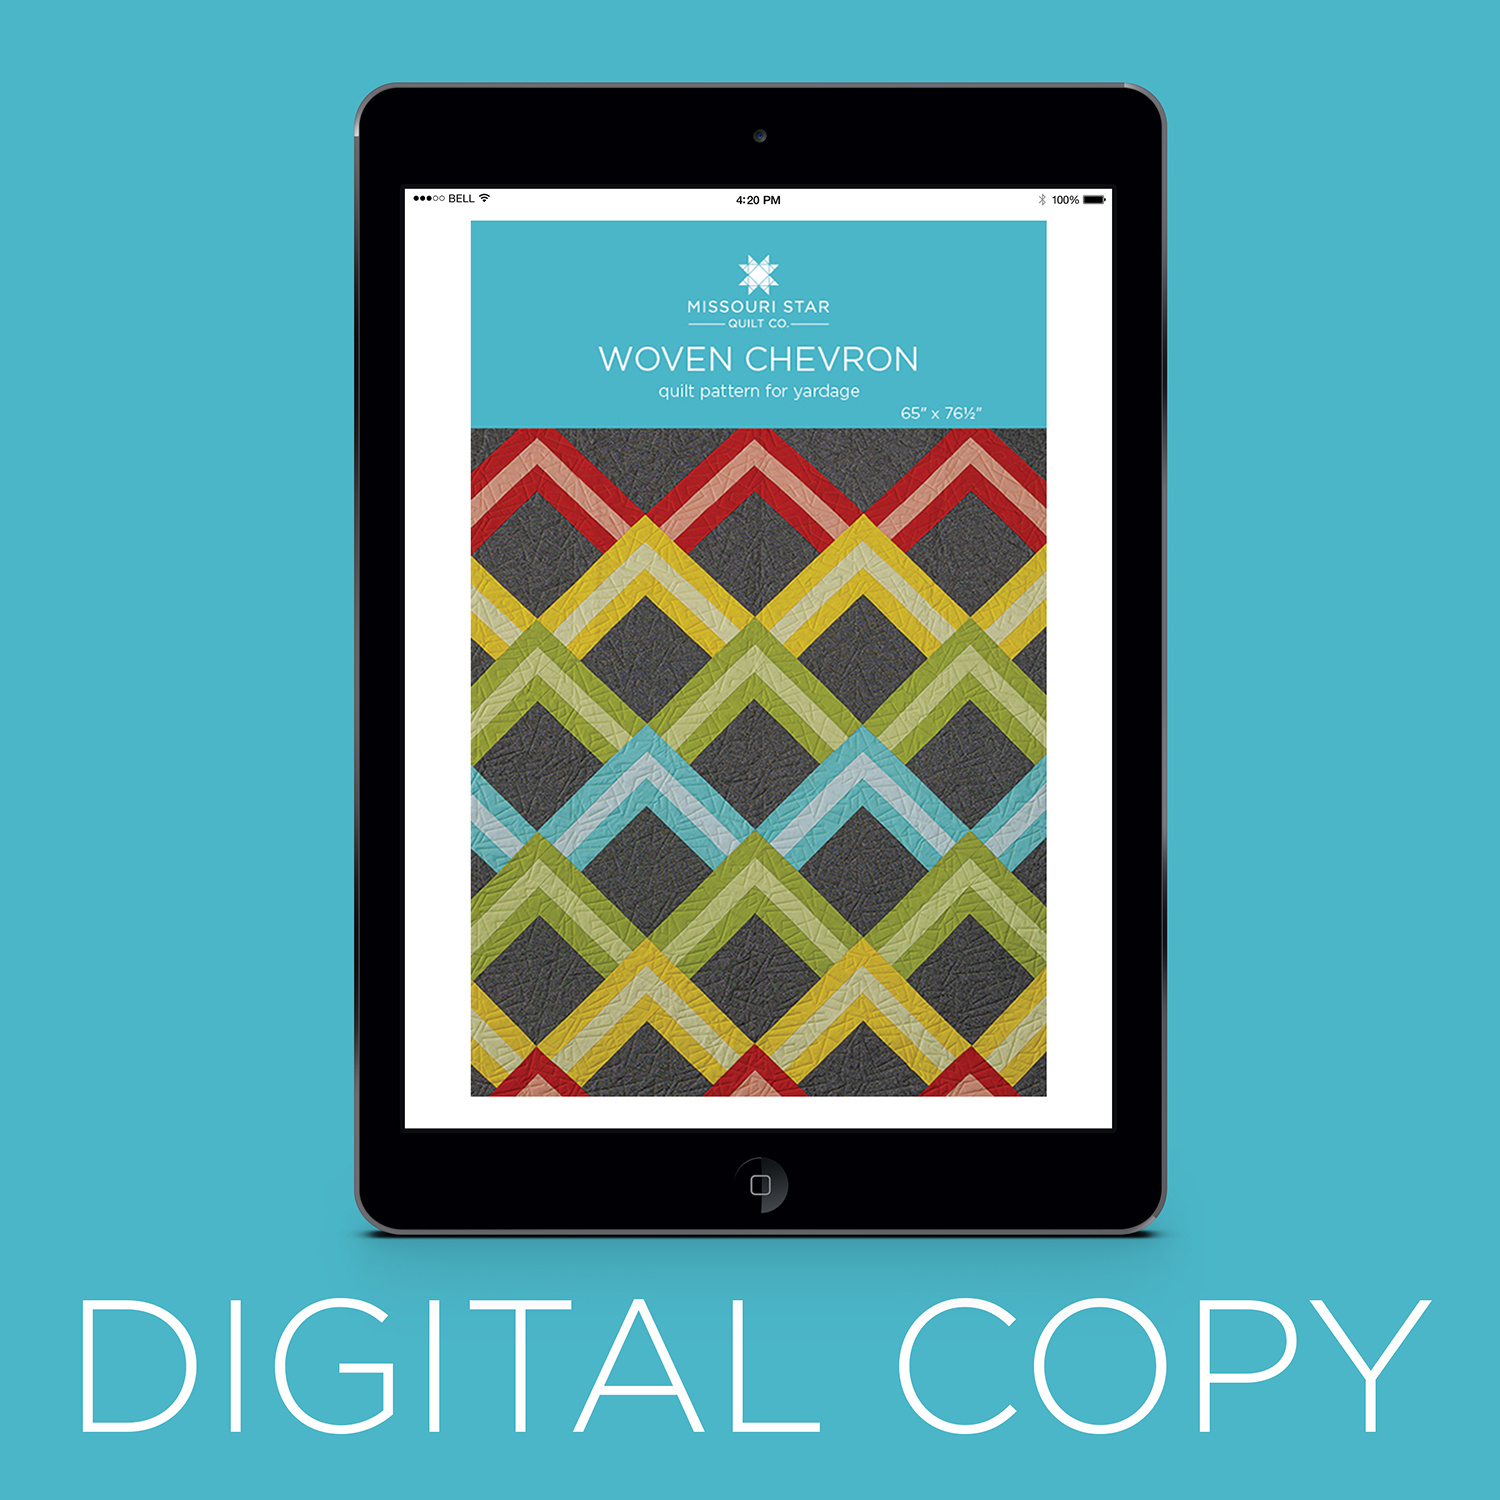 Digital Download - Woven Chevron Quilt Pattern by Missouri Star$6.95Shop →
 Kona Cotton - Coral Yardage$7.48Shop →
 Kona Cotton - Peach Yardage$7.48Shop →
 Kona Cotton - Lemon Yardage$7.48Shop →
 Kona Cotton - Citrus Yardage$7.48Shop →
 Kona Cotton - Limelight Yardage$7.48Shop →
 Kona Cotton - Summer Pear Yardage$7.48Shop →
 Kona Cotton - Aloha Yardage$7.48Shop →
 Kona Cotton - Sea Glass Yardage$7.48Shop →
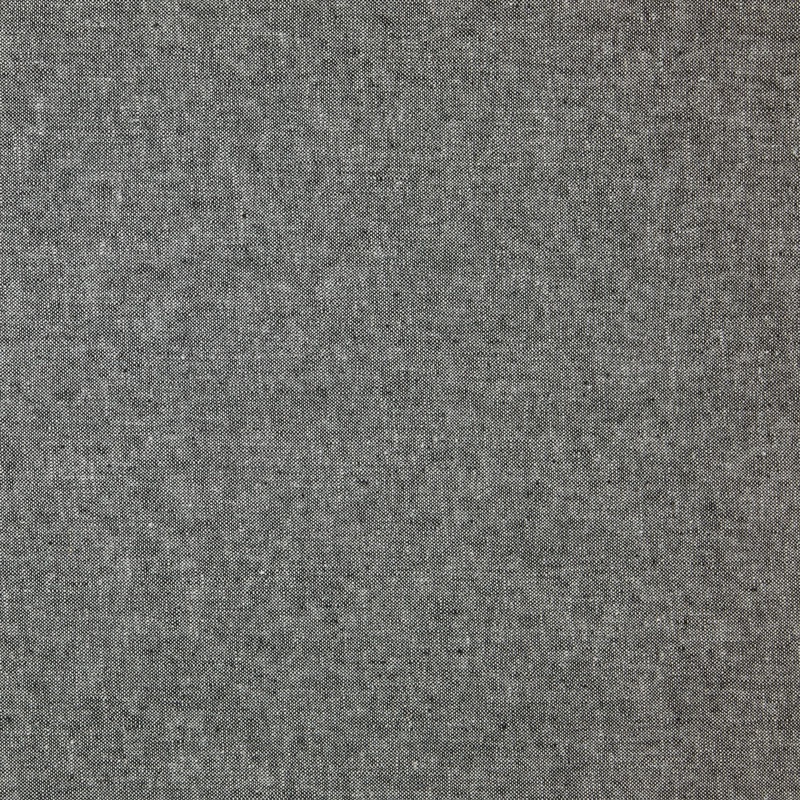 Essex Yarn Dyed Linen - Black Yardage$11.24Shop →
 Missouri Star Quilter’s Best Blend Twin Batting$26.95Shop →
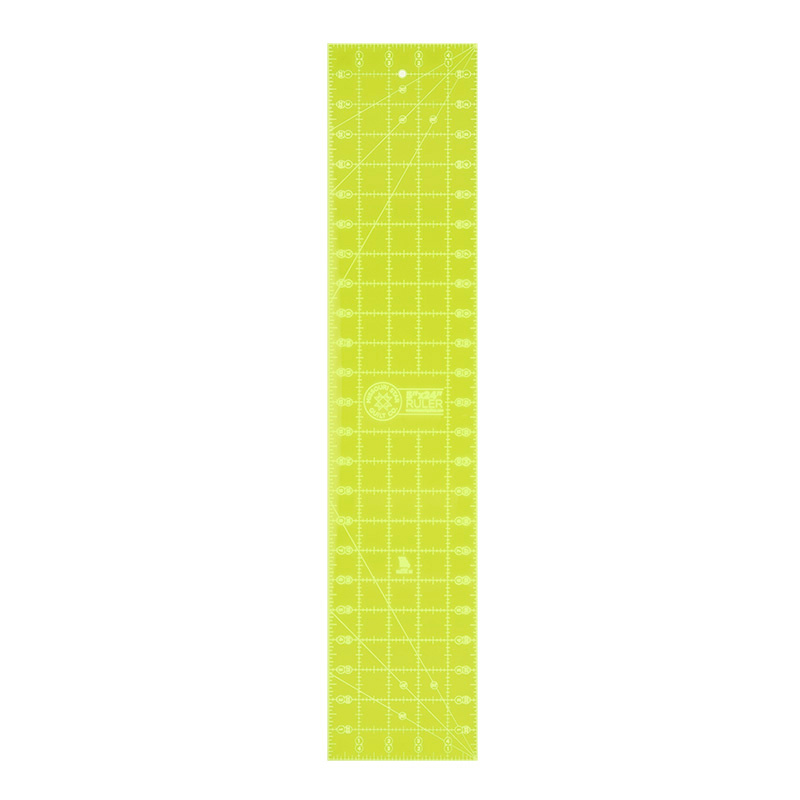 Missouri Star 5" X 24" Ruler$29.95Shop →
 Missouri Star 45mm Rotary Cutter$19.95Shop →
 Exclusive Missouri Star Jenny TG1600 ProPlus Oliso Smart Iron$199.99Shop →
 Missouri Star Wooly Betty Board - 17.25" x 25.5" Orange Border$99.95Shop →
 Bernette 77 Sewing and Quilting Machine$1499.00Shop →
Common Questions
What is covered in Woven Chevron Quilt?
Give your home décor a wow factor with this striking chevron quilt! The vibrant Kona Cotton colors pop against a black background, while center stripes subtly weave through the design. You’ll be surprised that an easy cutting and piecing technique can produce such dramatic res...
How long is the tutorial video?
The tutorial video is 00:09:41.
Are supplies listed for this tutorial?
Yes. The tutorial page includes the supplies and materials connected to this project.
Is a transcript available?
Yes. A written transcript is available on the tutorial page.
Video Transcript
This quilt came together so fun and it's really, really easy. So one thing I want you to keep in mind before I dive into all of the yardage requirements is it's really based on some of our pre-cut sizes. And this is a good reminder to all of us that we can cut our pre-cuts out of our yardage. So if you have a bunch of yardage in your stash, don't be afraid to do that because this is all based on 10 inch squares and 2 ½ inch strips.
So let's talk about all of the colors I used, because I opted for yardage so that I could really play with the color placement by having a dark and light of each of the shades. For your background fabric, I use this Essex yarn dyed black. I love the texture in this and you're going to need 2 ⅓ yards of that. We're going to cut that into our 10 inch background squares. Then let's dive into all of these colors. So to start with, we're going to talk about our yellows. This is Lemon and Citrus. Of the Lemon, you're going to need 1 yard and ⅝ yard of the lighter Citrus color. Then of both our darker shades up here, this is Coral and Limelight, you're going to need ¾ of a yard. Of the lighter two, I used Peach and Summer Pear, that's ½ yard each on those. And then of the blues this, one is called Aloha you'll need ⅝ yard, and Seaglass you'll need ⅓ yard. So that's all the colors that I used here. Let's go ahead and dive into making this.
All right, so this is the block that is the basis for this entire quilt. You are going to need a 10-inch background square to start. And then you're going to need two strips at 2 ½ inch by the width of fabric of your darker shade and one of the lighter. And so now we can subcut those into the sizes that we need. For the first round, we are going to take a 2 ½ by 10 inch strip and a 2 ½ by 12 inch strip. So let's go ahead and sew these two on and then we'll come back for the next round.
So I'm just going to take a few anchoring stitches, make sure this is lined up with the edge of my 10-inch square, and I can just soar all the way to the end. Now this is definitely one of those projects that it's helpful to have your pressing mat and iron close by, because you're going to want to press in between each round. So let's go ahead and bring this over here. We can set that seam and roll it back, beautiful. And now we can add that 2 ½ by 12 inch strip to this other side. So again we're just going to line up the beginning and let's zoom right down. All right we'll press that back in the same way, beautiful.
All right, let's bring this back over here so I can talk you through the next two colors. So on the next round our first piece is going to be 12 inches and then 14 is going to come in this side. And then our last one will be 14 and 16. And so I'm always going to be adding the shorter piece to the same side, so that it's going to stagger out. And I'm just going to quickly sew one after the other. This is such a fun project and it's one of those things that if you had maybe a package of 10 inch squares that you really loved you could use that as the focus each time and then just pick some accent colors to surround them. So don't be afraid to mix it up. That's the nice thing about these being based on pre-cut sizes.
So we've added that first side. Then we'll come back and add this to the
the opposite side here. All right, now we just need to do that final round of our darker color all right? And our last strip set. Okay we'll roll back this last strip all right and this is our block. It is so quick and easy and really the magic in this is the color placement and setting it on point. Because this whole thing is set on point. So of course we're using these red squares across the top just like so, and so we need to set in some triangles, so that these will be on point.
So what we're going to do for that is we're going to measure these squares and they should be 16 inches, and they are. So I have cut from my background fabric, here some 16 inch squares. And we are going to start by cutting this one in half just like so. And then we can set these in between these blocks here just like that. And then we'll come in with our next color beneath, so then this would fit in here and then you you're actually going to lay the whole thing out. This is one of those quilts that it's easier if you do it that way. Then you're going to assemble it in rows. So starting with your setting triangles into rows and you're going to have these little jaggedy pieces on the end, but let's look at it in the quilt here so you can see I did. Three of the red, and then we actually had four of the yellow and and then we trimmed everything off square at the end to have this nice straight edge. And so that's really all it is. So it's three red, four green or four yellow, excuse me, three green, four blue, three green, four yellow, and three red at the bottom. And on the bottom we just cut that off straight as well so that it would all finish up square.
This quilt finishes at 65” by 76” so it's a great size. So I quilted it in skewed squares with this kind of fun neon thread which just really pops on that Essex background. I love how it turned out! It measures 65” by 76”, so it's
a great throw size, picnic size to curl up with and it just comes together so
fast because of these giant blocks.
So I hope you enjoyed this tutorial. I'll see you next time on At Home!


