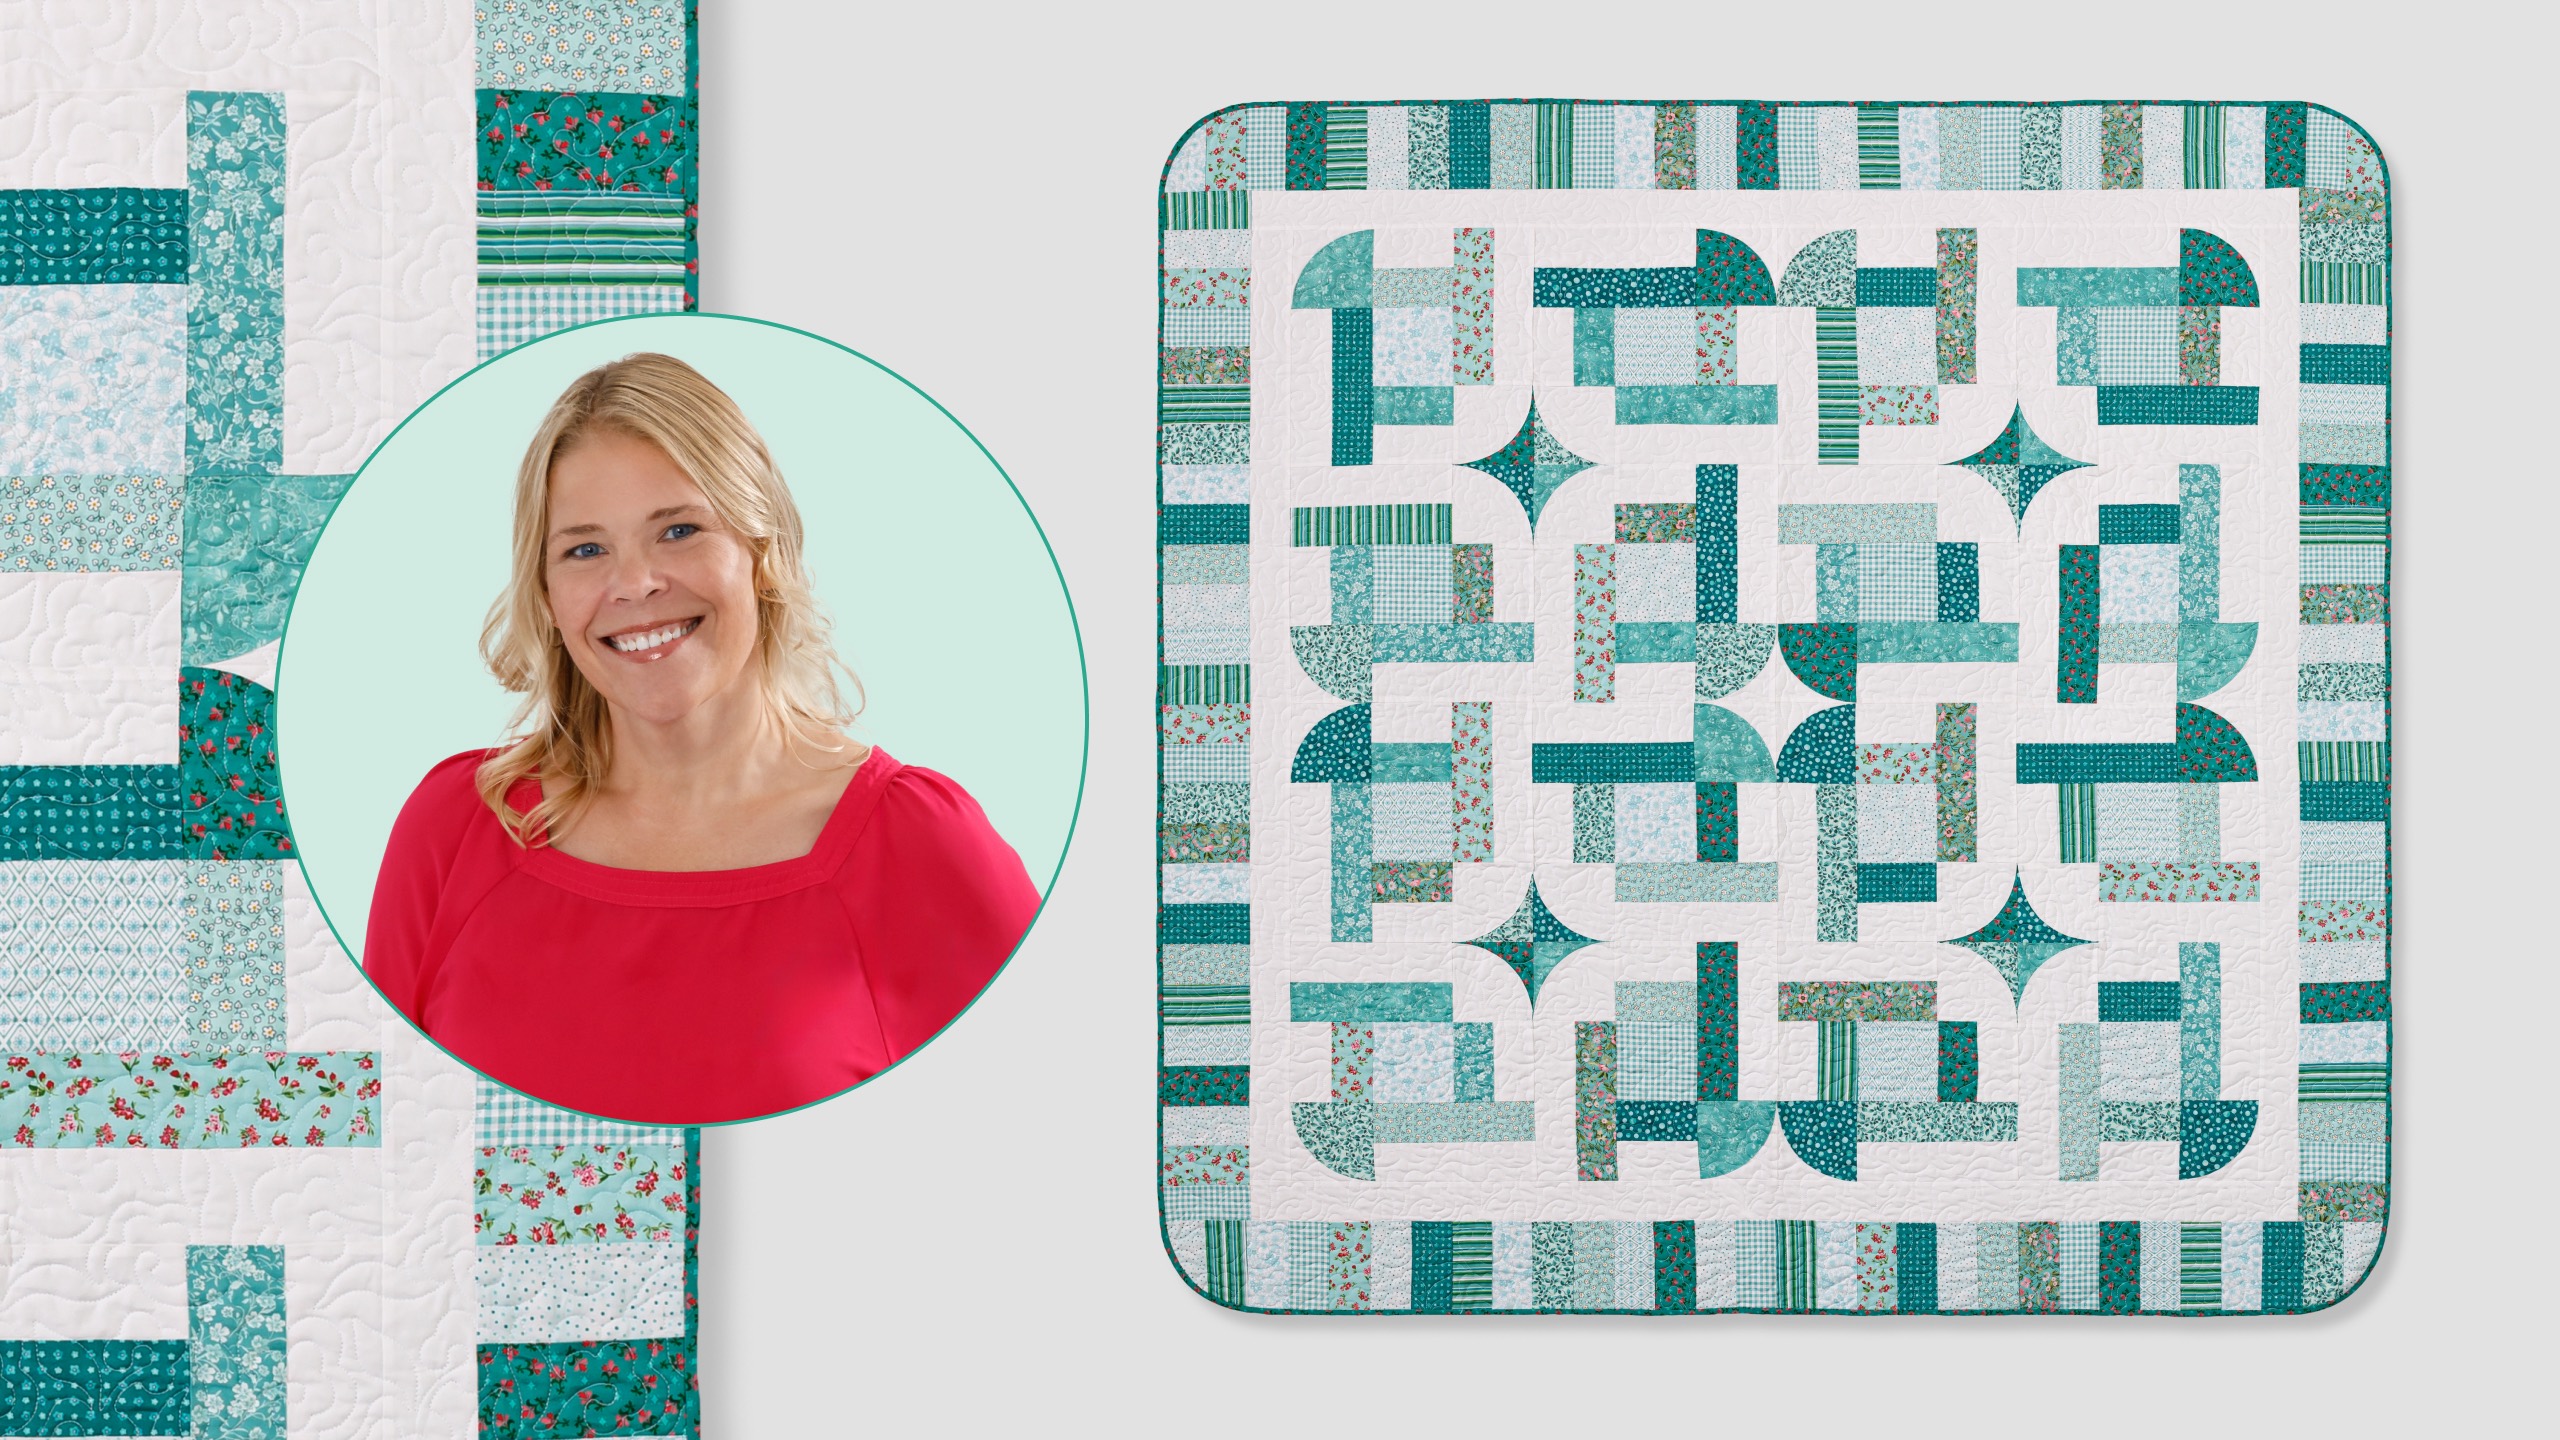
The Woven Horizon Quilt brings together curved and straight piecing to create bold 12" blocks full of movement and retro charm, finished off with playful rounded corners on the pieced border. This advanced beginner, layer-cake-friendly pattern is a great next step for building your curved piecing skills, and Natalie walks you through the whole process step-by-step, from working with the Missouri Star Drunkard's Path Template Small to piecing those curves with confidence.
Natalie is the host of Quilting 101, Embroidery 101 and the Creative Strategist and Editor of Block Magazine at Missouri Star Quilt Company. She was taught how to sew by her mom, of course, and began quilting when she grew up.
The Woven Horizon Quilt brings together curved and straight piecing to create bold 12" blocks full of movement and retro charm, finished off with playful rounded corners on the pieced border. This advanced beginner, layer-cake-friendly pattern is a great next step for building...
How long is the tutorial video?
The tutorial video is 00:23:47.
Are supplies listed for this tutorial?
Yes. The tutorial page includes the supplies and materials connected to this project.
Video Transcript
Hi everybody. I'm Natalie with Missouri Star Quilt Company and I have a fun project for you today. It's a beautiful quilt called Woven Horizons and I think you're going to enjoy it. [music] All right, so let's take a look at this quilt. So this is the block right here. And you can notice that it's got um the opposites of your drunkard's path blocks in the two corners. And then we've got some fun little strip sets here that make the block. And I love how it's got this really beautiful little whimsical look. It makes these cute little kind of like a little star that come together when the drunkard's paths collide in that beautiful secondary pattern. So, I think you're going to love how it's made. It's pretty easy. But, let me tell you what you need to make this quilt. So, to make this quilt, you're going to need one package of 10-in print squares. And I've used Farmers Market in Seal Glass by RK for Robert Kaufman. Um, you're going to need some background fabric about a yard and 3/4. And that does include your inner border. For your backing, you're going to need 3 and 7/8 yards of regular width fabric with a horizontal seam. Or if you want to use a 108, you'll just need two yards. You'll also need your drunkard's path templates. I've used the small drunkard's path template for this one. And you know, just your other basic supplies. All righty. So, this is the block that we're talking about making today. And we've I've made 16 of them. So, it's four across by four down. And it's really easy to make. So, the first thing we're going to do is cut some 10in strips from our background fabric. And then we're going to subcut that down into 2 and 1/2 by 10 in strips and 5 in squares. And so, because we're cutting that full 10in width, we'll be able to get all of our cuts out of those strips. So, I've got these ready to go. And then from our precut, this is one of the ones like I did want to talk about this a bit. It's Robert Kaufman has put together these farmers market pre-cuts for us. And they come in very similar colors like collected together. So you can get a blue pack, a red pack, an orange pack, whatever color that you'd like to make your quilt if you need like scrappy fabrics. This is just so great. So I think it's very cool. Um, all right. So we're going to select a few prints to make the middles of our block. That will be this part right here. And I'm going to go ahead and cut. I think I'll do m maybe this one. I kind of picked the lightest colors for this quilt for the middles because then they don't compete too much with the background fabric and you don't want your stuff to kind of fade away. So, we'll cut some 4 and 1/2 in squares. I think the pattern tells you to grab four of them and cut them because then you'll have 16. So, it's pretty pretty easy. And I just then mixed and matched. This whole quilt is scrappy, which I think is super fun. Alrighty, so we'll get these cut and we'll set them aside. We just have a little bit of little bit of cutting to do before we do our sewing. I'm going to stack these up for speed. All right. So, those are ready to go. And I'll add them to my pile. I think I had some others here so we could mix and match them. Oh, where'd they go? There they are. So, I've got all those. Now, we're going to cut uh select another couple of several squares and make our um our strip sets. So, I think I'll do this one and perhaps a polka dot. That'll be cute. So, these we're just going to cut into 2 and 1/2 in strips so that we can combine them with our 10 in 2 and 1 half x 10 in background strips and make those strip sets. We're going to keep them all whole until they're sewn and then we'll cut down um some of them into 4 and 1/2 in sets and some into 8 and 1/2 in sets. So, we'll just go along this whole thing and give ourselves a bunch of fabrics to choose from because again, they're all scrappy. So, we'll select them, mix them up, and then sew and go and put together whatever combinations we like. All right. Just want to make sure that Yep. measures out. Perfect. So then I'll have these set aside. And now I'm going to choose the fabrics that I want to create my drunkard's path blocks. So we're going to select a few squares to cut into fourths so that we have 5 in squares for our drunkard's path blocks. And then we'll get to the construction. Our our cutting and prep work is going to be all done. I love how easy it is to just cut these in half and then in half again. Long as your fabric doesn't slip too much, you should be good. And even then, there's a little extra space here. All right. So, these are all going to be stacked up and set aside. All right. So, the first thing we're going to do is put together some of our strip sets. And I'm just going to do two of them because we'll need some eight and 1 halfs and some 4 and 1 halfs. We're going to stack our background fabric on top and just stitch a quarter of an inch seam on both or one side of each strip set. All righty. There we go. Now, I am going to go ahead and press these. We'll we'll set our seam. And I do typically like to roll it back so that the seam is pressed to the dark side. I feel like it makes the fabric or the quilt look a little better when you don't see that seam poking through the background fabric. And we have a light background this time. So, we're setting our seam and then rolling back our dark fabric or print. And I'm trying not to stretch it. I do that sometimes. All righty. So, one of these we're going to keep at 8 and 1/2 and the other we're going to cut down. Whoop. Let me turn that cuz I like to use my ruler to measure. So, I'm lining up my 8 and 1/2. And then my width should be at 4 and 1/2. So, we'll do that. And we'll make several sets of those and put them together in a pile. I've got some other ones here that we can work with. And then we're going to cut this strip down into two 4 and 1/2 in strip sets or blocks. They should be 4 and 1/2 square. So, what I'm doing as I line this up is I'm letting it hang off just a little bit because I know that I've got this much extra fabric to work with. And then I can clean up both edges so they're very square. It's just a way to sort of square up your blocks when you've got these little bars, especially because I've got plenty of room. Might as well make them square, right? All right. So, I'm going to trim that. And I've got a little tiny bit hanging off there. And then these we're going to set aside. I've got a few of those. Oops. These are drunkards paths on top. There we go. Got a few of those made so that we can have some variety when we put our block together. Same thing with this one. So that's our extra there. And we'll just sweep that off the table. We'll deal with that mess later. All right. So now we're going to make the drunkard's path unit. So I'm going to grab one of my print blocks and I'm going to match it up with one of my background squares. And we are going to stack these up. And I like to know like if I have a nice square edge, I'm going to try and stack those up really neatly because as we're going to go and and use our drunkard's path, we're going to need a straight edge to cut this side and this side. And you can decide, you know, where you want to put your your ruler to get maximum amount of fabric. And it's pretty easy because this one's on the inside. It would be easier to use your drunkard's path to straighten up this outside edge. So you can see how they both fit on the fabric. And so, you know, you can decide how you want to line it up. I do typically cut the inside curve first. So, I'm going to turn that around. A rotating mat can be helpful if that's what you would like to do. I find that if I just move my fabric, it's no big deal. You can use a smaller blade if you'd like to for ease on this curve, but it's a pretty gentle curve. So, I'm just going to use my regular 45. Go nice and slow. so nothing slides. I'm going to set that aside and we'll trim off the rest later because the the curve is just slightly different in the middle. I'm going to turn this around and trim up straighten those edges because I don't like working with the little PKD edge. I feel like it kind of gets in my way. [snorts] So, those are ready to go. And then this one I'm going to flip around. Make sure that fabric is lined up really nice and clean. And then we're going to use the 4 and 1/2 inch marking here. We're going to line that up with the edge. And that aligns very nicely. So you can actually see the difference here in the curve. And then the length is a little bit different, too, because it it sort of stretches to fit. It's really interesting how these curved pieces come together, but it's also it yeah, it's very easy to you'll get you'll get used to it as you go. So, one thing that I do like to do is finger press the middle or um or you can press it with your iron if you wanted to. And that way these are both set ready to go. And we're going to use both pieces. We're making two opposites that can then be mix and match. You're just you'll make all your drunkards pads and pile them up and use whichever ones you want wherever you want to use them. So, one of the things I like to do is put these into each other so they're they they nest really nicely and then you're stitching on top of the um the curve. So then this one is going to line up like that. And then you know another trick a lot of people like to use pins or you can use a little dot of glue to just hold the ends together or you can use a stylus to push it through. That is all entirely up to you. I wouldn't. You can sort of glue down the entire curve if you wanted to, but I I like to have flexibility. I like to keep a little bit more control to myself rather than having it glued down. But so I would really recommend just maybe if it's your first time, you might want to put a little dab of glue at the first end and then also at the last end. And then just keep your pin right in the middle so that you um spread your fabric out evenly across that curve. Otherwise, you may have a little bit of a pucker, which is really also not that big of a deal. So, if it doesn't bug you, just keep on going. Whoops. Flung a pin. That is that happens, too. All right. So, I'm going to take this over to the sewing machine and stitch the curve. Now, a lot of people will ask the question, do I sew with the concave or convex on top? And what I would say is that I'm very used to sewing with this the um the concave piece on top. I like the ease of being able to pull it around. And Misty's rule of thumb is whatever piece is smaller she wants to put on top. So, you know, use whichever way that makes you feel the most comfortable. Do a few practices. Try it both ways and see what works for you. Uh it really doesn't matter as long as you have personal success. That's what I would say is the most important thing. So, I I do like to have my smaller piece or the concave piece on top. So, let's go do this curve. All right. So, I'm going to just line that up. It can be a little fiddly at first because you got to get it underneath the sewing machine. And once you've got it underneath the foot, you're good to go. It'll stay and hold that in place. All righty. Keep try to keep your quarter inch um accurate. And then what we're doing is we're kind of holding these two fabrics. If you look at it like this, it sets out and you're going to kind of bring them together almost like a zipper merge in traffic. All right. And you just kind of pull this, not pull, but like arrange. You set it so that it matches as you go. And you can watch for matching up that little notch in the middle. And you'll see because it is cut on the curve, it has quite a bit of like stretch. It's easy. It eases in very nicely. Just got to take your time and you it'll get more comfortable every time you do it. And I like to try and Keep it nice and straight there. Sew off that edge. All righty. Now it's time to press it out. So, it's a little bit tricky to set that seam, but you know, do your best there. And then it always wants to just fold back from the curve. So, on the light ones, you're you're going to be pressing to the light. on the dark. You'll press to the dark. And that is it. We've got our little drunkard's path block. It should measure 4 and 1/2 in square. Um, what did I do with it? There it is. So, you can check that. And if you've got some pieces that kind of stick out, you can trim them off. I don't think I really do. Uh, kind of on this outside edge. So, if you're worried about it, this is a good time to go ahead and square up that block just a little bit. You don't have to worry too much. There's no real crazy points to keep, but I will just kind of kind of clean it up a little bit. It makes makes me feel better as I'm putting things together. And now it's time to go ahead and start like laying out the block cuz we have all the pieces made. So, I've got a pile of little drunkards paths and I'm going to separate them by light backgrounds and print backgrounds. So, you'll make both. And then [clears throat] we've got all of our pieces. I don't need these here anymore. Okay. So, we're going to put a a 4 and 1/2 in square in the middle. And then we're going to add the 2 and 1/2 by or sorry, these are actually 4 and 1/2 in square, but there are little um strip sets to each side. And we're putting our print to our print. So, like so. Then we're going to put our 8 and 1/2 in strips on the top side. So we'll have one there and we'll have one down here. And I actually think I like this this one better. So I'm going to switch that out for good contrast. There we go. So you can experiment and figure out what you want. Now our print in the middle is going to match up with the top uh top right corner. And honestly, that's that's just how I like to view it as I laid them out. I you just want to make sure that they're all the same. And my little uh opposite square is going to go in the opposite corner. And you also can mix and match these however you wish. And that's it. So, it is sort of a basic nine patch block, but what I'm going to do is stitch together my drunkard's paths to my long strip sets just like so. And I'm going to just flip that over that way. And then I'm going to stitch this one to the middle. And I'll come back and stitch that one in just a second. And we'll then assemble our rows because technically they're not exactly even because I have some long strips in there. So I just wanted to show you how this was done cuz it's not um it's not more difficult. It's just a little tiny bit different. All right. We're still using a quarter of an inch. And I am still going to chain piece because I'm doing my rows in order. There we go. And now I'm going to go ahead and press this back just a bit. And I think I'm actually going to let it press away from my drunkard's path because that's a little bit less bulky and less stress on that top corner. So, this goes up top. All right. I'm going to press this seam so that it it points away from the middle because my drunkard's path blocks are going to point towards the middle. All righty. That way, our seams nest and we get a nice flat block. So, this one's going to go here. And then, we'll add that piece to that strip set. Press this real quick so that it lays flat. We'll do this one seam first so you can see it and then we'll stitch all three rows or the next two seams really. Not even a lot. It's easy peasy. All right. And again, this seam is going to go towards the center block. There's really no um there's no other seams that cross into that, so it makes it real easy. Lay flat, baby. There we go. So now, oops. And you really can actually, you could switch them around if you decided you wanted to, but that's the way we had it laid out. So now I'm going to stitch this together. And I'm going to try and make sure that this seam right here lines up neatly. The rest of them don't match anything. And then I'll add that other strip set to the block and we will be all done. Okay. All righty. So now I'm going to pull that back. You can see we're we're going along. And this one goes here again. We're going to nest those seams. And we are done. Let me give it a a good little press and I'll show you our finished block. I just think this quilt is so fun. It's got a lot of lot of movement. It creates a really cute little star pattern. So there you go. I'll hold it up. Was it this way? This way? Nope, this way. [laughter] All righty. So, that's our finished block. And so, let me show you how it is up here. So, we've got uh the the print corner up here. And then you just rotate this block. And then the next row is upside down. And then you also will then rotate those blocks. And you've got a 4x4 layout. So, I added a 2 and 1/2 inch inner border because it sets the main part of the quilt away from the outer border. Our outer border is this beautiful piano key border. I thought it would be really fun because we had some extras left over from our pre-cut. You're just going to cut 2 and 1/2 x 5 in strips and sew them together until you have enough to do your two inside borders, the sides, and then you'll do the top and bottoms after that. and they will be just a little bit longer because you got to um measure for the two borders being added. All right, so let's look at these curved corners because this is one of my favorite things about this quilt. So, first thing you're going to do is get your quilt quilted. And once it's quilted, then you're going to cut your curves. So, just wait until that's done. But let me show you. You're going to use this little template B of the drunkard's path. And that is going to give you that beautiful perfect corner that's curved so neat. and it just looks really fun. Our backing is this fun print from the line and our machine quilting pattern is called Merrily. It makes a quilt that's 61 square which is really kind of almost like a large toddler size quilt. It's really good for little kids. It'd be good for lap quilts or a large wall hanging if you like that. Picnic quilts. I feel like it's just it's great. It's a fun size to practice your drunkard's path on because you've only got a few. I really loved making this quilt. I hope you love it as much as I do. And I hope you enjoyed this tutorial on the Woven Horizon Quilt from the Missouri Star Quilt Company. See you next time. Hey quilty friends, we are so excited. We have something really special to share today. That is right. Believe it or not, we have a million subscribers here on the Missouri Star YouTube [music] channel and we are so excited. Yes, it really is unbelievable. I know when we first started our YouTube videos years ago, we never imagined that we would have [music] a community this size and this wonderful. From the bottom of our hearts, we just [music] want to thank all of you for being a part of the Missouri Star family. That's right. Thank you so much for joining us on this wild [music] ride. We are so excited to have reached a million subscribers and we are going to have so many more quilts and so much more fun in the future. [music] I can't wait to see what happens next. I can't either. And we hope that you will join us for the [music] ride. We'll see you later. Bye.

 Natalie Doan
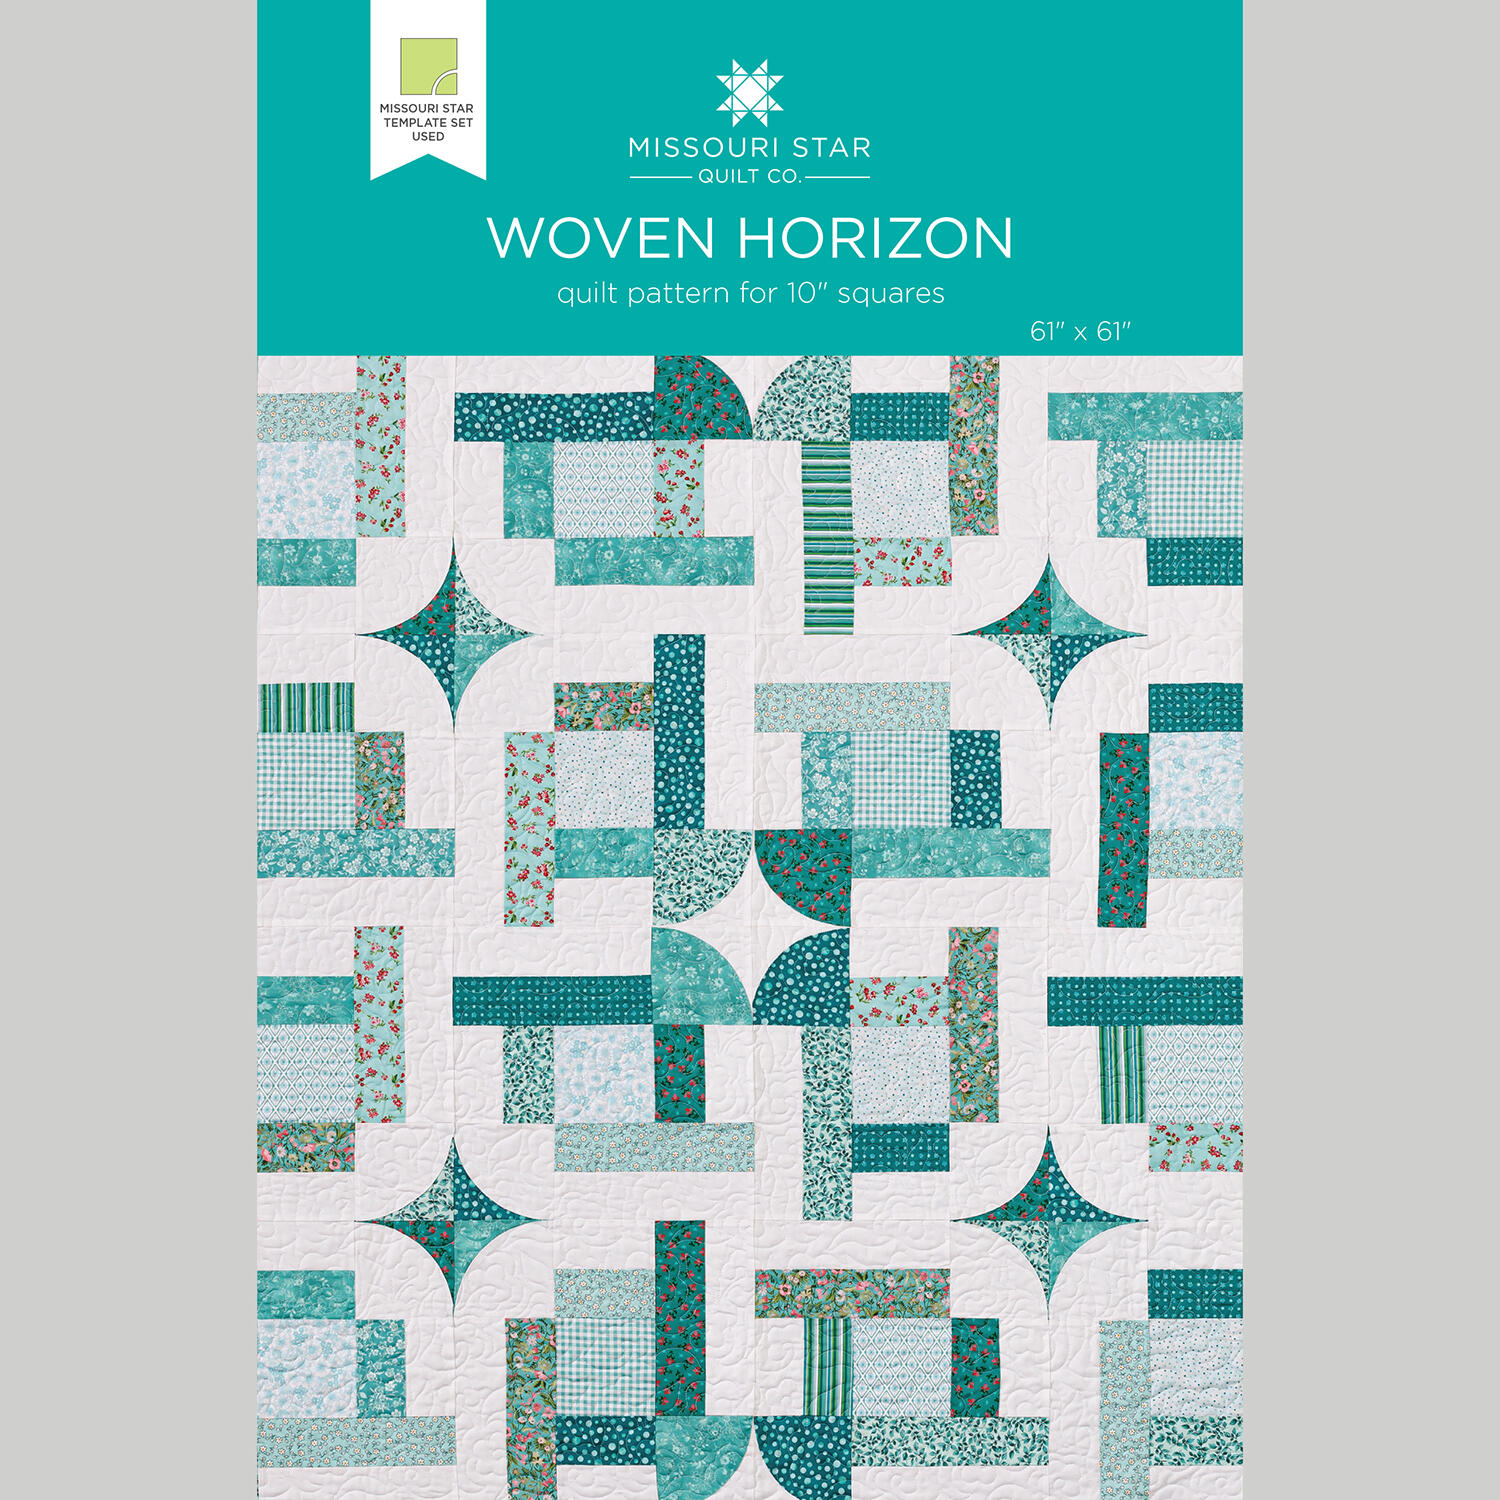 Woven Horizon Quilt Pattern by Missouri Star$8.50Shop →
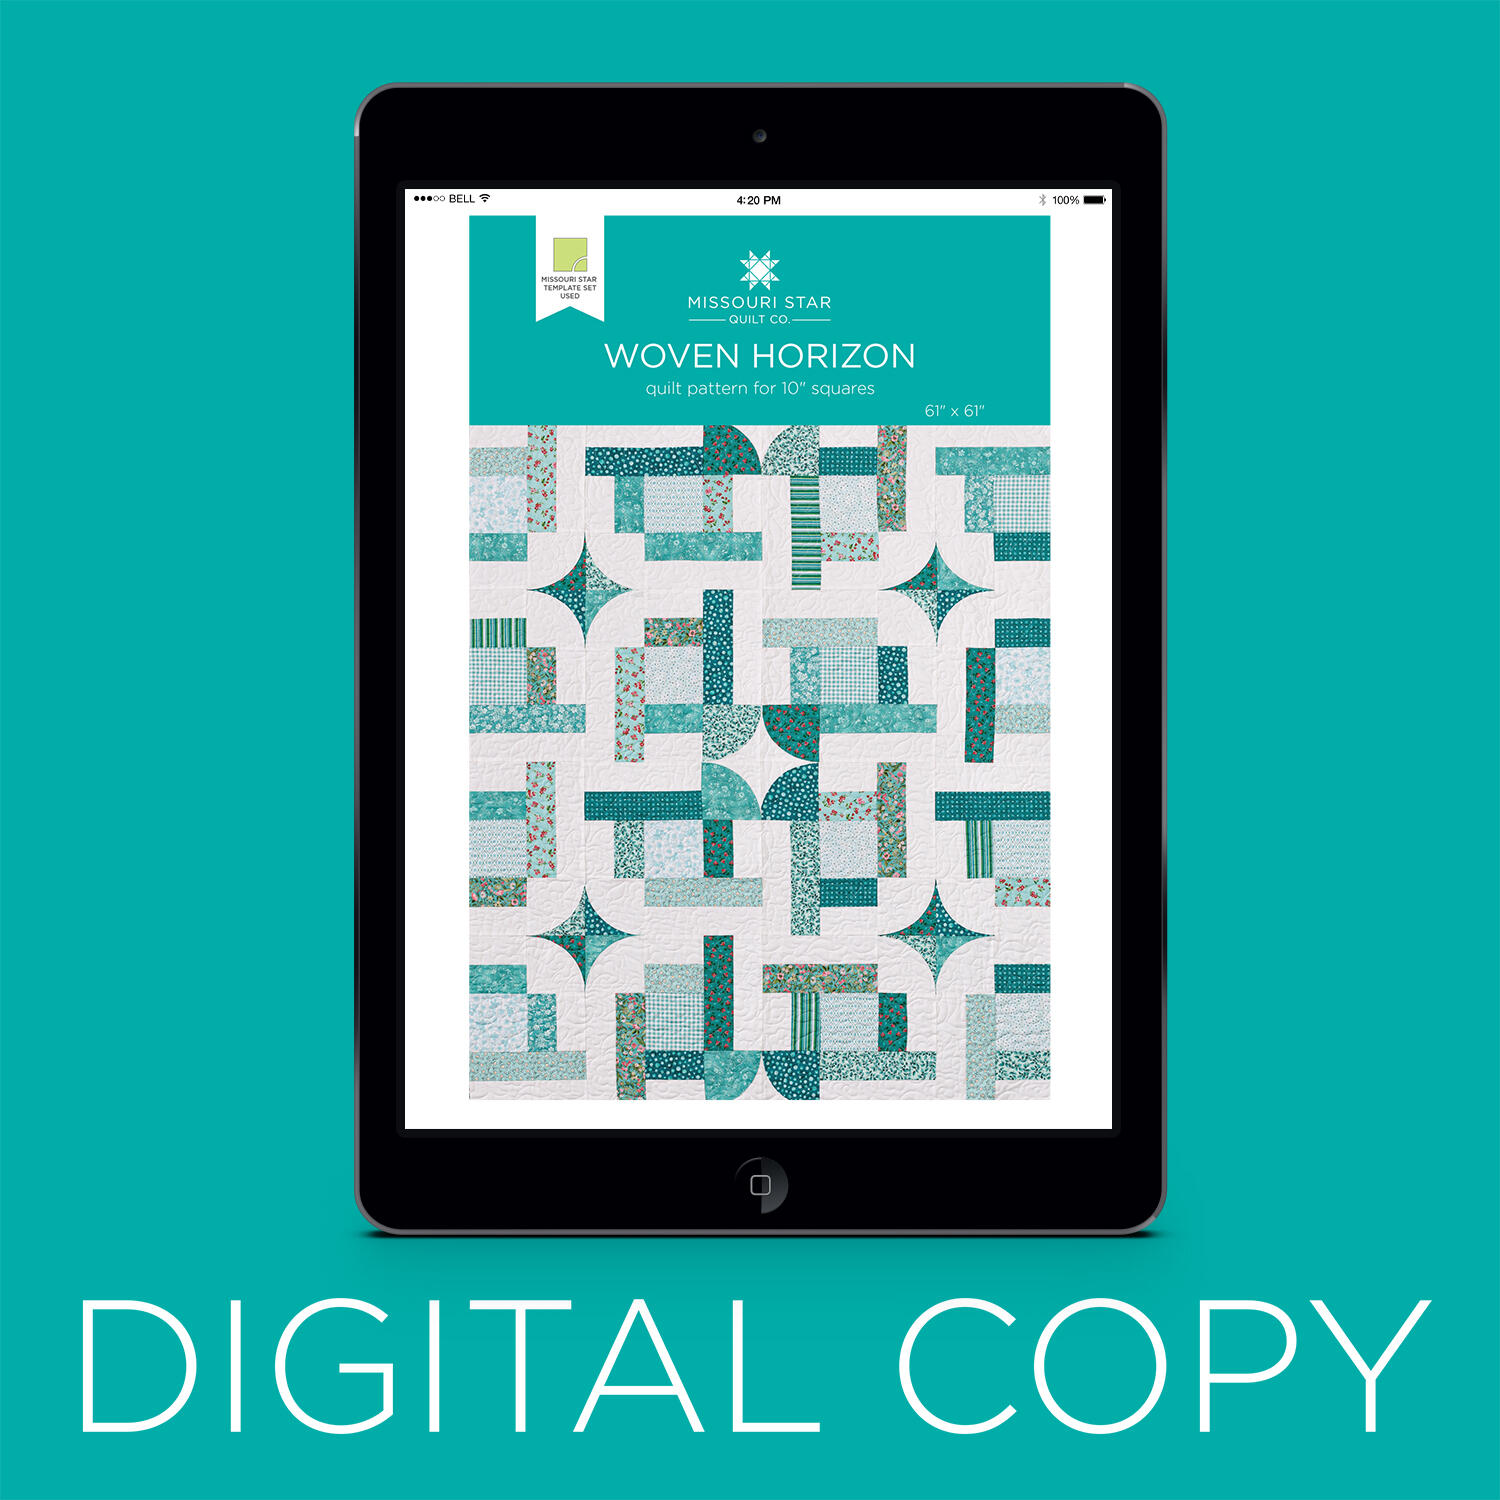 Digital Download - Woven Horizon Quilt Pattern by Missouri Star$6.95Shop →
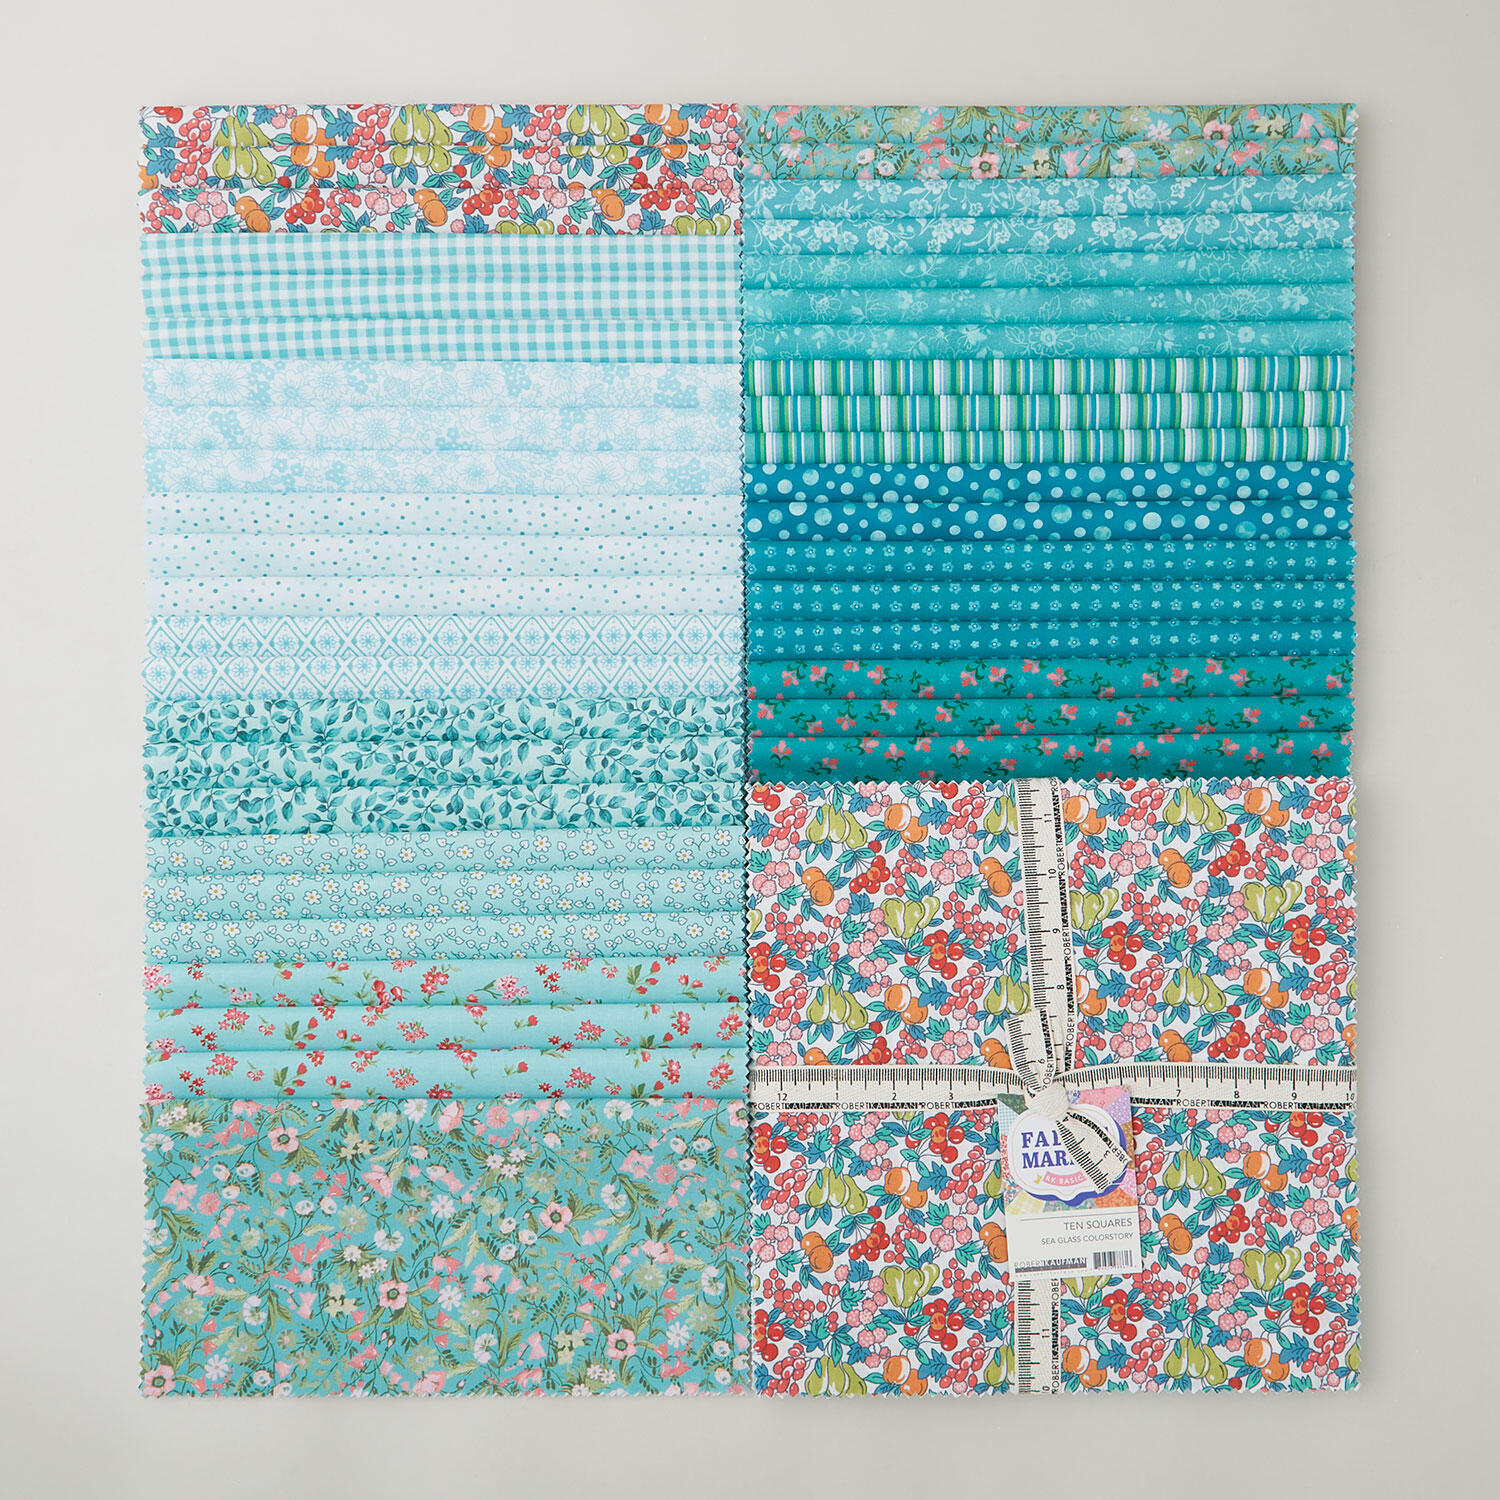 Fabric Market - Sea Glass Ten Squares$45.50Shop →
 Kona Cotton - White Yardage$8.48Shop →
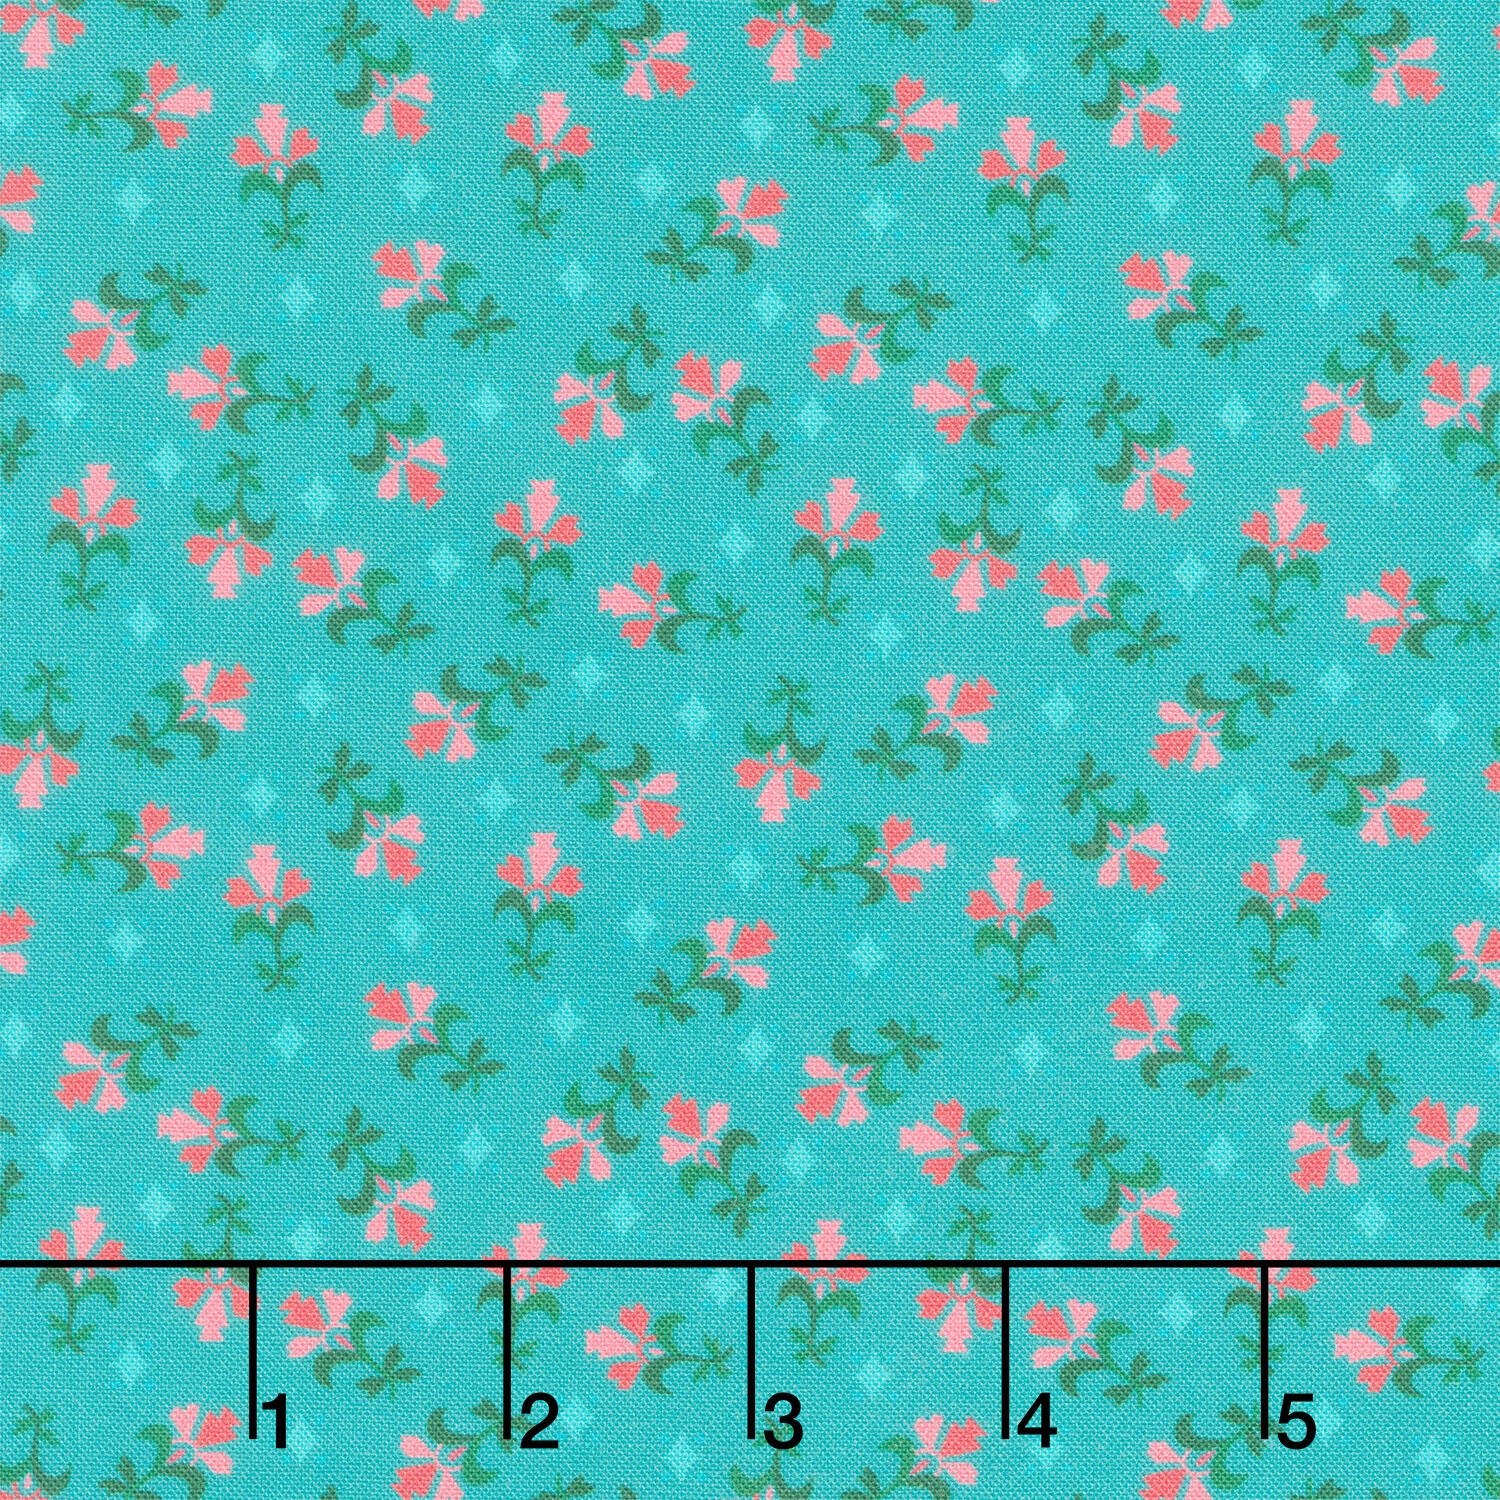 Fabric Market - Tossed Foulard Teal Blue Yardage$12.68Shop →
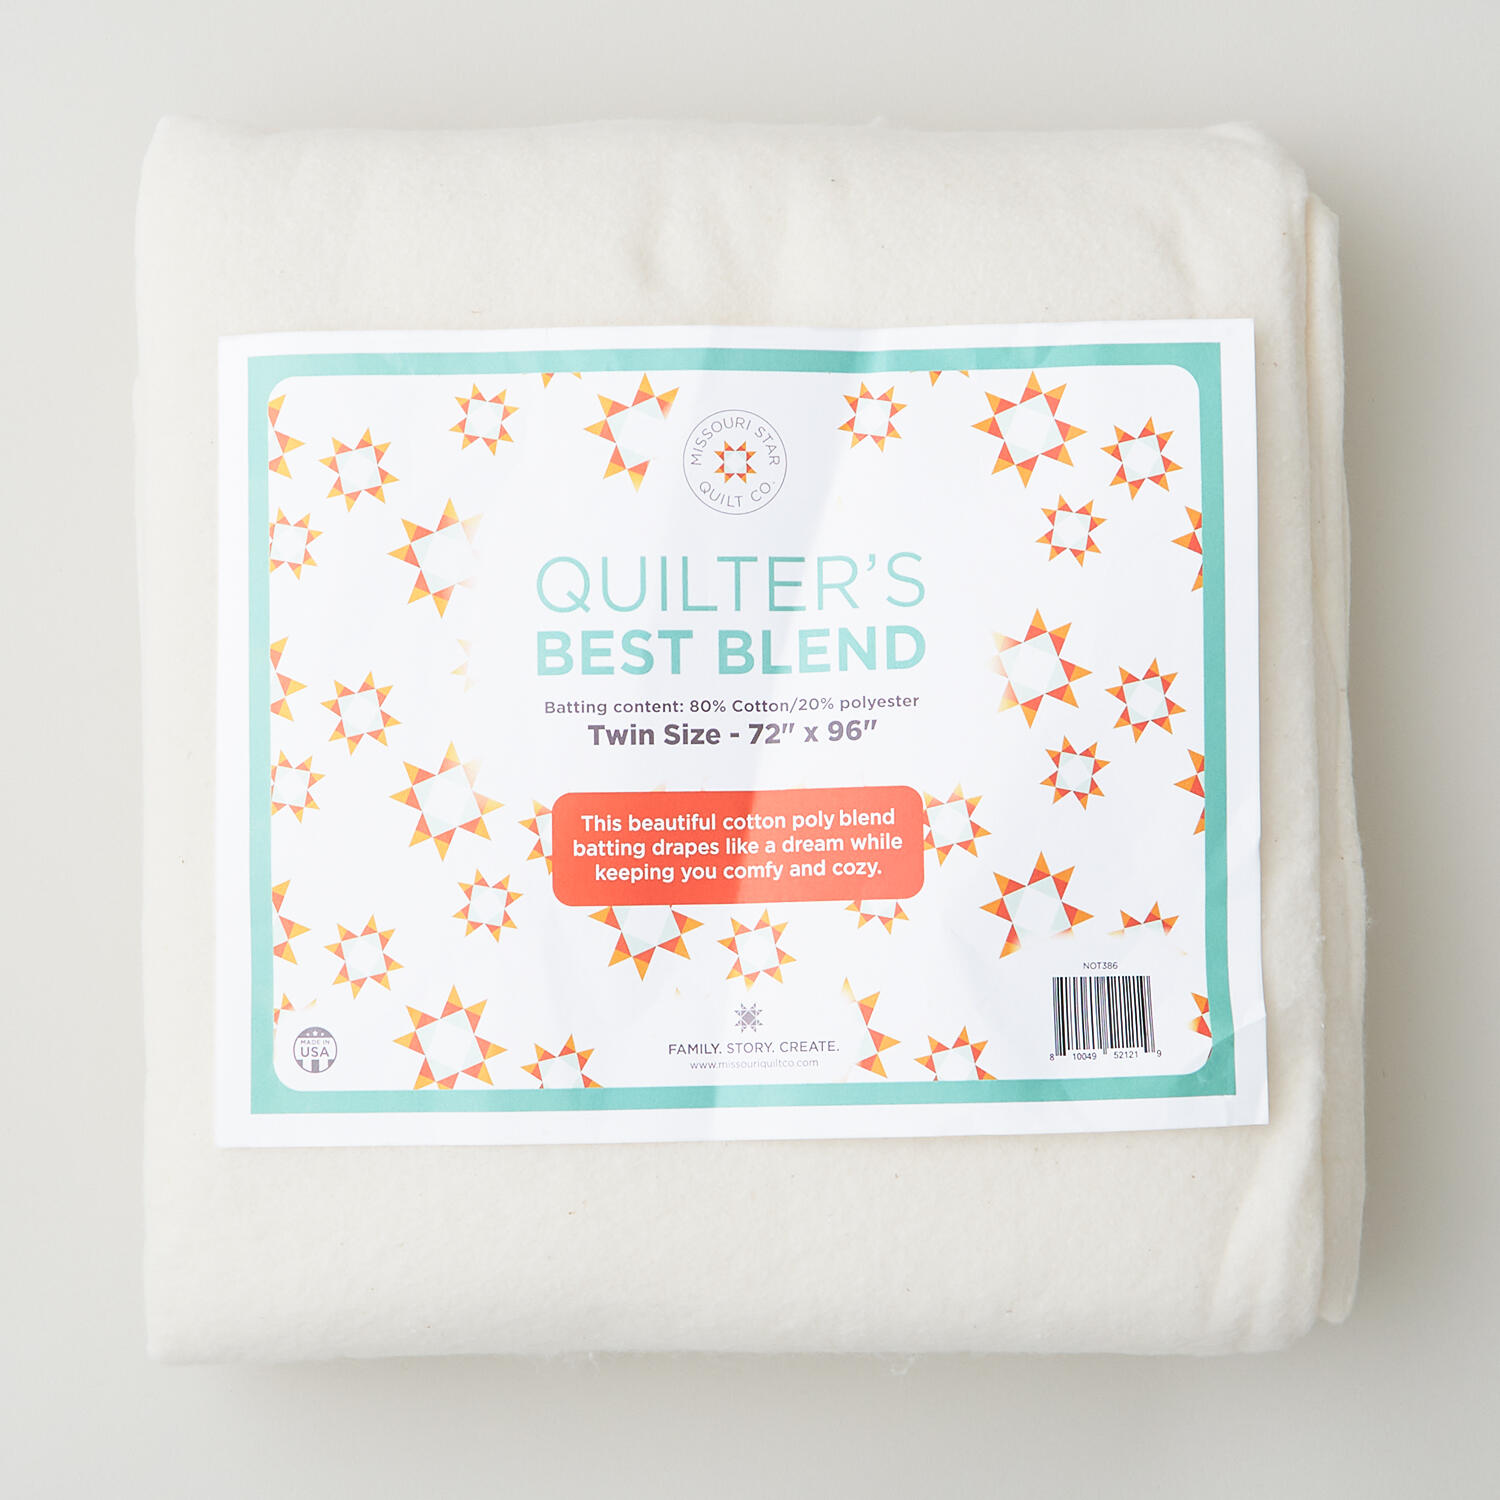 Missouri Star Quilter’s Best Blend Twin Batting$26.95Shop →
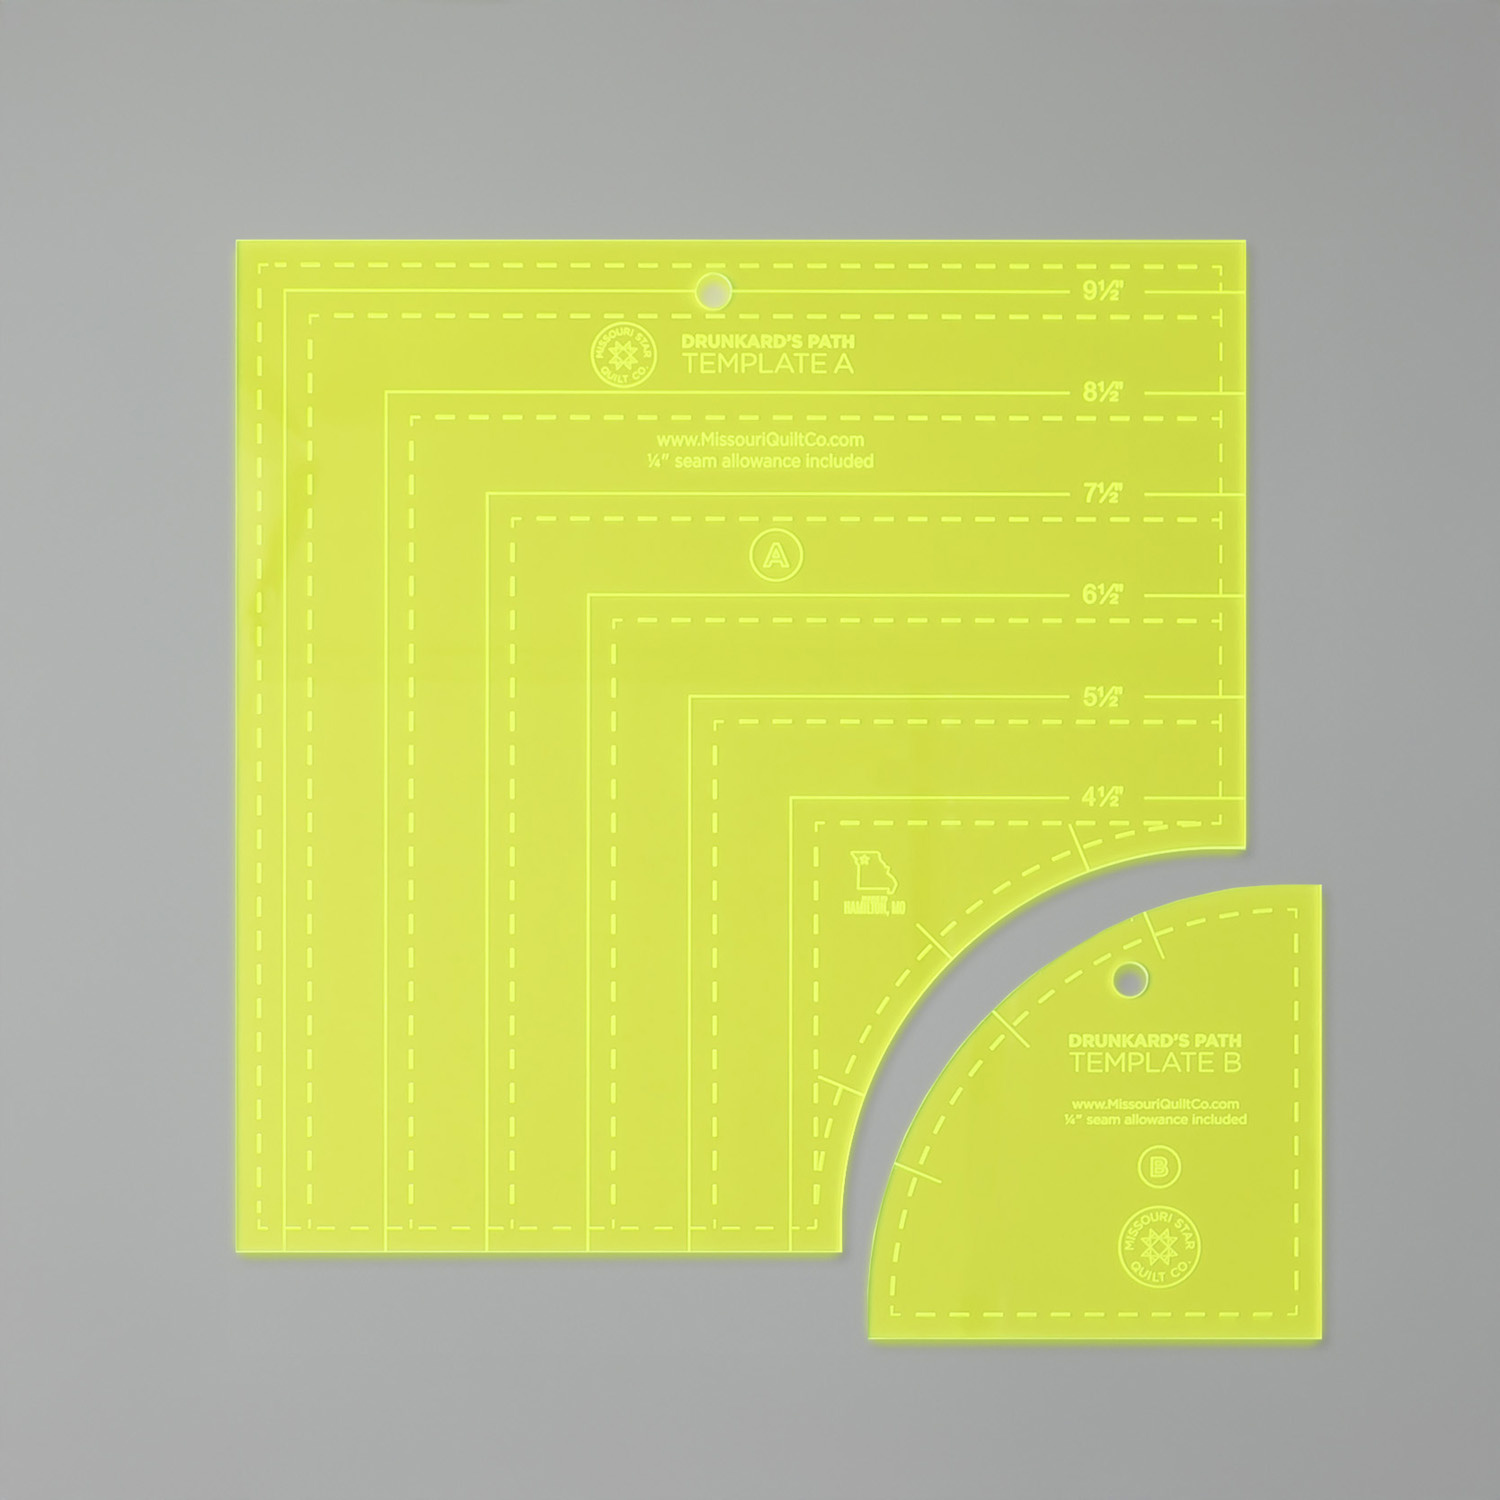 Missouri Star Drunkard's Path Circle Template Set - Small$21.95Shop →
 Missouri Star 5" x 15" Ruler$19.95Shop →
 Roxanne Glue Stick$8.25Shop →
 Missouri Star 45mm Rotary Cutter - Olga$19.95Shop →
 Missouri Star 8" Everyday Scissors - Amelia$19.95Shop →
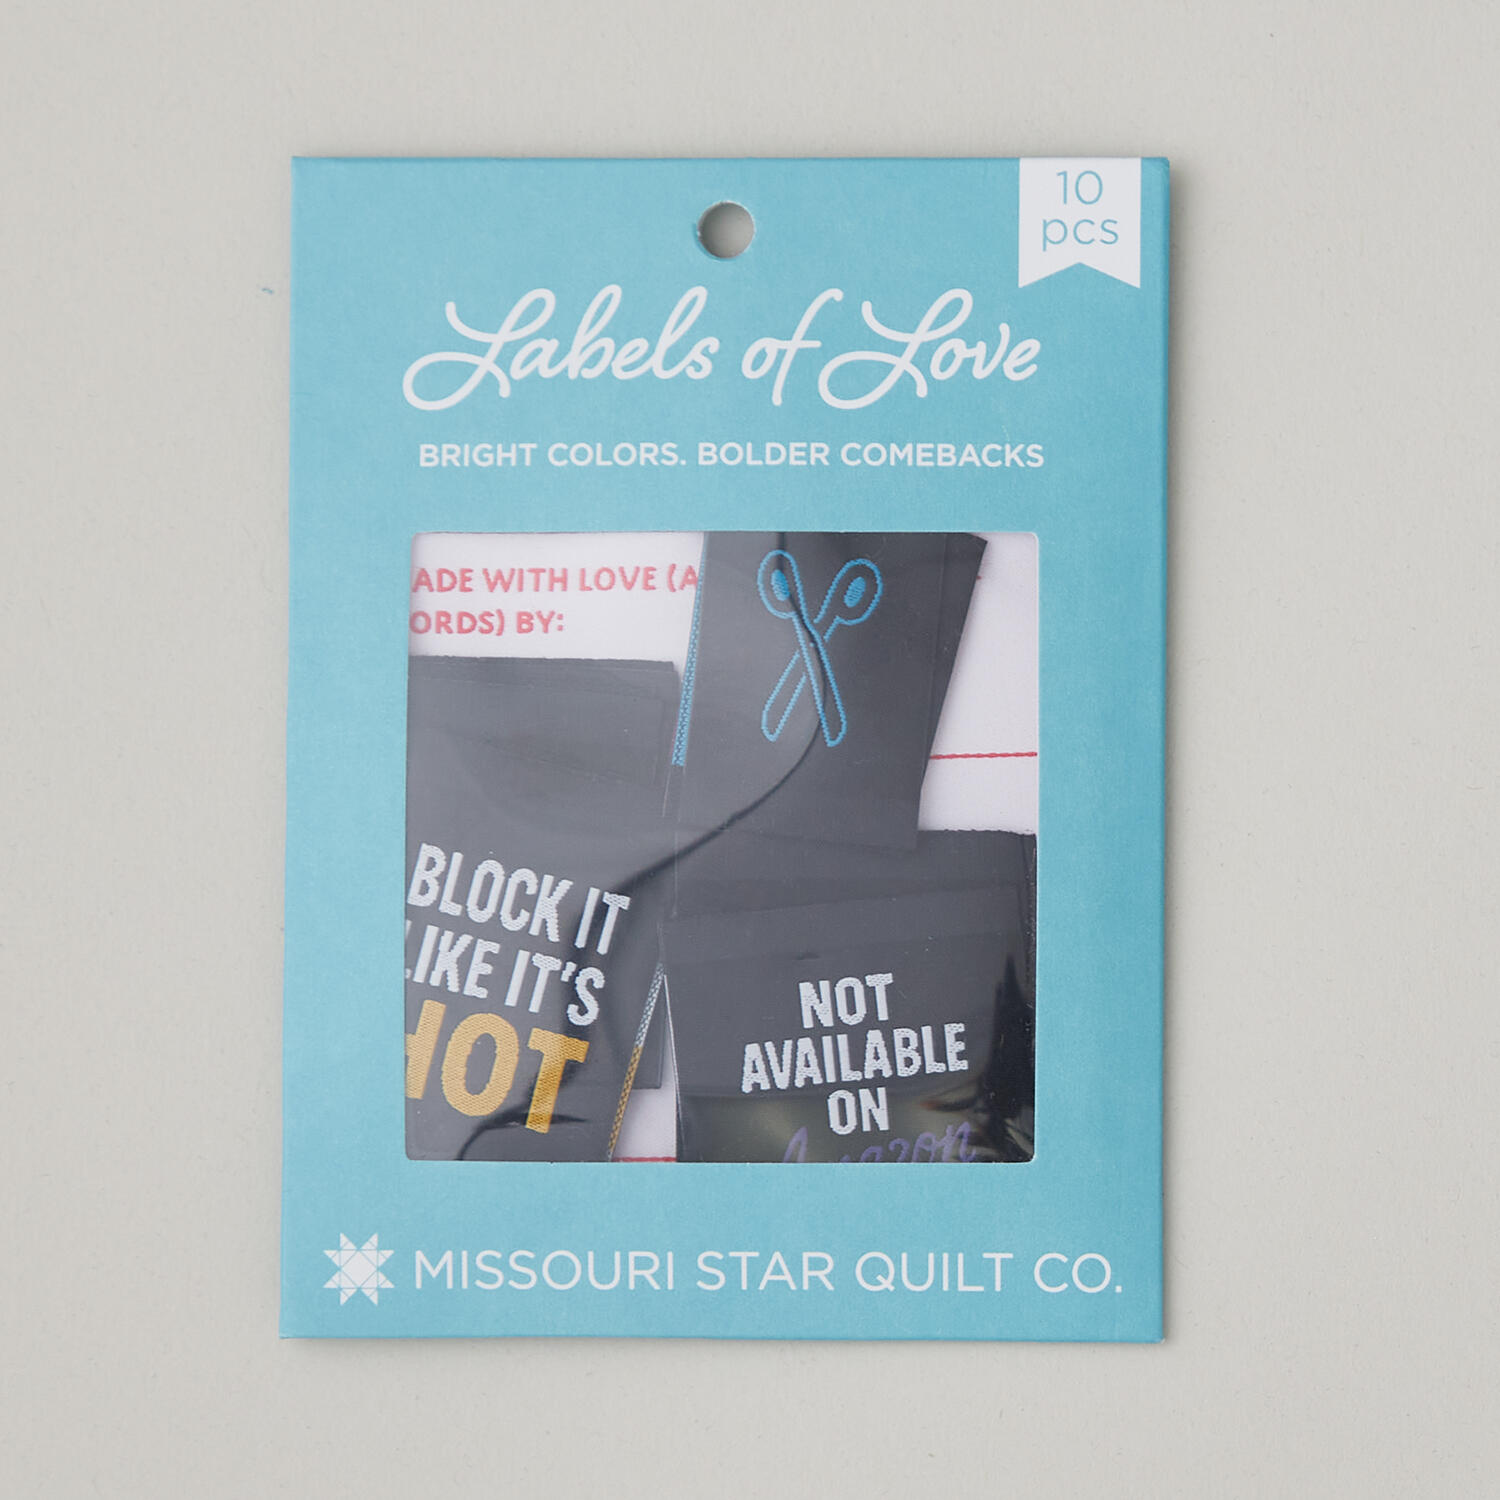 Missouri Star Labels of Love: Bright Colors, Bolder Comebacks$9.95Shop →



