Join Tami Jones from Hometown Quilt Company as she "cooks up" an appliqué turkey with a Dresden-style tail! Using shapes from the Holiday Hat Trick Template Set she created with Missouri Star, and Thistle and Rye fall fabrics from Henry Glass, Tami creates Thanksgiving décor that you'll gobble up!
Tami Jones is the heart and humor behind Hometown Quilt Company—a beloved sewing educator and viral content creator known for stitching together stories, smiles, and a whole lot of bobbin drama. With a knack for turning everyday moments into relatable, laugh-out-loud lessons, Tami has inspired makers across the country to embrace creativity with courage, curiosity, and a healthy dose of imperfection.
What is covered in Appliqué Turkey Pillow with Tami Jones?
Join Tami Jones from Hometown Quilt Company as she "cooks up" an appliqué turkey with a Dresden-style tail! Using shapes from the Holiday Hat Trick Template Set she created with Missouri Star, and Thistle and Rye fall fabrics from Henry Glass, Tami creates Thanksgiving décor t...
How long is the tutorial video?
The tutorial video is 00:07:07.
Are supplies listed for this tutorial?
Yes. The tutorial page includes the supplies and materials connected to this project.
Video Transcript
Let's go make this precious turkey pillow. Isn't he amazingly adorable? I made him with my templates. It's the Hack Trick template set by Tammy Jones that Missouri Star Quilt Company has. And it comes with a ghost, a turkey that we're going to use today and a Christmas tree. So, how I made my turkey is I took my center piece of fabric and I folded it in half just like this. I laid my turkey on top of it and cut him out. Now, you can trace him and cut him. If you trace him, I would turn it your fabric inside out. Trace him on the back side just so your marks don't show and then cut him out. Now, this is what I'm going to use for the beak. Now, the beak pops out. And I have the little beak piece, but I'm just going to lay him on here and trace inside of his beak because that's a little bit easier to me. So, I cut his body out. I'm cutting his beak out right now. I just traced it with a disappearing ink pen. One end disappears with air and the other with heat, I think. One with water and one with air. But they make them that disappear with heat, too. I'm going to cut my beak out. I'm going to put him in the center. And then here are your feathers. So, your turkey comes with two pieces. Three if you count this one that pops out. You cut his body out and then his feathers. Now, it gives you instructions with how many feathers to cut, but the truth is cut as many feathers as you want or as few as you want and put them around your turkey. I'm using these fabrics from the Sewing Bird collection by Andover because I love the soft blues, but you can use funky fabrics and you can make it a whole bunch of different ways. We're putting this on a pillow today, but it is precious on the front of a sweatshirt or on a placemat or a table runner, a wall flag, a door hanger. The options are endless. And now that I'm done with my pieces, I'm going to put it in my template holder. Now, this is the Missouri Star Quilt Company's template holder, and it's actually the deal of the day. So, if you need a template holder to put all of your templates in, this is a great option. And it's the deal of the day. It's a hardbound binder that's pretty thick and it comes with a whole bunch of empty pages and you can buy more pages to go in it. And they just open up and your templates slide down in. This one has a ghost in it. How about another ghost? Fits in there great. Or what about a second turkey? Fits in there great. So you can put your holiday sets together or you can put one per page. Whatever you want to do. But either way, if you have a bunch of templates and you're struggling to organize them like me, great option. Now, we have our turkey. We have our turkey cut out and we have our turkey pinned on. Our piece of fabric is 14 in wide by 20 in long because that's the size of my pillow form. The first thing I'm going to do is stitch all the way around. Now, I didn't use any WonderU under or heat and bond. I just cut my pieces of fabric out. I laid it and I pinned it on. Use as many pins as you need, but not more than you need because every pin you use is one that will poke you. I'm going to straight stitch mine on. I love the fray and it's a throw pillow. It probably is going to fray a little bit because I'm sure that my little ladies will have a whole lot of fun with it. But if you don't like the fray and you don't want that, just zigzag around your pieces. Now, I am going to change my thread to this pretty blue. I'm going to stitch this one down in orange and the rest of it in this blue. And I'm just going to sew a quarter inch seam. So, I'm going to follow the edge of my presser foot around my fabric all the way around every piece. You want to sew down every raw edge. And then I'll show you what it's like when I'm done. Okay, we've sewn our turkey on. And he's so cute. He's super elegant looking, I think, for a turkey. Especially cuz lots of the other things I've made with him are very funky. A whole bunch of different colors. But now, I love all the different styles. So you make it the style that you like it. Here we have the our turkey on the front of our pillow. We're going to lay that to the side. Okay. Now we have our pieces for the back. They are 14 in by 12 in. You can make them 14 by 13, 14 by 14. 14 x 12 is about as small as you can go. And mine are 14 x 12 because that's the piece I had left over after I cut my pillow out. So 14 by 12 or 13 or 14, whatever you decide. And I took one of the 14inch sides, folded it down about a half an inch, and ironed it. One side of this piece and one side of this piece. Now, I'm going to change my thread. And the first thing I'm going to do is zigzag these sides down. And all that's going to do is get rid of our raw edge. I'm going to center the raw edge that's ironed over underneath the center of my presser foot. And I'm going to zigzag all the way down. I'm going to back stitch when I start and when I stop because my grandma said so. Okay, I've zigzagged one side down. That's going to be the opening of the back of our pillow. Now, we're making an envelope pillow. And I love an envelope style pillow because you're just making the pillow case. And so, you can take it off and change it out for the different seasons. And they're super easy to make, not really time consuming. They're a great first project if you're trying to teach one of the littles in your life to sew or even if you're learning how to sew yourself. They're great. So, we laid the first piece face down. And I'm calling the pretty side the side that's not folded over. This is the back side, the side that we folded over. And it's in the center. And I'm going to lay the second piece face down. And I'm going to line up all of my raw edges. And I'm going to clip them. And then all we're going to do is go and sew a straight stitch all the way around. Now, I'm not normally a pinner or a clipper. If you are, put as many as you want. I put a few just because I don't want it to shift on me while I'm sewing it. I'm going to sew this with a straight stitch and a quarter inch seam. I'm going to get the quarter inch seam by following the edge of my fabric with the edge of my presser foot. I'm not going to look at my needle. I'm just going to watch my fabric and my presser foot. And that's going to give me a night a nice straight seam. So, follow the edge of your fabric with the edge of your presser foot. Don't look at your needle. And don't forget to back stitch when you start and when you stop because my grandma said so. And all we're doing now is sewing all the way around the entire outside part of this whole pillowcase. Okay, we've sewn it. Now we're going to turn it right side out and put our pillow form in it. Make sure you push out your corners. Chopstick, handy dandy tool. Do not use your scissors because if you do, you'll be crying because you have a hole. I'll be crying because you didn't listen to me and then everybody's crying. So, let's just don't do it. It's a terrible idea. Oh my goodness. Oh my goodness, he's so cute. Oh my goodness, look how cute he is. He's ready for Thanksgiving and so am I. My name is Tammy. I'm your favorite sewing teacher and I would love for you to come sew with


 Tami Jones
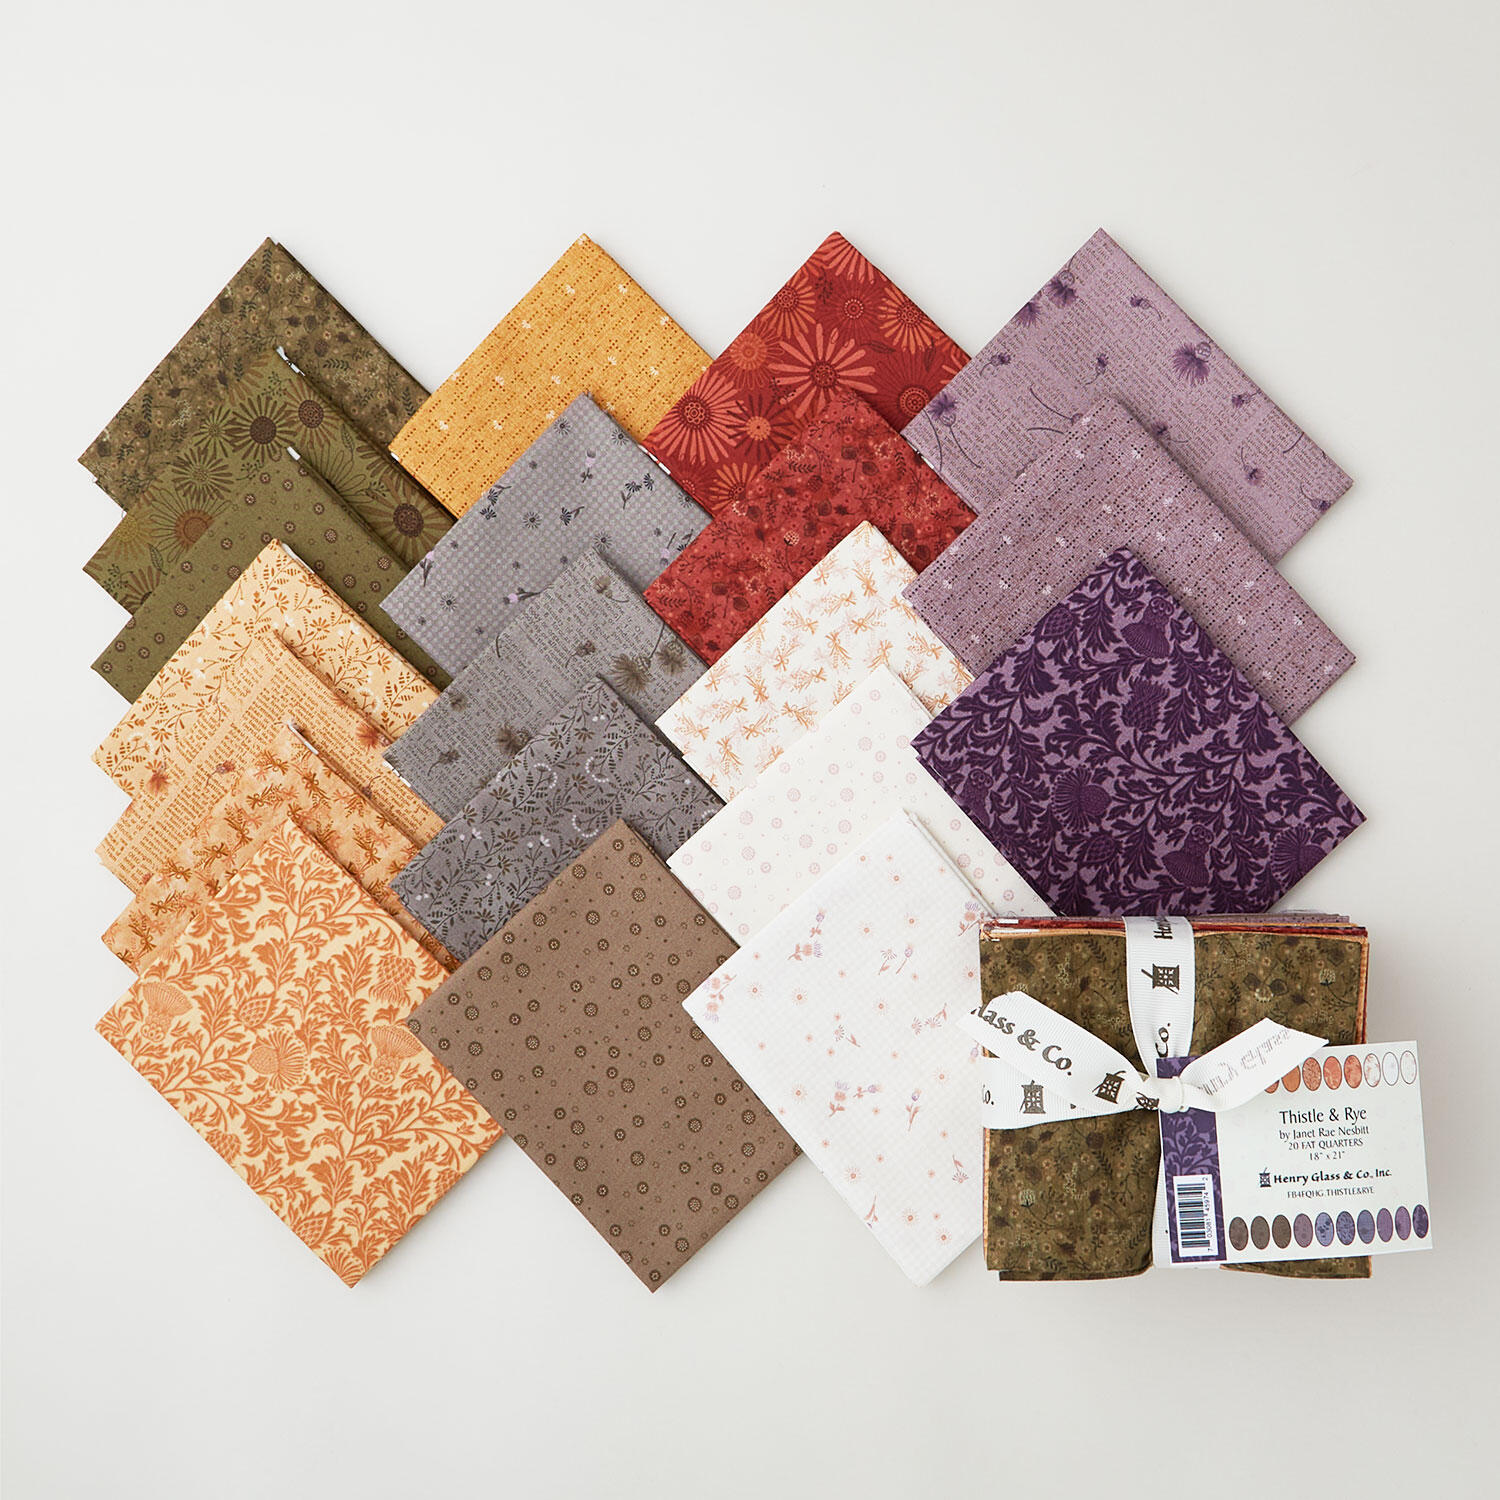 Thistle and Rye Fat Quarter Bundle$102.95Shop →
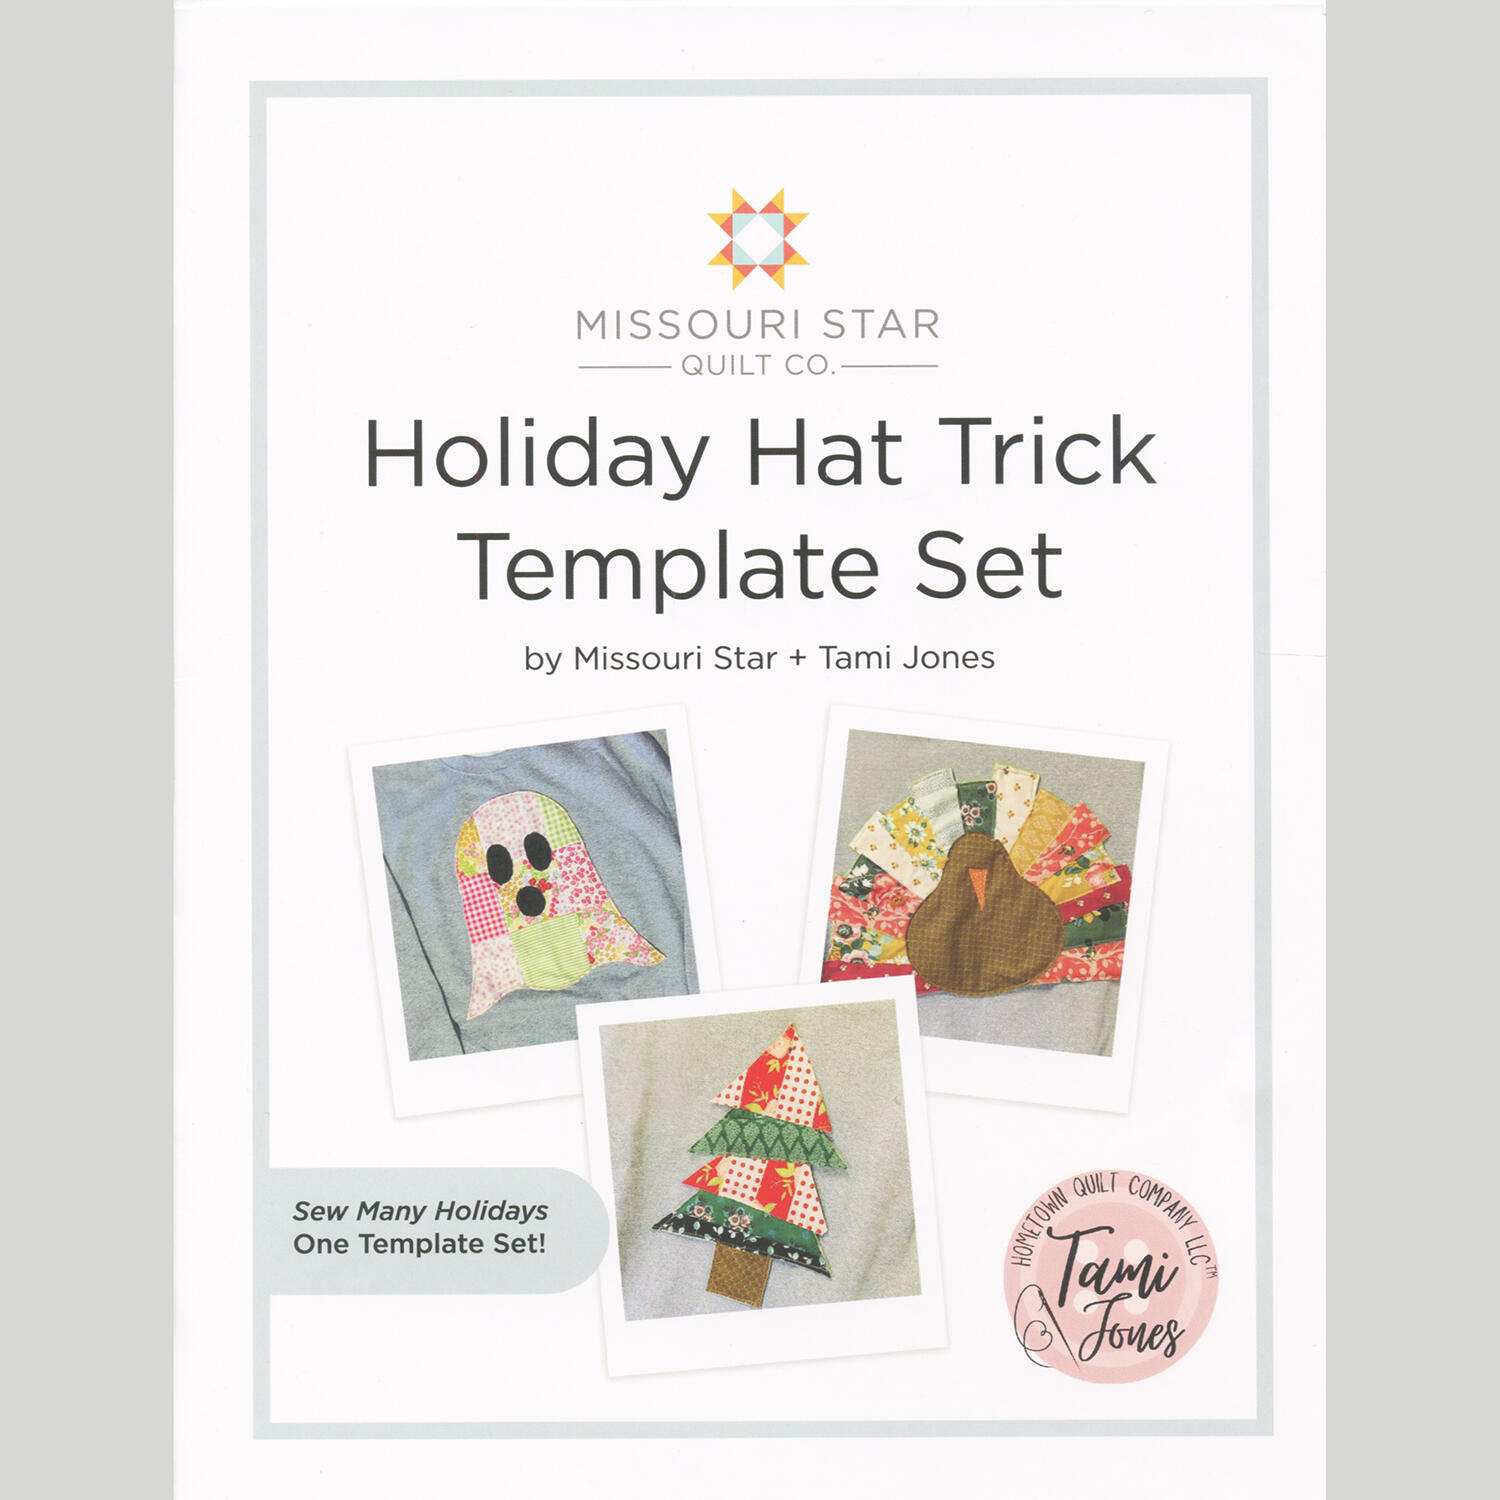 Tami Jones + Missouri Star Holiday Hat Trick Template Set$29.95Shop →
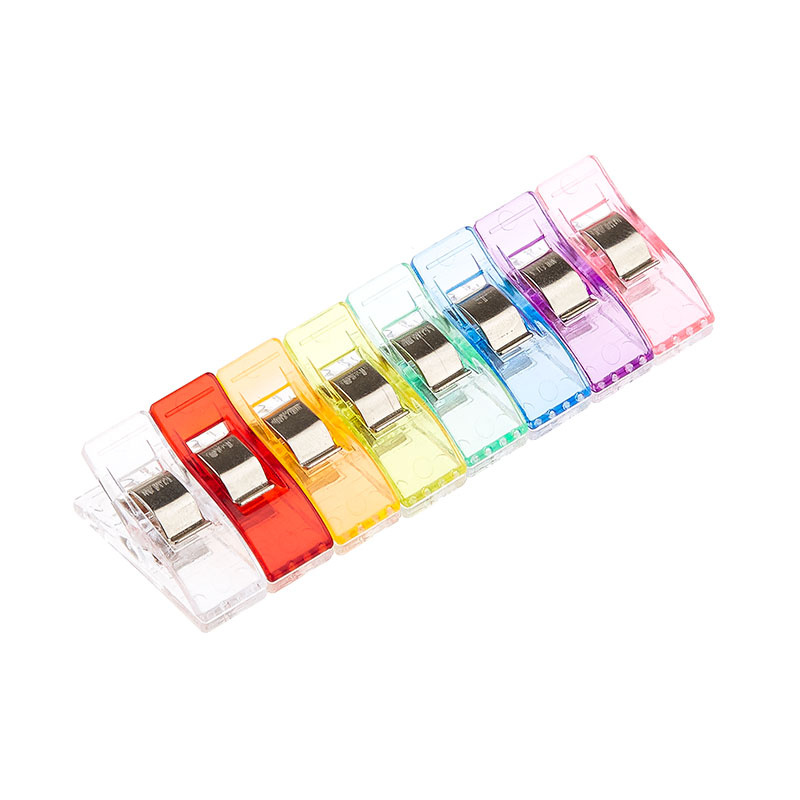 Missouri Star Colorful Quilting Clips - Pack of 50$29.95Shop →
 Missouri Star 45mm Rotary Cutter - Olga$19.95Shop →
 Missouri Star 8" Everyday Scissors - Amelia$19.95Shop →
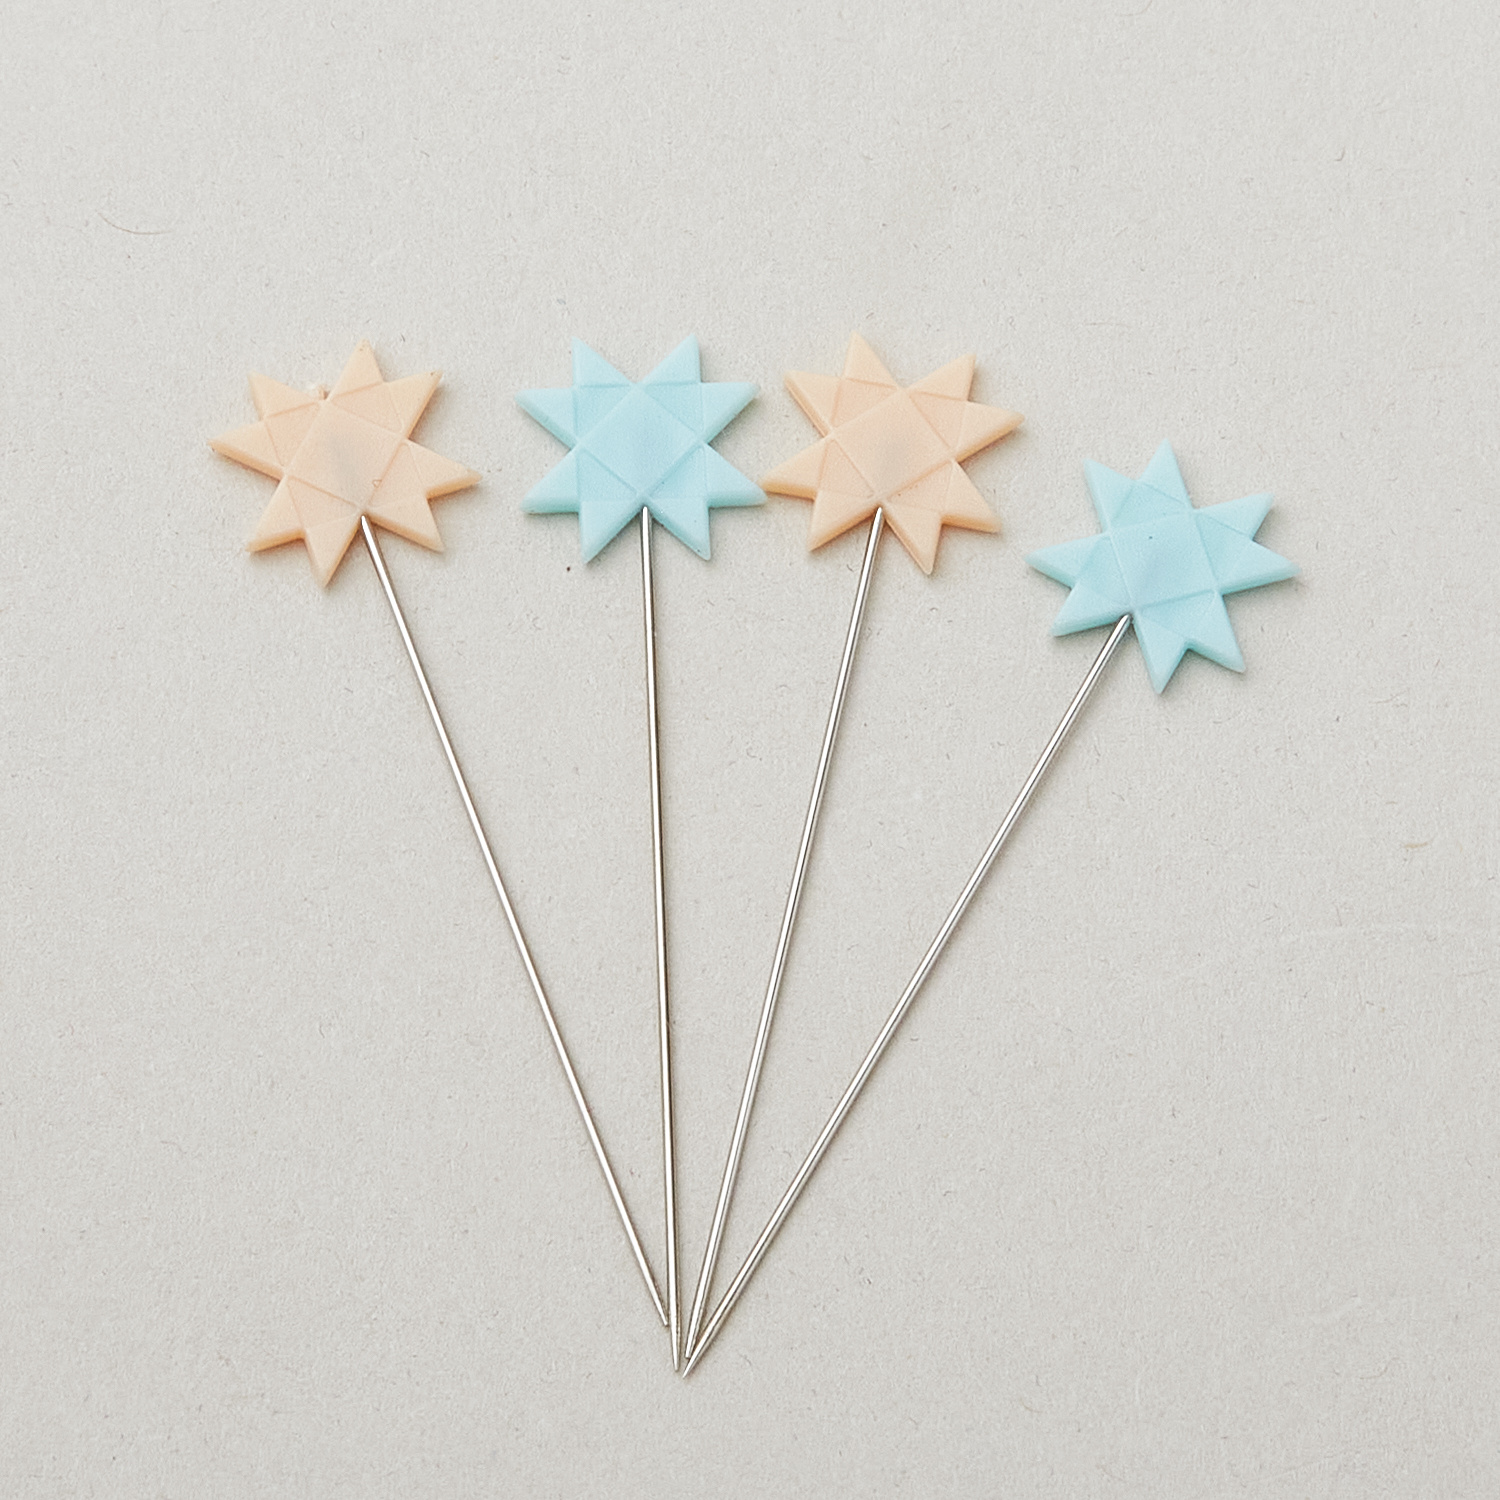 Missouri Star 2” Quilter’s Flat Head Pins (100pk)$14.95Shop →
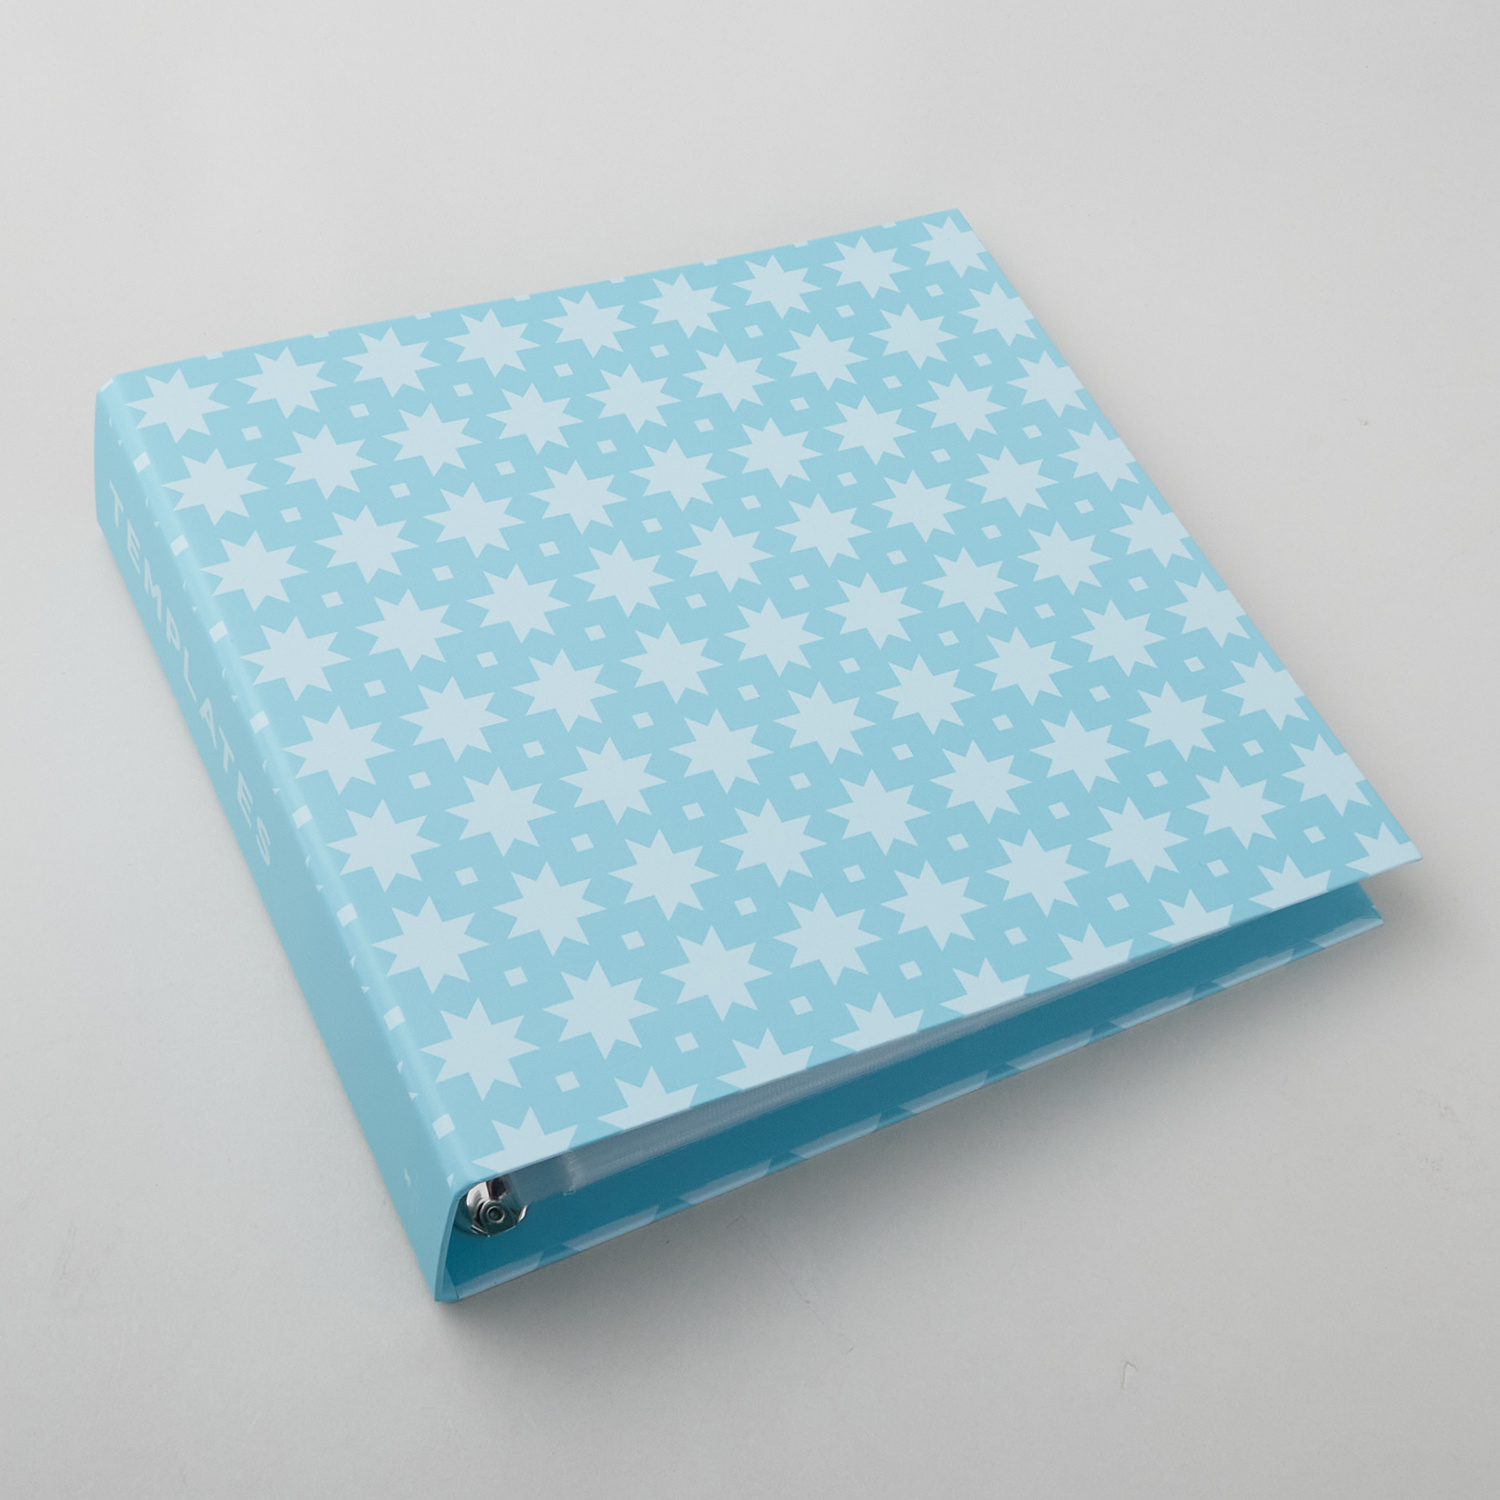 Missouri Star Template Binder$17.95Shop →
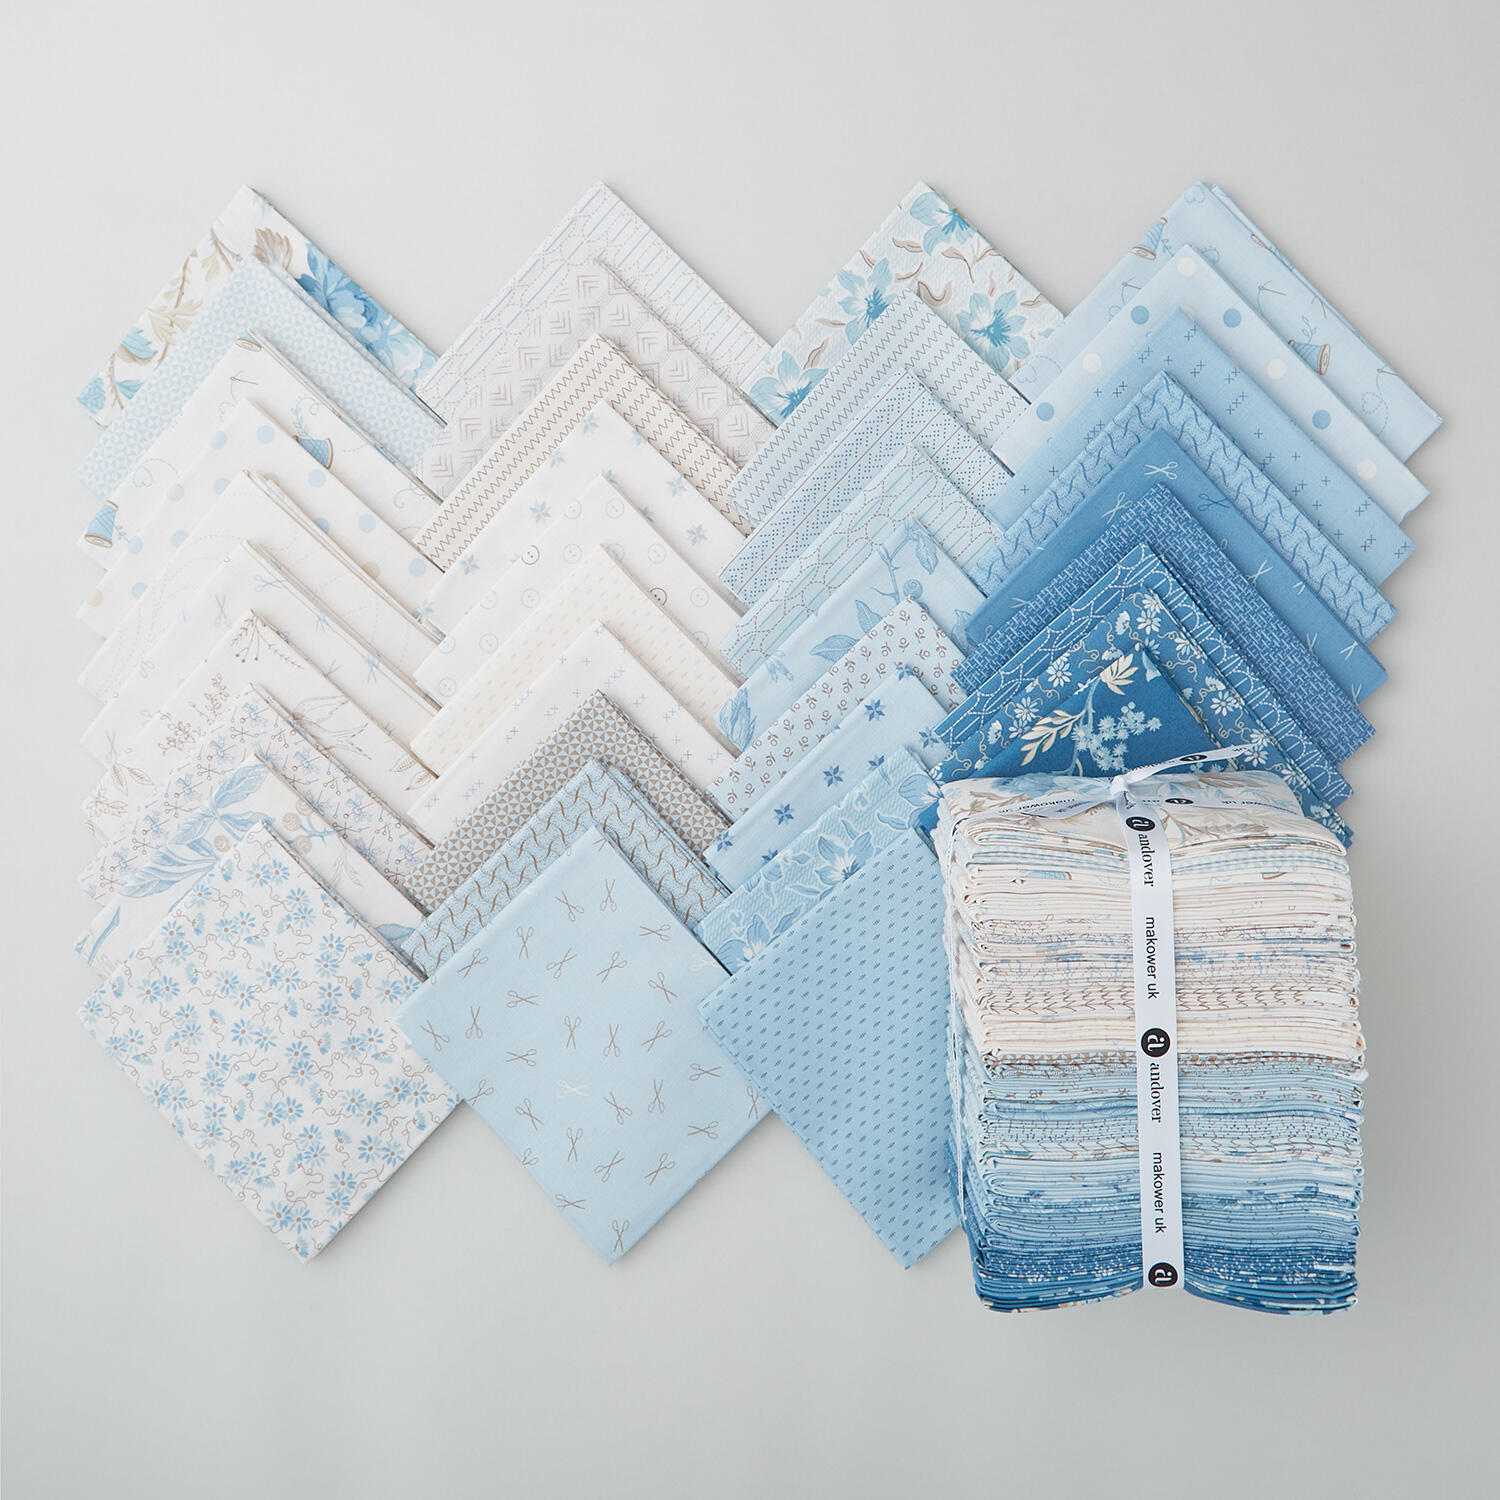 Sewing Bird Fat Quarter Bundle$117.95Shop →



