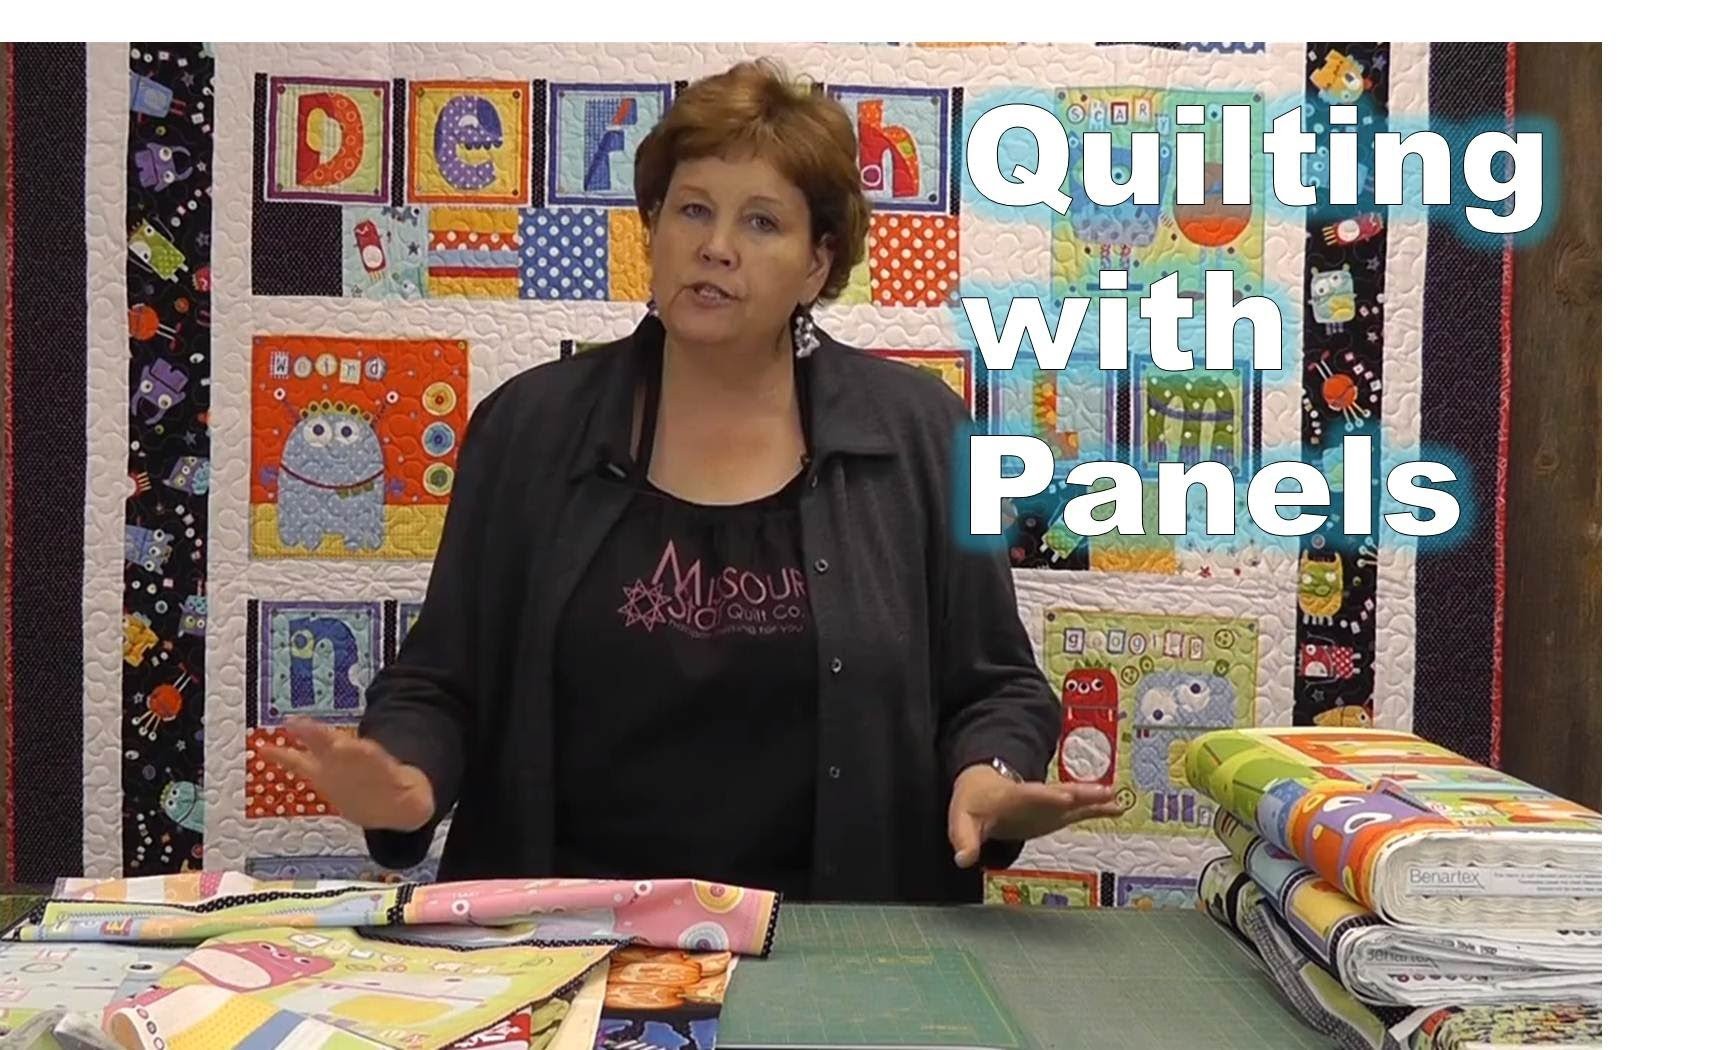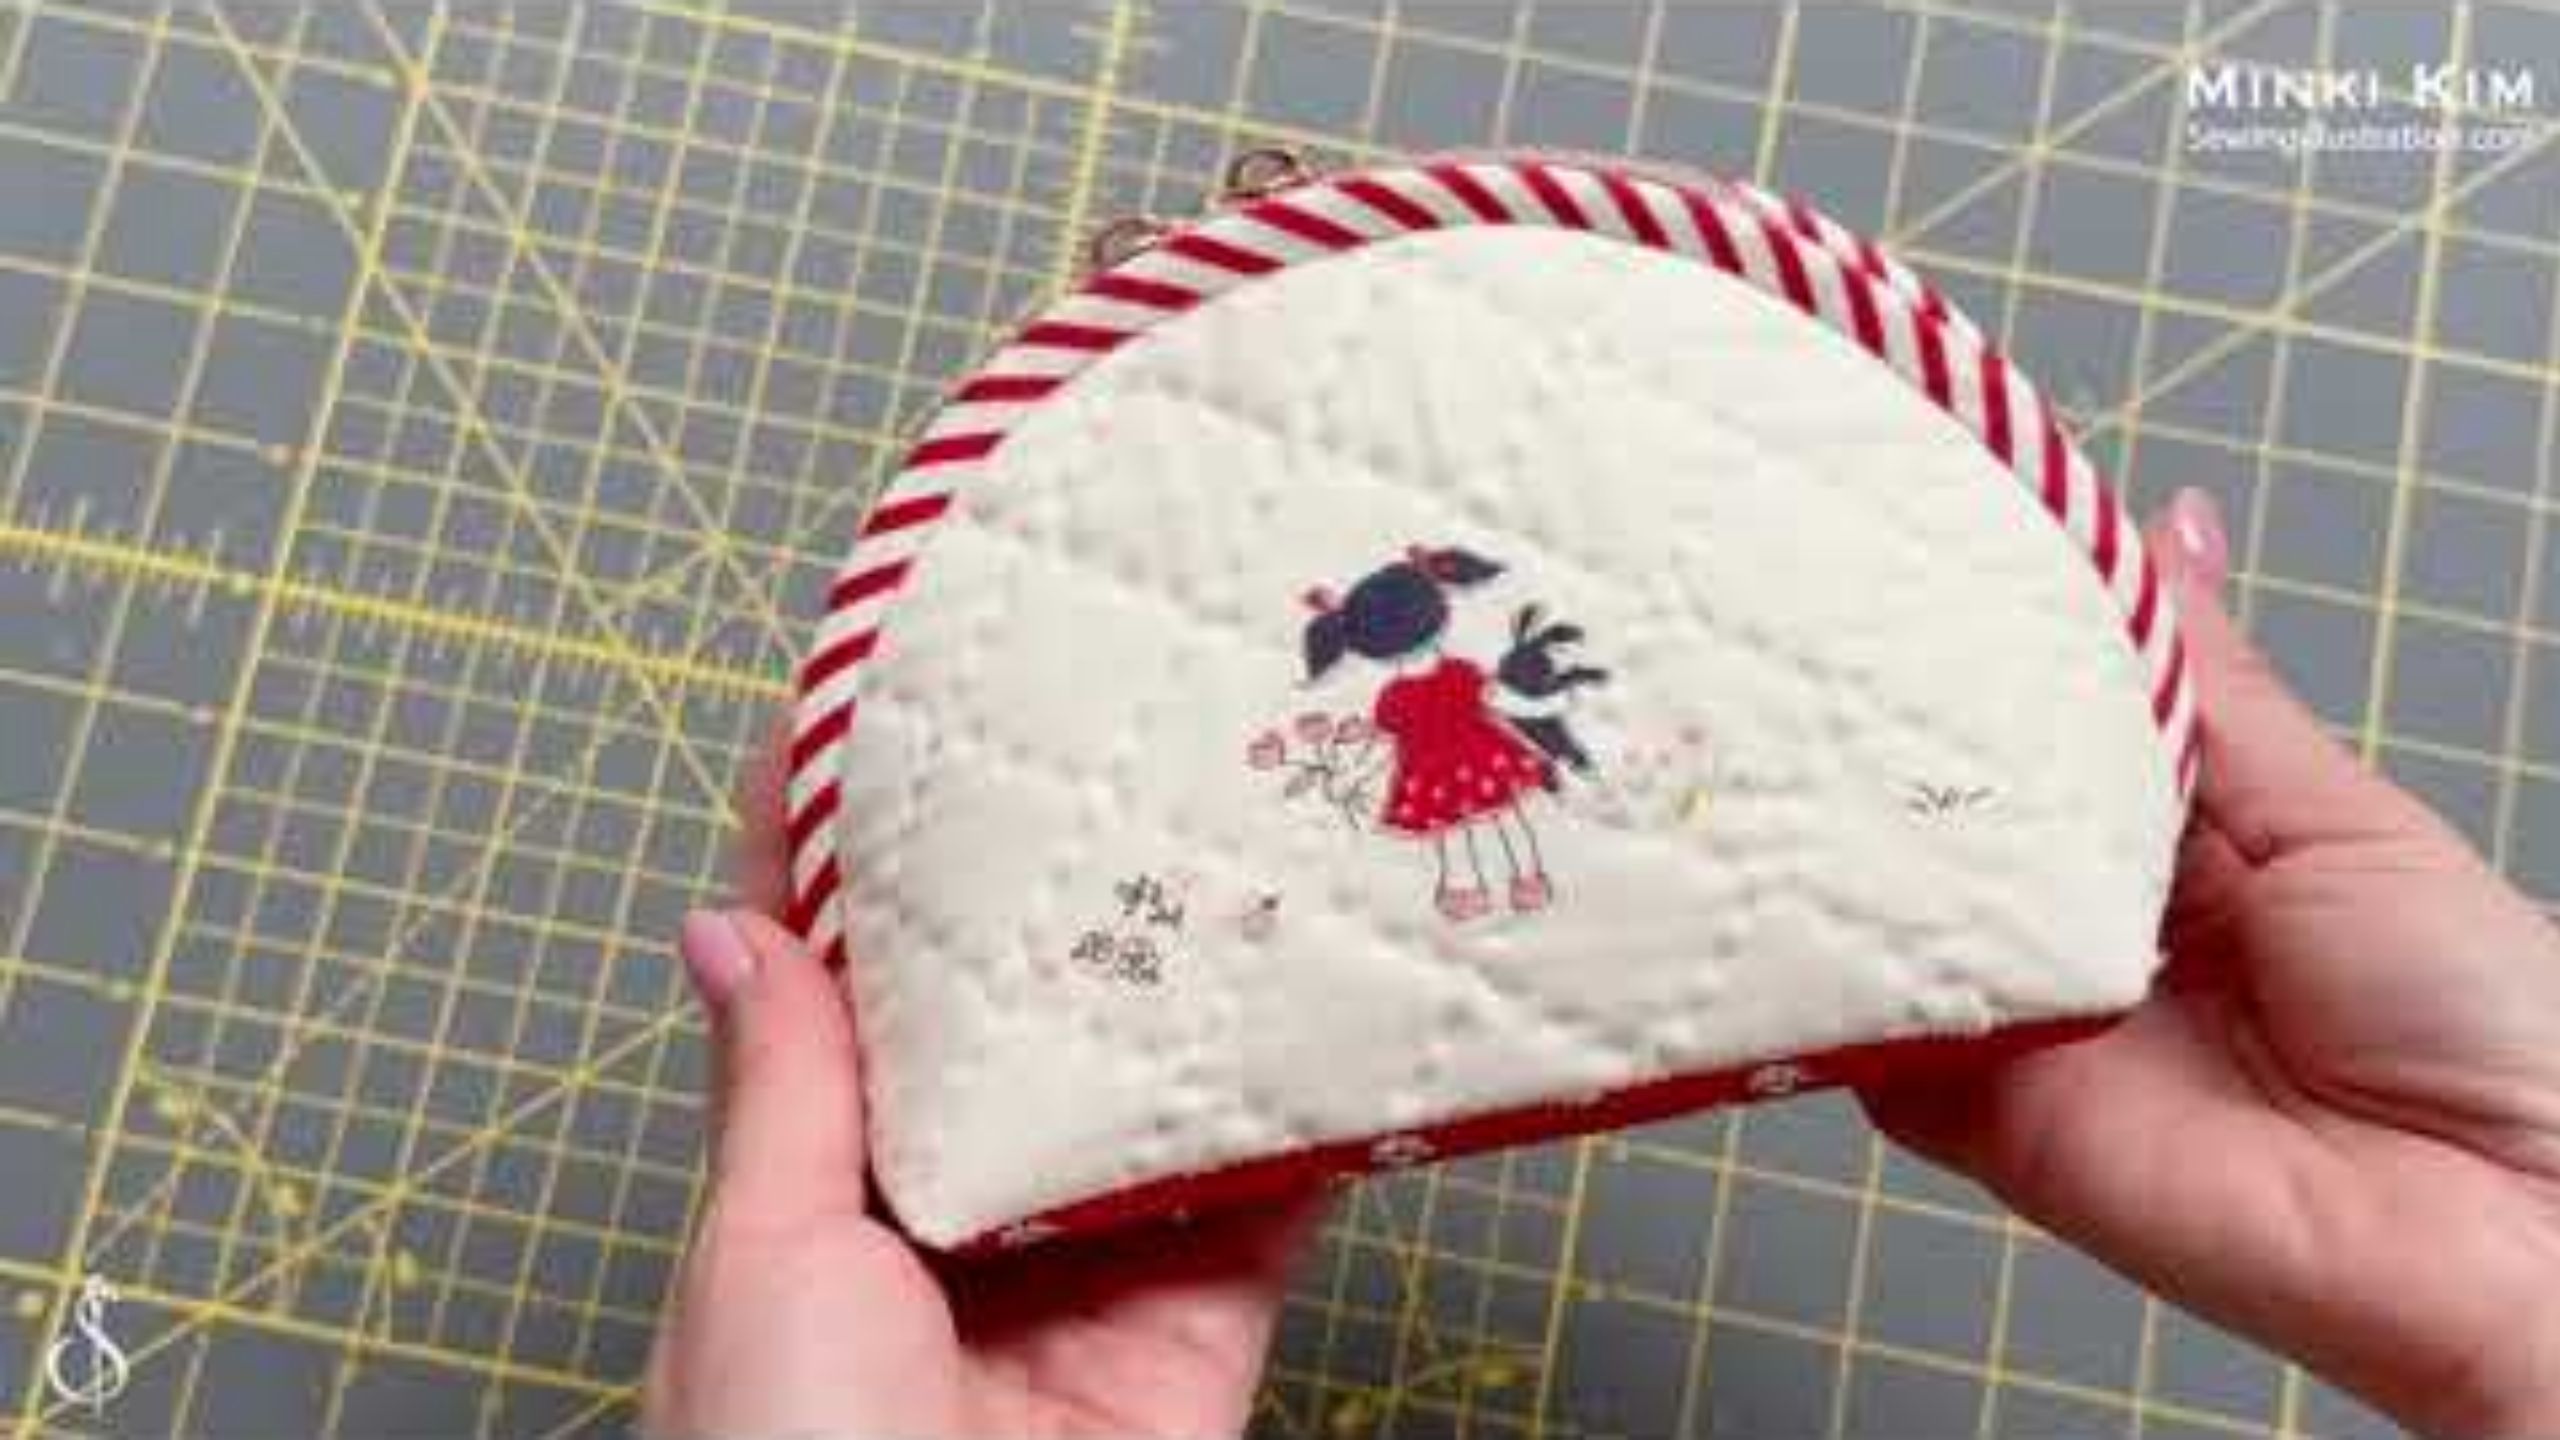
BloomBerry Zipper Pouch Panel | Little Friend Zip Pouch with Minki Kim
Minki Kim's new BloomBerry collection is full of beautiful florals, cottage chic plaids and stripes that pair together effortlessly. She has also included a panel with all the pieces and instructions necessary for making a small zippered pouch. In this tutorial she shows you how to make it!

Instructor
Minki Kim
Minki Kim is a fabric and pattern designer with her own whimsical style. As a formally trained sculptor and self-taught sewist, she discovered sewing as a creative outlet. Minki lives in Southern California with her husband and three daughters. You can find more of her work at <a href="https://sewingillustration.com/">Sewing Illustration</a>.
Shop this tutorial
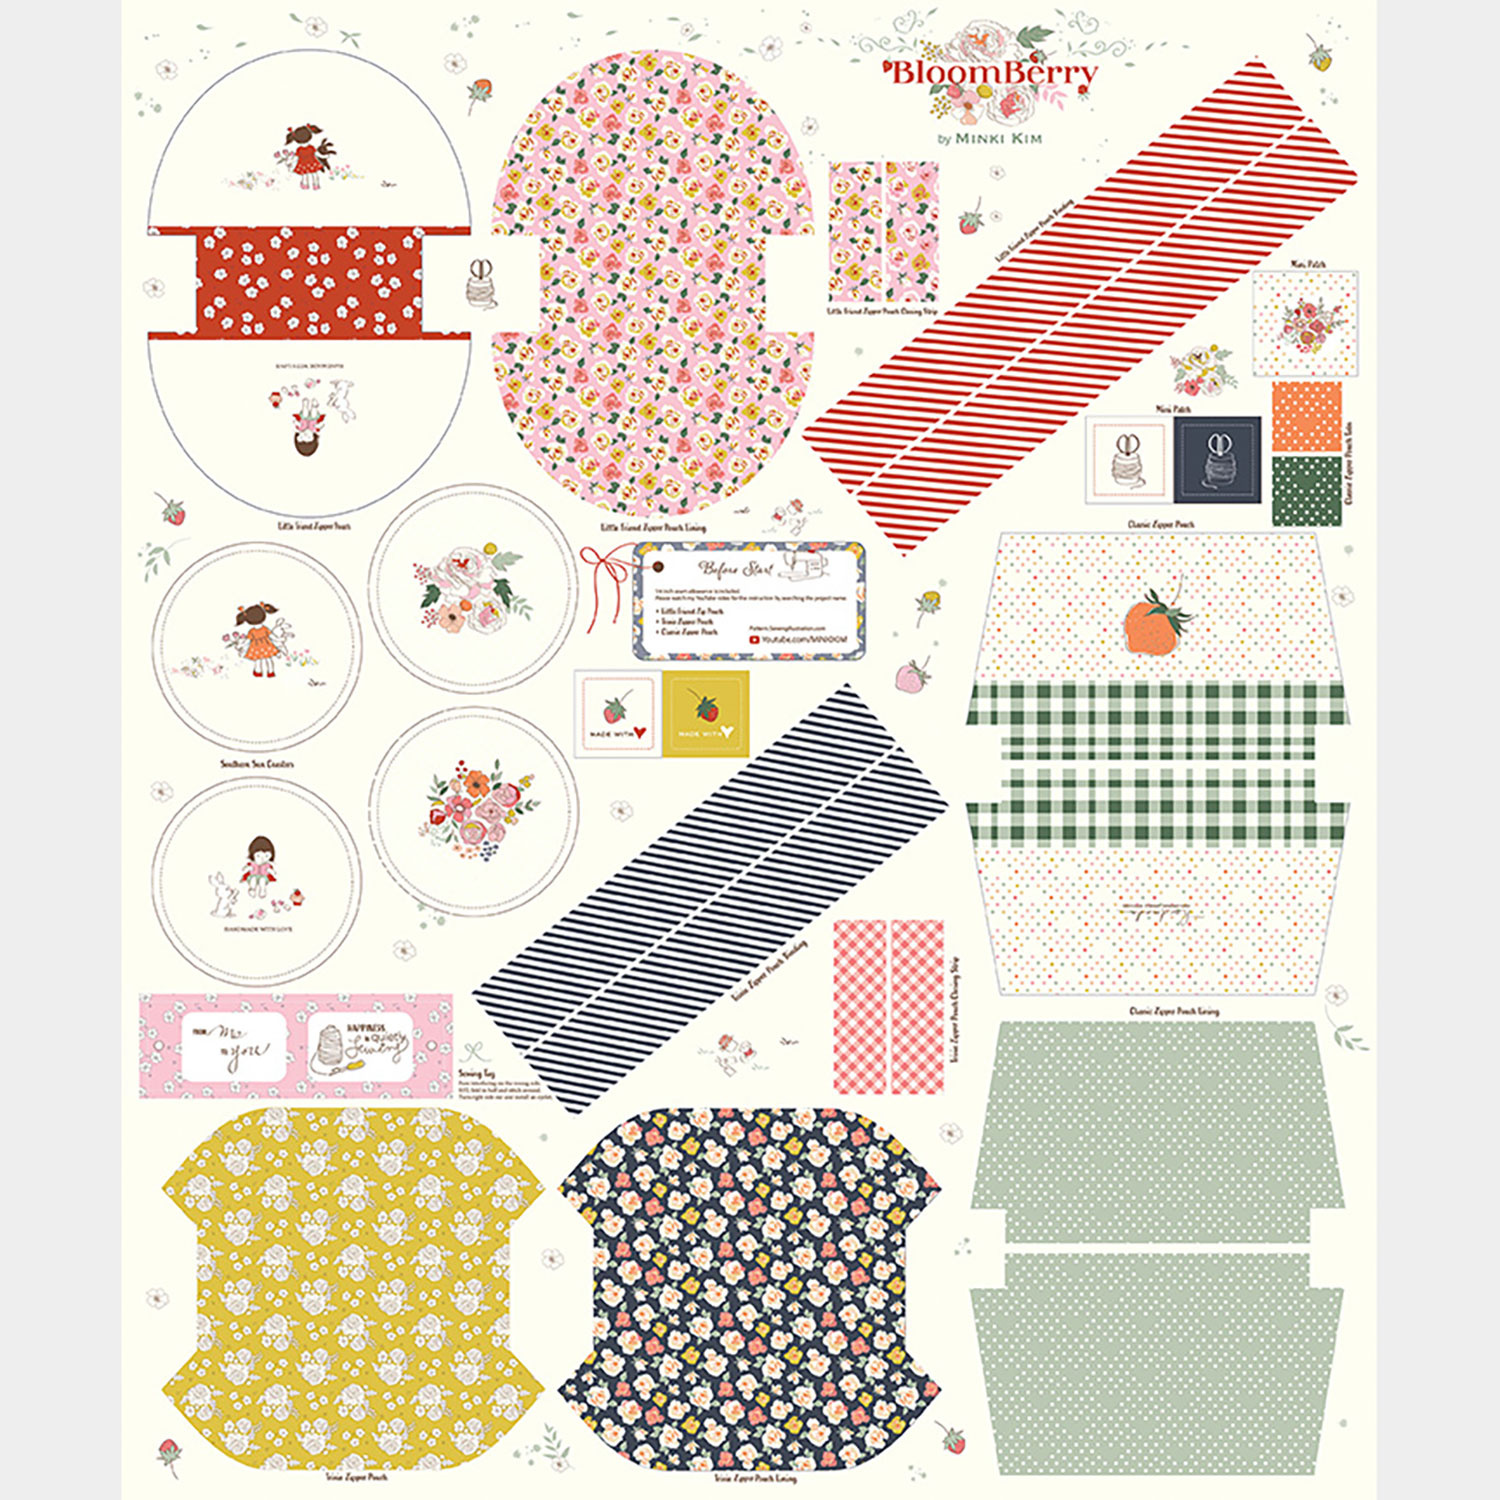 Bloomberry - Zipper Pouch Multi Panel$12.44Shop →
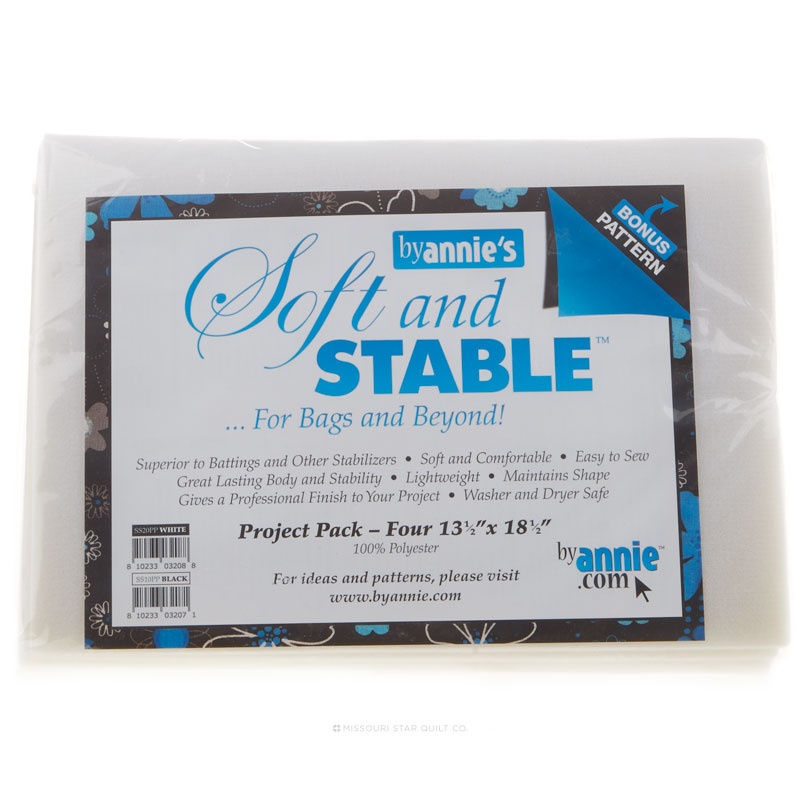 ByAnnie Soft and Stable 13.5" x 18.5" White Polyester Foam$16.95Shop →
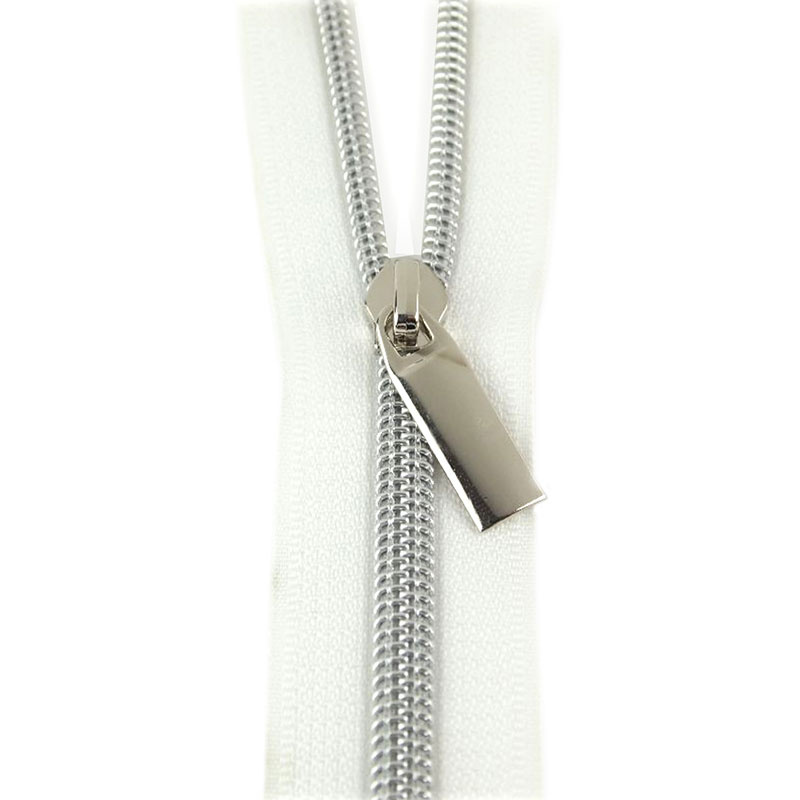 Sallie Tomato #5 Nylon Zipper Tape & Pulls - White with Nickel Coil$14.75Shop →
 Olfa® 45mm Ergonomic Rotary Cutter - Magenta$33.95Shop →
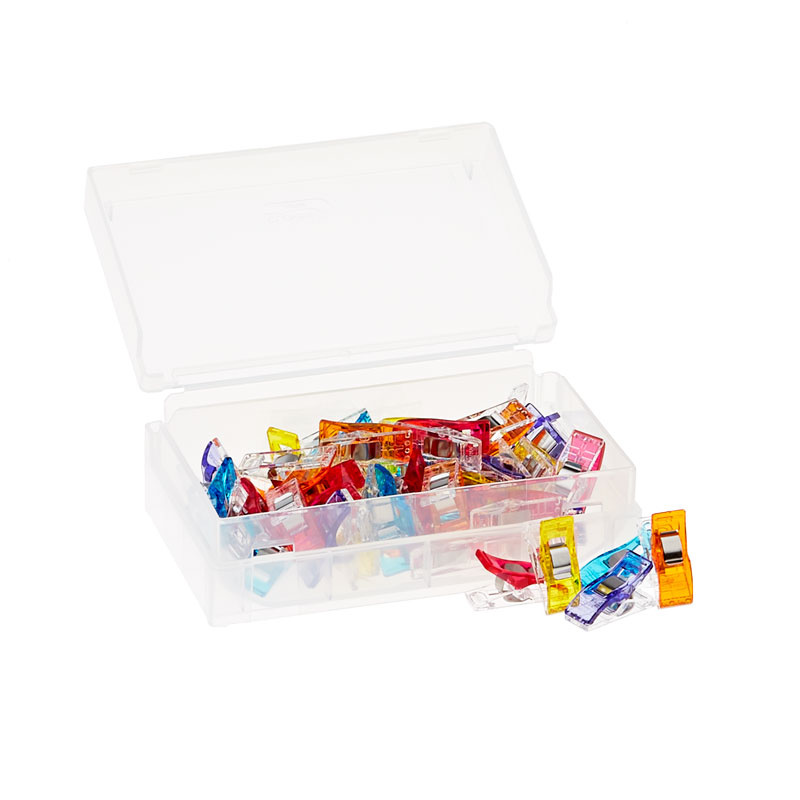 Wonder Clips - Assortment 50 Count$34.75Shop →
 The Gypsy Quilter Felted Wool Pressing Mat - 13 1/2" x 13 1/2"$29.95Shop →
 Creative Grids Quilting Ruler 6 1/2 x 24 1/2in$33.99Shop →
Common Questions
What is covered in BloomBerry Zipper Pouch Panel | Little Friend Zip Pouch with Minki Kim?
Minki Kim's new BloomBerry collection is full of beautiful florals, cottage chic plaids and stripes that pair together effortlessly. She has also included a panel with all the pieces and instructions necessary for making a small zippered pouch. In this tutorial she shows you h...
How long is the tutorial video?
The tutorial video is 00:15:10.
Is a transcript available?
Yes. A written transcript is available on the tutorial page.
Video Transcript
1. Cut out the panel with about 1/4” room to quilt.
2. Cut lining and foam(Soft & Stable) 11” x 15”.
3. Make a quilt sandwich and quilt as desired. I machine quilted the bottom and hand quilted the front and back.
4. Trim off the excess.
5. Cut the binding, fold in half and press.
6. Stitch along the curved edges with 1/4” seam.
7. Fold the binding over to the back and stitch (or apply dots of glue and press).
8. Stitch in the ditch a nylon zipper along the binding sew line.
9. Assemble and bind the raw edge with the binding on the panel.
10. Turn the pouch right side out and press.