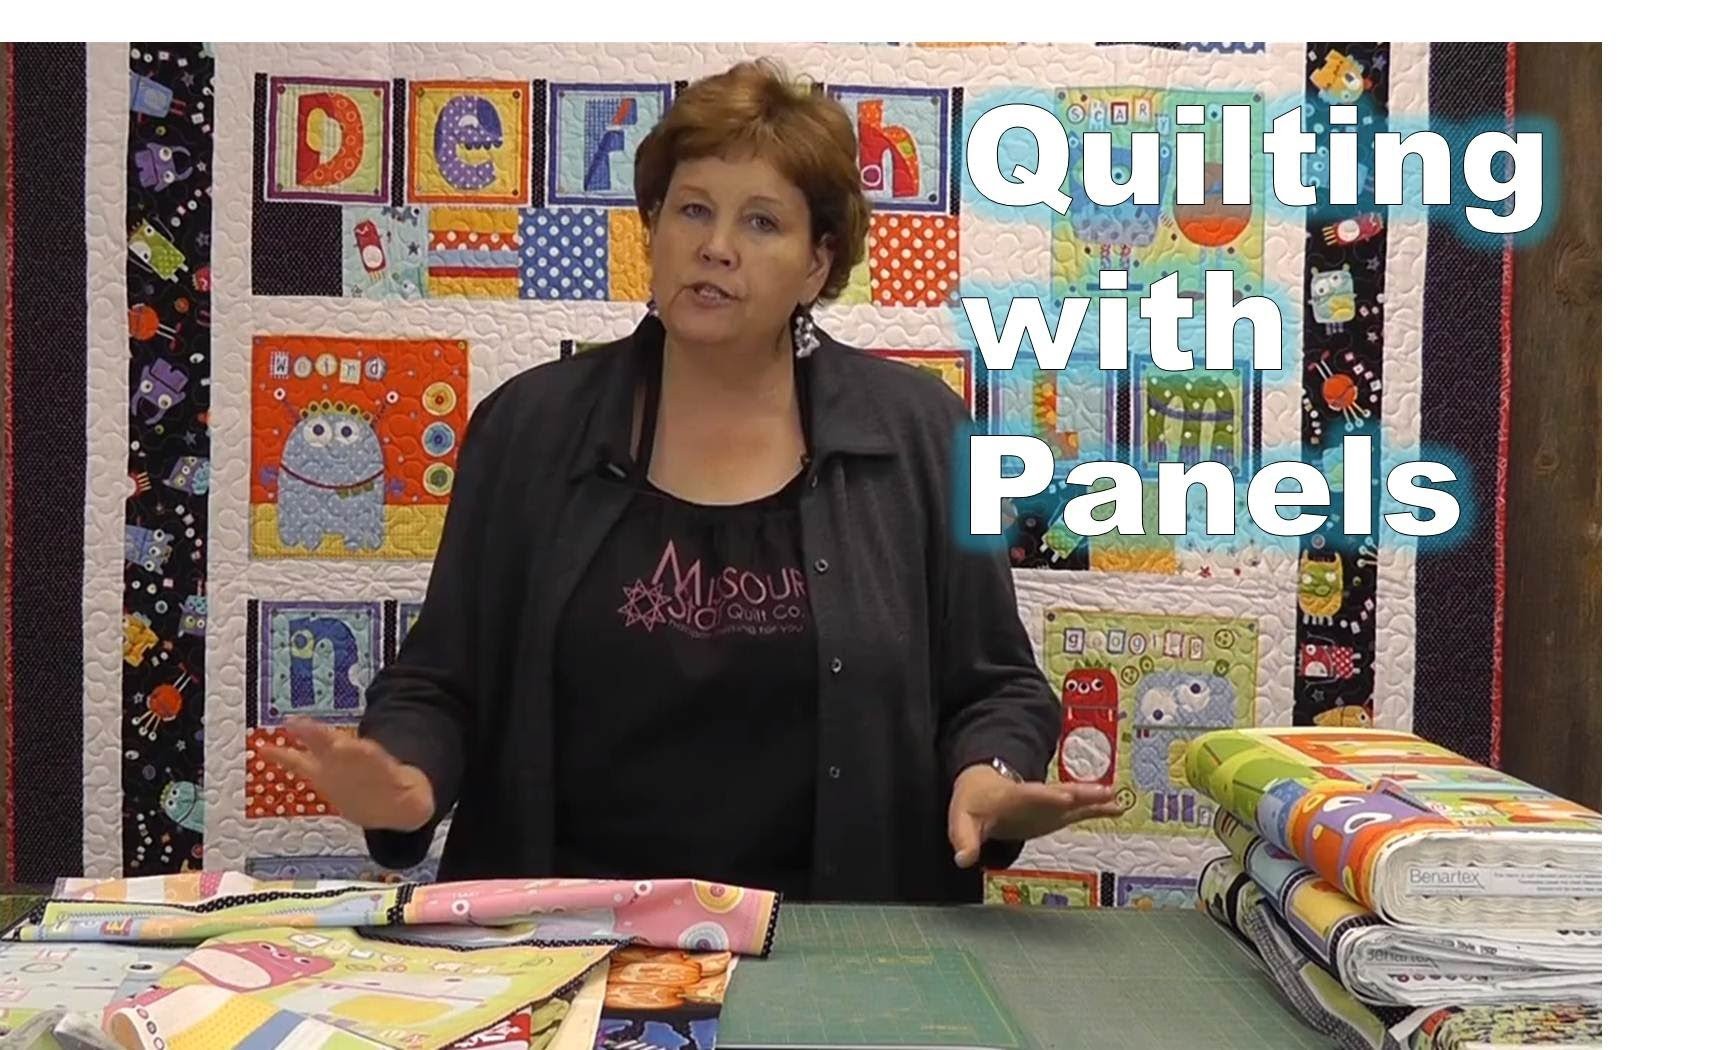
Make a "Kaleidoscope" Quilt with Jenny Doan of Missouri Star
 Jenny Doan
- Panels
- Modern
- Double
- Beginner
- Quilt size 68" × 79"
Jenny demonstrates how to make a dazzling Kaleidoscope quilt using 6 identical quilt panels and the Missouri Star 8" Equilateral 60 Degree Triangle Ruler. This quilt is a creative delight with endless possibilities—and it's sew easy to make!
Instructor
Jenny Doan
Jenny Doan is an American quilter, author, and YouTube personality. Jenny started Missouri Star Quilt Company in 2008 and today it is the largest quilting supply vendor in the United States.
Shop this tutorial
 Jenny's Kaleidoscope Quilt Pattern by Missouri Star$6.95Shop →
 Digital Download - Jenny's Kaleidoscope Quilt Pattern by Missouri Star$4.95Shop →
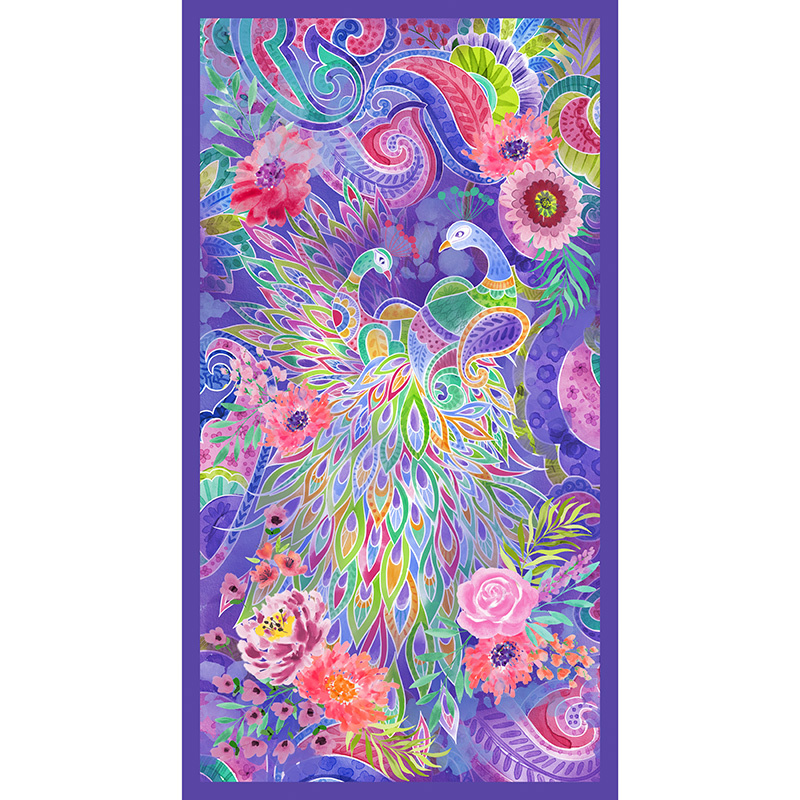 Anisa - Peacock Purple Multi Panel$8.55Shop →
 Kona Cotton - Black Yardage$7.28Shop →
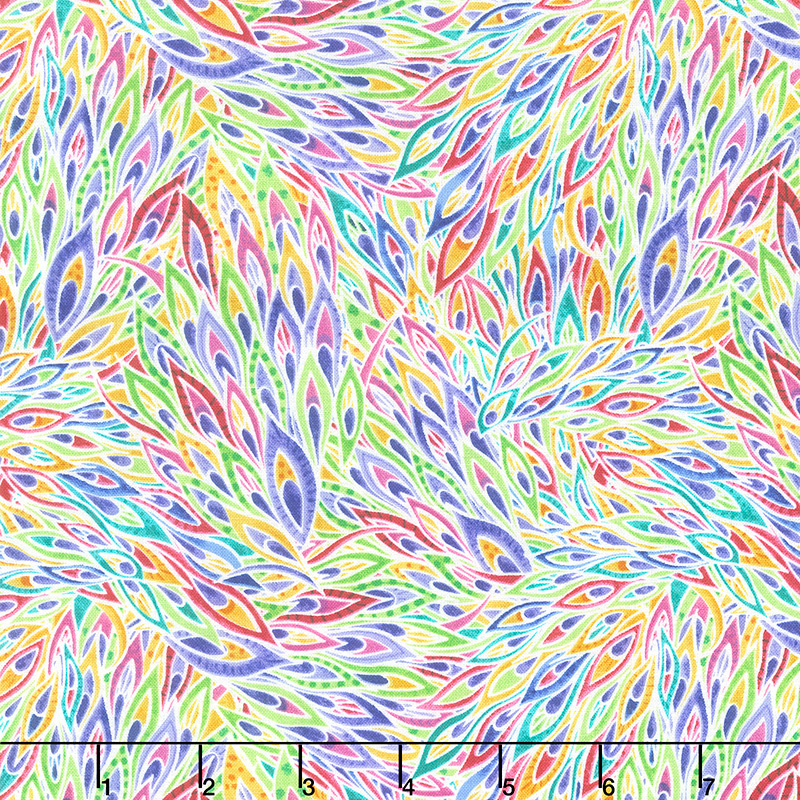 Anisa - Peacock Feather Allover chartreuse Yardage$11.96Shop →
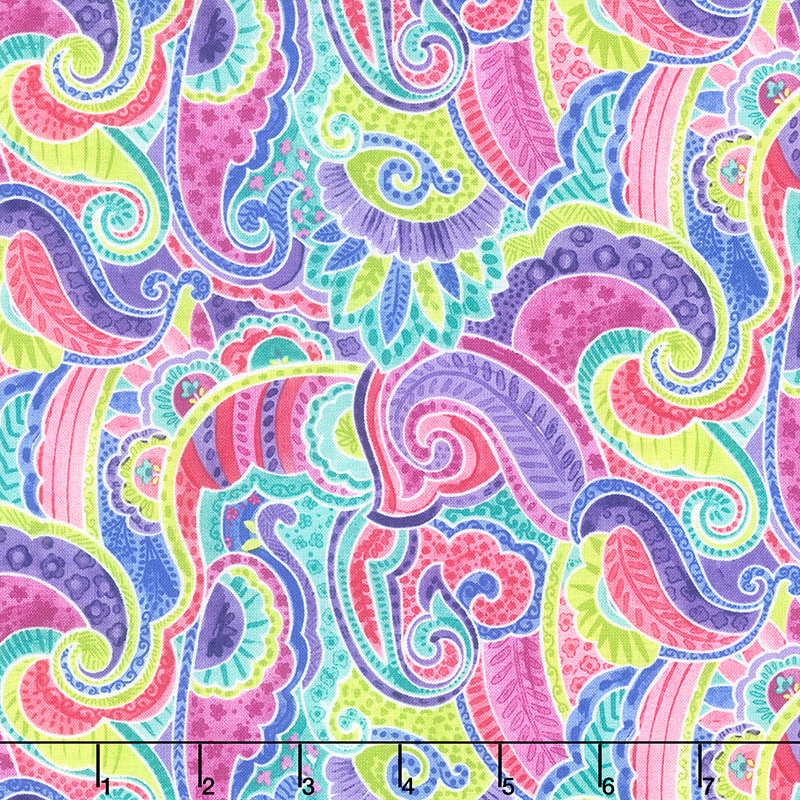 Anisa - Paisley Pink Yardage$11.96Shop →
 Prym LOVE Flat Head Pins$6.75Shop →
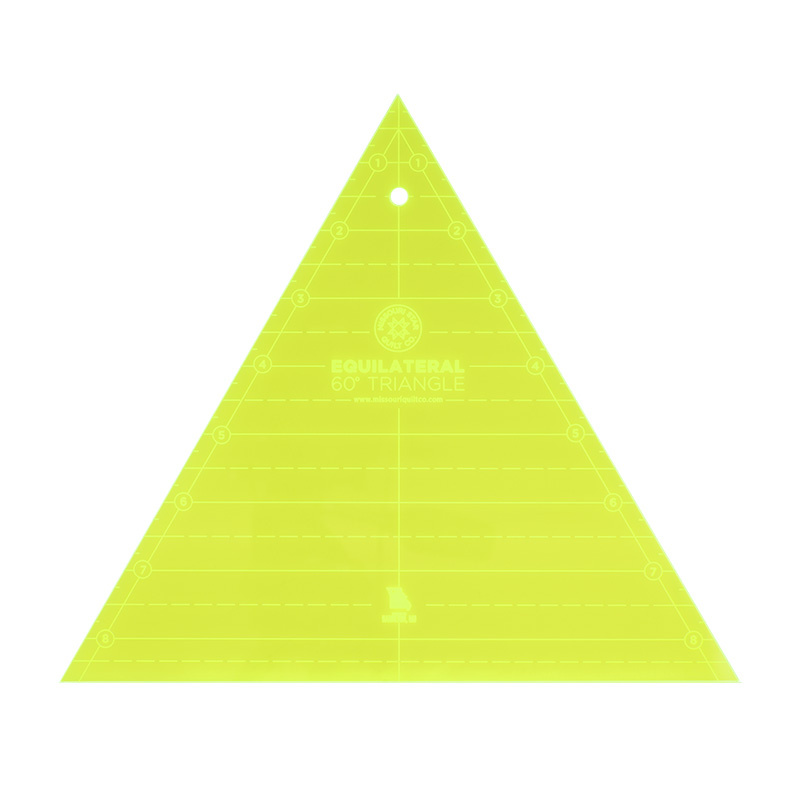 Missouri Star 8" Equilateral 60 Degree Triangle Ruler$15.95Shop →
Common Questions
What is covered in Make a "Kaleidoscope" Quilt with Jenny Doan of Missouri Star?
Jenny demonstrates how to make a dazzling Kaleidoscope quilt using 6 identical quilt panels and the Missouri Star 8" Equilateral 60 Degree Triangle Ruler. This quilt is a creative delight with endless possibilities—and it's sew easy to make!
How long is the tutorial video?
The tutorial video is 00:18:19.
Are supplies listed for this tutorial?
Yes. The tutorial page includes the supplies and materials connected to this project.
Is a transcript available?
Yes. A written transcript is available on the tutorial page.
Video Transcript
So this is my kaleidoscope quilt, and I'm going to show you an easy, fun way to do this. And I know it looks like it's a lot of work, but let me tell you, we do it the easy way. To make this quilt, you're going to need six identical panels, and we have used Anisa by Satin Moon for blank quilting. You're going to need some border fabric, and we've used this black, and this is for our inner border, and we used 1 yard. For your outer border, it's a nice big 6" border, and it's 1 1/4 yards. And for your backing it's 5 yards or 2 1/2 yards of a 108 fabric. You're also going to need an equilateral triangle and some flathead pins.
All right, so let me show you how to make this because this is really fun. So you're going to choose some panels, and honestly, the more that's going on in your panel, the better it's going to look. This is our panel, this panel right here, these two peacocks made this quilt right here. Isn't that fun? And so this is our panel and you need six of these to do it. Now, you can also do this with fabric and I'll show you how to do that in a minute. But in the meantime, we're going to start and I'm going to show you how to do this because once you learn the technique, a whole world is going to open up to you. So basically what we're making with our equilateral triangle is half hexies. So it'll be 3 pieces that we sew together. So you need 6 of the same piece.
And so what we're going to do is, I've got a whole bunch started here, is we are going to line these up. Now, this is a little bit more work than you'd think it would be. I mean it's not hard work, but you just got to do it. So we're going to lay these panels just exactly on top of each other. So once you get your panels stacked up, we are going to start pinning them. And this is where it gets a little interesting. If you're at the stage I am, you're going to grab those glasses because this is really close up work.
What we're going to do is we're actually going to pin things so that they're exactly the same. So you're going to pick a point on here that is easy for you to recognize. And this is what's going to line up all your panels. We're going to choose this little leaf right here, this little green leaf. And I'm going to stick my pin in the exact same spot on every leaf, on every panel. So I put it right in here at the very point, and I'm going to lift this up and I'm going to put it in on this very point just like this. And it just takes a minute and make sure that your pin stays fairly straight up and down. And we're going to pin this one same spot. I'm just going to pull that the panel back. And sometimes it lands up pretty close, but more often than not, it is just a little bit off. So you just want to make sure that's exactly in the same spot. This one right there, pull this one back and this one right here. And this one is over just a hair. And we're going to put that one in there and we're going to pull it back.
Now, keep your pin straight up and down like this and just kind of wiggle it a little bit and then just pin it to the side. Now you want to use a flat head pin for this because we're going to be cutting over the top of that. And so then again, lay out your panels and get them all smooth out as good as you can. And then we're going to go ahead and put a few more pins in here and do the same thing. So here is another place right here. I have to pick something that's easy for me to remember as I'm going along because when you have this much going on, I mean you just never quite know what's going to happen.
So I'm going to come right here at this corner where these two blue, this white and this blue come together. I'm going to go right in that corner and then I'm going to pull this back. Ooh, that one is very close. And do it again. Oh, down a little bit. And because your panels come cut, generally they'll be already cut when you get them. And their cutting isn't identical. You're going to have to do this because lining them up, edge to edge just isn't enough. All right, so this bottom one feels like it's just a little off. So again, my pin is straight. I'm going to pull my fabric up, slide it up the shaft of the pin, and then I'm going to pin it over so it lays flat. And every once in a while, especially when you're working from the top, I just give them a good shake and then I keep going. And so you're going to pin your whole set of panels like this, and you want at least two or three pins every, I don't know, every five or six inches or so.
Now I have pinned this top part up here. And because this panel has a frame, there's just so many things you can do with this. This is so fun to show you. So because this panel has a frame, you can choose to use the frame or you can leave the frame out. But I'm going to start with my long ruler and you're going to want a ruler that spans the width of your fabric or pretty close to it. And I'm going to start without my purple border and I'm going to run my finger along here and make sure there are no pins where I'm going to cut. Now, with an equilateral ruler, our equilateral ruler's made for the precut so it goes all the way to 10". You can literally cut these 10" inches wide and make great big hexagons or you can cut them 2" wide and make tiny hexagons. However wide you want your triangle to be is how wide you're going to cut your strip. So if I want 3" ones, I'm going to cut a 3" strip. If I want 5" ones, I'm going to cut a 5". And if I want a 10" ones, I'm going to cut 10" strips, great big strips, and then I'll show you why that works.
I'm going to do 5" ones for you today. That's what the one behind me is made, but it just opens it up to so many possibilities and I love those kind of quilts. So I am going to come across here and make sure you feel for those pins because you do not want to run over any pins with your rotary blade. You can go ahead and cut up your whole thing if you want to so your pieces are ready. But I'm just going to show you how to make this, so I'm going to turn this around again and I'm going to move this pin because I'm going to run over it if I do, and I'm going to put it back down here and I'm going to cut off this. I'm going to do it at the 5" like this and make sure that I'm right, 5". This is a 5" strip. Just like that.
And then this is where the fun begins. So now you have this lovely strip that's all pinned. The pieces are lined up identically, and we're going to take our equilateral triangle and we're going to put it on here just like this. And I'm putting it on at the 5" and I'm putting it over to the edge. I have a tiny bit of that purple border showing up in that seam line, but that's all right. And what I'm going to do is I'm going to cut this, this way and I'm going to cut this, this way. Now I'm lifting off my ruler. And before I move these at all, I'm going to grab another pin and I'm going to put it in here because this is going to make one block. So now we're going to flip this ruler and we're going to do this. There's a pin in there already from pinning before and we're just going to go along our whole row and do this, make all these little triangle cuts. Put a pin in here and keep going. Whoop.
All right. This is why you want flat pins so that you can lay your ruler right on top of these and cut. And you can also lay your ruler right on top when you're cutting your strips as well, because you don't want to unpin that until you're ready to put them together. Let me see here, no pins. All right, so this is a leftover piece and this is a leftover piece and you can just set those aside.
Out of each strip of this panel, now again, this depends on what panel you choose, how wide the panel is, how many you're going to get out of a strip. But out of my panels, I'm getting six. So each one of these blocks is going to be able to be set three different ways. And let me show you what I mean. Let's start with this green one right here. You guys will really want to get in close and see this because this is really fun. I'm going to take all these apart right here. And the way we're going to sew these together is in two half hexagons. So they're going to come together like this and you're just going to keep putting them around in a circle and look how fun that is. Look how gorgeous that is. But wait, there's more. If we turn these so that the purple goes to the top all the way around, we've got this little bit of purple right there. And look at that, you get a whole different look.
Now the third way is with this little purple thing right here. If it comes up like this, oh, and look what's happening in the middle when we do that. This way and this way. So now we have a decision to make, which one of those did we like best? Because now we're going to sew this together and see what happens. Since I have it like this, I'm just going to go ahead and sew it for you. And basically what we're going to do is we're going to sew this half together and this half together, and we're going to leave those apart. These should meet up point to point right here on the edges. And for me, on some of them, it was really hard to choose which way to put this because they just looked so different. So 1/4", and I'm just going to finger press this back right here. And then I'm going to add this other piece on here, making sure that I have my same pattern to the middle. And again, you'll just lay it, it'll match up, edge to edge, point to point. And then there's our bottom half.
And then we're going to sew our top half together. We're going to open it up. I'm going to finger press it back and we're going to add this other piece. So we're basically making half hexies, and we'll press these back. And we're going to keep them in halves, and we're going to put them in our pile of halves over here and keep those halves together.
All right, let's look at, this is the other side of that fabric of that same strip. And let's see what we get over here. So let's put these together with all of our little cherries to the middle. Those are little cherries. Let's see what happens. Sometimes it's like, "Mm," and then you turn it and you go, "Ooh, I love that one." But look how cute these cherries are in the middle. How fun is that?
Let's see what happens if we turn it in. We're turning the swirly part in. Swirly part in, swirly part in, swirly part in. Ooh, it makes a little doily. I never know what it's going to look like. For me, this is so much fun creativity to do this. Look how cute that is. Now, what happens if we do that third part? Let's do that. Let's see what that looks like. And we've got that little, this little part in. So three choices for every block. Oh, look at this one. It swirls. It's like a, oh, I didn't see that coming. Isn't that fun? I think my favorite one on this one is the doily one though. So I think I'm going to turn this back in like this and then we'll sew this one together.
We'll just do a few of these so you can see how easy this is. So once you cut your strip, and again, any width, if you cut a 3" strip, you're going to have a little tiny 3" half hexies, but I thought 5" seemed good to me. And it's three pieces to a side. And we'll add this one over here, and you just line them up, point to point, there's no hanging it over 1/4" or anything like that.
This is way, super easier than you thought. I mean, the biggest part is probably pinning everything together. That's what takes the most amount of time. But it's really just putting some pins in, making sure that they're exactly in the same spot, wiggling those panels around so that you can make sure they're nice and flat underneath. You want to rub them and have no folds, no pleats, nothing like that. Oh, for an instance, I thought I sewed it wrong. All right, here we go. I was like, "Did I put the wrong part to the wrong part?"
All right, and then I'll show you how we put these together, because the putting them together part takes a little bit of layout. You can't just sit down and sew them. You have to actually lay them out. So what we're going to do is we're going to start here like this, and this is going to be our row. And you'll sew the next one like this, and you'll put them up and down like this. And then what you do is you add their partner. So here's the other half of this one, here's the other half of this one, here's the other half of this one. And so, you need another one in here that's completely different. I don't have one that is sewn together that's completely different, but as you're putting them together, you put them together in rows like this. So let's look at the quilt.
This right here is a row and this one comes down, this one goes up, down, up, down, up. I put 1, 2, 3, 4, 5, 6, 7. Now you'll notice these up here, as beautiful as they are, they don't have a top. We use the top either in the same row or on the bottom half of the quilt. So there's one half block going to be on the top and bottom of every row. Now for these outside blocks out here, on this, when you go to add this inner border, let me show you how to do that. So what I did was I cut some 5" squares and then I put my ruler right in the middle like this, in the middle of the block, but I only cut my slant on one side. So this is how that would look. I'm going to move this right over here so it lines right up on the edge. And I'm just going to cut that one side off.
Now because our background can work either way, we can turn it to whichever way works. So for this one, it's going to go this way. And for this one, it's going to go this way, and that's going to set off our row. So we will sew one of these to the beginning and the end of every row that we do. And then we'll sow the next row together and it'll come together like this. And then I just put a little 3" border on the top and bottom. And then my outer border is a big 6" border, so it just makes it really nice. Let's look at the back. Isn't that beautiful? So the quilting pattern we used on this is Time Warp, and I just think it's perfect with the pattern.
Now I want to show you also how you can use fabric to do this. Fabric has a repeat. So I've grabbed this piece of fabric right here, and we can look and see where the repeat is on this. And you're just looking for the next identical pattern to appear. So every fabric has a different repeat. It's however wide that design is. On this one. This is a very small repeat. You can see this repeats right here, right here, right here. When you're doing one of these, when you have to pin them all together, you want to look for at least an 18" to 24" repeat on your fabric, so a nice big fabric.
Now, one of the things that's nice about this pattern is that I made it years ago in a safari fabric. So there were oranges, there were black and whites, there were just all different colors on this fabric. And honestly, I thought it was hideous, just hideous fabric. I don't even remember why I bought it, but we all have that piece in our stash. When I took that and made it into these, all of a sudden those colors and patterns played very well together and were very fun to use.
Bonnie Hunter always says, "If you don't like a fabric, you haven't cut it small enough." So this is your opportunity to use some of that fabric or panels, or whatever it is you want to use. You need six repeats. So six repeats on your fabric, six panel repeats. It's just going to be so much fun for you to be able to play and let your creative mind go and make some really fun things. And I have to tell you, this is one of the most fun things I've done in a long time was seeing how all those different pieces and you get three choices for every block.
So I hope you enjoyed this tutorial. I'm Jenny's Kaleidoscope from the Missouri Star Quilt Company.
Hi everybody, it's Jenny from the Missouri Star Quilt Company. We hope you enjoyed watching this video. If you aren't already part of the Missouri Star Quilt Company family, be sure to subscribe so you won't miss a thing. And if you click that bell, it'll notify you every time a new tutorial comes out. See you next Friday.