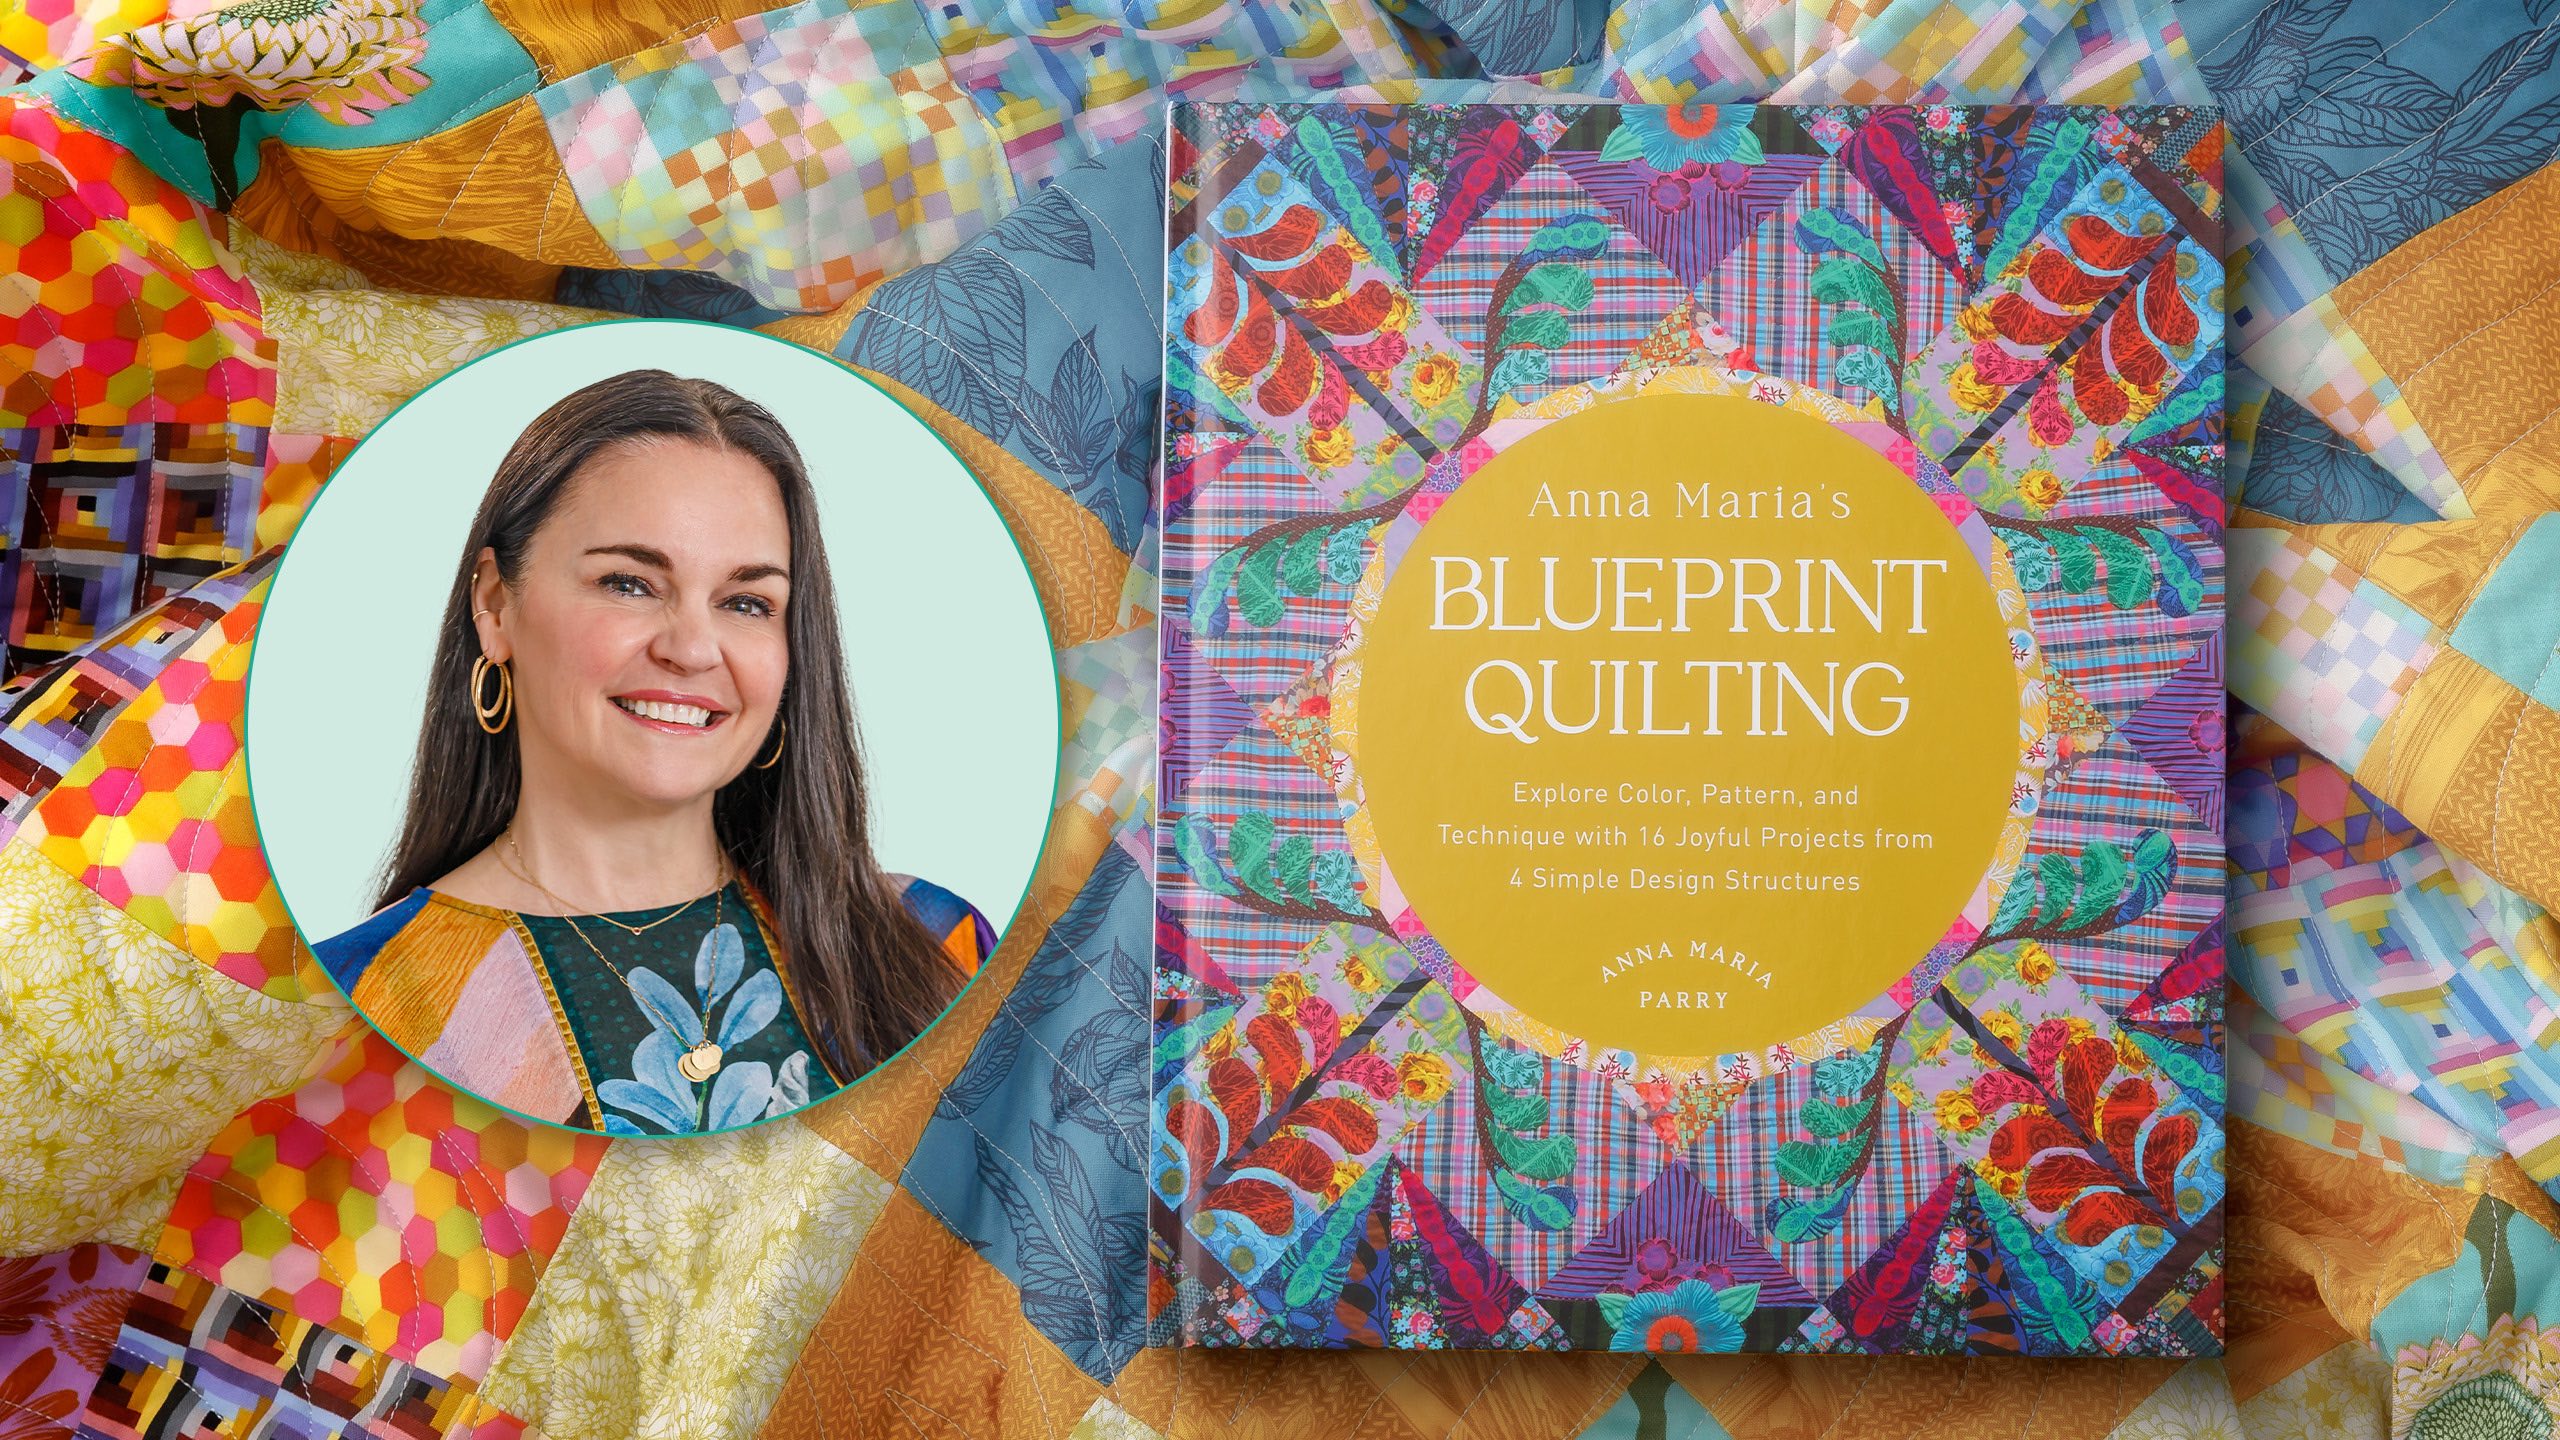
Blueprint Quilting with Anna Maria Parry
Join guest Anna Maria Parry for a glimpse into her book Blueprint Quilting and be wowed by a trunk show of her quilts featured in the book! Anna Maria, the creative mind behind many of your favorite Northcott fabrics, breaks down her signature designs into "blueprints" that are the base for many gorgeous quilts.
Instructor
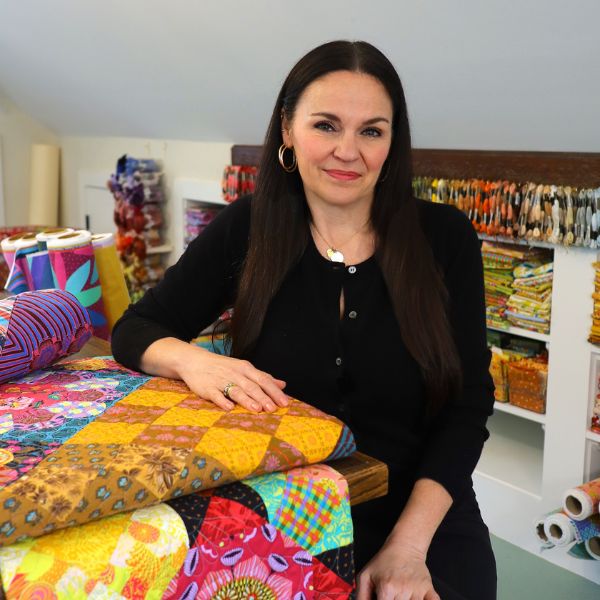
Anna Maria Parry
Shop this tutorial
Common Questions
What is covered in Blueprint Quilting with Anna Maria Parry?
Join guest Anna Maria Parry for a glimpse into her book Blueprint Quilting and be wowed by a trunk show of her quilts featured in the book! Anna Maria, the creative mind behind many of your favorite Northcott fabrics, breaks down her signature designs into "blueprints" that ar...
How long is the tutorial video?
The tutorial video is 00:31:45.
Video Transcript
[Music] Hello, I am Anna Maria Perry and I am visiting Missouri Star Quilts and I thought it was the perfect opportunity to tell you all about my newest book, Blueprint Quilting. I thought I would go through some of the inspirations in writing the book, show you all the details of the projects, and also some maybe less typical things that I've included in my book for you, like a trip through art school, just in case you ever wanted to go. So, first and foremost, I thought I should say that this is not my first book, but it is my first book exclusively on patchwork. I have written general sewing books. I've written books for baby and kids sewing and I've even written an embroidery book. But this is the first dedicated book to quilt making. And I think I was sort of waiting until I felt like in my career after 20 years of designing fabrics and making quilts. I felt like I had finally developed my own personal perspective on quilt making and my own sweet and happy place with how I approach quilt making. And I also realized that in my teaching, my approach was not necessarily a typical one. And so when I finally cracked the code on my own style of making for myself, I thought it was worth sharing and that's why I wrote Blueprint Quilting. So I am going to walk you through the book. We're going to have a little preview together. So I named it Blueprint Quilting because of my tendency to lean on my background in art school and development of composition and design. And so when I use the term blueprint, I'm really talking about that overall structure. Most of us use the term blueprints for um you know, architectural or home building or buildings. Um but that's how I think of these quilts that we're making. I think of quilts as opportunities not just to use the same pattern and change up which fabrics you use in that same pattern, but I think of quilts as opportunities to re redesign the whole space. Maybe what used to be a small section of patchwork becomes applique. Maybe what was really pale color becomes really intense color. So I created blueprint quilting as a way for you to take these sort of recipes but then make them your own all the while feeling comfortable in these structures that I've sort of taught to you. So you are actually going to come to art school with me because that's where my personal path took me. In fact, everything that I needed to learn about quilt making, I actually learned in art school. I just didn't know I was learning it to become a quilter one day. So, in art school, we're going to talk about color and composition. Um, you can see here that in the book, I've got this gorgeous color wheel of fabrics laid out. And in fact, what I have in front of me here today is one of my favorite teaching tools when I'm teaching quilt making classes because color and how I use color is very often the number one question that quilters ask me. How do you decide to use those colors? How do you blend all those different fabrics together? I never would have put those two things together, but they look so good when you do it. So, certainly some of it is personality and a little bit of bravery, which I have in spades, but also I want to share color with you in a way that hopefully maybe makes you feel more confident in choosing things that you love on the shelf, but not sure how to put them into your quilts. So, this color wheel that I've designed kind of shows you that even very multicolored fabrics can still sit in a color category. Now, why is all this important? Certain things happen when you combine certain colors together. And in my book, I go through different formulas that really teach you the science of the color wheel, which is important, but it's not a rule. I think more than anything what these um scientific sort of presentations of the spectrum offer us is opportunity to decide like I really like what happens when these colors come together or what can I expect when I pair these colors together. So I talk about different um combinations from analogous where colors are sitting right next to each other or compliments when they're sitting opposite each other which creates a lot of visual tension. Um, but I also talk about beyond color. We talk about value. We're really talking about the principles of art, any kind of art. I learned it in painting and drawing school, but I'm bringing it over and sharing it with you in our quilt making. So, throughout the book, in the art school chapter, when I talk about value, which is how light a thing is or how dark a thing is, I share a quilt that's in the book to show you what I mean by value. When I talk about line, which is another principle of art, I share a quilt with you that really emphasizes line. The same is true with shape, form, space, texture. These are all the major principles of art. Now, beyond color, I also share principles of composition. And when I talk about composition, I am talking about where things are placed on a quilt space or a canvas or a weaving. Composition is nothing more than the way that you've laid out elements next to each other. In our world, it's a way that we've laid blocks next to each other. Okay? So, we talk about balance. We talk about symmetry, radial symmetry, which you can see behind me because it's not just s the same right to left, but it's the same top to bottom, right to left. It goes around all four corners. We talk about balance through asymmetry, right? And we talk about focus, movement, rep, repetition, and how important, and I think this one is so important for me, especially as a quilter, is to have variety, but also harmony and unity. That's something that I'm always striving for in my quilts. Obviously, I'm um not afraid of bold colors and lots of different prints or a maximalist style to quilt making, but that doesn't mean that I'm not looking for opportunities to unify all those elements and make them harmonious and very pleasing to look at. So, there's scale and proportion, there's contrast, and so that's kind of like your crash course in art school as applied to quilt making. The second out of three sections of the book is called Patchwork School. Now, some of you maybe have been in patchwork school much longer than me. I've been patchworking for about 20 of my 52 years. And um but it took me a long time before I realized that even though I wasn't taught to do this as a child or I didn't have any quilt makers in my family, I did have a lot of creativity in my family on the embroidery side, the painting side, homemaking, dress making, all these different things. But I was never taught quilt making. And so my approach to making blocks is a purely self-taught one. Um I was fortunate that there were a lot of resources in my life by the time I approached it in my mid30s that there were a lot of places to learn quilt making. Um but sometimes my methods aren't exactly like maybe how you've been taught. But as we all know in our world, there are so many ways to do just one thing, aren't there? Um, so what I do in the patchwork school um, chapter is I go through like the materials that I like to use, an overview of fabric, some considerations um, for your fabric choices. This is especially a good chapter for people that that are new to quilt making. Um, the book is really written from the standpoint that no matter where you are, hopefully some part of this book meets you exactly there and picks up and inspires you. So, I go through my favorite types of threads and materials. Um, things to consider depending on the final use of your quilt. Is the quilt just going to hang on the wall or is it going to be given to a baby? That means it's going to be need need to be washed like 10 times a day. So, there's all sorts of considerations when we're making quilts. I go through my favorite tools um and notions. I talk a little tiny bit about sewing machines and adhesives. And then finally, we get to the building blocks portion of Patchwork School. Now, building blocks is exactly that. These are just block tutorials. They're my favorites that I use over and over again. You probably already know how to do them. Um, some of them might be new to you, but I've given you 10, 12, I don't remember exactly how many, but a handful of blocks. Some traditional and some maybe not so traditional. A couple that I've made up. Um, but every single block that I teach you, we're going to use it later in the project section of the book once we get to the actual blueprints. So, it's a pretty nice primer. Um, but so basically what I'm giving you is your building blocks so that you can go build out these blueprints. And the kind of exciting thing is that once we get to the blueprint chapters and I sort of built these structures for you, if there's a grandmother's fan here and you decide you'd rather use a log cabin, you can think of these blocks as interchangeable elements in your quilts. So again, really I'm focusing on structure, which we can dive into a little bit more. Um, oh, and I also have a big section on applique. And I teach you all my favorite methods for applique, whether it's by machine or whether we're doing it by hand. I have like three different methods of doing it by hand. And maybe you'll find one um that you really click with. So, when we get to the blueprints is when I get to share all the juicy details of making the quilts. So there are actually four blueprint sections and each of the blueprints focuses on a certain type of composition. Okay. So when I again when I talk about composition I talk about like the overall structure and layout of a quilt. So the first blueprint is one that I call grand central. Um, you might call it a medallion quilt because when I talk about a grand central quilt, I'm talking about something that has a central focus and it has some sort of subordinate details that float around it. So, it's also sort of a symmetrical quilt on all sides. Um, and something else that the book does apart from having quilt projects for you, there's 12 quilt projects, but there's also in each blueprint, I give you a completely like nonquilt project um that kind of uses the same ideas in terms of what the layout looks like, but maybe it's an EP window panel or maybe it's this beautiful tote bag, but it uses the same elements of design in that specific blueprint. And the other thing that I want to mention about each of the blueprint chapters is that I have created three quilts in each blueprint section. One that's beginner and there's no applique and it's very straightforward patchwork. The second one is intermediate and it has patchwork, but I usually introduce a little bit of applique. And the third quilt is what I would consider like more advanced. I don't want to say it's harder. I don't want to say that it's a higher skill level. I will say that it's a bigger commitment of your time and I'll also say that you and that quilt will be better friends by the end of the process because you will have spent a lot more time together than the more beginner style quilt. So, what I brought with me today to show you is some of these more elaborate quilts because I think they're so nice to see the details of them. So, in the Grand Central chapter, I have the spontaneity quilt for you. Um, and I'll flip over to that in the book. So, the first one is the dosey do, which is a very basic um, patchwork, but kind of a unique color arrangement of starting with one color group in the center and moving in rings of different color groups as you go out to the edges. And then the hedge quilt does something similar, but in a completely different fashion with log cabins and some dresdons as well to create a scalloped edge. And then finally, the spontaneity quilt was named that because when I was designing the whole quilt and using these grandmother fan blocks, I had originally had all the scalloped edges that that two grandmother's fan creates turned the same way. But when I was putting it on the wall, this one little scolop was turned the wrong way. And I thought, actually, that sort of looks like a fan flower, and I think I'll leave it that way. So that's how it got its name, the spontaneity quilt. Um, but you can see it still has that very central focus and I just want to show you a few of those details. Now, friends meet the spontaneity quilt. Spontaneity quilt, meet my friends. So, this is a nice close-up view of how I used blocks that come together to create an overall design. So, this might look like I've created this big patchwork wheel. I haven't. What I've done is I've created three grandmother's fan blocks that are exactly the same, just turned different ways around the corner. So, this whole thing is actually based on a 9-in block. This is one of them. And then these are 4 and 1/2. So, the blocks come together in a way that's a bit deceiving to the eye simply because of how I've used color. So, that's again a little bit of code cracking on how I design quilts. Um, so this isn't again an applique wheel. It's grandmother's fan blocks that I've turned certain ways. And um, this is that little rogue fan flower that this that just turned the other way and decided to become a flower. So because that turned the other way, I decided it needs um a vine and some leaves and that sort of I knew that I was going to be doing some applique on the outer borders. But after starting with a much more basic um patchwork in the center of 16 um patches, I decided that I would get a little bit more elaborate on the edges. And so that sort of flower that happened really inspired the applique style of vines on the outer edges. And in fact, I even think it inspired the really cute sort of vine design for the backing. So, it's so important to take your time with your quilts and not to be in a rush because I think that um there's a lot of creativity that's in there on the inside of you, but it's hard to listen to if you're just quickly trying to get things done. So, that is the sort of preeminent project in the Grand Central section. I also have this fun EP curtain panel that I mentioned. So, the second blueprint is what I call tptic. And when I um use the word tptic, I'm using it almost in the same sense that we do in art history. A tptic is a threepiece whole piece of artwork. So in other words, like old paintings like Renaissance paintings and tptics would actually be three separate panels. Usually the center panel is the most um infocused one and the side ones are a little bit more subordinate. And all these blueprints came out of me sort of looking at the quilts that I've made and and and what I continue to go back to. I so often have made quilt patterns like my safe passage or my plot twist or my visions quilt. So many quilts that I've made actually have these three vertical columns and it took me a while to realize that I kept going back to certain blueprints, but that's why I've included them in the book because I have found them to be pretty foolproof. So, the first one is a quilt that I made for my son Roman. So, I named the quilt Roman numerals after him. Um, because it takes on this sort of like blocky and almost like Roman numeral style um lines and edges, but again, you have this center panel that's different and two side panels that are the same. Um, but again, that's the more beginner one and it's very um basic patchwork. You can see the graphic of it there. sort of really helps you see what you're putting together. You're just putting together quarter log cabins and whole log cabins with some clever placement of color. And then the fence line quilt is also a tptic kind of design, but I've really achieved the difference by how um blue and how dark the edges are compared to a lightning and more orange center. And then finally, the Terrace Blooms quilt. I'm sorry, the Terrace Views quilt. Um, you can very evidently see that the whole quilt um has a long center and then two subordinate sides that are matching. Um, and I brought that quilt with me as well to show you some of those details. Um, I was married two years ago almost exactly in Greece on the island of Idra. And this quilt was inspired by the views on the terrace. That's why it's called terrace views because as you look out over the island, you see all these arched doorways. You see these beautiful pink and purple bugan villas um growing everywhere. And this quilt, believe it or not, just nine inch blocks, whole thing. Okay, so this is a 9 inch grandmother's fan. Again, this is just a 9 in half square triangle. And just the way that I've put them together and put a center circle on it makes it appear as though it's this sort of it almost looks like a snow cone to me, but these arching vines over it. um the vines that kind of fall over the patchwork panels is what makes everything feel a lot more complicated than it is. But the whole base of the quilt is 9-in blocks. I even have um some snowballs all through the center. The whole center of the quilt is just snowball blocks. It's just that I haven't necessarily put the corners on all the snowballs. So, you can see I put it on this one, this one, and this one. So, they would join together and make diamonds. So, I'm really looking at what we call in the quilt world at secondary design. The first design is the block. What's happening in the block, but the secondary design is the thing that happens when we put the blocks together. So, I focus on those elements a lot to decide what colors to choose so I can highlight some of those things. And then I let the patchwork do as much as it can for me. And if I want to come back and embellish further, that's when I might place some applique over the top of a section of blocks. So in essence, this is almost a panel quilt where I've taken 1, two, three, four, five, six blocks, put them together in one panel, and then that's what I'm performing the applique on. Okay? So then the whole thing when it comes together, there's a lot of repetition that's happening, but it's not a boring repetition because I'm using lots of different fabrics from lots of different sources and styles, and I'm making it unified. Remember how I said it's important to me to keep things unified as well as interesting and diverse? But this is unified because of its color. Is it unified to put this print with a little print that's got Alice in Wonderland in it? Maybe not when you look at it sitting on the shelf, but I'm just looking at it for color. I don't care too much about the print, which is funny coming from a print designer, but I'm really looking at these quilts for color and interest. um or rather I'm looking at materials of what it can do for me in terms of the design. So also this project which I call the sawtoothte was inspired by the tptic blueprint. And you can see that it's got this central panel of just a more illustrative fabric but it's got these side panels that are more plain and these fun little dividing lines made out of these um saw to half square triangle straps. So, this is one of the examples of the nonquilt project in the book that I really like. The next blueprint chapter is what I call kiss on the lips. So, this is a big X, which is why I named it kiss on the lips. And these quilts explore, sometimes very subtly and sometimes more obviously, what it looks like to create the whole quilt space in the shape of an X. So you can see in the kaleidoscope quilt, which is just a simple pairing of snowballs and shoefly blocks, but with really clever color arrangement. You can see just this subtle X that appears across the center of the quilt, highlighted by the red and the yellow blocks. And then um the next one is the basket of flowers quilt. So, this one was a really unique quilt for me to make because I kept the colors very sort of um more specific. I really wanted to use um just mostly the yellow and purple compliment pair and and yellow and purple sometimes together, the very true versions of those colors is very jarring. So, I like the combination or the challenge rather of creating a sort of yellow and purple color story but making it very like kind of soothing and old-fashioned almost. And so I chose fabrics that um were very floral like the outer edges of those fabrics is this huge peie flower on a pale lavender background. But those that big print is actually sort of matched in interest and size by the dresdins in the center. And so in one way I'm getting the big flowers through print and another way I'm getting the big flowers by using dresdons sort of like flowers. Um but I named this one basket of flowers because those gold and um kind of rusty yellows around the center reminded me of a woven basket in those 16 patches. And then finally, um, the more preeminent quilt in this chapter is called the open borders quilt. And this, I think you can really see that X format come through. And this is one of those quilts where um it reminds me to share with everyone that if you are a maximalist quilter like me, if you really like bringing every single color to the table and you want to use it all, you want to use dark, light, printed, solid, plaid, um old-fashioned, contemporary, and put it all in one quilt, the most important um guest that you also need to invite to that table is value. and that is organizing your quilt quilt space by how light or how dark a thing is. So, while you might see a lot happening in this quilt, it's actually highly organized. And I've used exact same fabrics in exact same positions all the way around. And so, again, it's creating a unity and it gives your your eyes sort of a place to rest. I mean, this is something that was hammered into my head as a painting student. You have to sort of have an entry point for the viewer and an opportunity for the viewer's eye to move all around the painting space or quilt space in our case and and a place for them to kind of gently leave. And so that bright center sort of brings your eye in, but it carries you around through the more medium and sort of u more seductive curves and it sort of lets you move around the quilt and then finally you have these sort of more dark edges. Um, this is another one where it's really important to talk about scale. I have some very large scale solid block areas, but out on the edges I have some really tiny things. I have this quilt with me as well. Um, and I'd love to show you the details. So, this one was a true labor of love. Um, you can see that I have actually hand quilted this whole thing. I've hand duplicated. This one section here can kind of show you how I start with these big background blocks. Again, this whole entire quilt is based on 12-in blocks. The whole thing, they're set on point, but they're put together in a way that um you know, again, repeats itself around all four corners. That's a radial symmetry. It's not just symmetry. It's like so once you've designed a quarter of this quilt, you've designed the whole thing because then you just have to go repeat it three more times. Um but you can see that my scale changes a lot. We have these whole blocks here and a whole block here. But then I divide the blocks smaller. I have these sort of medium applique pieces. But when we get out to the edges, I have these really um teeny tiny patchwork. That's pretty small patchwork for me. It's not the smallest in the world, but for me that's pretty small patchwork. But I have these um they're basically like 36 blocks. 36 patch blocks. But that difference in scale is really important to make things um sort of balance in an interesting way and not be too obvious. So this was all hand appliqueed, hand quilted, and um it's probably my favorite quilt that I've ever made. It's a very special quilt to me. Um this quilt was made mostly from fabrics that I collected all over Australia when I was traveling and teaching there in 2018. So, it's a very special quilt to me because I kind of just saved all those fabrics in one bin. I didn't know they were going to go together. Um, I had just collected them from all the different stores that I was teaching at during my time there. And then once we were sort of shut off from the world during the pandemic, I thought, well, it's going to be a long time till I travel. I think I'm going to pull those fabrics out and start working with them. And so, that's what I did. And so, it's it's personally very special to me. Um, but also, you know, this is one of those quilts that I felt like was impossible to ever replicate or it would be impossible to ever teach this quilt because I can't tell you the fabric collection of all of it. Some of it's my fabric, a lot of it's collected, some of it's vintage. Um, but of course, anytime I say something is too hard to do, I immediately am inspired to do it. And guess what I did? So, behind me today, I actually have a remade version of this quilt. This original one is the one that's on the cover of the book. Um, but I'm very proud to say that with my new division of fabrics, Anamaria textiles, that I was actually able to really source just the first five collections of anamoria textiles and find something just as beautiful and diverse. And in fact, you know, being a quilter that really likes creating things from various sources is so much of what inspires me on how I make my collections that while they go together in the sense that I quilt them together, they don't necessarily match exactly perfectly all the time. Like my style is one that I want to try and give you history even if you bought it all at the same time on the shelf together. I want to try and give you something that feels like it came from lots of different places and feels very collected. So, I was very proud. I felt like I had done my job as a designer when I could pull from just the first five collections that really emulate the original quilt with um these collections together. But I I I took all the same cues. I I looked to this original one for all the colors and even like placing yarn dyed plaids in the background. Um, I placed our plaids in garden variety in the same position. Um, so I'm very excited that that exists in the world and that it's replicatable, if that's a word. So, um, the final blueprint chapter is one that I call color study, and it's a bit more free form. I call it color study because um it really allows you to take the concept of the spectrum and even of value and just sort of make something um more free form or more intuitive. In other words, you can start in a place and then let it continue on um to somewhere altogether different depending on who's making the quilt. So the first one is called dip dyed where I just take kind of like two color categories and merge them together just by splitting the half square triangle between a solid and a small scale print. So the solids kind of experience their own change from top to bottom and the prints experience a completely different change from top to bottom in terms of their color and value. And it was almost such a fun color experiment quilt that I didn't even quite know exactly what was going to happen. But I created a plan and just stuck to it even if it got a little weird in some places, right? So that's kind of a that's a great thing to do with scraps. Um, and then I also did a quilt called Time Travel. Um, I am not someone that uses grays or neutral tones very much. I'm starting to experiment more with it, but I have collected some neutral fabrics that I really love. Some sort of charcoals and some khakis. and um I decided it was time to do something with them. So, I set those um neutral fabrics in the background, but organized them by value. You can see that I started very light and moved to very dark, but then I put these sort of ropes, these twisting ropes of color on top of them. So, while the big background blocks experience a change from light to dark at the bottom, the value of the color sitting on top do exactly the opposite. They start dark at the top and go to light at the bottom. So the contrast along the bottom stays really high and the contrast along the top stays really high. Again, just like a really wonderful um kind of experimentation with some fabrics that you have and especially fabrics like maybe you don't like them. Maybe you're wondering why did I even buy these fabrics. They all have a place if you are doing something interesting with how you lay out and experiment with them. Um, I had actually cut a bunch of strips of bias thinking I would do a biased edge binding and it just ended up in this quilt. And then finally, um, the last project in these quilts is called Conversations with Georgia. And it's about a quilt that I made completely improvisationally, all based on one of my favorite paintings by Georgia O'Keeffe. And so that was kind of a fun and interesting place to start. um any sort of quilt or artistic process is to look at someone that you love and admire. Um and it wasn't a piece of artwork that I was trying to um replicate in any way, but I was looking at it for its lines and its curves and its colors and the process was just a really um fun and exciting one and a very big learning experience for me. So that is Blueprint Quilting. I am just thrilled when I get the opportunity to talk about this book. um a few close friends that I've endorsed this book to. I said, "I hope you love this book because I'm never writing another one because there's just a lot of love and um intent and um excitement poured into this book." And I hope that it empowers you to try some things that you've never tried before or it just validates um being as individual as you want to be with your quilt making. And if it if it's important to you, it it should be important to people around you, no matter how you want to make your quilt. So, I'm happy to help. Thank you so much for joining me. I hope you've enjoyed the presentation of Blueprint Quilting. And if you want to learn more about me or the other things that I've designed and written, you can visit anamaria.com. And um don't forget to seize the fabrics that you love, take them to art school, take them to patchwork school, and then join me for quilt making. [Music]