
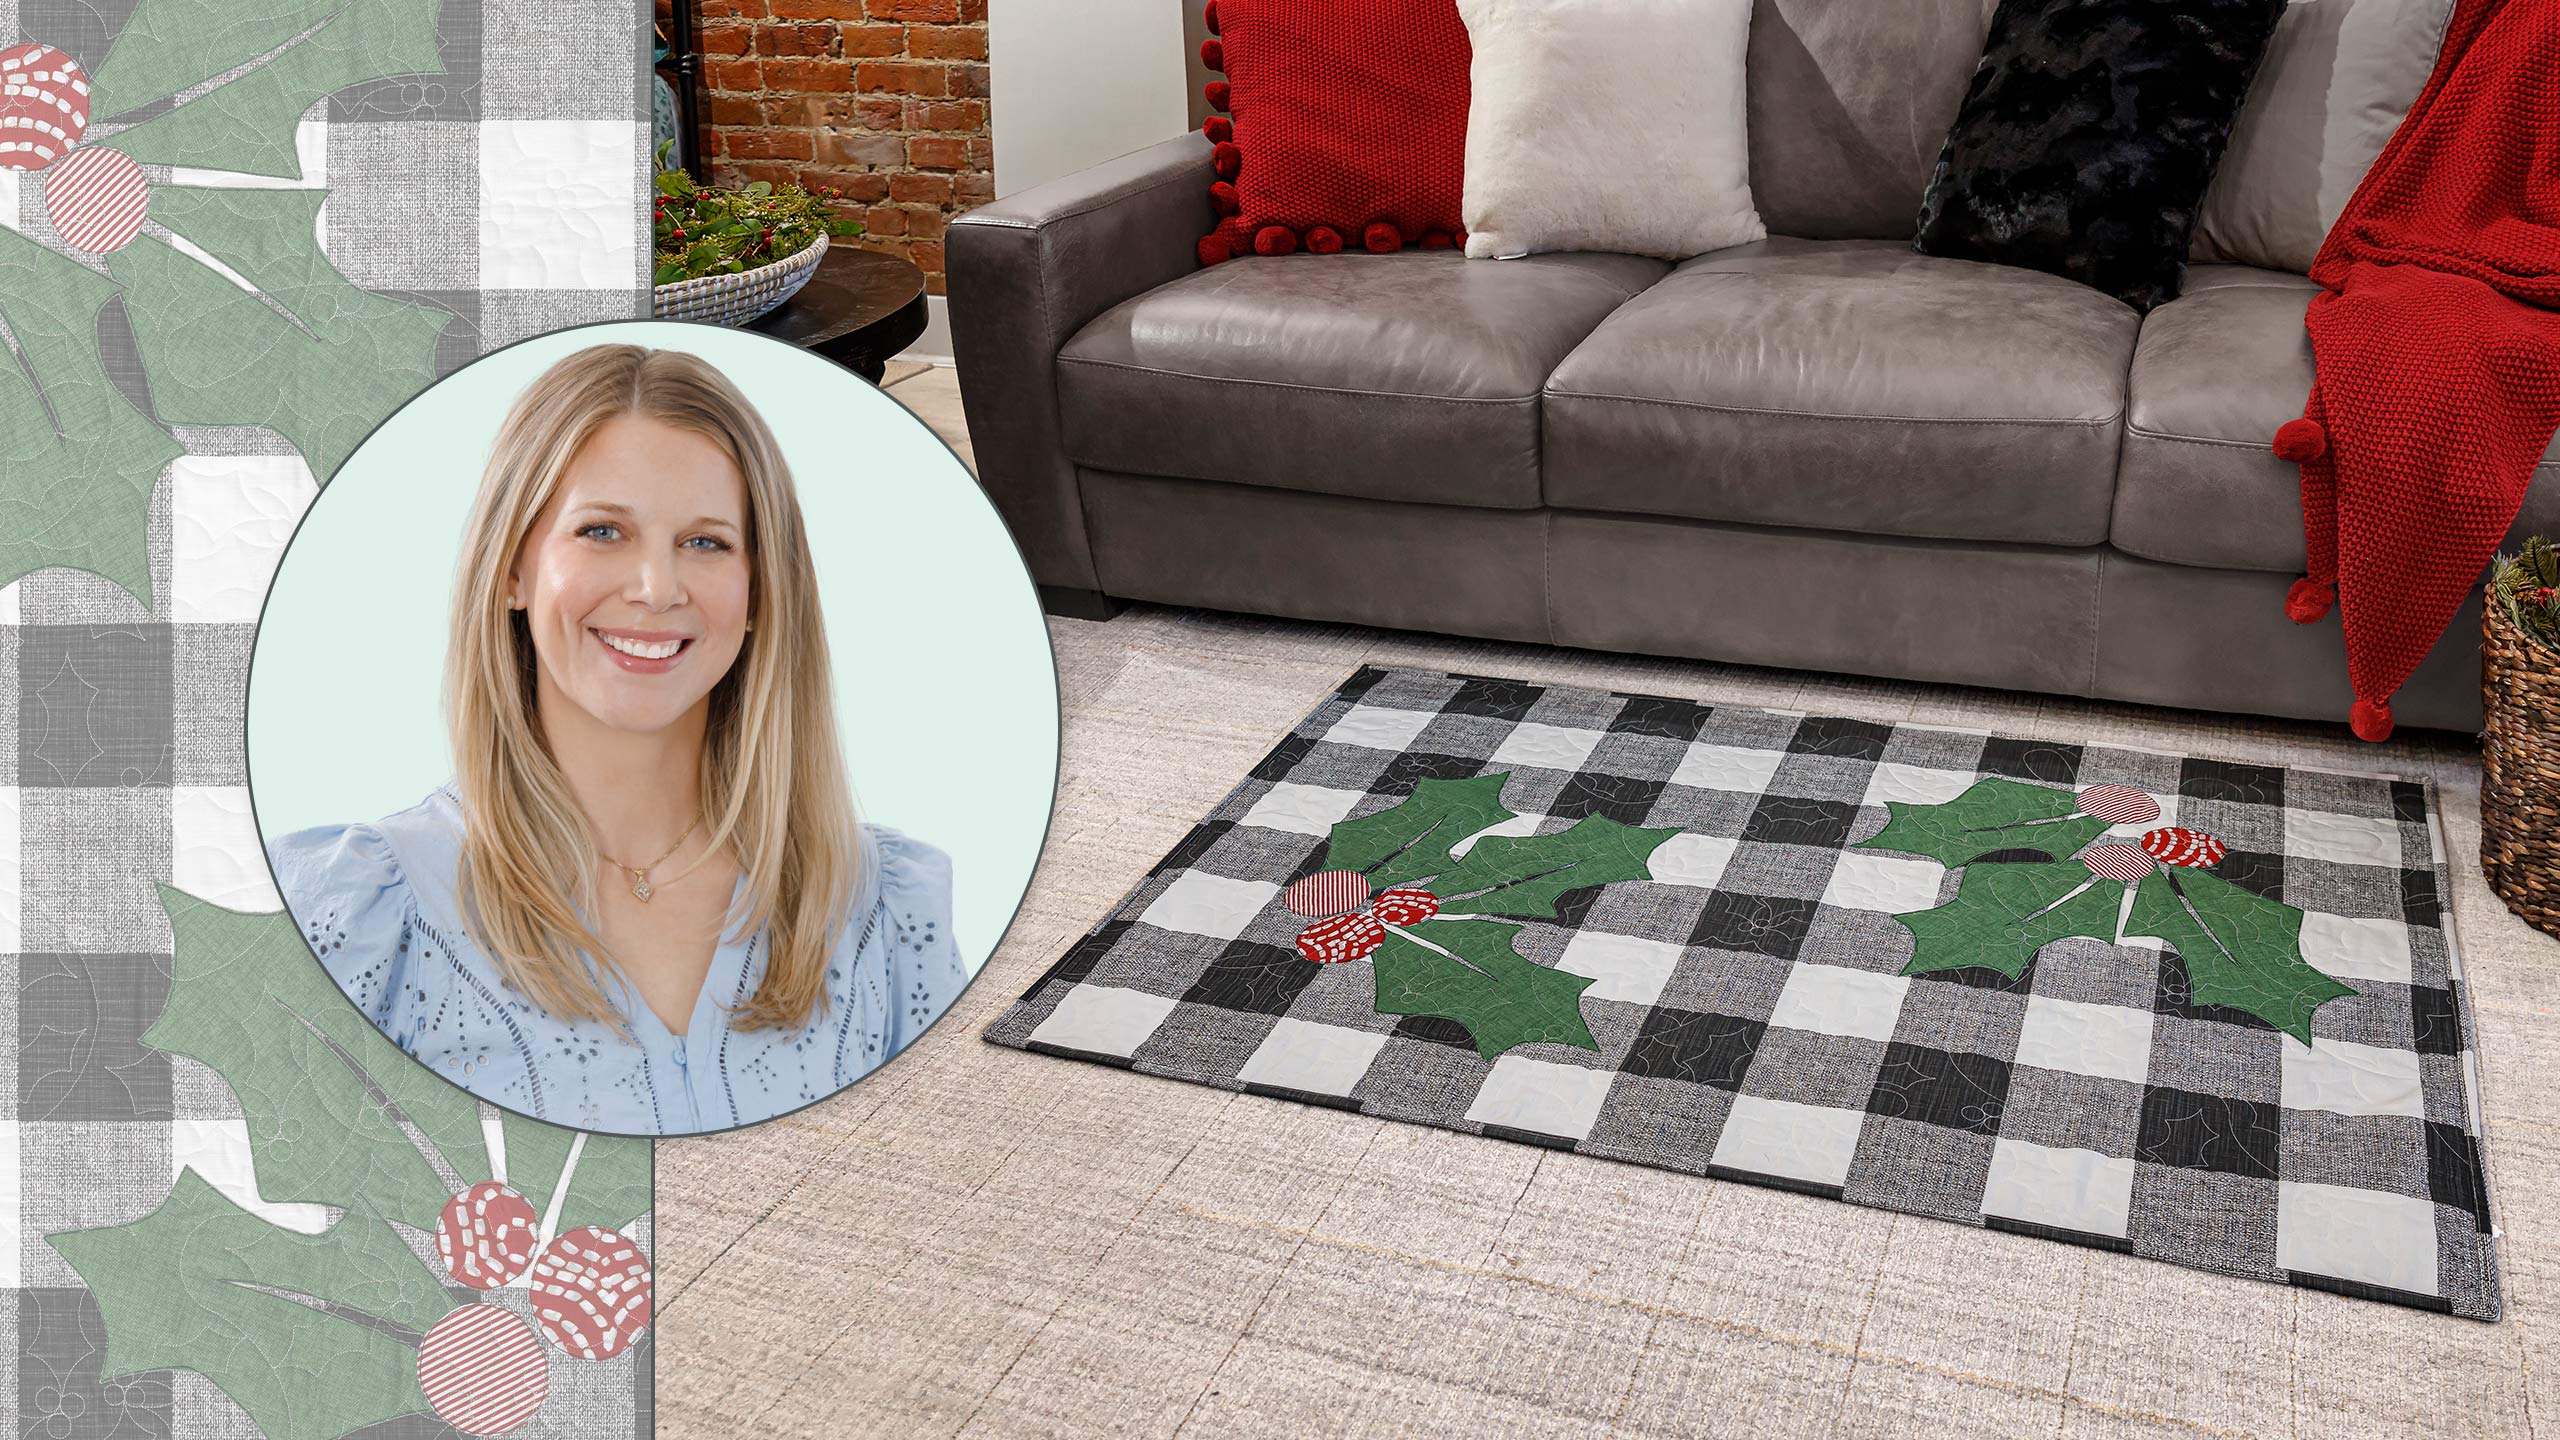
Canvas Floor Mats
When it’s time to deck the halls, don’t forget to deck the floors! Learn to make a canvas floor mat that is cute as well as functional. Fusible appliqué holly leaves and berries on black-and-white checked canvas slub create a festive alternative to a throw rug. You’ll want to make other mats to use all year long!

Instructor
Misty Doan
Misty Doan grew up surrounded by sewing and quilting. She loves spending time sharing tutorials each week each week, and when she’s not stitching up one of her fun sewing projects for home decor, most likely you’ll find her hanging out with her husband and three awesome kids or working on a house project.
Shop this tutorial
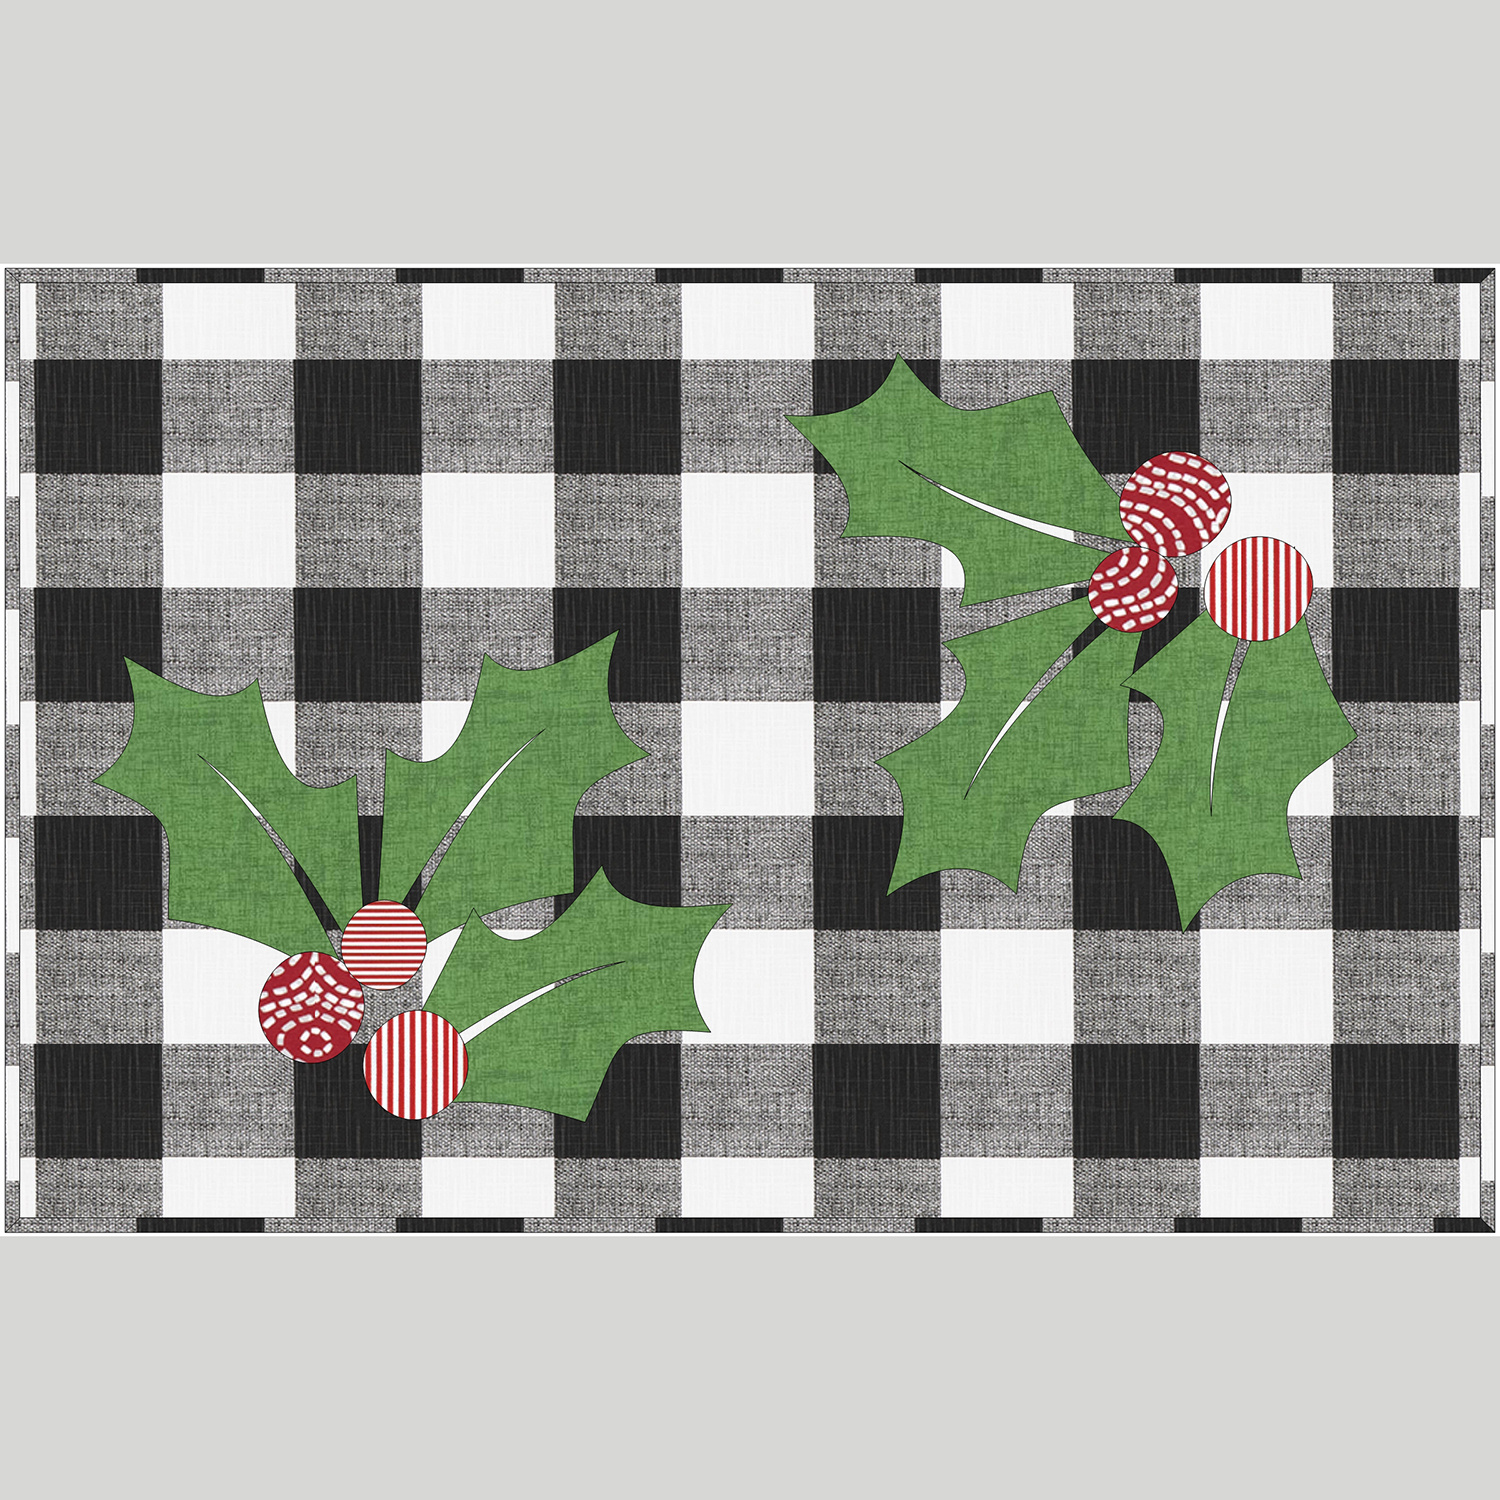 Deck the Holly Floor Canvas Kit$65.95Shop →
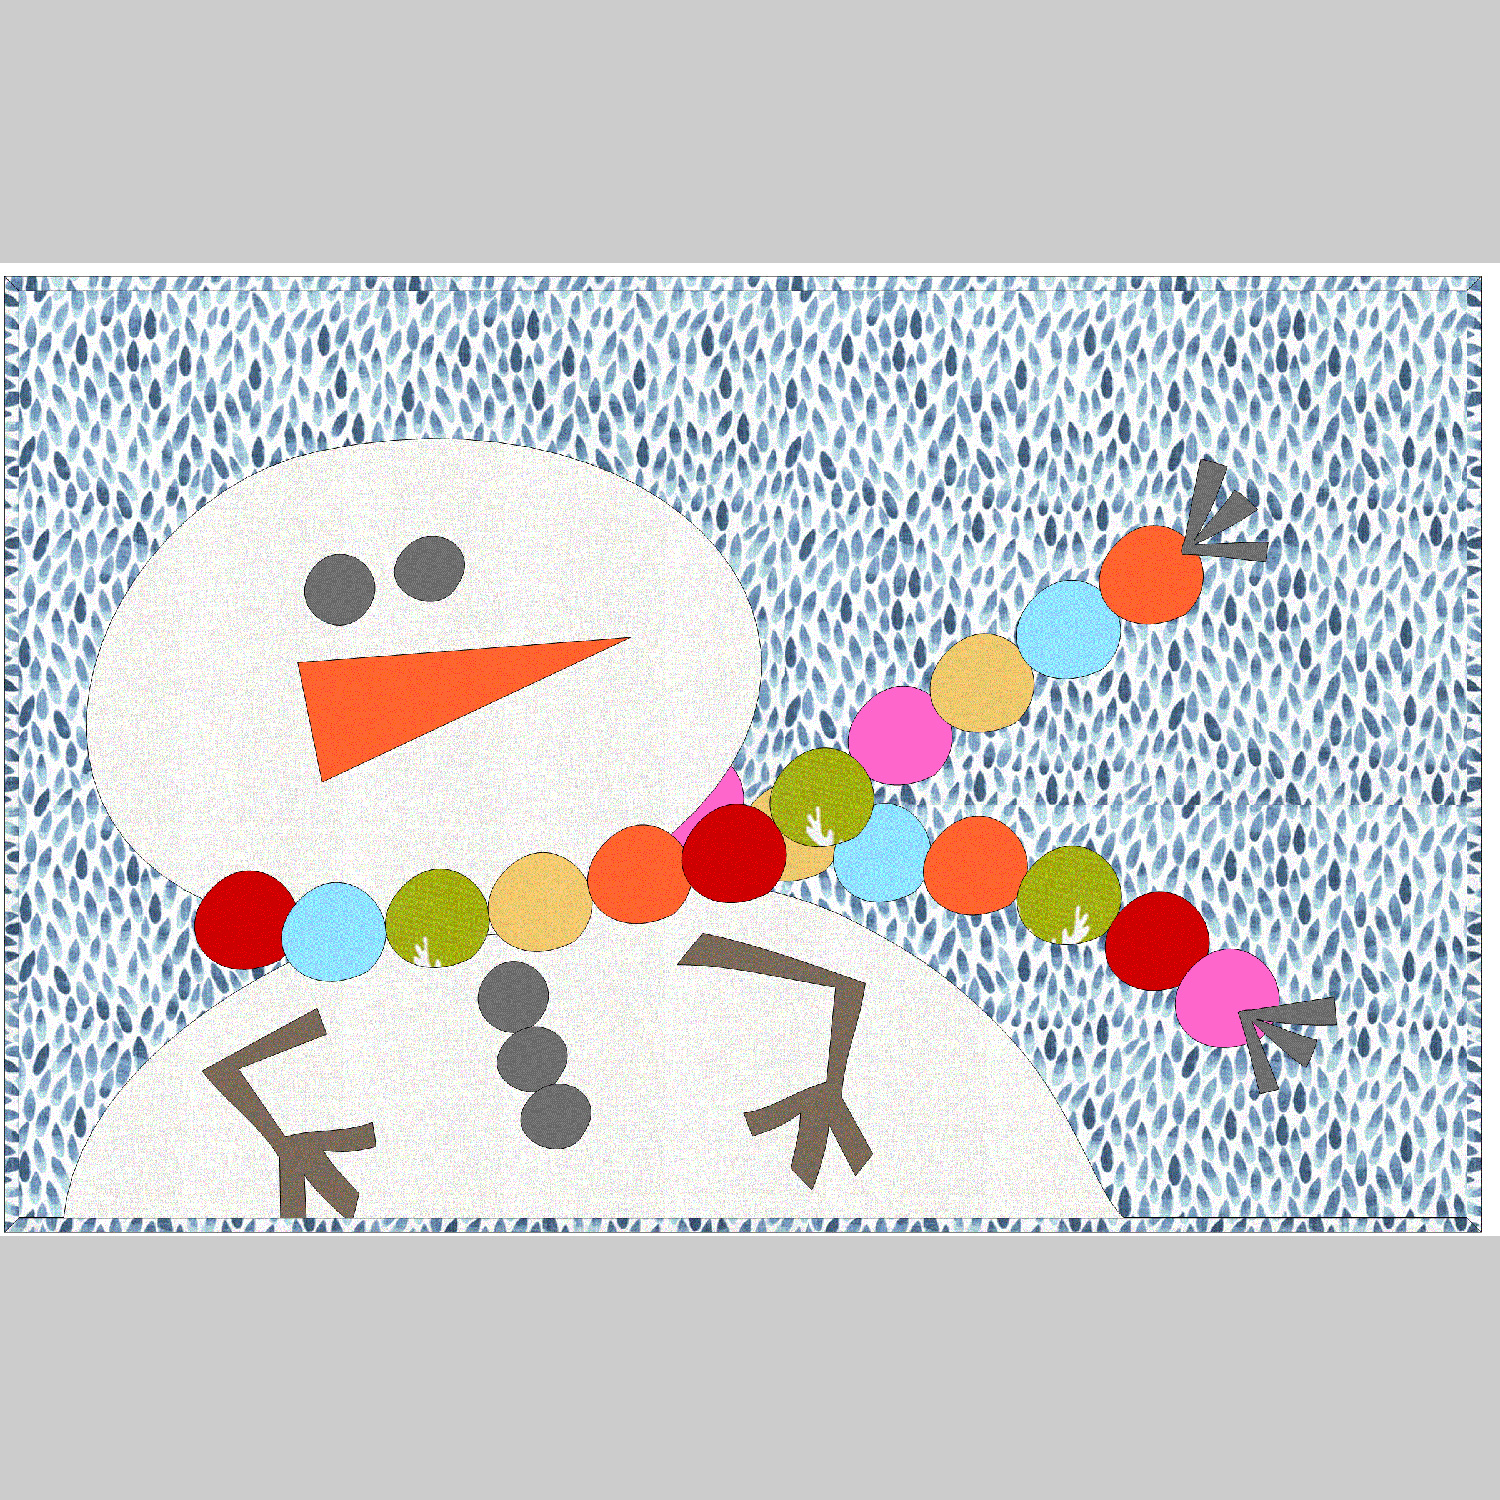 Let It Snow Floor Canvas Kit$79.95Shop →
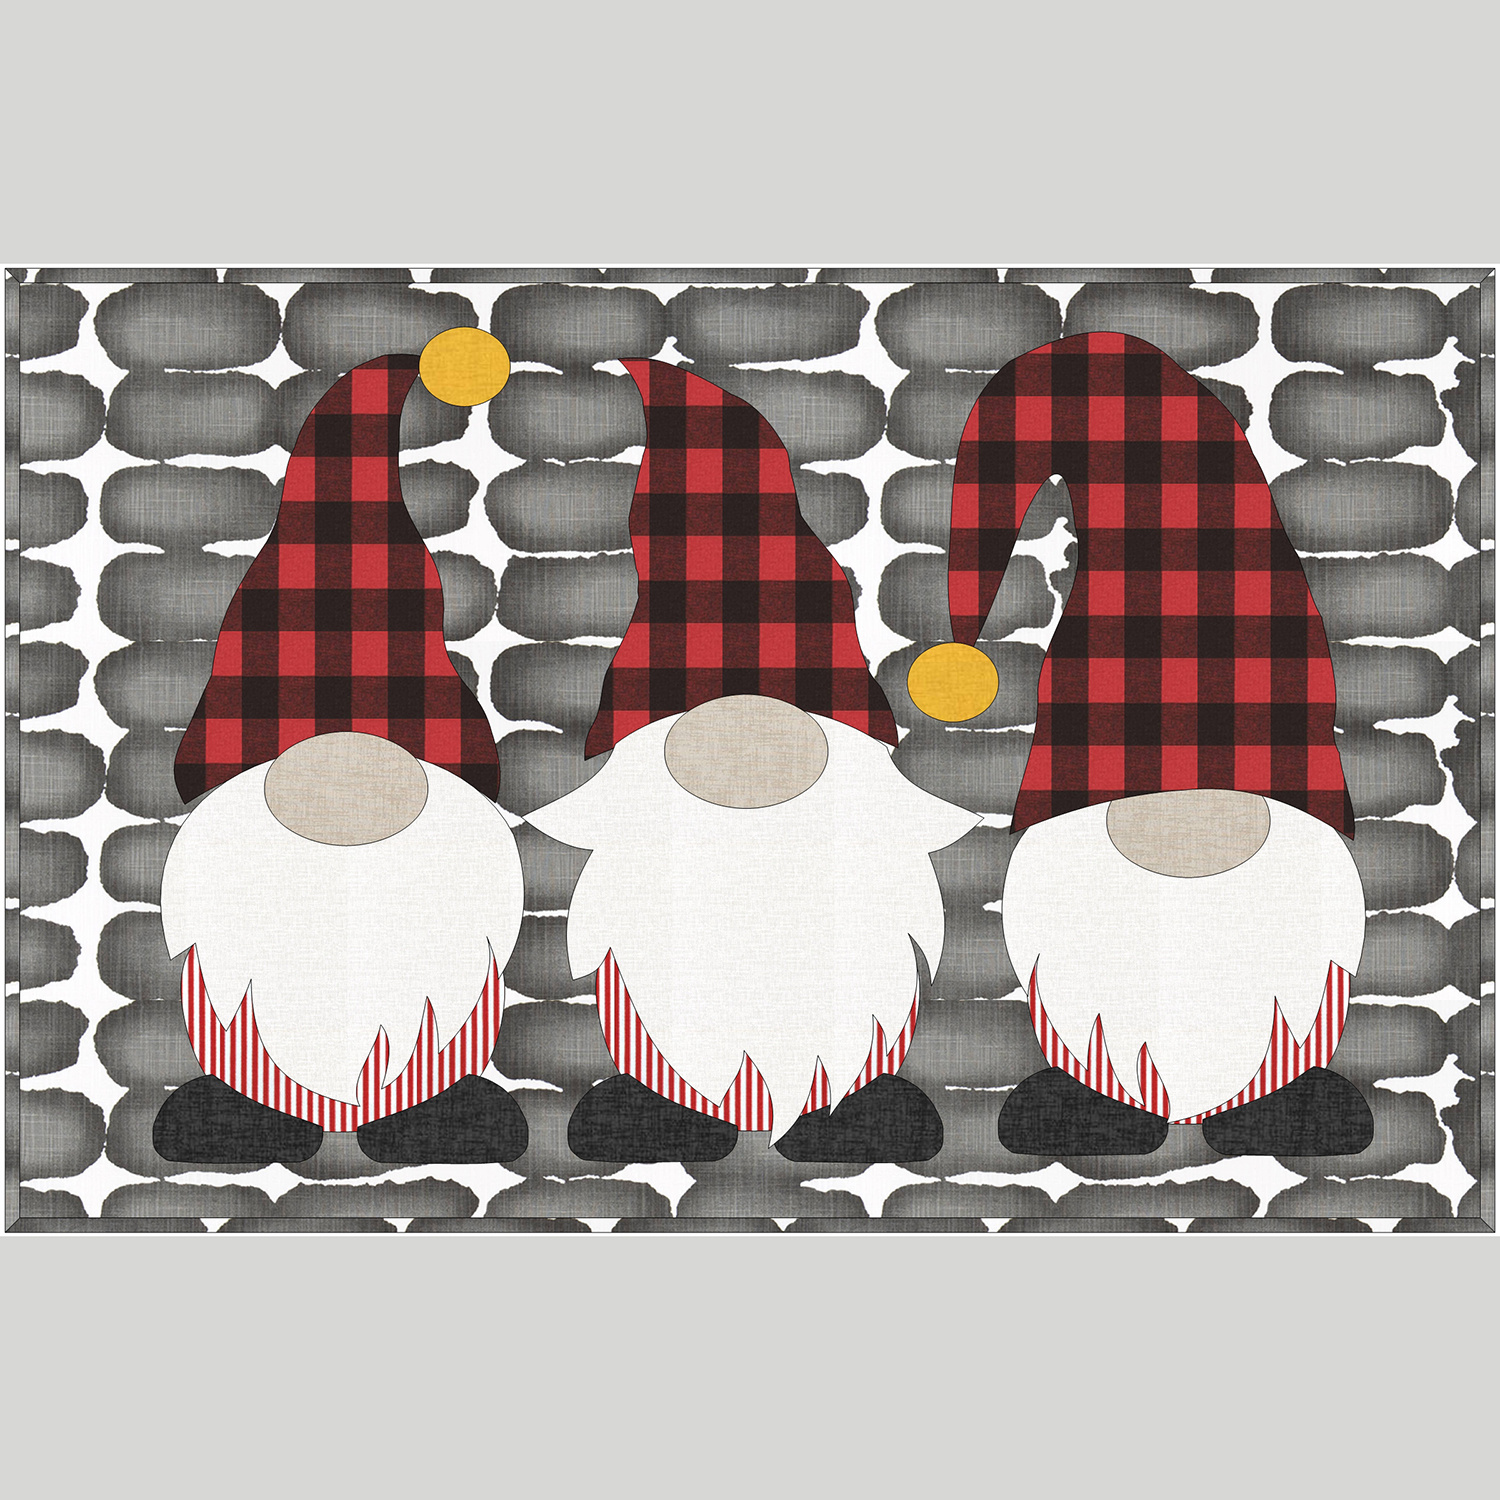 My Gnomies Floor Canvas Kit$74.95Shop →
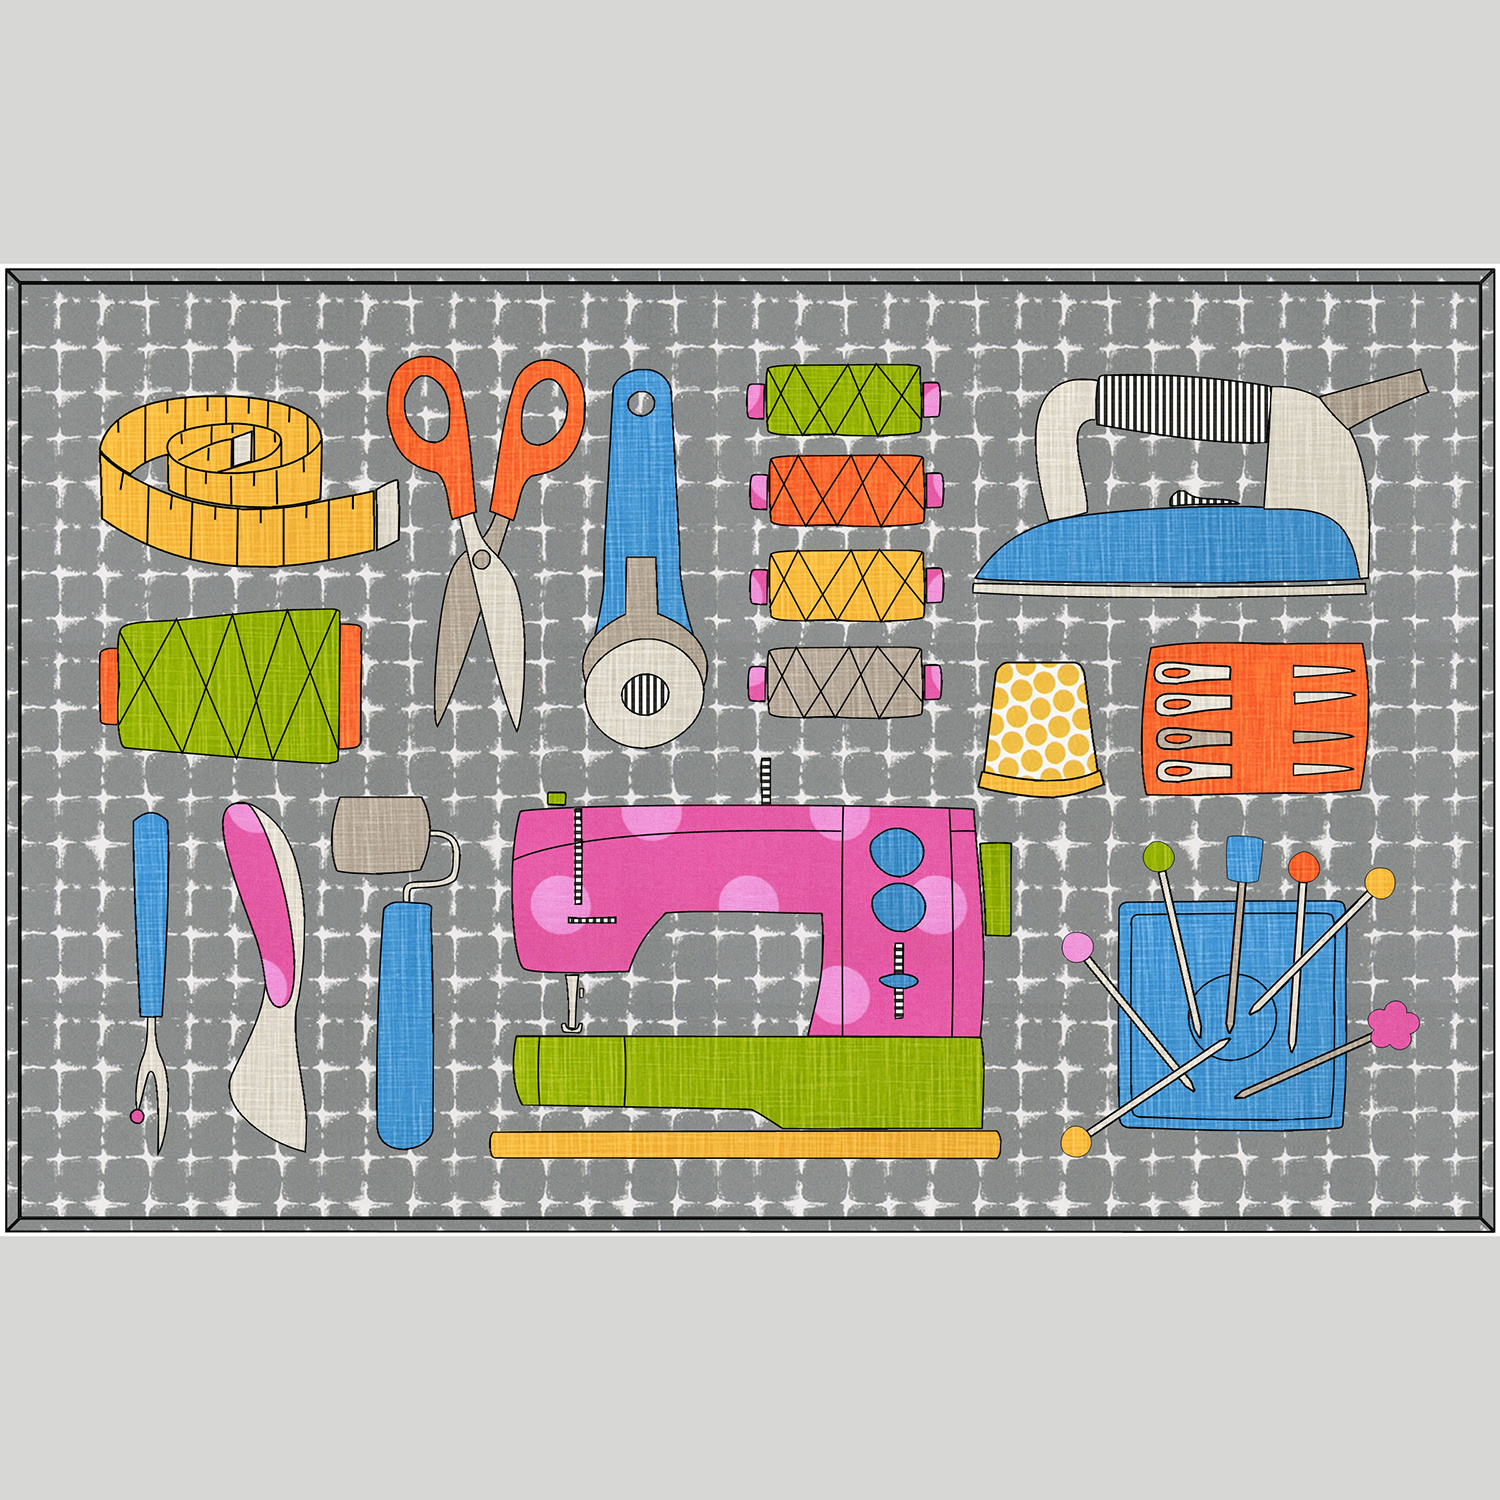 So Much Sew Floor Canvas Kit$72.95Shop →
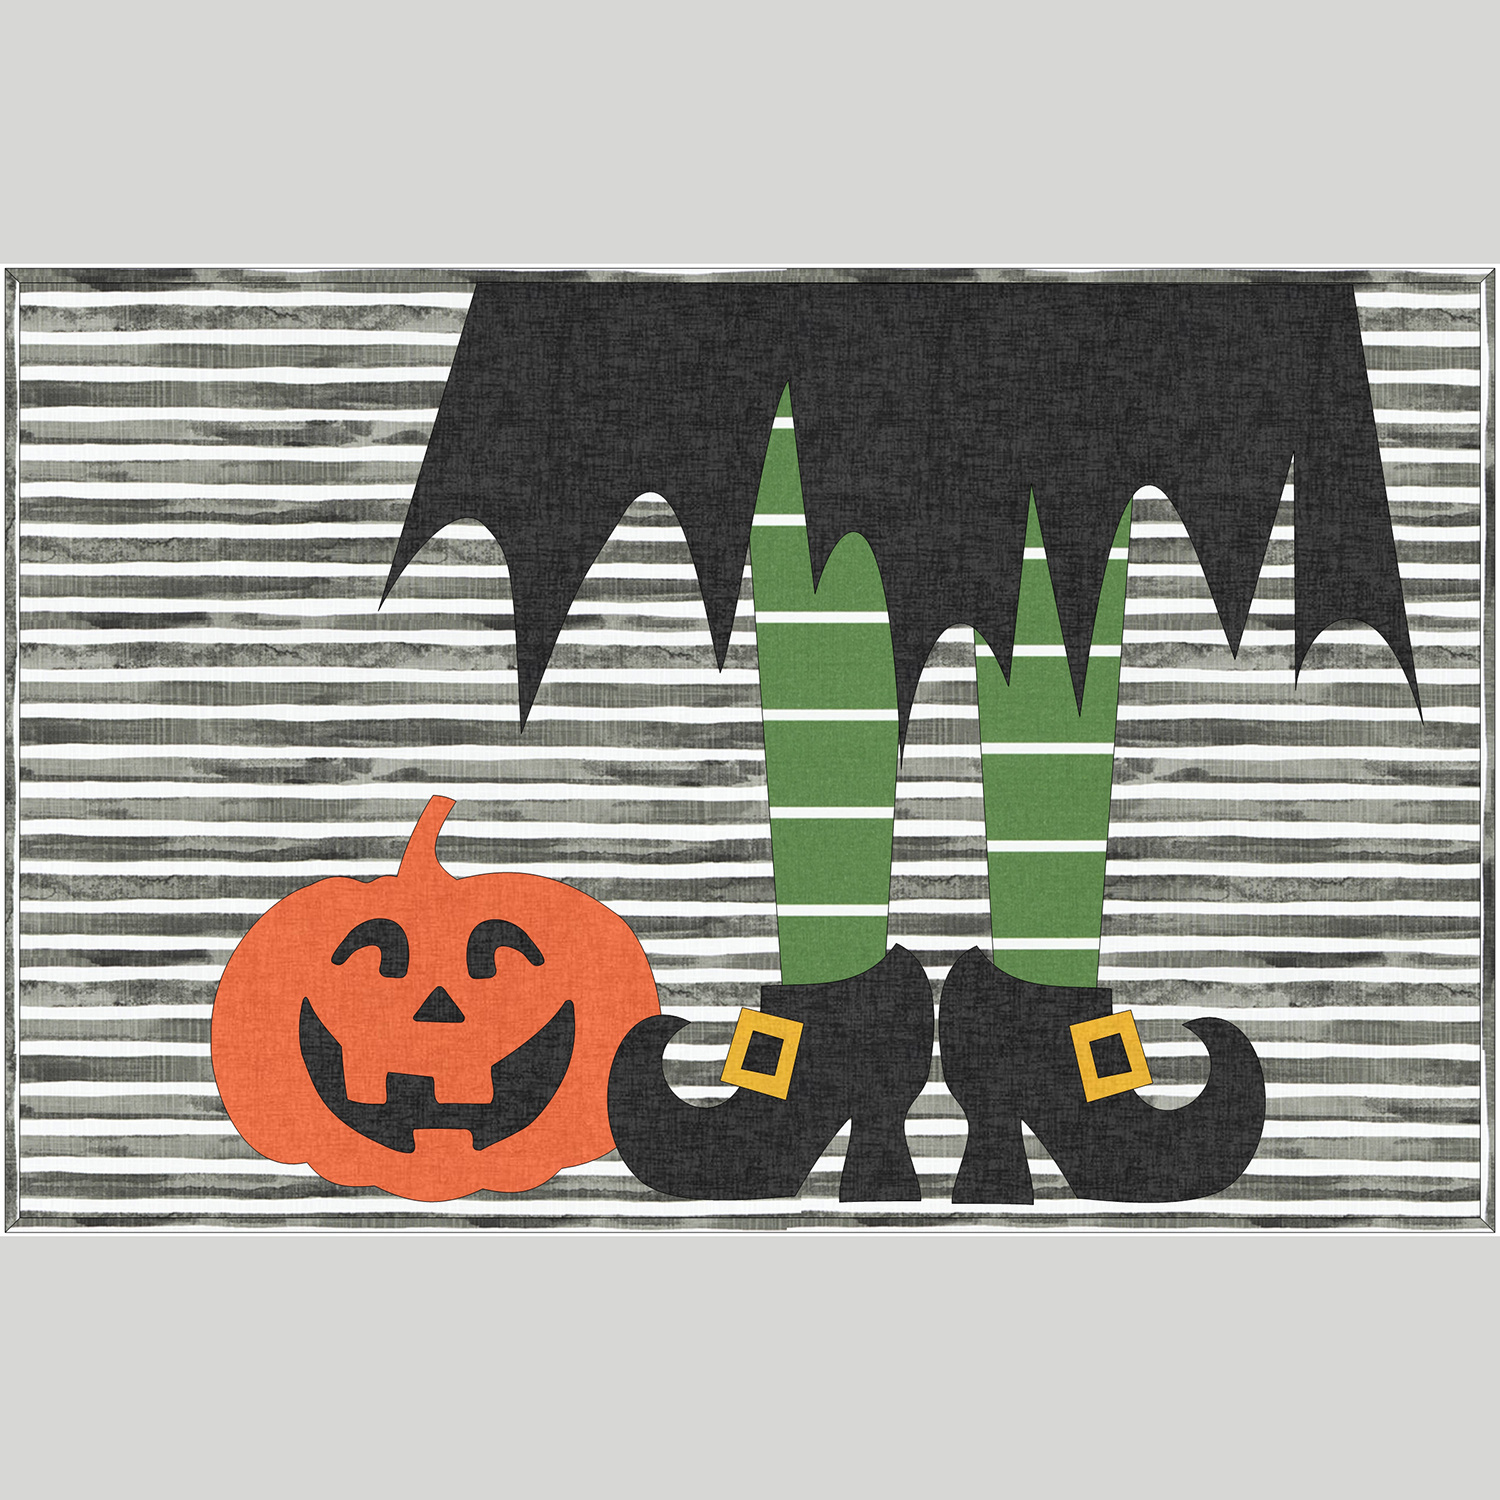 Witchy Poo Floor Canvas Kit$67.95Shop →
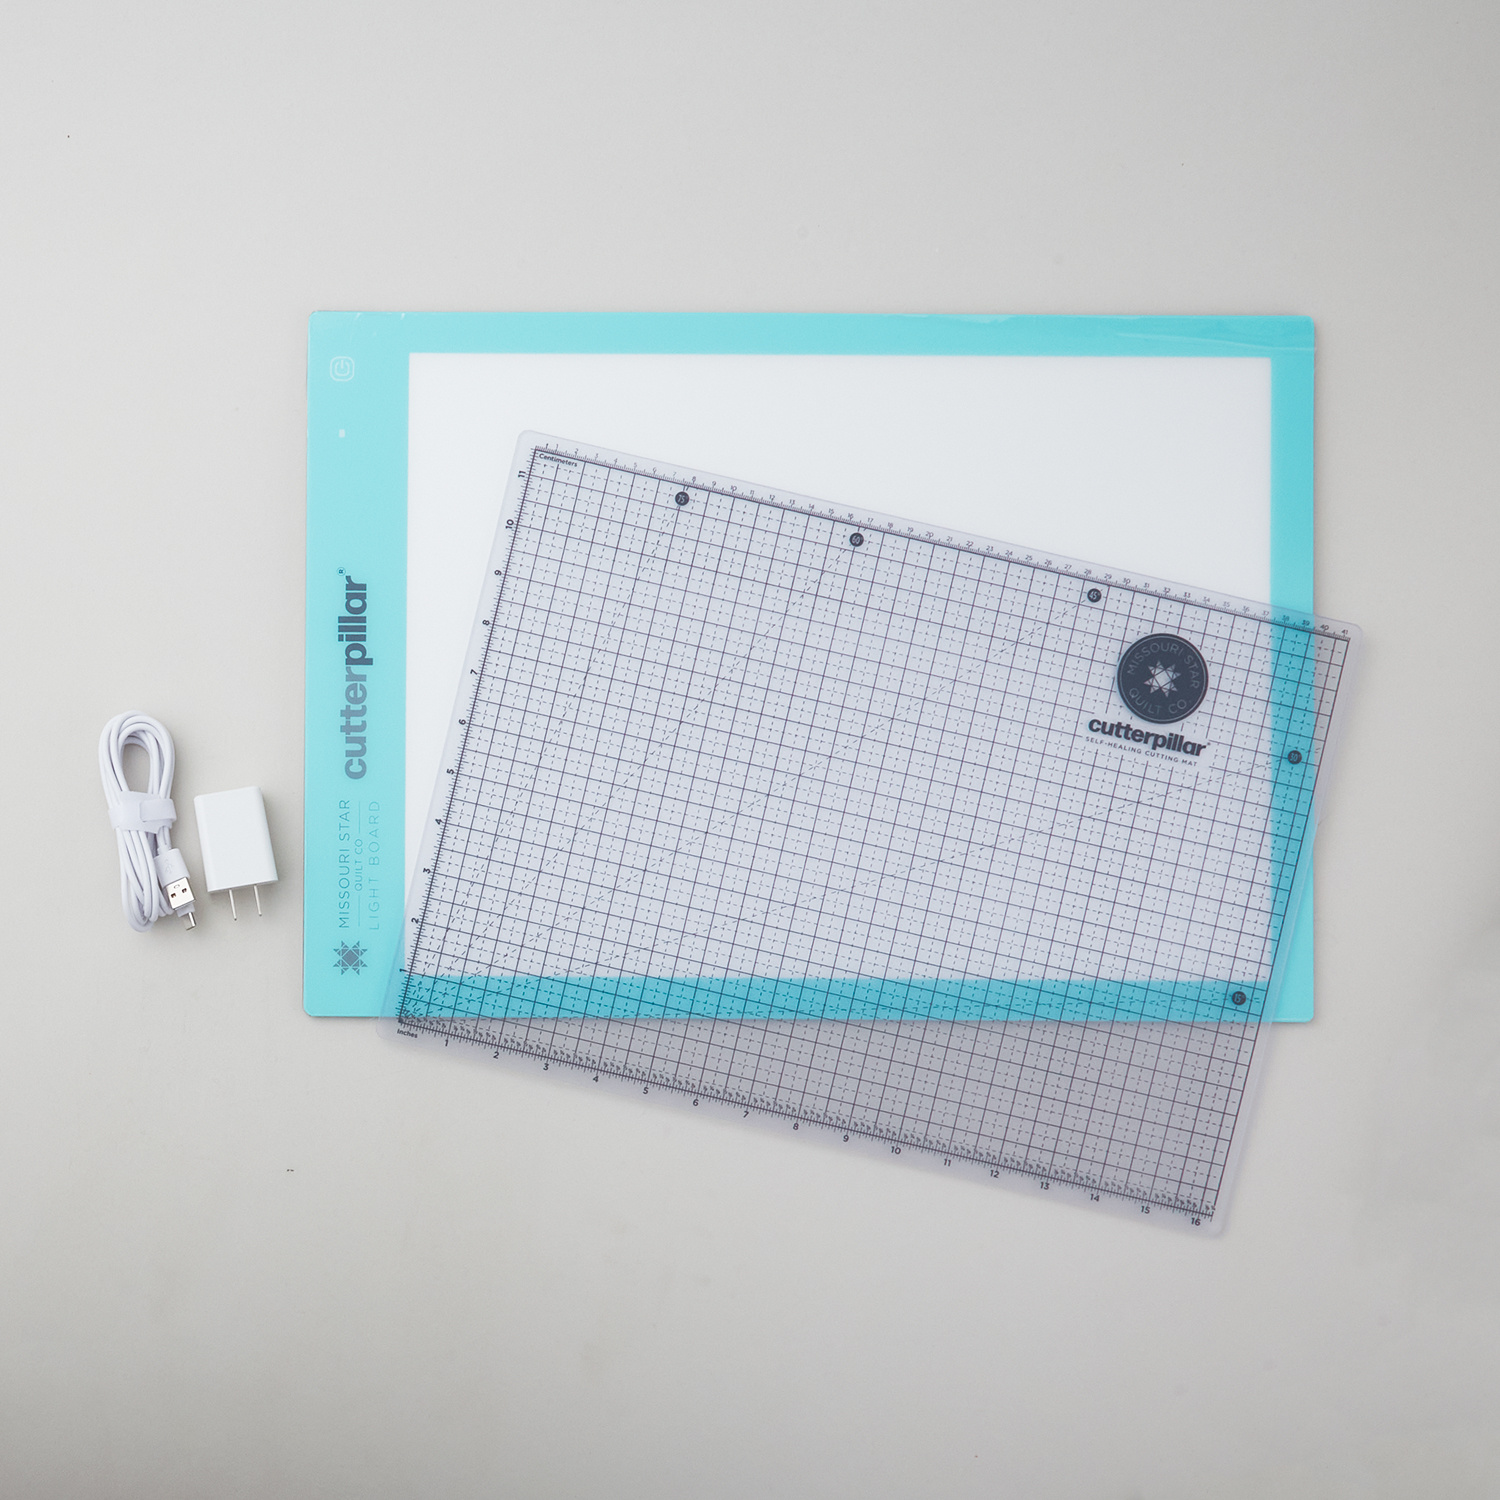 CutterPillar & Missouri Star Glow Premium Light Board$169.99Shop →
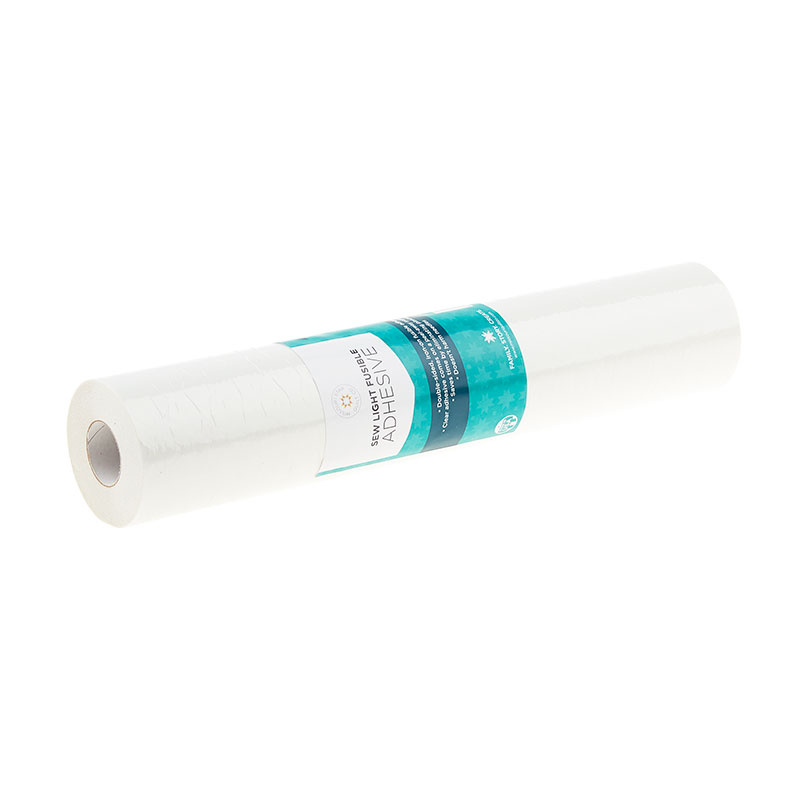 Missouri Star Sew Light Fusible Adhesive - 12" x 15 yards$28.95Shop →
 Quilter's Favorite Dispenser - Quilt Town$18.95Shop →
 Missouri Star 5" x 15" Ruler$19.95Shop →
 Missouri Star 45mm Rotary Cutter$19.95Shop →
 Wonderfil HomeDec Polyester 30WT Thread - Ink Black$7.65Shop →
 Exclusive Missouri Star Jenny TG1600 ProPlus Oliso Smart Iron$199.99Shop →
 Missouri Star Wooly Betty Board - 17.25" x 25.5" Orange Border$99.95Shop →
 Bernette 77 Sewing and Quilting Machine$1499.00Shop →
Common Questions
What is covered in Canvas Floor Mats?
When it’s time to deck the halls, don’t forget to deck the floors! Learn to make a canvas floor mat that is cute as well as functional. Fusible appliqué holly leaves and berries on black-and-white checked canvas slub create a festive alternative to a throw rug. You’ll want to...
How long is the tutorial video?
The tutorial video is 00:13:05.
Is a transcript available?
Yes. A written transcript is available on the tutorial page.
Video Transcript
All right, so first up we have these awesome kits that were designed by Tami Pfeil of BEHG Designs and I'm going to be teaching this really cute Deck The Holly design today. But she has a bunch of different designs, so be sure to check those out. The kit includes the fabric that you will need for this as well as the downloadable pattern. That's all right there for you! You're also going to need some of our Missouri Star Sew Light fusible. A light board is helpful. And then we are using 30 weight polyester thread to do all of our top stitching. Since we'll be standing on this we want it to be a little bit extra sturdy. So that is everything we need to get started. Let me show you how to make it.
All right, so let's go ahead and open up our kit now and pull out all of our
fabrics. And so again remember you can download that pattern and it will give you all of the instructions. This is a really great pattern - it's very detailed and I highly recommend it. And so you'll see in here we have our two different red fabrics our green for our leaves and then this is all of our background, binding, and backing of this project.
So let me go ahead and unwind this, get that cardboard out of the way. I'm going to set these aside for now and we are going to make some cuts to prep this for our project. Let me just open this up a little bit. So one thing I do want to mention is canvas obviously is heavier than traditional quilters cotton, but it's not that different and it's nothing to be afraid of. And so I have just folded this so we've got four layers of fabric that I'm working with. If that's too thick for you, feel free to leave it just folded in half all right? So to begin, I am going to straighten up my first edge and we are going to cut our four binding strips to begin with. And because we're dealing with a little bit of extra thickness we're going to cut those at 3 inches instead of 2 ½. So I'm just going to come over and make those cuts. There's one, all righty, there we go. I can set those aside for now.
And now I want to cut my piece that will be the front of this project. And so the size that she says to cut that is 34 inches by the width of the fabric. So I'm going to line that straight edge that I have from cutting that binding all the way with the edge of my mat. Make sure this is smooth and then I will come over here and trim this down just like so. So then this piece here is the section that we're going to build all of our pattern onto. And the remainder of this is going to be the backing for this project, so we'll set this aside until we're ready to quilt it. I'm going to use this to add all of my fun applique shapes to.
So I'm going to go ahead and clear this off and get ready to start on the applique. All right, so now we're ready for applique. I have gone ahead and printed out my templates and taped those together, so I have them ready to go. I've gone ahead and cut out a few of our shapes just to save time, but I am going to cut and trace one of our D Leaf shapes. So let's go ahead and turn on our lightboard.
I'm going to pull off a piece of our fusible here, there we go. Then now I can lay this over here and that lightboard makes it so easy to see our shape through. We can just trace right on to our Sew Light fusible, there we go. One more here. All right, there we go. And so you'll just repeat that with all of the shapes that are included and it tells you how many you're going to need.
So because you're going to fuse this onto the back of your fabric you'll trace that same number as well. So let's just go ahead and move these out of the way. Then I've got a piece of my green fabric left here. And so we are going to take this to the ironing board and we are going to put that fusible onto the wrong side of our canvas and we will just press this into place. If you don't want so much of this to have fusible, you could rough cut around this first, just so you have some extra of the canvas left over. But since I'm only using it for this project, I'm not too worried about it.
So now we will just cut right on those lines with a pair of good sharp scissors. All right, our shape is all cut out. It is helpful to go ahead and label which one of these shapes it is, so this is D. Now I can take all of my pieces that I have prepped and I can pull in my background piece. Now just to save time I've gone ahead and added one of these clusters, but we are going to add the other today.
So we can just open this up and we will take all of our pieces. And we are going to assemble this here. So I'm just going to lay this out roughly for now, but then I'm going to grab the pattern. Because included in the pattern there is actually a layout guide that is going to specify which pieces go where that's super helpful. I'm already noticing that I have these two switched and then it looks like this. Berry goes here, and this one goes here, and this one goes here. So it also gives you some dimensions that you want to check to make sure you're far enough away from the edges. You know me, I'm kind of just an eyeball-it kind of girl. And so it looks like they want us to have at least 3 inches of space from the edge of our our mat. So I'm just going to slide it this way just a little bit. That looks good enough for me.
So now I'm going to take this over to the ironing board. We're going to remove all of that paper backing. So if you're not familiar, you can just
pinch and peel that away and then we'll fuse this in place. So let me go ahead and move that over there and we'll get that going. All right, so I went ahead and brought my ironing mat over here. Mine has that protective layer so I don't have to worry about my mat underneath, but of course always be careful of that when you are pressing. So I've got all of that paper backing removed. I've laid this out and double checked it with the layout guide in the pattern. So now we can fuse that with our hot iron. So we are just going to press it straight down. You don't want to do a lot of shifting of course, but this is just like it would be if you're doing iron-on applique with your quilter's cotton. It's just a little bit thicker so sometimes you have to hold the iron a little bit longer to get it to fuse, but the technique is exactly the same. Sso we are just lifting and setting our iron down to avoid shifting these pieces around. And we will just make our way across the whole design. And we are so close to being done! Here we go, I need to shift this a little bit more onto my pressing mat to finish up these edges. Okay I think we are good. I'm going to double check, make sure none of those little points are lifting on me. Make sure I really fused all of my sections. The little points tend to be the tricky ones. All right, that looks really good.
So now we get to use this awesome technique that Tami does with that polyester thread and it's almost like thread painting. She's just gone a few times around the edge of all of her shapes to really give it dimension and hold them down really strong. And so remember when you're using a heavier weight thread like that, you're going to load it into the top of your machine and your bobbin is just going to be a standard quilters thread. You know, nothing heavy. You don't want that in both places.
So then you just stitch it exactly like you see here. Then we're going to quilt the entire thing. So we finish it off including our quilting with that Holly pattern with a white thread. And then you are just going to trim it up and bind it exactly like you would a normal quilt. Remember we've got that a little bit wider binding, and we did bind it all by machine just to make it a little bit sturdier because we are going to throw this on the ground and use it like a rug in our home.
I love that we can take these techniques that we know and love in quilting and use it to create these great projects for our space. I think it adds just a lot of fun holiday flair. And Tami has some great different kits that meet all kinds of needs. So I hope you will check these out. I can't wait to see what you make and I'll see you next time on At Home.



